

Quite some time ago, I spent a lot of time making messenger bags. A lot of time.
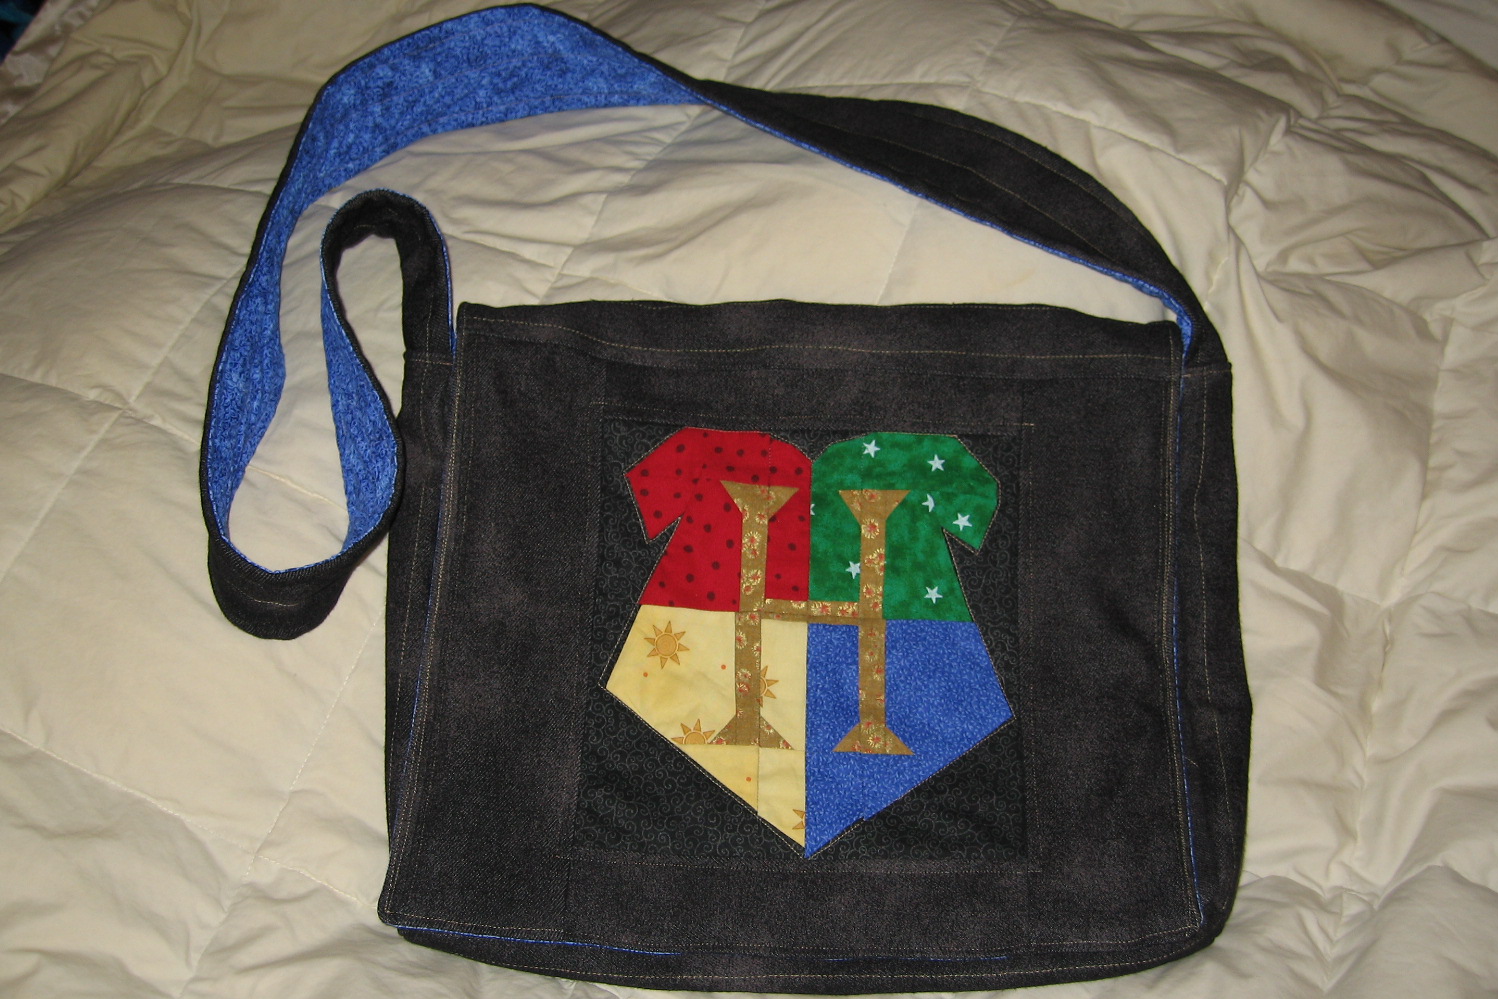
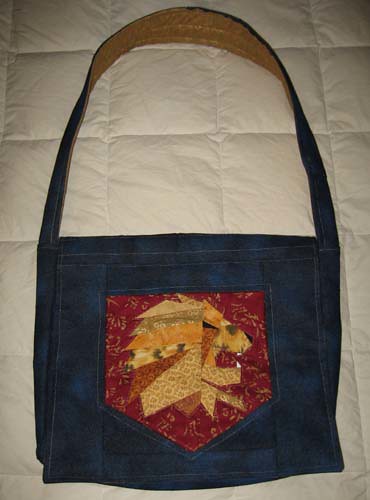
The story behind the bag is actually kind of cool. My eldest kiddo (10 years old back then, aged 16 at the time of this writing) wanted a Gryffindor bag for fifth grade. I was given a basic sketch, and I then started thinking! Sometime during all that thinking, I had a dream that I’d made the bag. The dream was very real, and when I woke up, I was disappointed to realize that I hadn’t actually finished the bag.
The cool part of the story? In the dream, I figured out how to make the bag, and it worked.
Perfectly.

I sketched out what I’d dreamed and started figuring out the dimensions of the bag. I almost always start with a sketch when working on a new project, but rarely does that sketch start from dreaming the process! Usually, the sketches are pretty rough (note the cute and silly lion above), but they do the job for what I need.
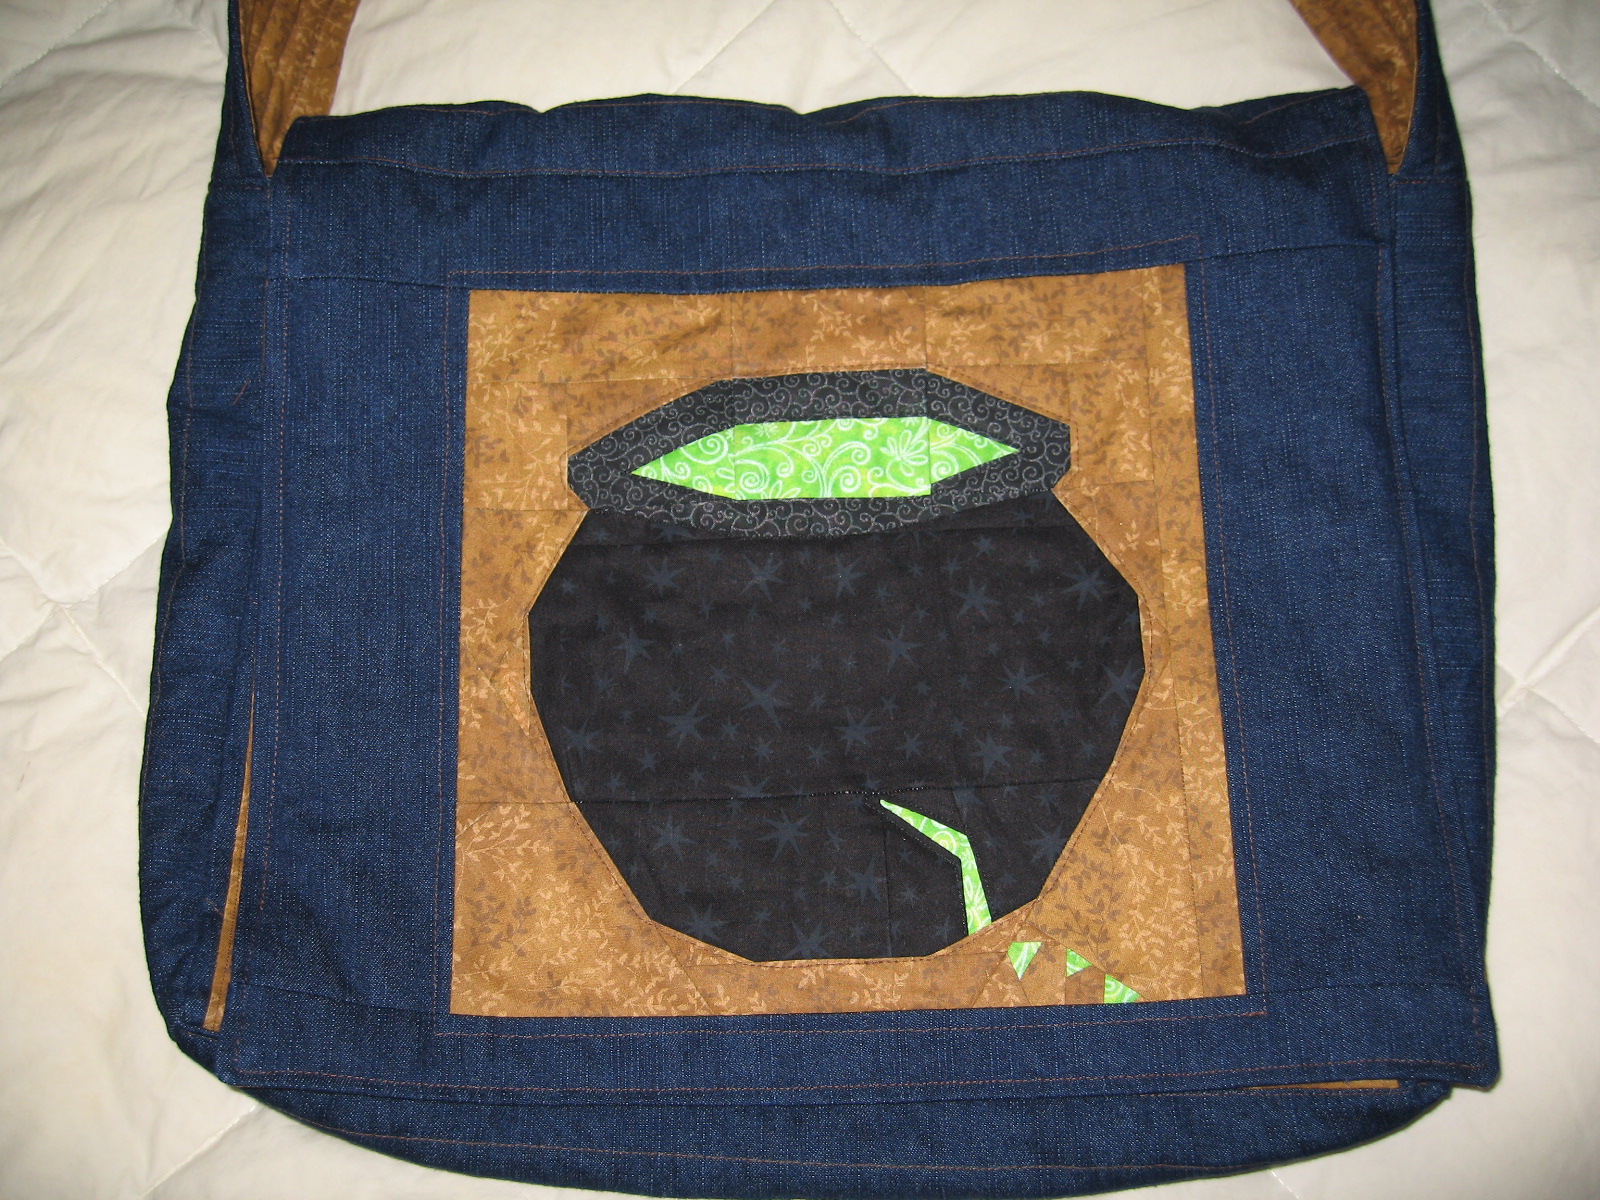
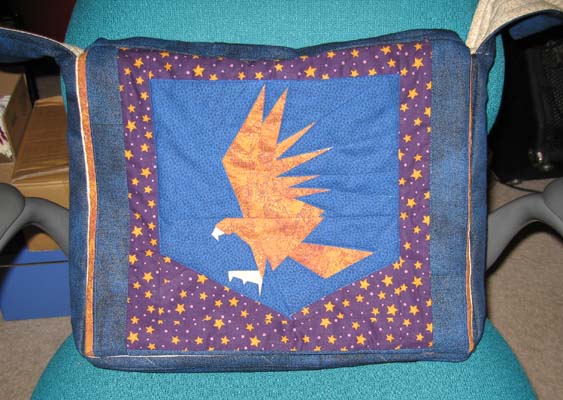
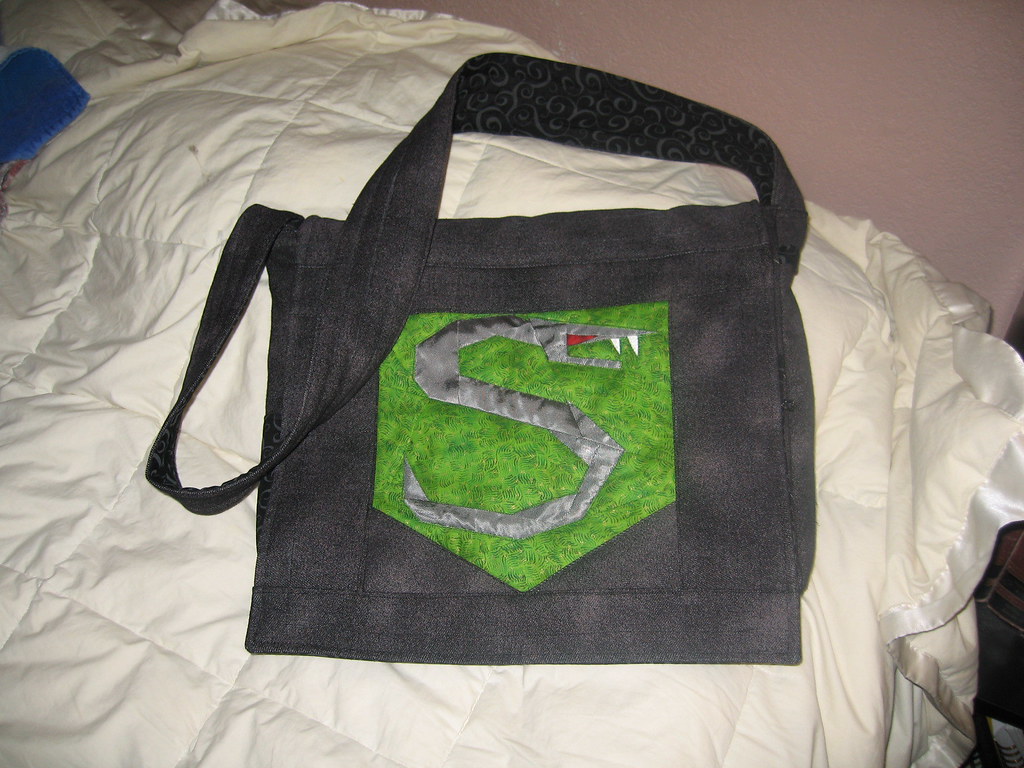
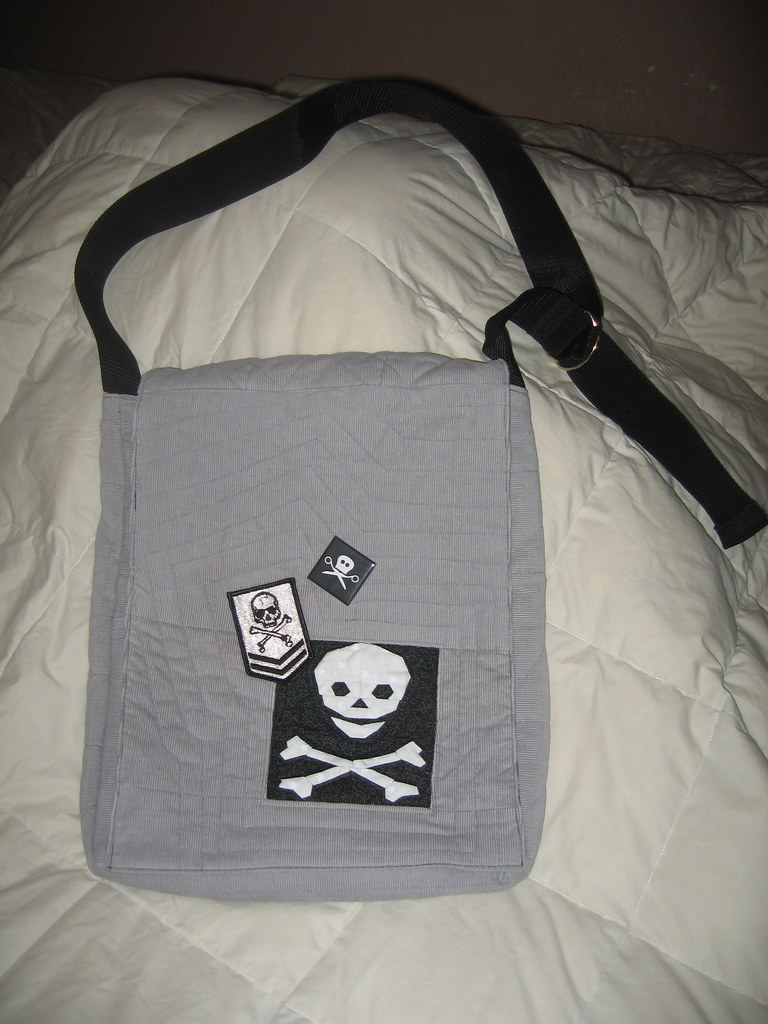
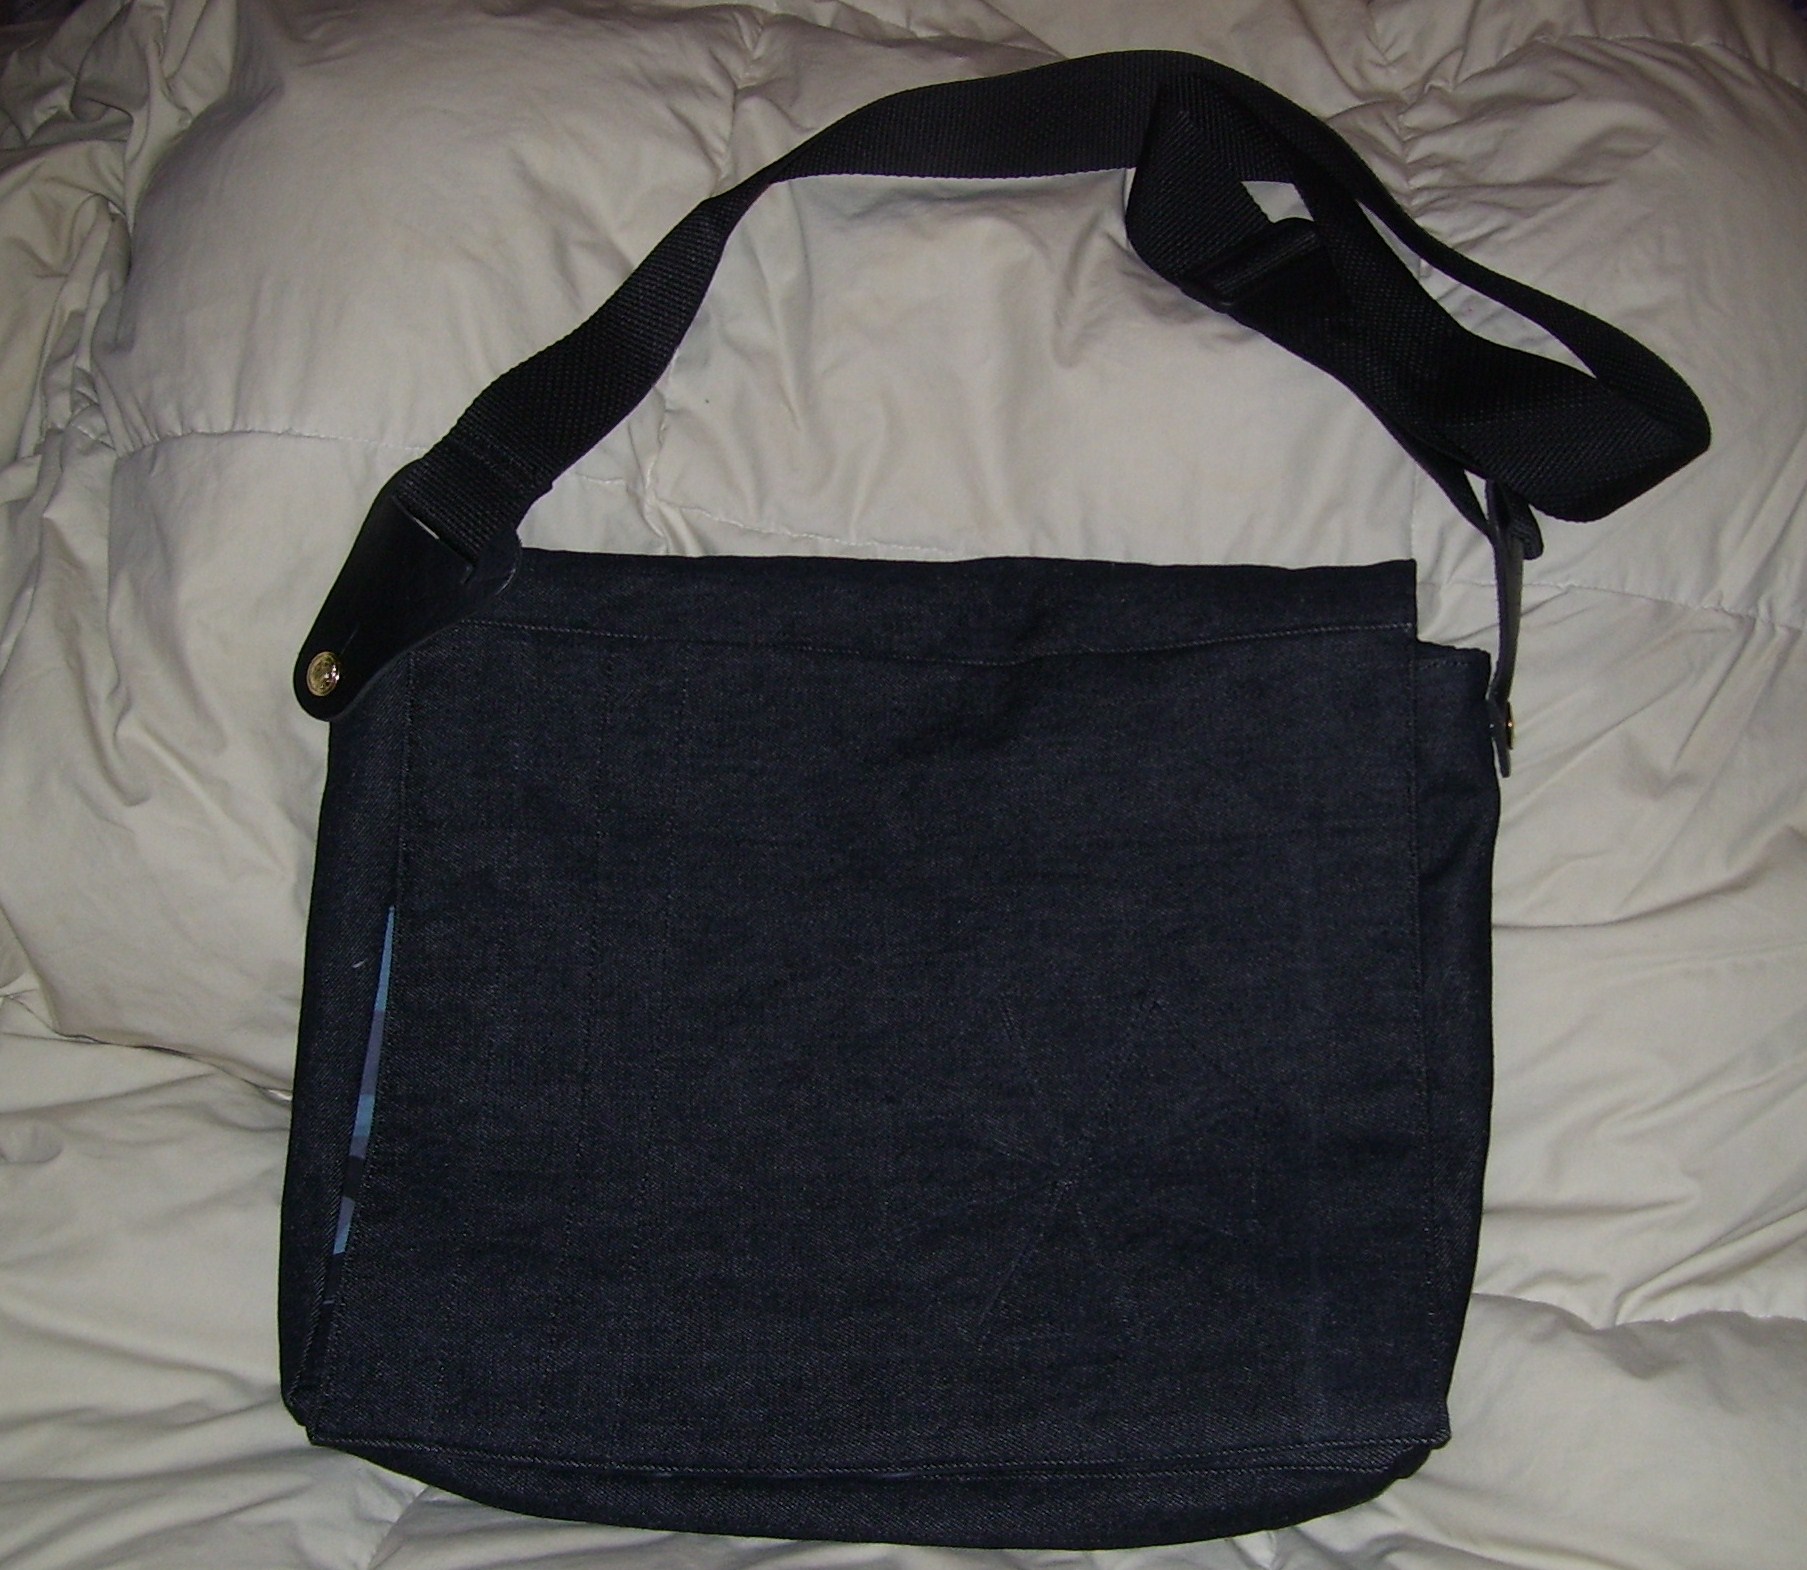
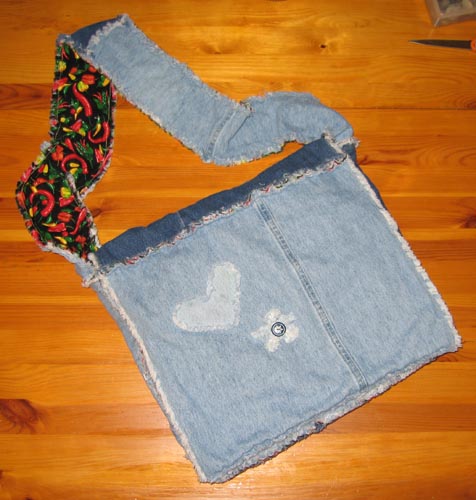
What resulted from my kiddo’s request was not only that first messenger bag, but a slew of others (see below). I made them for friends, family, and myself. I also made many of them to sell between 2006 and 2010.
Originally shared in 20006 as a pdf, this became my most downloaded tutorial for quite a long time.
A note from 2025 – Many of the photos from this tutorial have been lost to time. I apologize for the inconvenience.


Supplies
- 1 1/2 yards of outside fabric for bag body (denim or corduroy recommended)
- 2 yards of lining fabric
- Approx. 1 yard or scraps of batting or fleece for quilting
- One quilt square or the fabric panel of your choice for the front center of the bag – (I typically use 5″ quilt squares blown up to approximately 10″)
- LOTS of matching/coordinating thread
- Suggested supplies – marking chalk or pencil, rotary cutter and ruler. (You can do it without these, but it will go much faster and your bag will be much more accurate with it.)
Notes
- Free quilt block patterns are available here on Sewhooked and Fandom In Stitches.
- All bag seams are 1/2″ unless otherwise noted.
Cut
- 2 – 16″x13″ from outside fabric (inside & back)
- 3 – 16″x13″ from lining fabric (flap, inside & back)
- 4 – 4”x16″ pieces – 2 each from outside & lining fabric (long gussets for top & bottom)
- 4 – 4”x13″ pieces – 2 each from outside & lining fabric (short gussets for sides)
- 2 – 4”x 40″ pieces – 1 each from outside fabric & lining fabric (strap)
- extra lining fabric for pockets & divider (optional)
- 3 – 15”x12” from scrap batting
- 2 – 3”x15” from scrap batting
- 1 – 3” x 38” from scrap batting
Outside Flap
For the outside flap – using your quilt square or fabric panel, border the square with enough outside fabric to bring the piece to 16″ x 13″. This may vary depending on how big your starting piece is. You can make the square centered, as shown, or offset.
Quilting
After all your pieces are cut and your outside flap is made, you will need to quilt the following pieces.
- Front Flap
- Inside front
- Inside back
- Bottom and Top Gusset (4×16″)
ONLY the outside fabric is quilted. The lining is not quilted. You can use simple stitching to attach the batting or fleece to the back of the bag, or get fancy with it! Stitch around the design on the front to add detail. For the back and inside, use straight stitching on a 45-degree angle or vary with a wavy/freeform stitch. The strap is the only piece that is quilted after it is made.
STRAP
- Baste batting on the wrong side of your OUTSIDE fabric.
- Place outside fabric to lining, right sides together. Stitch along long seams, leaving an 8-10″ opening along one side seam. Do not stitch the ends of the strap.
- Turn right side out.
- Draw chalk quilting lines as shown in gusset photo.
- Stitch down chalk lines, top stitch down both sides of strap, carefully closing the open seam used for turning.
Pockets (optional)
- If you want pockets, determine the size pockets you’d like to have, for example, big enough to hold a wallet, a cell phone, and sunglasses.
- Measure what you want to hold, cut a piece of fabric that when folded in half will be the size you want plus about 1 1/2″. For example, if you want a 3×4 pocket – cut a piece approximately 4 1/2 x 9″.
- Stitch together with right sides together, leaving a small space open for turning.
Divider (optional)
- The divider is VERY simple. It needs to be cut from liner fabric 16×25. Fold in half, line 16″ edge up, right sides facing with one of the 16″x13″ pieces.
- Baste across bottom and sides. This becomes the Bag Front Lining piece.
- If a heavier divider is needed, sandwich interfacing or scrap fabric inside before basting.

Stitching the Body & Lining The body & lining are both stitches in exactly the same way. Please refer to photo, it will help.
- Sew seams in this order – Front Flap to Long Gusset to Bag Back to Long Gusset to Bag Front.
- This part can be tricky! Make sure your pieces are in the right order so that when folded, each piece will be in the proper places, pockets with openings up, etc.
- If you have made a divider for the lining, you need to make sure you’re catching the bottom in the seam and not the top.
- When you are done, you will have two long pieces.
- After your pieces are assembled, top stitch, making sure that your gusset pieces are pressed towards the bag pieces.
IMPORTANT NOTE – leave the center section of one side of the lining open between the gusset & bag bottom for turning right side out after the bag is assembled. Side Gussets Now that your body & lining are stitched, you will need to add the side gussets to each. Pin each side gusset to the bottom gussets as shown.

- Start 1/2″ away from the edge of the fabric and stitch to within 1/2″ of the other seam, marking this measurement if necessary. This is VERY important for the next step to work properly.
- After sewing each end, you will line the long side of the gusset up along the side, making sure it is smooth, The 1/2″ you left open will help you do this without bunching up the fabric at the bottom. Start stitching 1/2″ in from the corner, right where you left off, making sure there is no gap between the thread.
- Sew all the side gusset pieces this way.
Finishing the Bag
- After the gussets are all sewn, you will have One Bag Outside and One Bag Lining.
- Turn the lining right side out. As mentioned earlier, make sure you left a partial seam open for turning.
- Pin the strap, right sides together to the long gusset on the bag. Baste with 1/4″ seam.
- Place lining inside of bag – right sides facing.
- Line up all edges carefully, making sure the seams and points all meet.
- Pin well!
- Stitch all the way around, being careful not to fold in gusset seam allowances. Backstitch on corners.
- After stitching, trim corners, being careful not to clip the threads.
- Turn bag right side out.
- Press, making sure all your seams are smooth. If they are not, now is the time to fix them! It may take a couple of minutes to align everything to your liking. Once you’re happy, you can close the open seam in the lining by either hand or machine stitching.
- Last, top stitch for extra strength & durability for your bag. If you have a walking foot, it’s a really useful tool to use for this part while you are sewing through all the thicknesses of the bag.
- Pin well, making sure everything is smooth. Top stitch around opening and flap of bag about 1/4″ away from edge. Stitch over the straps two or three times for extra strength.
- Yay, you’re done! Whew! That was a lot of work… time for a butterbeer!
Find my free patterns on Sewhooked & Fandom in Stitches.
♥ Jennifer O
Posts on this blog may contain affiliate links to help cover the cost of my website. I thank you for your generous support. ♥

Hey I see my bag in the pics there 🙂
Absolutely LOVE my bag and still use it – that bag gets more nice comments than anything else I’ve ever owned 🙂 I had to reinforce the stitching on one of the corners once, but I carry a hell of a lot of stuff in my bag, so it’s no wonder!
(for anyone who is wondering, mine is the second one in the montage – the purple bag with the moon and girl on front)
Yay! I’m glad you still use it. It’s no surprise after all this time you needed a little repair. Normal wear and tear and all that. 🙂
Normal wear-and-tear of it crossing the ocean multiple times…LOL!
Do I have the most internationally travelled bag you’ve made? (it’s been to the carribean, canada, the uk, ireland, france, austria (and everywhere inbetween – germany, netherlands, belgium, luxembourg…..)
I can’t really say for sure. I’ve sent so many off into the world, but it’s likely that yours is the most traveled, geographically speaking. Even so, it’s hard to beat having one dragged to elementary and middle school for several years and those have held up fantastically. The fabric will go first, I think!
hi,
I just found ur blog!and love it…
and also bags are nice,and thanks to how to do it!
nice work!=)
You’re very welcome, and thank you for the compliment. 🙂