

My eighth-grader brought an Algebra book home for the first time yesterday because it needed a cover. It’s huge, really huge, weighing in at a whopping six pounds (what, I was curious!).
The paper book covers of yesteryear are truly a thing of the past, something I learned a couple of years back when I suggested recycling a brown paper bag, just like I had when I was in school. Ah, the brown paper cover! All that real estate for doodling and scribbling down phone numbers or bits of song lyrics.
The look of shock and horror on my kiddo’s face was enough to tell me that, sadly, grocery bags are O-U-T, and stretchy fabric covers are IN.
The one-size-fits-all stretchy fabric cover we picked up with school supplies did not, despite the packaging promise, fit the mammoth math book.
We came up with a quick and easy solution with a project we’ve used a few times before: a fabric book cover, custom-made from a cotton remnant.
Let’s do it!
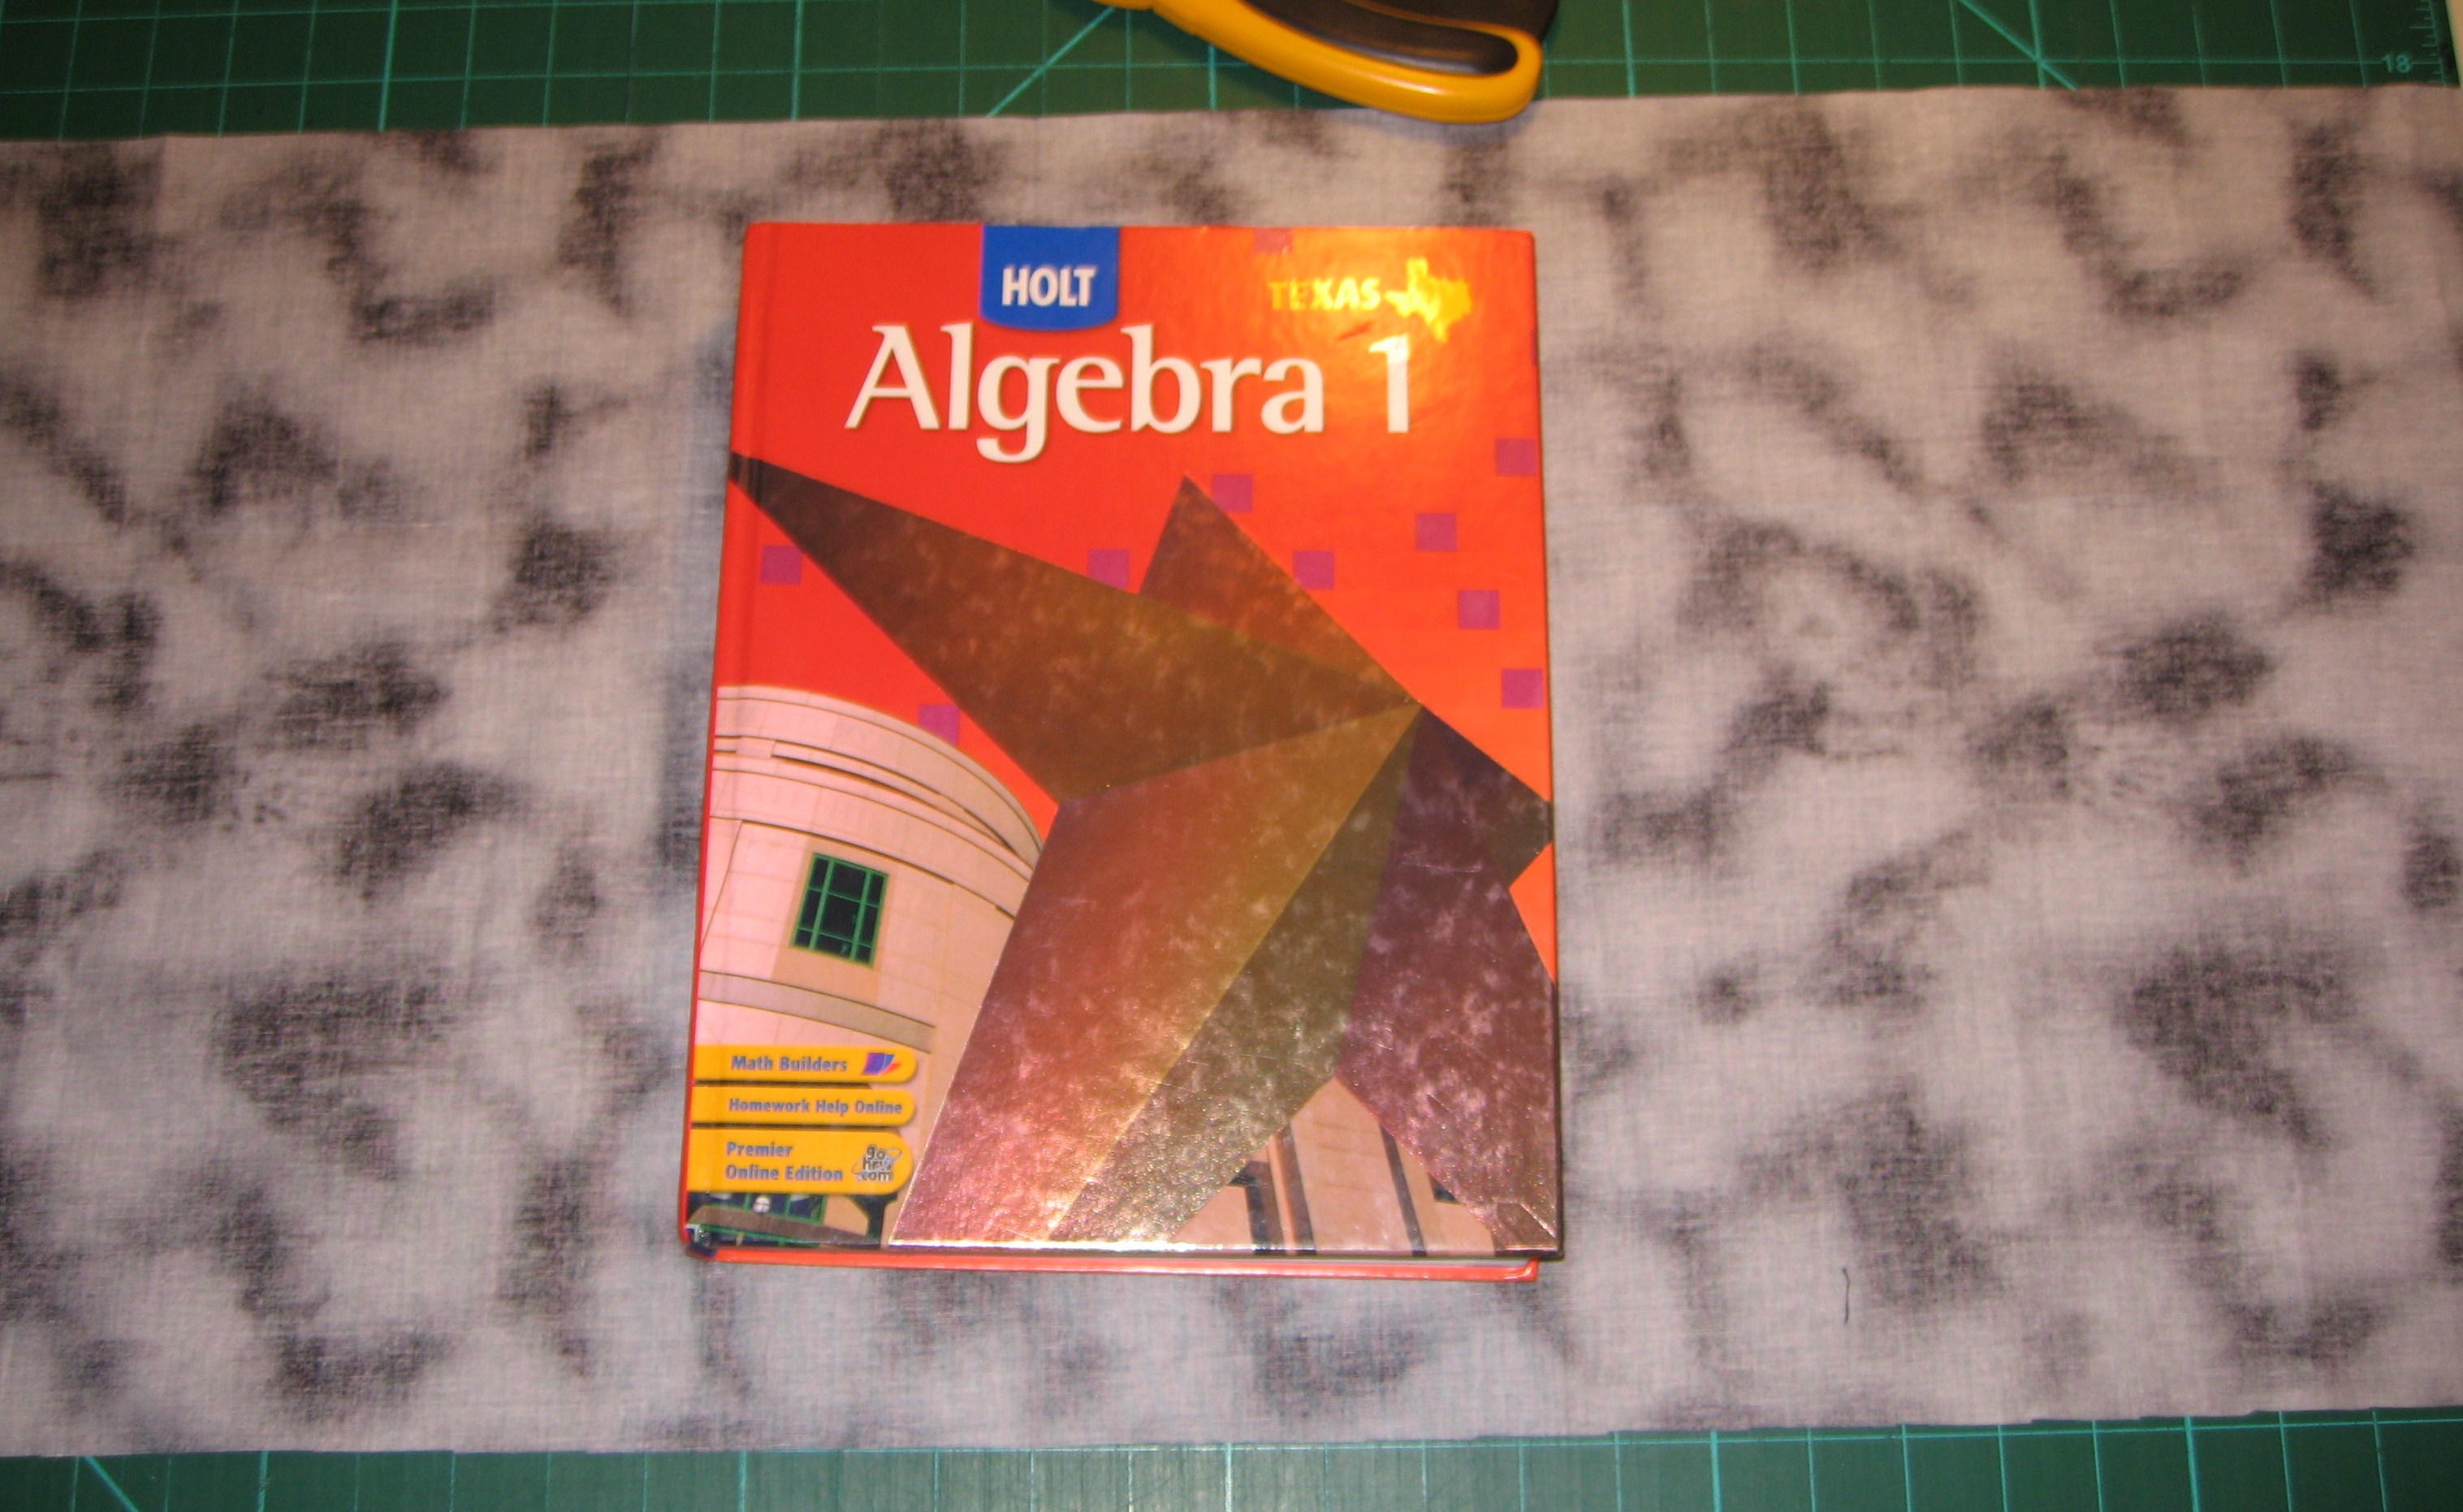
Measure out the remnant for your book, making sure that it is at least 2″ wider on top and bottom (4″ total) and several inches longer on each side than the book when it is opened.
Trim the top, bottom, and sides so they are straight and will be easy to sew. Rotary cutters work perfectly for this if you’ve got one, otherwise a chalk, ruler, and scissors work just fine, too.
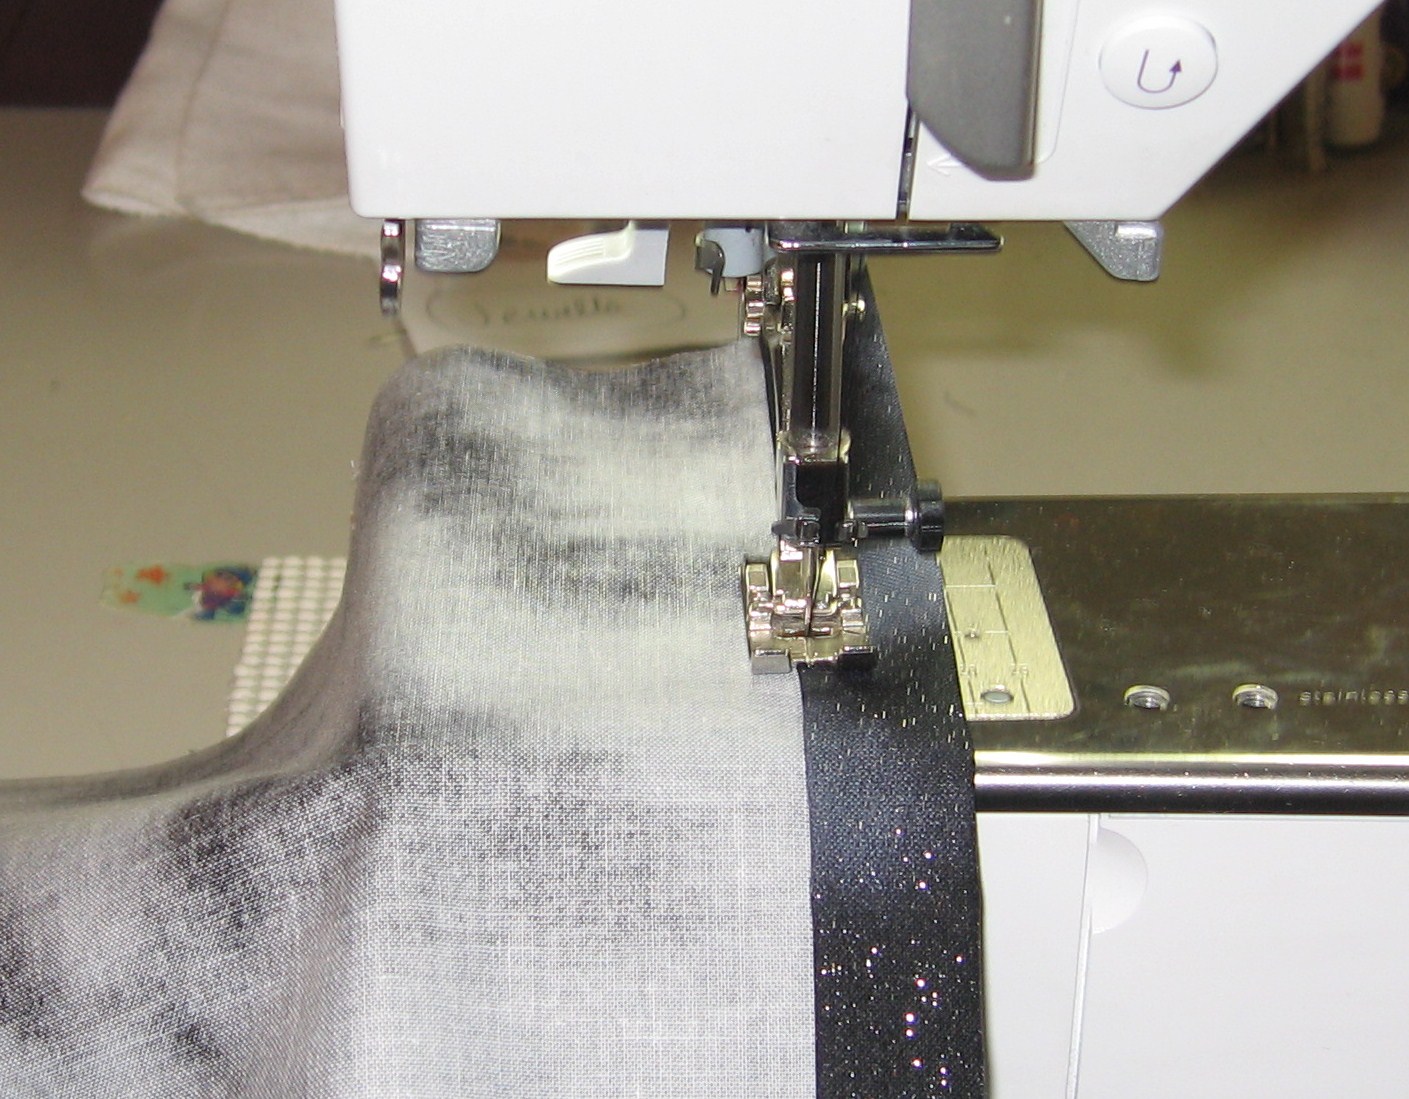

Hem both of the short ends. Turn under 1″ and then again 1/4″ or 1/2″ to make a sturdy seam. Stitch with a straight stitch.


As evenly as possible, align the fabric on the book inside out, with the hemmed edges inside the book cover.
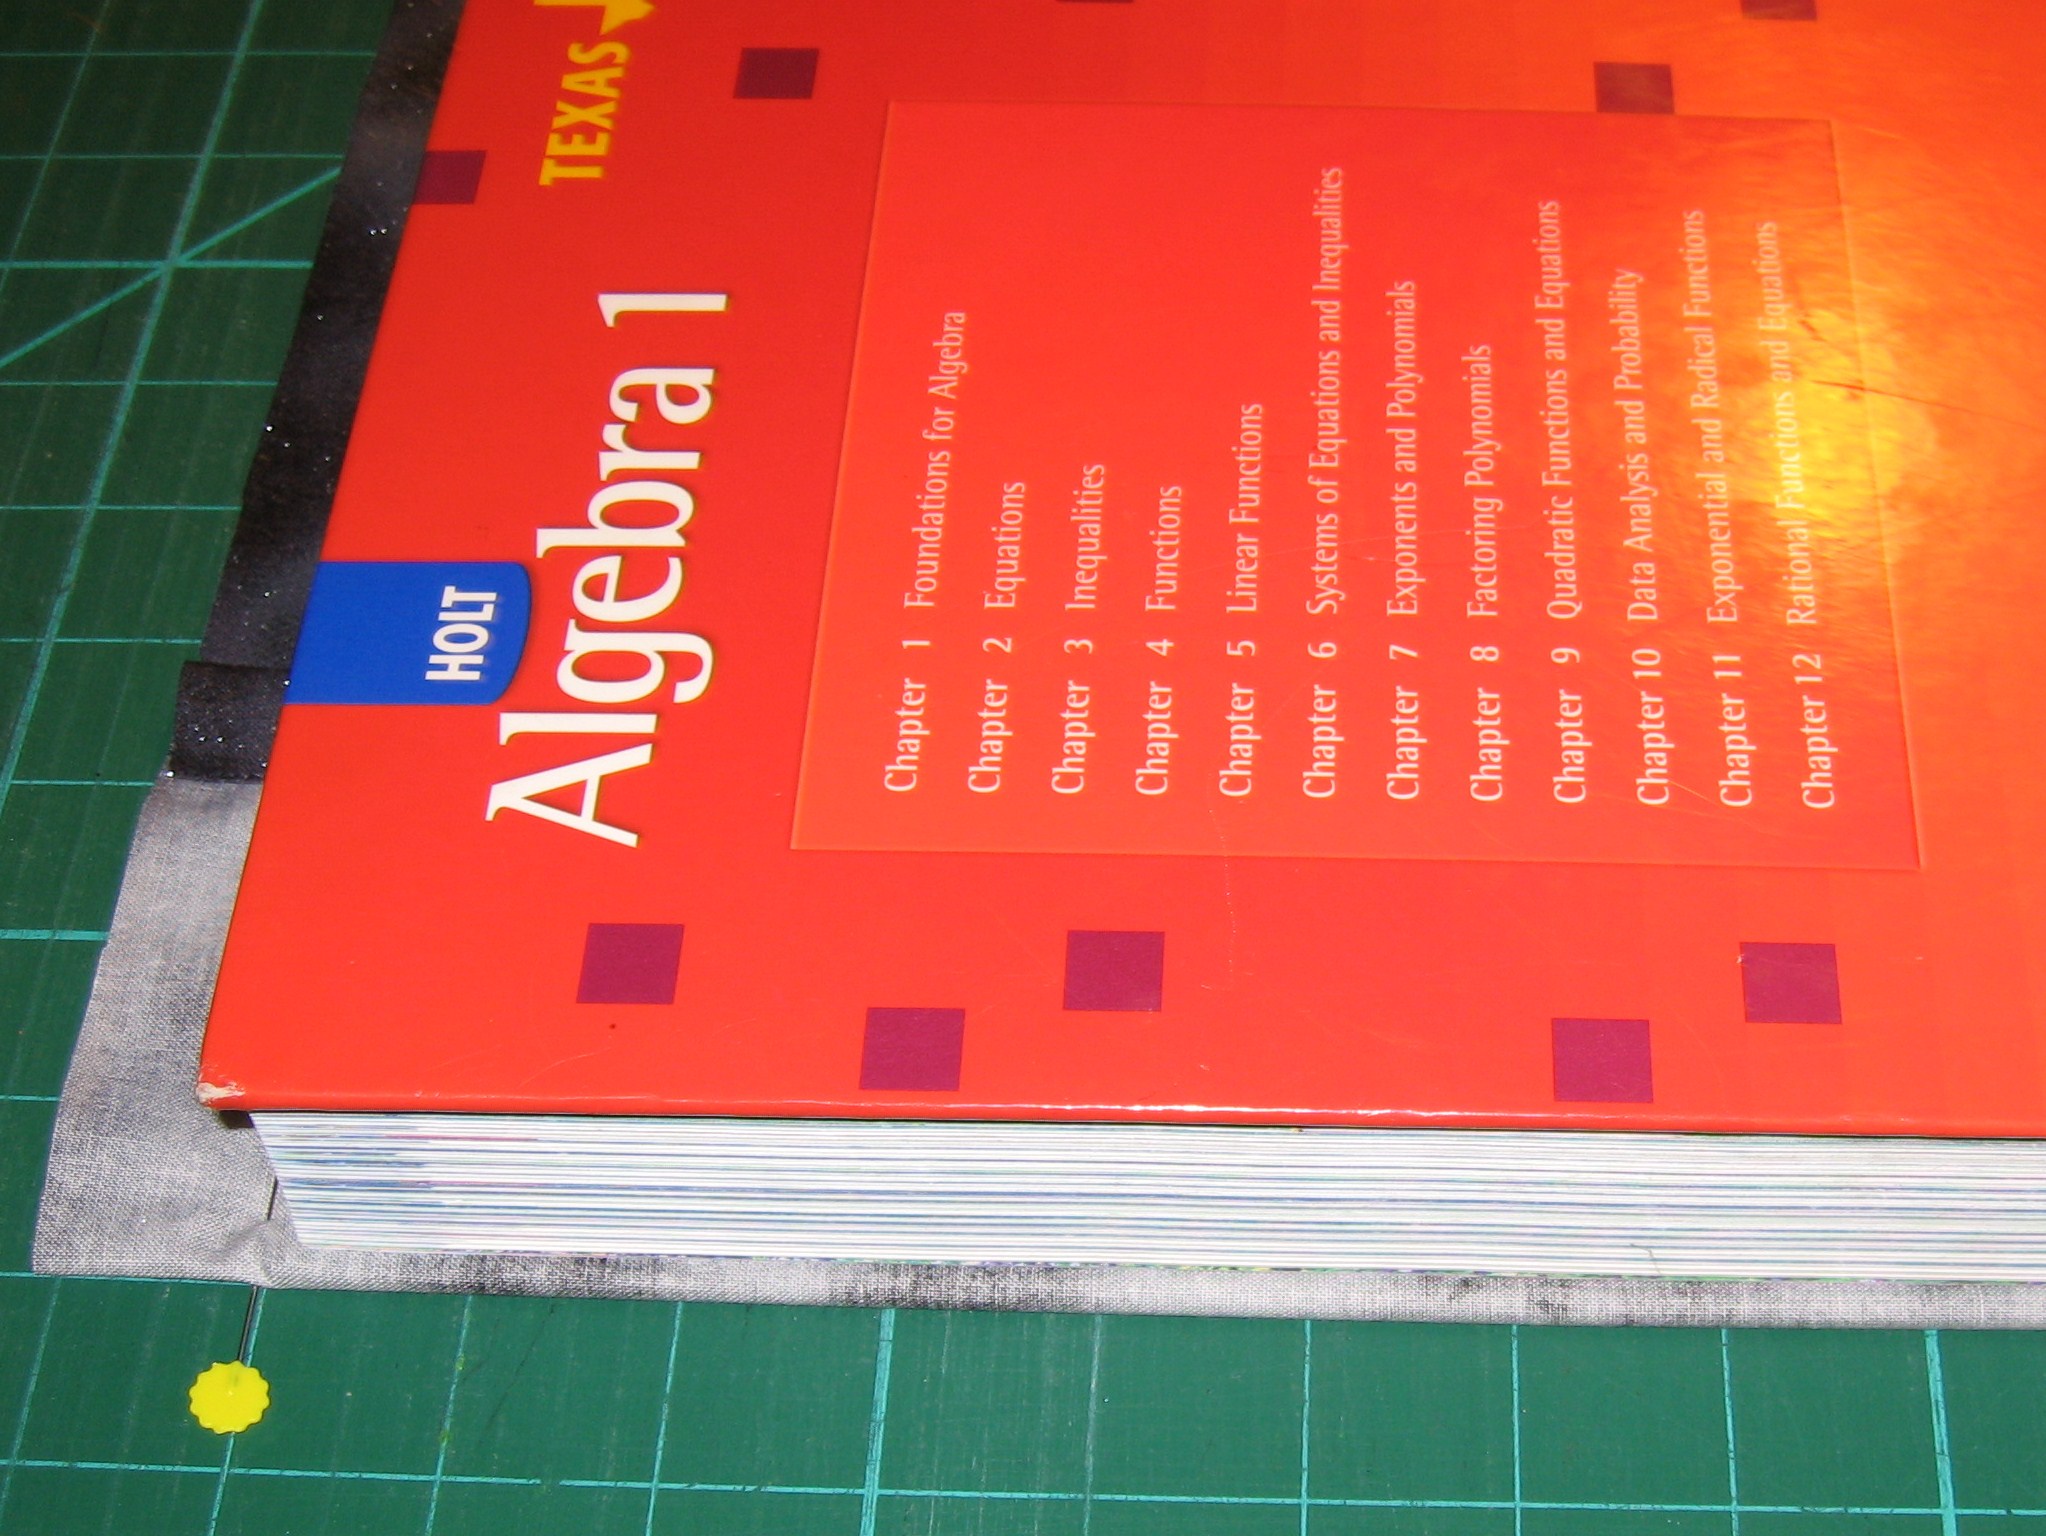

Pin the fabric, leaving enough fabric for seam allowance and hemming later. The pinned corners should be approximately 1/16″ of an inch away from the outside of the book. It’s very important to not pin too far away from the book’s edge or the cover will be too loose.
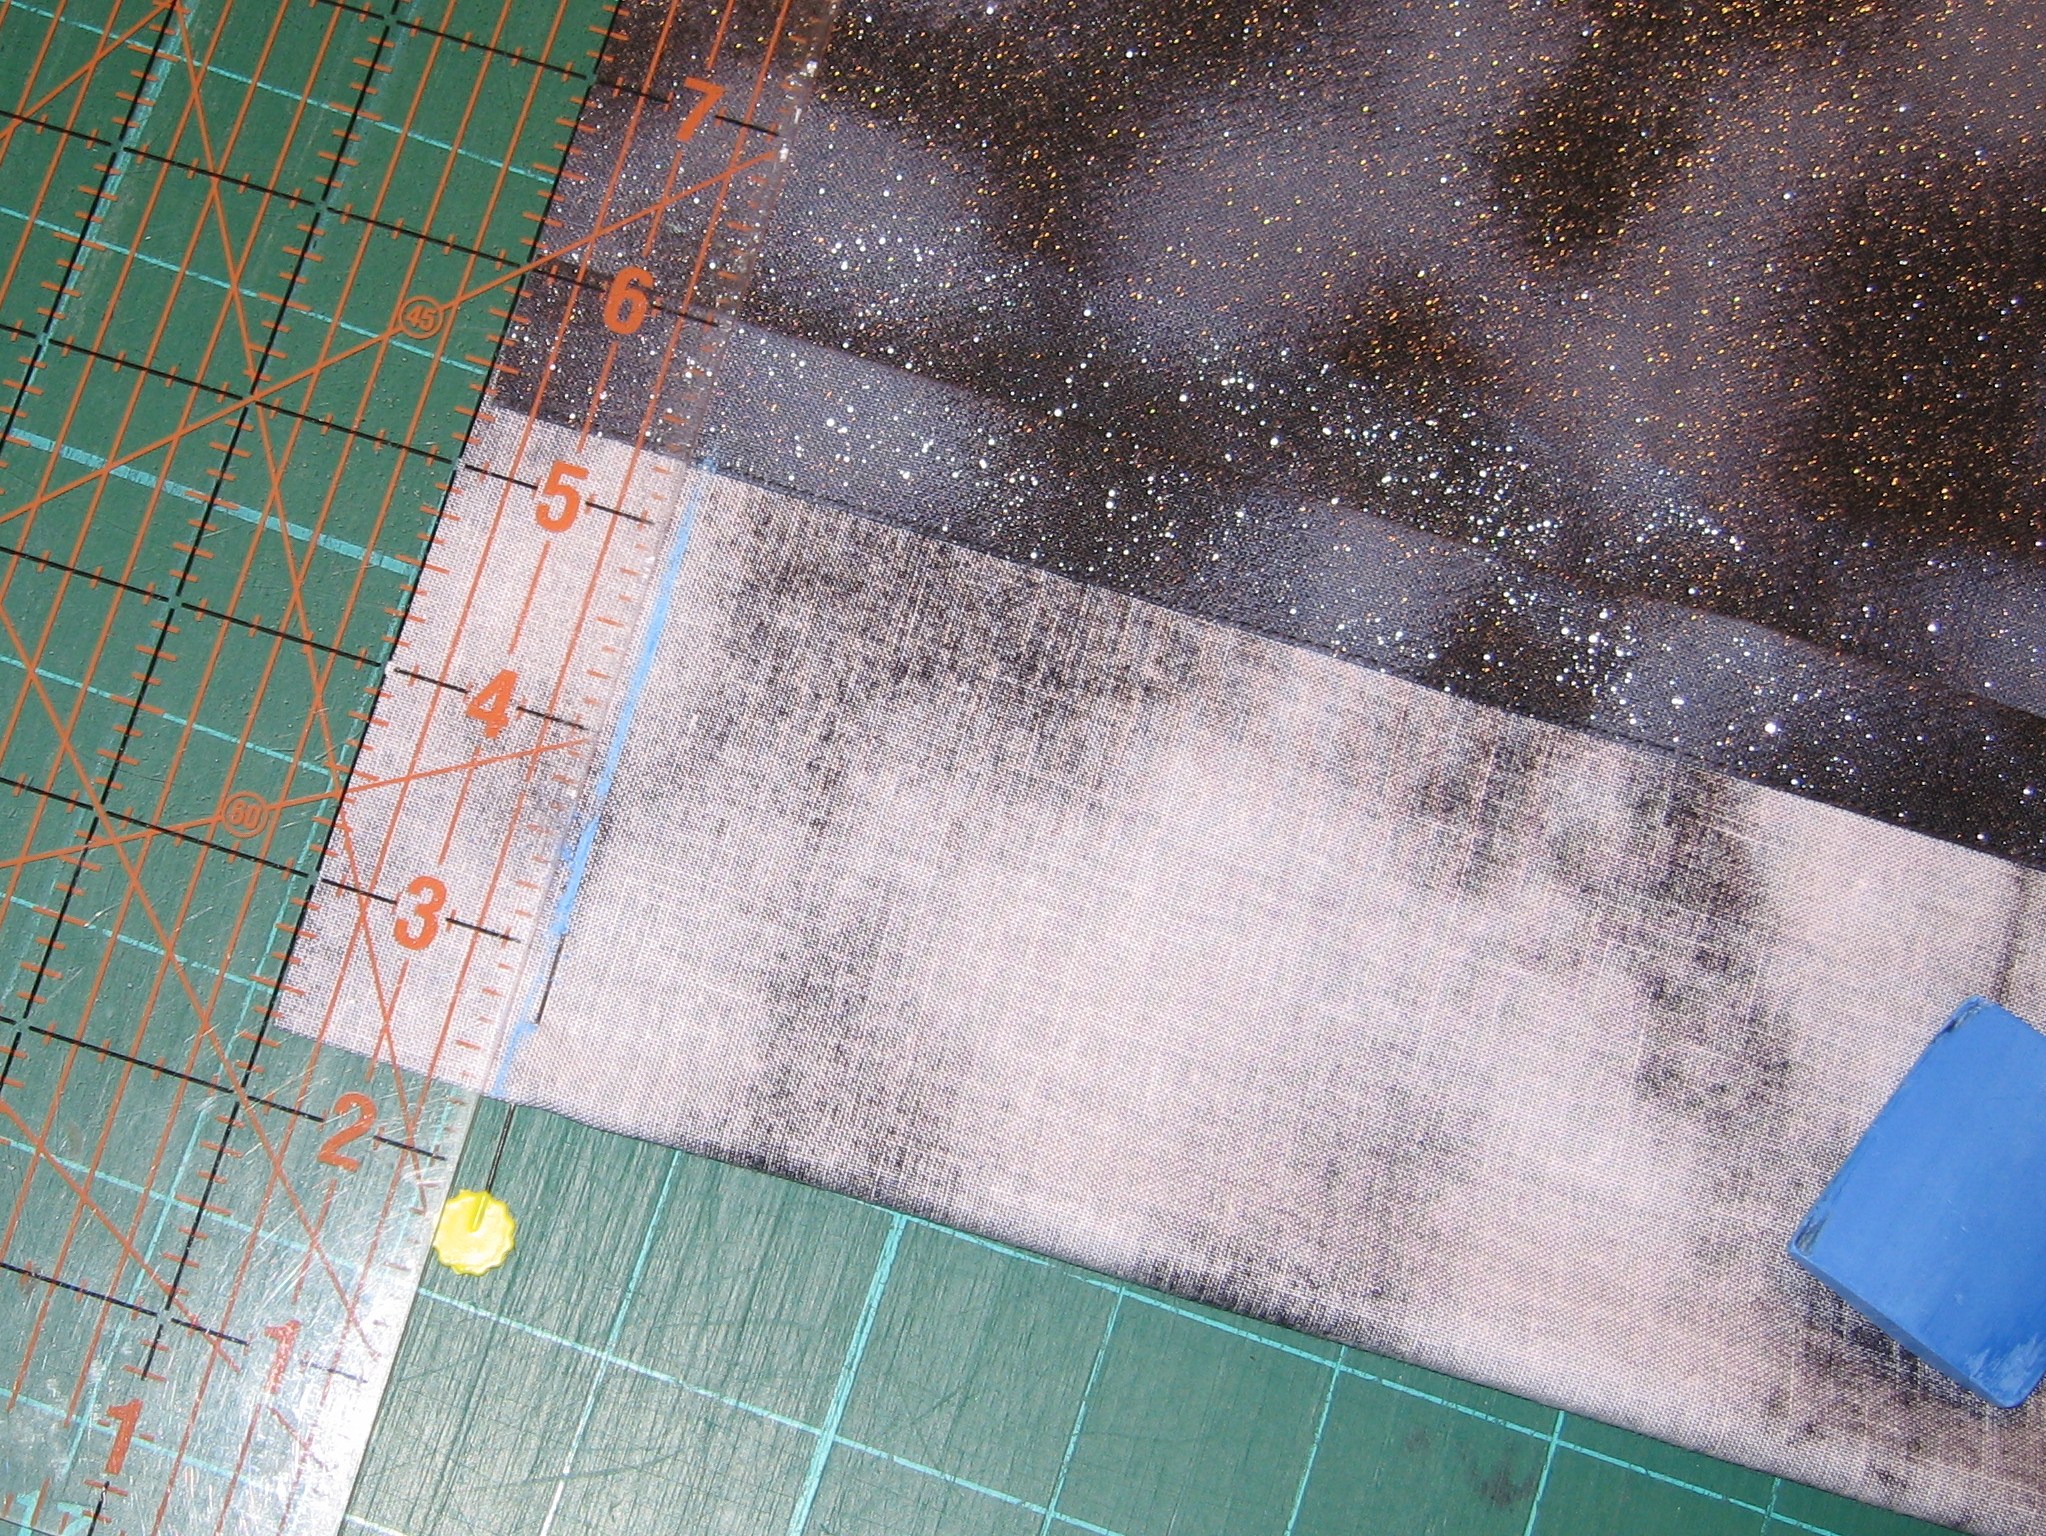
Using a straight edge, mark along the pins in chalk.


Stitch on chalk or pencil line for all four corners. Reinforce the stitching line several times. These will have a lot of pressure on them from the book being opened and closed.
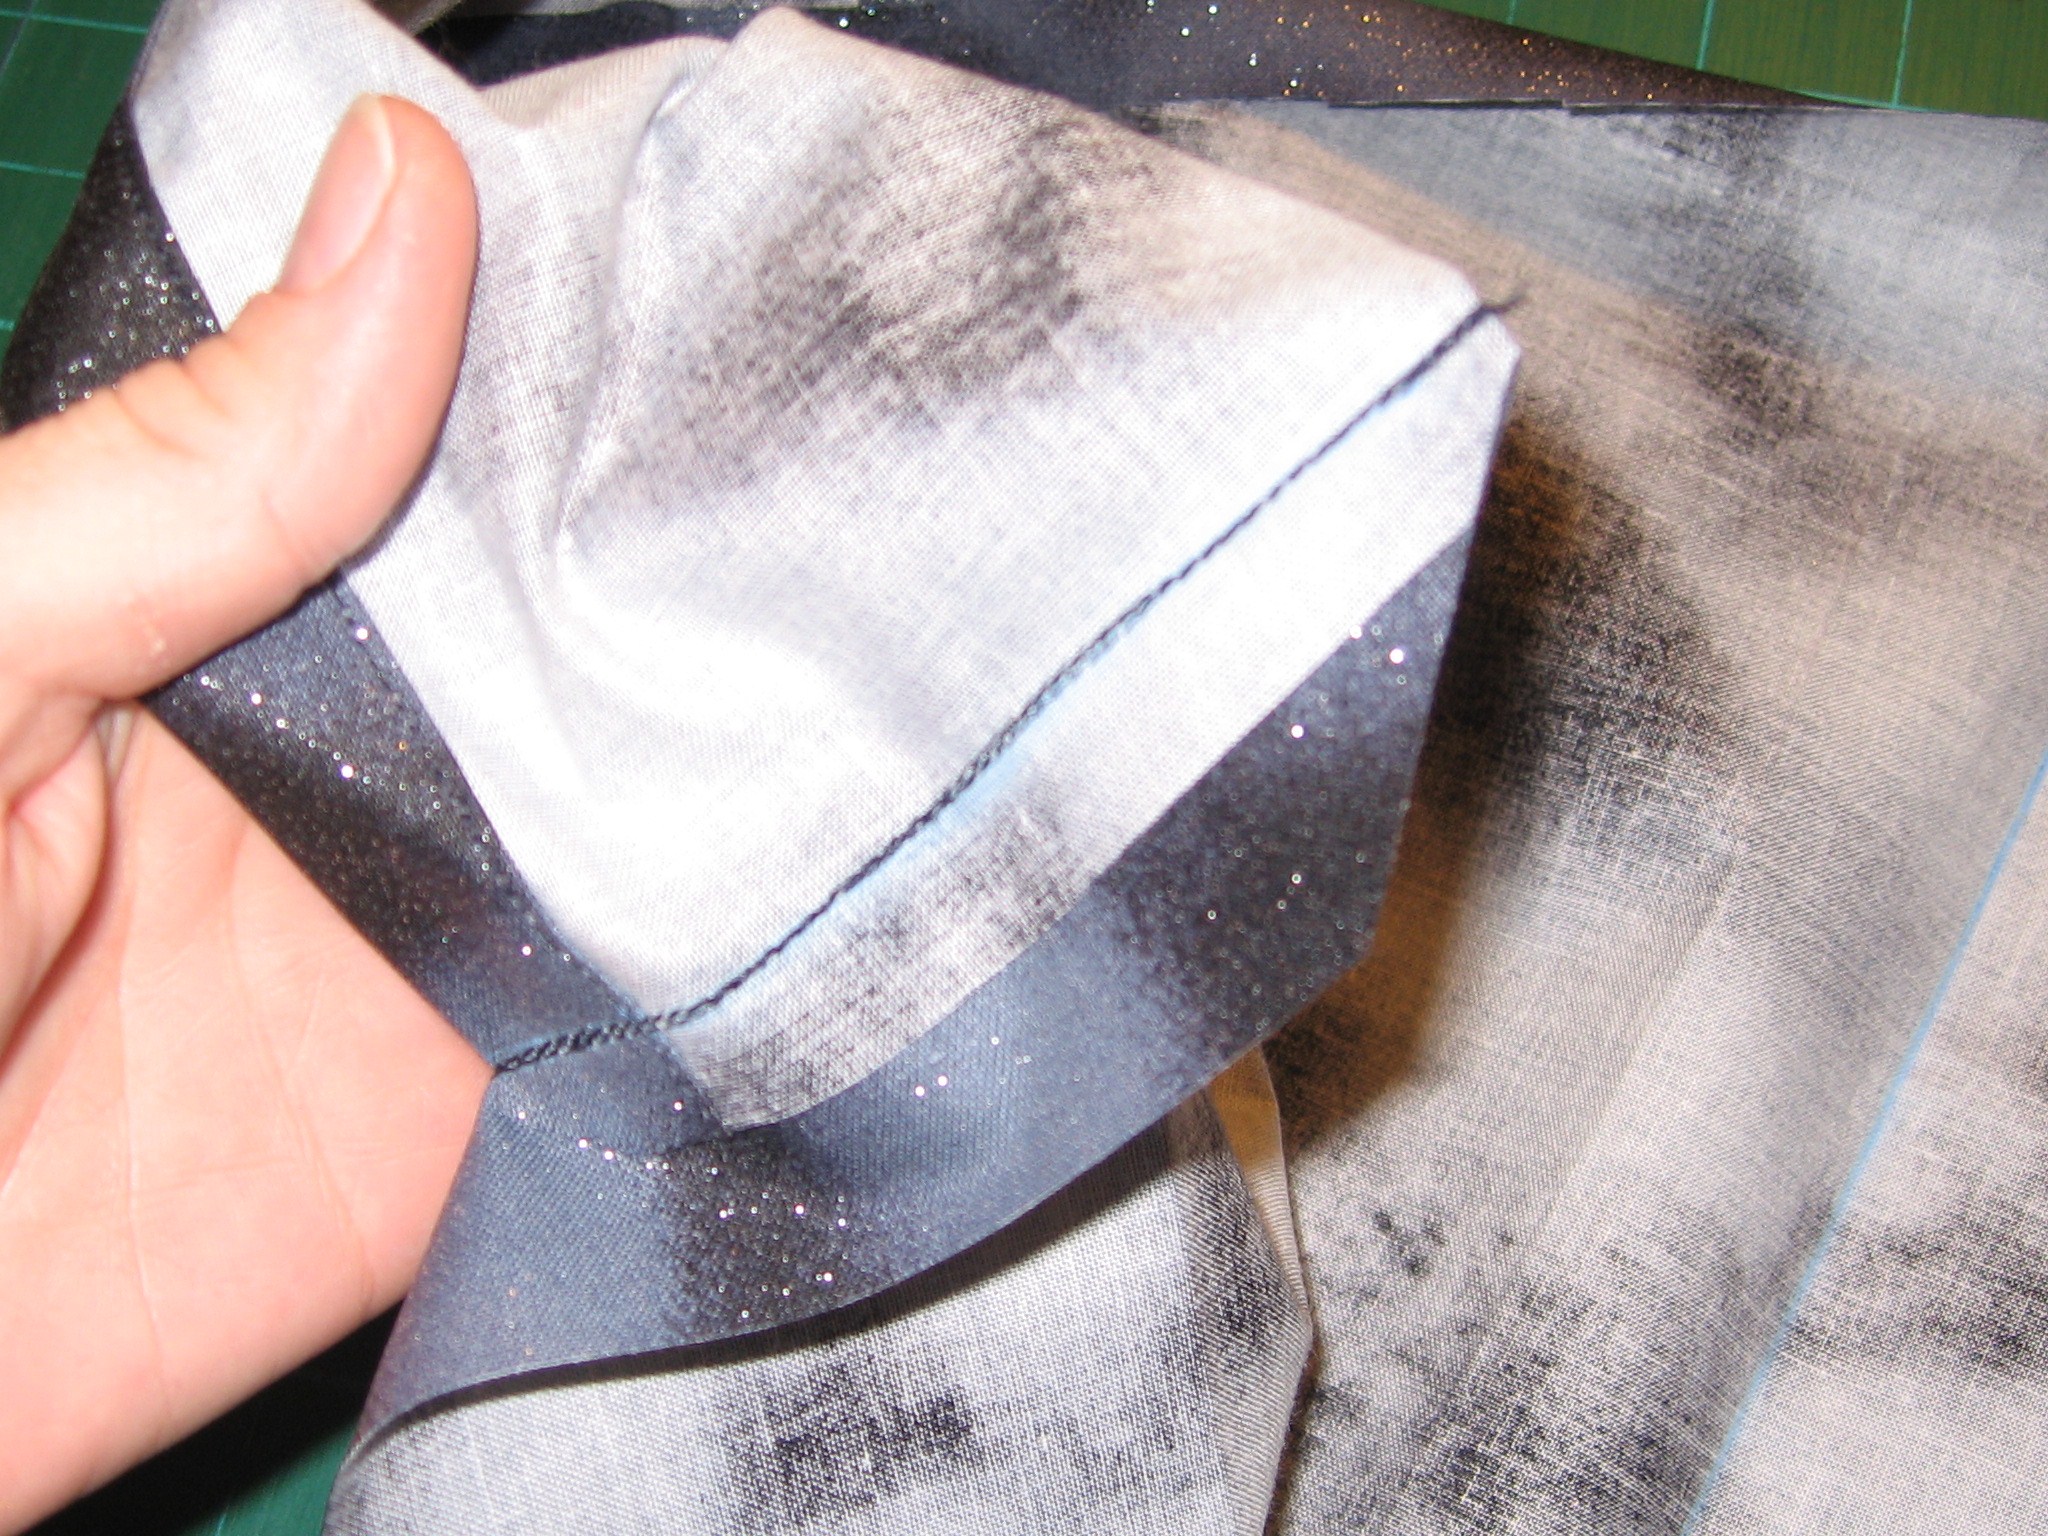

Trim corners and the short piece of fabric where you have just stitched. Repeat for all corners. Turn, using a chopstick or crochet hook to push out the corners.

The seam allowance along the edges are at this point still unstitched. Press these, using the already-turned corners for your measurement. Turn the hem under (opt) and pin in place if needed.
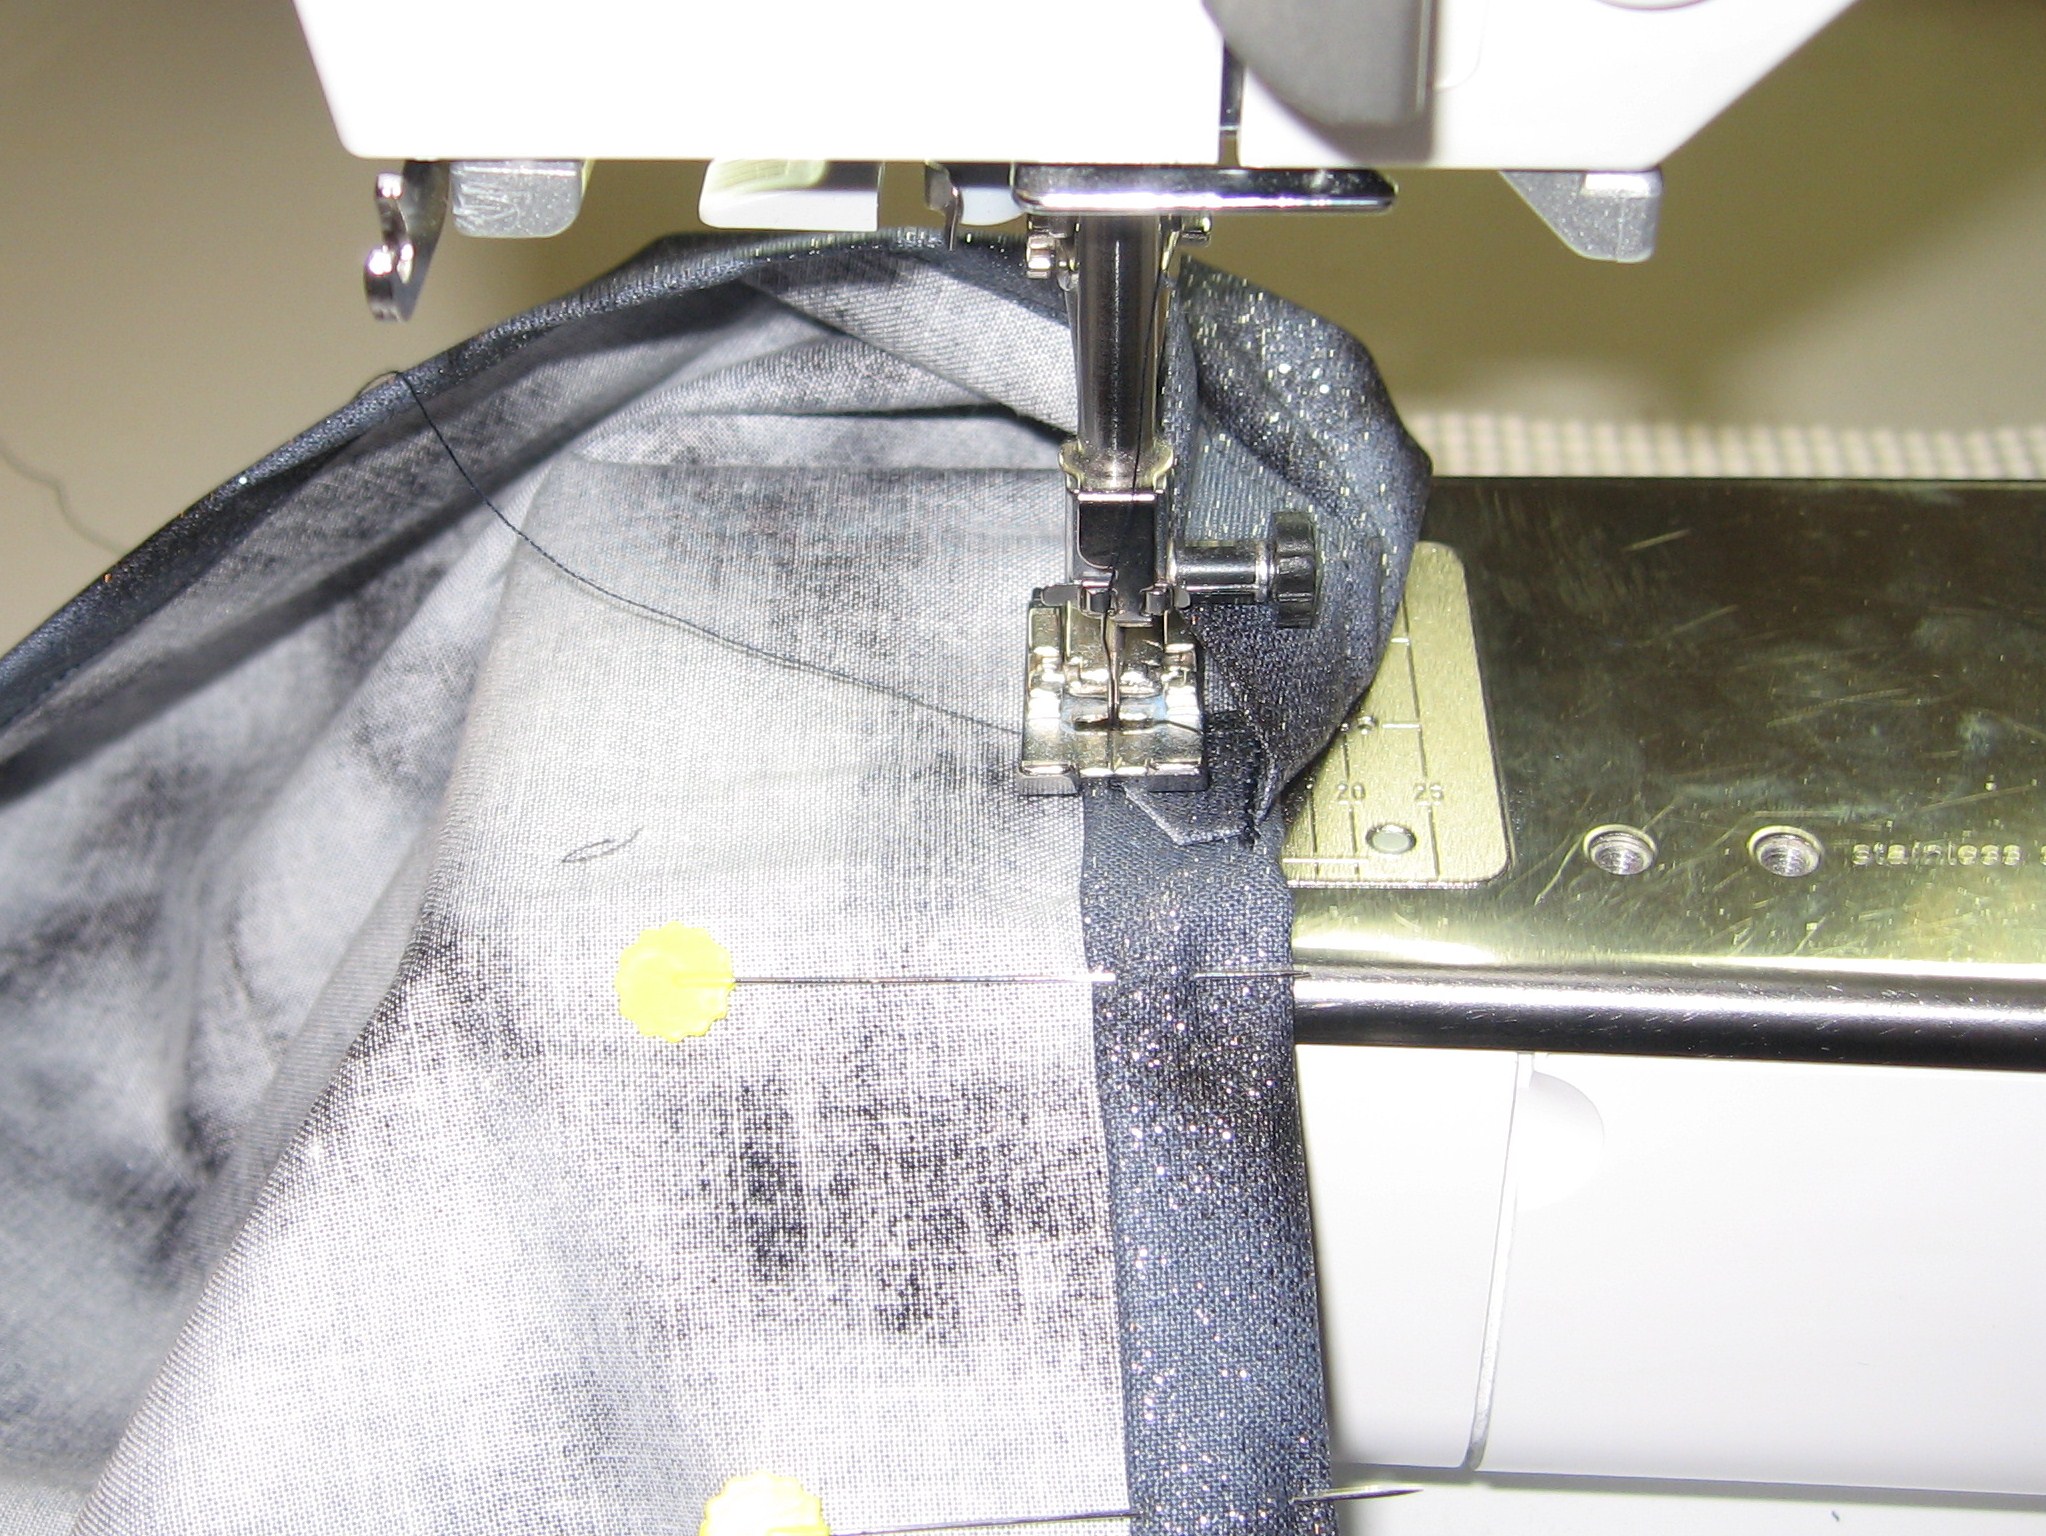

Start under the flap then straight stitch along the hem, finishing after the next flap. You do not need to stitch all the way to the end, but it’s a good idea to reinforce the hem past the flap so the fabric will lay nice and flat.

Trim your threads and slip your new fabric book cover on!
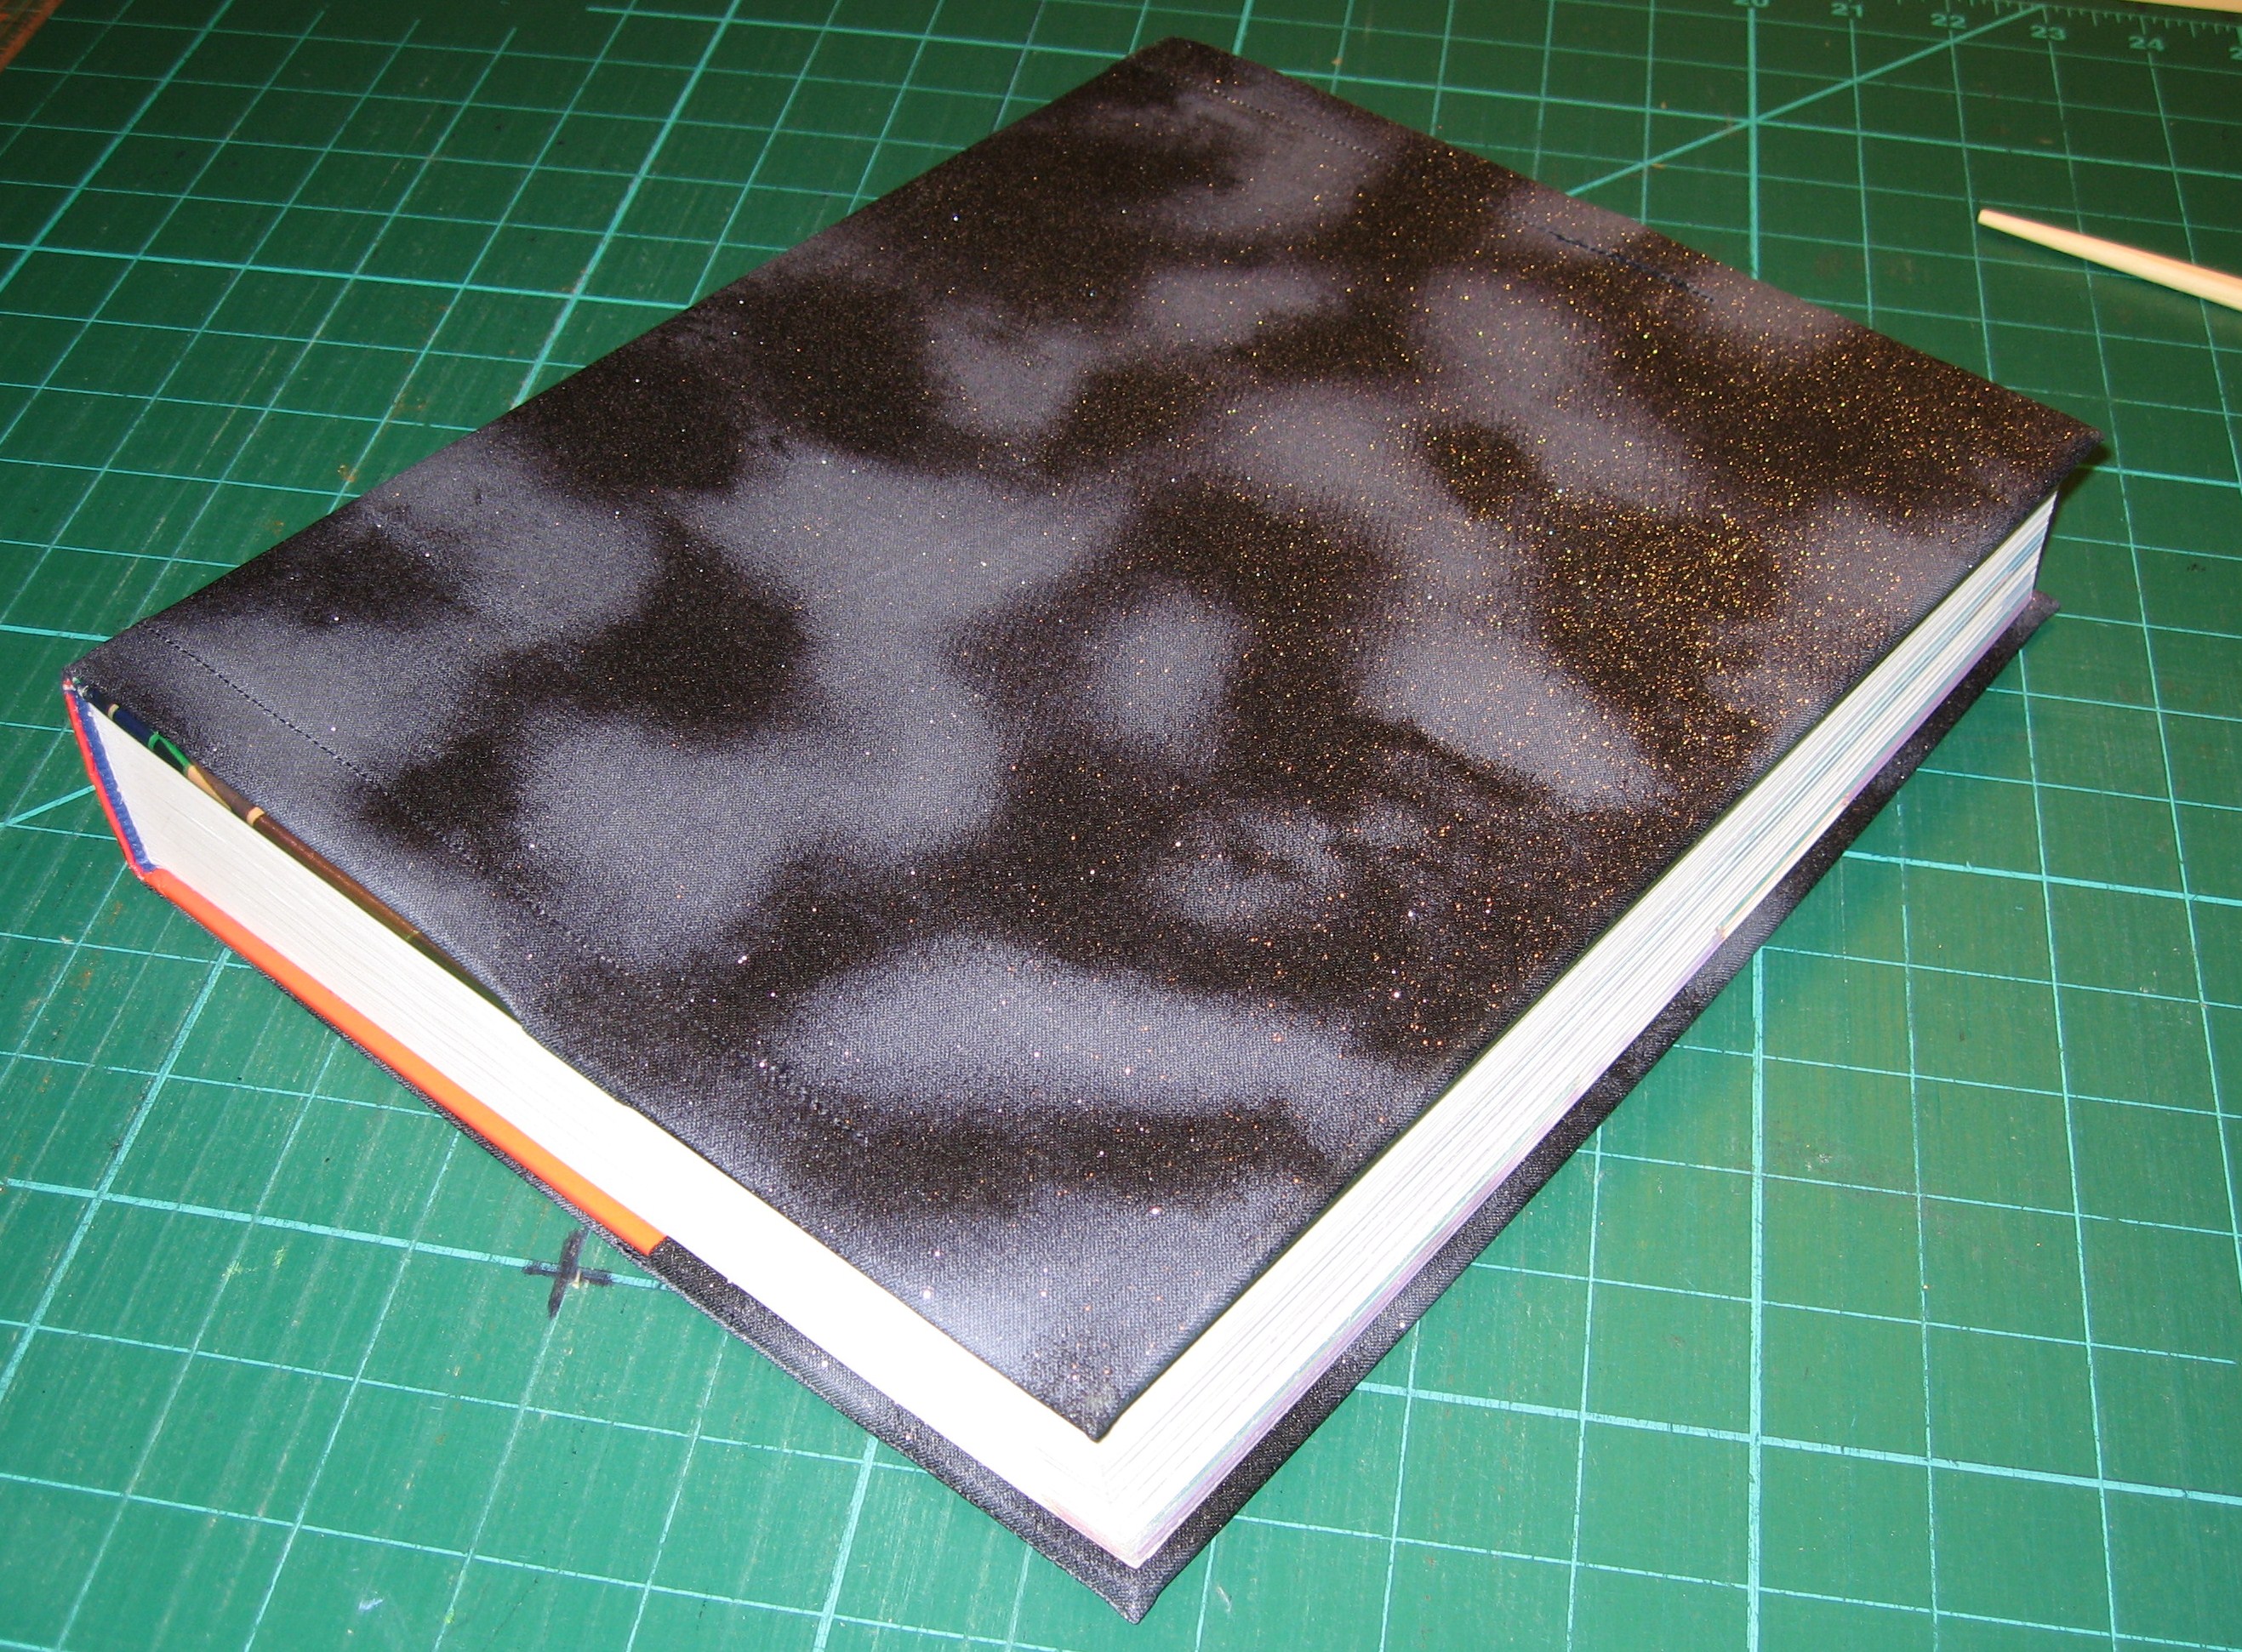
As long as your book cover is nice and tight, it’ll stay on with no problem.
Now, who wins for best dressed math book?!
Happy sewing!
Find my free patterns on Sewhooked & Fandom in Stitches.
♥ Jennifer O
Posts on this blog may contain affiliate links to help cover the cost of my website. I thank you for your generous support. ♥
