Tag Archives: back to school

Way Back Craft: Recycled Binder

In thinking about Back to School season, and the accordian file that I upcycled last week, I thought about a project I did for my daughter a couple of years ago. Then I realized, while I posted a photo of it in a collection of other upcycled/recycled projects, I’d never really talked about it here on my blog.

Here is the story the way I told in August of 2008, on craftster:

This craft starts with a story.  My 13 year old daughter’s middle school is huge.  The kids have less than 5 minutes to get from class to class and they don’t always have time to go to their lockers.  Many of them carry large binders so they can have multiple classes worth of work with them all the time.

Last year, we bought this binder for her, in an attempt to give her a place to keep all her things.  Within a few months, the rings in the binder blew out.   The handle is on the back of the rings, so the weight of the contents pulls down on them, causing them to fail.

So, time for a redesign.  How about a binder cover/bag that has the weight in the opposite direction and that can have the 3-ring binder changed when needed, without losing the rest?

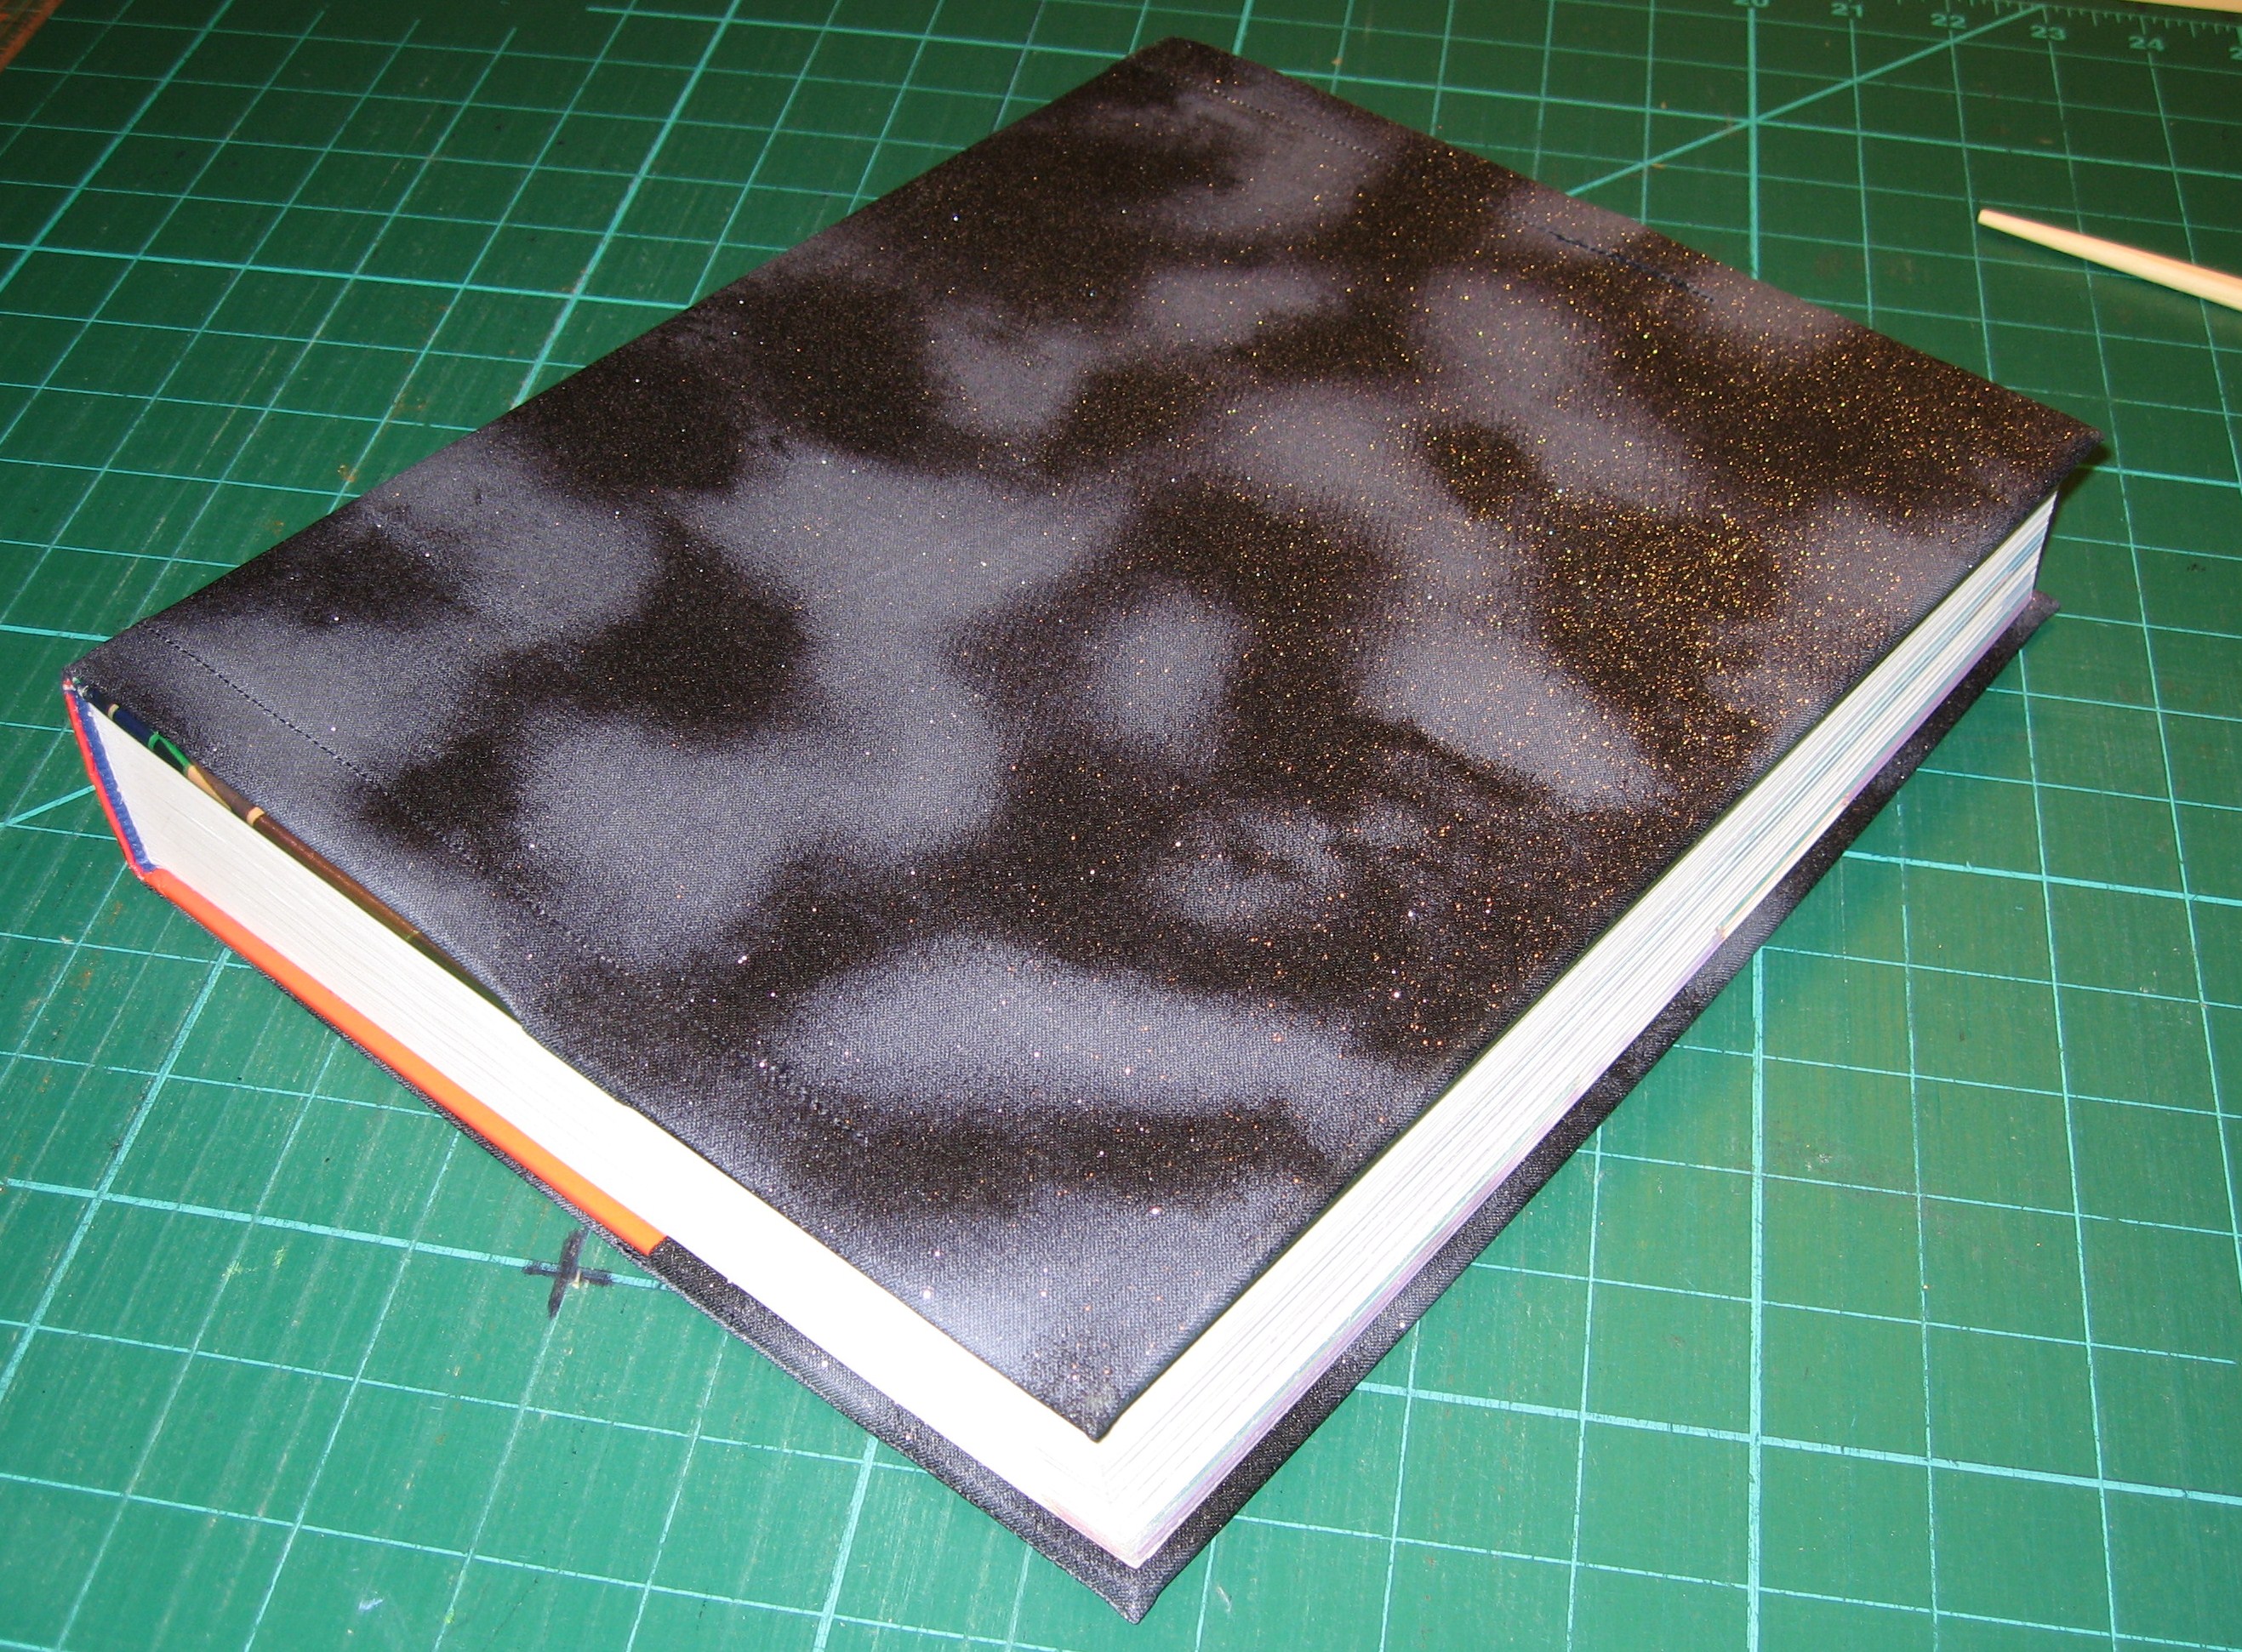
I think this may be one of the coolest things I’ve made and I’m ridiculously pleased with the way it turned out!  It holds a 3″ 3-ring binder, which cost about $6 at the office supply store.  Everything else was recycled or I had on hand.


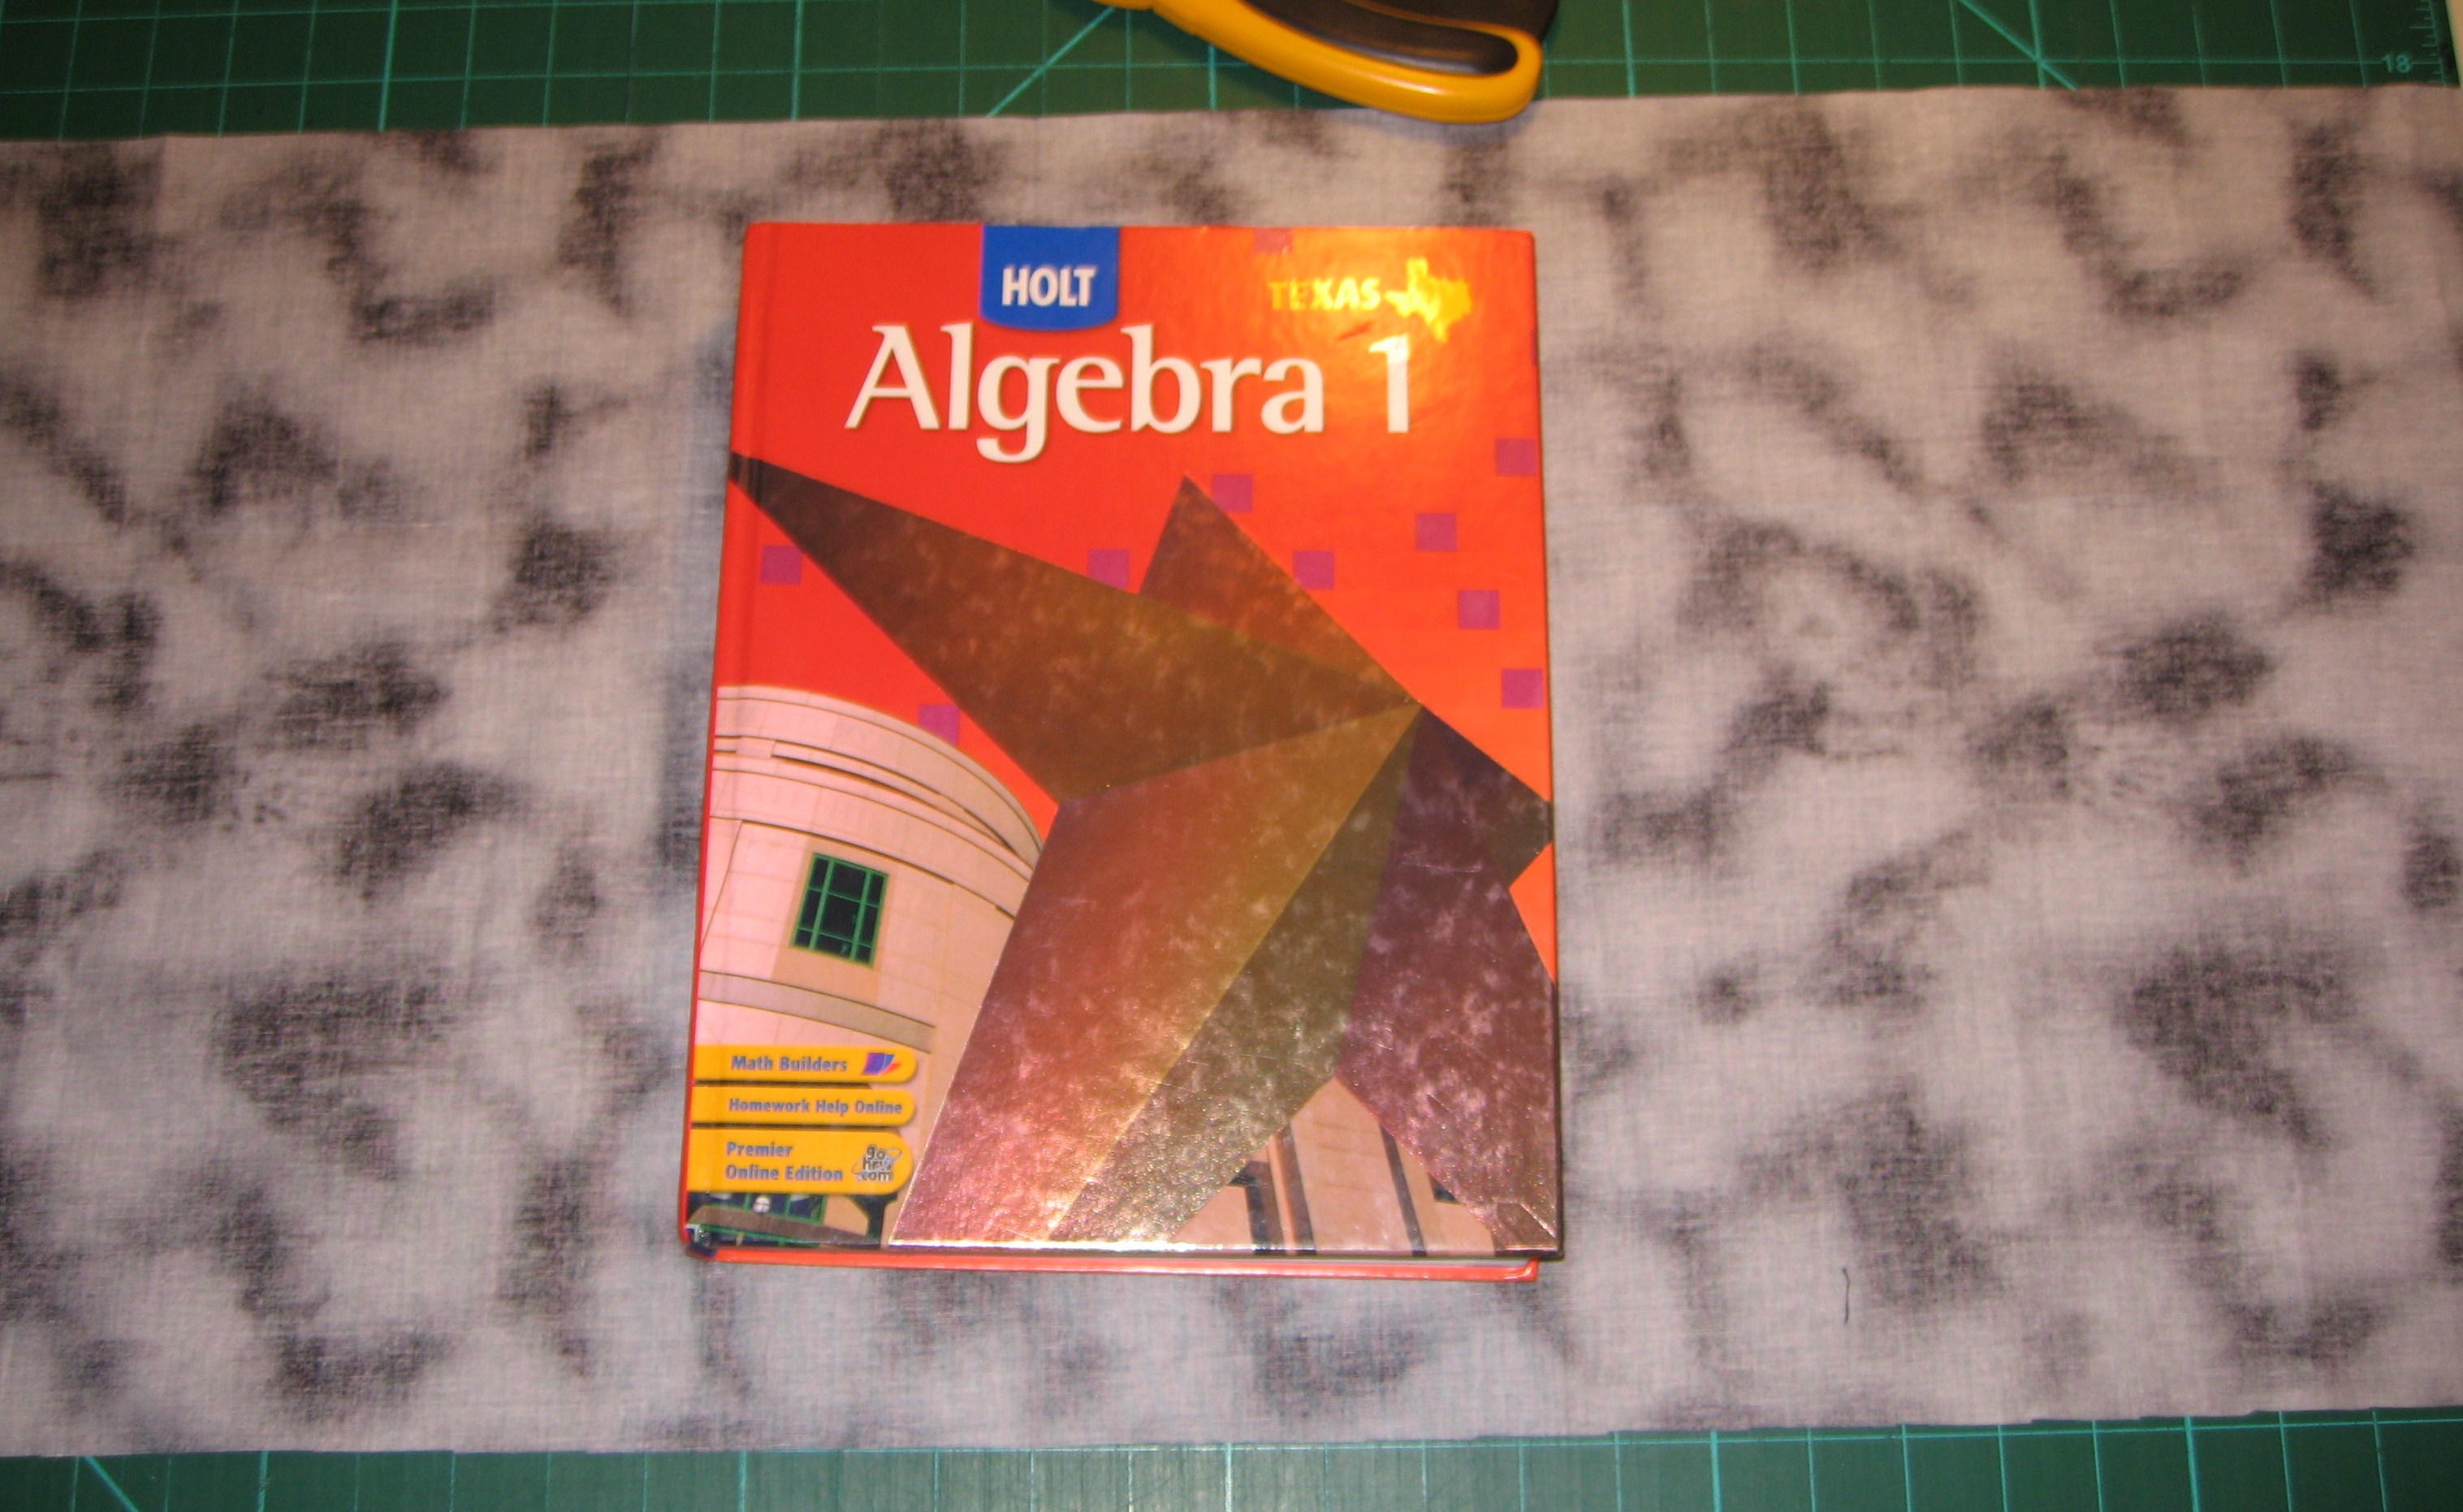
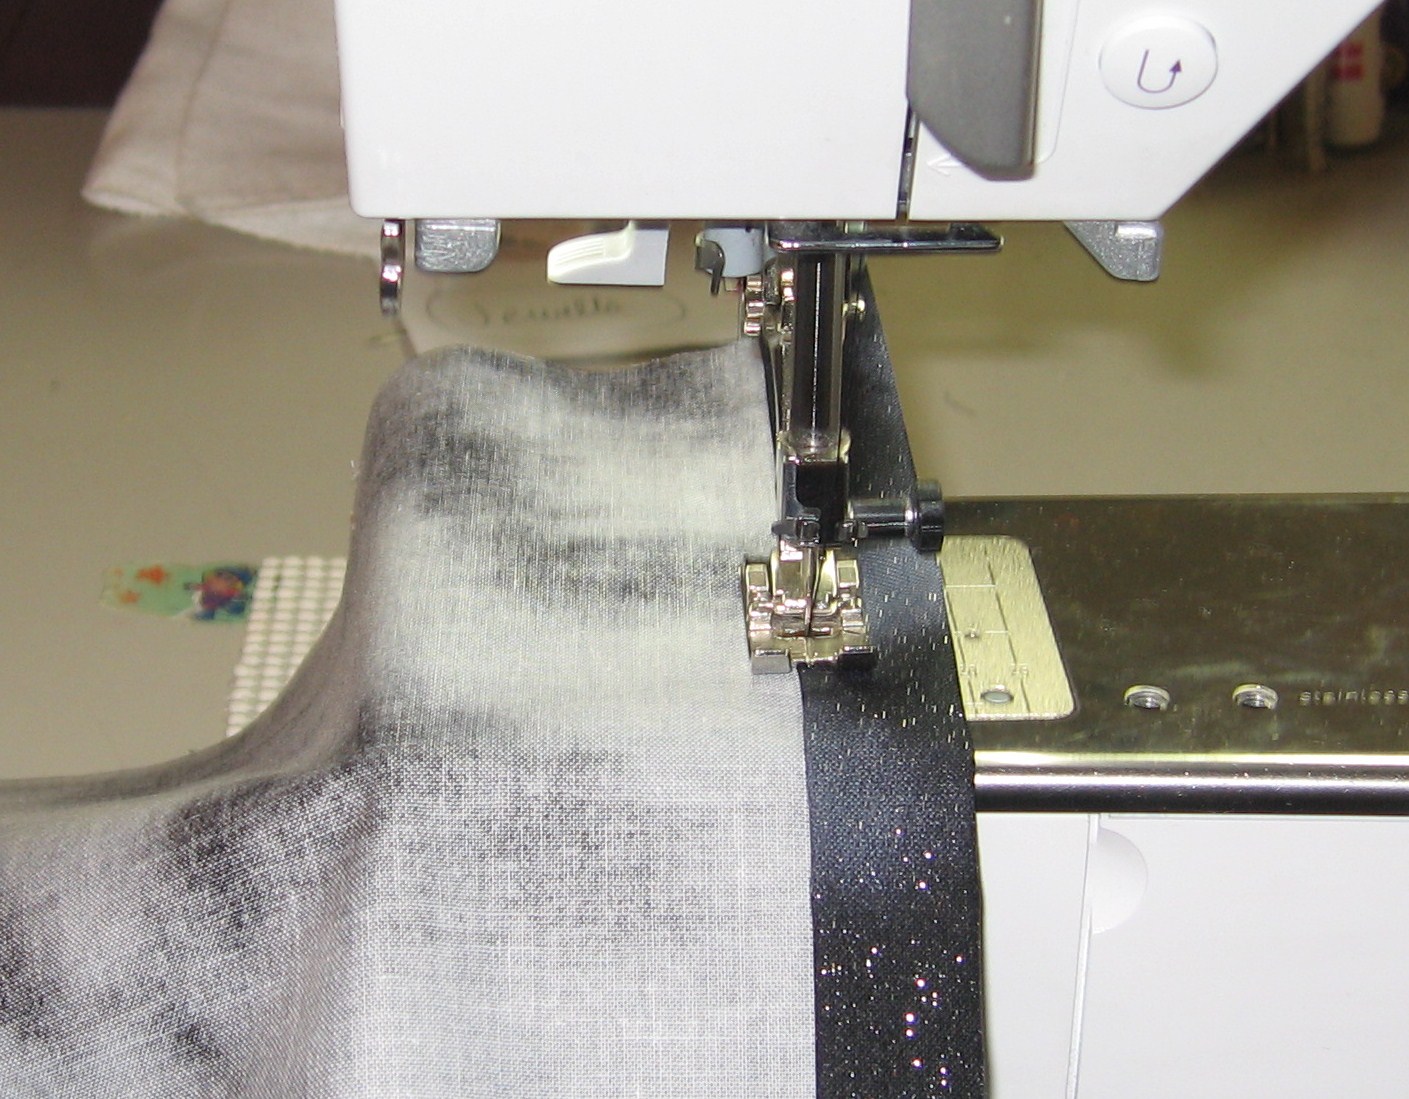
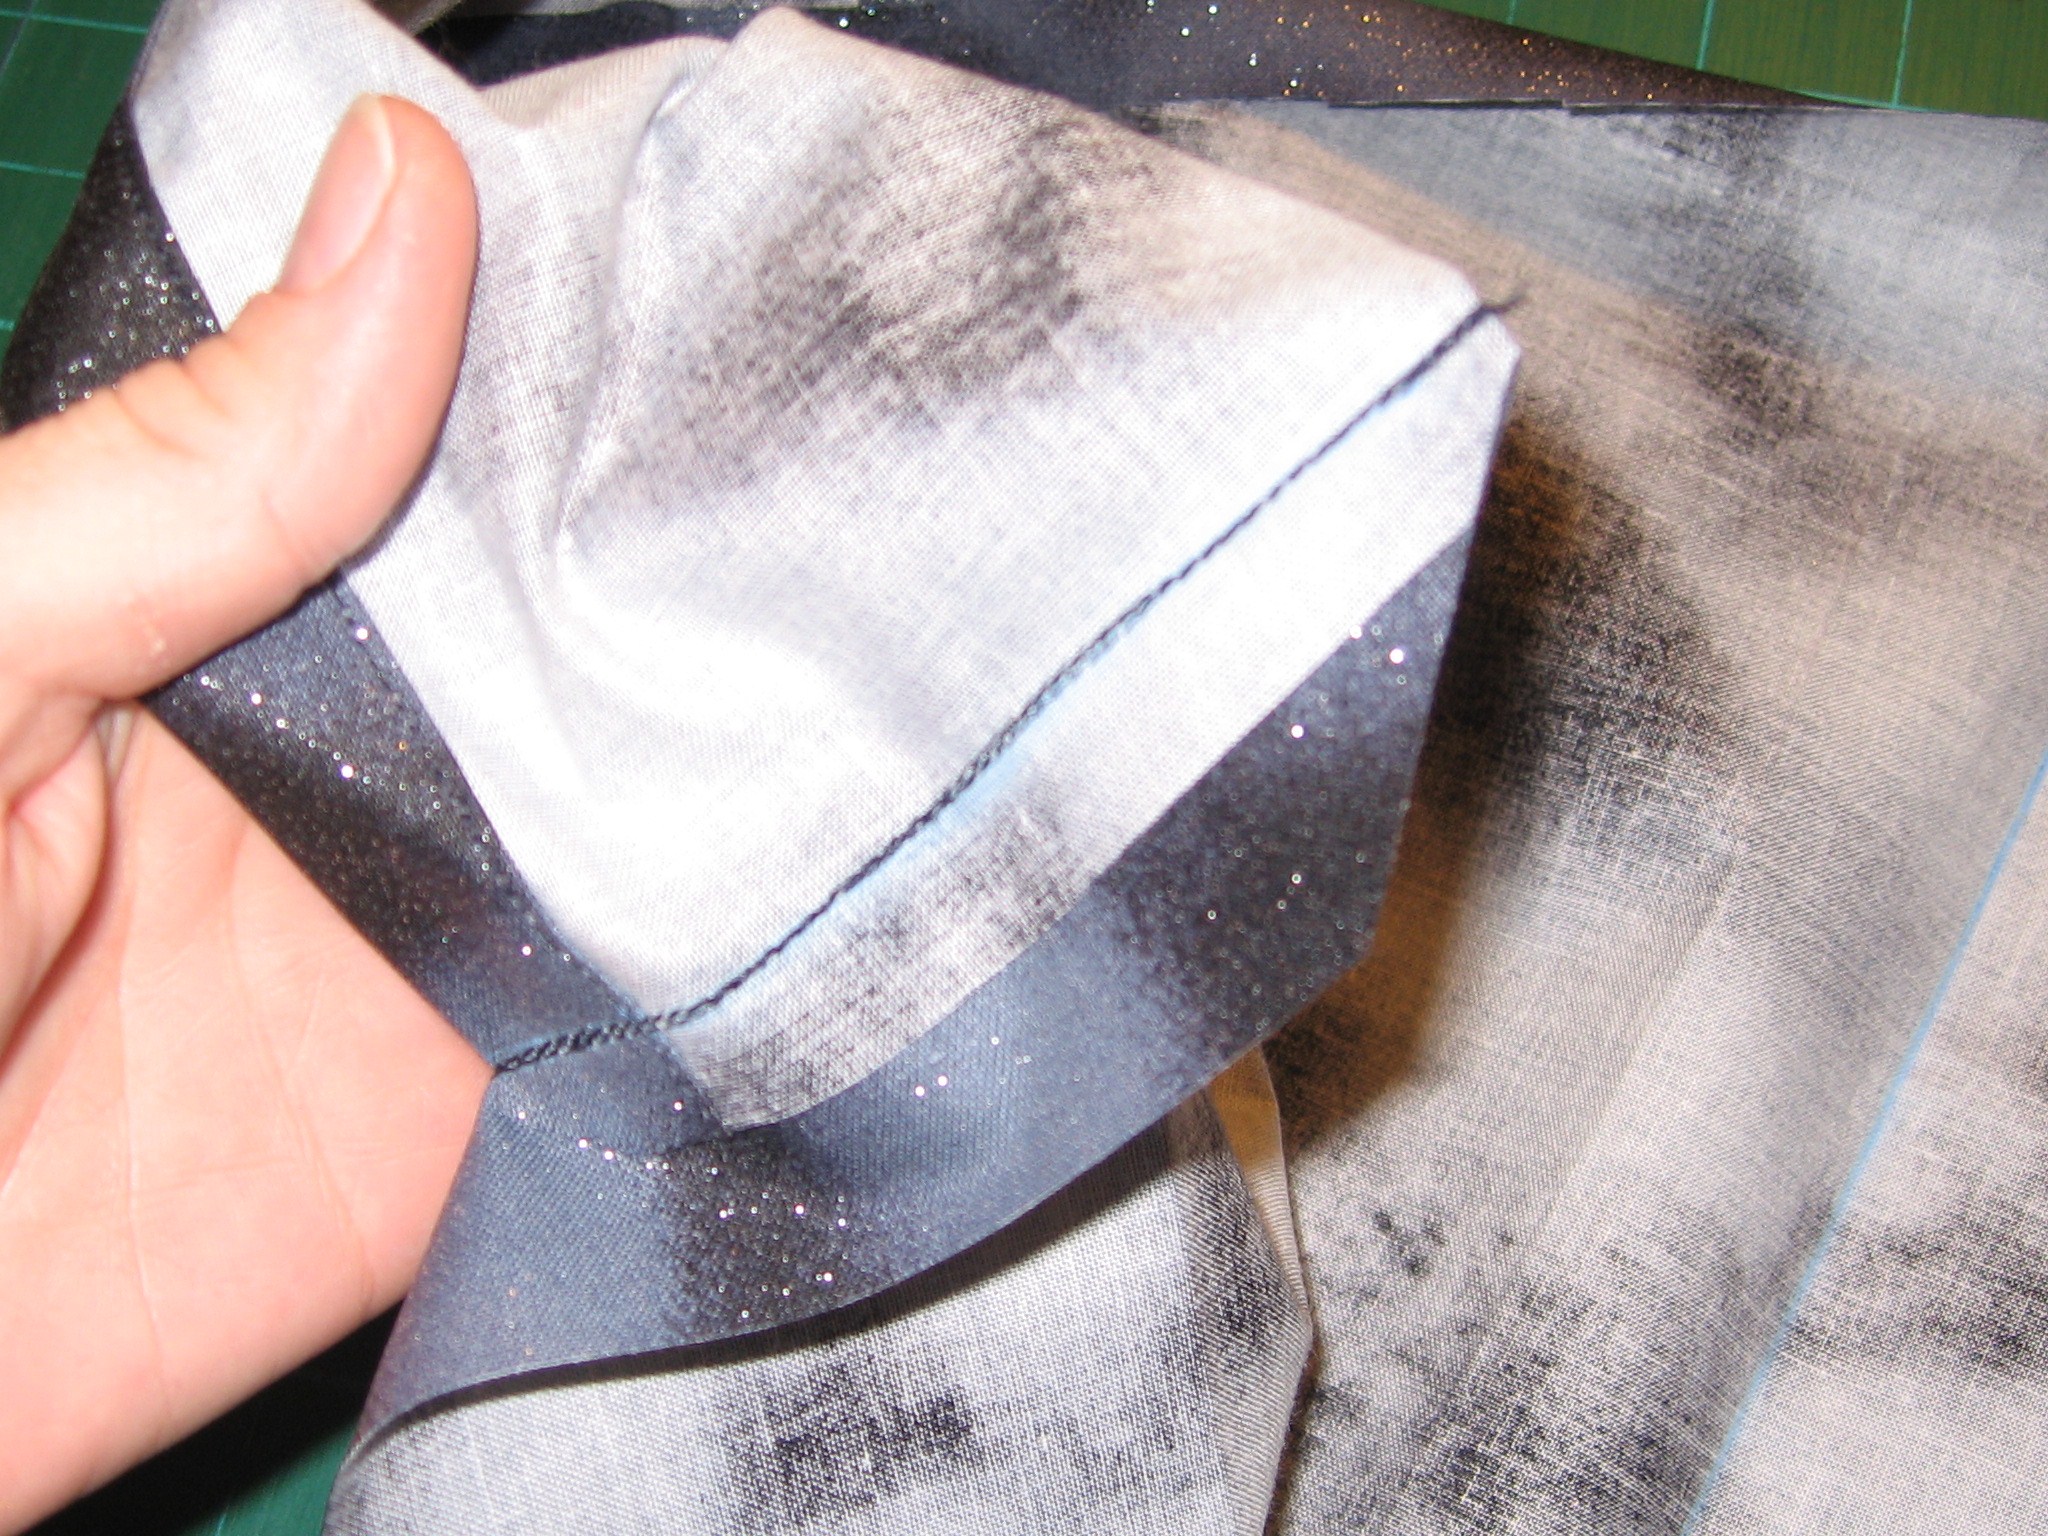
Outside back – the binding was hand stitched on the outside.  There was just too much stuff going on inside to do it the opposite way.   Cool sparkly fabric was a gift from hardhatcat.


The other side, standing up – the strap is recycled from the old binder.  The strap clicks onto a large split ring.  The bits of ribbon were from a sheet of samples someone gave me.   The denim was cut on the bias so it has give.  Oh, and the denim was leftover from a project that a friend of mine did.  She gave me her leftovers!


inside – the accordion files, back mesh pocket & zipper are all recycled


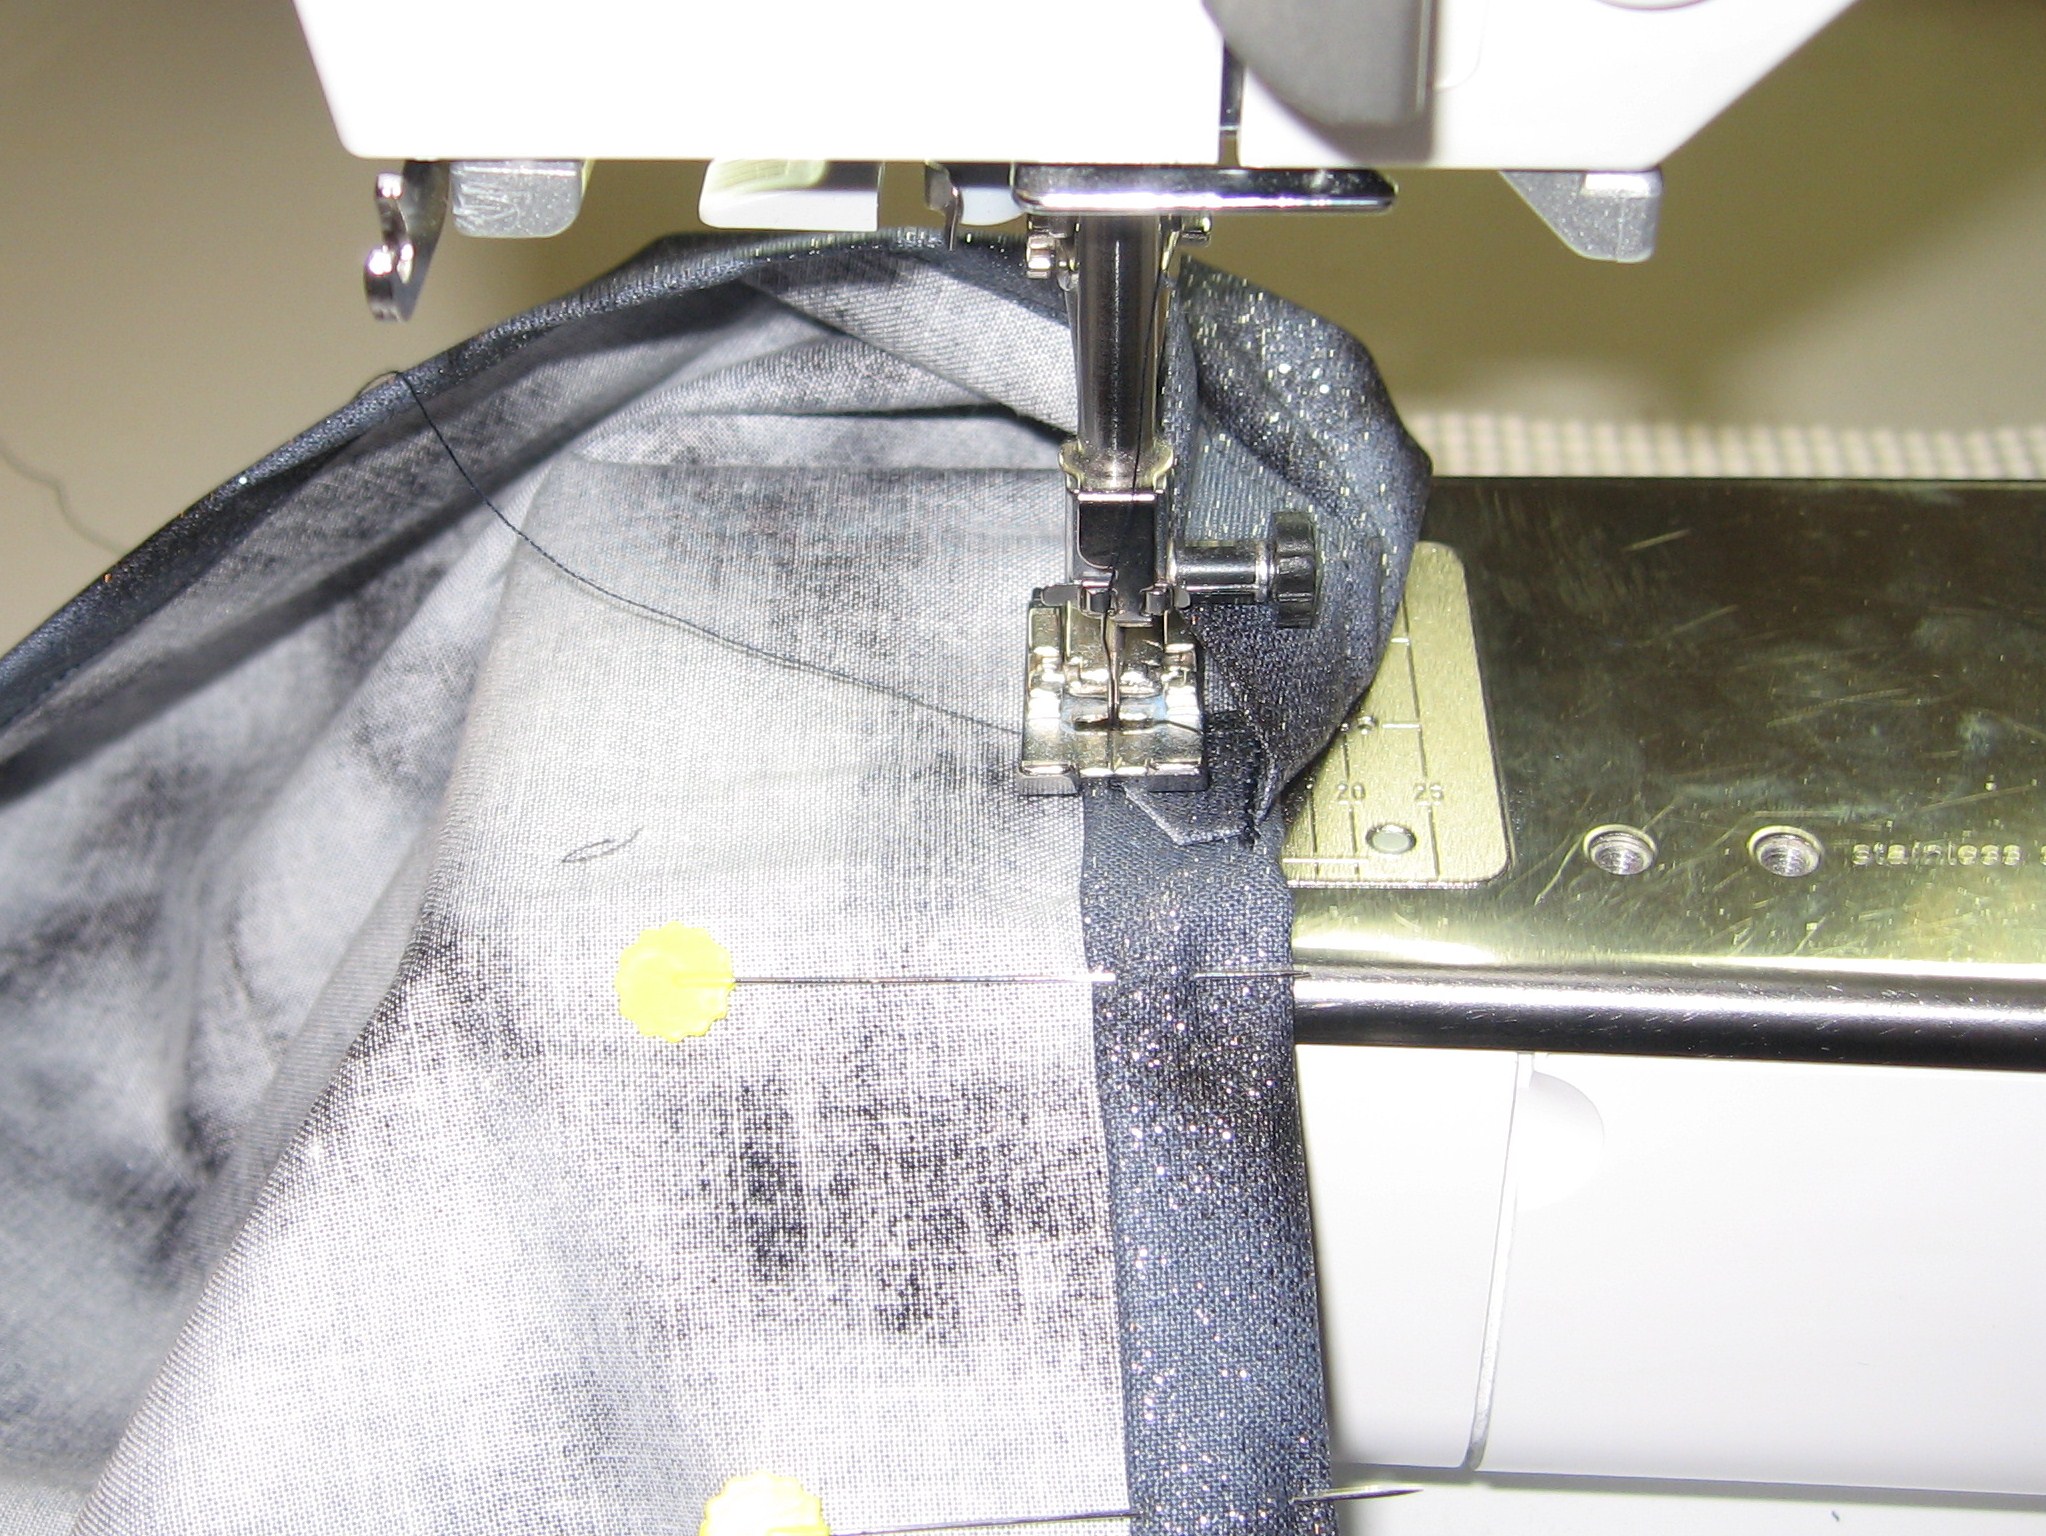
The accordion file, recycled from the old binder.  It was a bit hard to stitch around, but I managed by moving my needle over to the far left.


All that’s left of the original.  I used a razor blade to take it apart.  Razors are the friend of anyone that recons heavy duty materials, but they take a sure hand.

More photos of the binder cover/tote here.

My daughter loves it, especially the “bag” aspect, freeing up her hands and making it’ll be easier to carry her stuff.

Happy Crafting!

Photobucket

SEWHOOKED SHOP |SCHEDULE
FACEBOOK | TWITTER | FLICKR GROUP

Back To School Craft: Book Cover from a Fabric Remnant

My eighth-grader brought her Algebra book home for the first time yesterday because it needed a cover. It’s huge, really huge, weighing in at a whopping six pounds (what, I was curious!).

The paper book covers of yesteryear are truly a thing of the past, something I learned a couple of years back when I suggested recycling a brown paper bag, just like I had when I was in school. Ah, the brown paper cover! All that real estate for doodling and scribbling down phone numbers or bits of song lyrics. The look of shock and horror on my daughter’s face was enough to tell me that, sadly, grocery bags are O-U-T, and stretchy fabric covers are IN.

The one-size-fits-all stretchy fabric cover we picked up with school supplies did not, despite the packaging promise, fit the mammoth math book.

We came up with a quick and easy solution in a project we’ve used a few times before; a fabric book cover, custom made from a remnant.

036.JPG


Book Cover from a Fabric Remnant
© Jennifer Ofenstein
http://www.sewhooked.org

  • fabric remnant
  • coordinating thread
  • scissors or (opt) rotary cutter
  • chalk or pencil
  • ruler
  • sewing machine (because of the wear and tear school books receive, I don’t recommend hand sewing for this project)
009.JPG

Measure out the remnant for your book, making sure that it is at least 2″ wider on top and bottom (4″ total) and several inches longer on each side than the book when it is opened. Trim the top, bottom and sides so they are straight and will be easy to sew. Rotary cutters work perfect for this if you’ve got them!

011.JPG 012.JPG

Hem both of the short ends. Turn under 1″ and then again 1/4″ or 1/2″ to make a sturdy seam. Stitch with a straight stitch.

013.JPG 015.JPG

As evenly as possible, align the fabric on the book inside out, with the hemmed edges inside the book cover.

016.JPG 017.JPG

Pin the fabric, leaving enough fabric for seam allowance and hemming later. The pinned corners should be approximately 1/16″ of an inch away from the outside of the book. It’s very important to not pin too far away from the book’s edge or the cover will be too loose.

020.JPG

Using a straight edge, mark along the pins in chalk.

021.JPG 022.JPG

Stitch on chalk or pencil line for all four corners. Reinforce the stitching line several times. These will have a lot of pressure on them from the book being opened and closed.

025.JPG 027.JPG

Trim corners and the short piece of fabric where you have just stitched. Repeat for all corners. Turn, using a chopstick or crochet hook to push out the corners.

029.JPG

The seam allowance along the edges are at this point still unstitched. Press these, using the already-turned corners for your measurement. Turn the hem under (opt) and pin in place if needed.

031.JPG 032.JPG

Start under the flap then straight stitch along the hem, finishing after the next flap. You do not need to stitch all the way to the end, but it’s a good idea to reinforce the hem past the flap so the fabric will lay nice and flat.

033.JPG

Trim your threads and slip your new fabric book cover on!

034.JPG 036.JPG

As long as your book cover is nice and tight, it’ll stay on with no problem.

Now you just have to tell all your friends that you won’t be making one for them and save those stretchy covers for a favorite hardback novel!

also posted on cut out + keep