

In between Much More Important Things, I’ve been making kitty toys here and there for our cat family members.
Last weekend, I made something new, tubes of fabric filled with Poly-fil & catnip. They were easy to make and the cats love them.
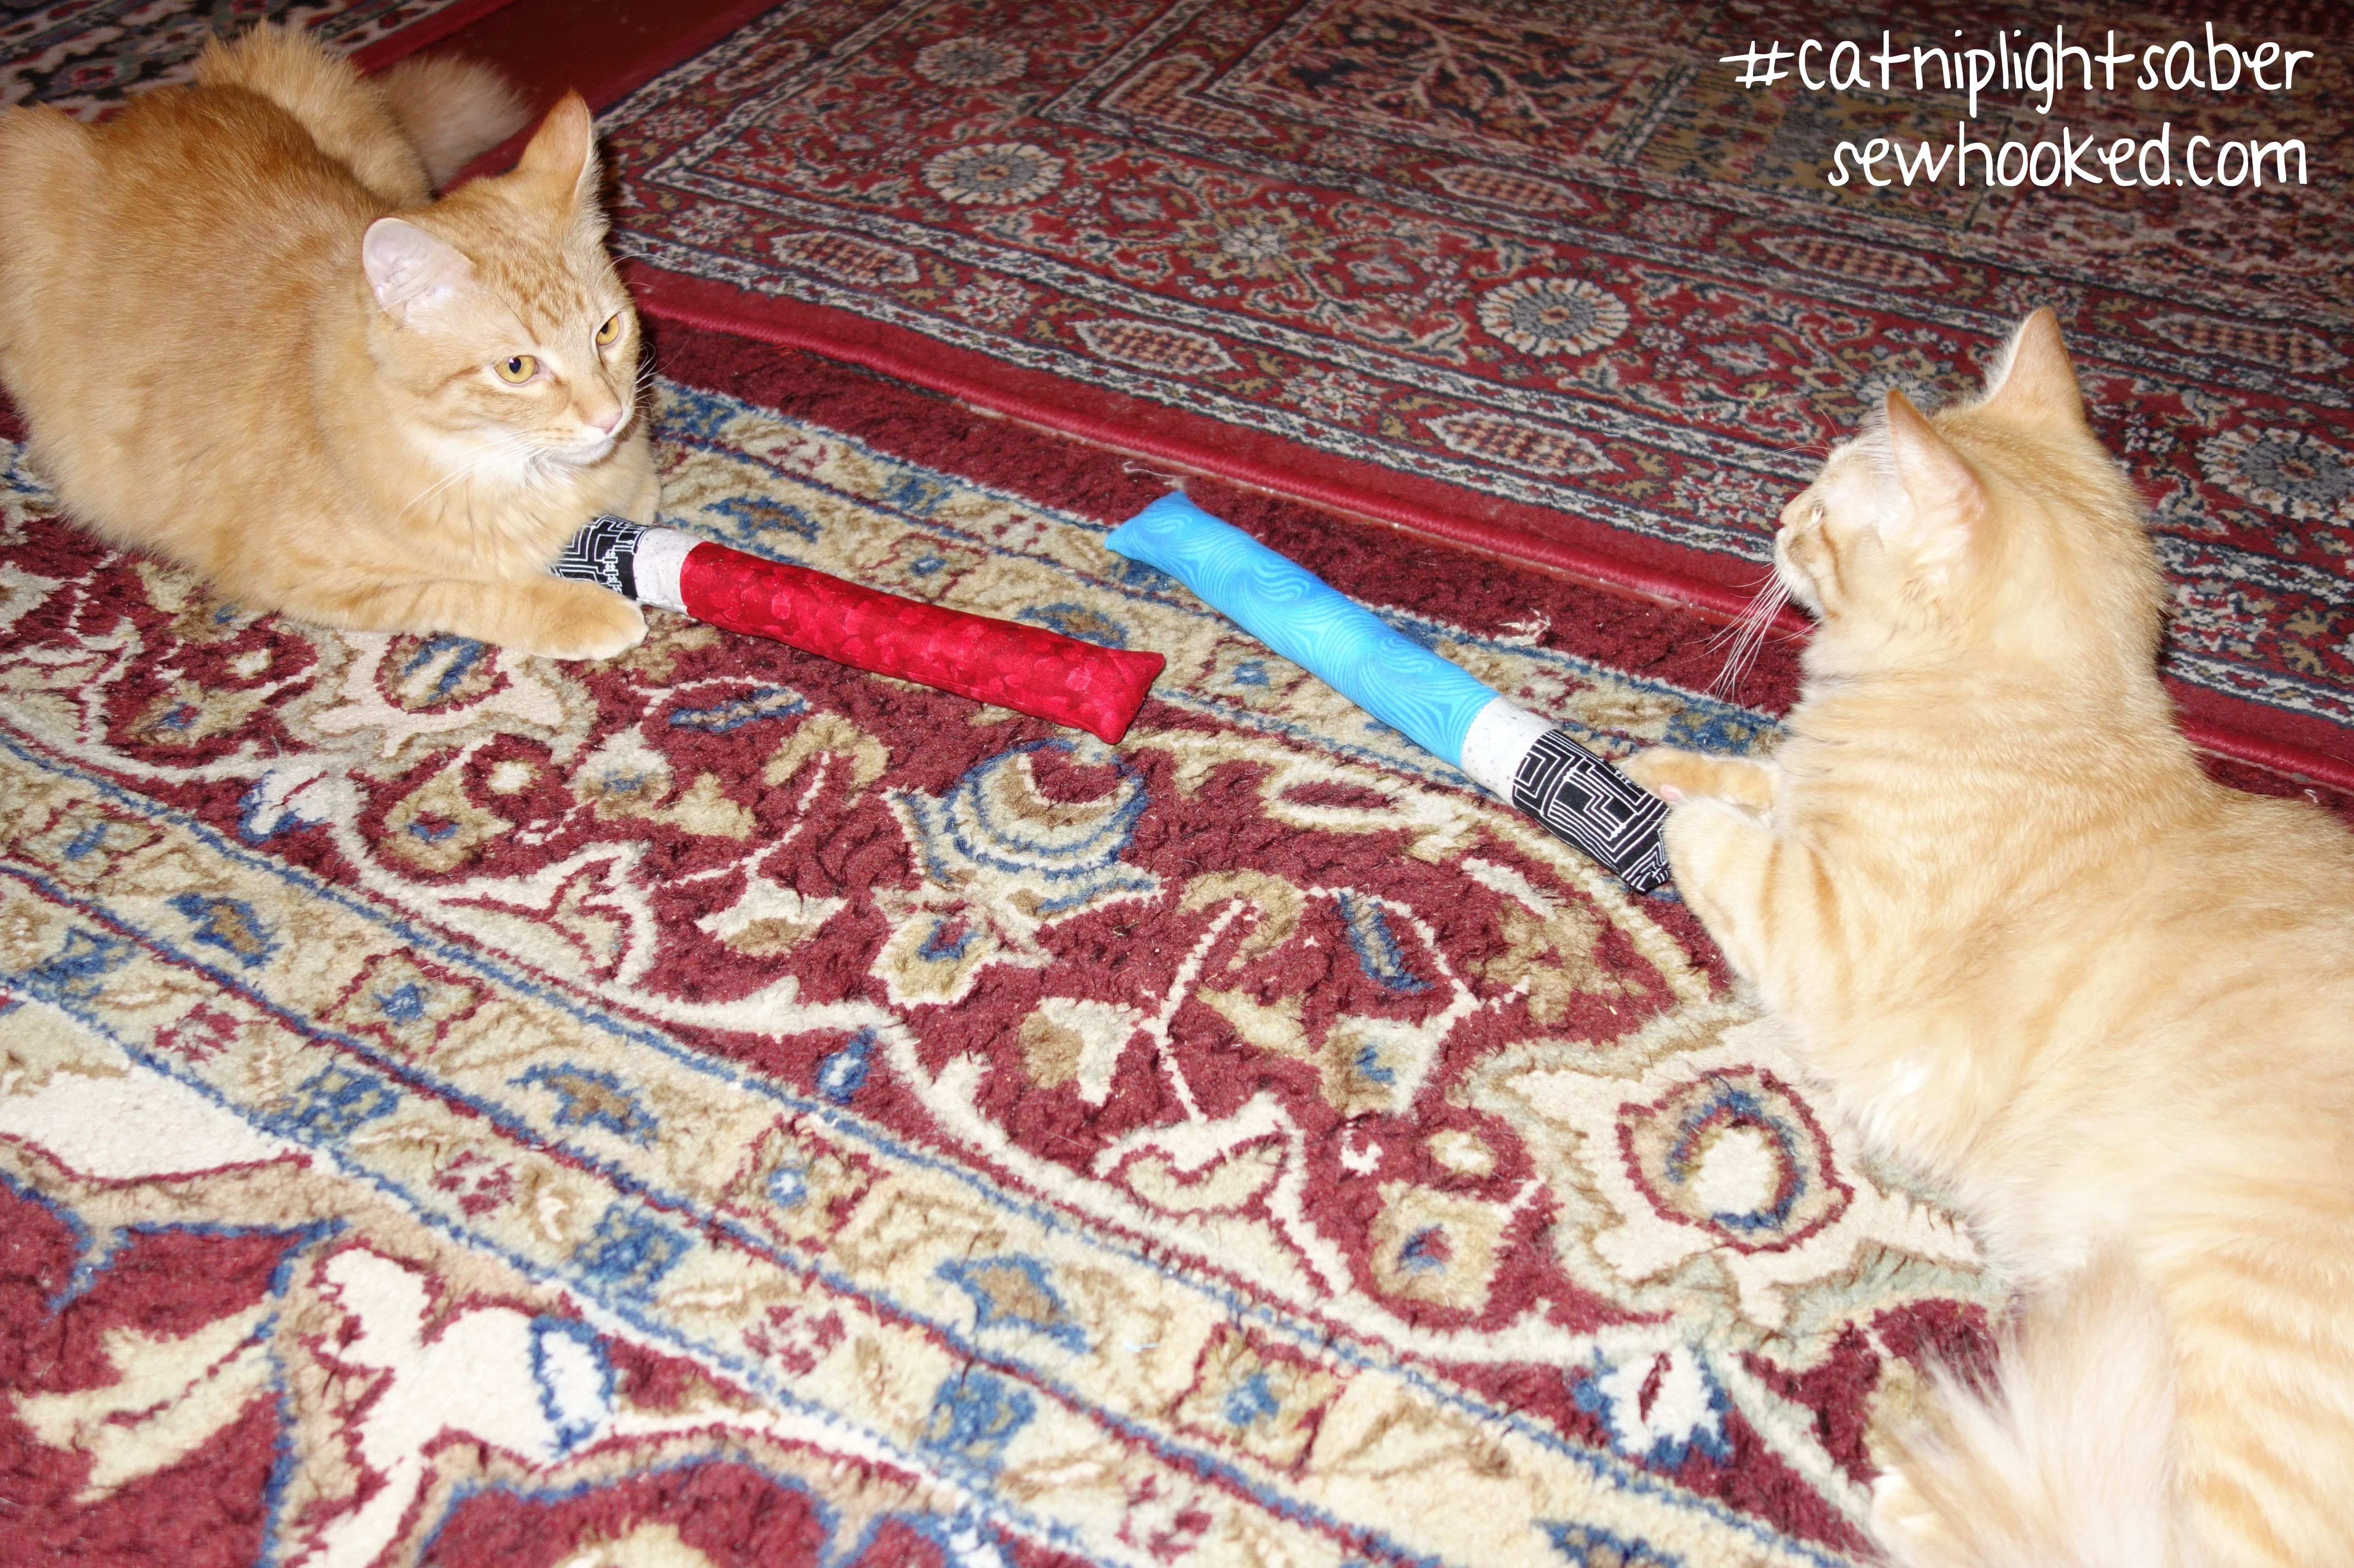
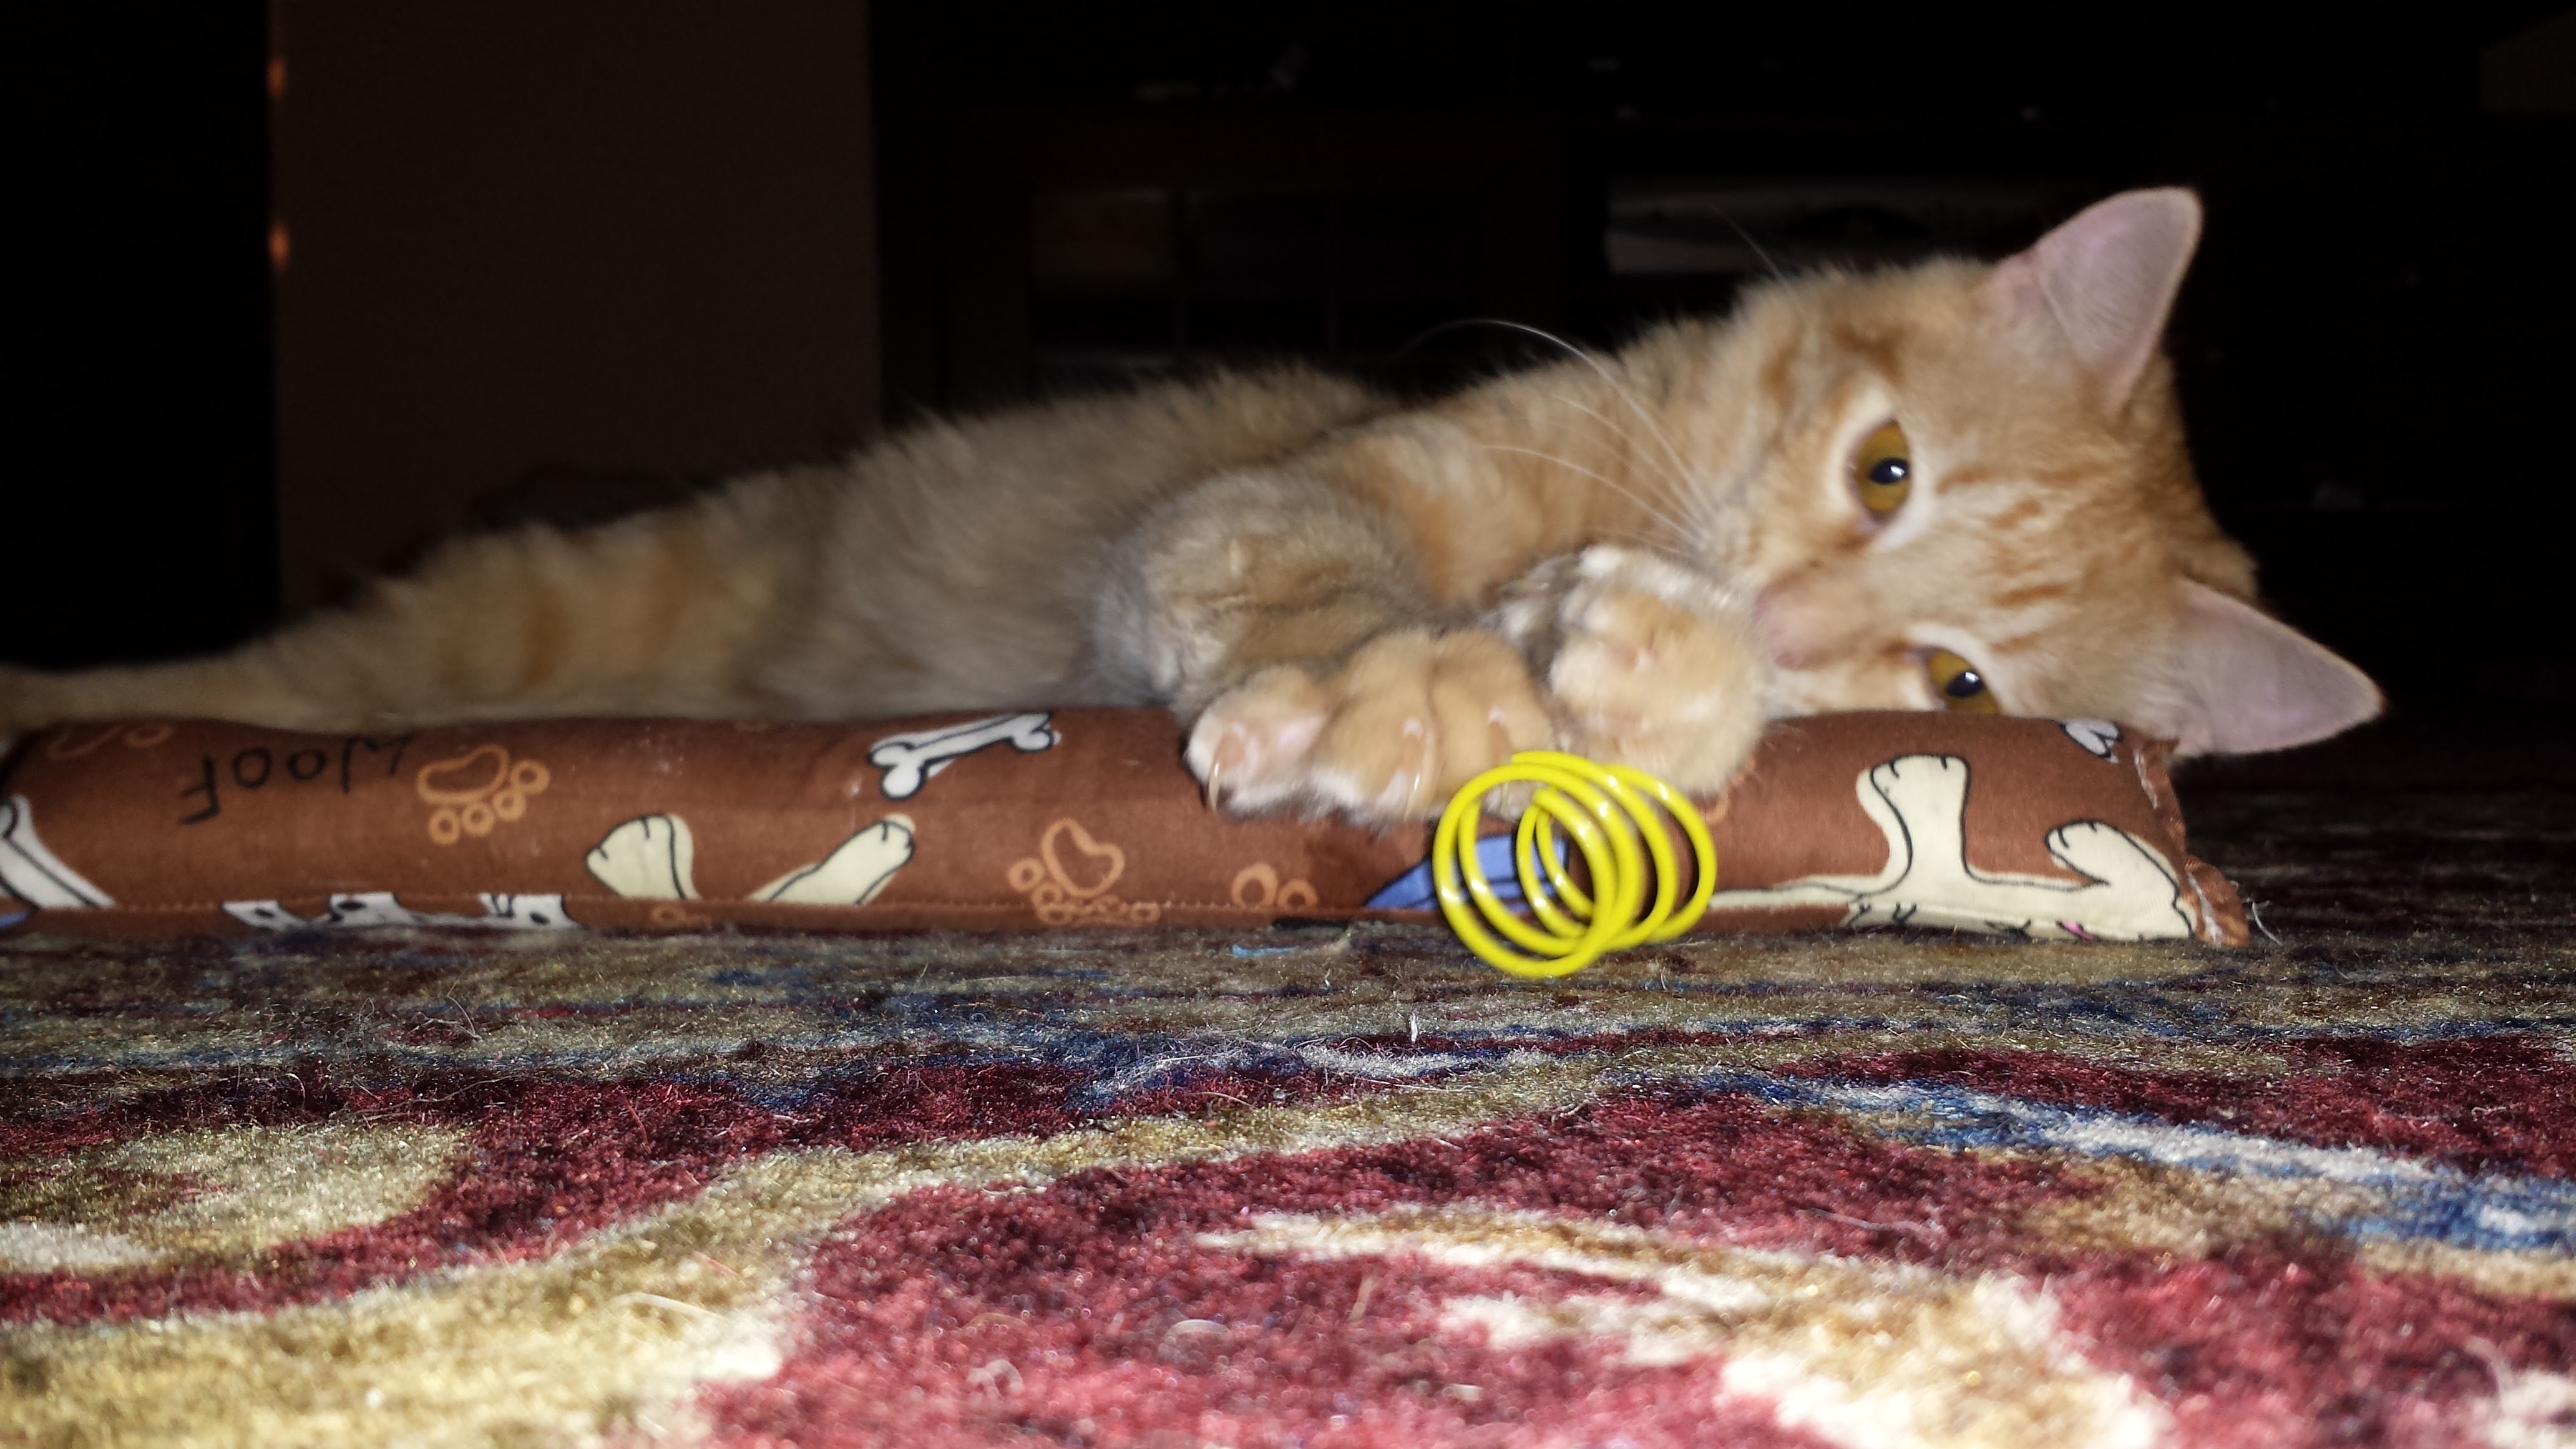
While watching 8 month old Iliad and his brother Ramses play with their catnip tubes, it occurred to me that they could be much, much more fun to watch!
Enter, CATNIP LIGHTSABERS!
Have I seen The Force Awakens recently?
Yes, twice. Why do you ask? 😉
These aren’t much more complicated to make than the original single piece of fabric version. I made both shown here in about an hour, and that includes stopping to take pictures. Easy peasy!
As usual, this tutorial is for your personal & non-profit use. I would LOVE for you to make these both for your own kitties and your local shelter!
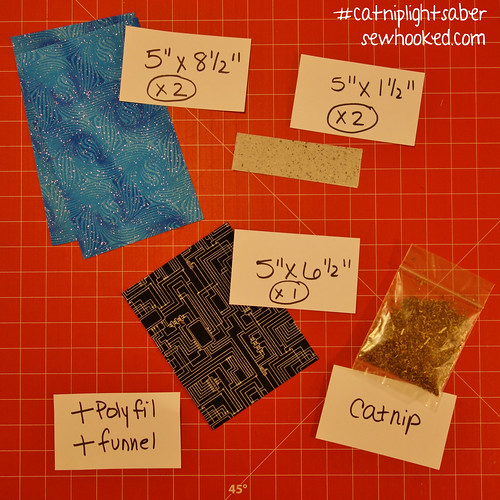
You’ll need:
- 2 – 5″ x 8 1/2″ pieces of fabric in blue, red, or the lightsaber color of your choice
- 2 – 5″ x 1 1/2″ pieces of grey or silver fabric
- 1 – 5″ x 6 1/2″ piece of black or black printed fabric
- Poly-fil or batting scraps
- catnip (I used a leftover packet from a cardboard scratcher)
- funnel
- sewing machine
- iron (not absolutely necessary, but helpful)
EDITED TO ADD: To make a solid cat kicking tube, use a 5″ x 23″ish piece of fabric and skip to the third instruction.
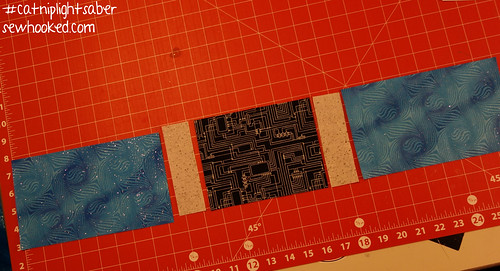
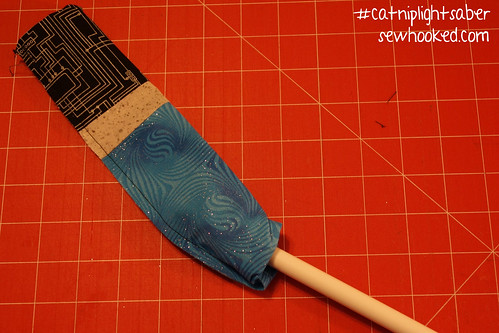
Using a 1/4″ seam allowance, sew together pieces as shown:
Blue > Grey > Black > Grey > Blue
Backstitching is recommended for stability.
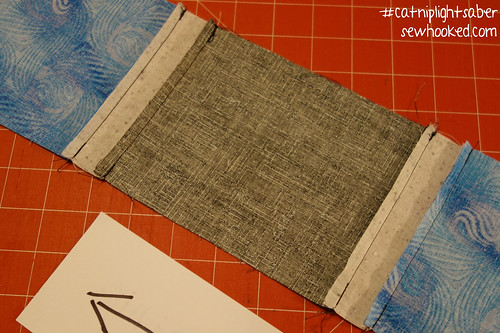
Press all seam allowance in one direction.

Fold in half, with the black fabric in the center.
Lock the seams in with the opposite-facing seam allowance. Press.
Fold in half lengthwise. You now have a right sides both inside and out, giving you a “lining” for your lightsaber.

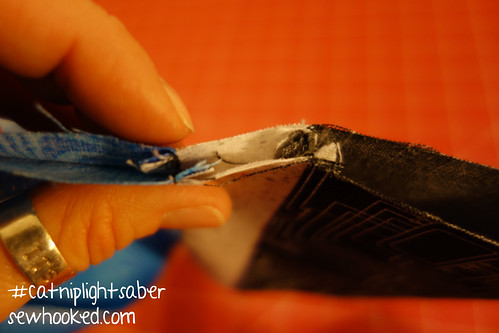
Using a 1/2″ seam allowance, stitch around. Start on the “saber” end with raw edge to the end and nearest you.
Be sure to backstitch where the thread crosses in the corner.
Leave the folded end (black fabric) unstitched. This is where the stuffing will go.

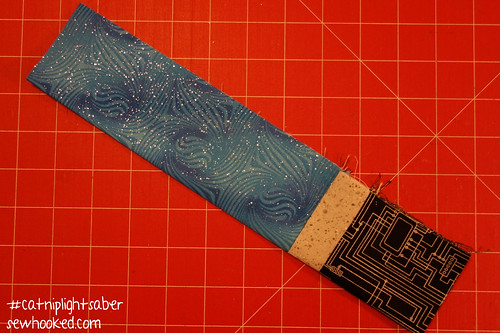
Here’s what you should have now.
Trim seam allowance to a scant 1/4″ or so, cutting corners close. Here’s where that backstitching comes in!
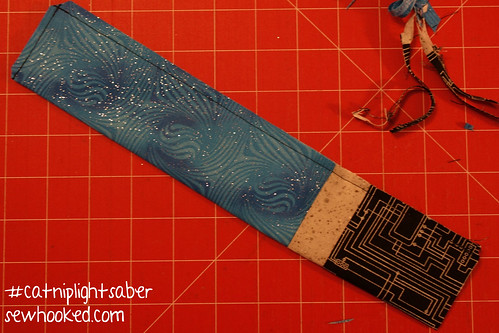
Using the method of your choice, turn the tube so the seam allowance is inside.
I use a large crochet hook to help with the process.
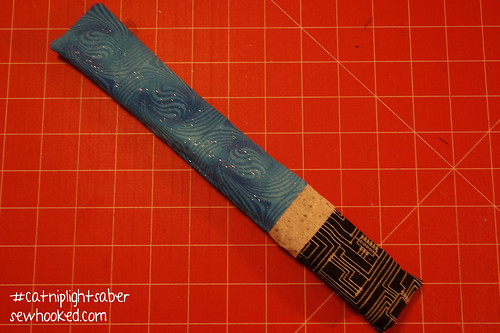
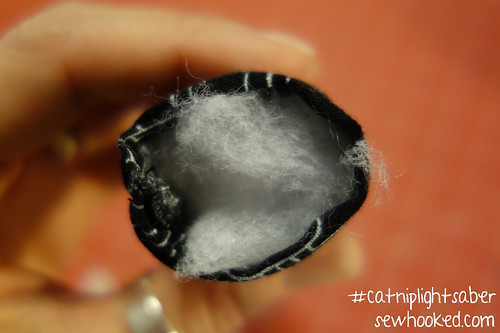
Here it is, ready to stuff!
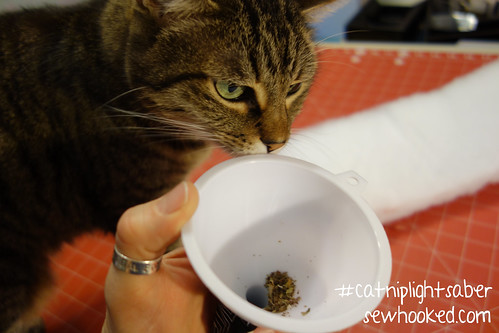
Alternate catnip and Poly-Fil, stuffing as needed. A funnel will make this much easier. A cat will not!
(This tutorial is Marie approved.)
The crochet hook I used earlier worked a treat for squishing everything in.
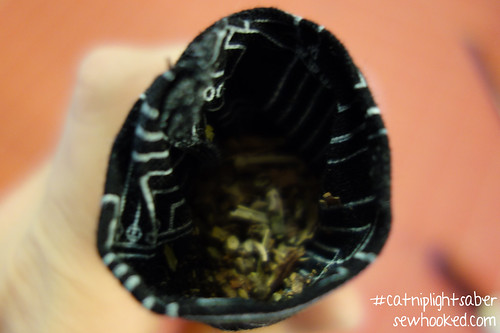
I used two or three tablespoons of catnip total, making sure there was plenty at each end.
To save yourself a little grief, make sure you end with stuffing or you’ll have catnip all over your sewing machine.
Don’t ask me how I know. 😉

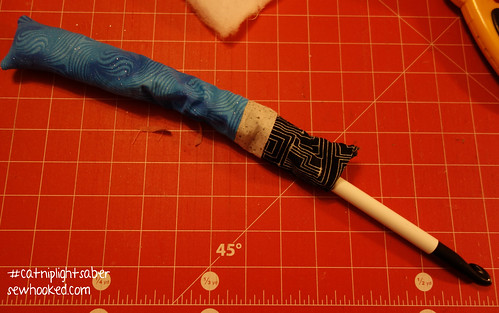
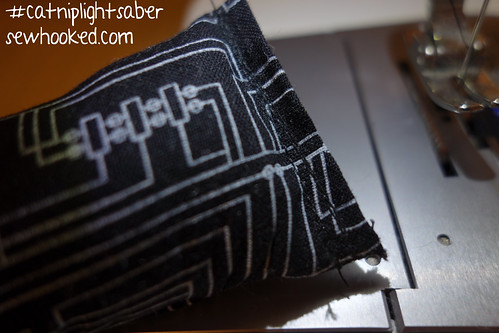
Keeping the seam to one side, flatten the end. Because this is a fold, you don’t have to worry about raw edges.
This can be hand stitched, but I chose machine stitching for durability.
Are you the happy owner of Wonder Clips? They are not necessary, but very helpful to hold the end closed.

Stitch across and back a few times.
A very secure closure and we’re done!


Hours of entertainment for kitties and humans alike!
That’s that, my friends! I hope you enjoyed today’s free tutorial!
♥ Jennifer O
Posts on this blog may contain affiliate links to help cover the cost of my website. I thank you for your generous support. ♥

Great idea and tutorial. I’ve made small catnip toys, but really like your idea of a catnip lightsaber. Total #CreativeGoodness. Thanks for sharing.
QuiltShopGal
http://www.quiltshopgal.com
PS – I’m finding it really easy to follow you via http://mycreativebloglist.blogspot.com/, although I still follow you via a variety of tools.
Based on your instructions, I am figuring these end up being about 7″ long. Would that be correct?
Also, I am interested in the black fabric you used. Do you recall what the name and manufacturer of it?
I may make mine more scrappy as I have a lot of scraps. Here’s hoping I can get some made this month. Thanks for the tutorial.
They work out to be about 12″ long. The long bit, when pieced, but before being folded, is approxiately 23″.
The black fabric is a coordinate from Mechanical Genius by Timeless Treasures. I only had a scrap of it left, and it was rather perfect!
Wow! Just want to say both of your cats look like my cat: Plump (no offense to Iliad and Ramses!), orange, and white! I haven’t quiet finished them yet, well actually I don’t have all the materials yet, but I already know these will look great!
Thank you very much for this tutorial!
You’re very welcome! No offense taken. Both Iliad and Ramses are VERY fluffy. 😀