
These were a gift and are not for sale. Video and photos for entertainment only, I don’t do commissions. ♥️
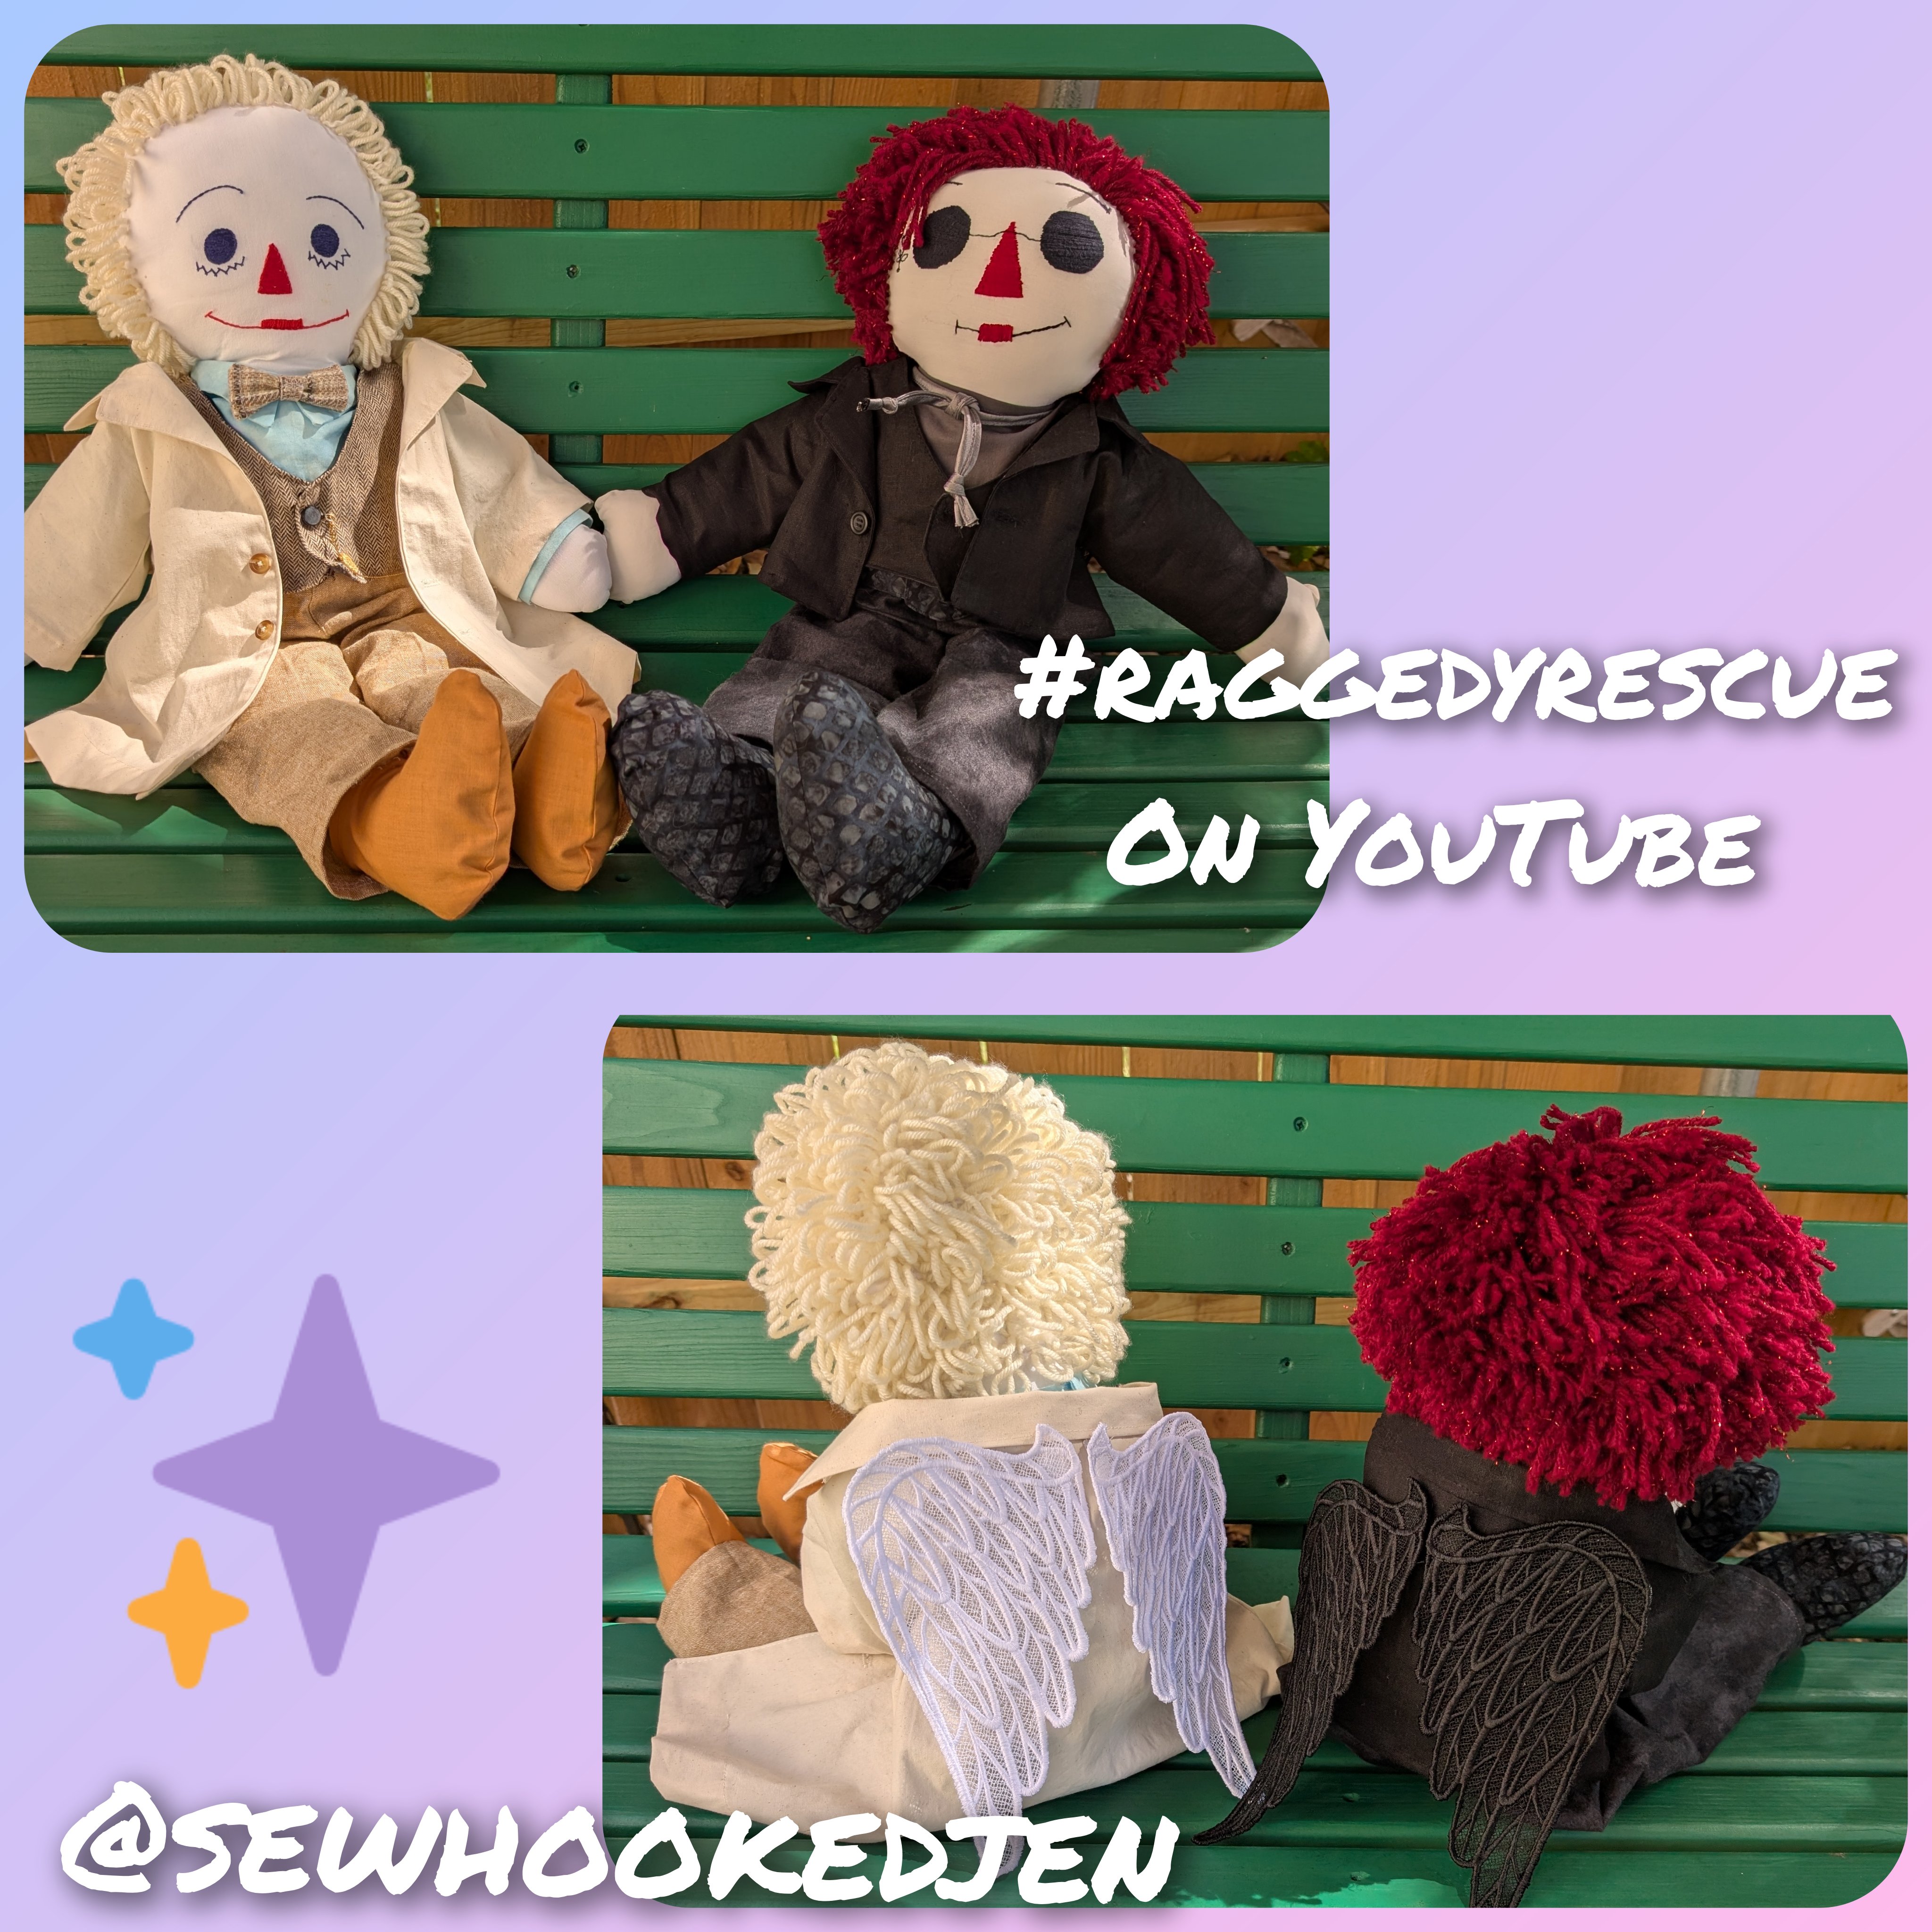
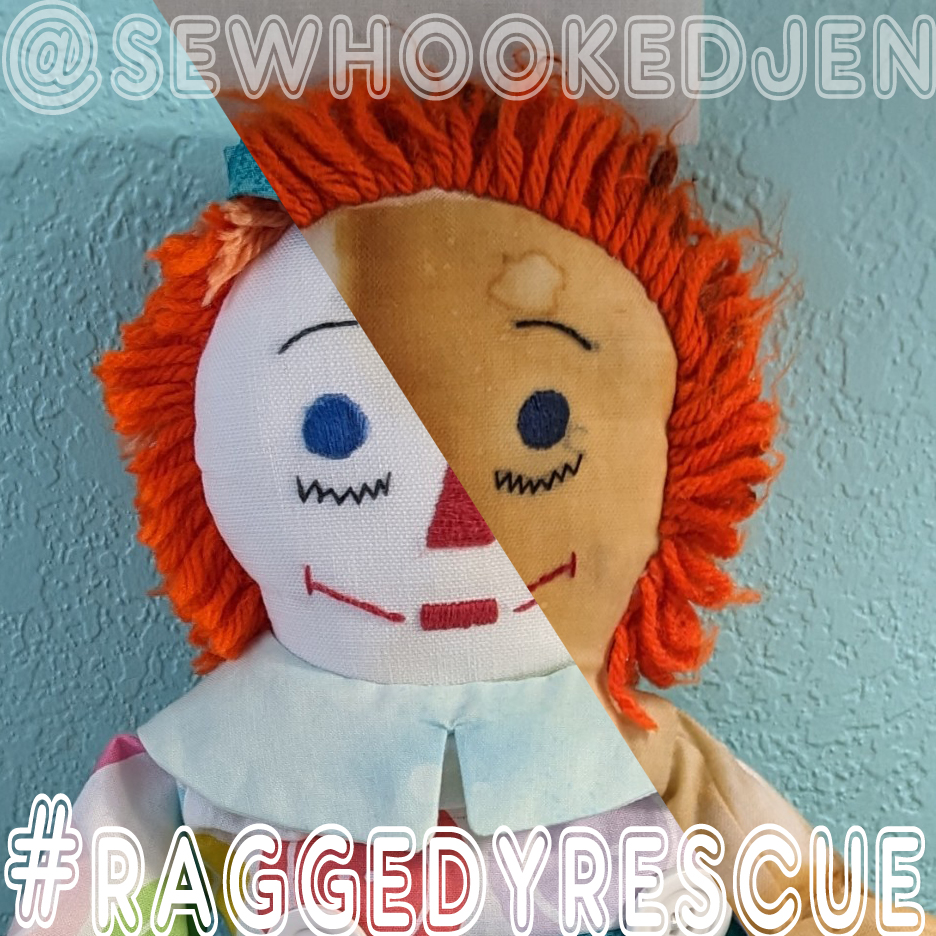
In this video, I share my makeover process from thrift store Raggedy Andy dolls to Aziraphale and Crowley (Good Omens).
Helpful info:
- I have a full selection of Raggedy Rescue tutorials available here.
- I used this tutorial to help understand how to line a tiny vest pattern (adapated versions of vintage pattern McCalls 3002)
- Heavenly Wings Freestanding Lace (machine embroidery) from Urban Threads
Some of the Supplies used:
- Lo-Ran Needle Threader
- Gingher Embroidery Scissors
- DMC Hand Embroidery Needles
- DMC Stranded Embroidery Thread in Red (other colors also used)
- Dritz Seam Fix Seam Ripper
- Havel Ultra Pro Seam Ripper
- Taylor Seville Magic Flat Head Pins – easy to grip and melt resistant!
- Round Magnetic Bowls in fun colors! – for pins, because I love color!
- Sewline Mechanical Fabric Pencil– also good for marking on fabric. Erases or washes out.
Raggedy Ann & Andy Pattern Tidbits:
- I used McCall’s Crafts Pattern 8377 for the base layer of clothing, as well as modifiying Ann’s dress to create a coat pattern.
- The Raggedy Ann & Andy clothing pattern shown in this video is a vintage McCall’s 3002.I used it for the vest and shoes, making minor modifications to both to better align with the character.
- Both patterns shown in this video are out of print, but there are some modern Ann & Andy patterns out there as well as lots of great out print patterns for Raggedy Ann & Andy patterns available in various sizes. Use what works best for you. Try ebay and etsy for older patterns. If you have sewing friends, it’s worth asking around. My pattern came from my grandmother, and I have a variety of other gems shared by friends.
- Both dolls shown in this video were thrifted and repurposed, but you can make yours from scratch using any Raggedy Ann & Andy pattern doll pattern.
As always, please let me know if you have any questions. ♥
Find my free patterns on Sewhooked & Fandom in Stitches.
♥ Jennifer O
Posts on this blog may contain affiliate links to help cover the cost of my website. I thank you for your generous support. ♥

