Today’s TTMT includes my first try at ruler quilting resulting in a finished charity quilt, a fantastic thrift haul from ACR, a sweet Chook pattern by Catherine Magraith, and more!
You will need small amounts of 7 fabric colors as shown.
Use 1/4” seam allowance throughout.
Print pattern.
Cut out all pieces as listed on pages 3 & 4.
Tip: Use freezer paper for your pattern pieces OR a small piece of double stick or masking tape on the back of the paper pieces to hold them in place.
Tip: A glue stick works great to hold pieces in place before stitchingin place.
Applique the following in the order listed below using the technique of your choice. All pieces start with left or right body.
wing on top of body
head on top of wing+body
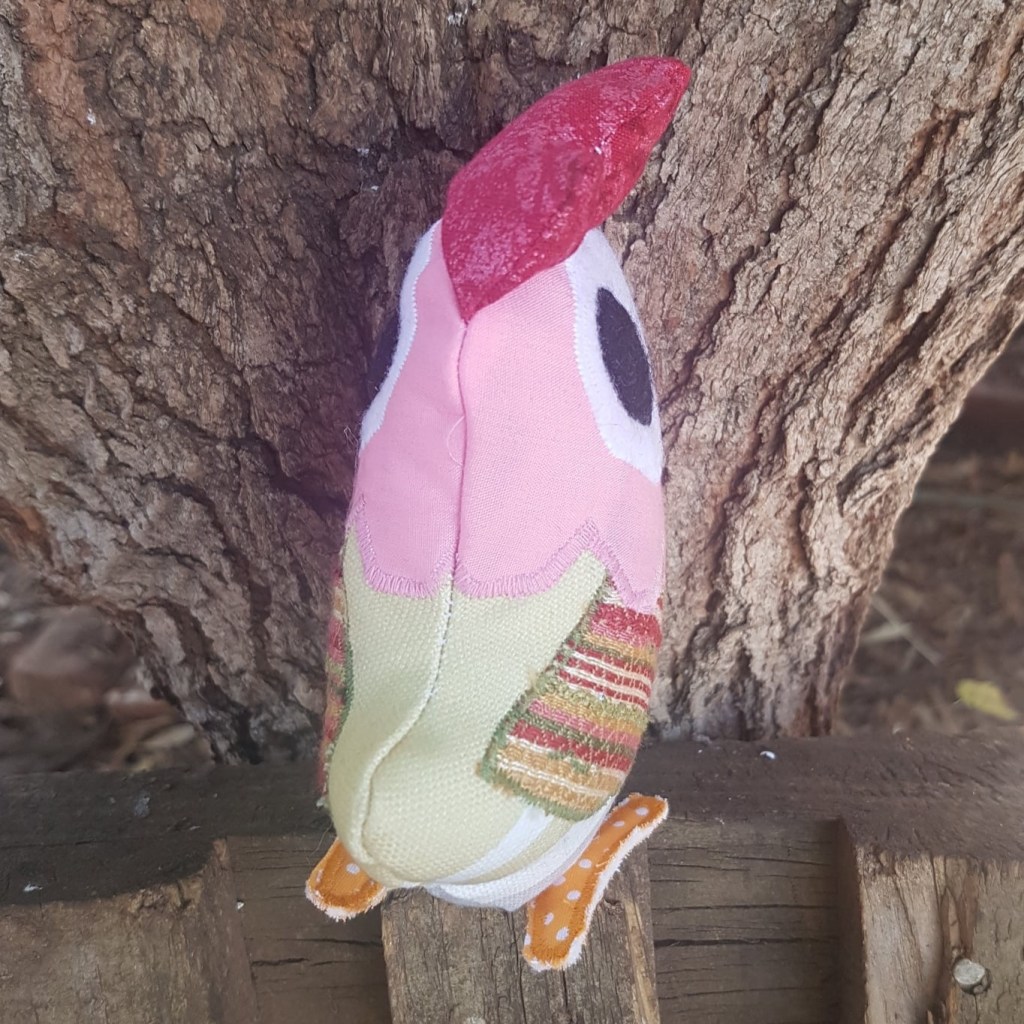
pupil on top of eye (use photos for reference)
eye on top of head (use photos for reference)
Stitch comb right sides together, turn, clip, & add a small amount of stuffing. Stitch closed using a scant 1/4” seam.
Fold beak in half. Stitch one side closed. Clip end, turn, add a small amount of stuffing, stitch closed with a 1/4″ seam.
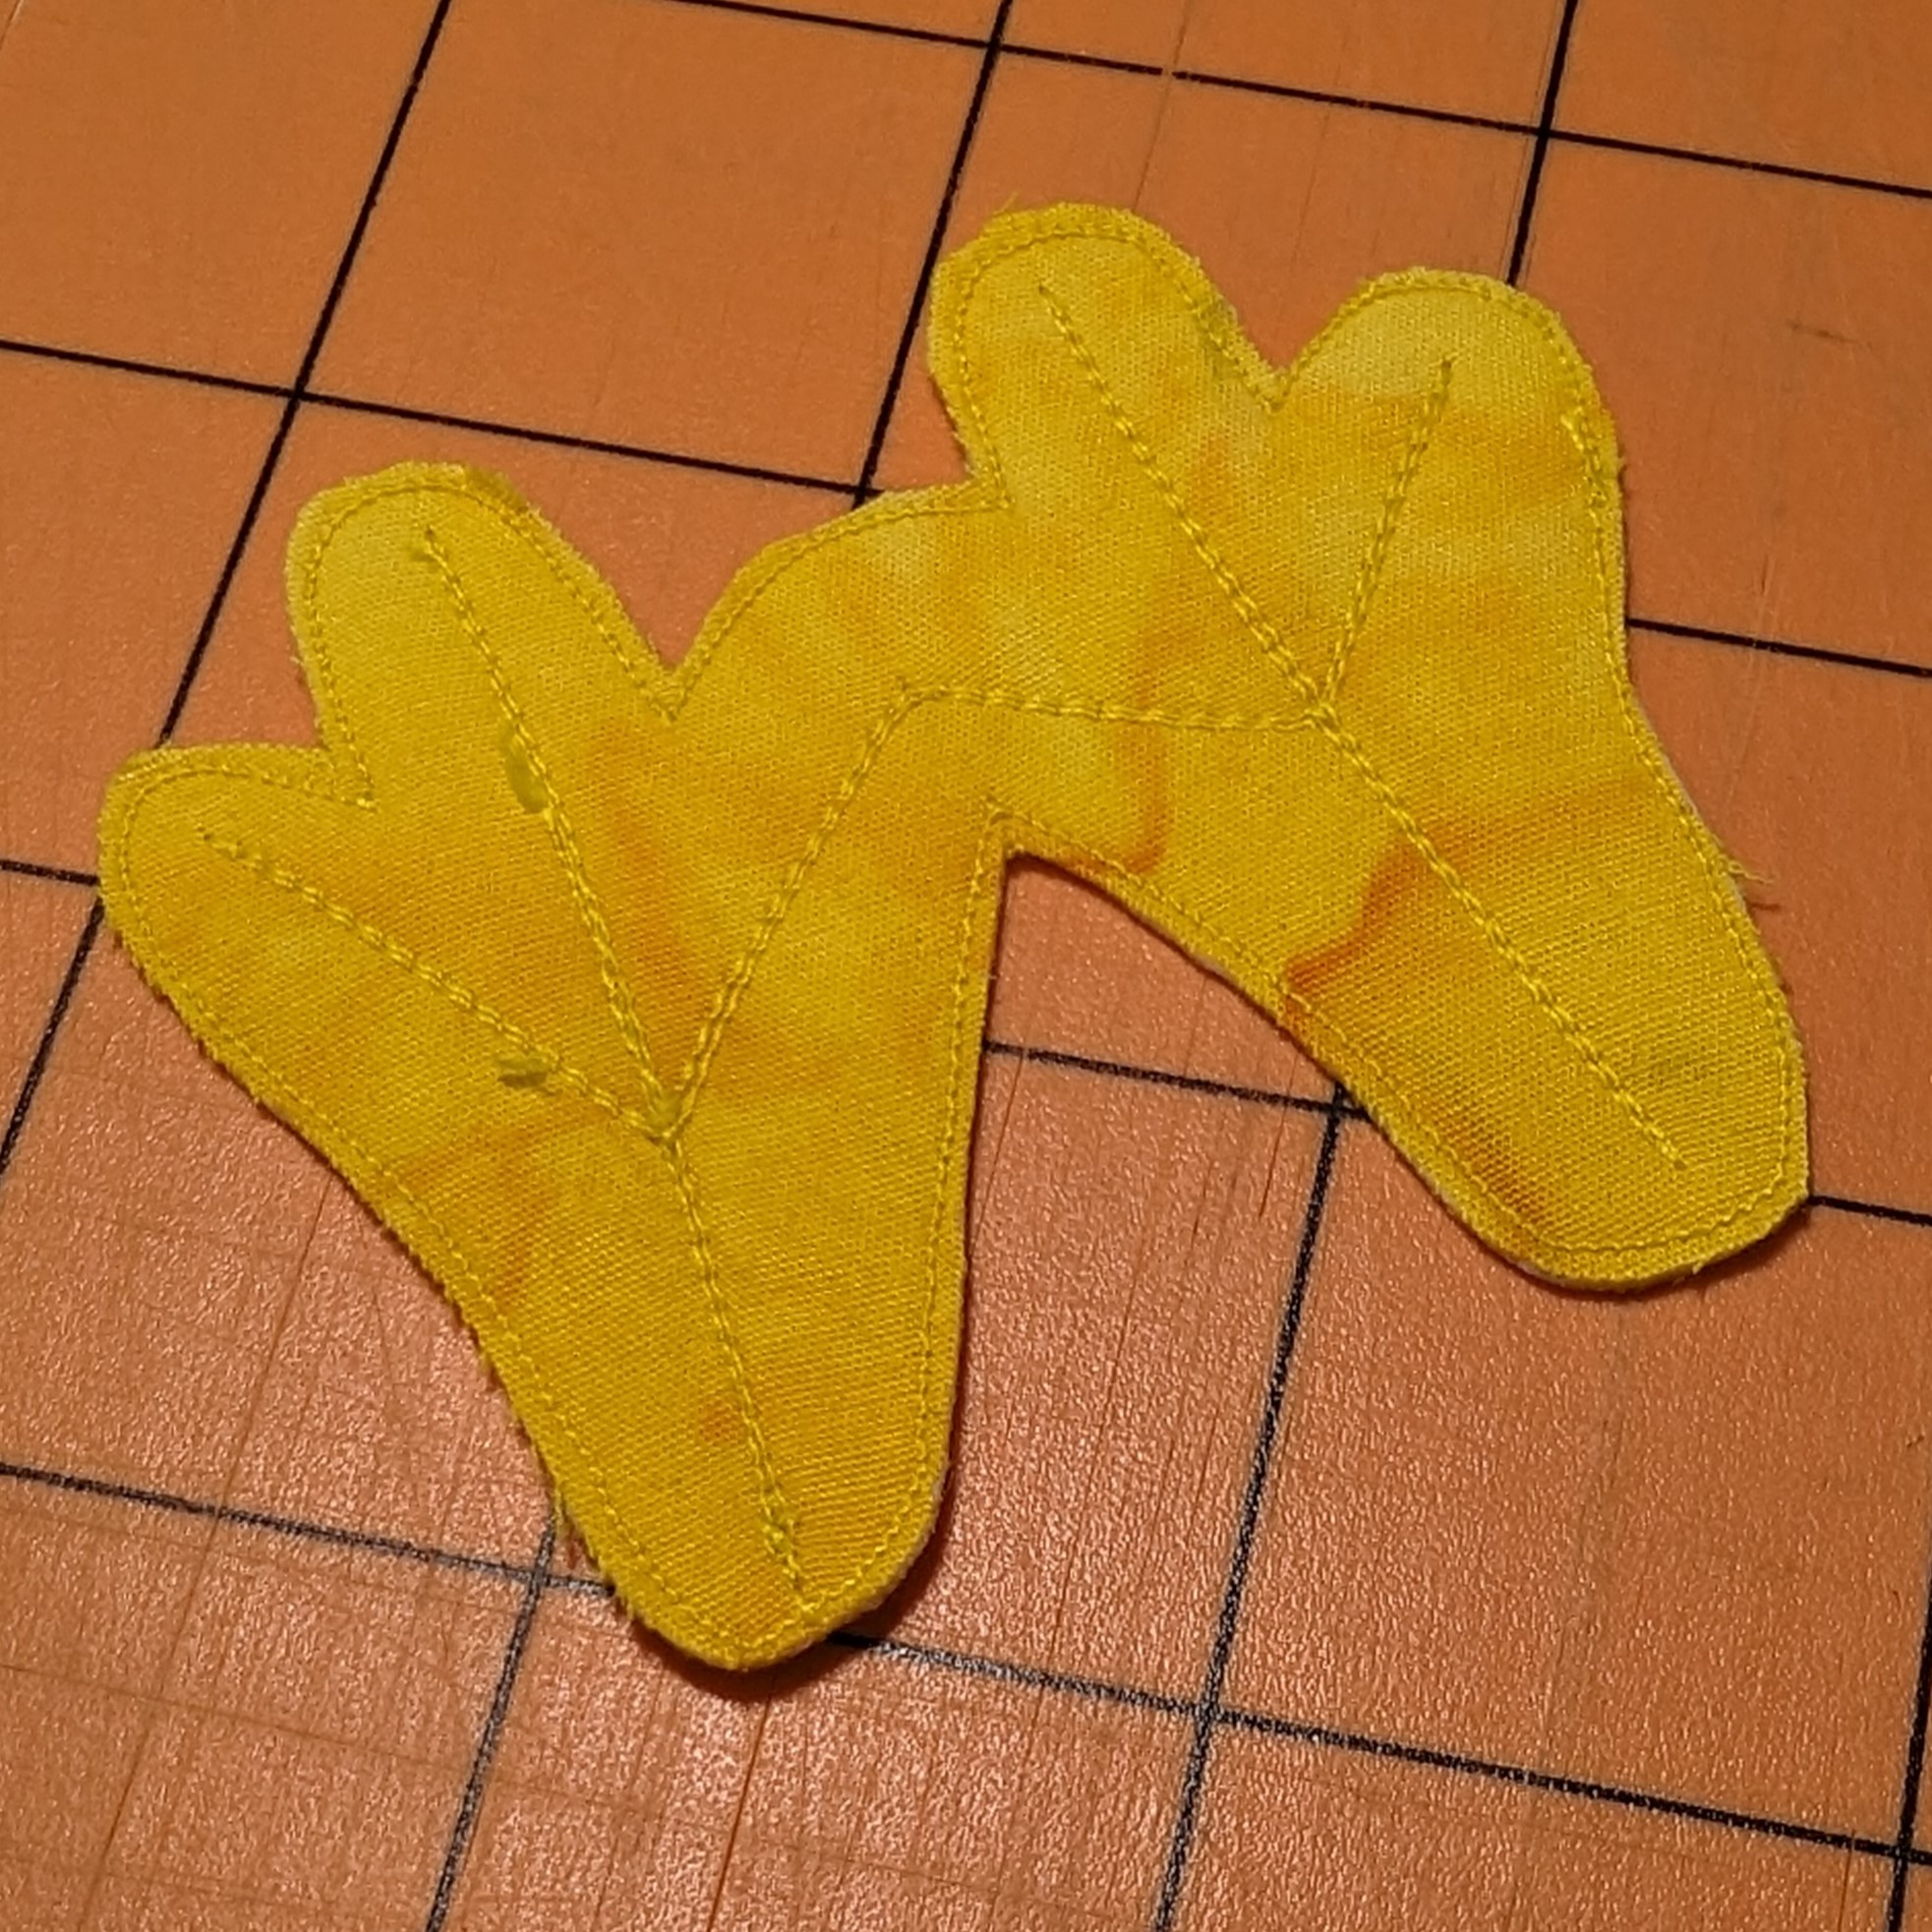
Layer feet with a piece of batting. Stitch around, cut away excess batting. Details are optional. I used a Frixion pen to mark the foot shape. (affiliate link)
Pin beak & comb in place, stitch.
Stitch gusset to one side of body. Press out, align other side of body to body + gusset. Stitch. Leave a 2” opening to turn.
Clip curves.
Turn and hand stitch closed.
Hand stitch or glue feet in place.
Jennifer O’s Chook
Did you enjoy this pattern? Be sure to give Cat some love in comments!
Thank you for stopping by for this very special Free Pattern Friday!
If you enjoy my free content, please considering buying me a Ko-Fi. Your support is greatly appreciated.