

I don’t make many New Year’s Resolutions, but I do start each year trying to be more organized. I’m starting with my personal spaces this year; my jewelry, make-up, and the like.
I love big, swishy earrings, handmade, hand-beaded, felted, you name it. I have loads that were made by friends and a few made by myself, and those are definitely my favorites.
Storage has gotten a bit precarious, and I’m usually trying to disentangle the mess and find a missing earring.
For quite a long time, I’ve used a small earring organizer to keep my studs and other small earrings that have a stem and a back. It was time for a new, bigger version so I could finally find all of my fabulous earrings!
You need:
- a picture frame with no glass (recycled or raw wood)
- plastic canvas
- hot melt glue
- scissors
- ribbon
- stapler (a staple gun works great if you have one) or thumb tacks
- optional: paint & glitter
Cut the plastic canvas to fit inside your frame.


Optional: Paint the frame the color of your choice. If the frame is recycled and has a finish, you’ll need to give it a light sanding before painting.
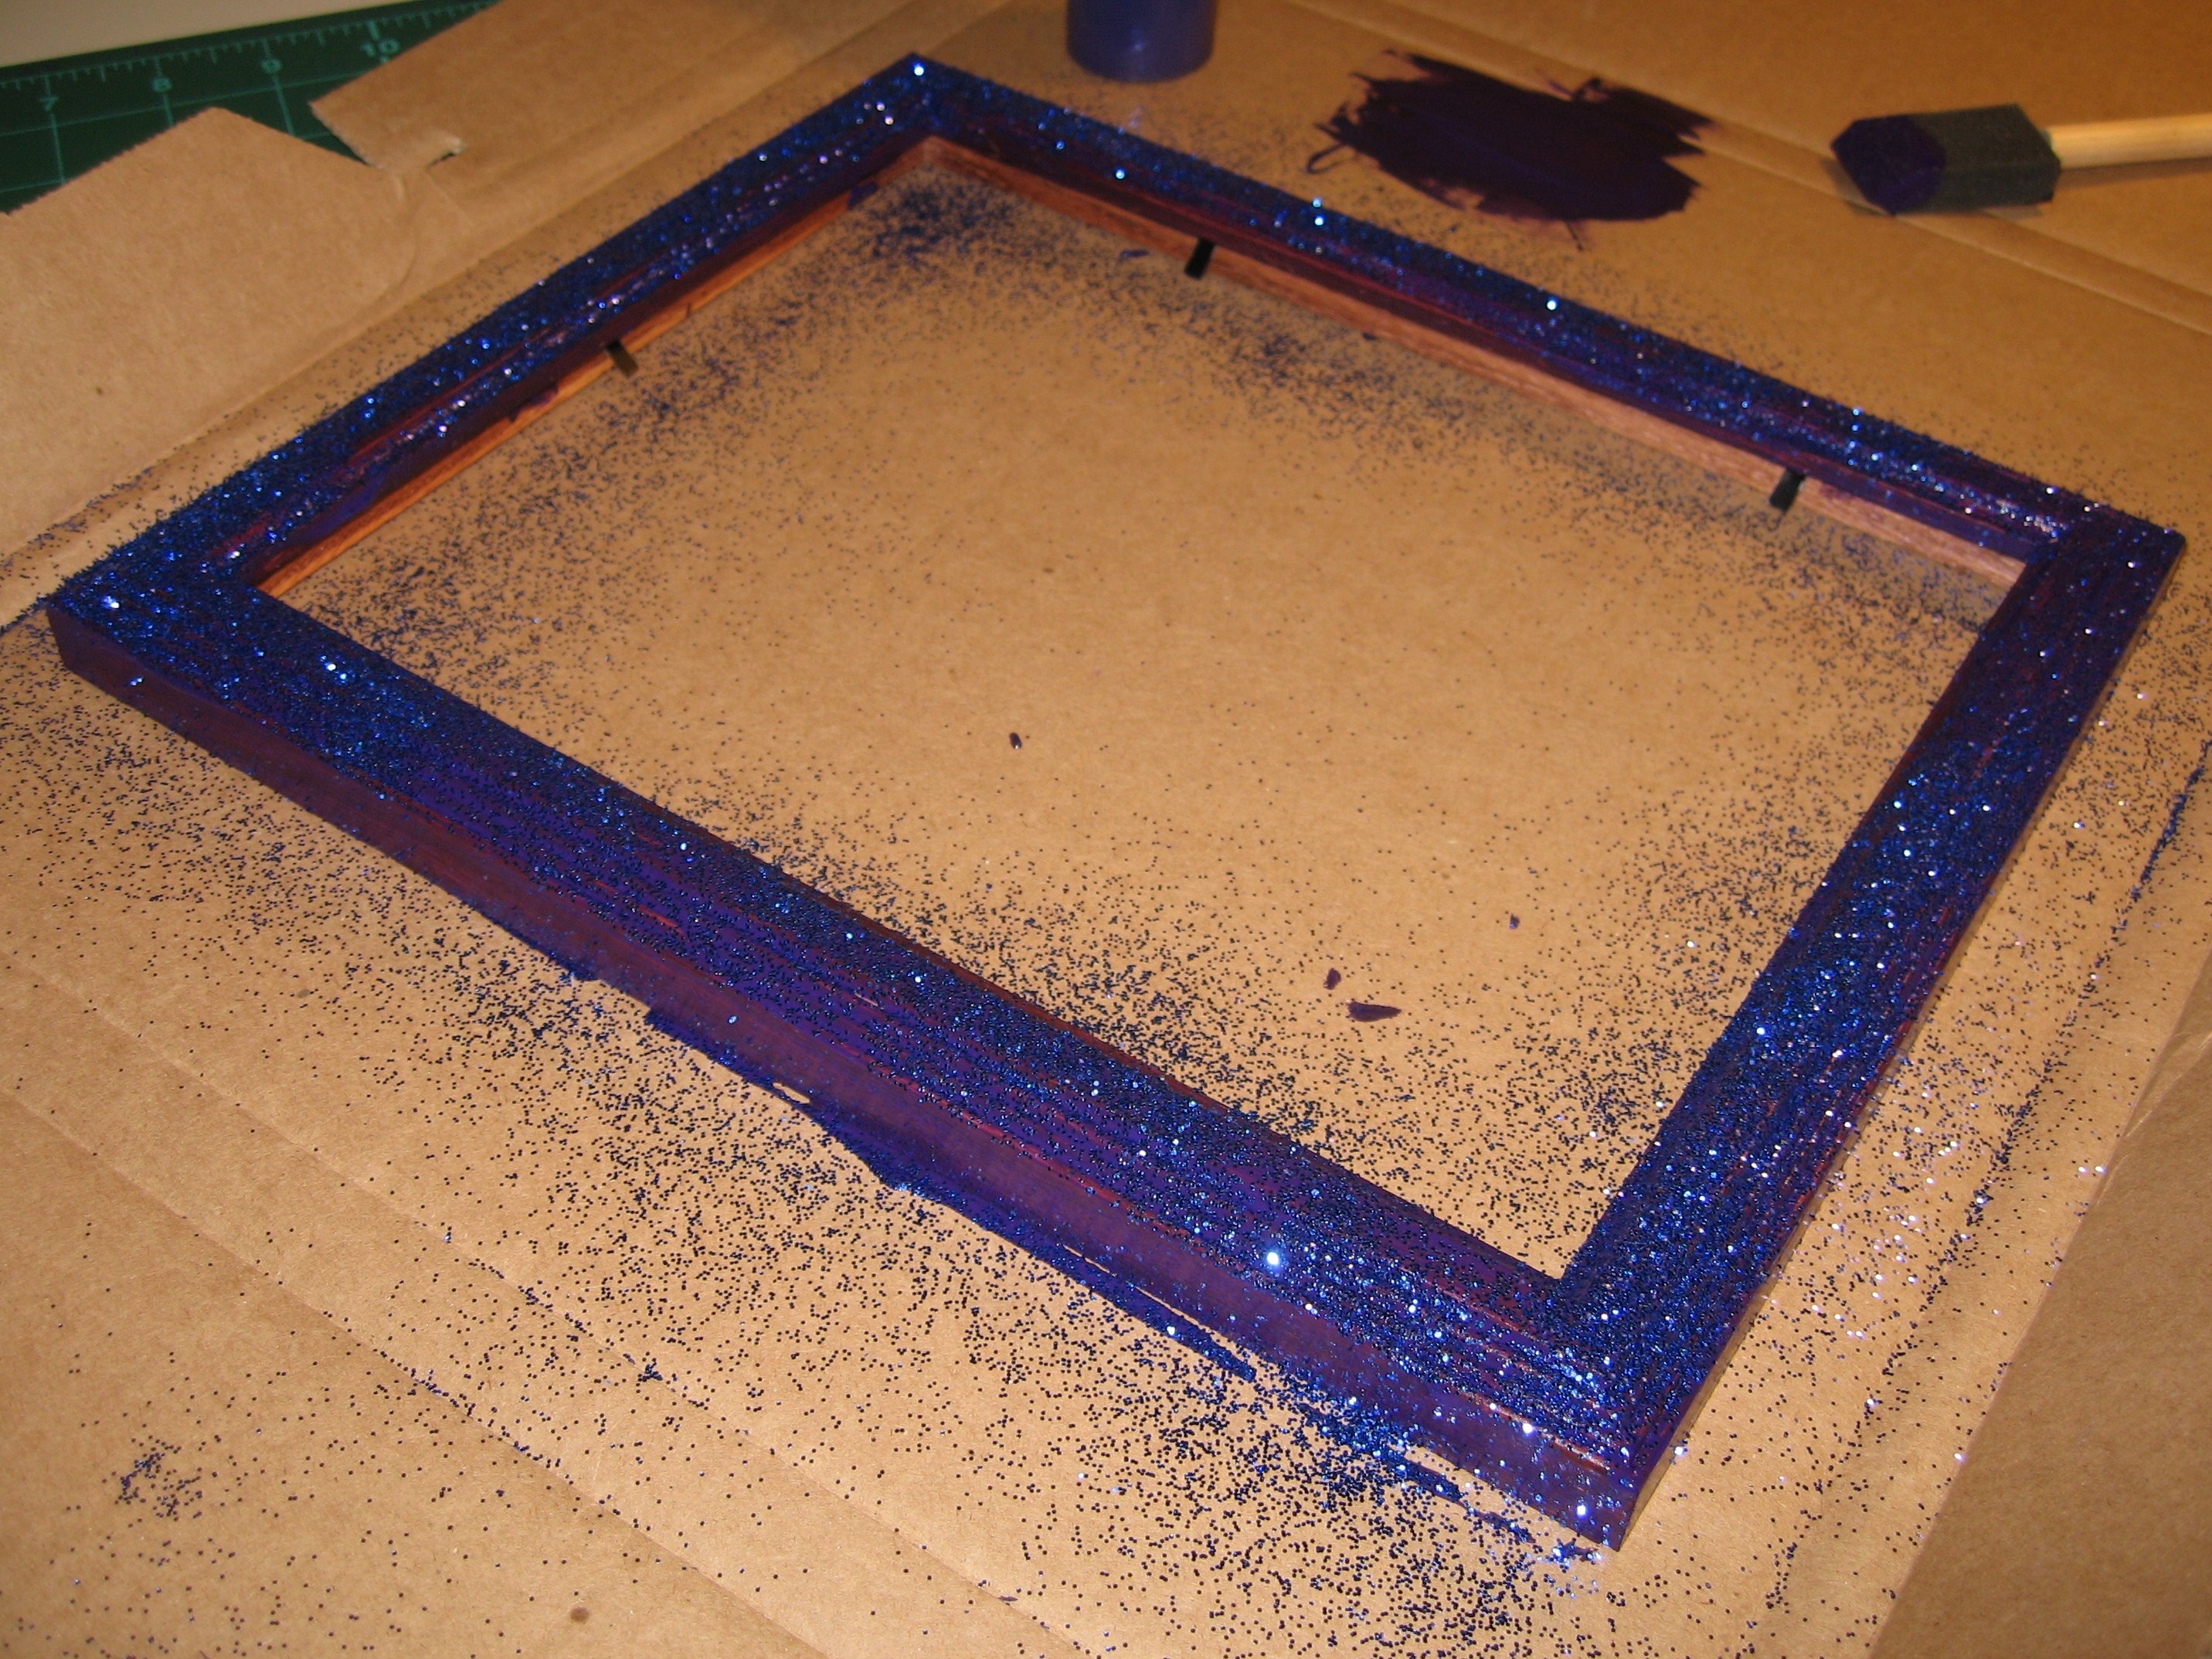
I’m particularly fond of glitter…so I sprinkled some on my frame while it was still wet.
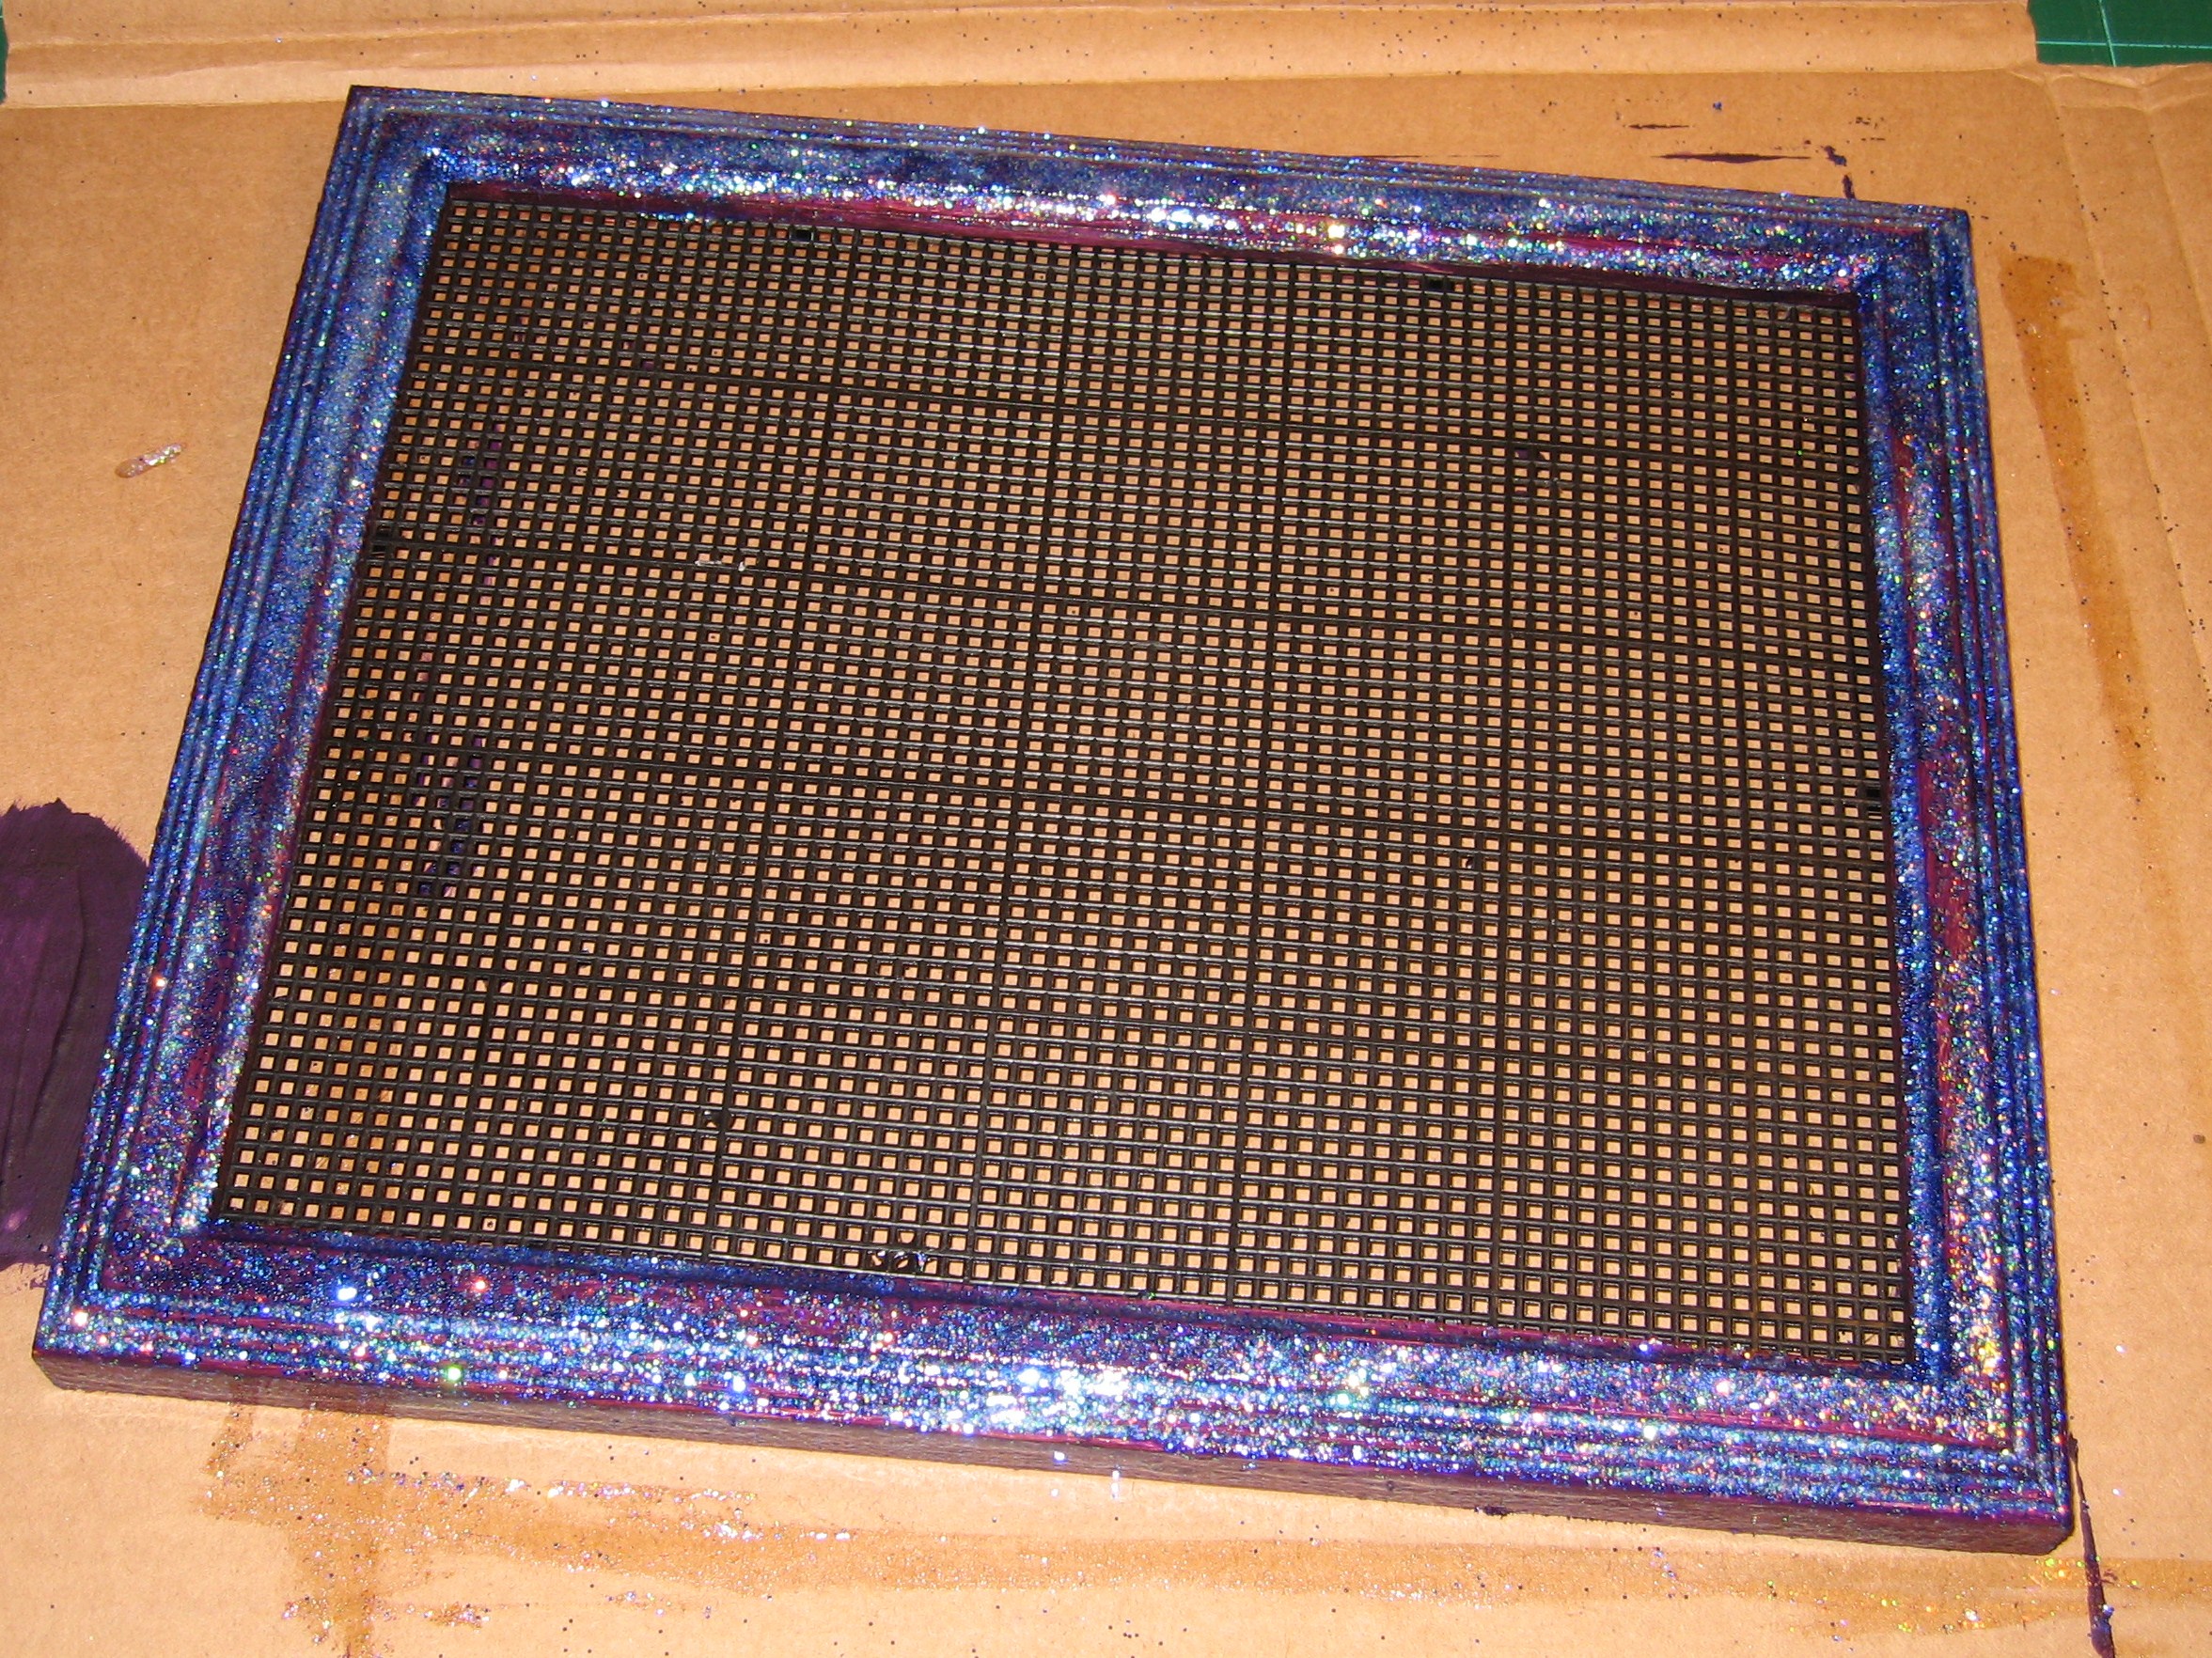
Once the paint and glitter are dry, place the plastic canvas inside the back of the frame. Go around all four sides with hot melt glue.

Cut a piece of ribbon long enough to reach from one corner of the frame to the other, plus a little for turning under on the ends. The length here depends on how you want your final product to look and how much of the ribbon you’d like to show. Turn the ends under and staple or tack in place.

Hang on the wall and add all of your lovely dangly earrings! Works best with French hook earrings.
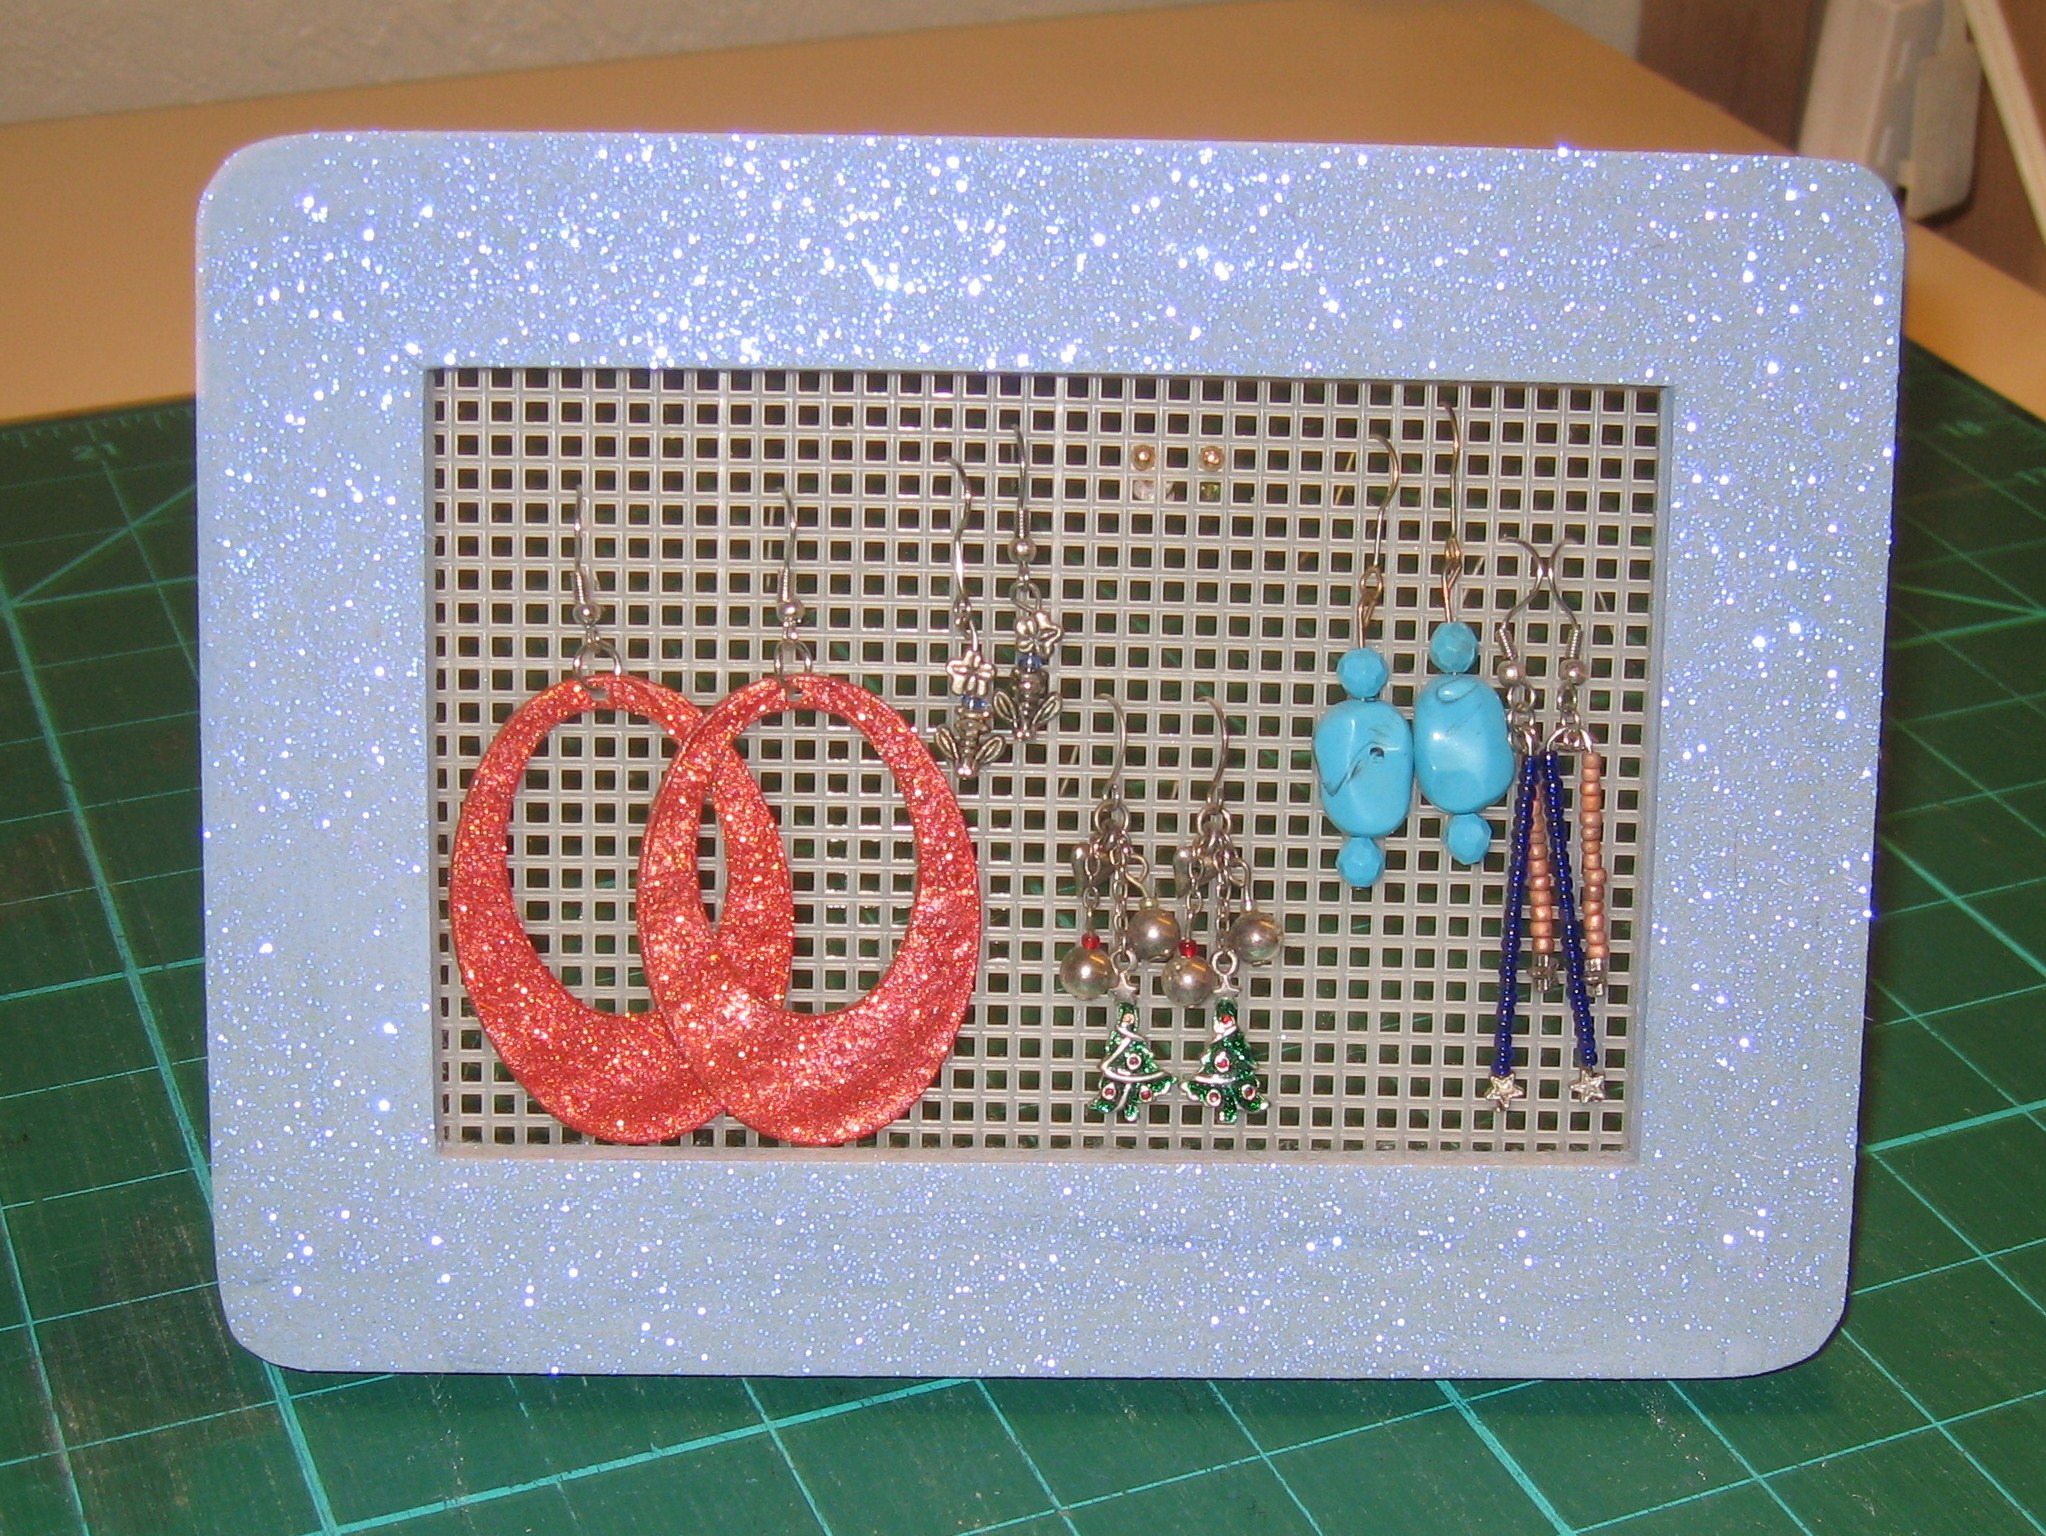
Smaller, desk version
Find my free patterns on Sewhooked & Fandom in Stitches.
♥ Jennifer O
Posts on this blog may contain affiliate links to help cover the cost of my website. I thank you for your generous support. ♥

Thank you Jen,
Thats a good one.
I made one a few years ago.
But with 6 kids nothing ever lasts long.
Ana
My pleasure, Ana! I guess it’s time for you to make another. 😉
Jennifer
Thanks so much for the directions – I made one awhile back with actual screen but this sounds much easier.
You’re very welcome!
I did get the idea from seeing earring hangers made with screen, but what I had on hand was plastic canvas, and I’m all about using up what I’ve got. 🙂
Jennifer
you have a great imagination, I’m really impressed with the finished product, I might give it a try also.. thanks a lot..~
Thanks! I hope you do give it a try, it’s really easy and I use mine every day. 🙂
Jennifer
Love this! We finally made some 🙂 put pictures in my LJ and on flickr.
Oh, I have to go look right now! 😀
very nice, i’ve made a few over the years, i usually use the stand frames to put on my dressing table. but since my earring collection has been growing, i decided to combine it all onto one big hang up frame, and added little L hooks to the sides and round hooks at the bottom of the frame to hang up my hoop earrings and other pieces of jewelery like rings and bangles, etc…
Hooks are a great idea! I’ve been thinking about a solution for that kind of thing. Hmmm, you’ve got me thinking now!