
Last year, I made a list of ideas to help inspire me through difficult times.
I’m sharing it with you here in case it might be helpful to anyone reading.
Follow one prompt per month or use as needed. ♥
Creative Slump Inspiration
| Easy Win | finish a project you already started, the closer to finished it is already, the better |
| A piece of art for your creative space | wall hanging, painting, etc |
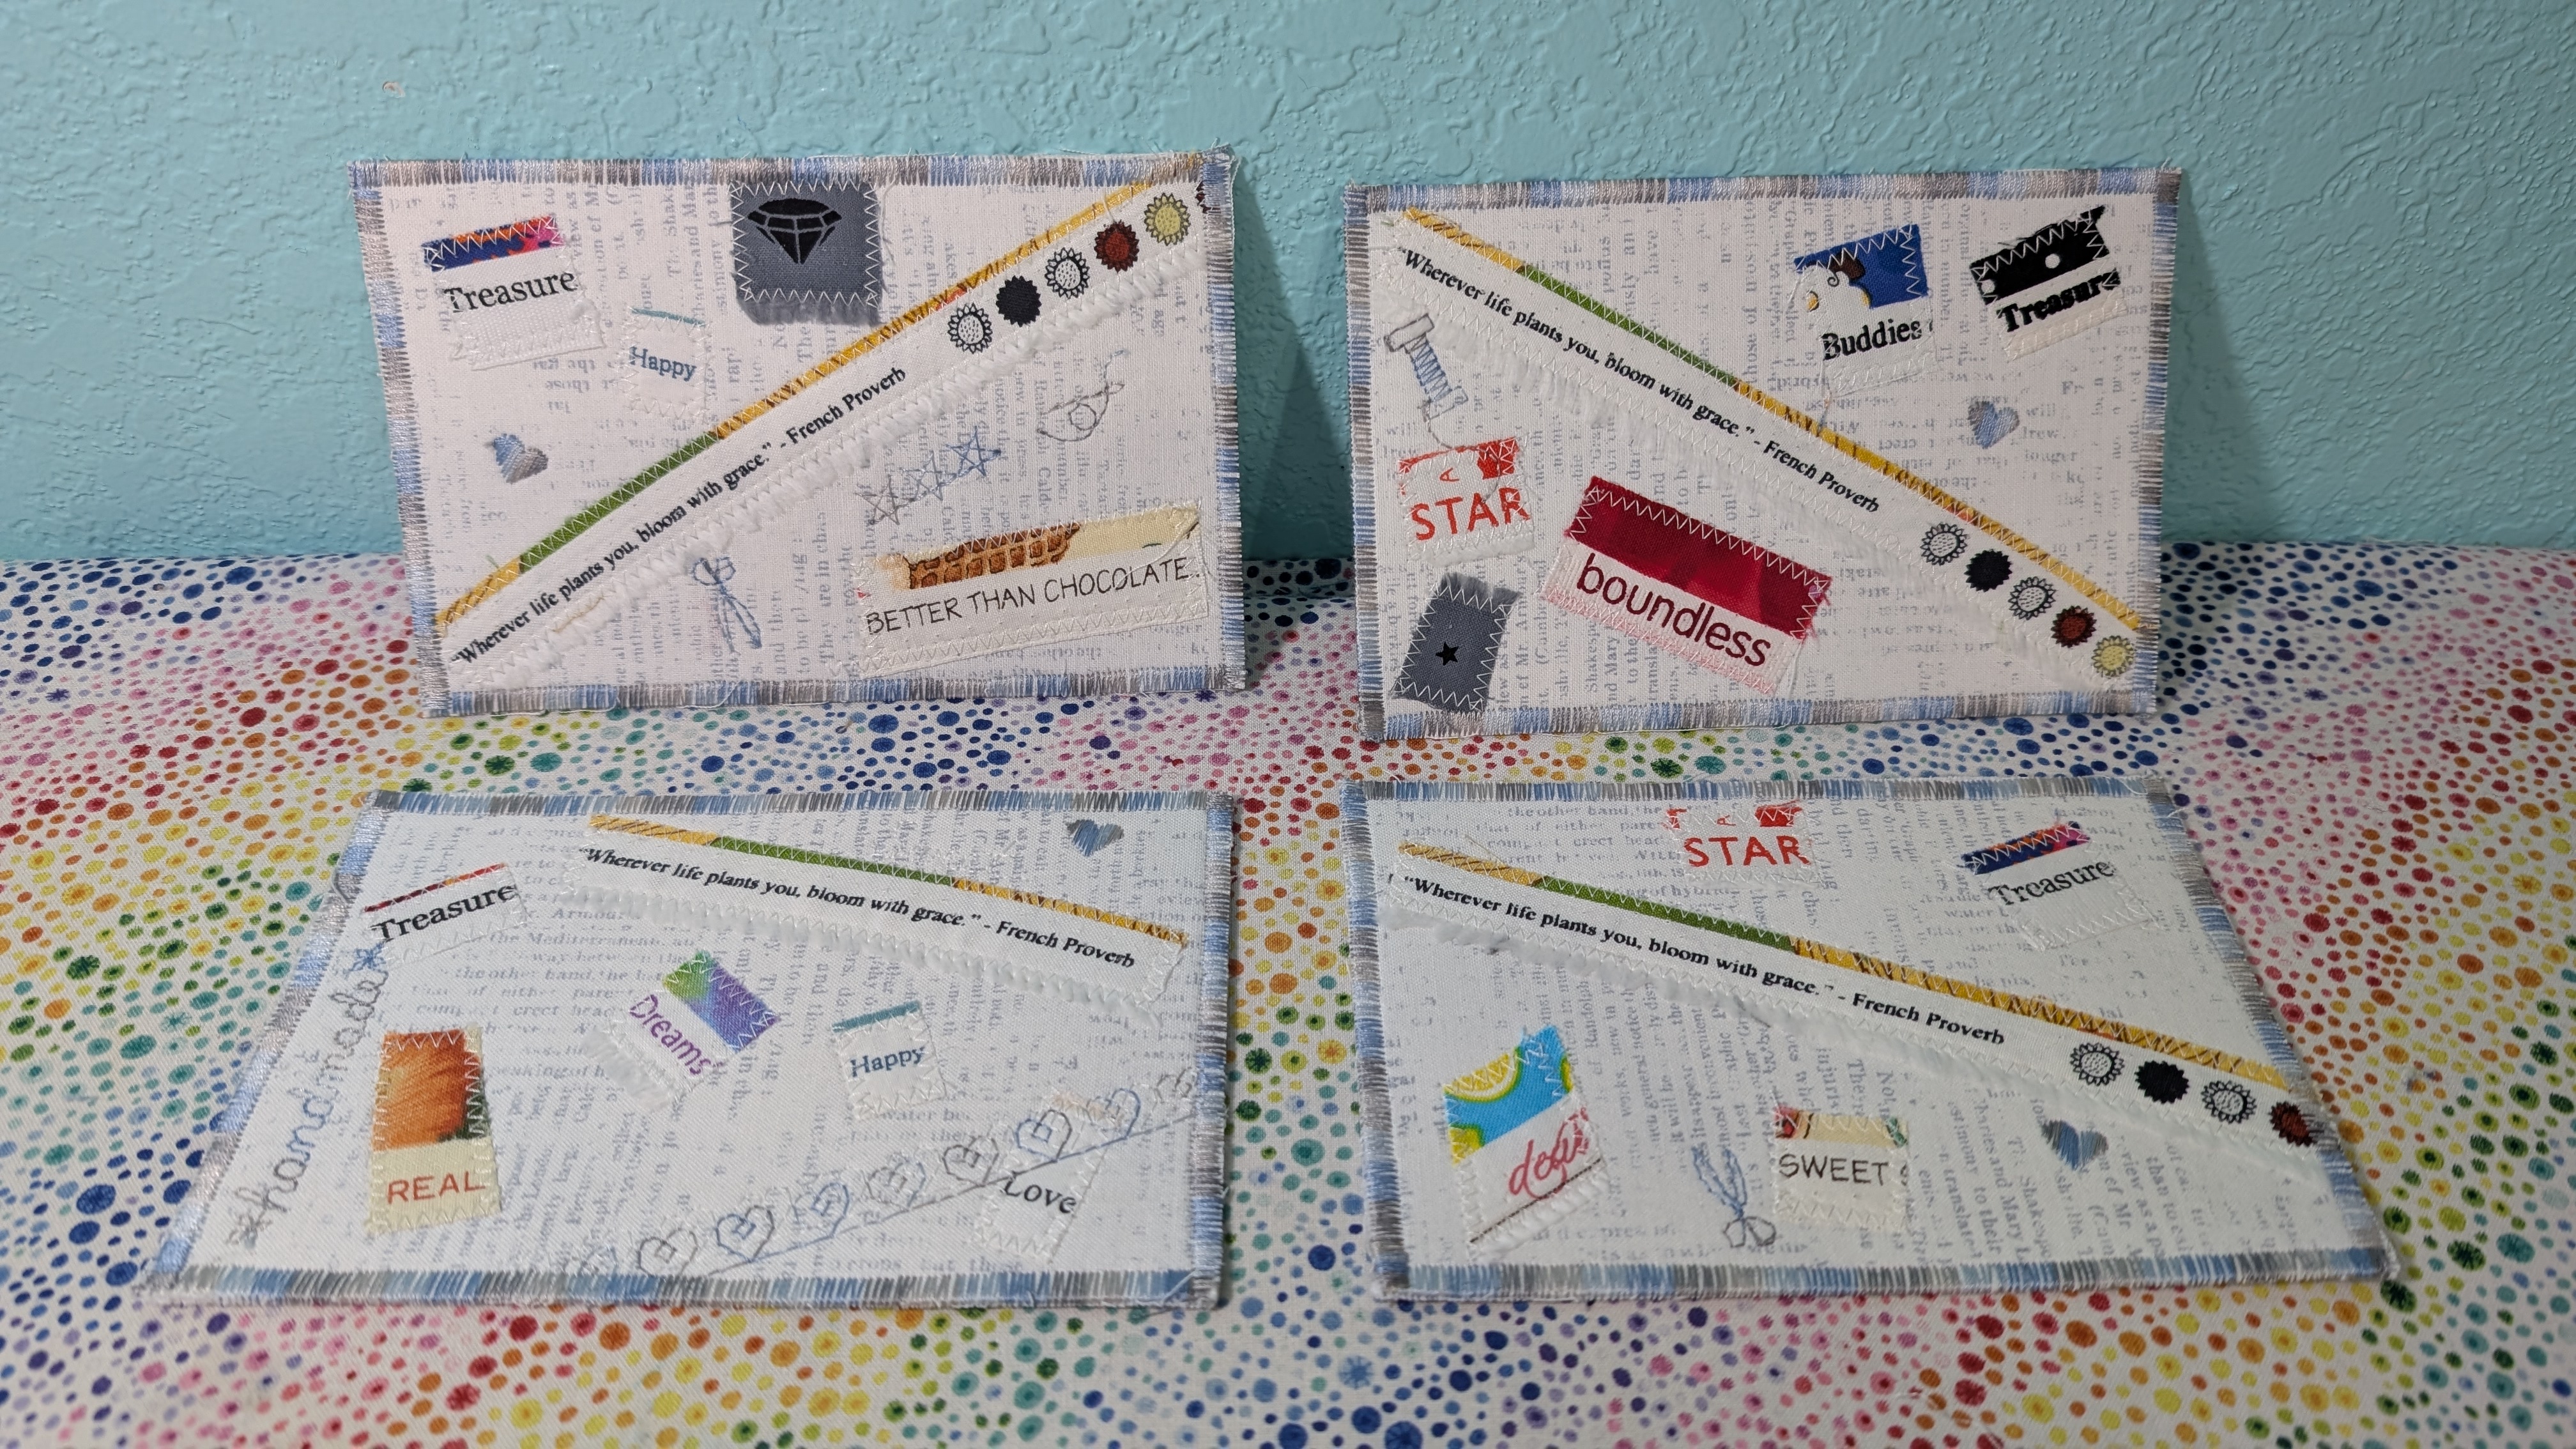
| Make a postcard and send it to someone you care about (even yourself!) | collage, embroidery, etc (see examples above) |
| Restyle clothing you don’t wear (this is one of my favorite go-to things for inspiration!) | stamp, embroider, applique, paint, tie dye, change the buttons, or otherwise change a garment you already own |
| Make a craft from trash or recyclables! | mason jar lantern, bottle cap coaster, etc |
| Make fairy decor | tiny doors, tools, etc, use any medium |
| Craft your favorite quote | Use collage, embroidery, paint, etc, to create your favorite quote |
| Favorite artist inspo | create something in your prefered medium in the style of a favorite artist: Applique in the style of Georgia O’Keeffe, make a Van Gogh inspired postcard, create an Andy Warhol inspired wall hanging (see an Andy Warhol-inspired Lion King Quilt made by the Fandom in stitches community) |
| Favorite fictional character inspiration | Love a favorite character? Use their colors, style, era, etc, to help you create a bag, quilt, or outfit! |
| Paint a rock | paint, draw, or otherwise decorate a small rock. Don’t need a pet rock? Leave it in a public space so it can be adopted! #craftforgood |
| Your choice! | Leave your ideas in comments to inspire others! |
Find my free patterns on Sewhooked & Fandom in Stitches.
♥ Jennifer O
Posts on this blog may contain affiliate links to help cover the cost of my website. I thank you for your generous support. ♥


