Tag Archives: gift bag

Free Pattern Friday – Smiling Santa Gift Bag

free-pattern-friday

Welcome back to Free Pattern Friday!

I’m doing something a little different today and sharing an updated version of a tutorial I wrote years ago.

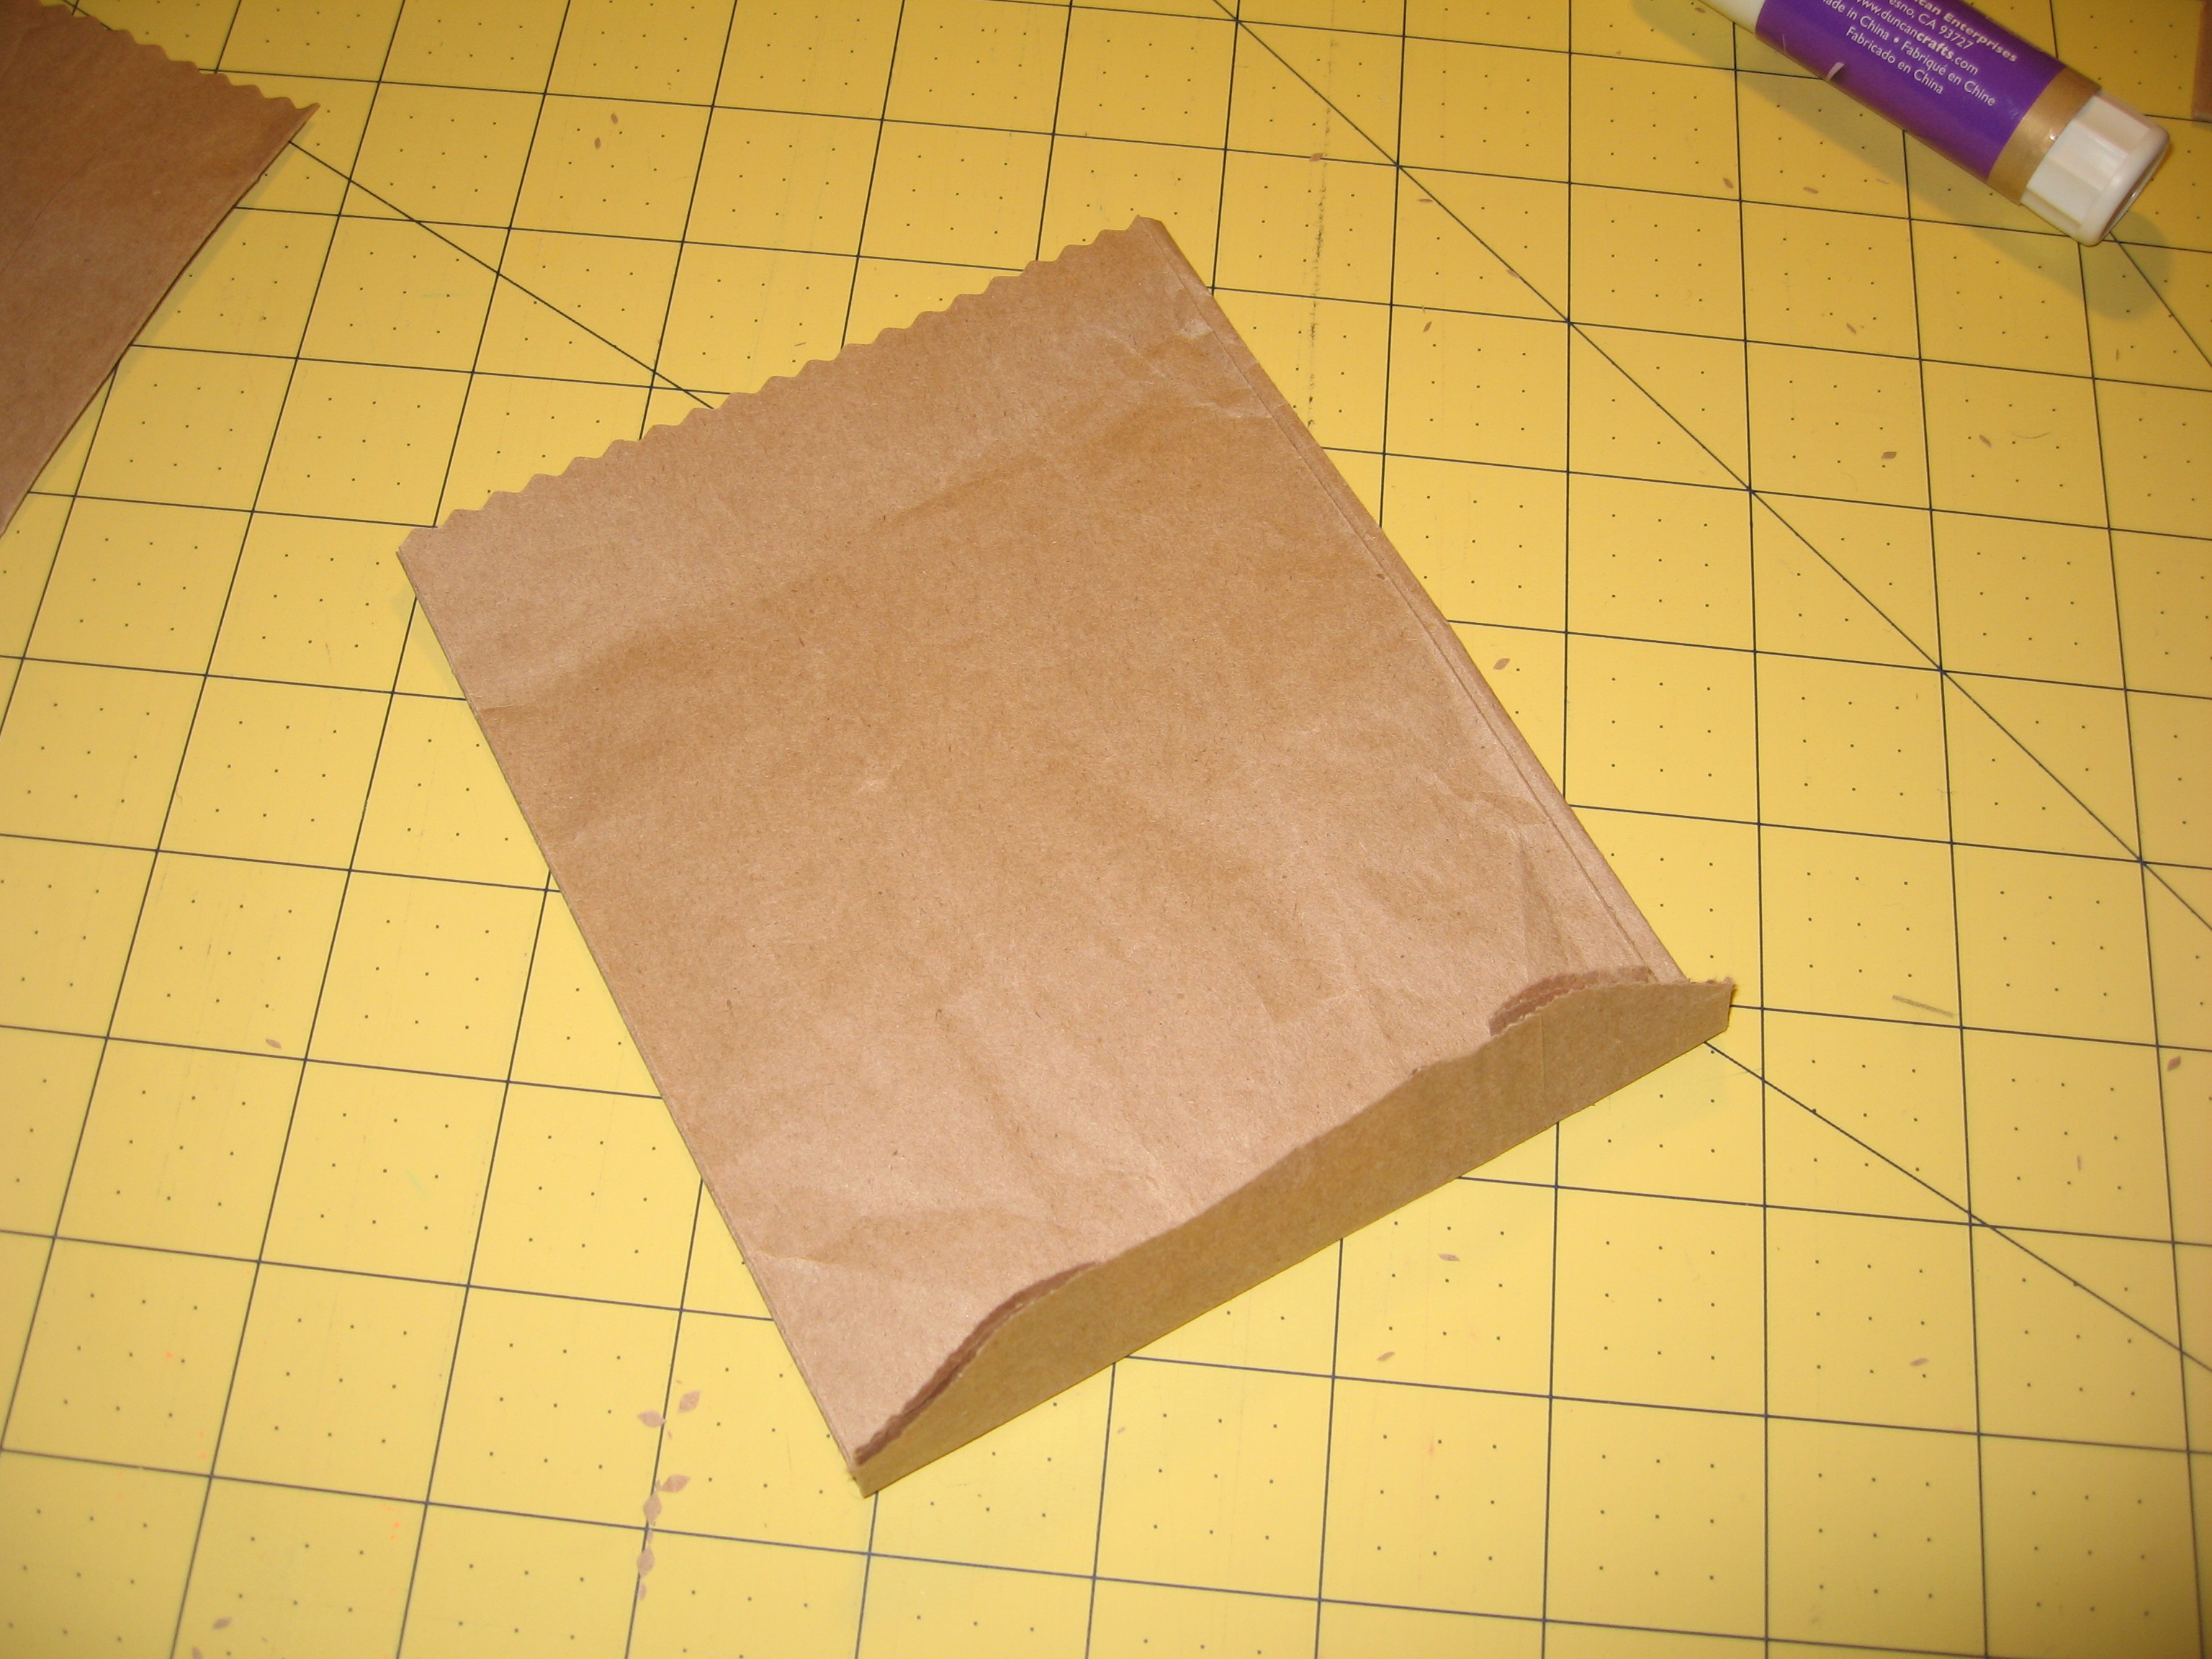
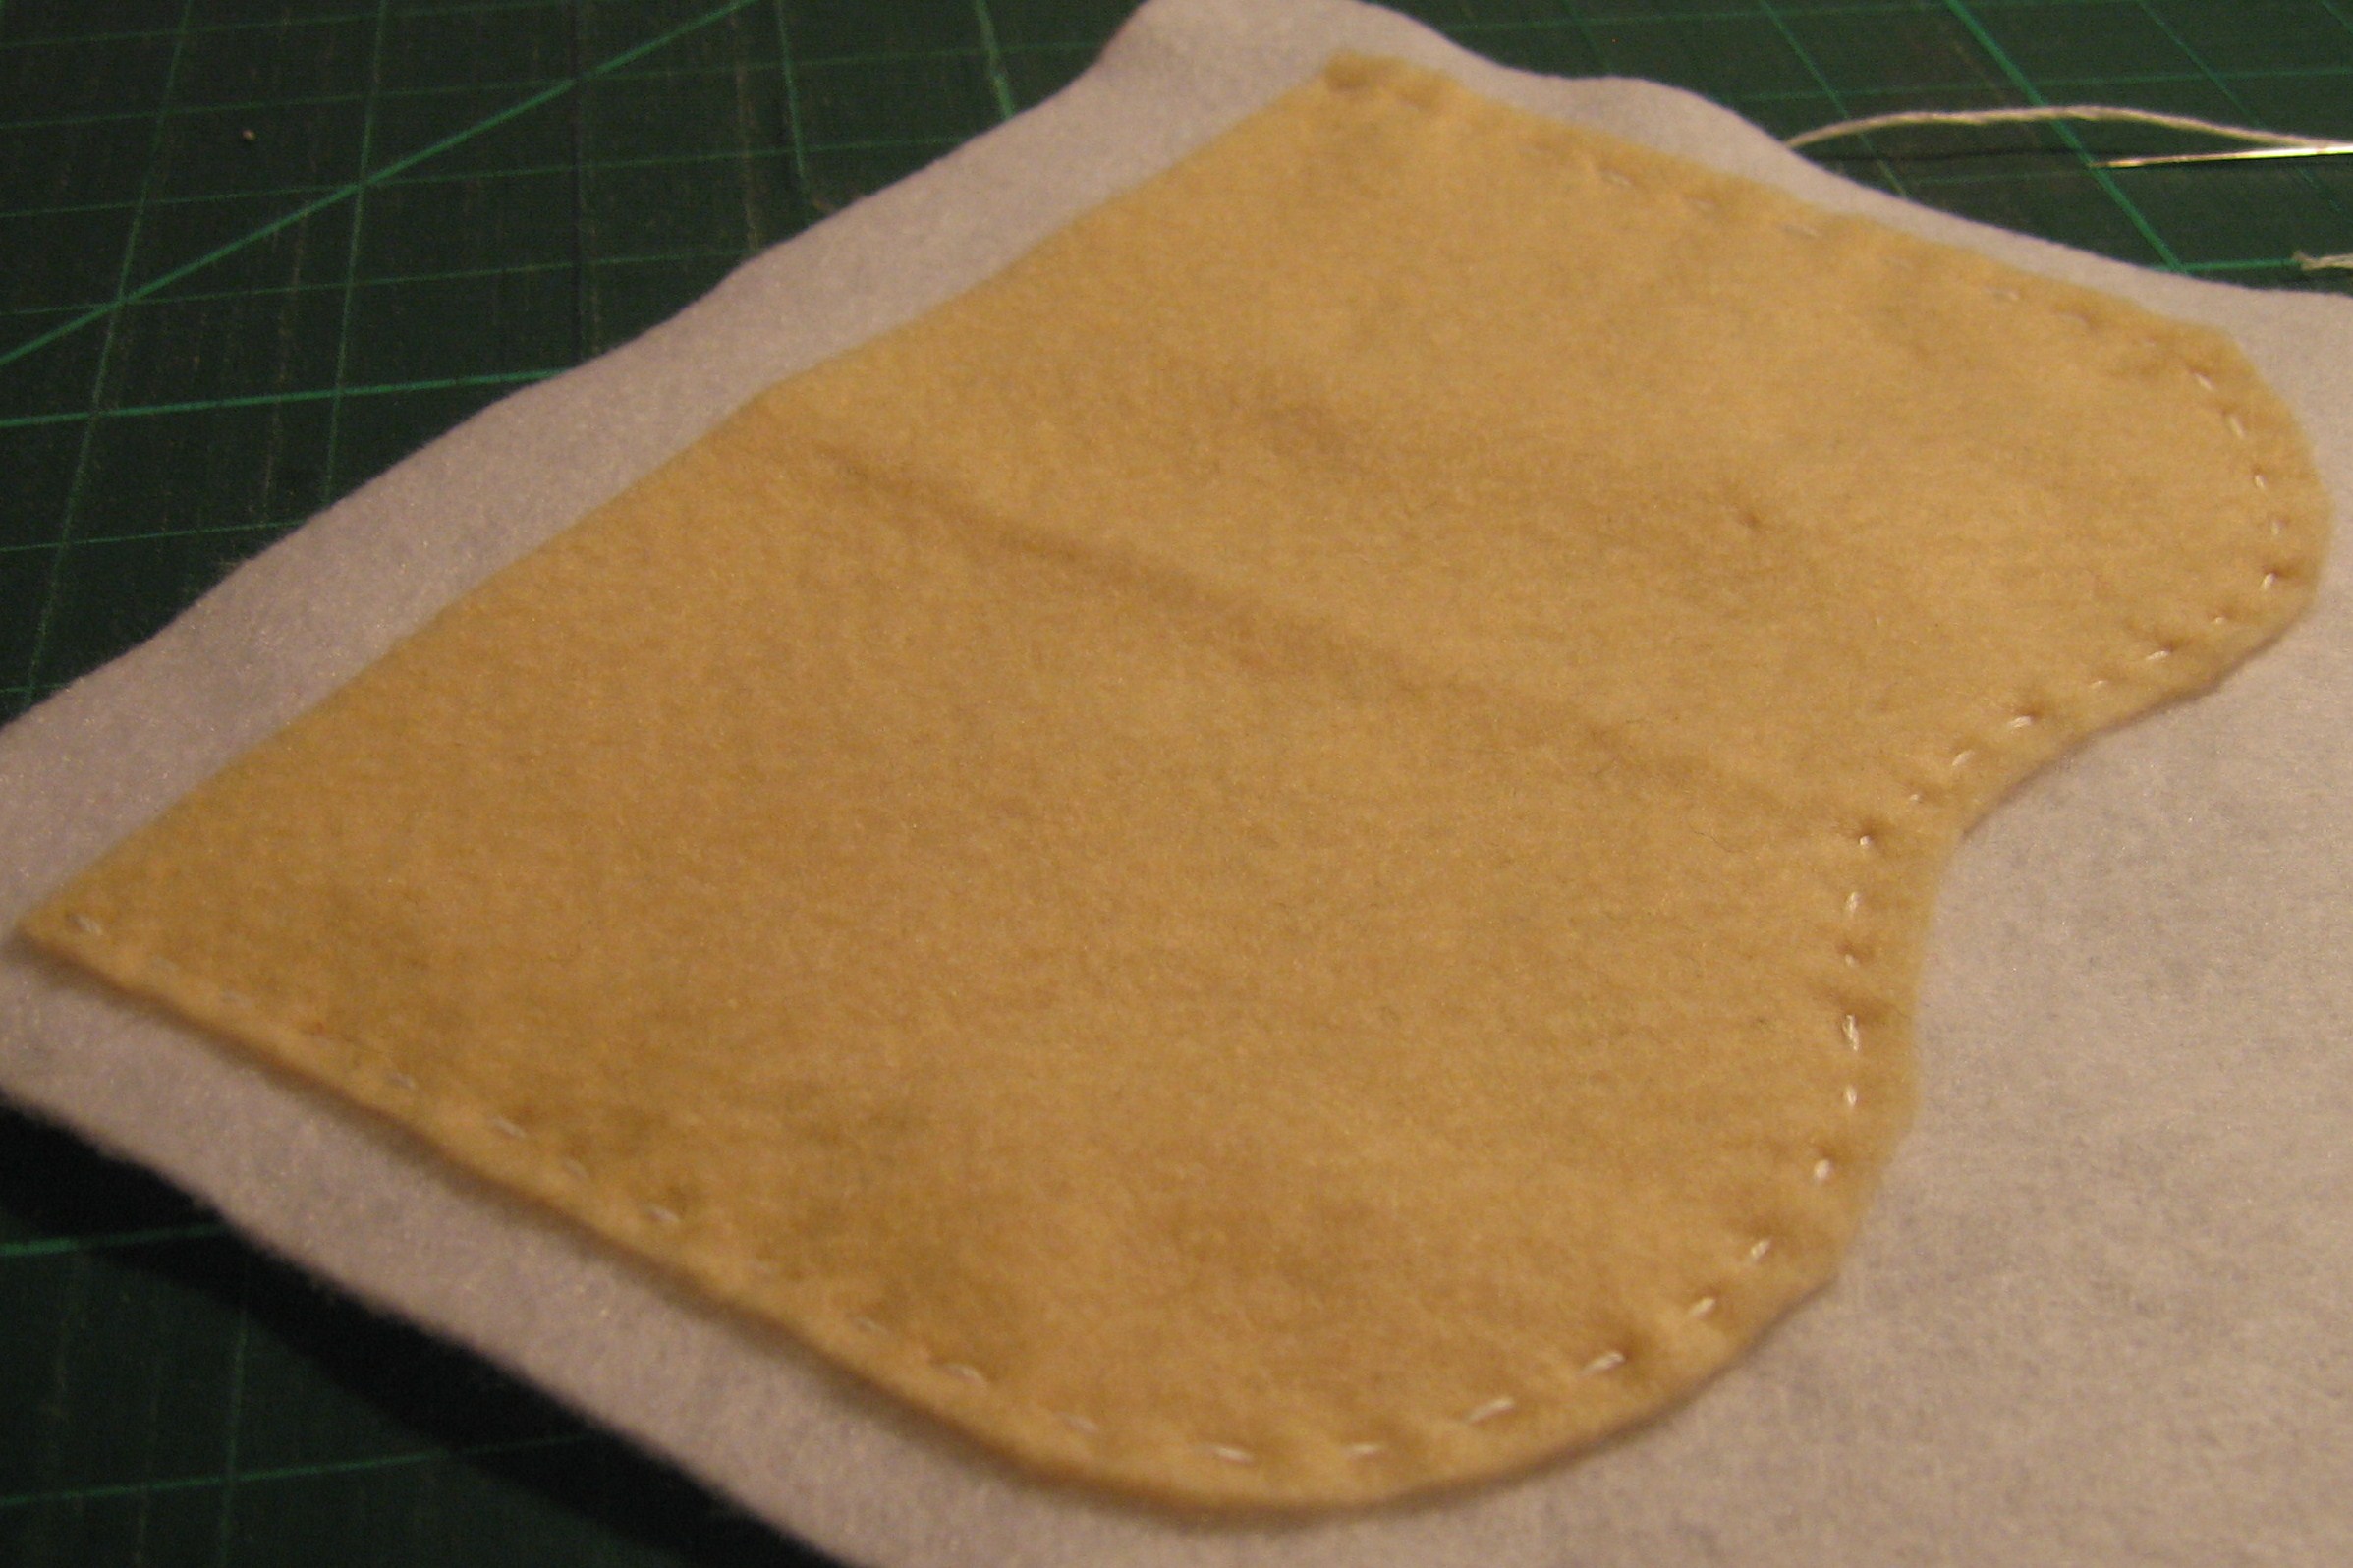
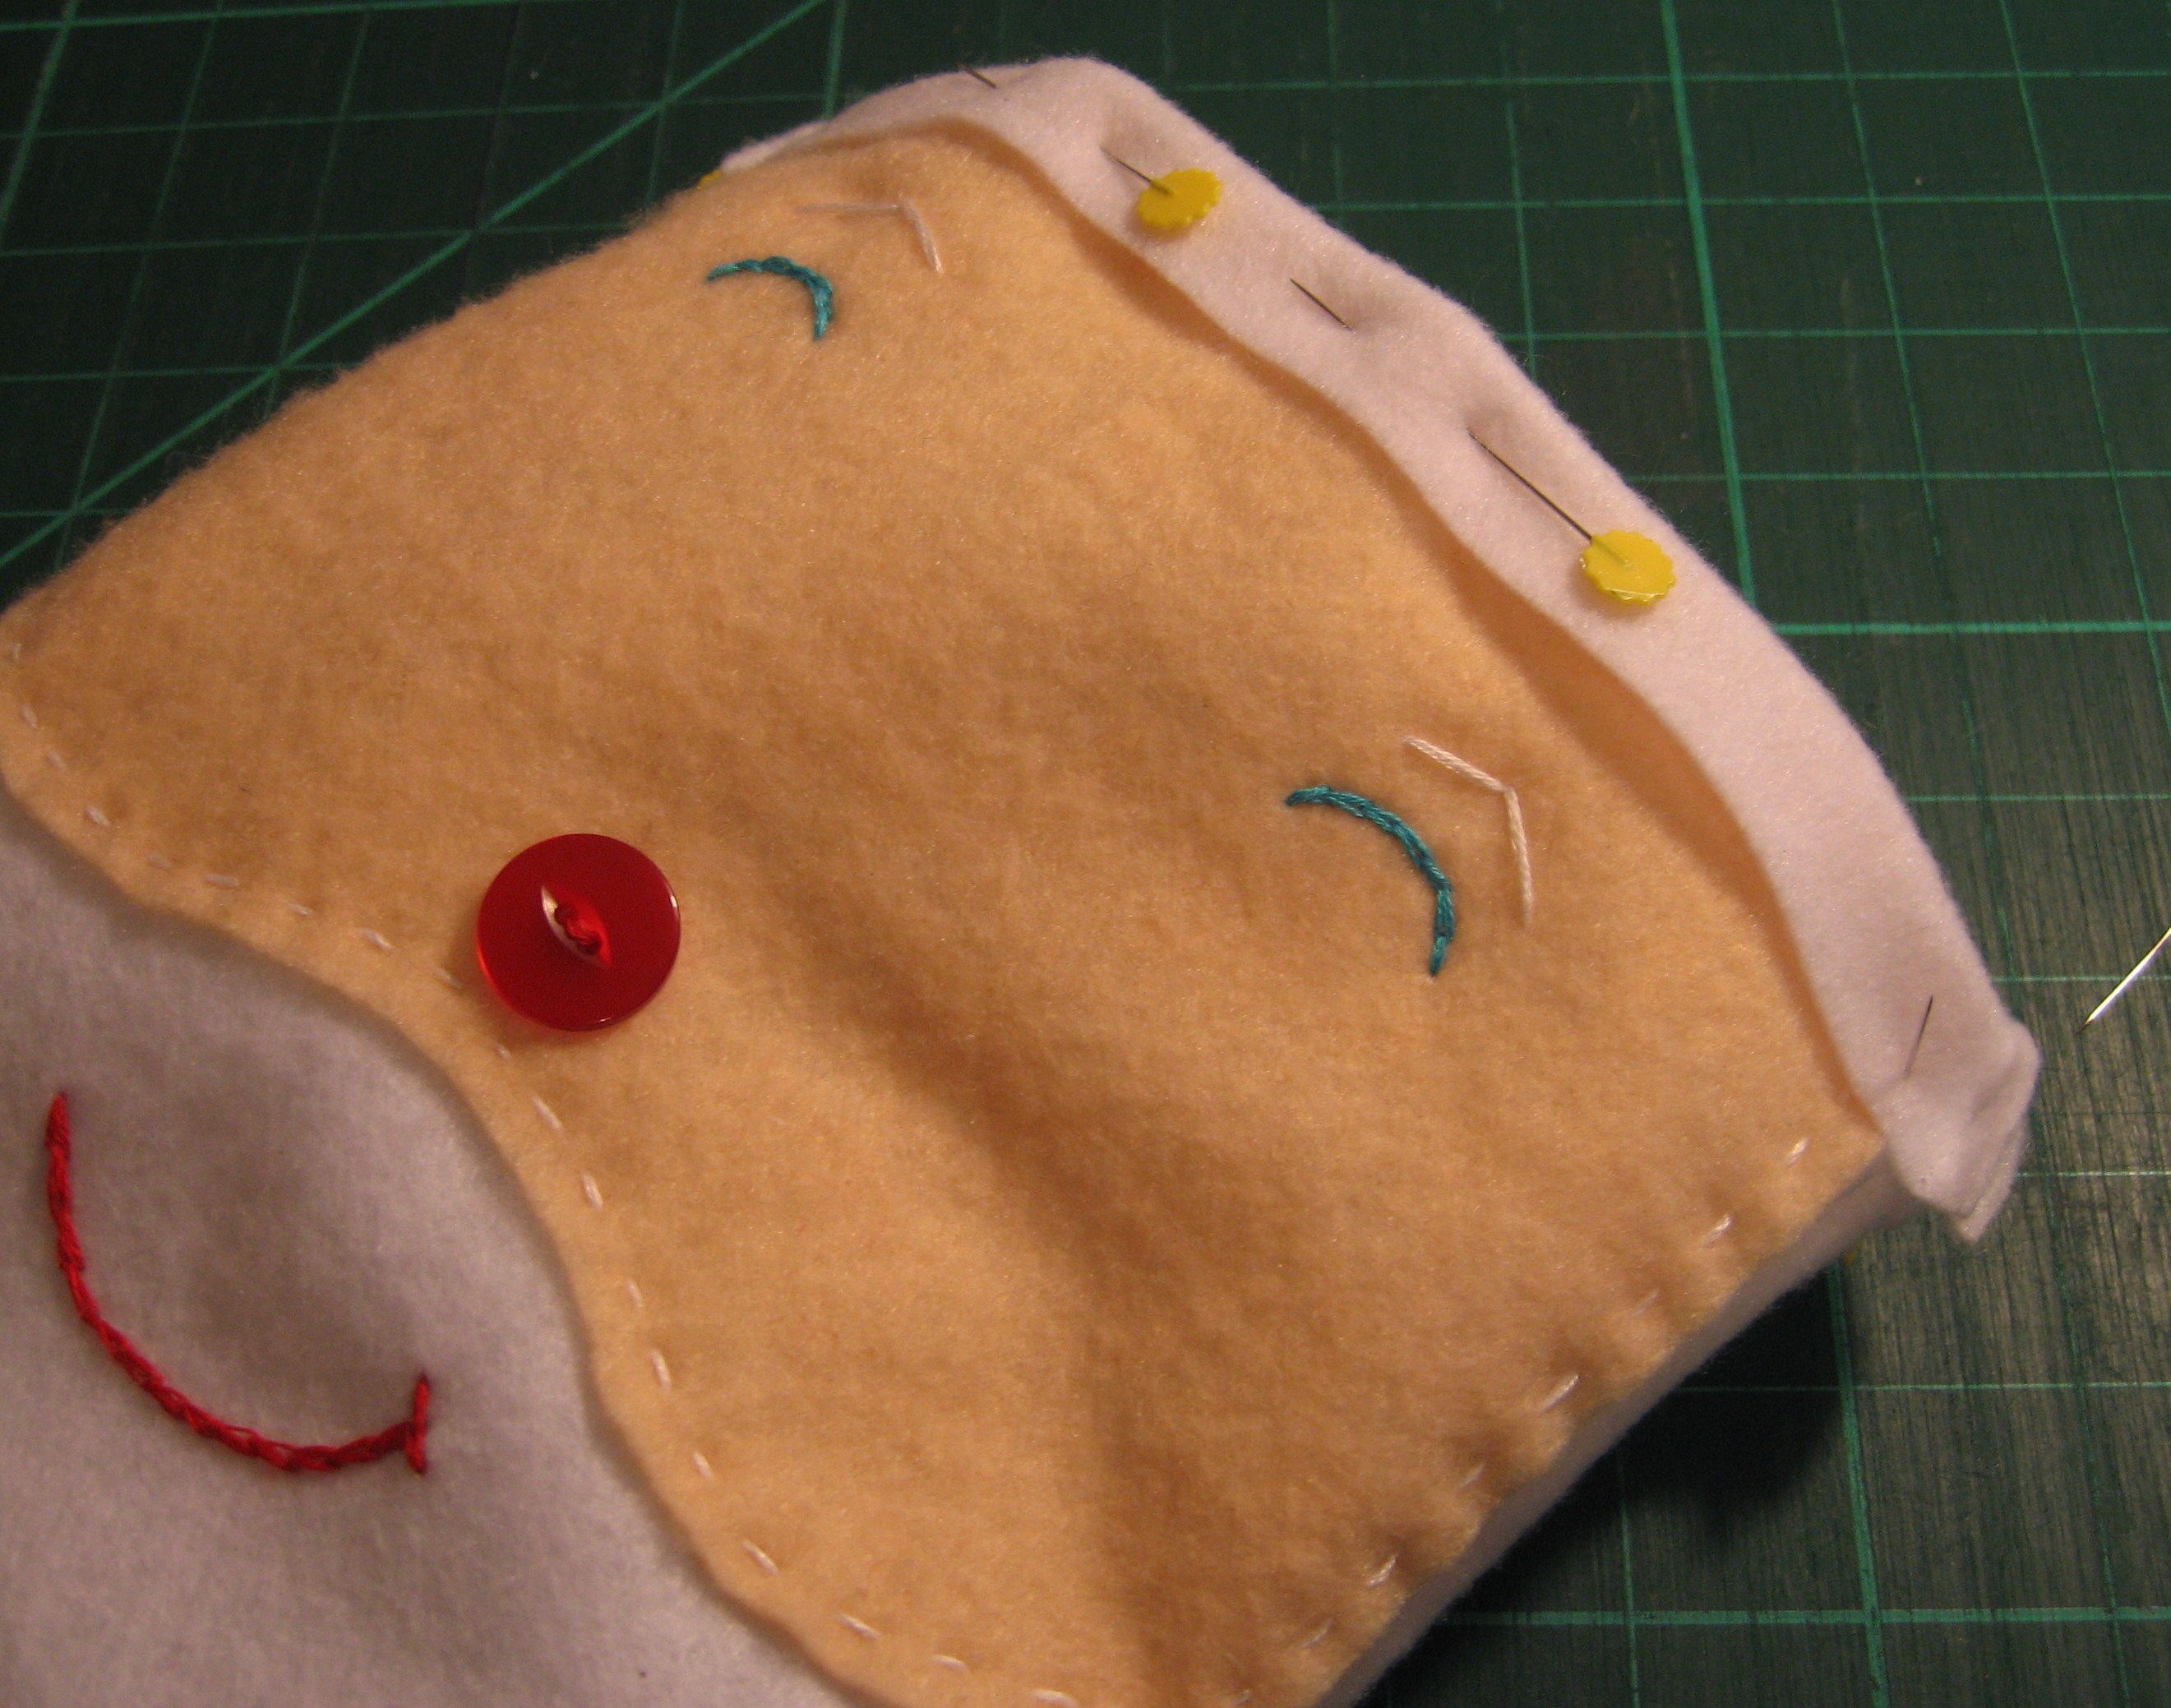
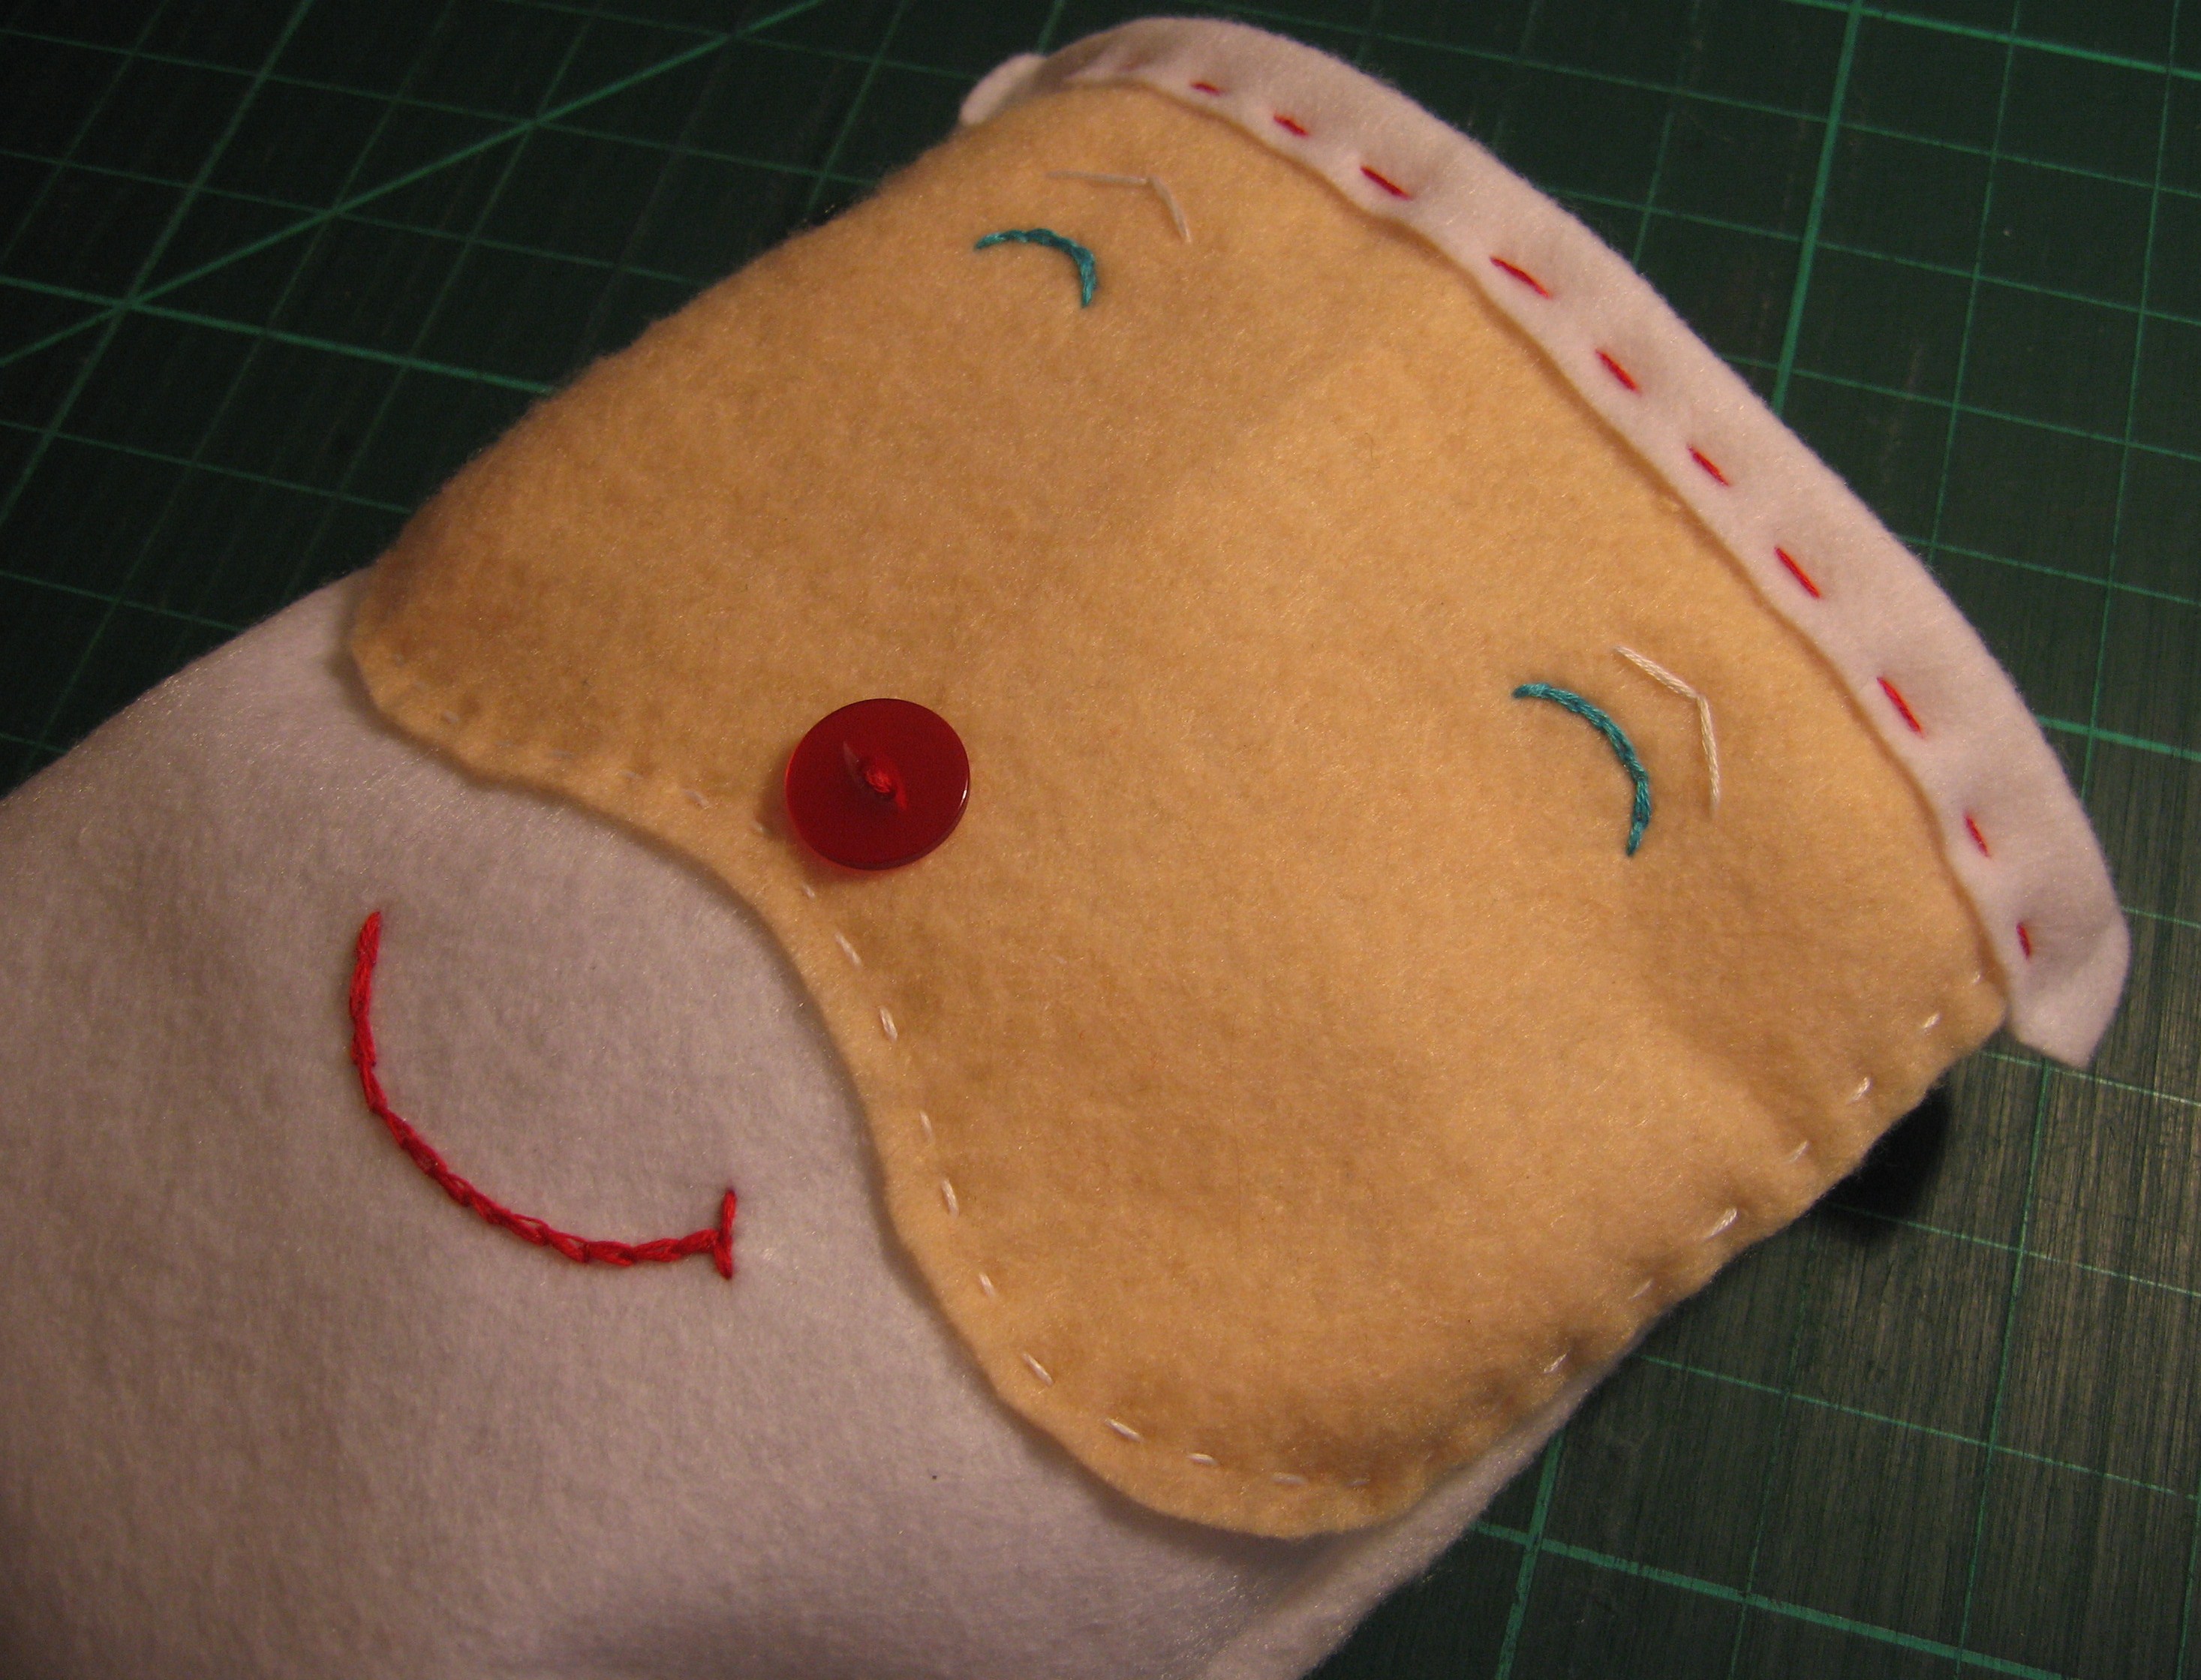
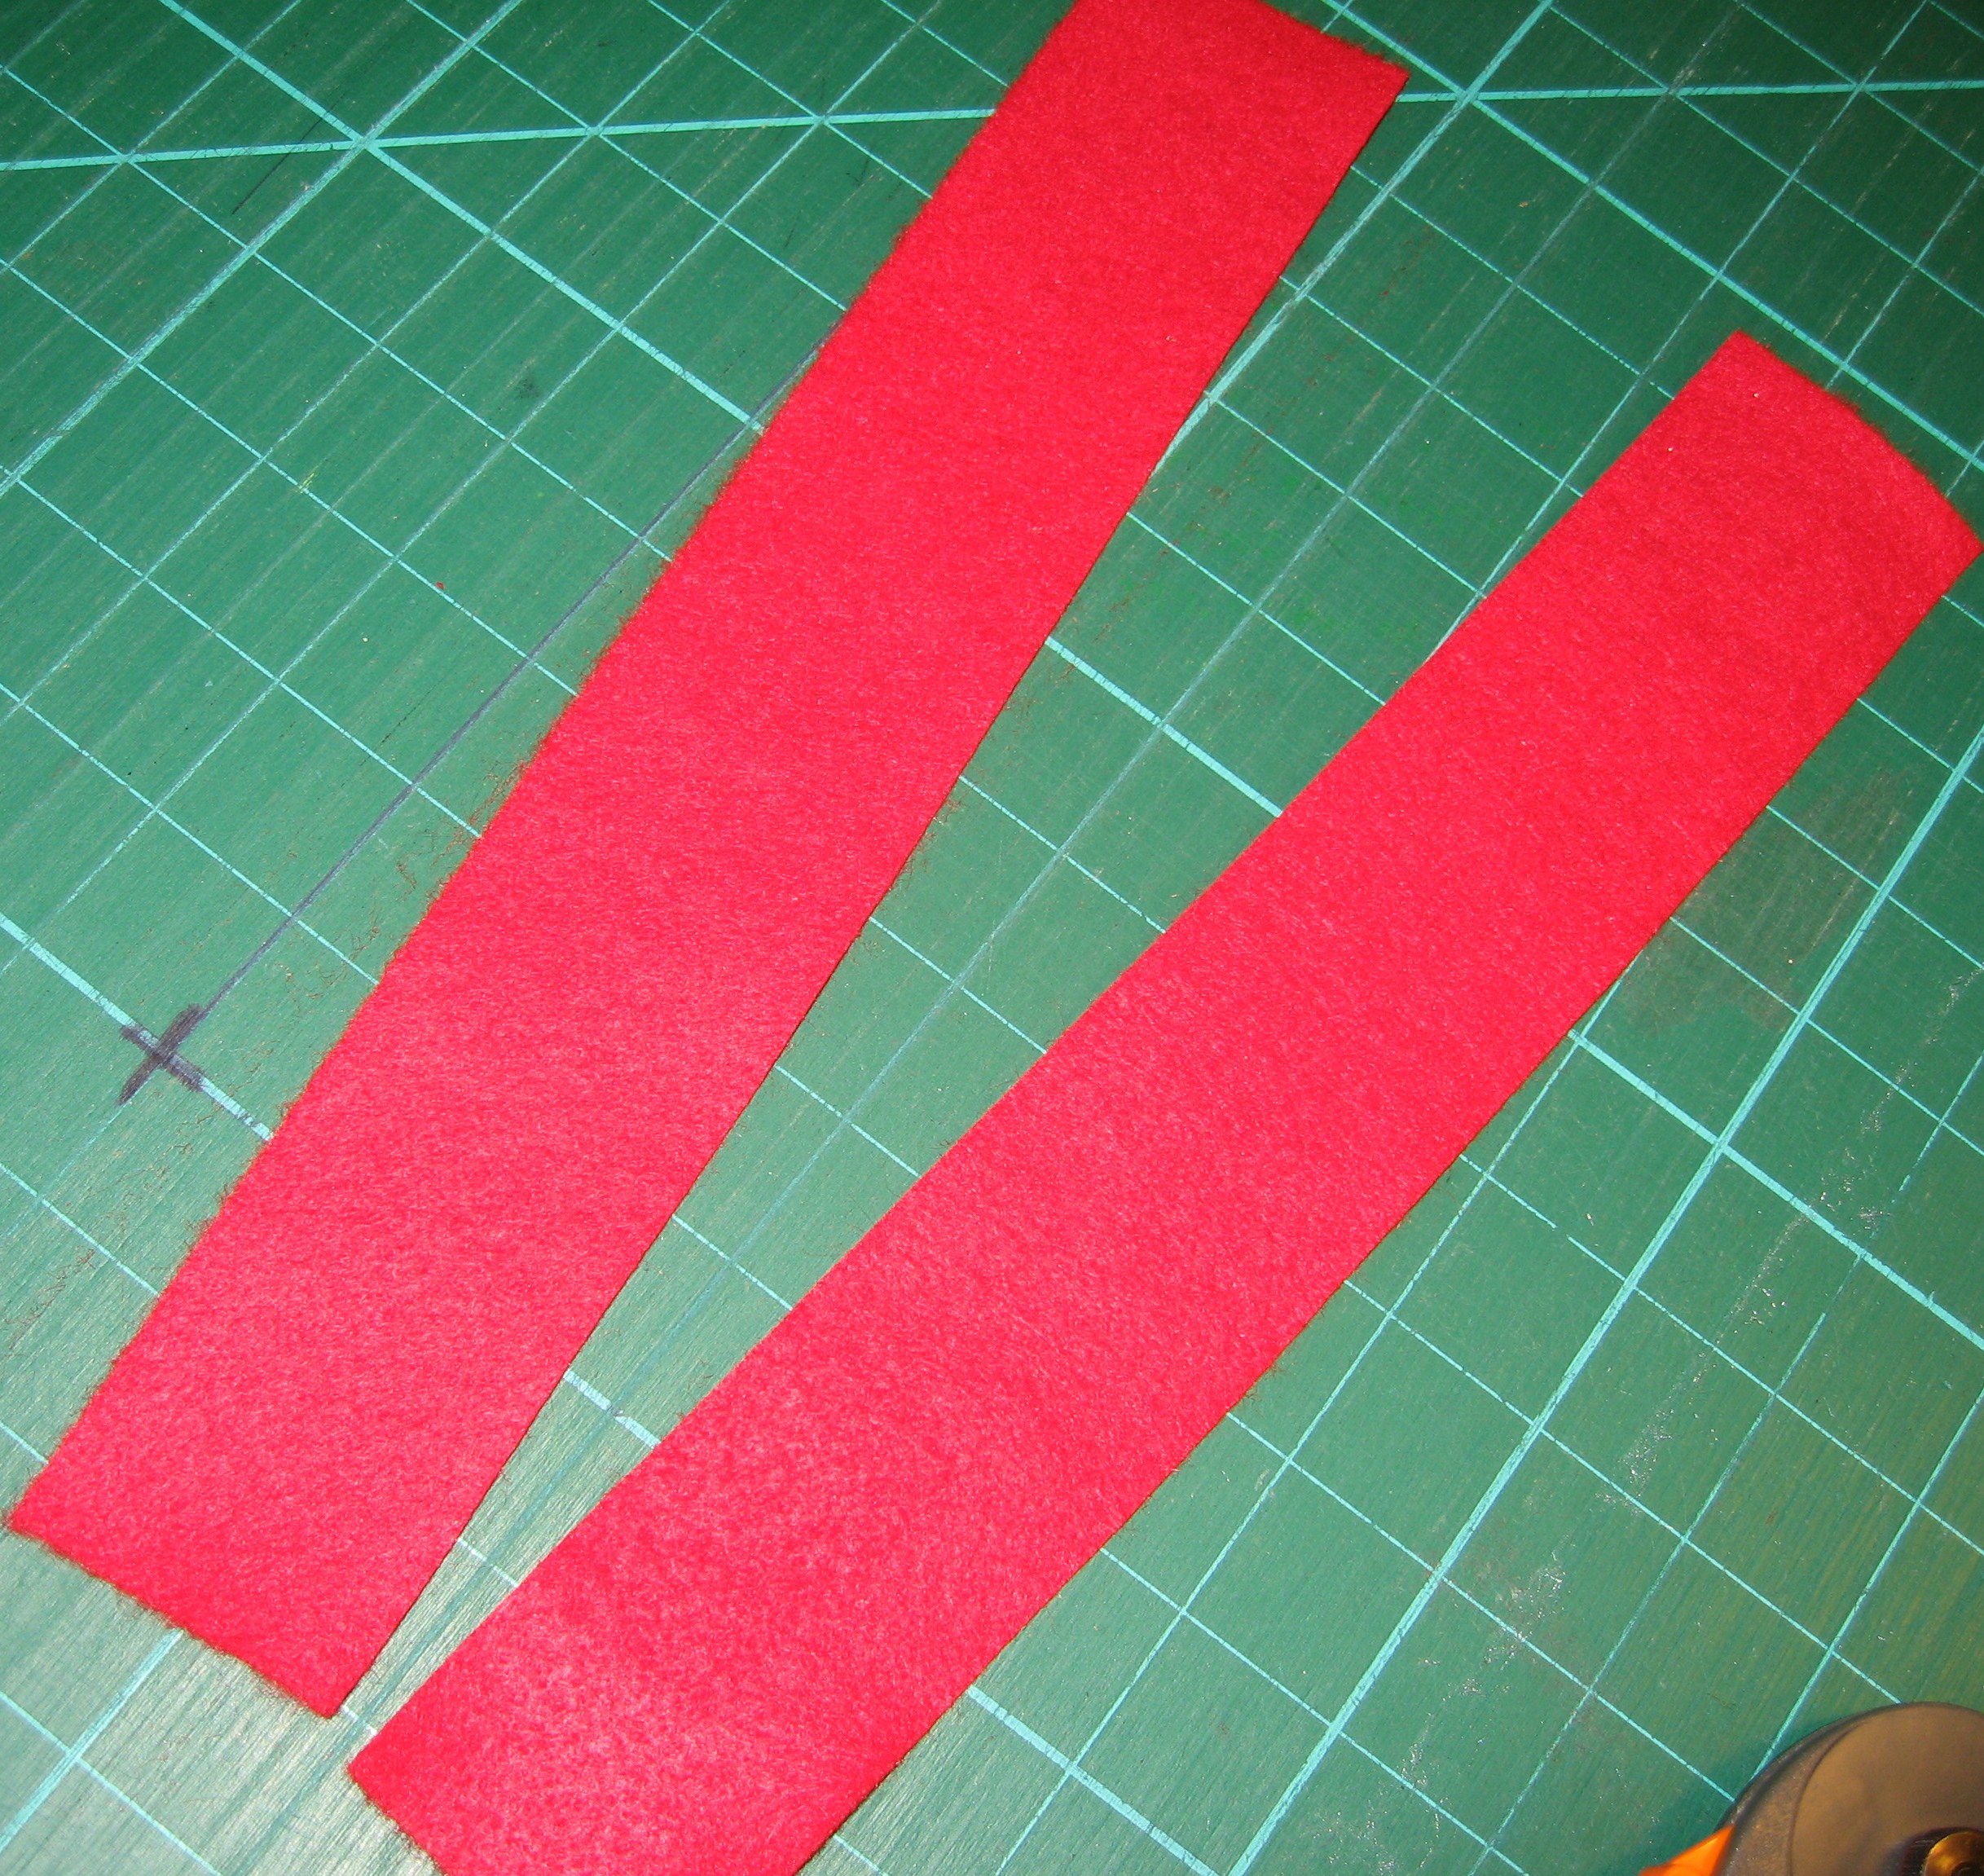
Smiling Santa Giftbag was a “Way Back Craft” in 2008, originally created by me for my previous website in 2000.

2000. Wow!

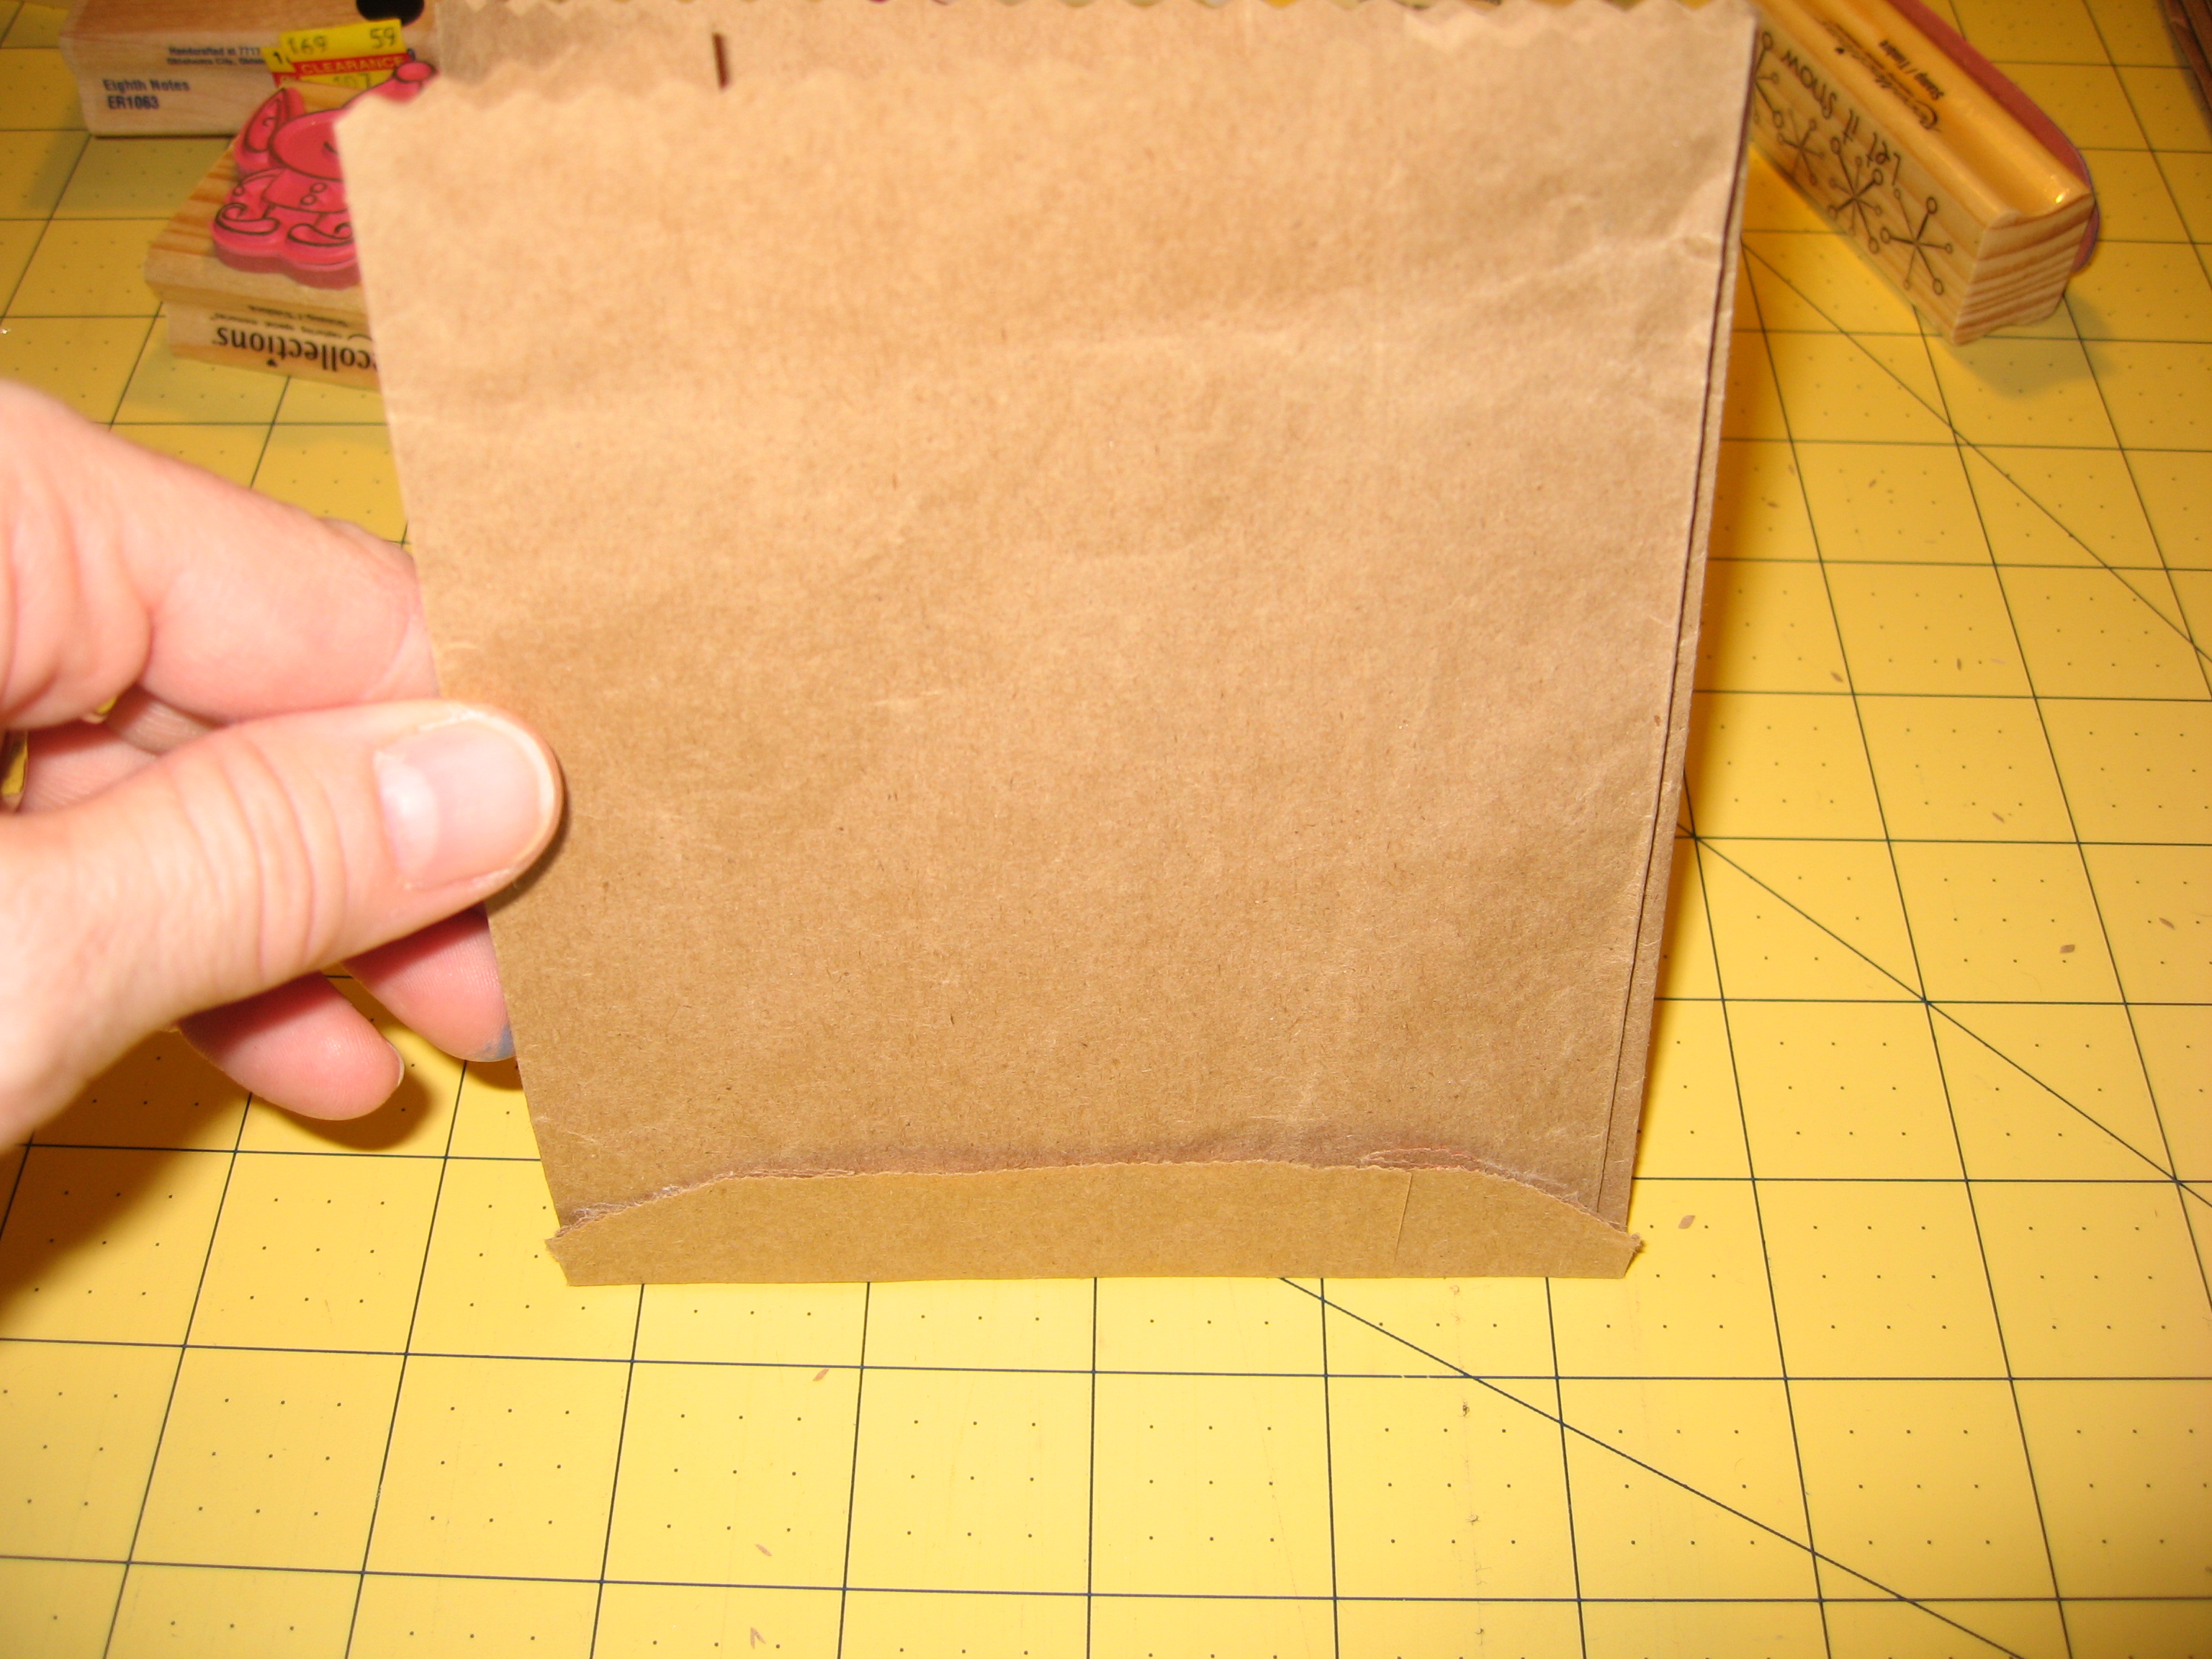
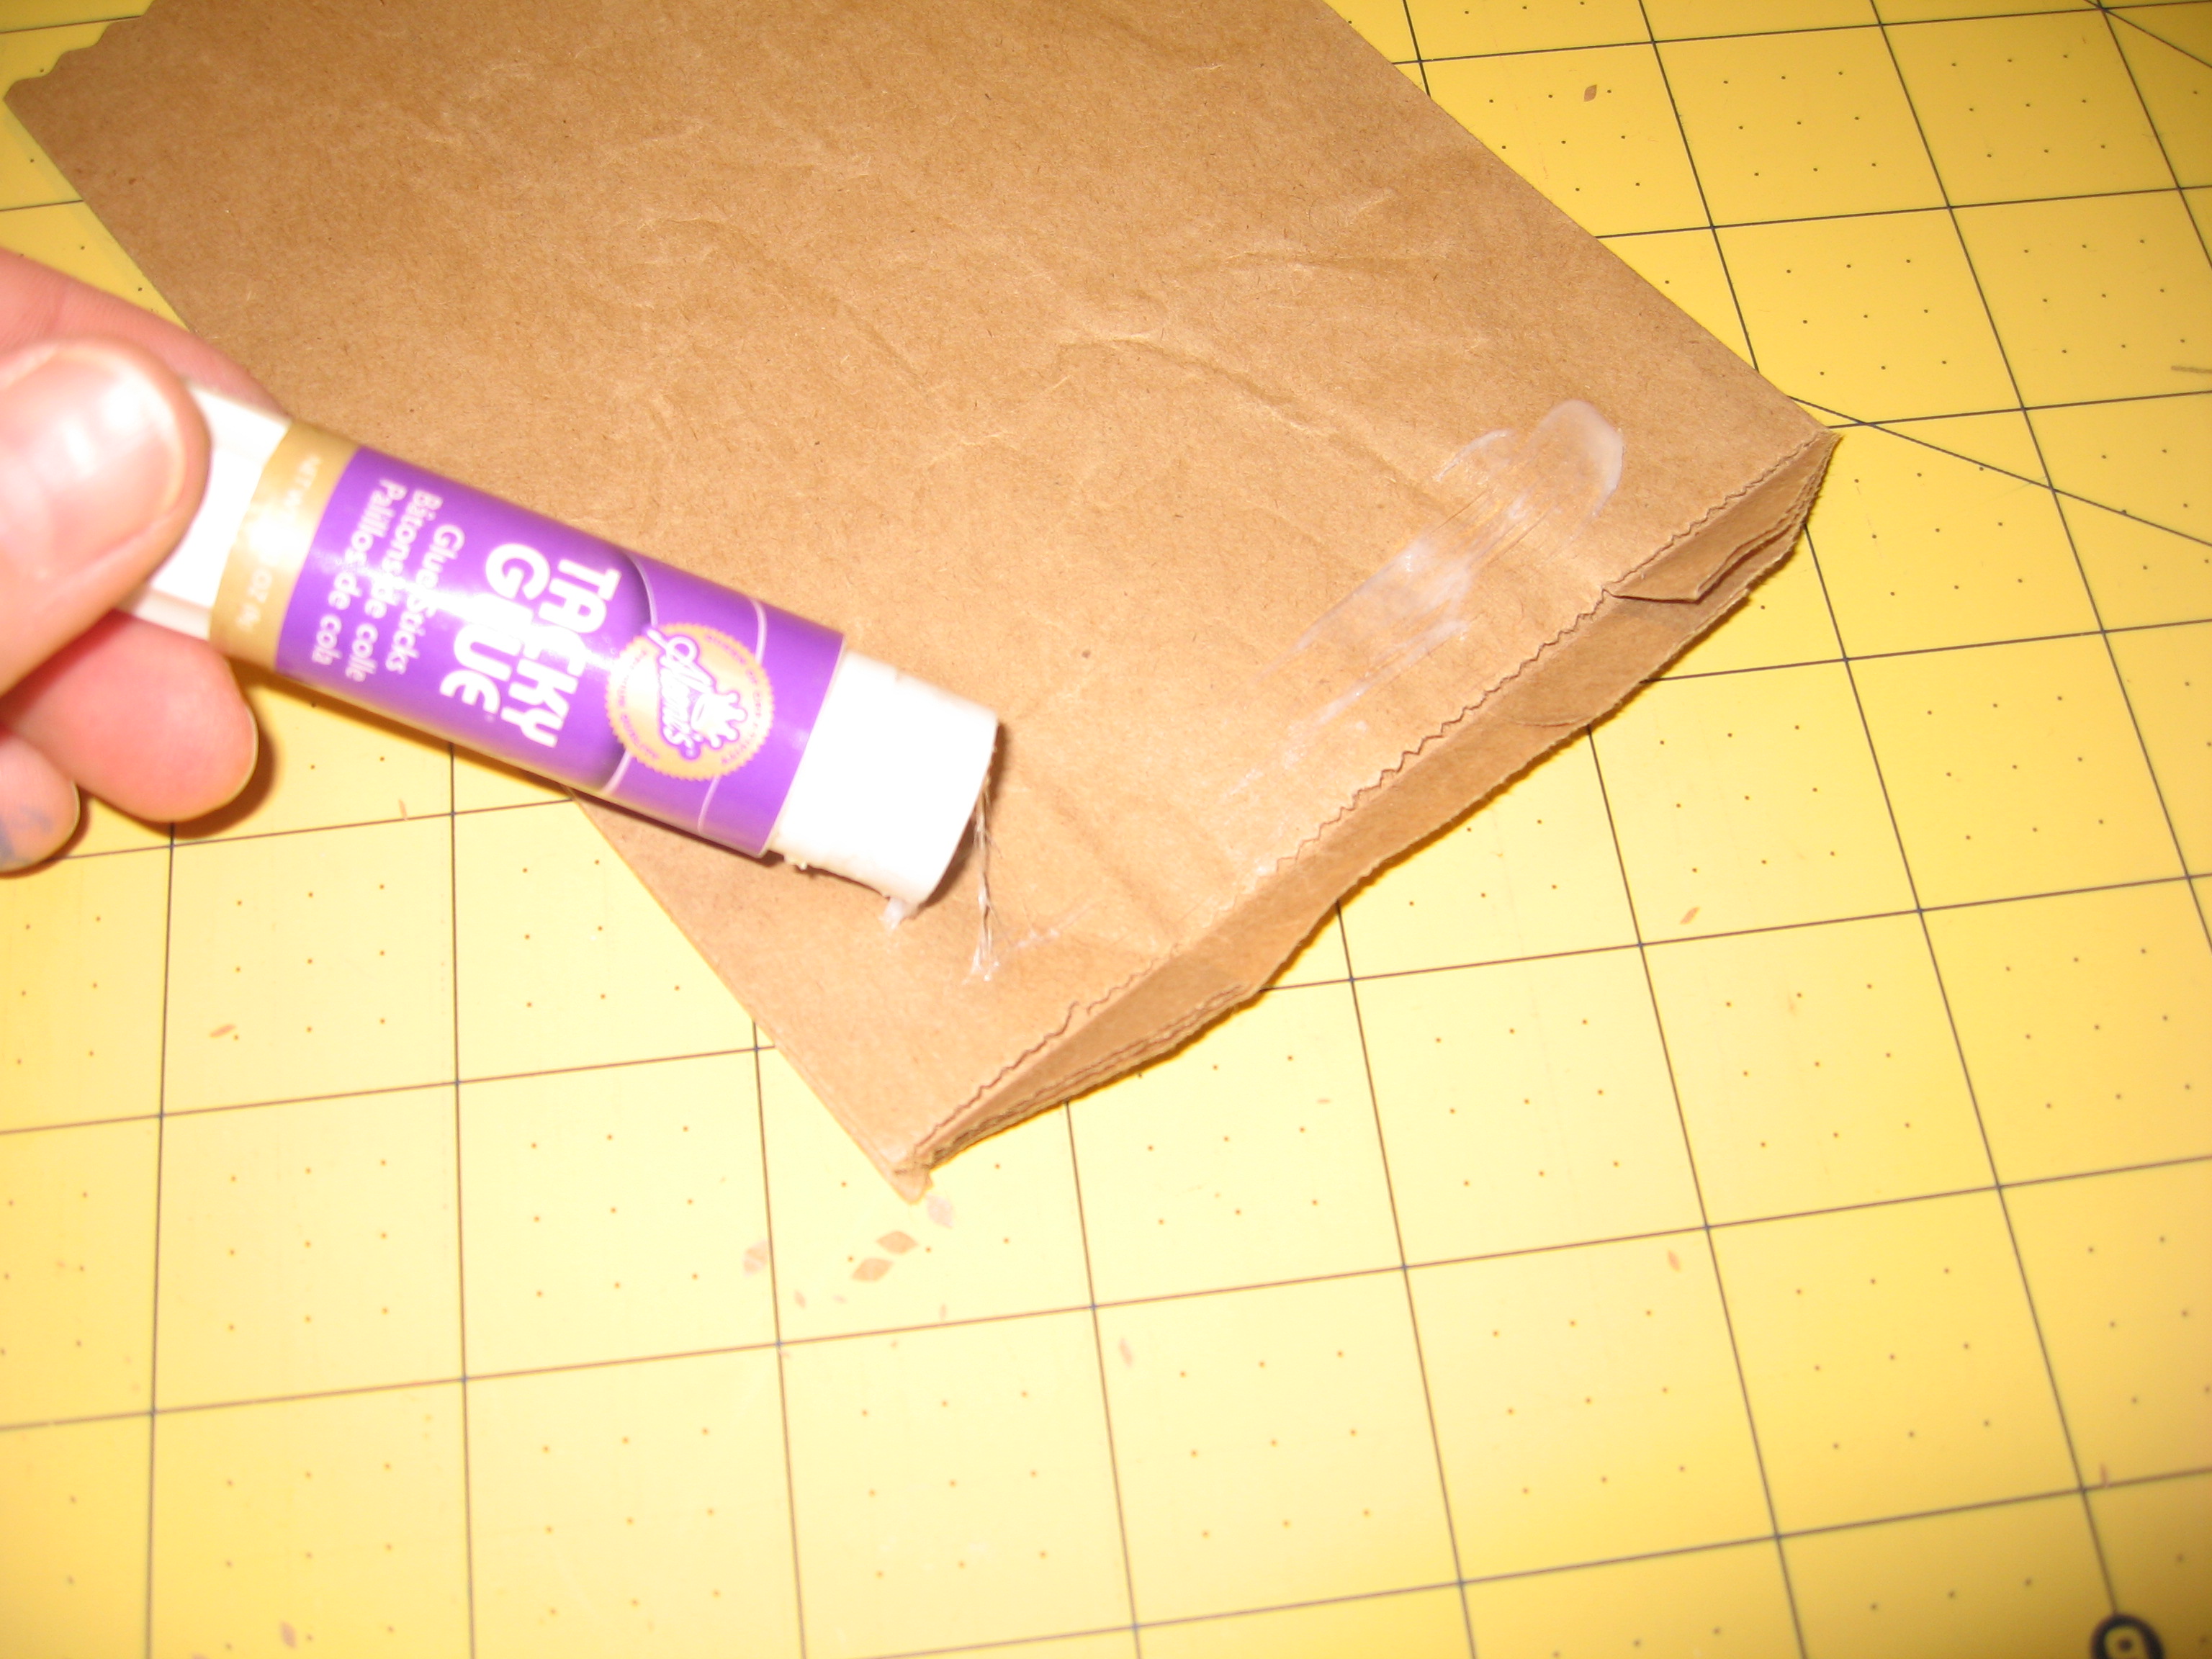
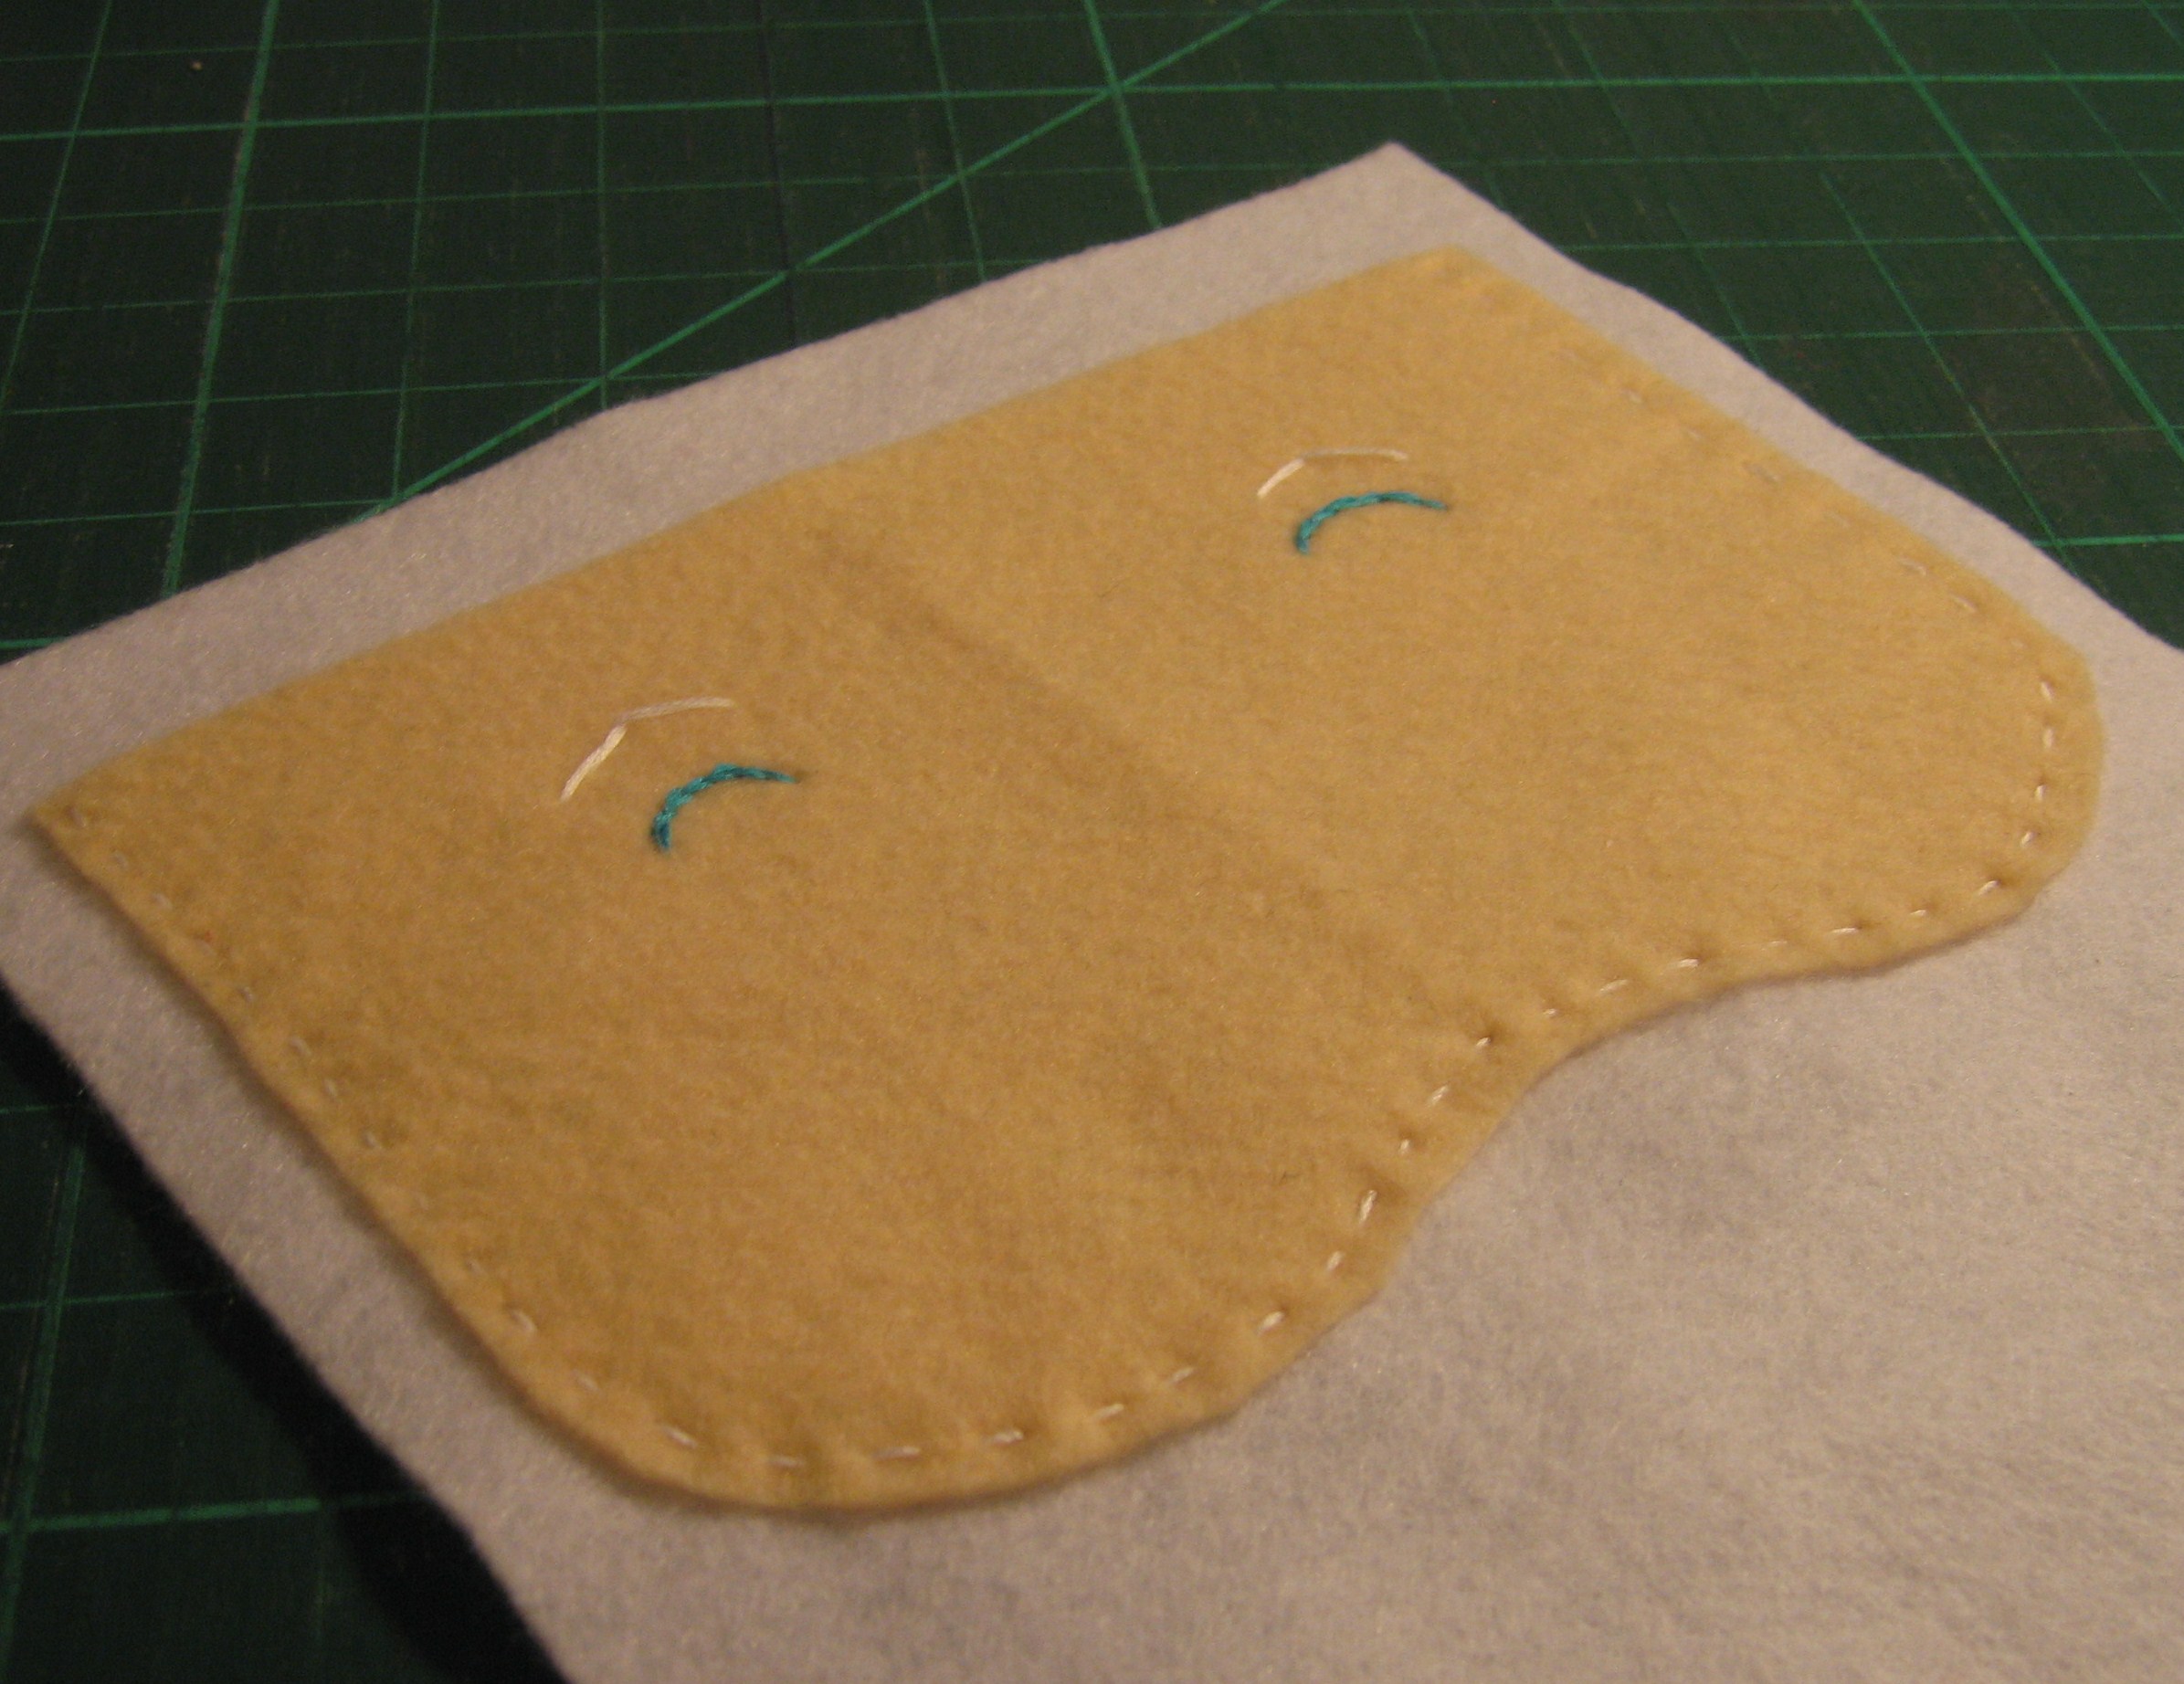
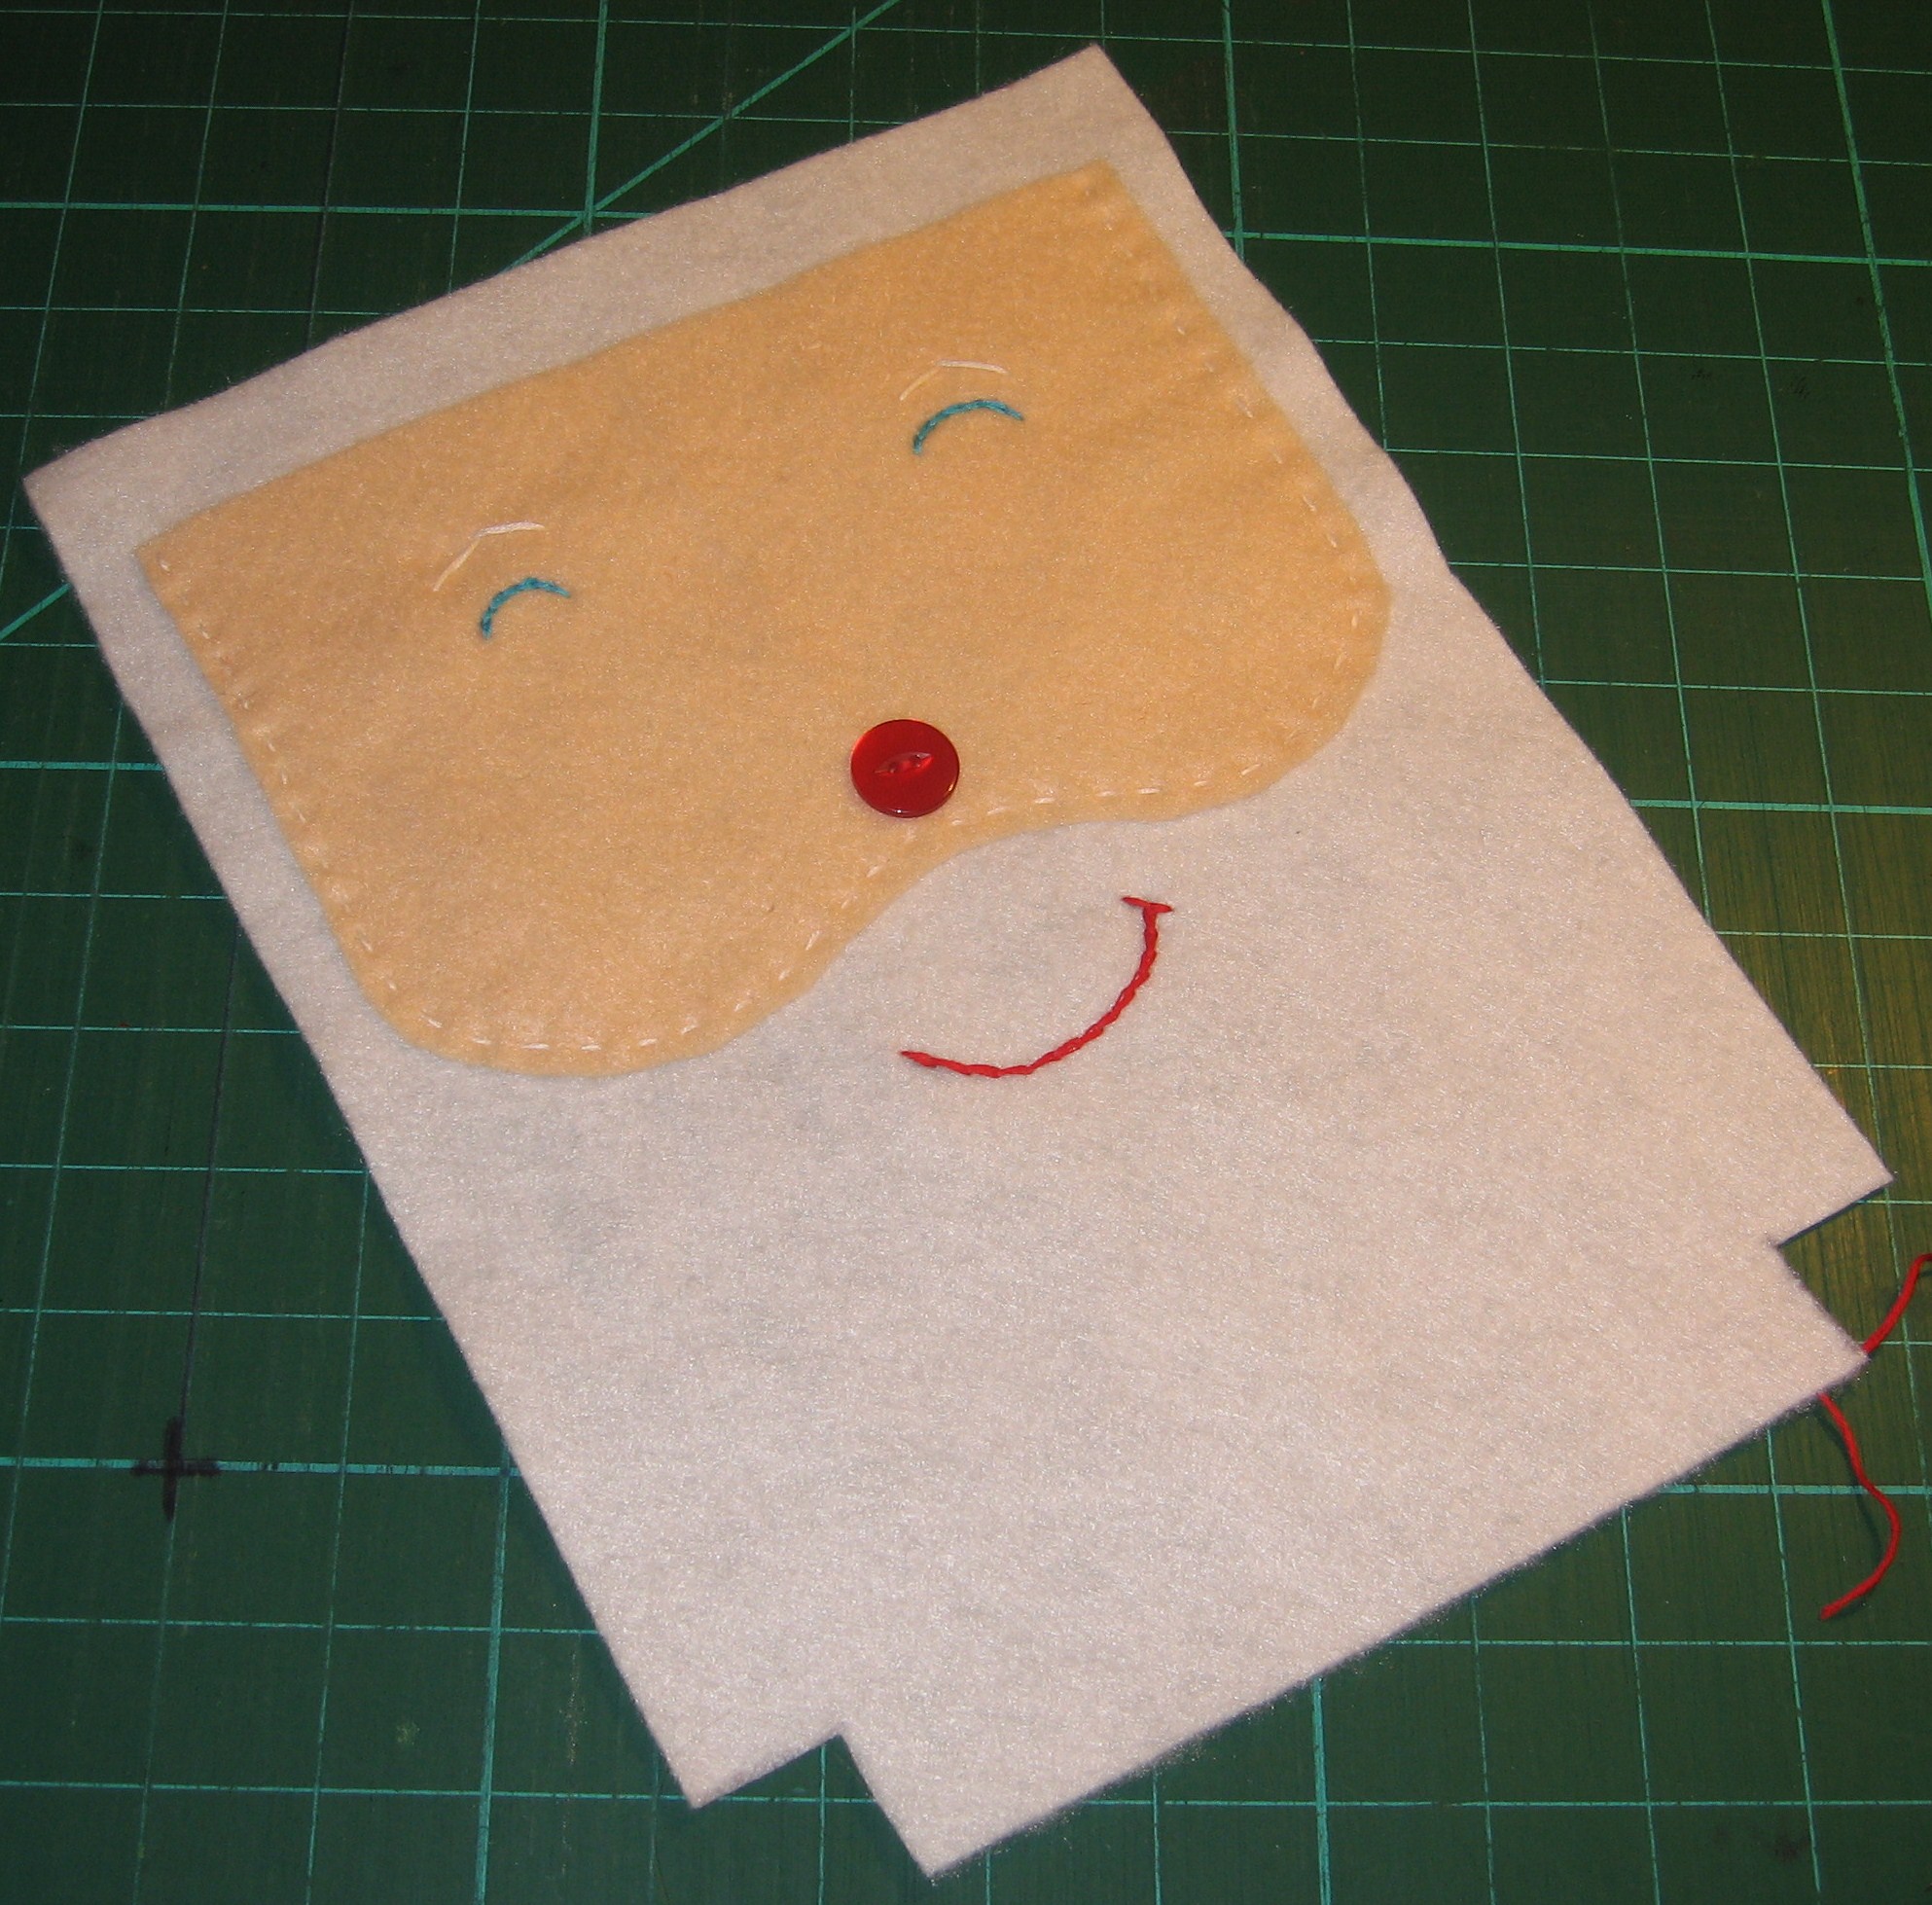
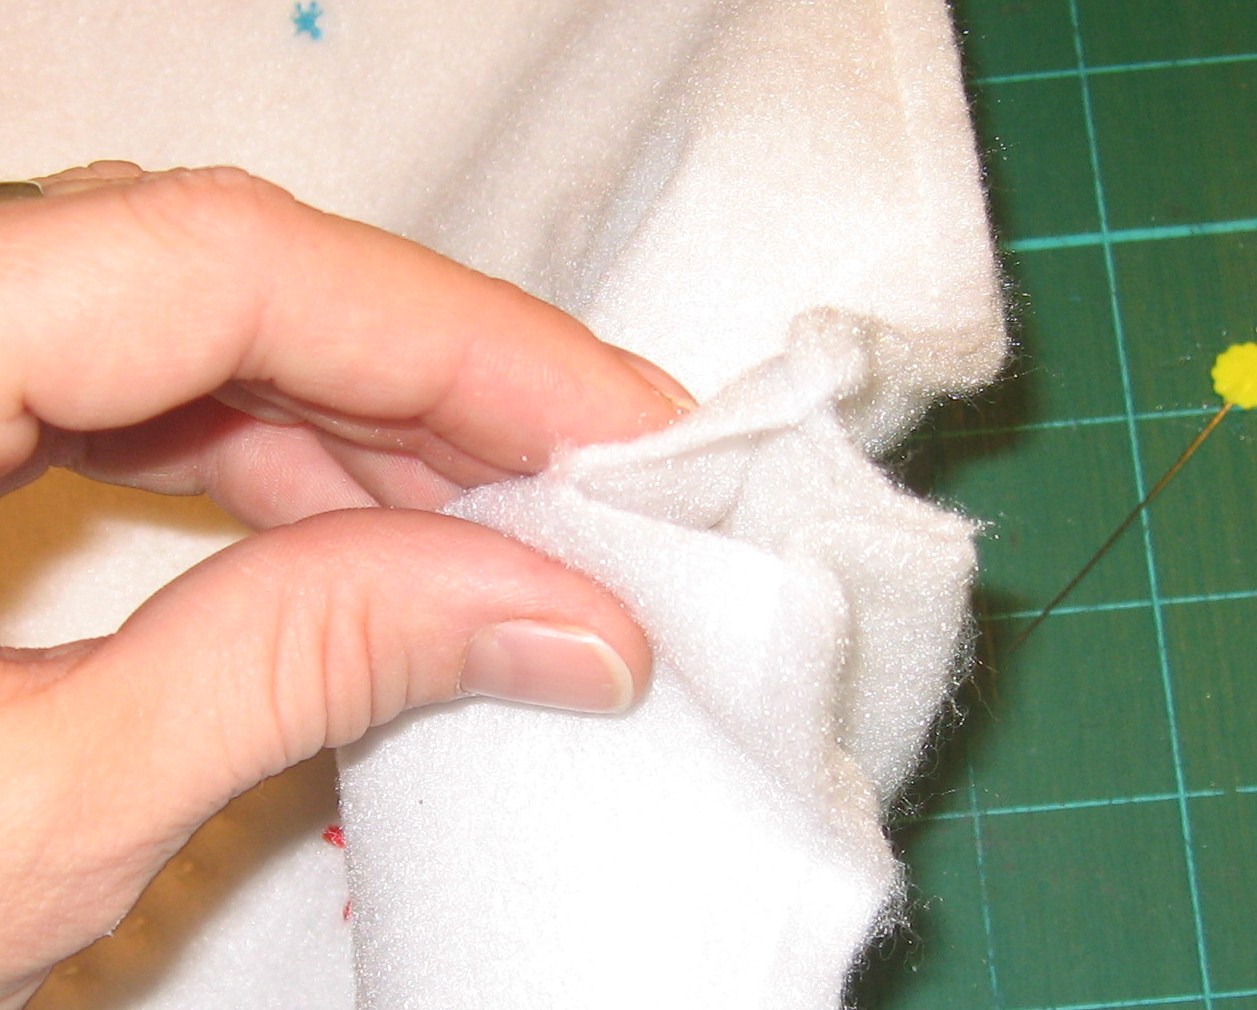
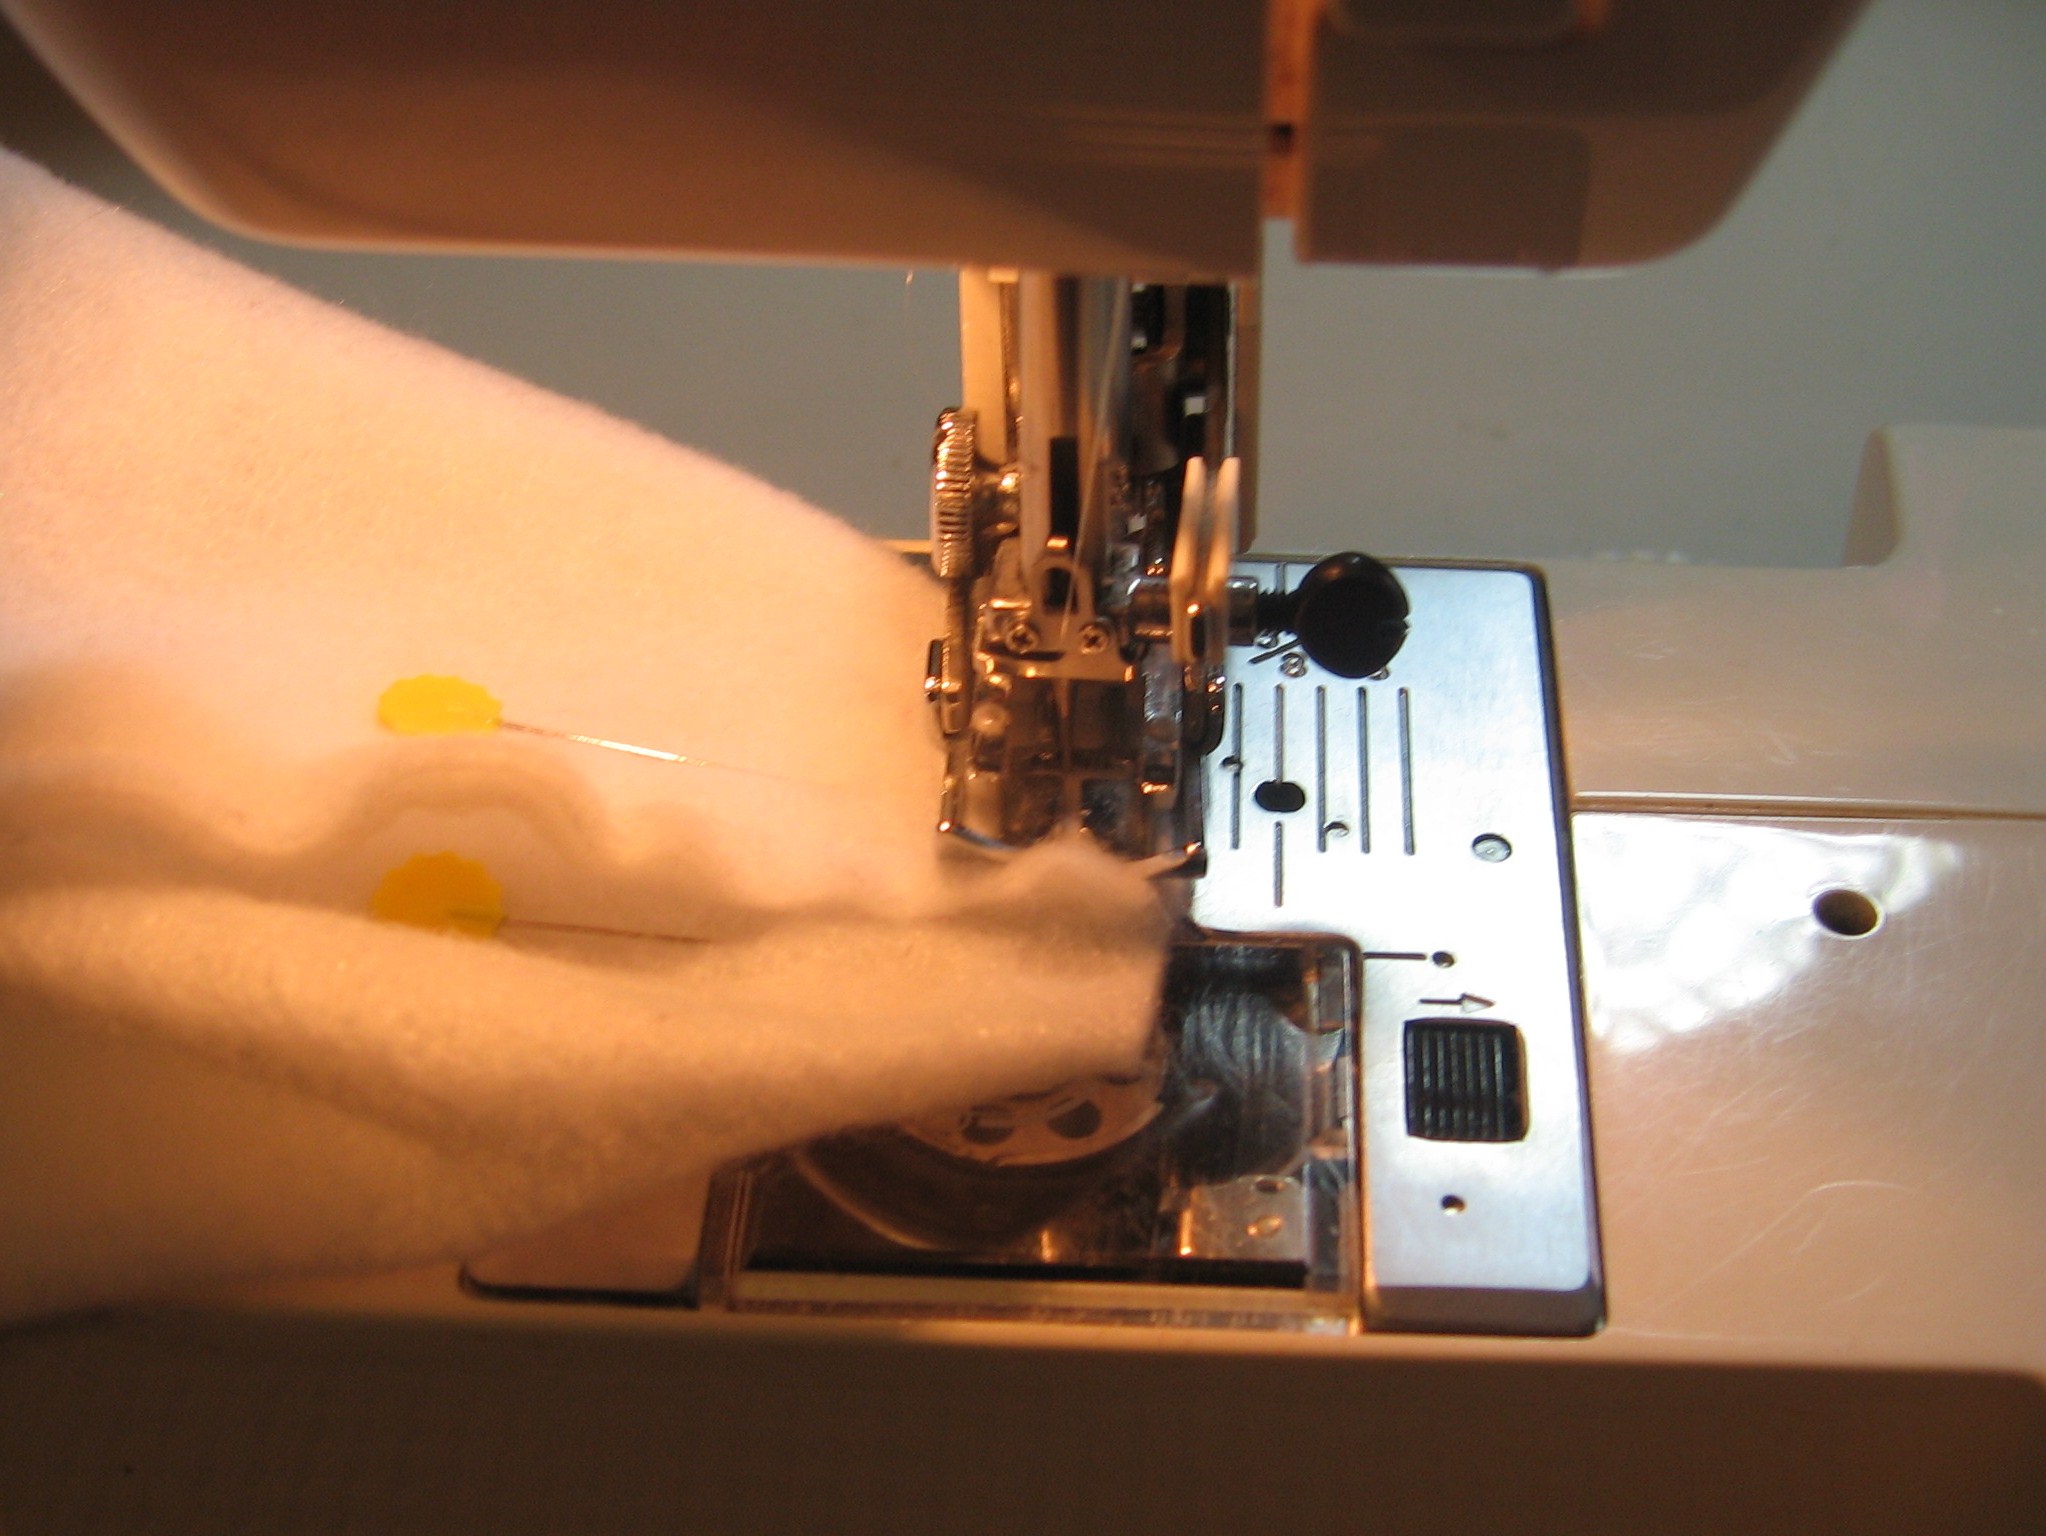
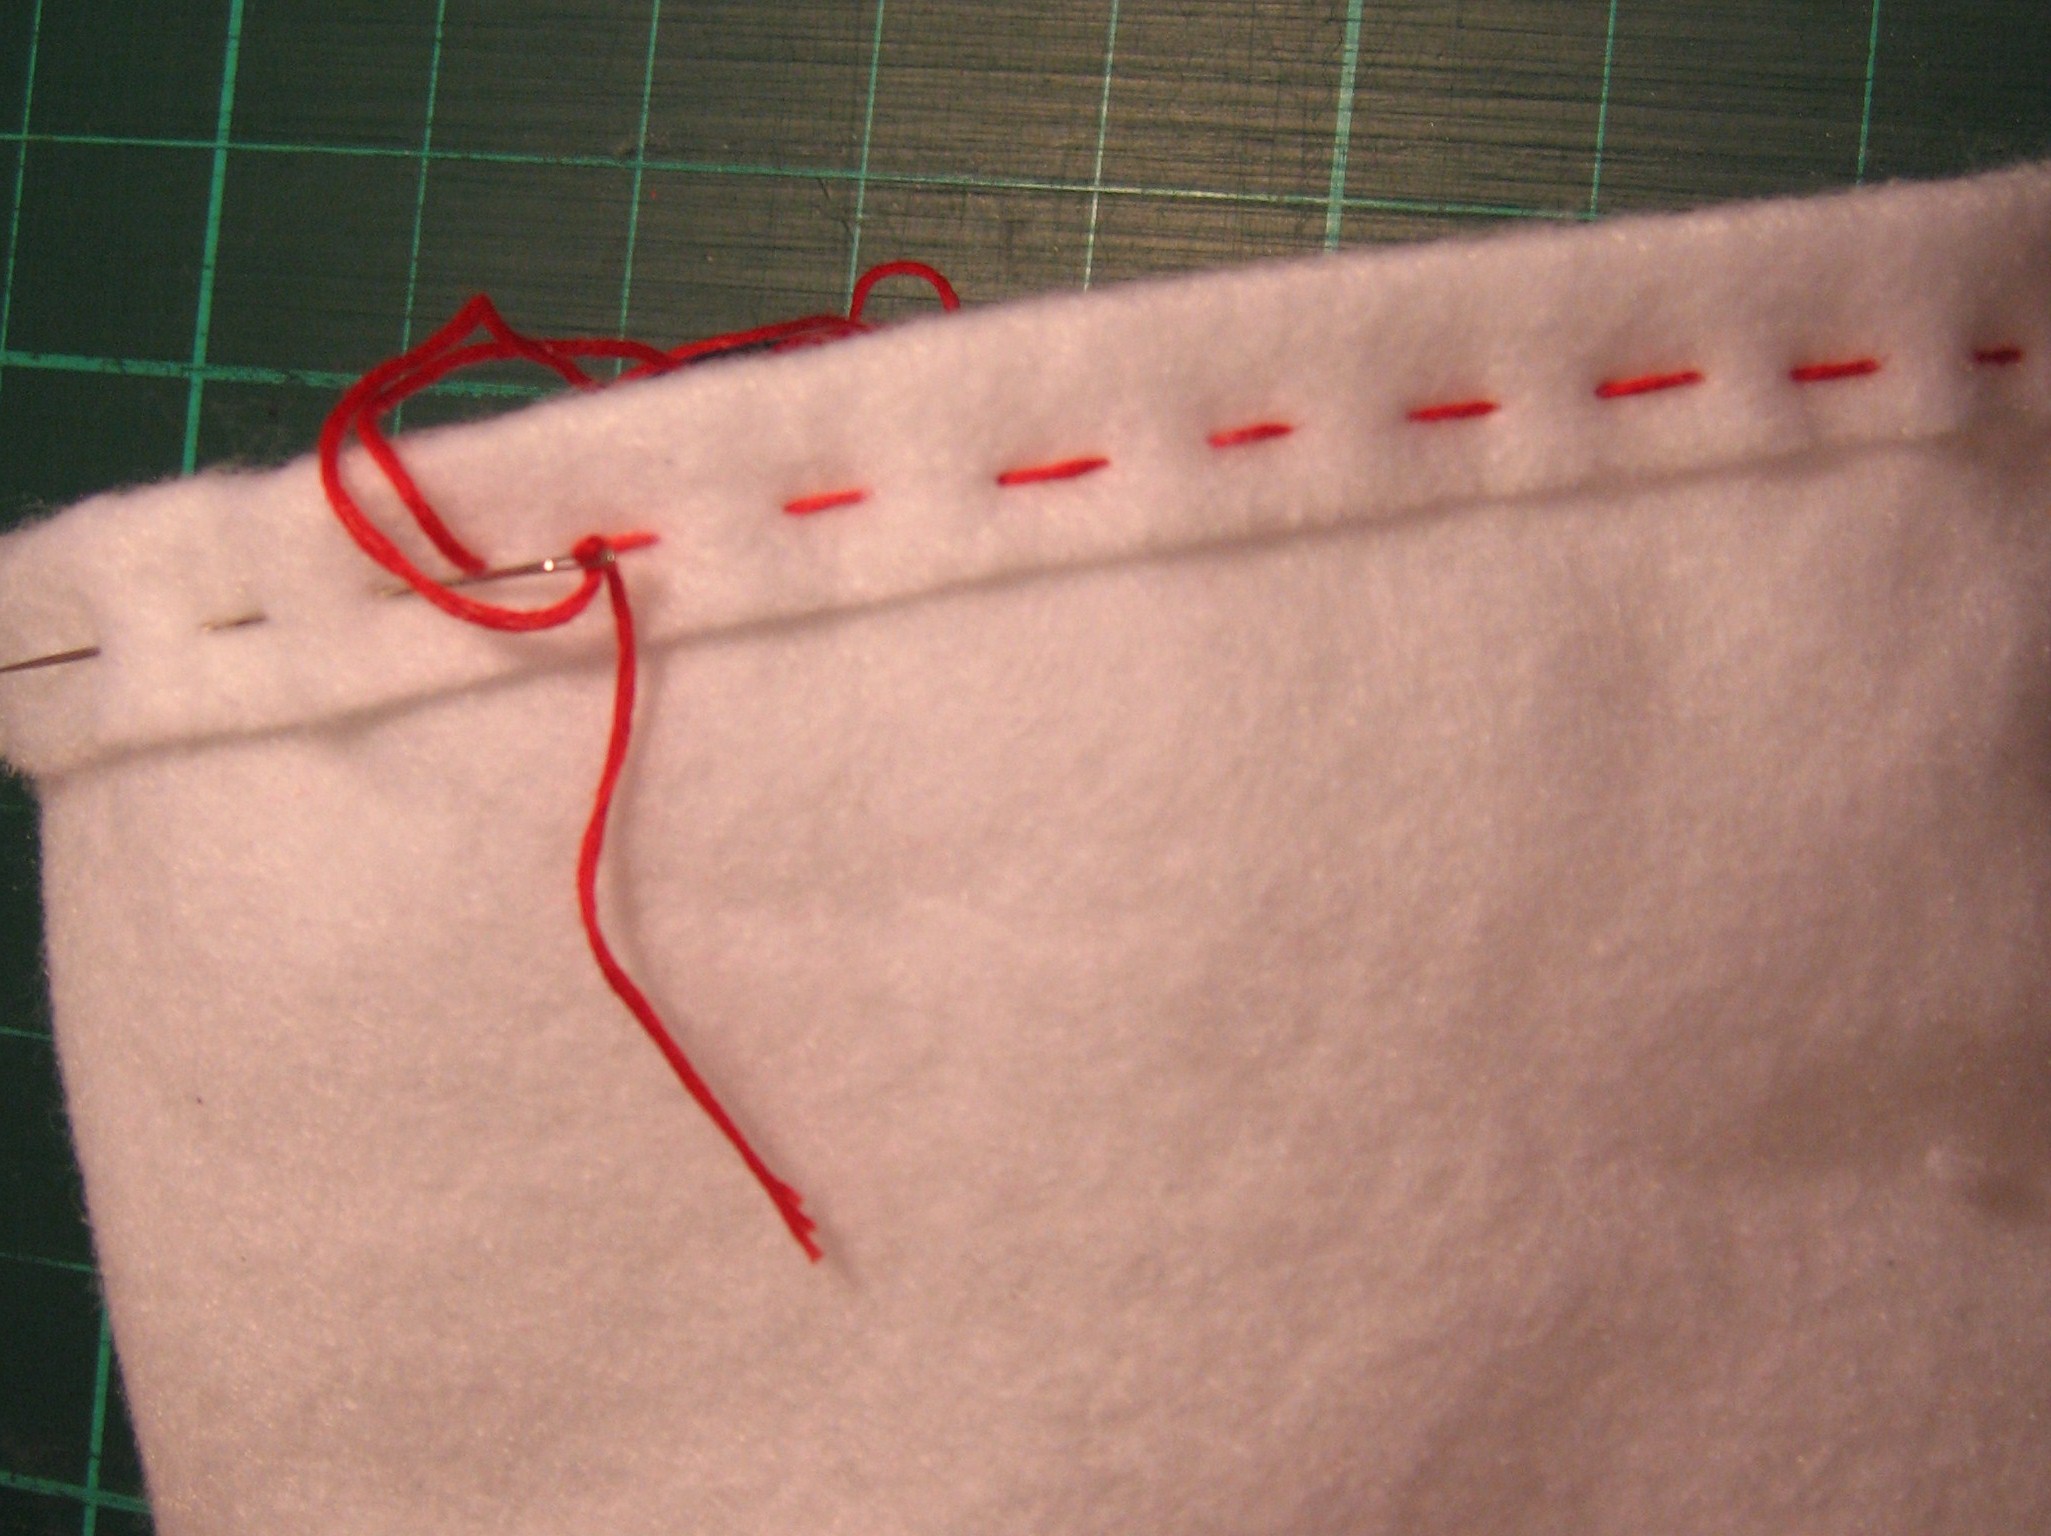
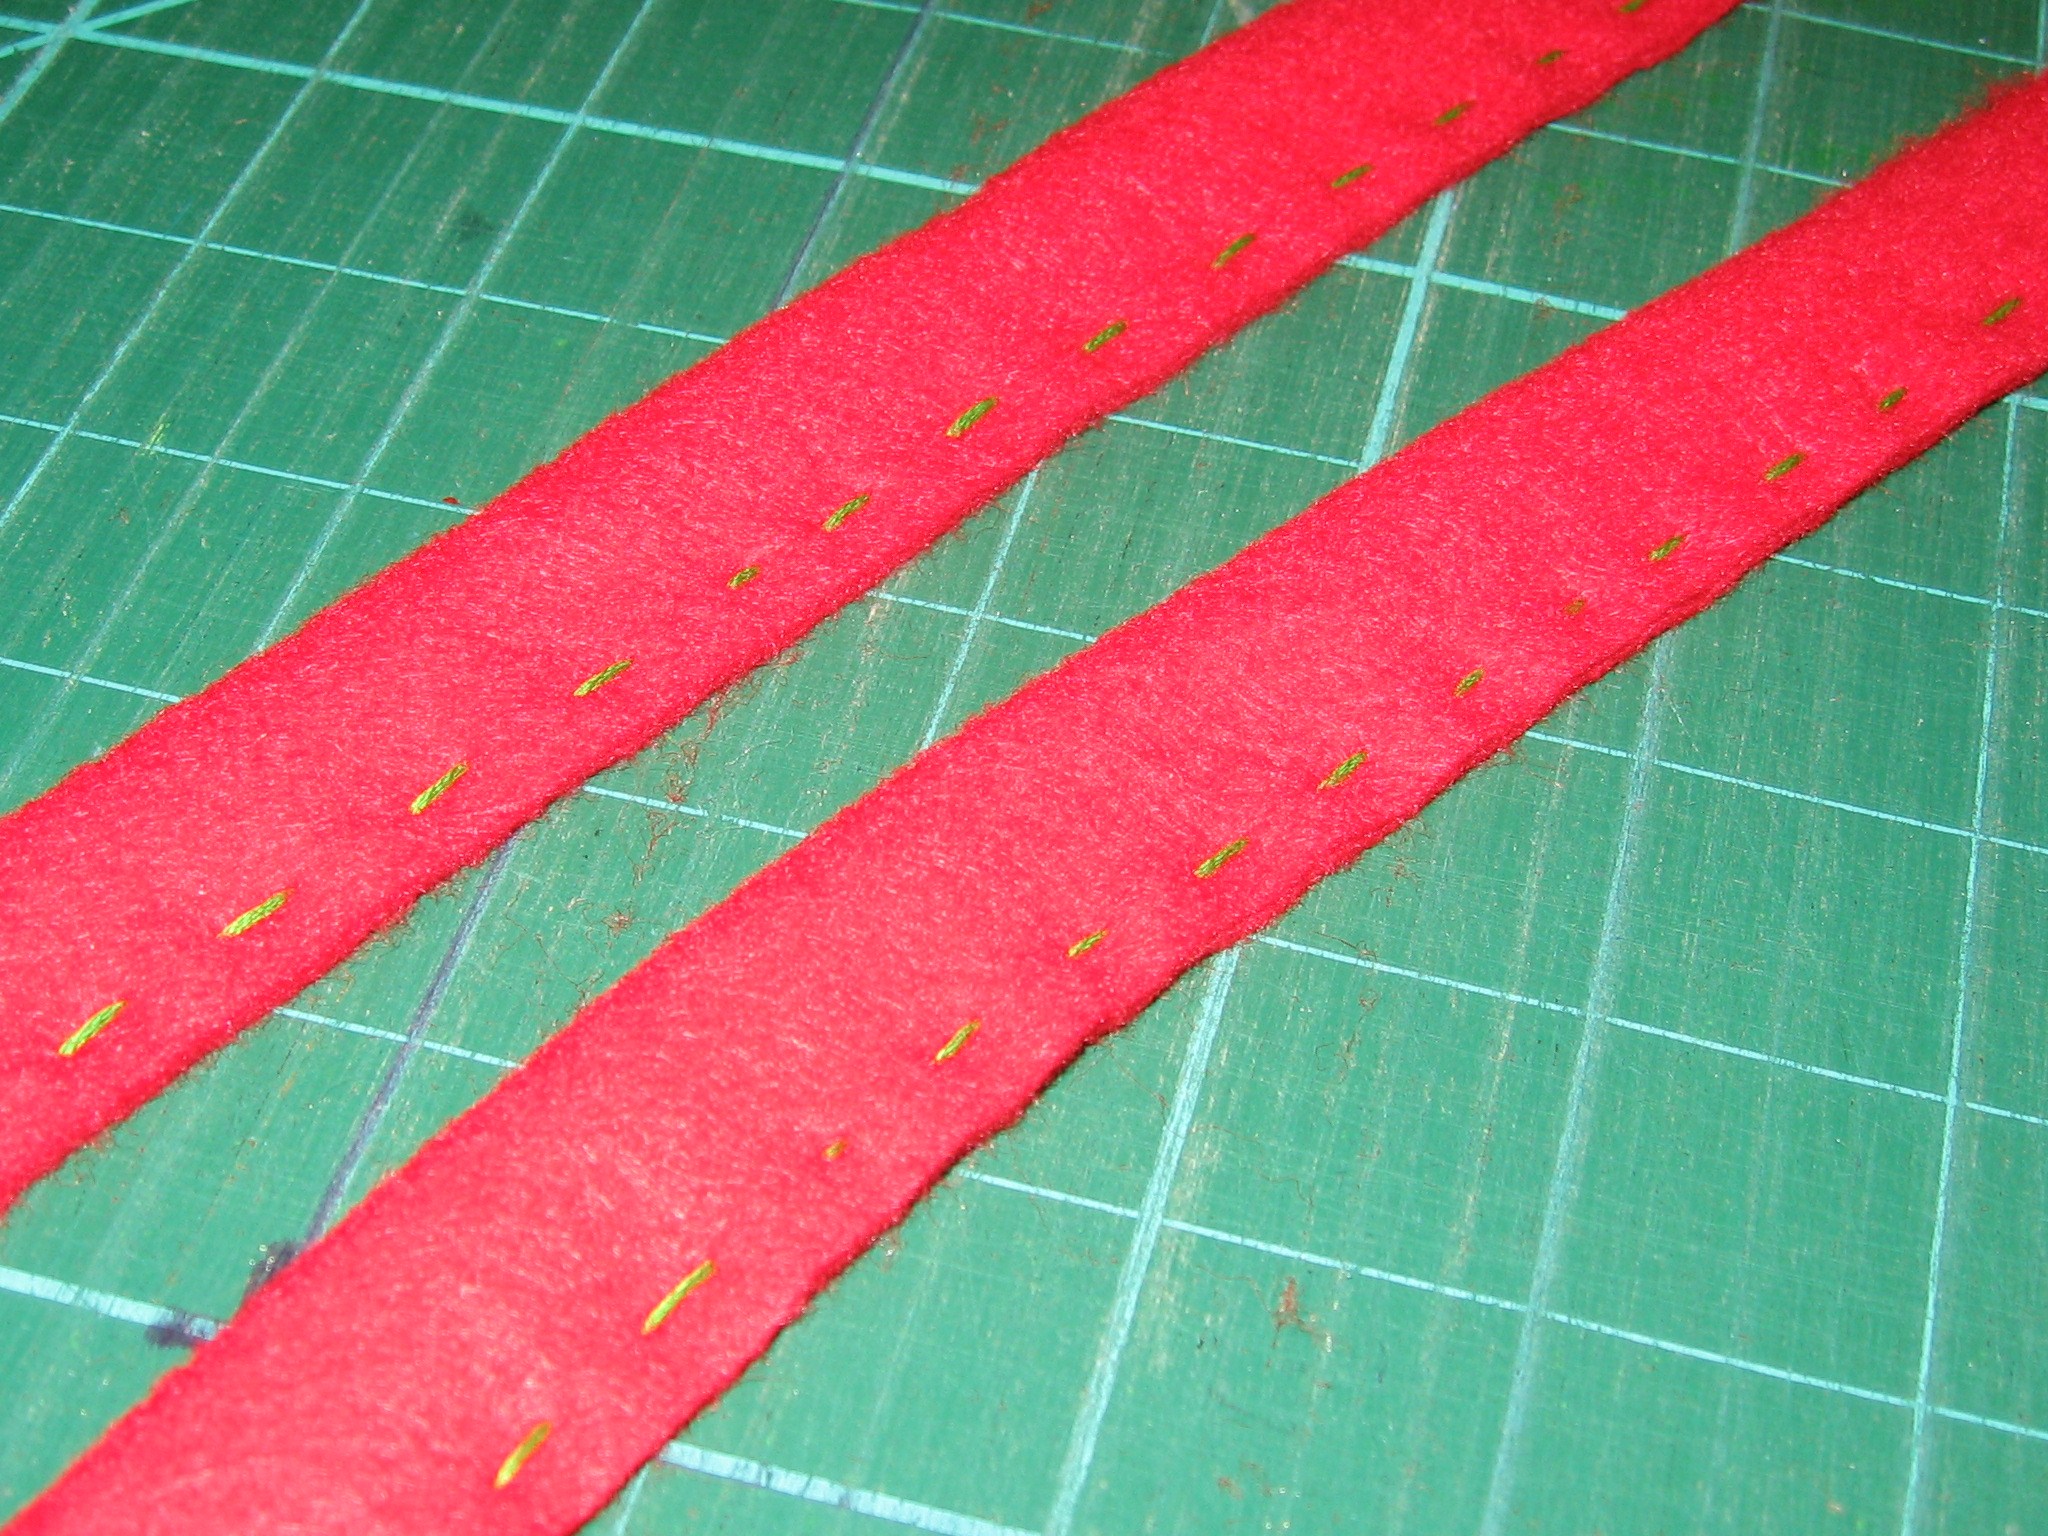
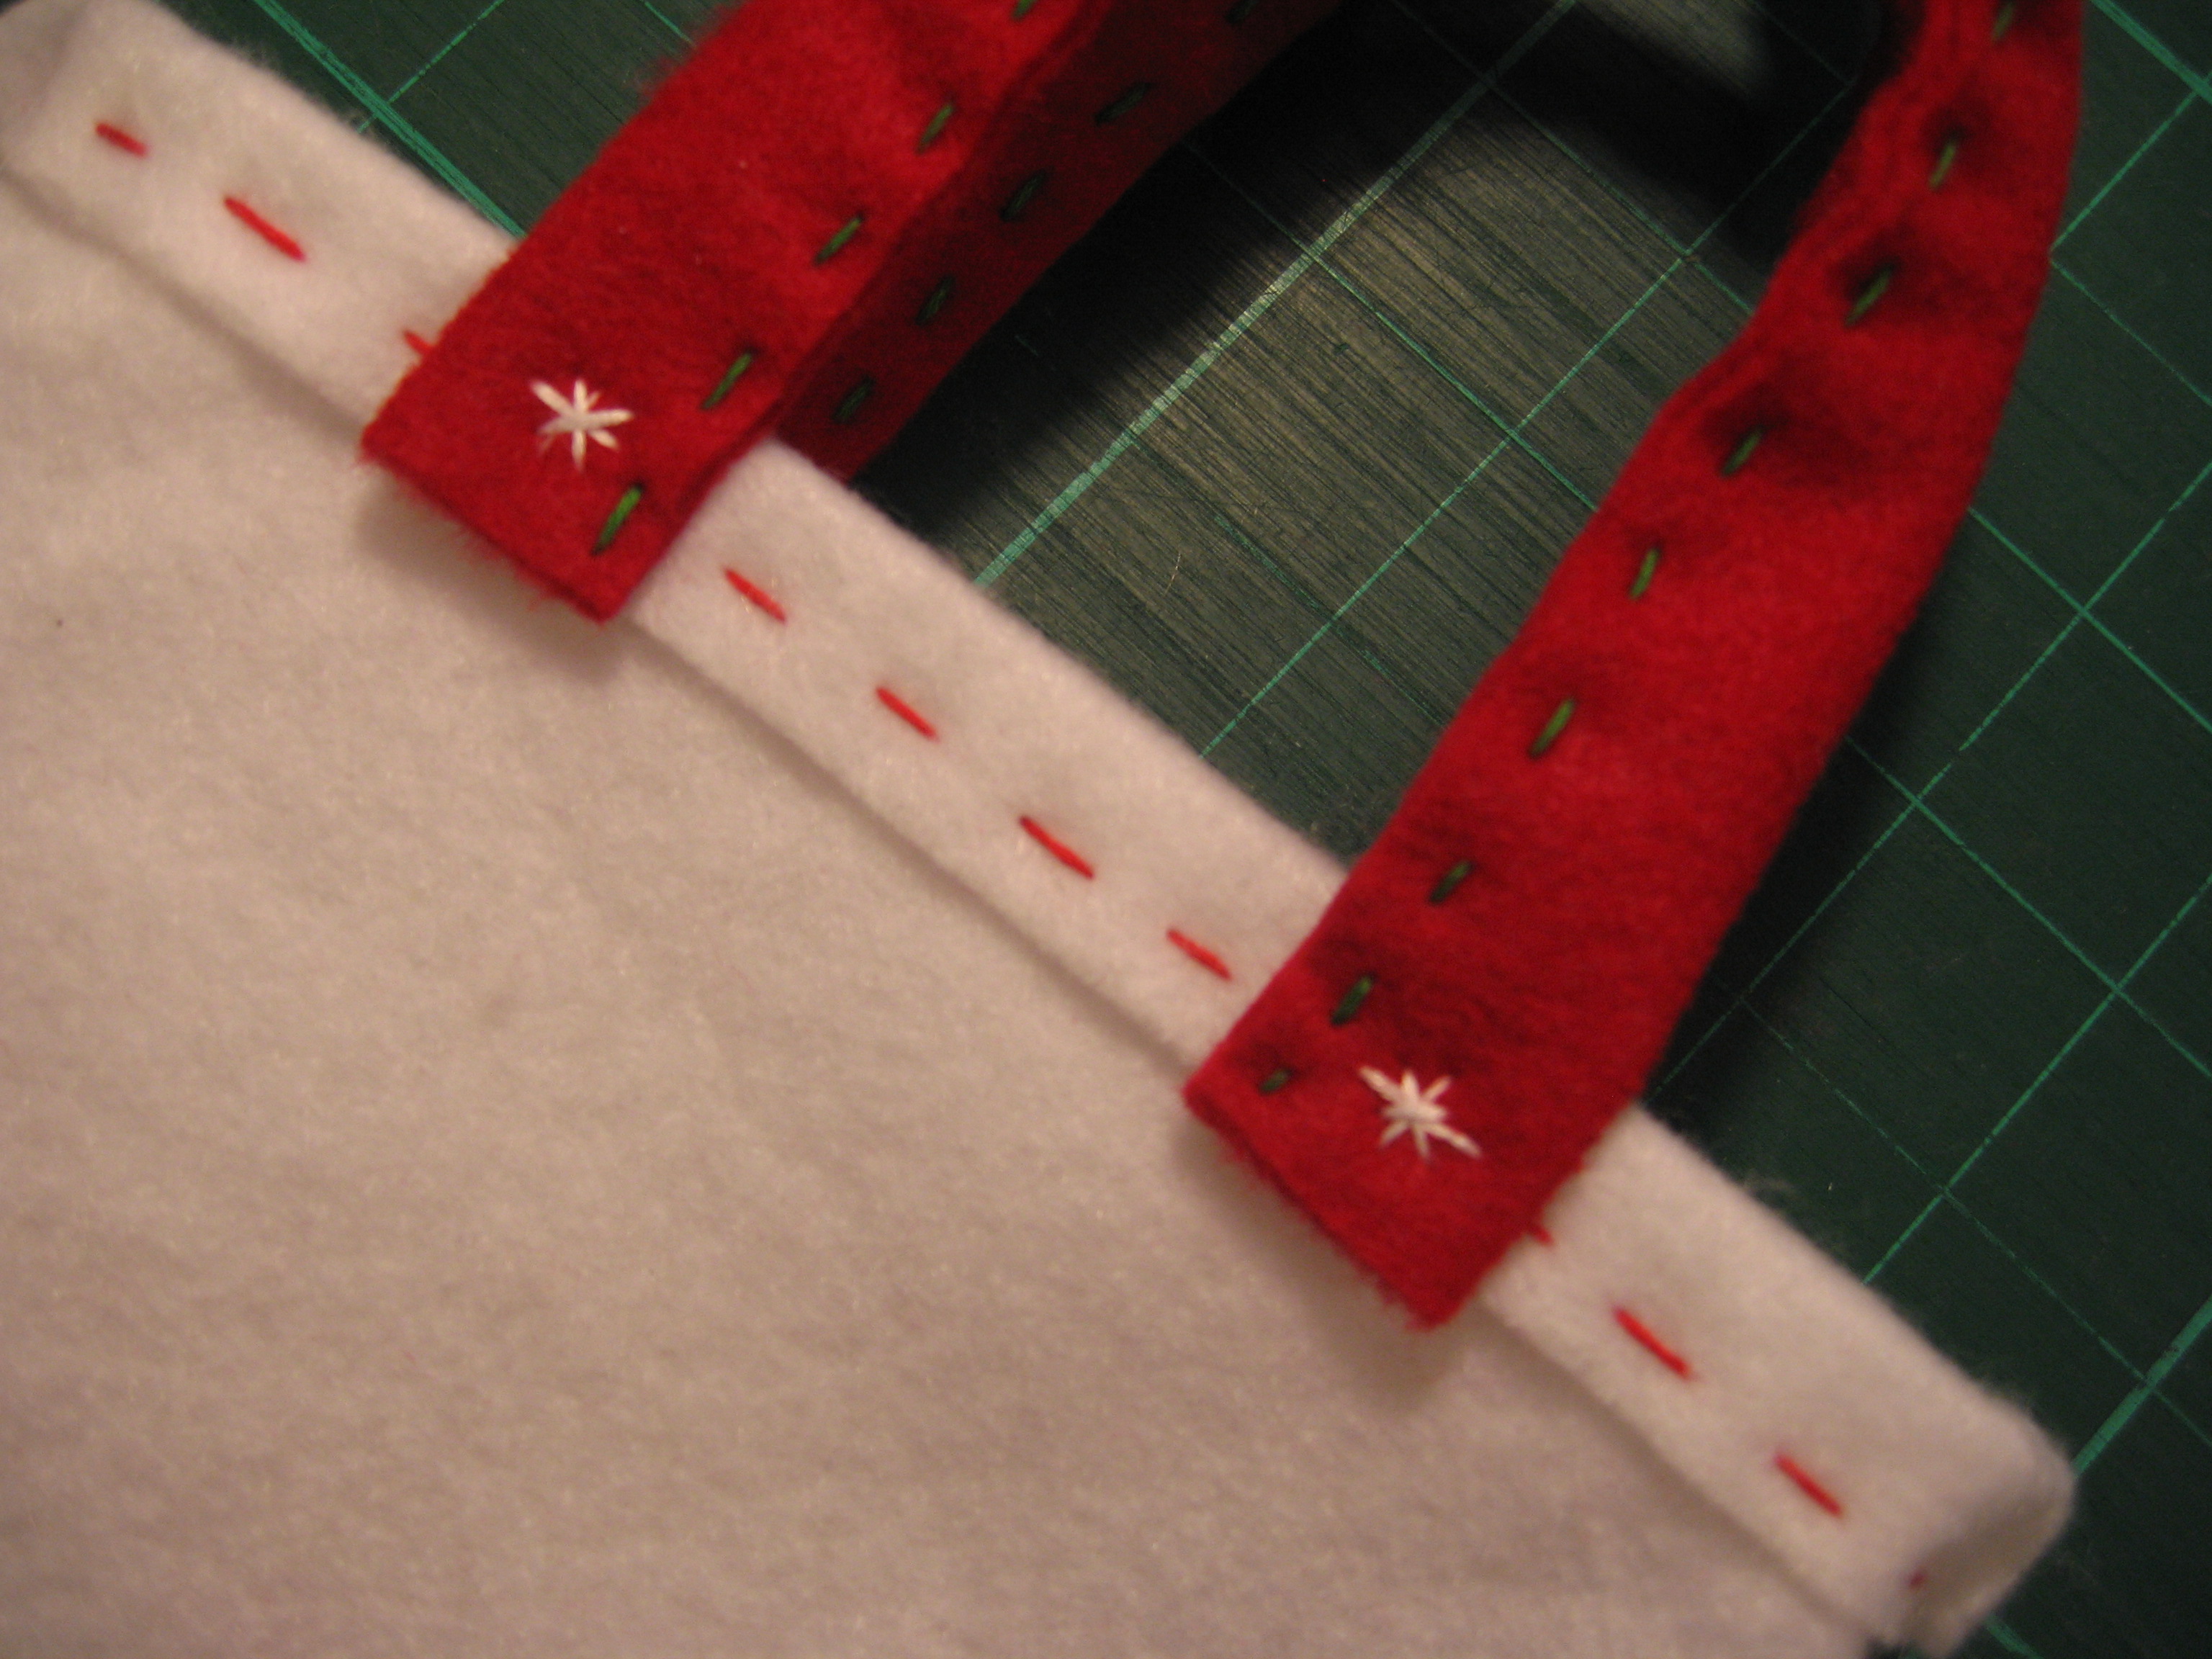
This easy-peasy tutorial that can be completed entirely by hand or with a little sewing machine assistance if you’d like.

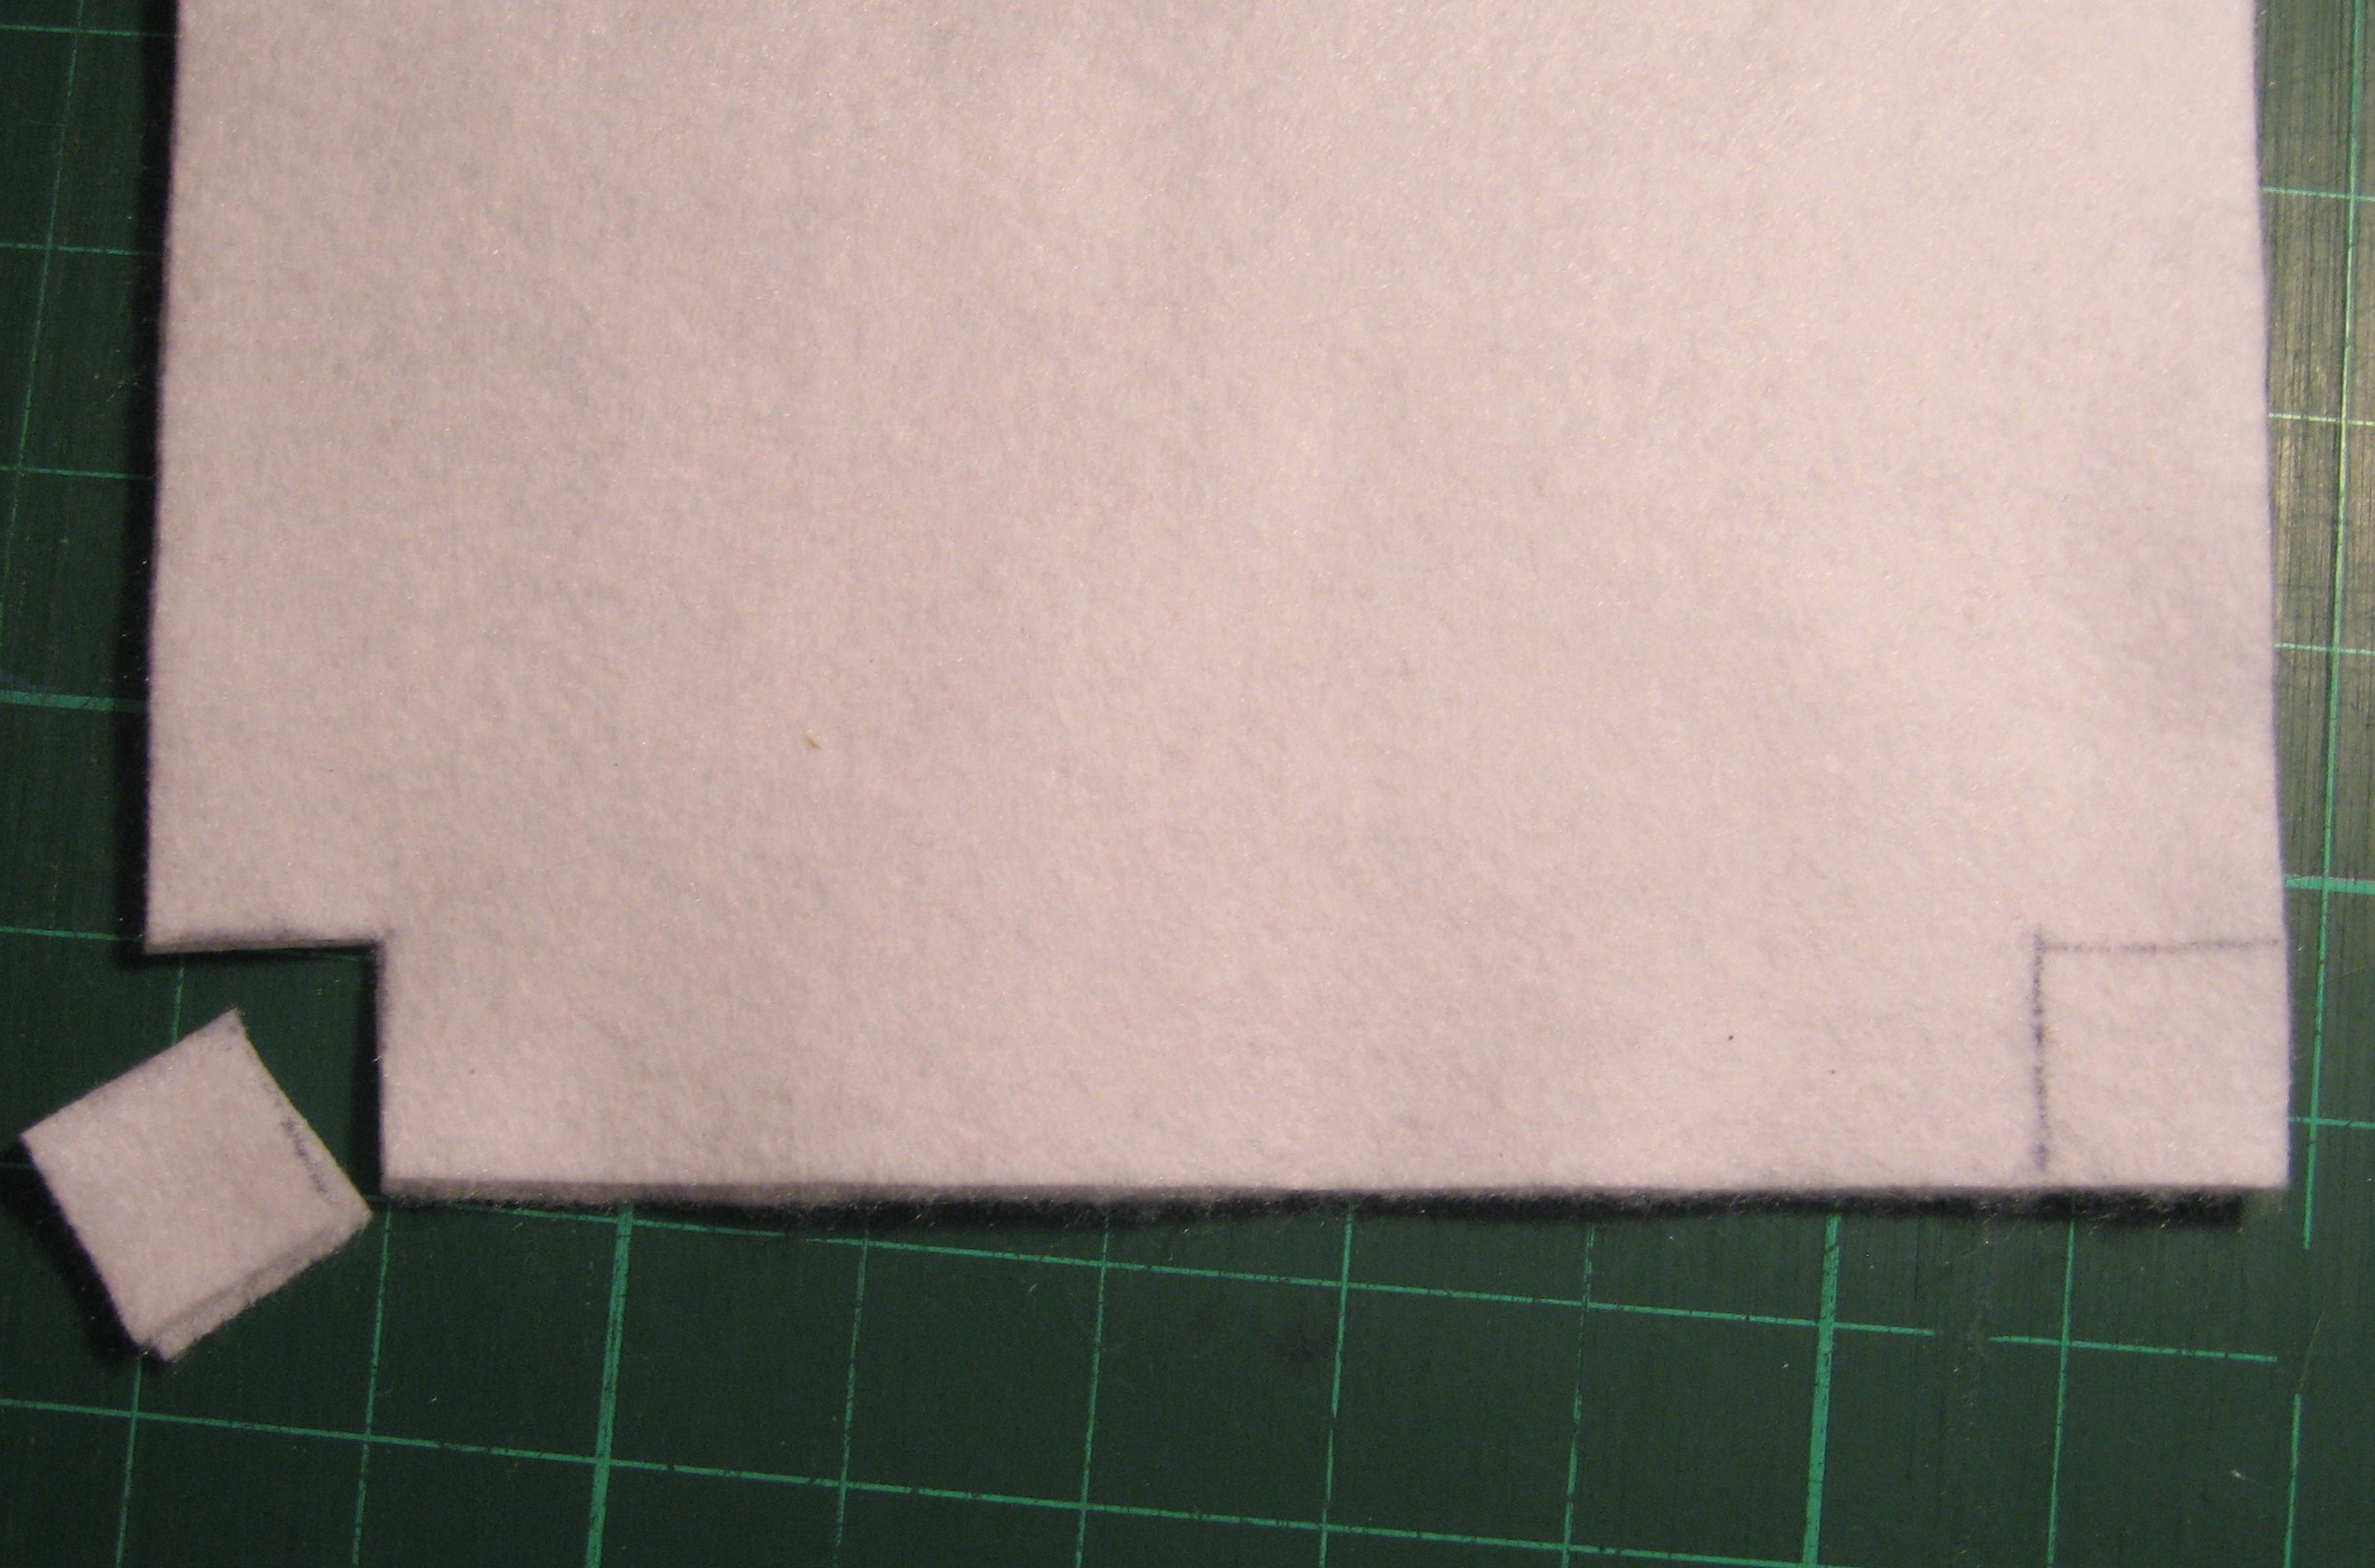
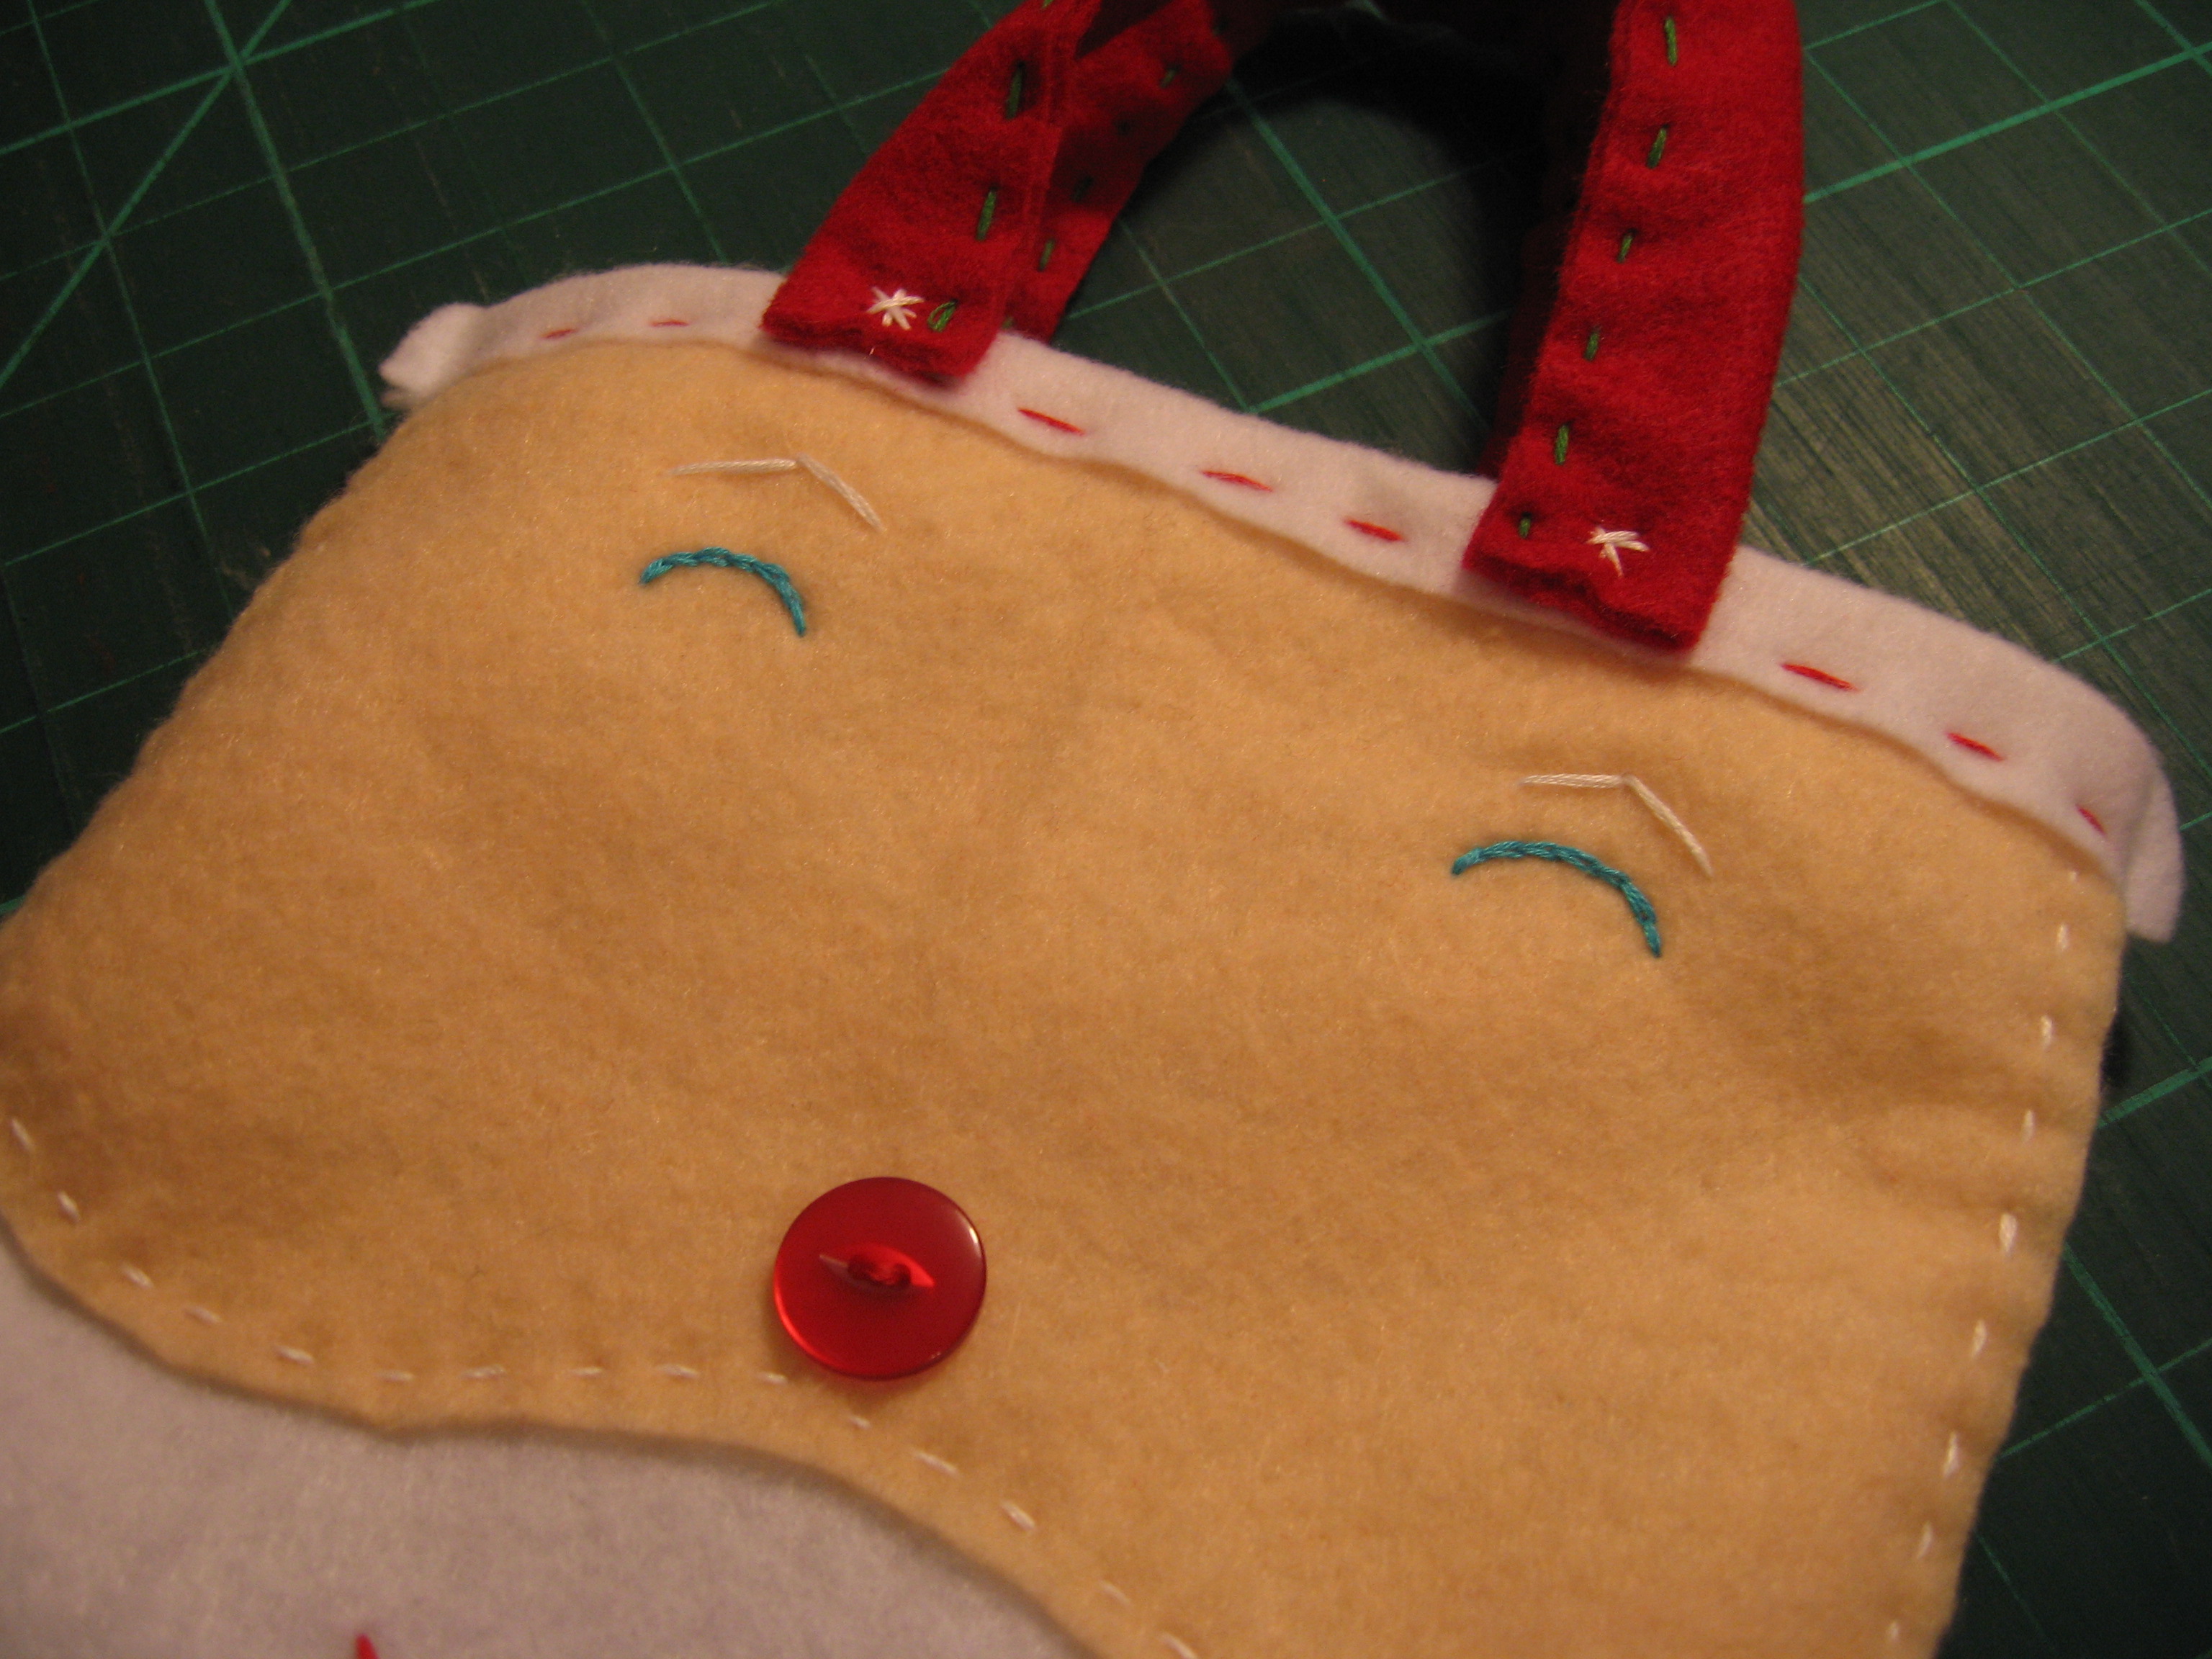
I’ve added a face shape template or you can wing the shape for your own unique Santa!

Smiling Santa Gift Bag Tutorial

Find the Tutorial here on Sewhooked

or

Download Tutorial from Google Drive

or

Get it on Craftsy

downloads_wordmark_white_on_coral

Like my free content? Consider being a Patron! Find out all you need to know on my Patreon page. $10 Patrons receive new paid patterns for free as they are released. Details on Patreon.

Frosted Firs Title

Want to support my work but Patreon is not for you? You can still help support my free content and keep me creating by purchasing a pattern. Buying patterns gives you something tangible for your money and helps me keep doing what I do! However, you choose to support me, whether it’s Patron, purchases, or by sharing my work with your other quilty friends, I appreciate you. ♥

This is just one of the patterns available in my Craftsy shop!

rainbow cascade badge.jpg

Happening now! Quilt along or work at your own pace.

Join the Sewhooked Facebook Group for community, support & prizes! I’ll be there, as will my awesome pattern tester Amber along with many other friends of Sewhooked. We’ll answer your questions and nudge you along if you need it. Joining the group is never required, but it is fun!

signature-2016

Craftsy Pattern Shop ♥ Etsy Shop

Facebook ♥ Sewhooked on FB ♥ Sewhooked Facebook Group

Instagram ♥ Flickr ♥ Twitter

Posts on this blog contain affiliate links. Thank you for your support. ♥


Have a sewhooked little Christmas

A little Christmas Cheer from the sewhooked flickr group!

Christmas Hanging

by sewtobed on flickr

Ms. Santa
by ramblequeen on flickr

Photobucket

by Jennifer T.

Santa's Elf Little Wonky Christmas Tree Lil St. Nick Mrs. Claus

by liljabs on flickr

Lots more great quilts in the flickr Christmas quilts group!

Holly Jolly Christmas

More Christmas cheer from sewhooked:

If you make a Sew Awesome Craft or any pattern, craft or recipe from sewhooked,  I’d love to see a photo.  Email me or add it to the sewhooked flickr group.

Recycled Gift Bags from, ehem, paper wine bags

Recyled Paper Bag

The holiday head cold has grabbed me with both hands!  Fortunately, I finished my gift making and wrapping before I could spread cooties along with my Christmas cheer.

I did something I almost never do and *gasp* bought pre-made gift bags for holiday treats.  When I opened the packages, they all had a bottle neck.  After I forced my eyebrows down out of my scalp, I realized the cute little bags were practically useless unless the entirety of my holiday giving included M&Ms.

Without any time to spare, I started digging around in my “keep just in case” drawer and came up with a stack of paper wine bags that I’ve been holding on to forever.  Jackpot!

To make your own holiday gift bags/wrap from recycled wine bags, you’ll need:

  • paper wine bags
  • tape or glue
  • hole punch
  • ribbon
  • iron
  • something to cut the bags (paper cutter, rotary cutter, decorative or plain scissors)
  • stamps, stickers or other embellishments

Recyled Paper Wine Bag

If your bags are like mine, they’re likely to be in all different states of crumpled-ness.  So , first things, first, iron those bags!  Medium heat works.  Ironing on a paper bag will also clean your iron, so you might want to start with a sacrificial bag, just in case your iron has any Ghosts of Craft Projects Past lurking around.

Recyled Paper Wine Bag

Much better!

Recyled Paper Wine Bag

I happen to have a snazzy wavy blade for my rotary cutter.  You can use something similar, a straight rotary or paper cutter or just plain scissors.

Recyled Paper Wine Bag

Each wine bag will make 2 gift bags.  Determine how big you want each side to be, leaving about 1″ for folding for each bag. Recyled Paper Wine Bag

Bottom and top (L-R)

Recyled Paper Wine Bag

The top bag is open on the top and the bottom, so it’ll need to have the bottom sealed up.

Recyled Paper Wine Bag Recyled Paper Wine Bag

Glue works fine for this, but so does tape or a cute sticker. This is a good time to embellish your gift bag with stickers, stamps or drawings.

Recyled Paper Wine Bag

Top finish off, fold the top down and punch two holes through all layers.  Insert your gift and tie a ribbon through to close.

Recyled Paper Wine Bag

Repeat the steps for all bags.  The bottom half of your recycled gift wrap will only need the tops folded and punched since the bottom is already sealed.  I stamped mine, but you can embellish your bags any way you like. Now, fill with holiday goodness and gift it!  If you’re stuffing your gift bags with edible homemade goodness, I suggest wrapping it in plastic or wax paper before placing it in the bag.

Add your Sewhooked-related photos to my flickr group and you might be featured in a future post.

Photobucket

 
Craftsy | Etsy | Facebook | SHFB | Flickr | Twitter | PinterestBloglovin

Smiling Santa Gift Bag

Smiling Santa Gift Bag Tutorial

I’ve been making these Santa bags for a lot of years now, but this is the first time I’ve ever shared a how-to for it.

Other similar bags I’ve made include Rudolph, Christmas kitties and Christmas trees.  Change the basic bag to any color and add polka dots or stars for an easy birthday bag!

Smiling Santa is reusable, giftable, and darn cute.  He’s fast to make with simple embroidered stitches and a button nose.    If hand stitching isn’t your thing, fabric paint will work in a pinch!

You’ll need:

  • Smiling Santa reference
  • 9″ x 12″ acrylic felt – 2 white, 1 red, 1 flesh
  • scissors
  • large needle
  • embroidery floss:  white, red, blue & green
  • red button
  • ruler
  • optional:  sewing machine
  • optional:  rotary cutter

supplies


I use eco-friendly acrylic felt.  It’s easy to find, cheap (20 cents a sheet) and sturdy.


Find the bottom of your bag and cut 1″ squares out of the opposite corners for each white sheet. This will create a faux gusset and allow your gift bag to stand up.


Cut the flesh-colored felt sheet down to 8″ x 5 1/2″.  Fold in half and cut a gentle curve.

Smiling Santa Gift Bag Tutorial

Open flesh-colored felt.  Align 1″ from top of bag, centering so that each side has approximately 1/2″ of white felt showing.


Using the white embroidery floss, hand stitch a running stitch around the two sides and bottom of the face.


Add eye details with a straight stitch (eyebrows) and chain stitch (eyes).


Add button nose with red embroidery floss.  Add mouth, also with red embroidery floss, using the chain stitch.


Pin two pieces of white felt together, face inside.  Machine stitch 1/4″ seam on two sides and across the bottom.

Optional:  hand stitch on the inside OR hand stitch on the outside using red embroidery floss.


Fold the open corners on the bottom together, matching outside seams.  Fold seams in opposite directions to reduce bulk.  Pin in place.


Machine stitch bag corners.


Turn bag right side out.


Fold 1″ down on top of bag, overlapping face.  Pin, then straight stitch around.  Stitch under side seam.


Finished stitching on the top of bag.


Cut two 12″ x 2″ strips from red felt.


Fold straps lengthwise.  Straight stitch along the length with green embroidery floss.


Pin handle to outside of bag 2″ in from the sides.


Straight stitch snowflake or asterisk to hold handles in place.  Repeat for the back of bag.


Stuff with goodies and gift it!

Christmas tree gift bag

Feeling creative? Try your hand at a Christmas Tree!


fun variations, Dec. 2000

Add your Sewhooked-related photos to my flickr group and you might be featured in a future post.

signature-2016


Craftsy | Etsy | Facebook | SHFB | Flickr | Twitter | PinterestBloglovin

This is part of my “Way Back Craft” series; patterns, crafts, tutorials and general crafty memories before the days of this craft blog.

Paper Piecing: Bag Lady

IMG_0360
Sue Upton, of PotterCast, receiving her Hufflepuff gift bag
during Lumos in Las Vegas, July 2006.

While I love all crafts, paper piecing is my One True Craft. (bold, capitalized, giant font ONE TRUE CRAFT). I love designing, making and sharing. The ideas come faster than I could ever possibly get them all down.

While paper piecing is definitely a quilting technique, quilting is definitely not just for quilts. I love using quilt elements in bags, pillows, clothing and art pieces.

I thought it would be fun to do a photo round up of some of the bags in which I’ve used paper piecing and other quilting elements.

All bags and block patterns were designed by me. Many of the patterns are available for free on sewhooked (see links below).

2 Hufflepuff gift bags
Hufflepuff Gift Bags (as seen above)

Gryffindor Gift bag for Melissa Anelli
Gryffindor Gift Bag, made for Melissa Anelli of PotterCast (gifted at Lumos 2006).

Slytherin gift bag for John Noe
Slytherin Gift Bag made for John Noe of PotterCast (gifted at Lumos 2006)

Hope's Messenger Bag for Vegas
Gryffindor Messenger Bag, made for Hope, 2006

Jen's Ravenclaw messenger bag for Vegas
Ravenclaw Messenger Bag, this one is mine all mine! Made in 2006.

mini-messenger Bday gift for Joseé
Ravenclaw mini-messenger, made for Josée, 2006.

Gryffindor pencil bag
Gryffindor Pencil Bag made for Elena, 2006

Hufflepuff bag for delana - back
Hufflepuff bag made for Delana, 2007.

Pirate Computer Bag
Jolly Roger Computer Bag (this one is mine, too!), 2007.

Kimmer's Ravenclaw Bag
Ravenclaw Messenger made for Kimmers, 2007.

LIzzie's Pigwidgeon Bag
Pigwidgeon Messenger Bag made for Lizzie, 2007.

Yellow Submarine Bag
Yellow Submarine bag made for Steph, 2006.

Gareth's X-Men Bag
X-Men Messenger Bag made for Gareth, 2006.