Two weeks ago, I told you about Lily, the kitten my sister and her husband adopted after finding her abandoned near my parents’ home out in the country.
This is her story, and our thank you.
We now have all the money we need to pay for Lily’s medical expenses. We might even have a little left over to donate to our local Humane Society.
Here’s a little something I made for Lily. I was lucky enough to act as her post-surgery kitten sitter this week while my sister and brother-in-law were at work. She was a joy to be with every day and I will miss my mid-day kitten break!
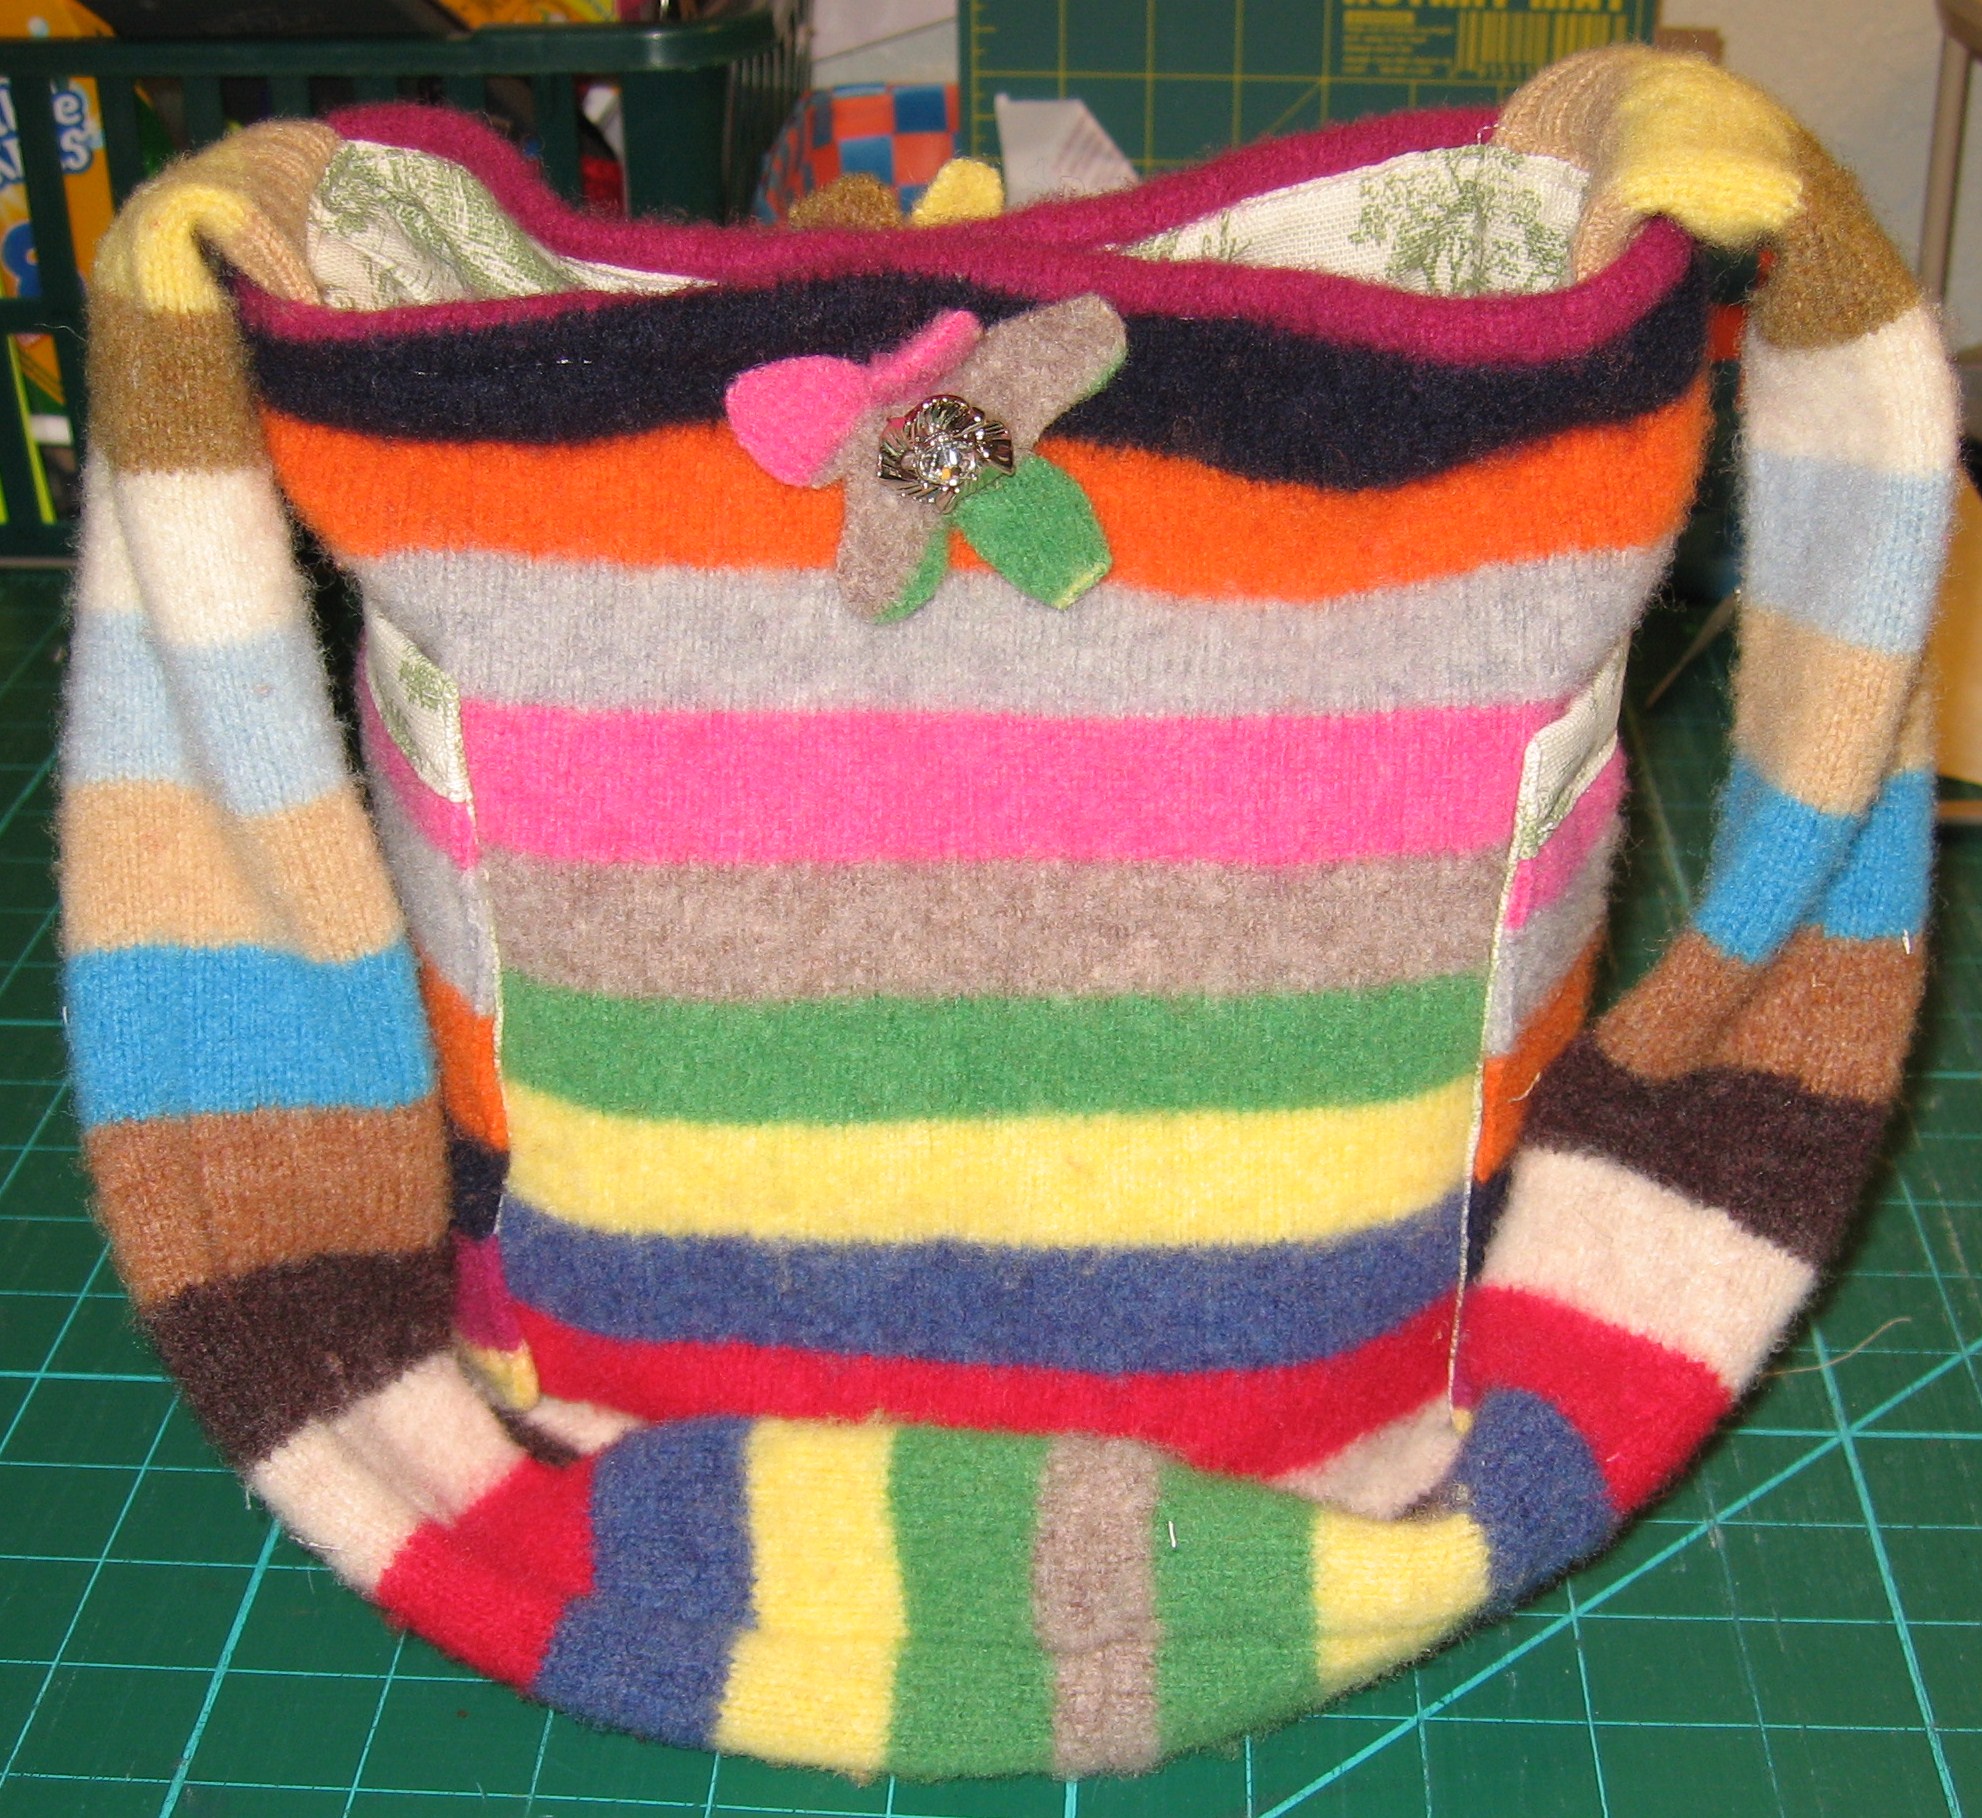
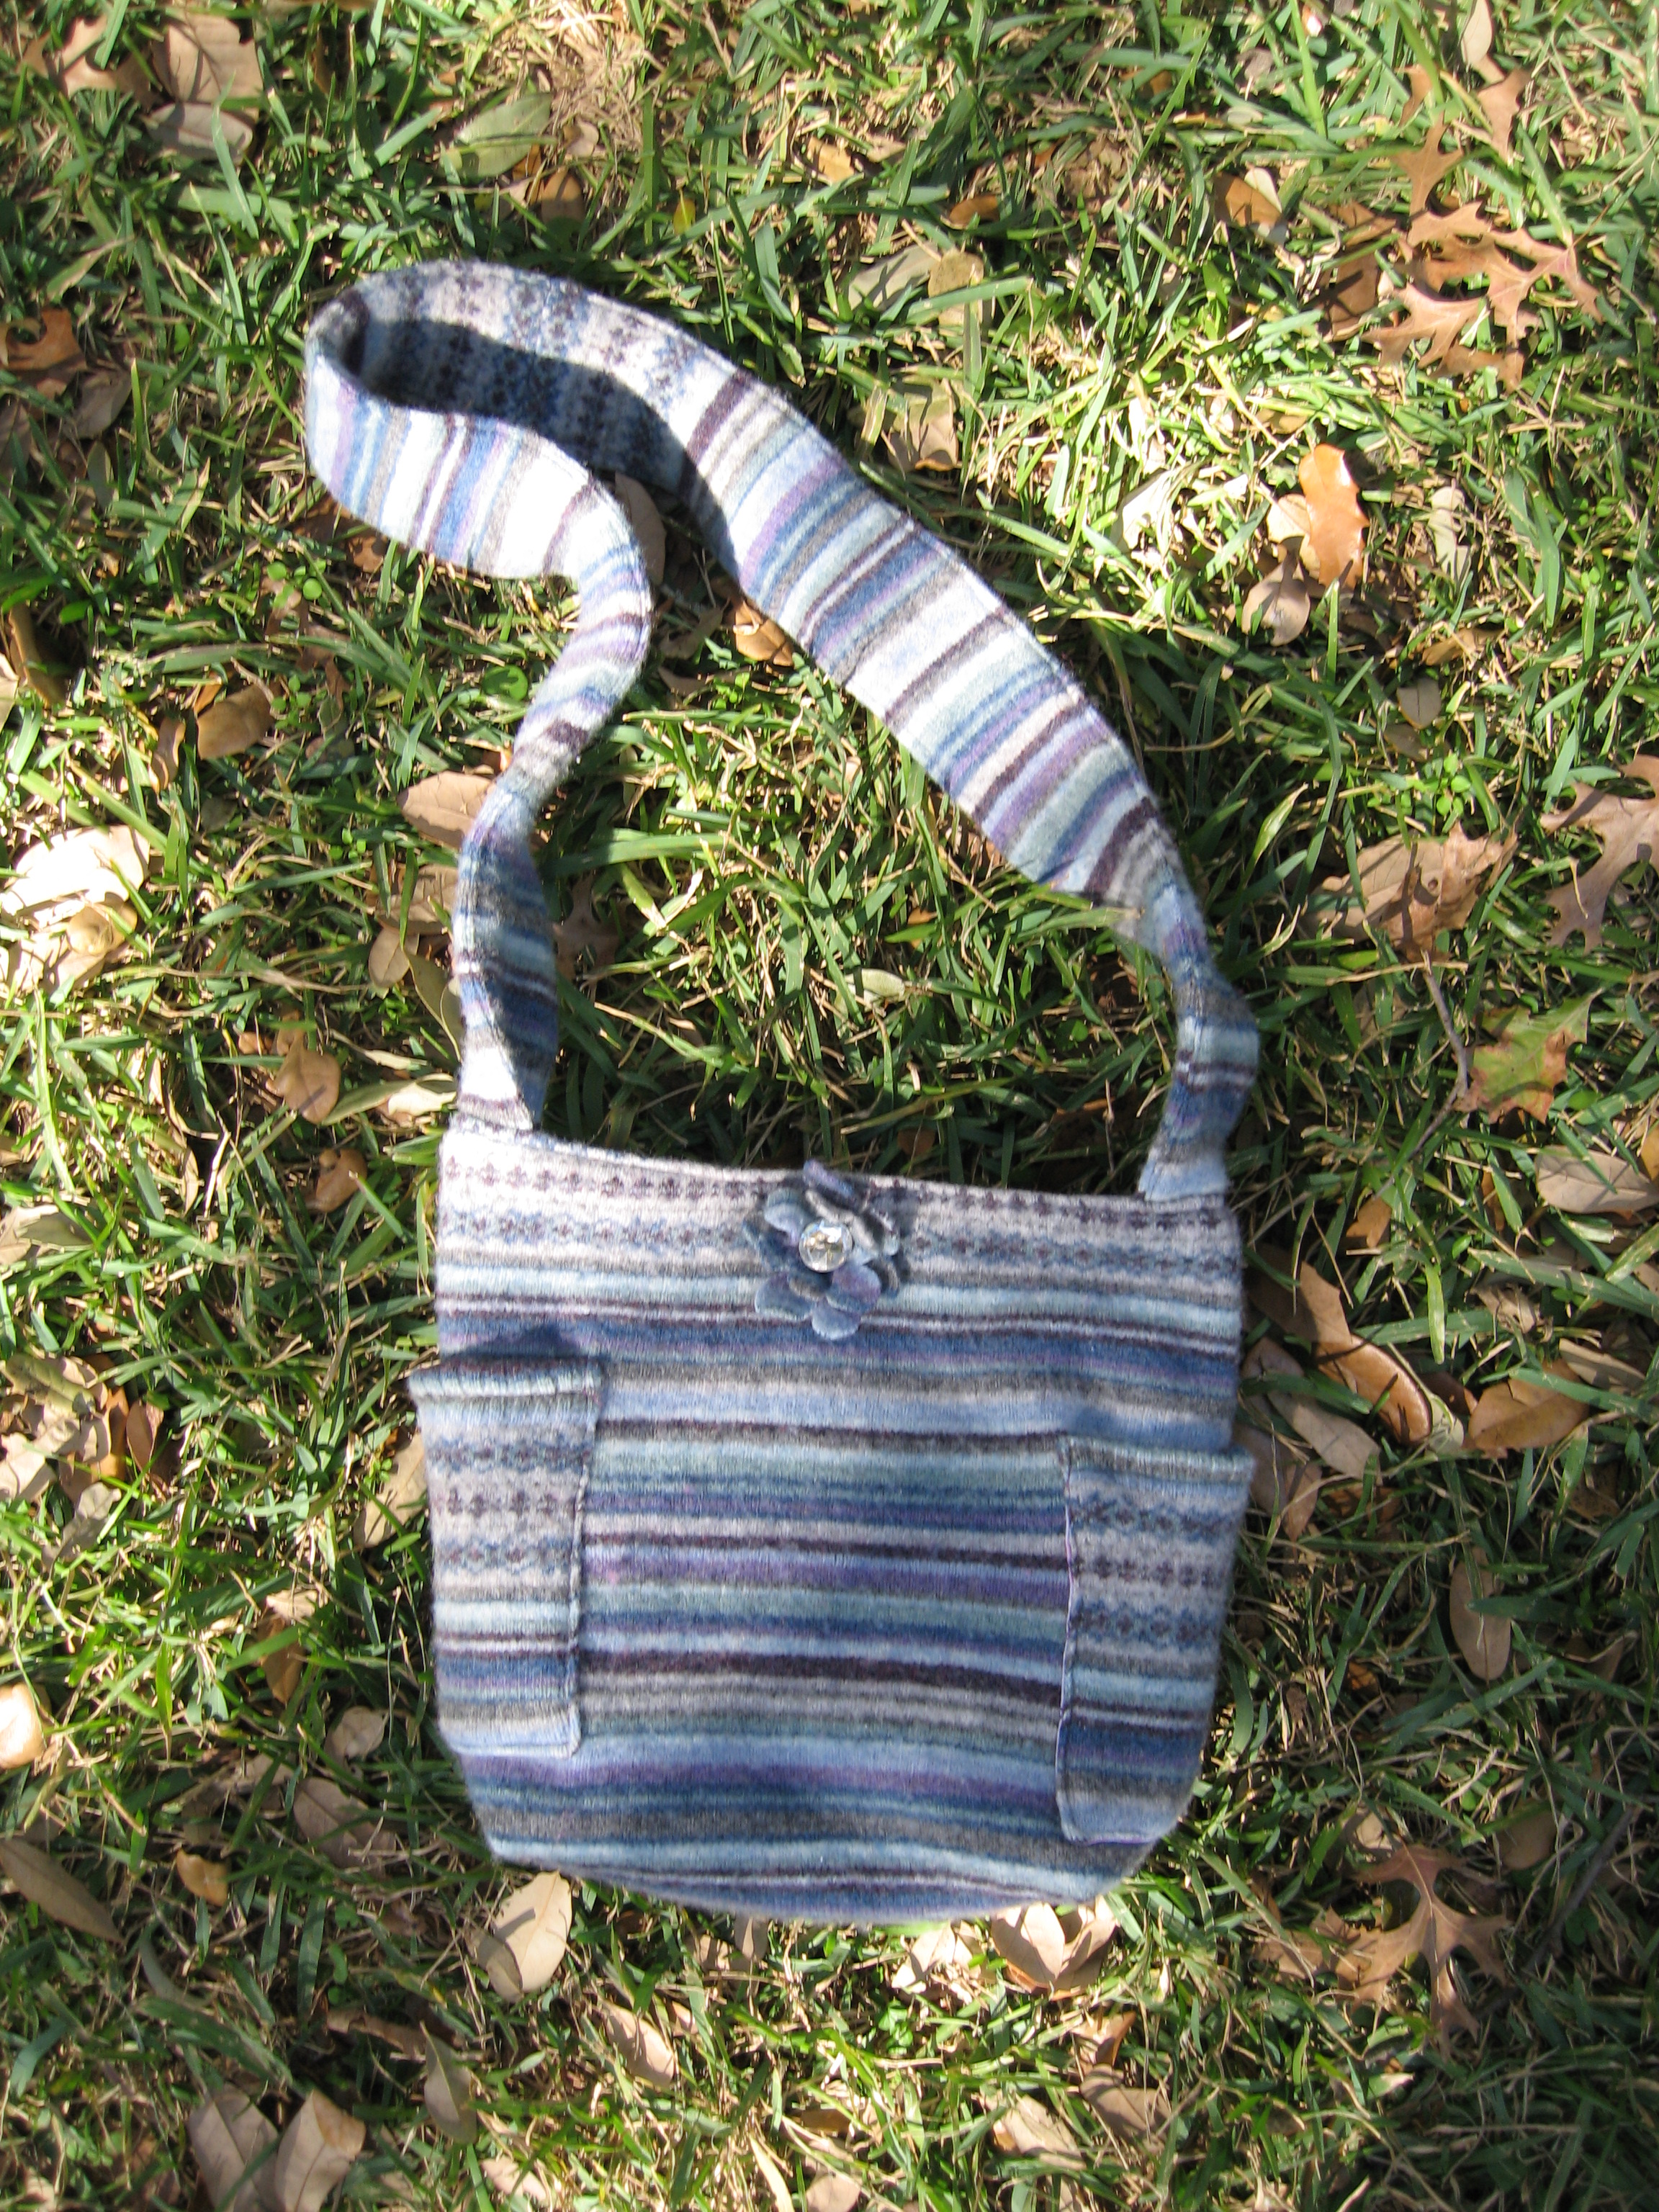
The Recycled Sweater Bag isn’t quite old enough to be considered a Way Back Craft. I first started making this bag last year. It works great with a felted thrift store sweater, but you can also make this bag out of denim, upholstery fabric, or just about any other heavy duty material.
The bag size will vary based on the size of your sweater.
Do I need a reason to make a new bag? Not really, but recycling is a darn good incentive!
Use the written instructions below or watch the video. (Please note this video tutorial was posted in 2008, and the quality reflects that).
You will need:
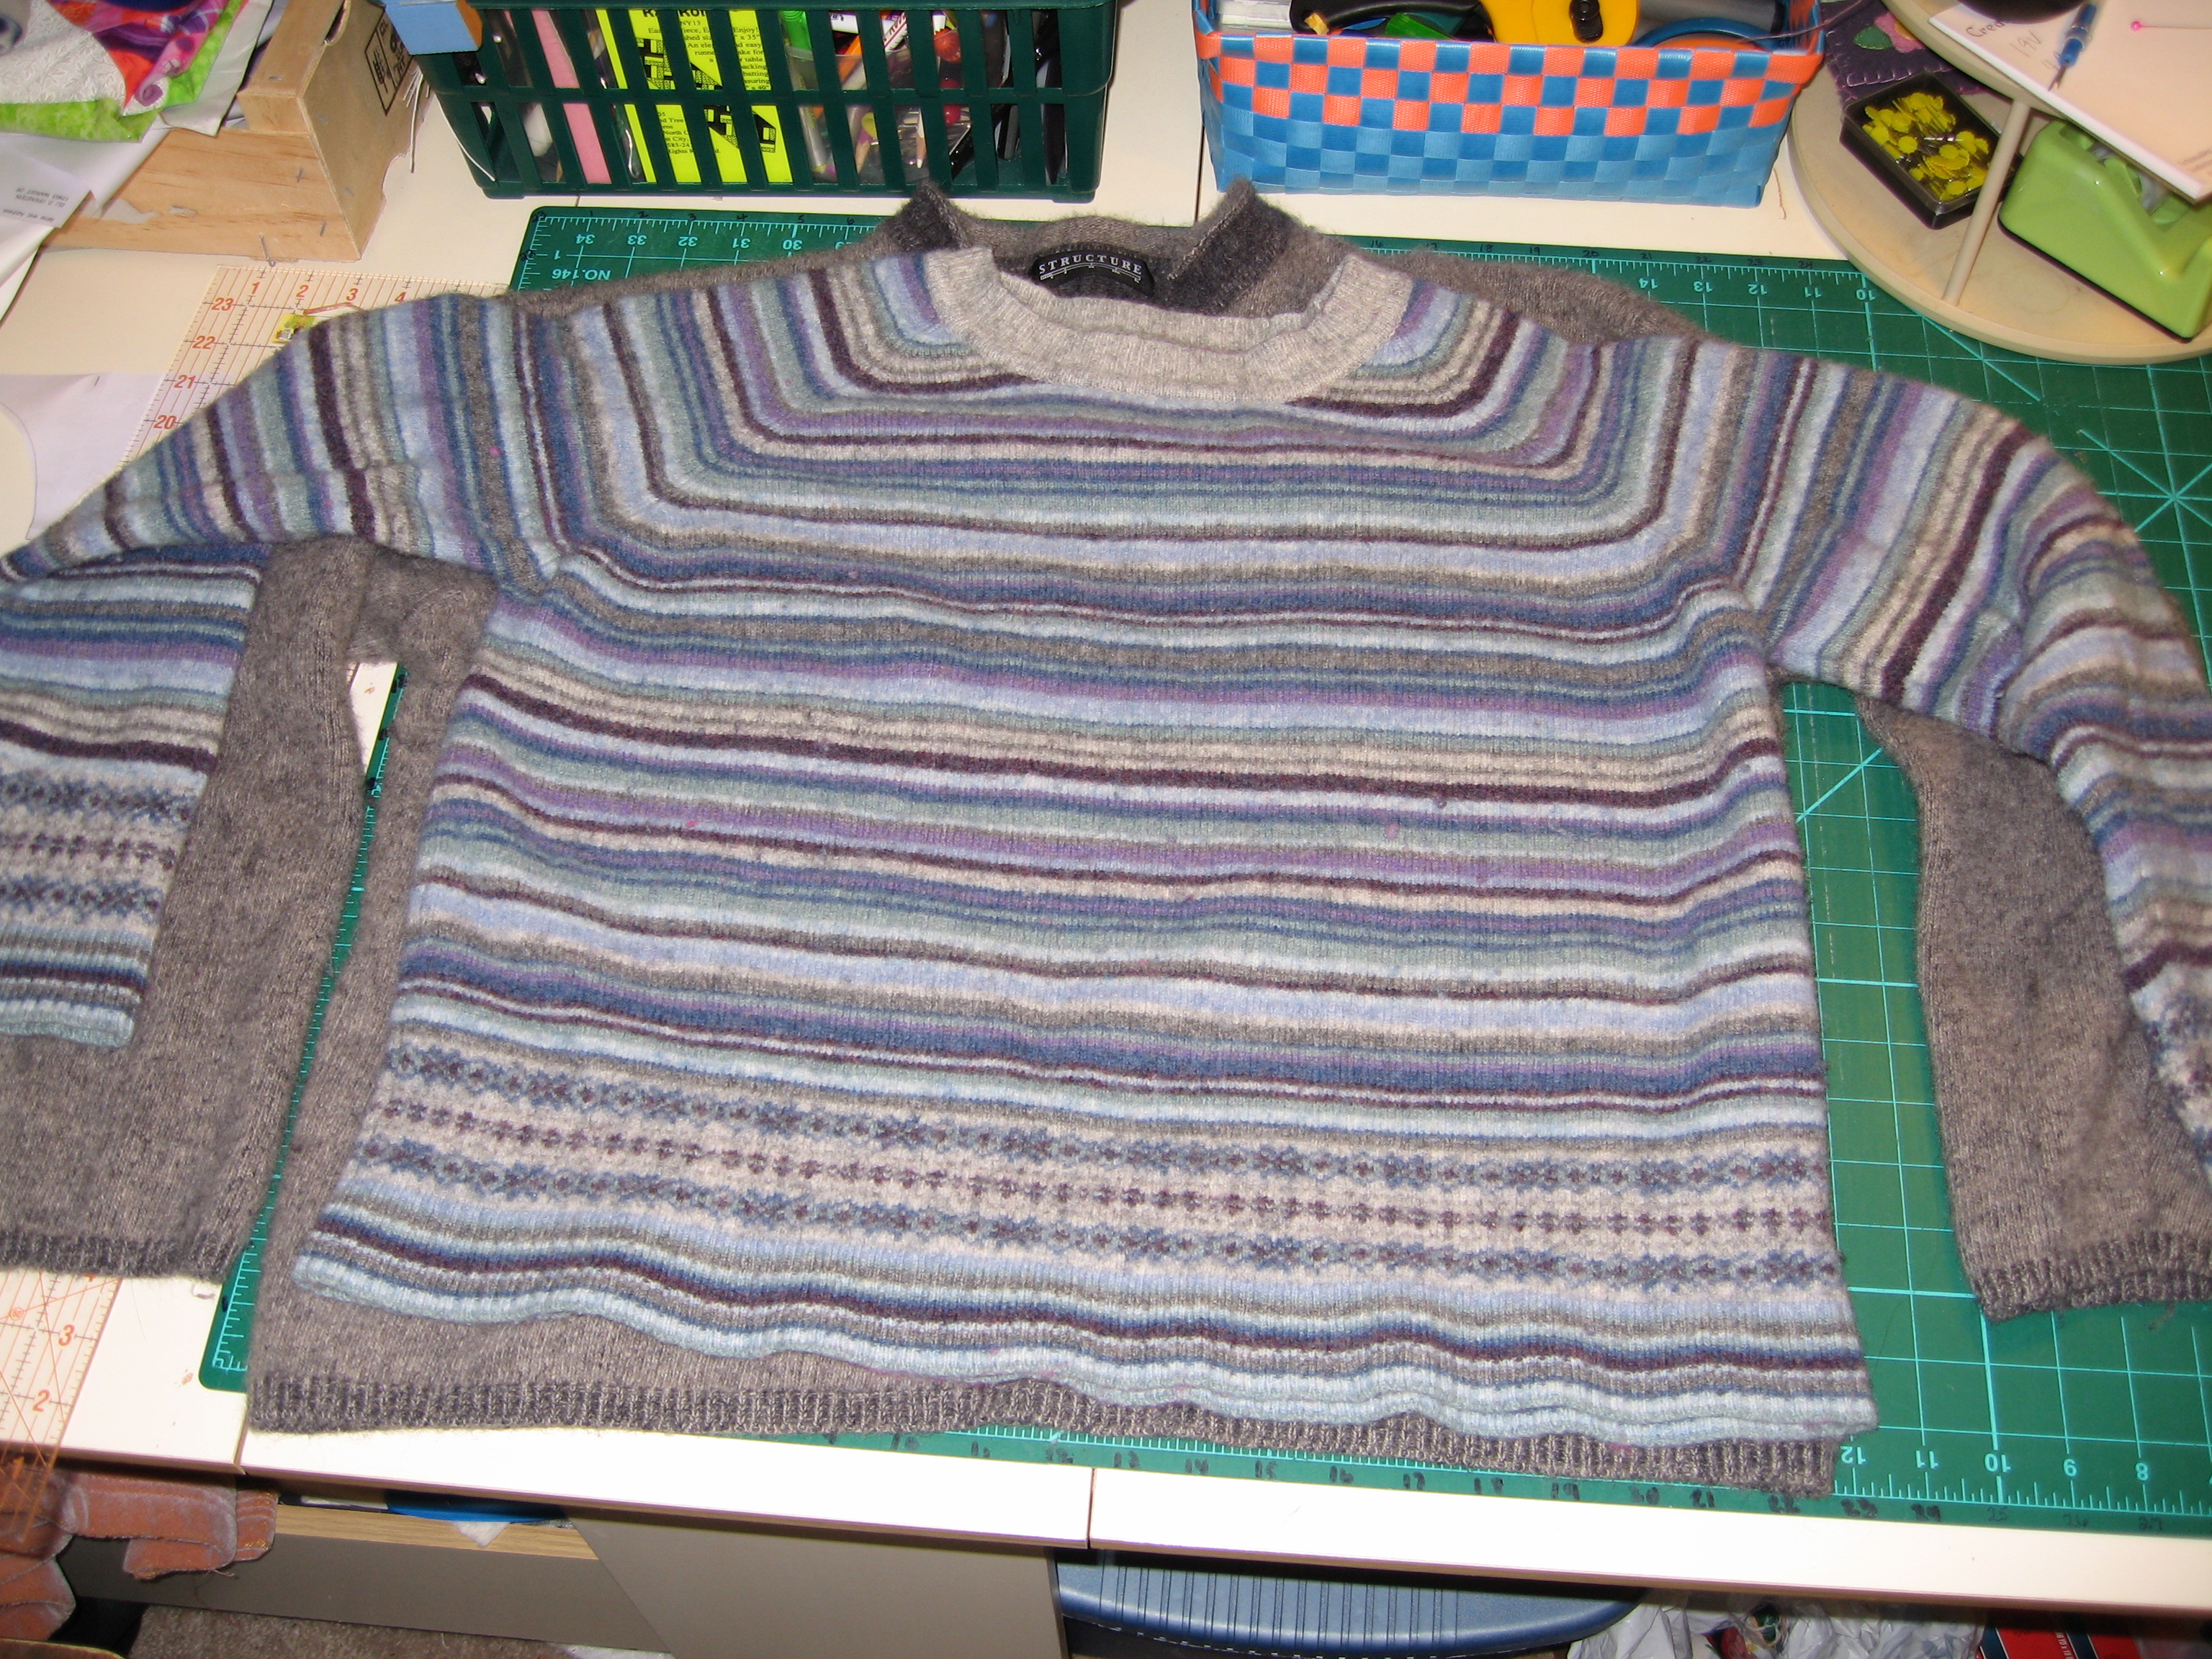
1 old (or thrift store) 100% wool sweater – felted
fabric for lining & pockets
magnet purse snap
2 buttons
sewing machine
thread
scissors
chalk
pins
rotary cutter (optional)
walking foot (optional)
I used a 1/2″ seam allowance throughout. If your sweater is bulkier, go a little wider or use what works for you.
First up – let’s prep our fabrics!
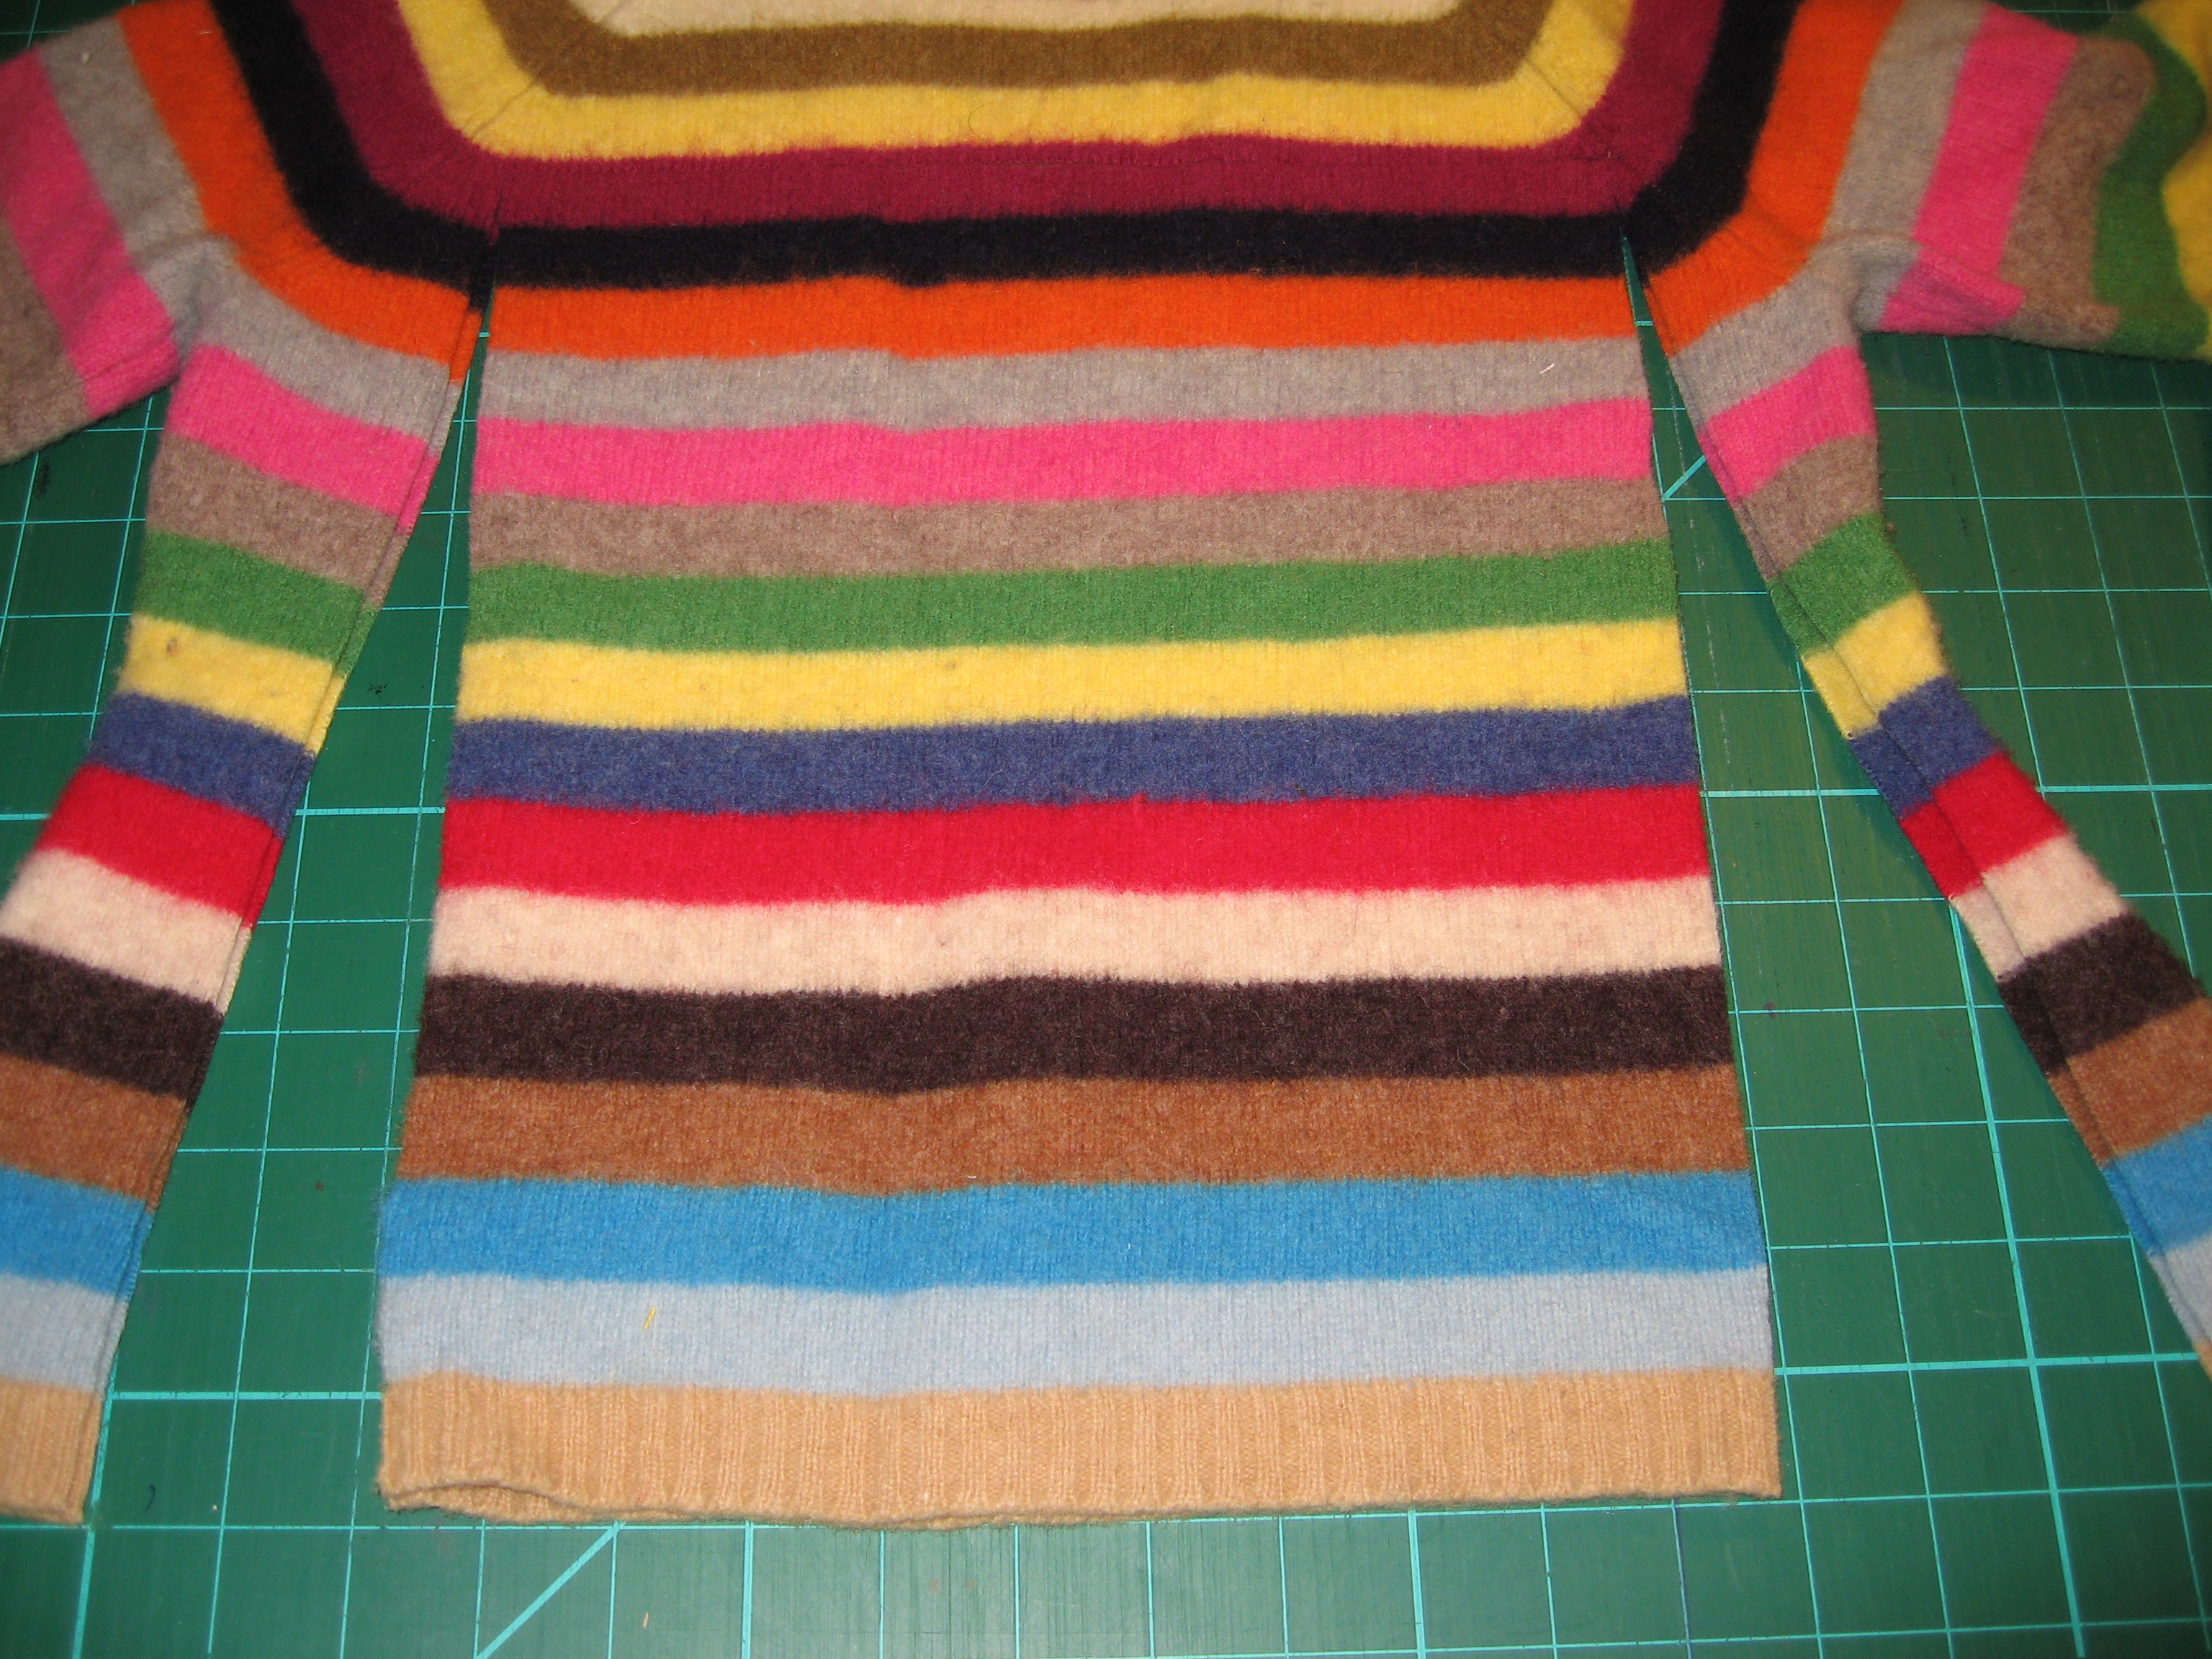
Cut a square or rectangle out of the body of the sweater, cut the same dimensions from lining fabric, remove sweater arms.
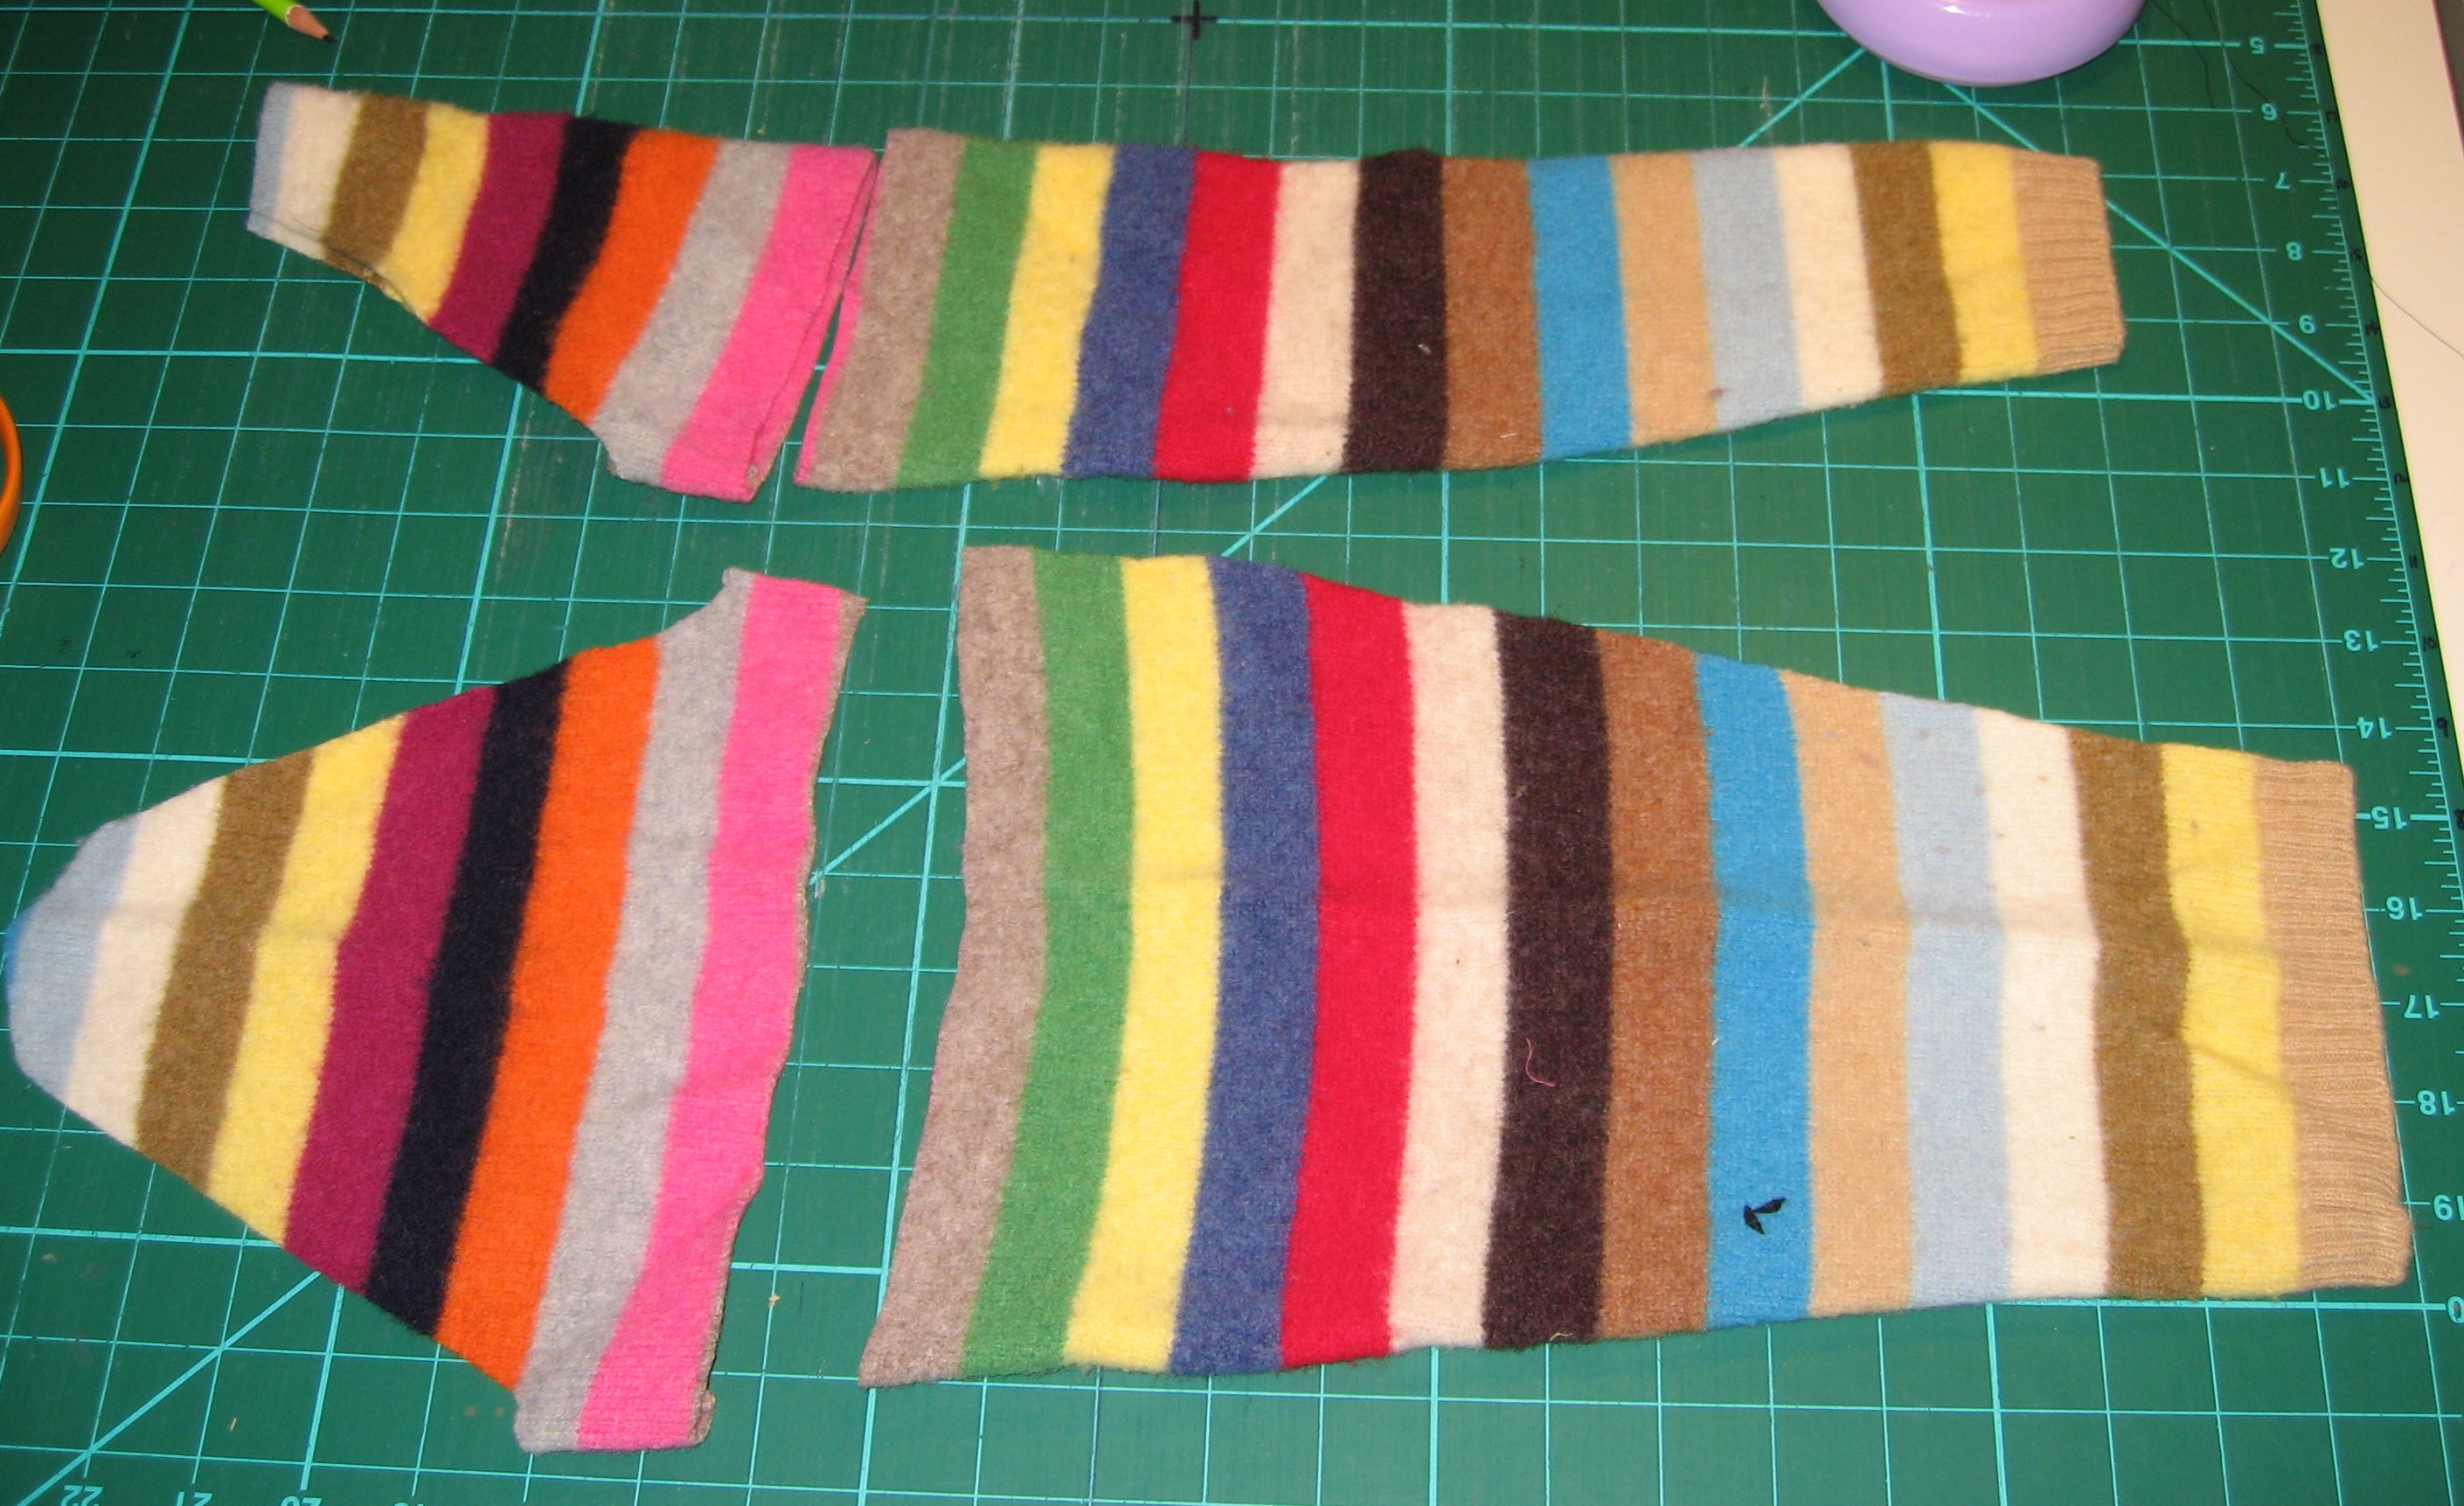
Split sleeves up seam and cut off the tops for pockets.
Cut rectangles out of the sleeve tops, cut same dimensions +1.5″ in length for lining.
Using the remaining scraps, cut out 2 circles and trim the circles into free-form flowers.
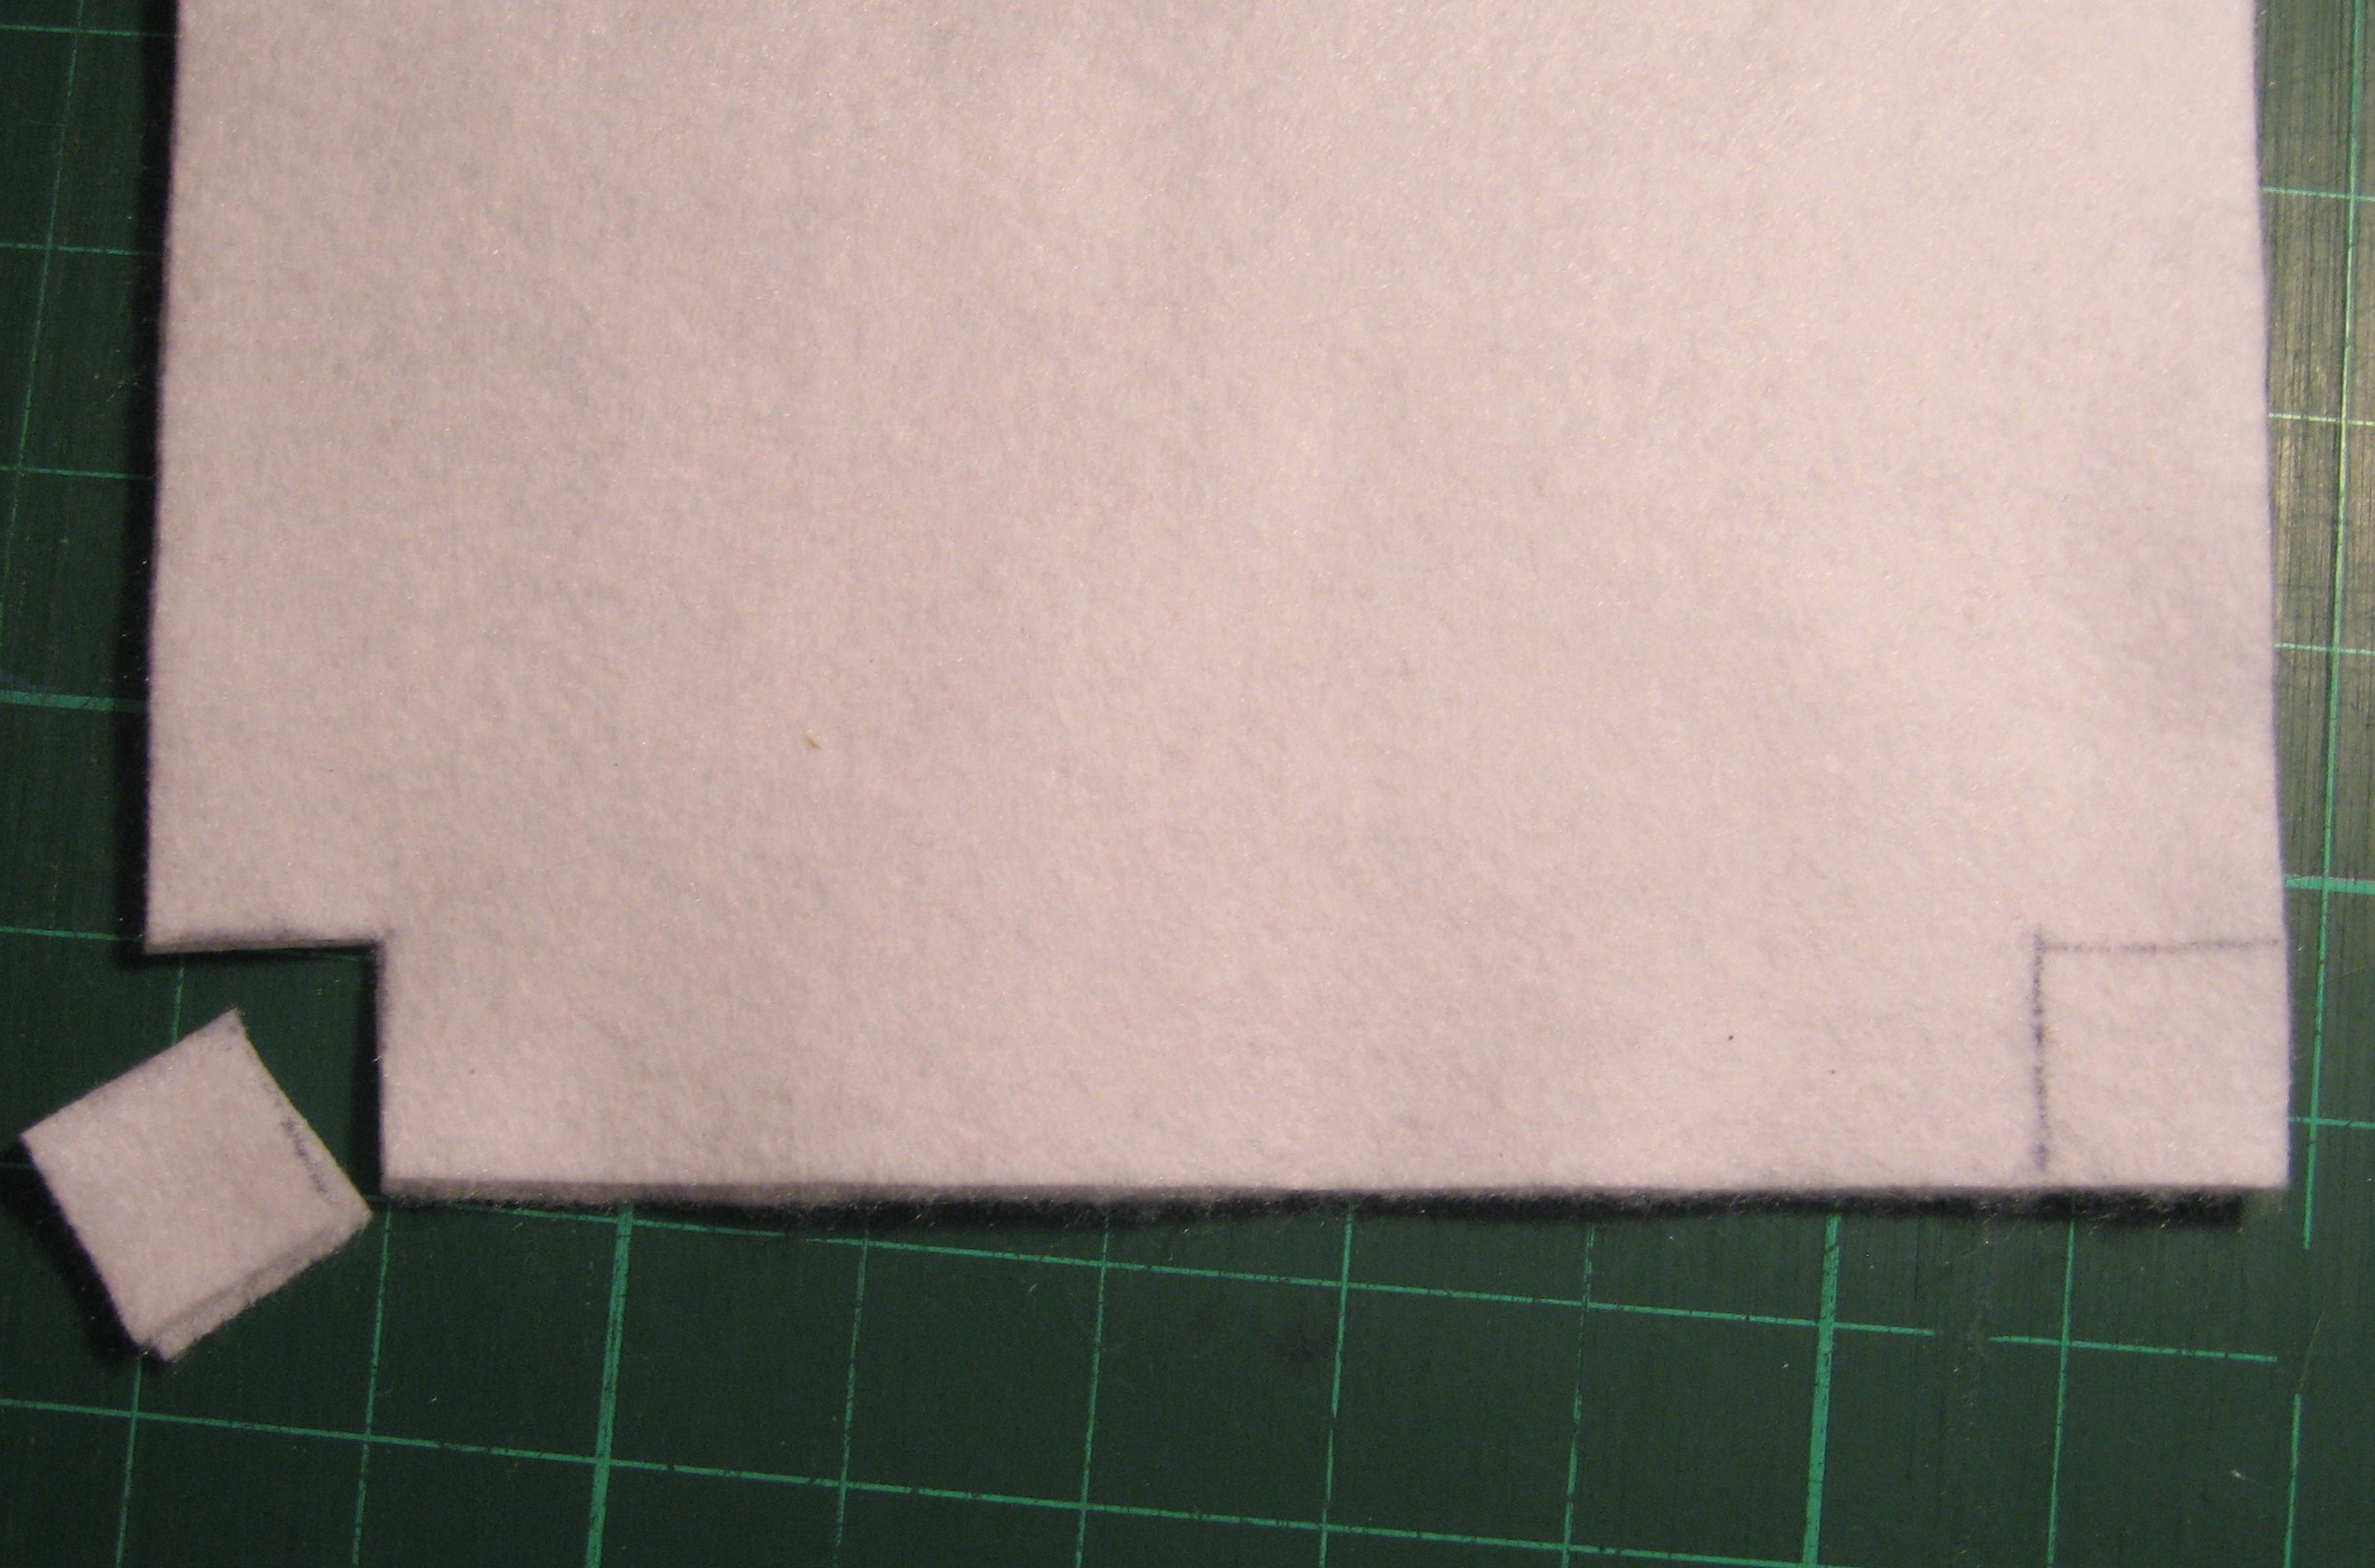
Cut 2″ squares out of the bottom left and right, repeat for lining fabric.
Now, let’s make the lining!
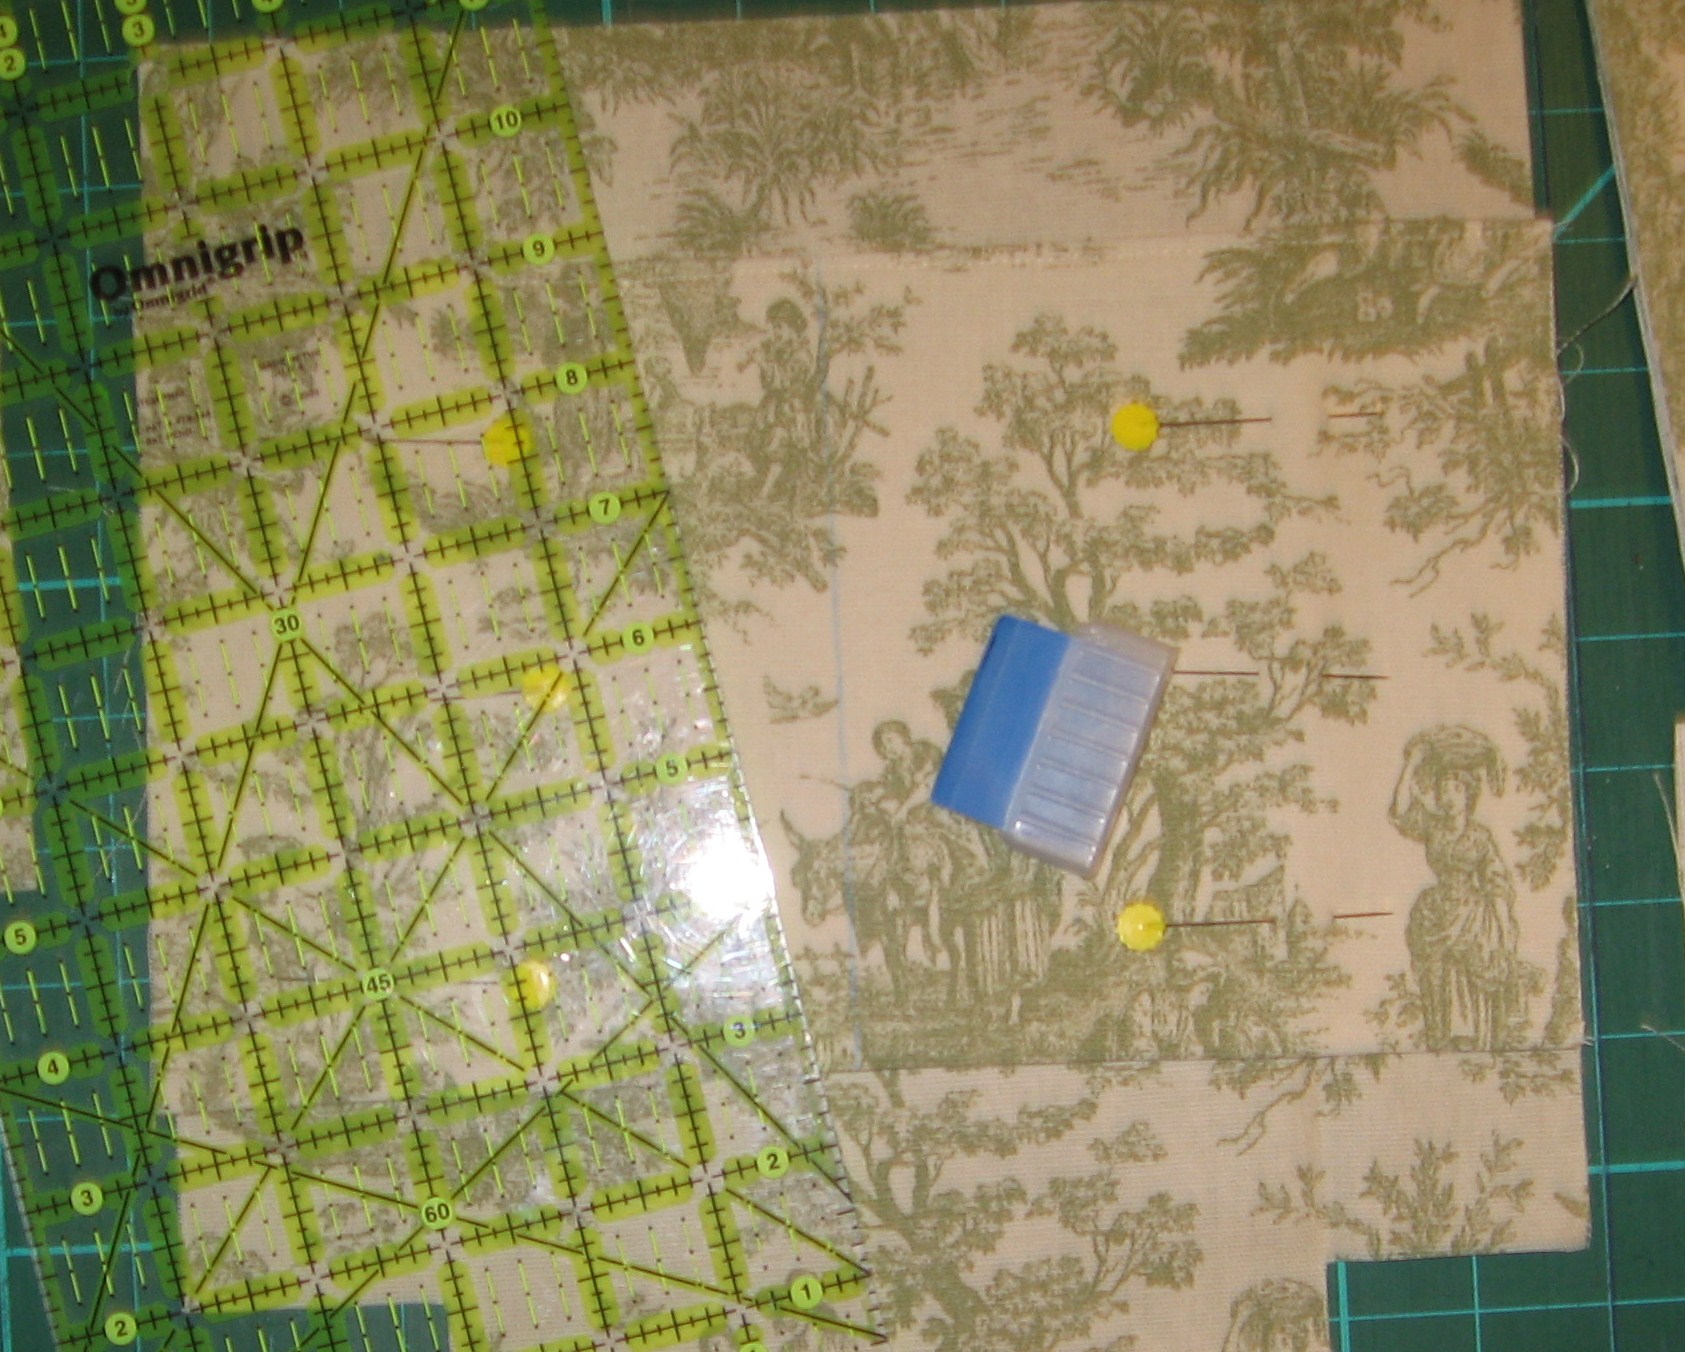
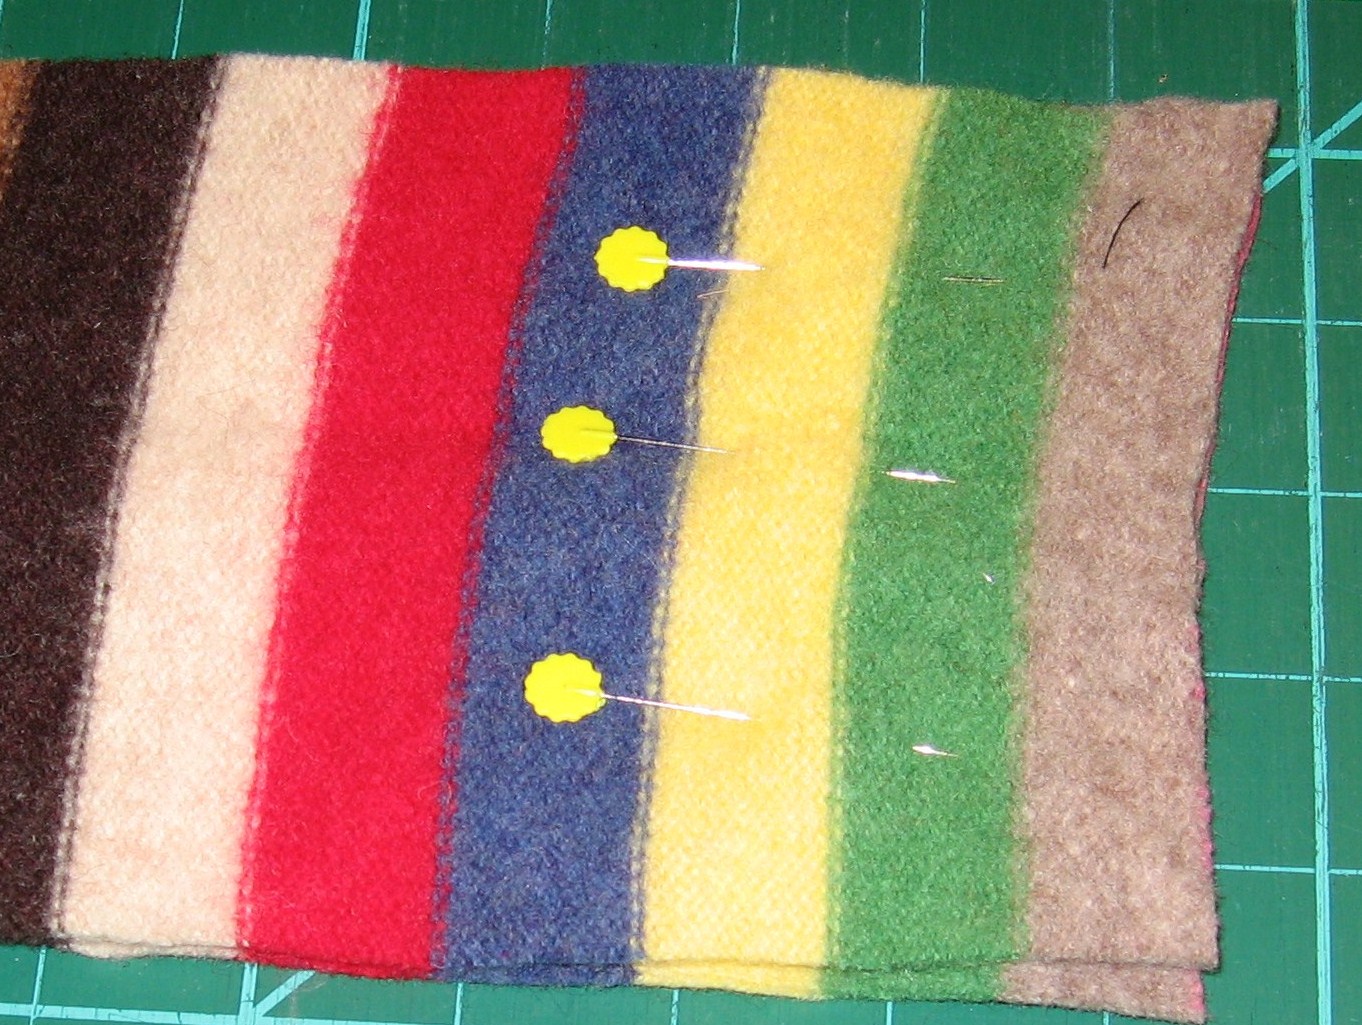
Cut a square the same width and length from lining fabric for inside pockets. Fold in half and stitch along the fold.
Pin pocket to inside and mark center with chalk for stitching line.
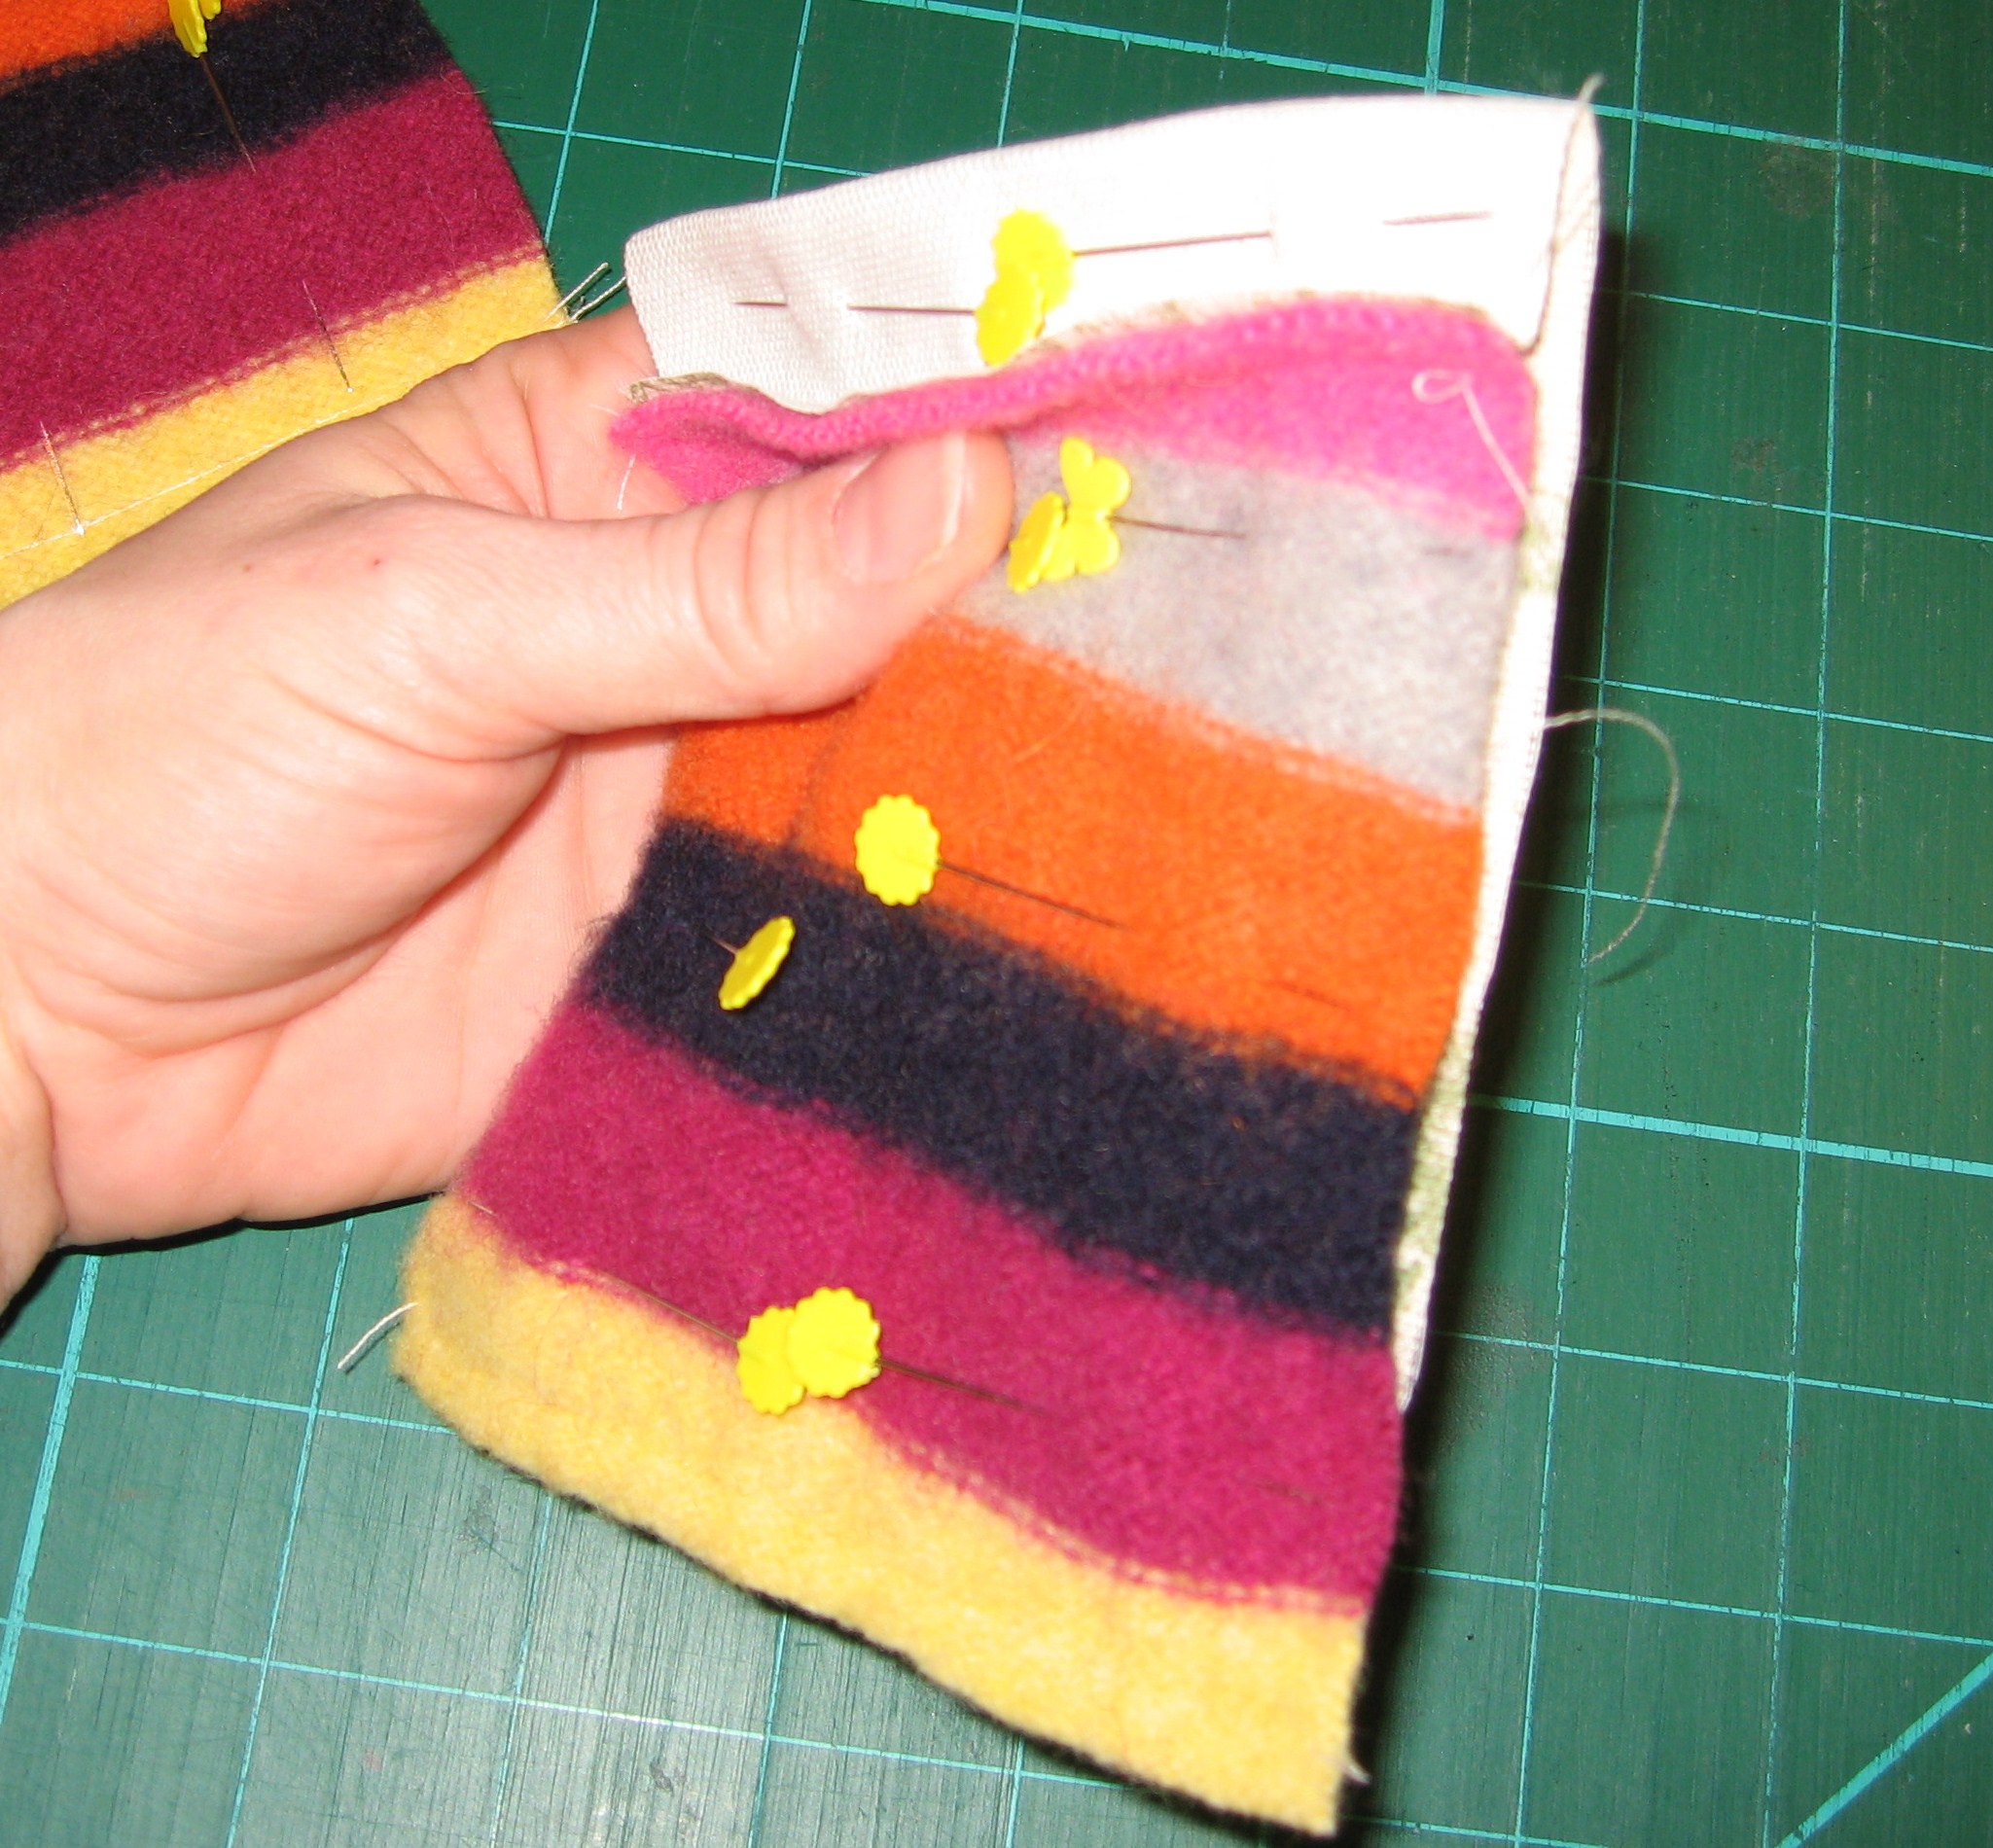
Pin sides and bottom of lining, stitch, leave 2″ corners open, leave opening in the side or bottom for turning.
Match boxed corners (the notches in the bottom of the bag), pin & stitch.
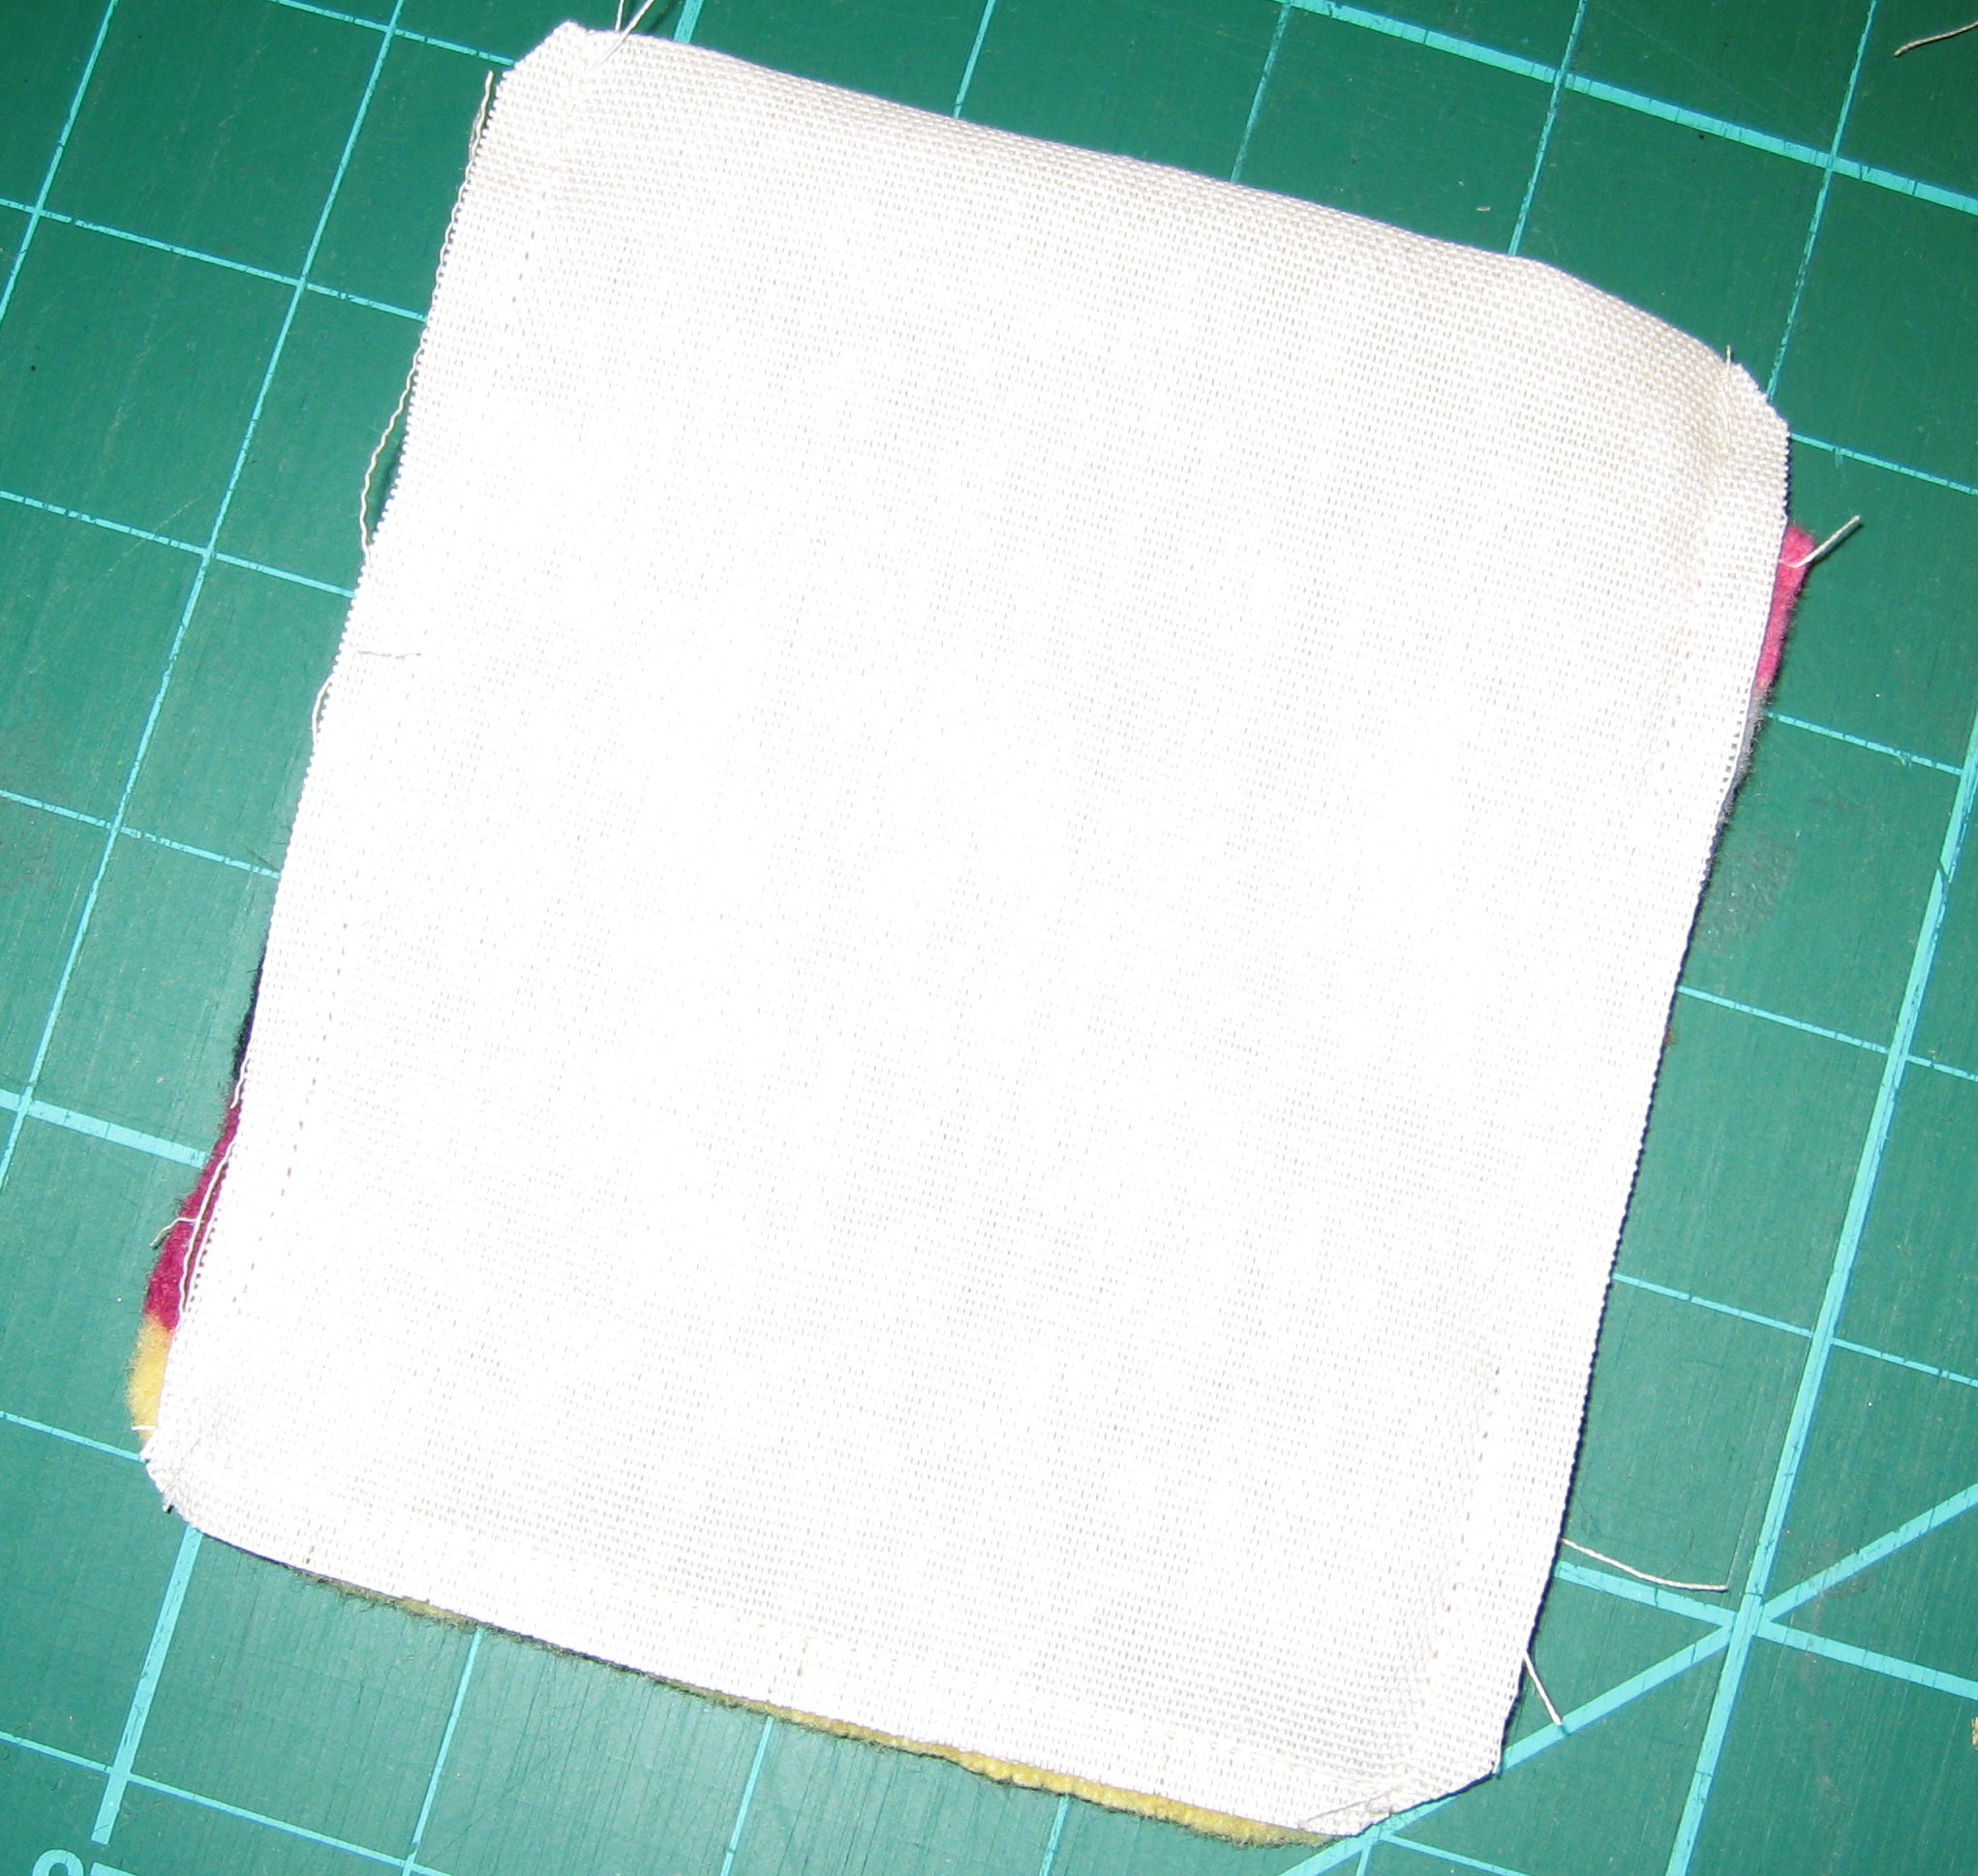
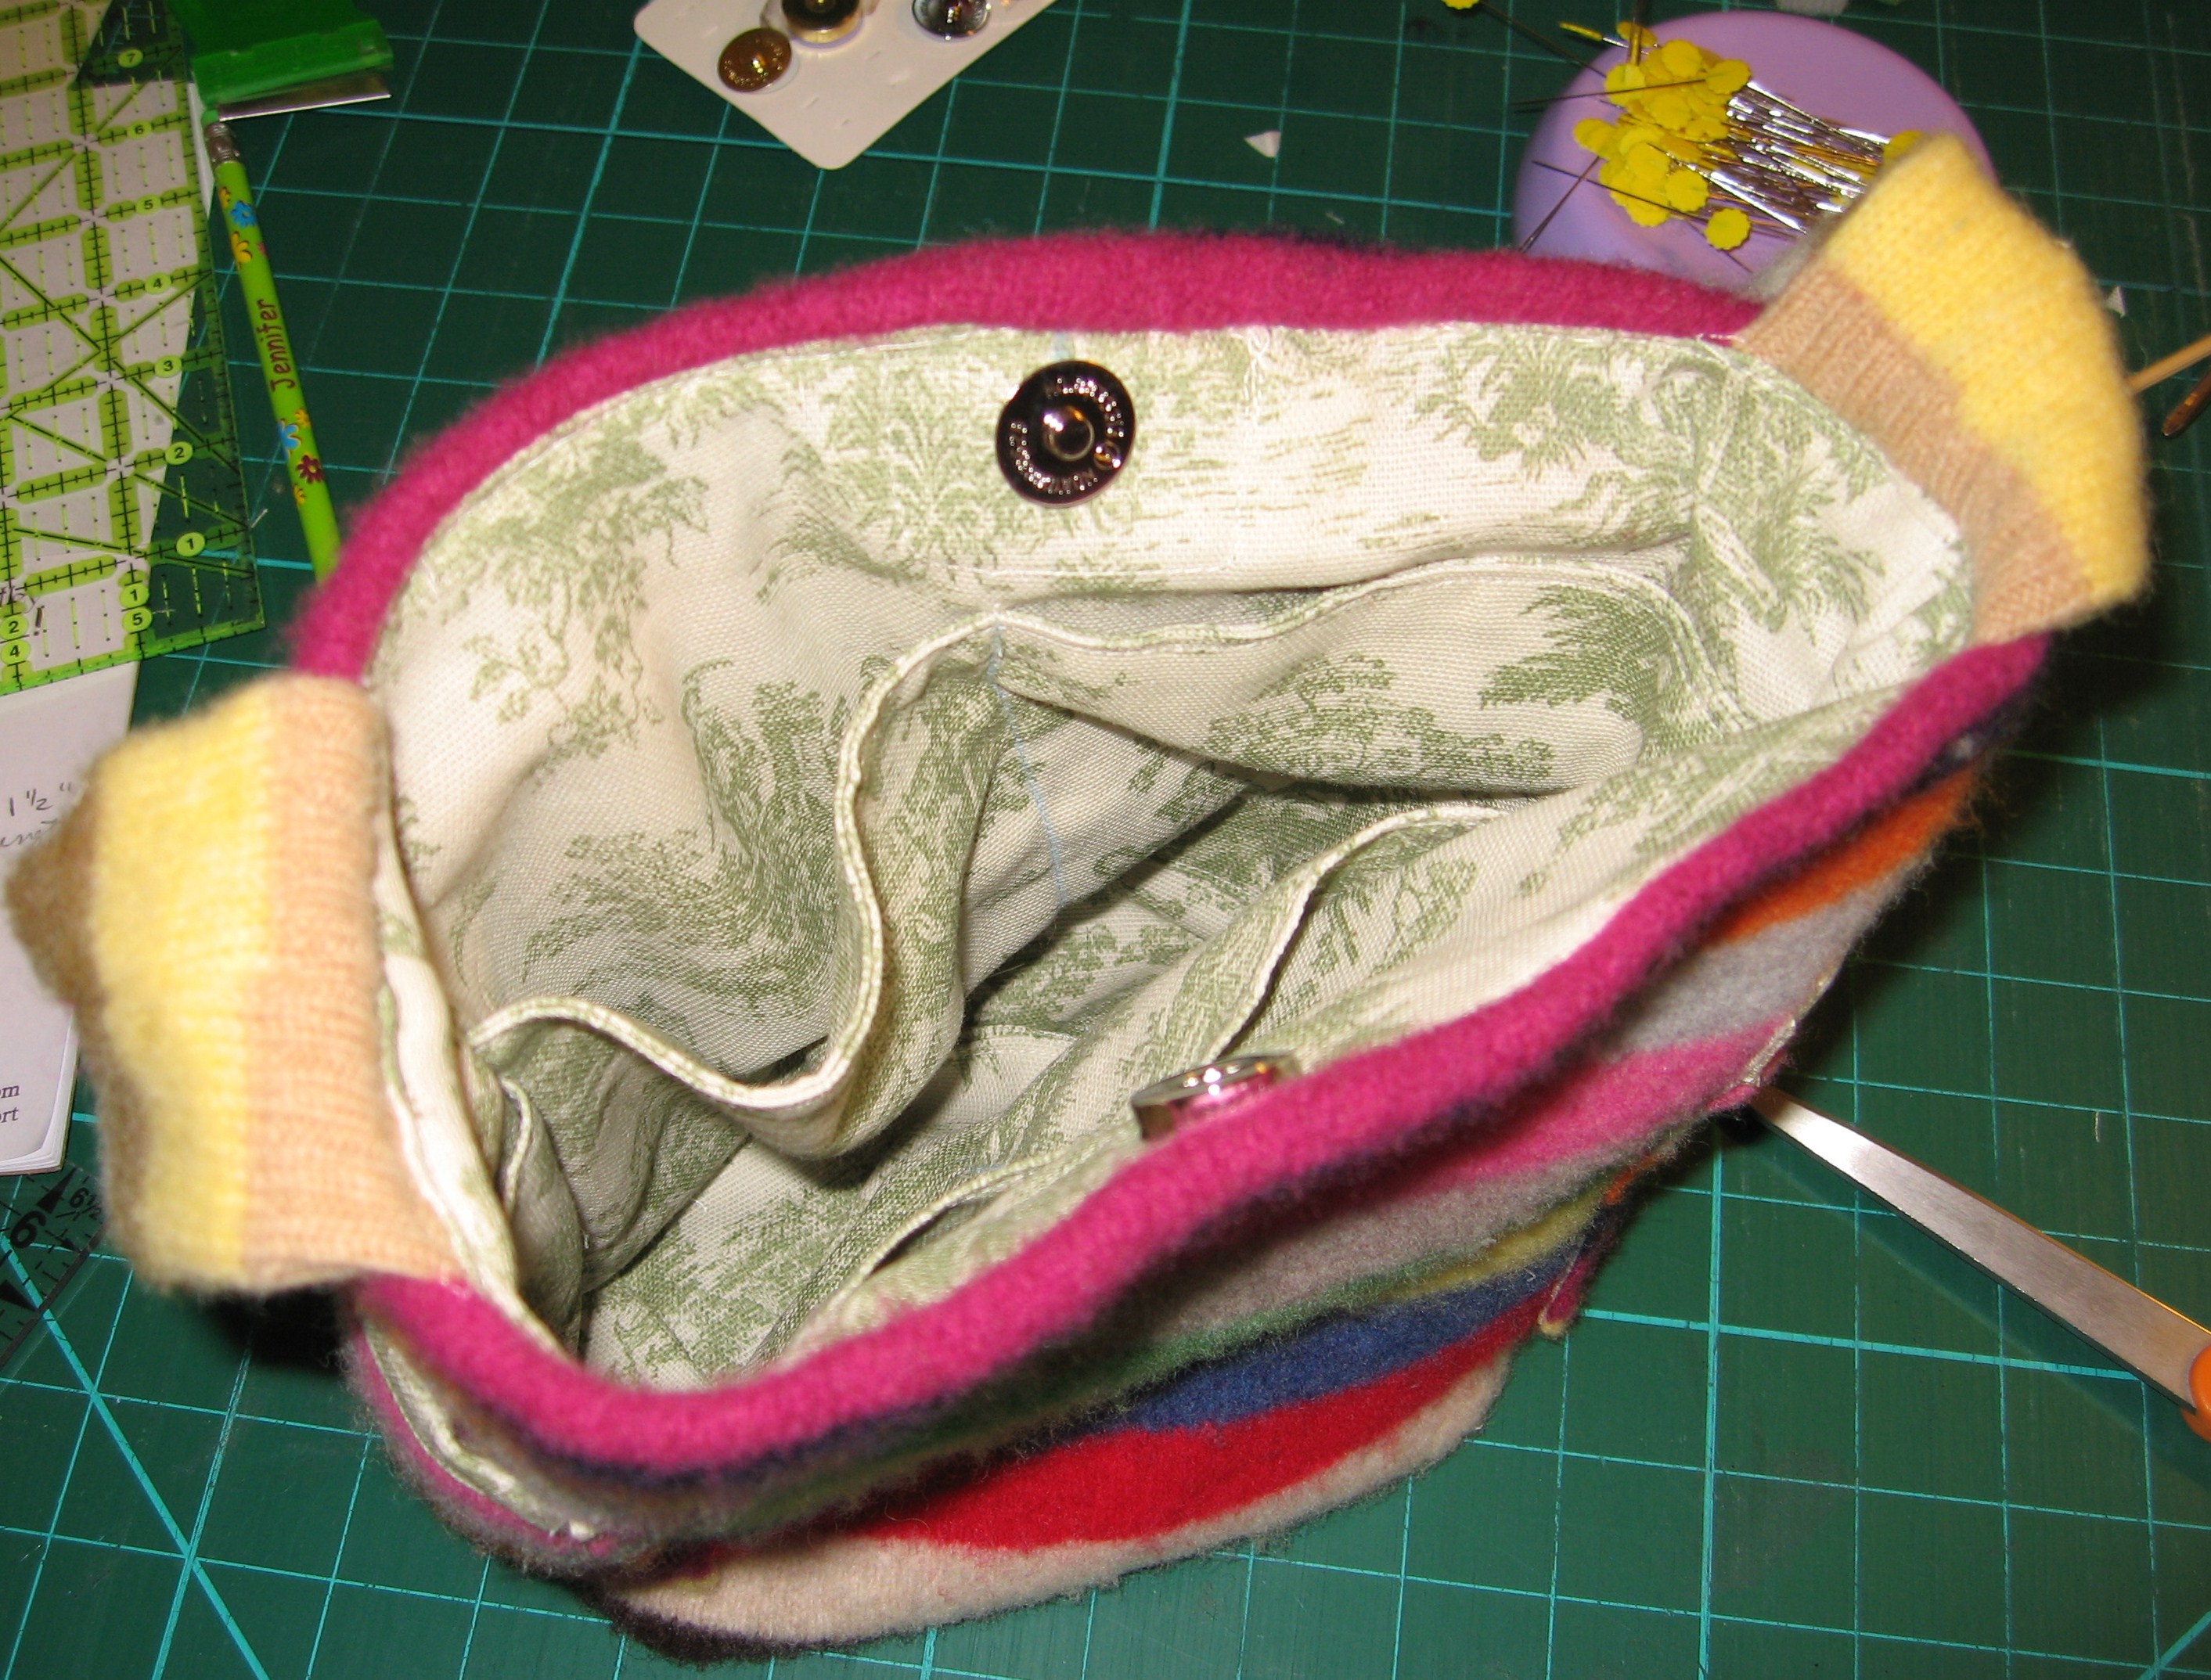
Press seams then turn right side out. The bottom and pockets of your lining should now look like this.
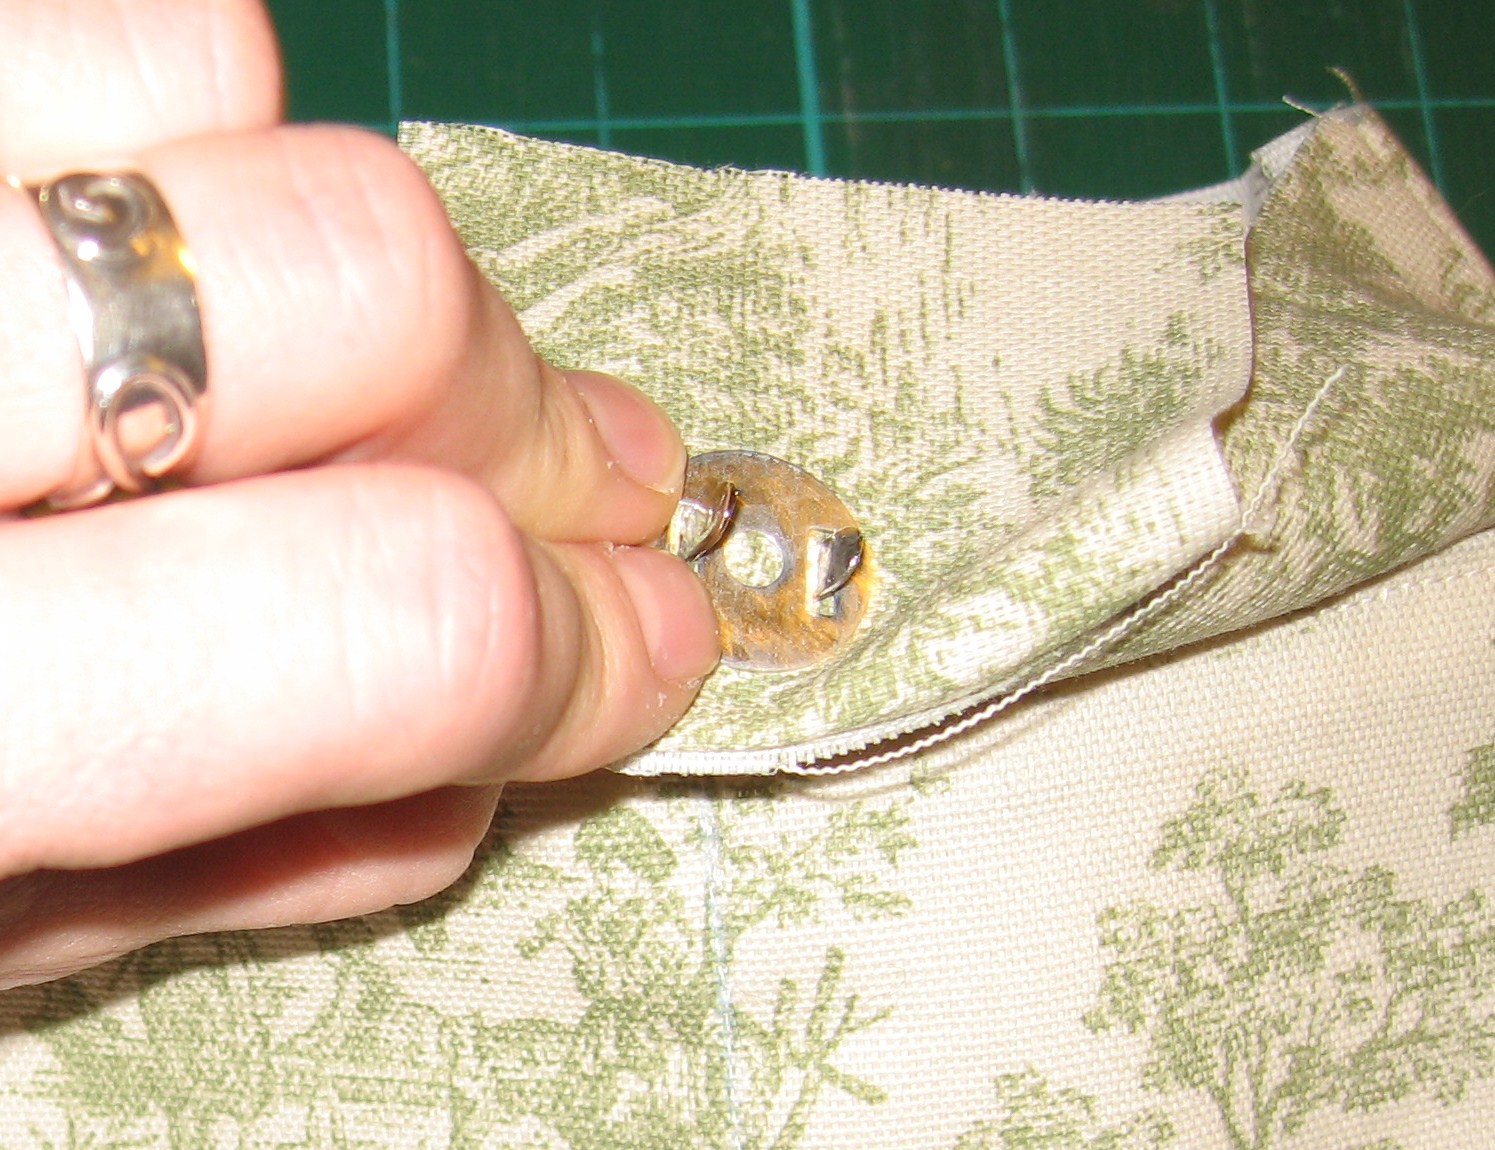
Add magnetic snaps to your lining following the manufacturer’s directions. Leave enough seam allowance at the top for stitching around. I recommend 1″ or more of space. Add a folded piece of scrap fabric to the back to reinforce the snap. Stitch around the snap to reinforce extra fabric.
Time to work on the outside sweater pieces!
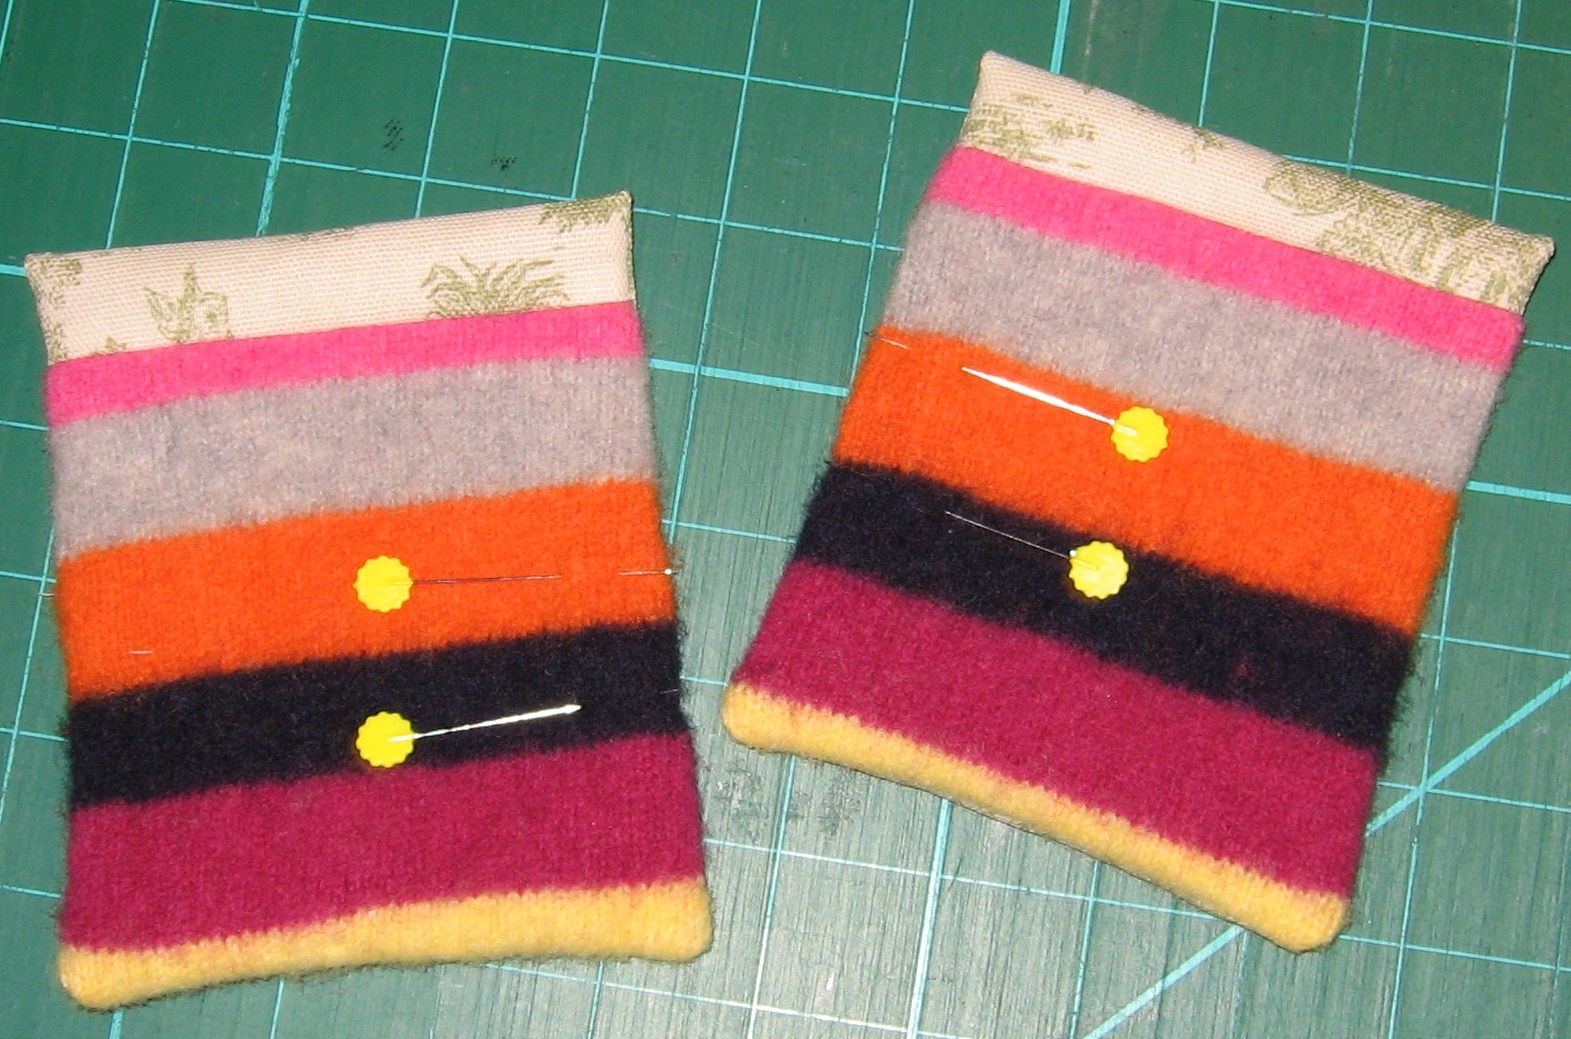
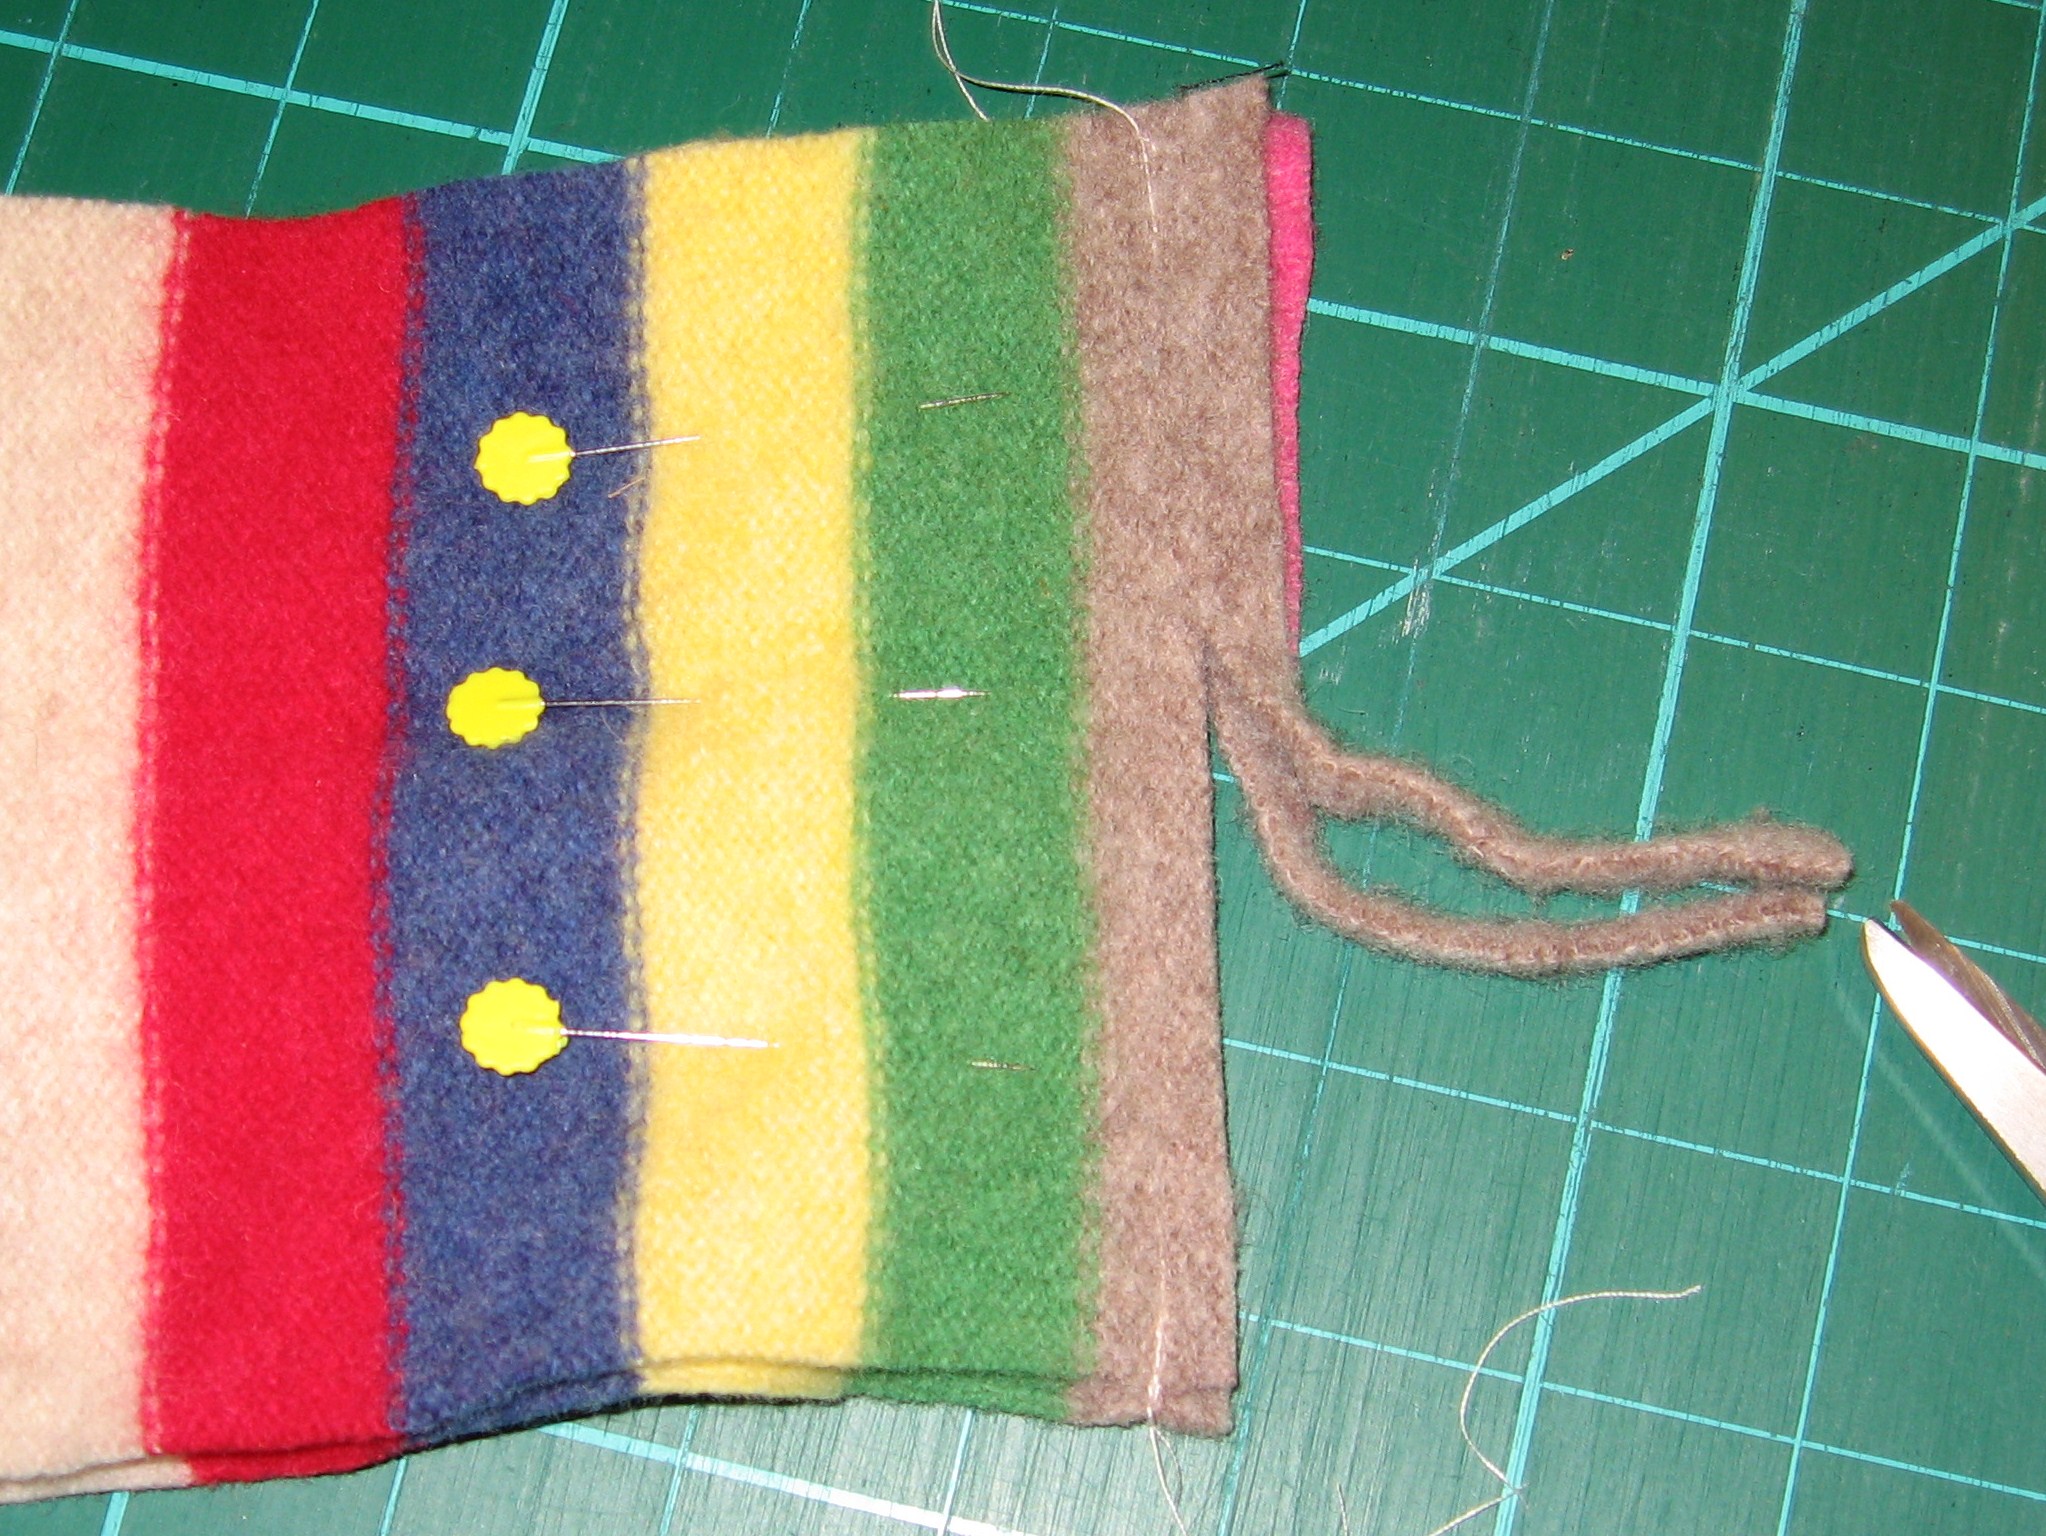
Pin sweater pocket piece to lining pocket piece, right sides together (lining should be 1.5″ longer), stitch ends.
Line up bottom of pocket, pin, then stitch sides. Leave an opening for turning.
Trim corners, turn pocket and pin openings.
Stitch side seams of bag, leaving bottom open.
Turn the sweater bag body right side out, matching seams. Pin pockets over the side seams, then stitch to attach.
With right sides together, stitch across sweater bag bottom.
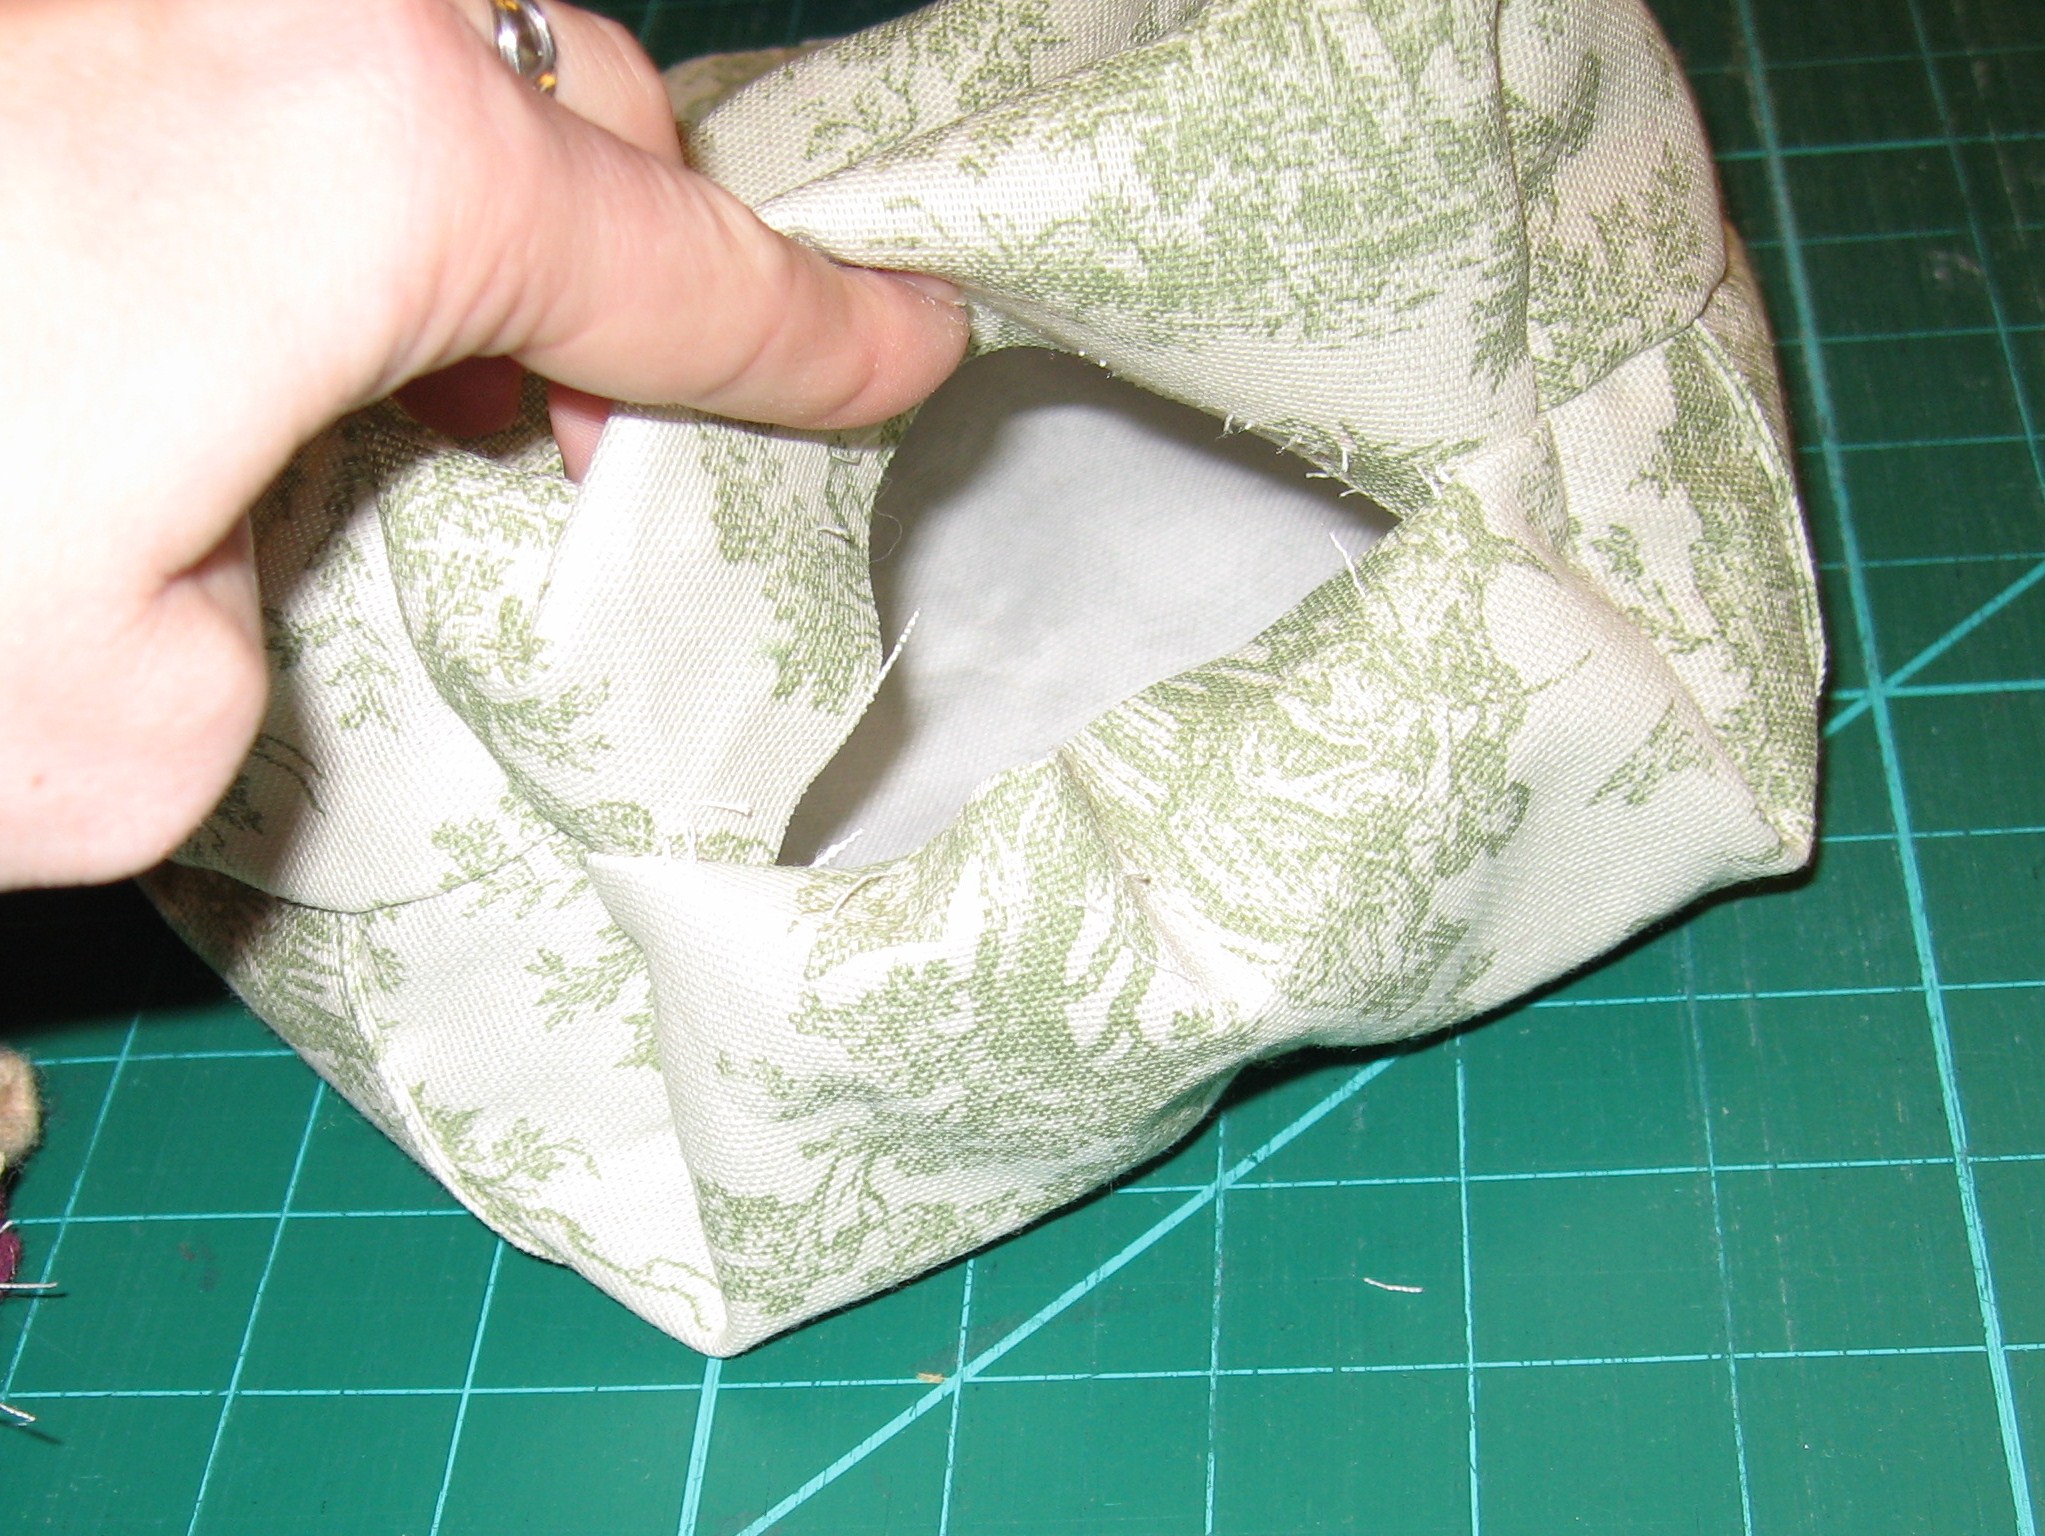
Fold in boxed corners, matching side & bottom seams, pin & stitch.
The inside bottom should look like this.
Time for Sleeves!
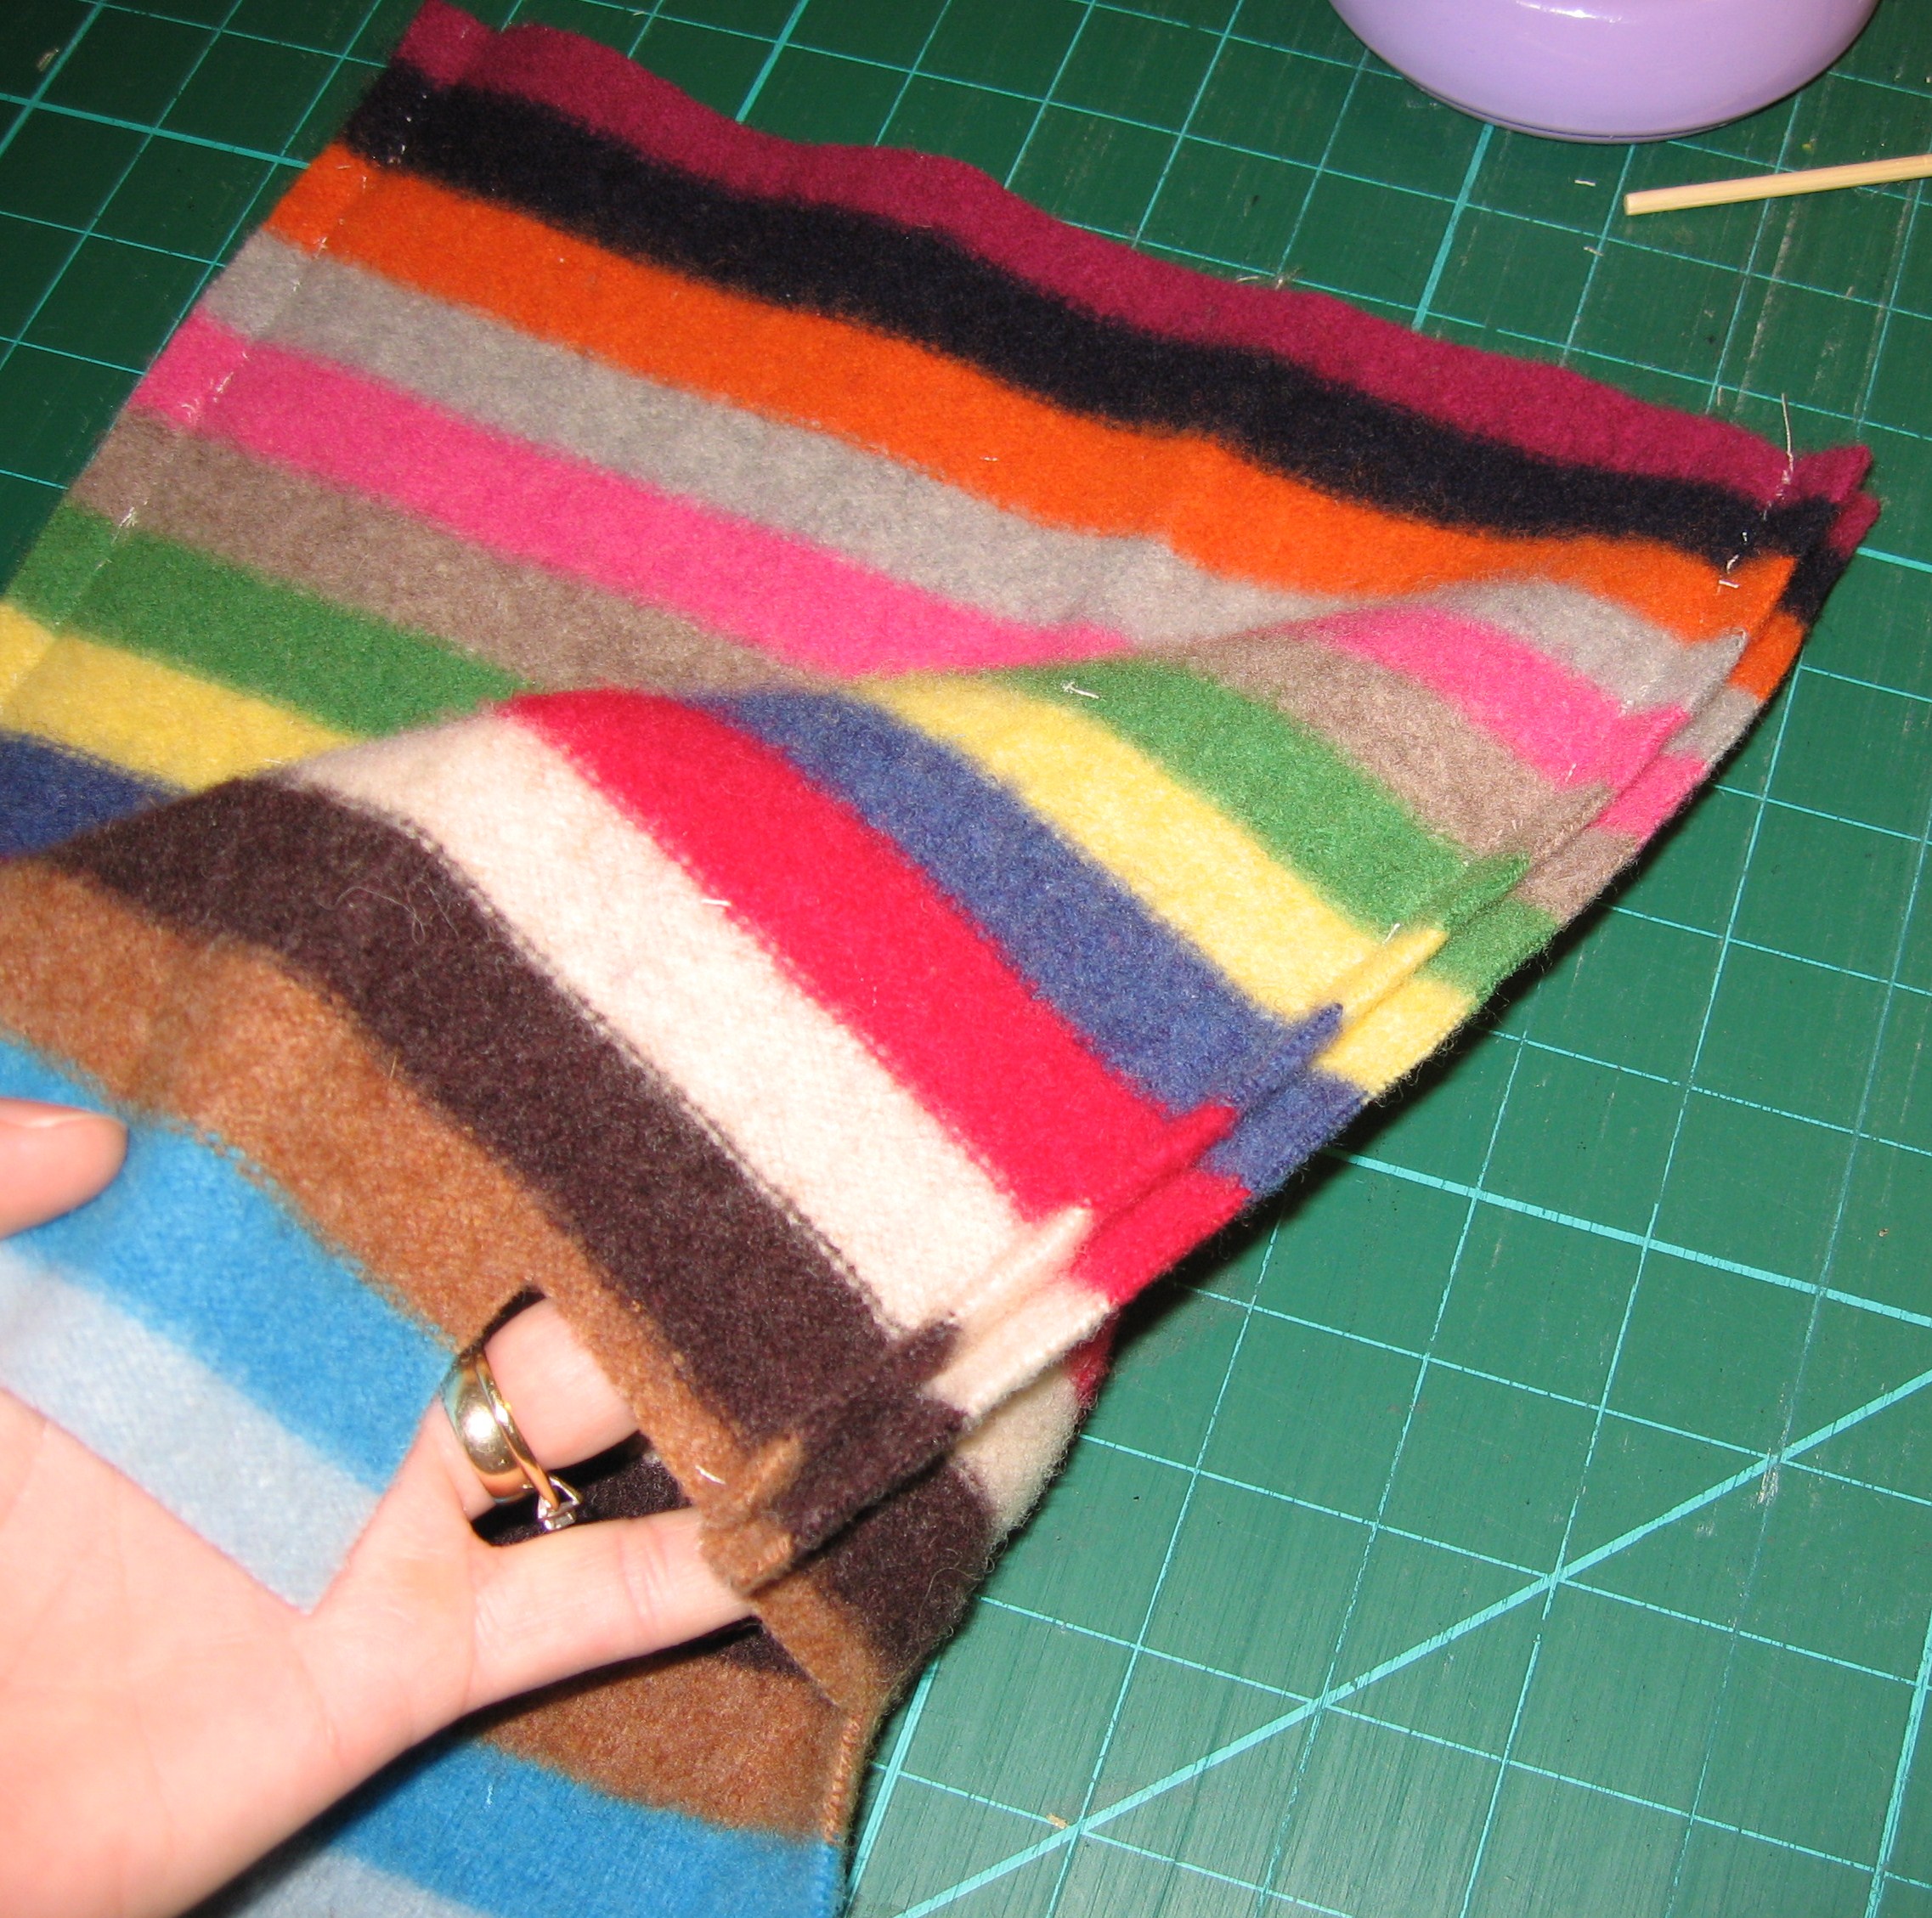
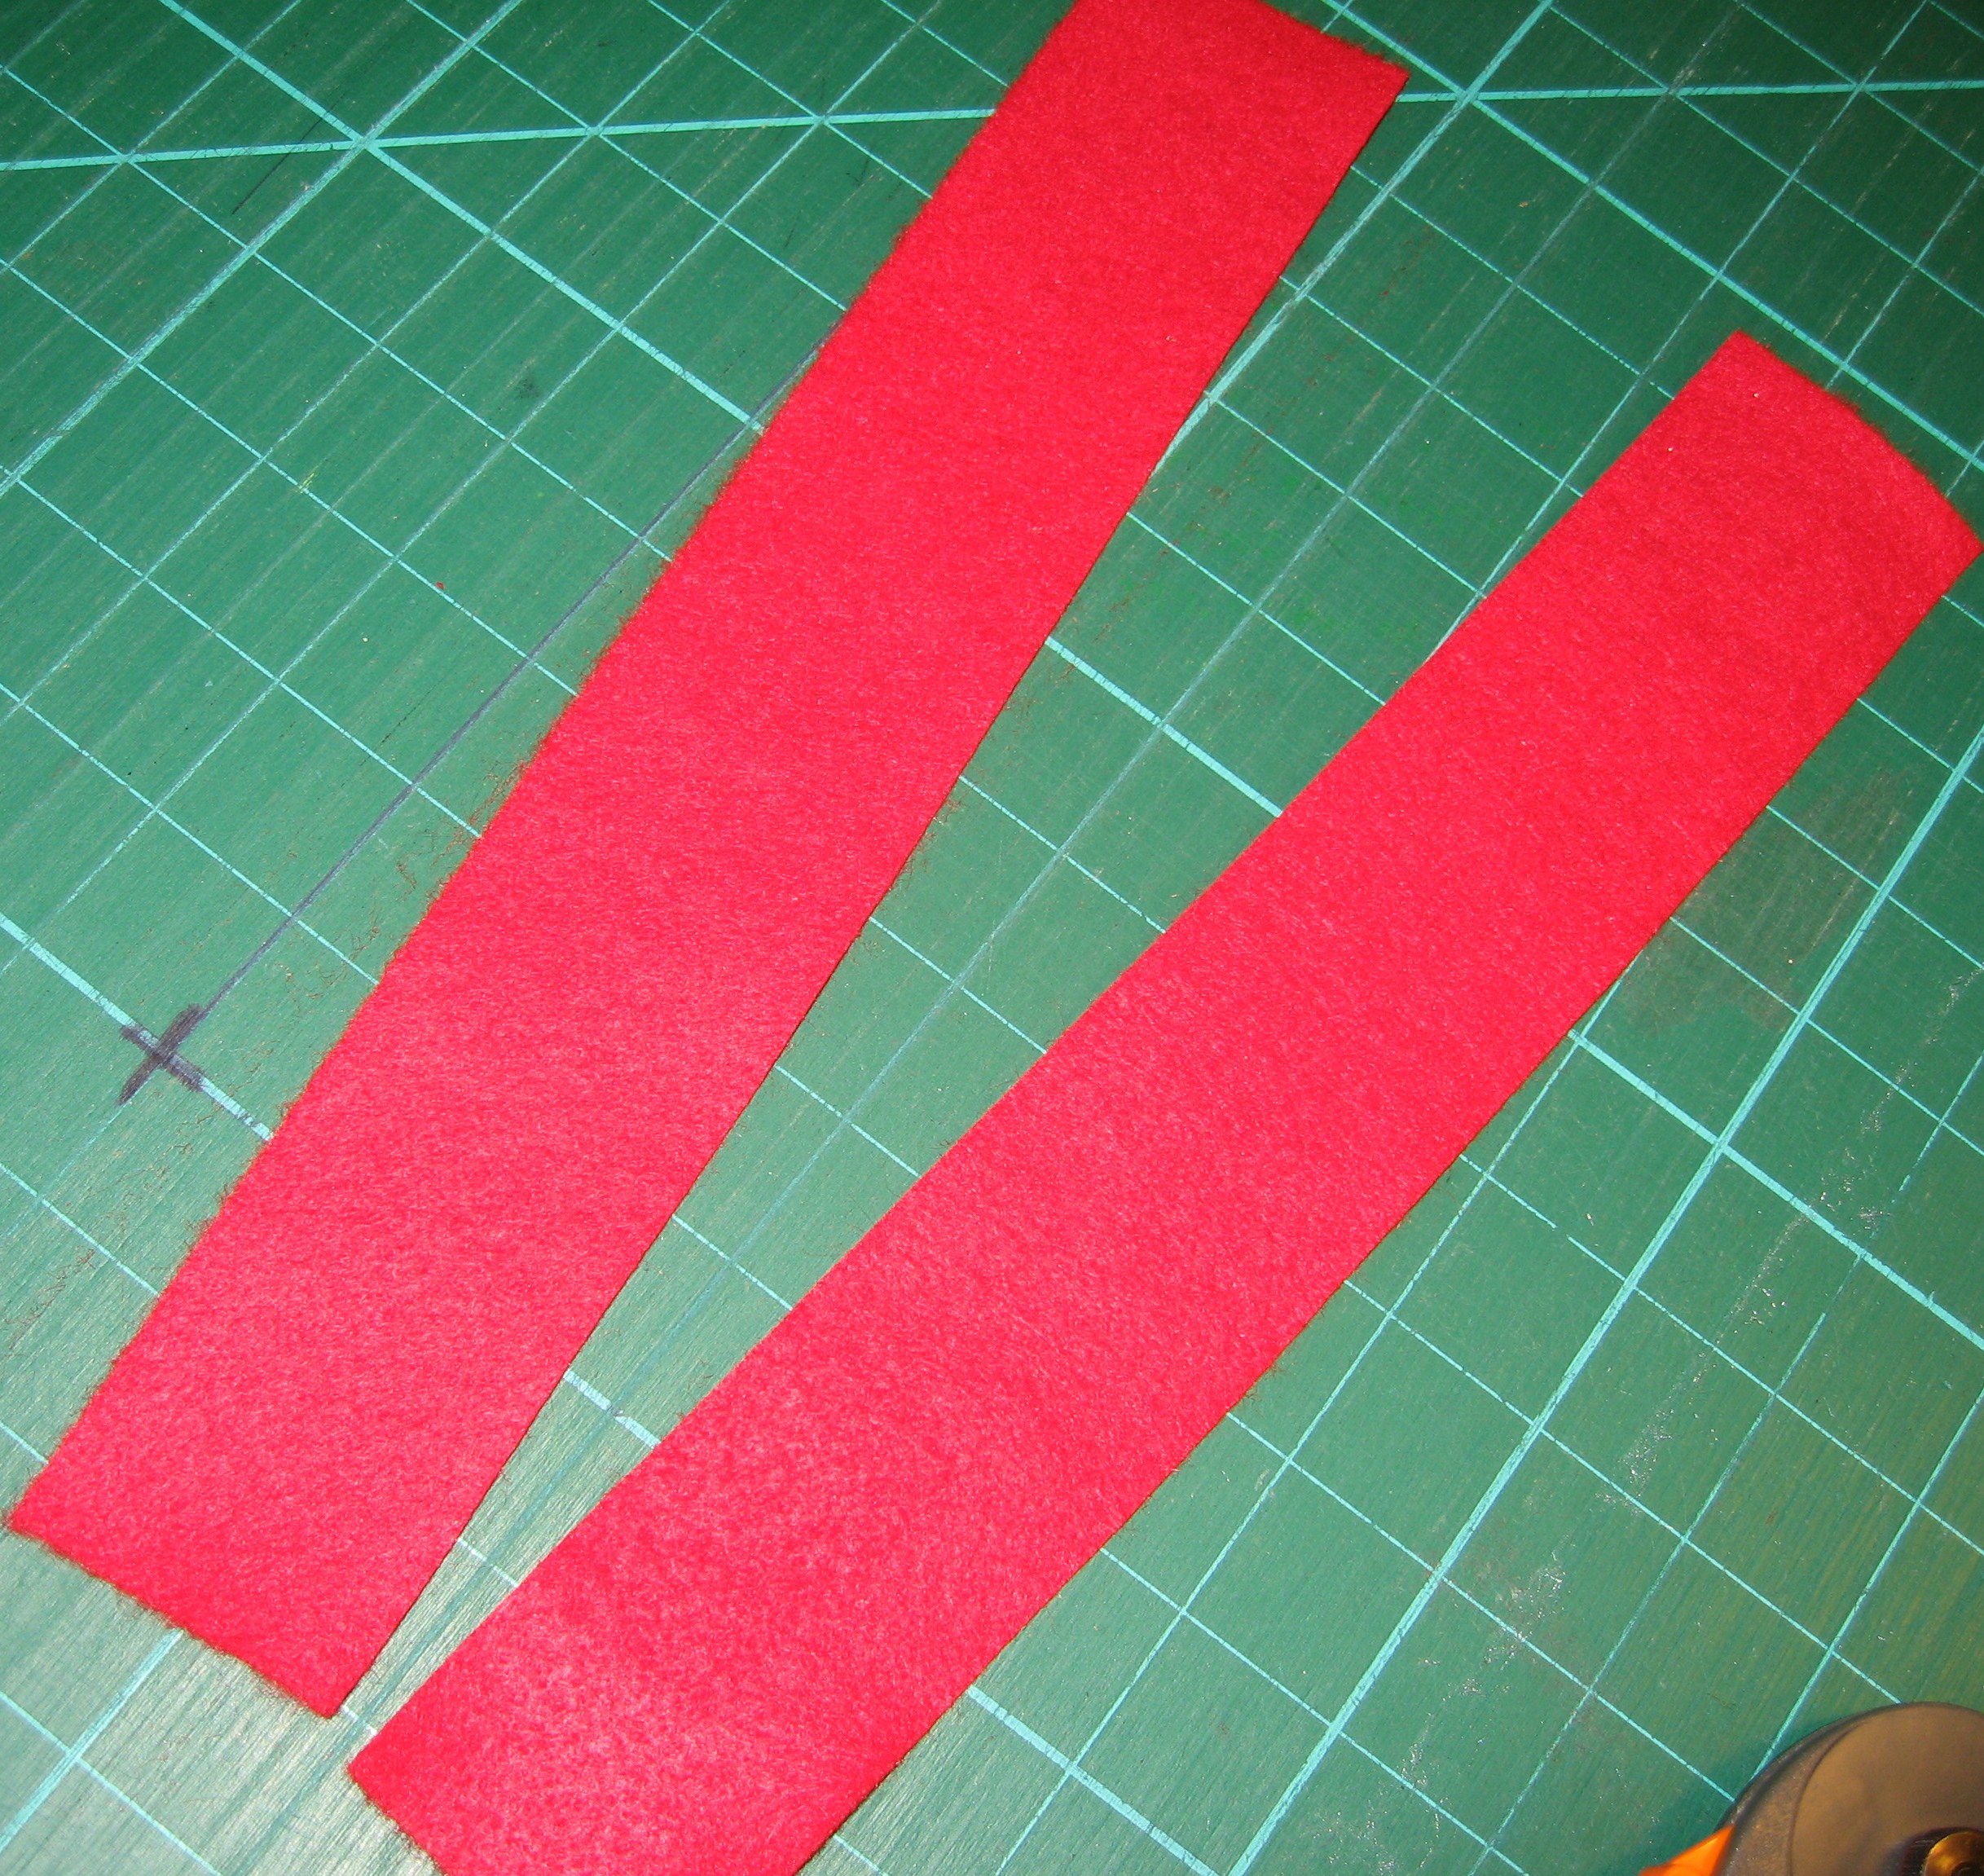
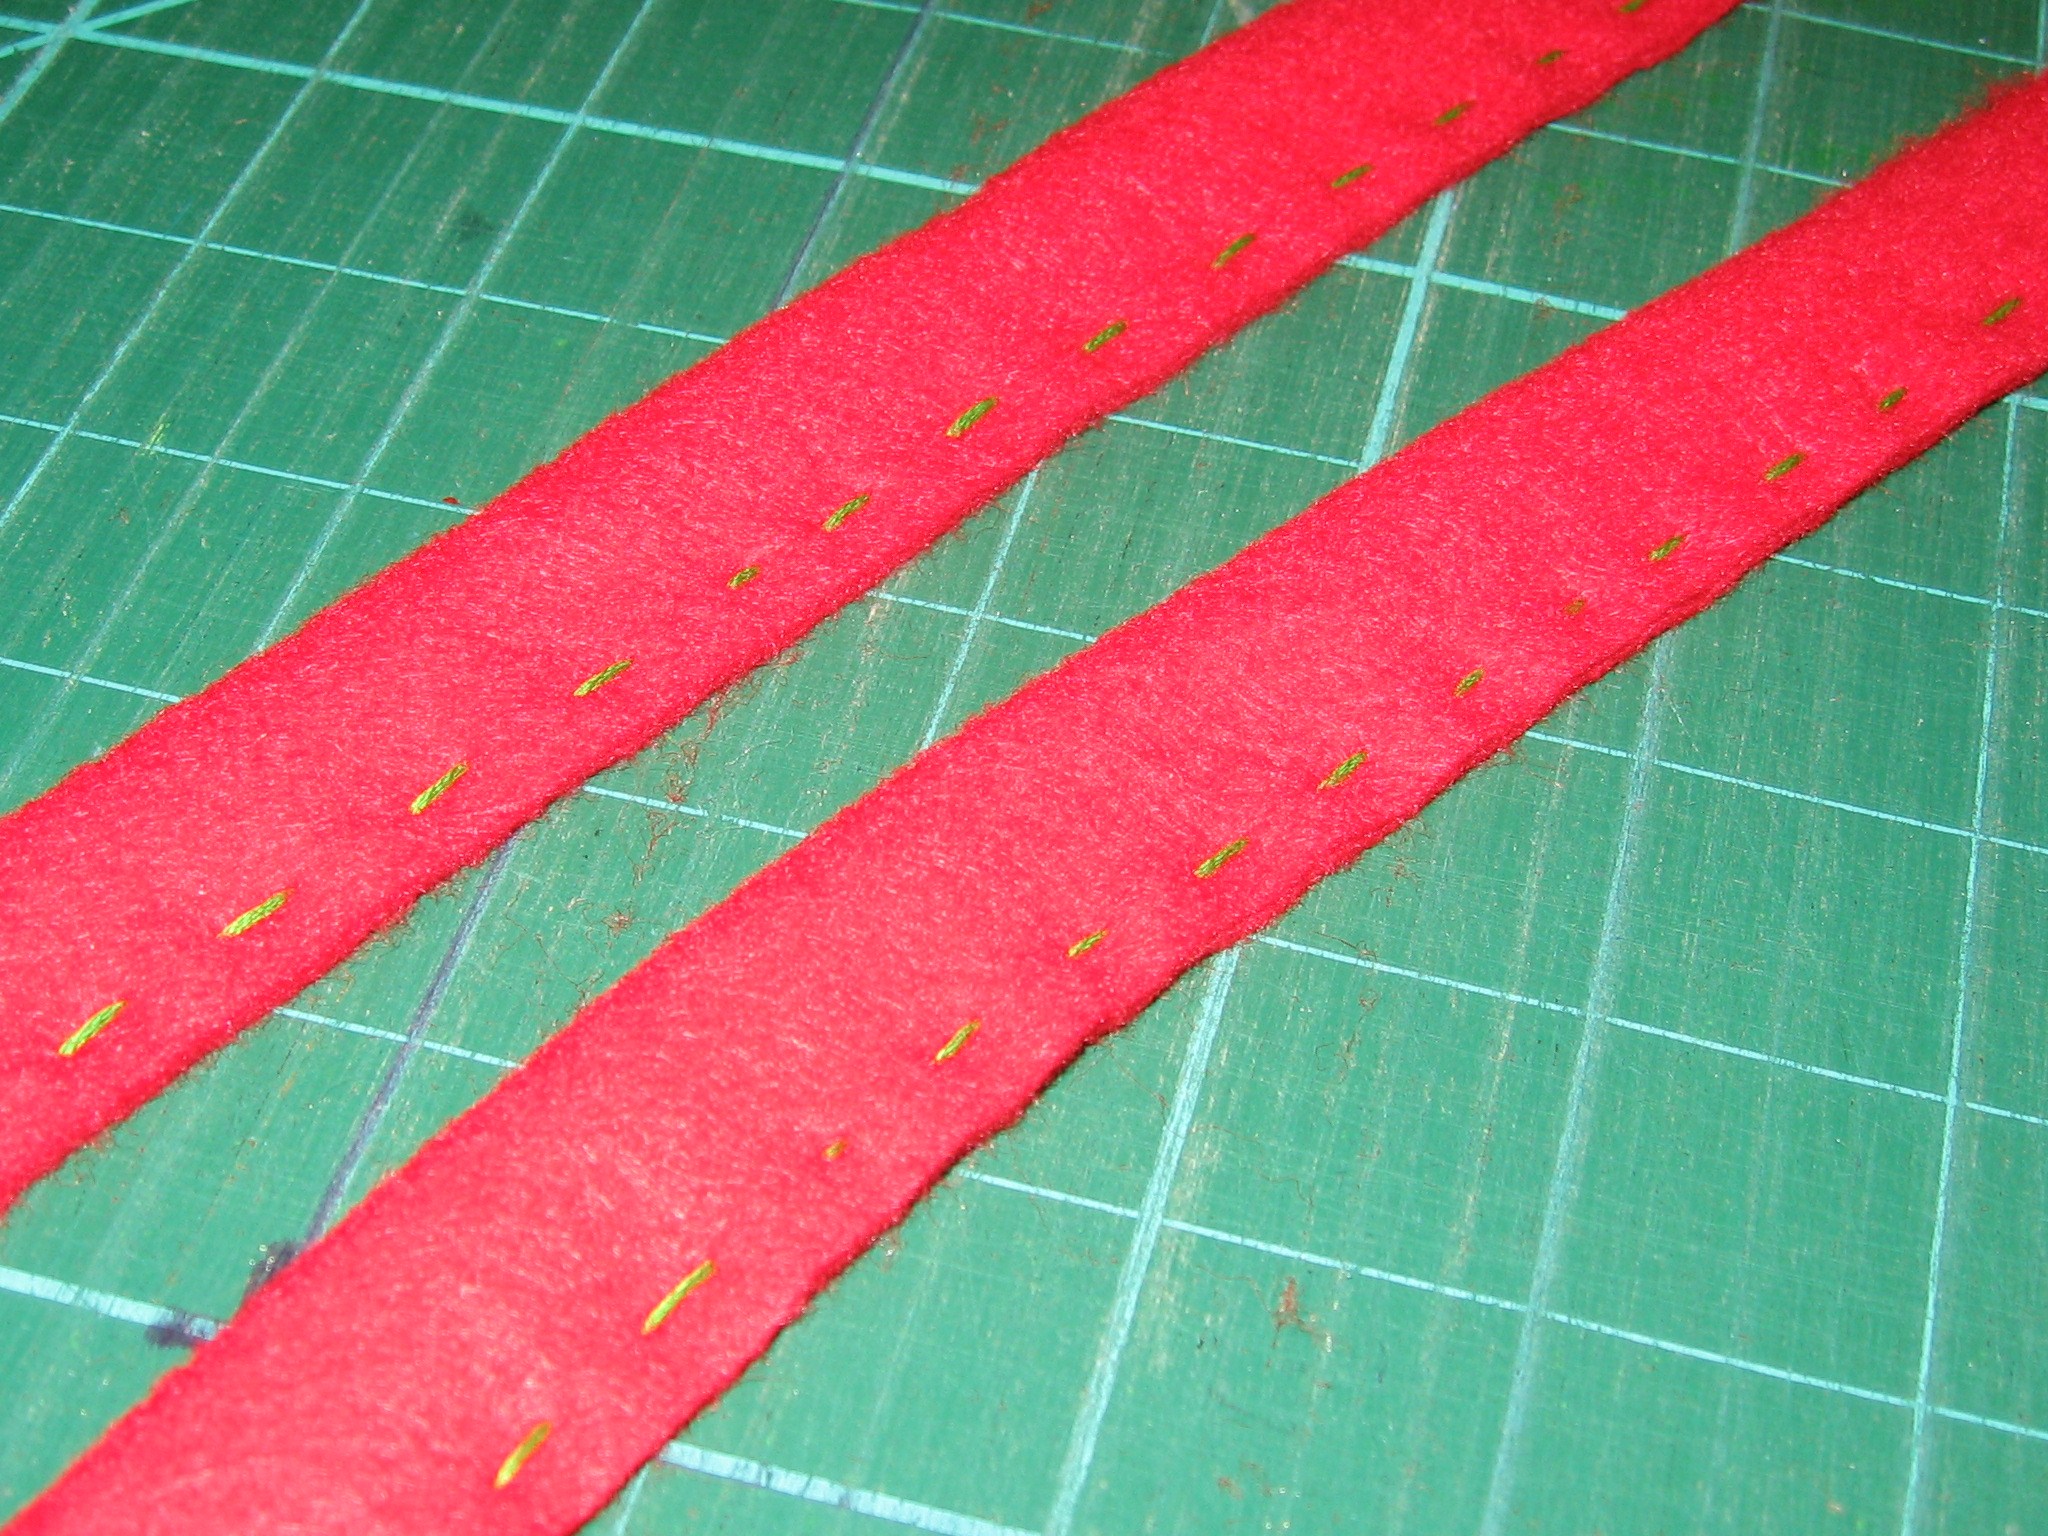
Trim sleeves to desired width for strap, I like a wider strip so tend to cut about 5″. This includes seam allowance. Remember, this is your bag, and this width will vary based on your sweater, so the dimensions are all yours!
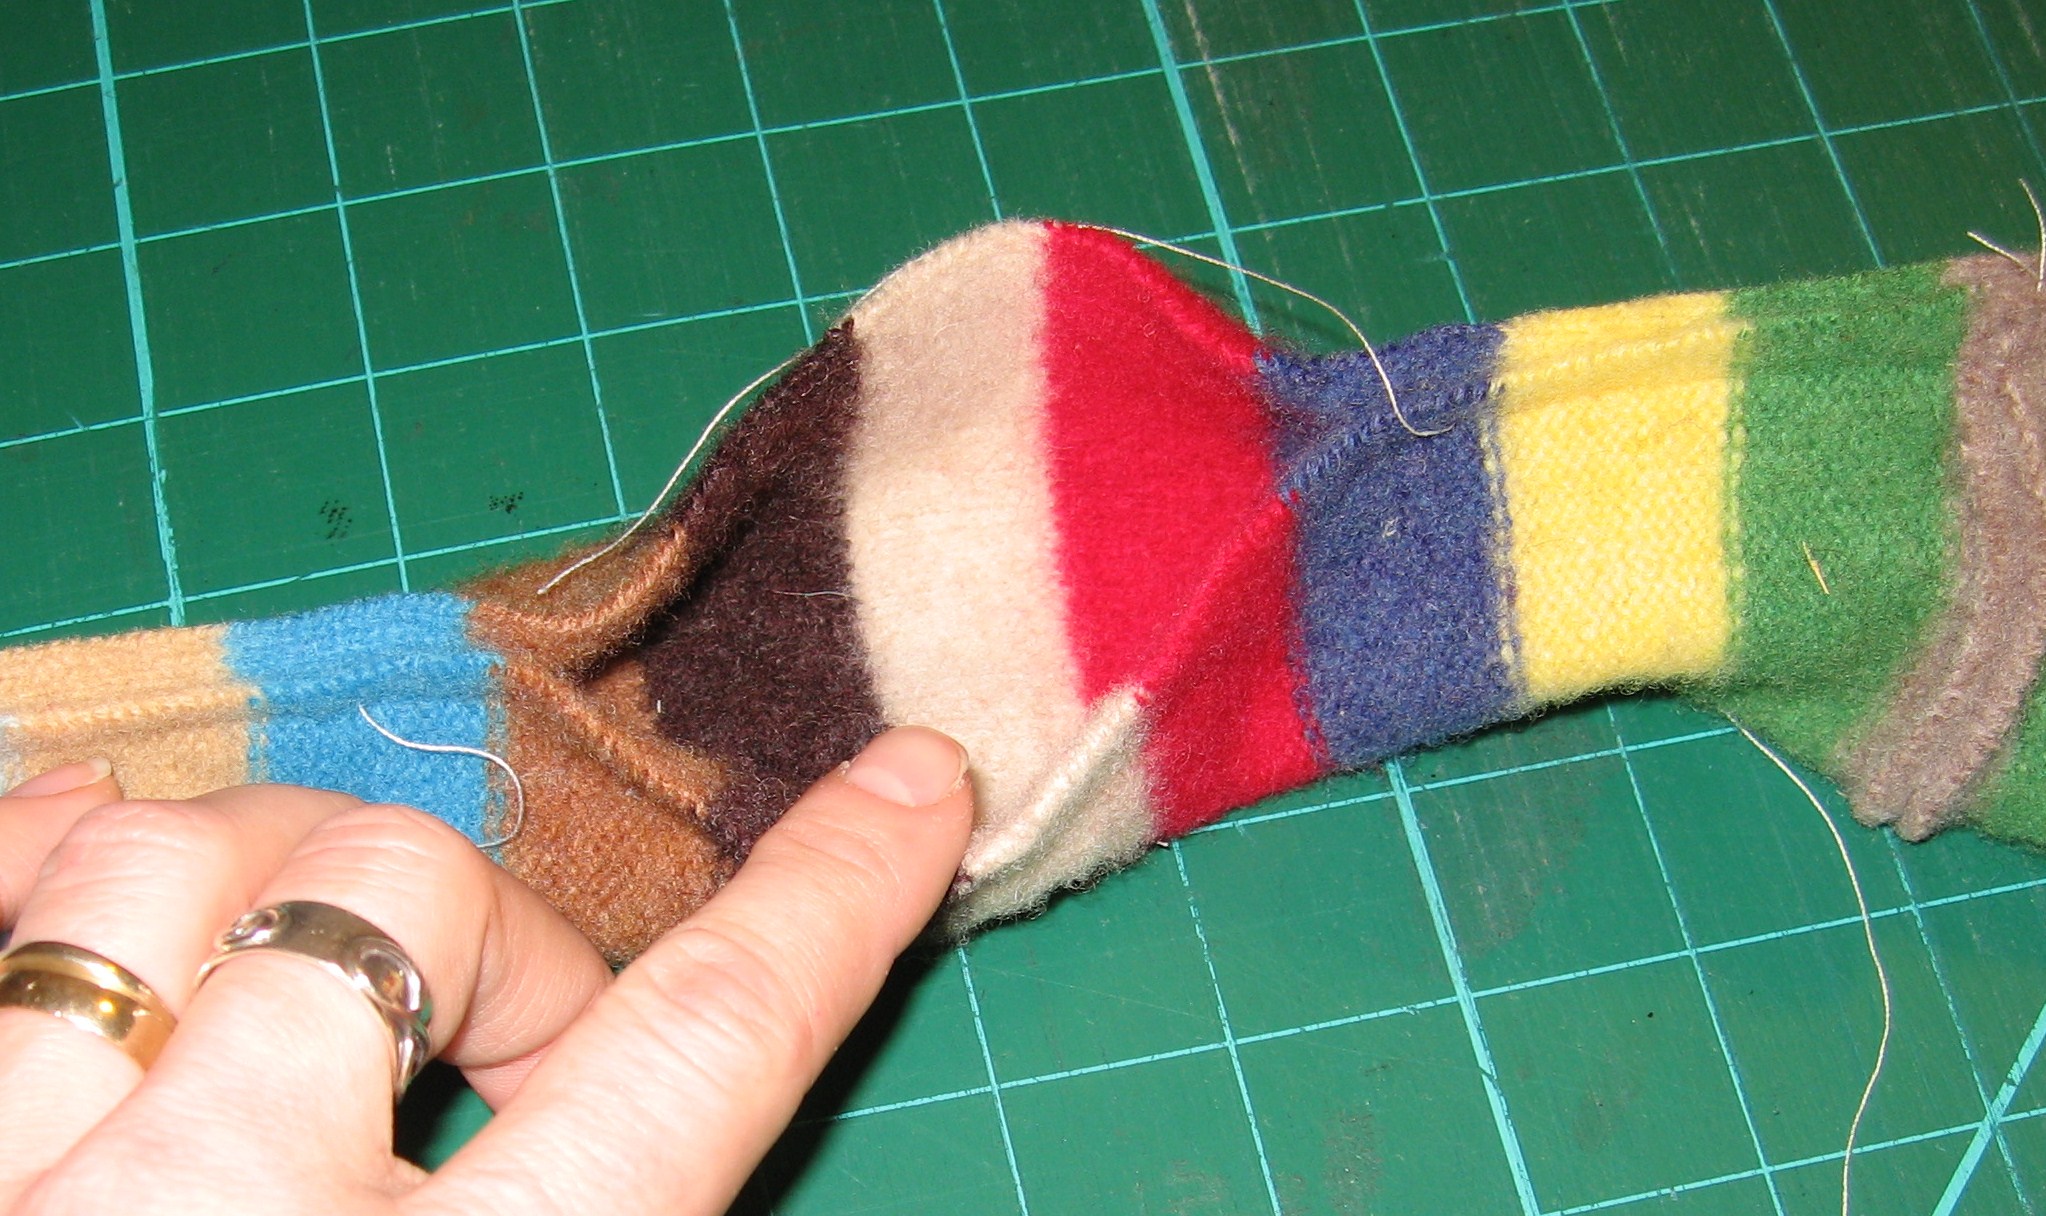
Pin ends of two sleeves together, stitch and trim seam.
Fold lengthwise, stitch, leaving approx. 6″ open for turning
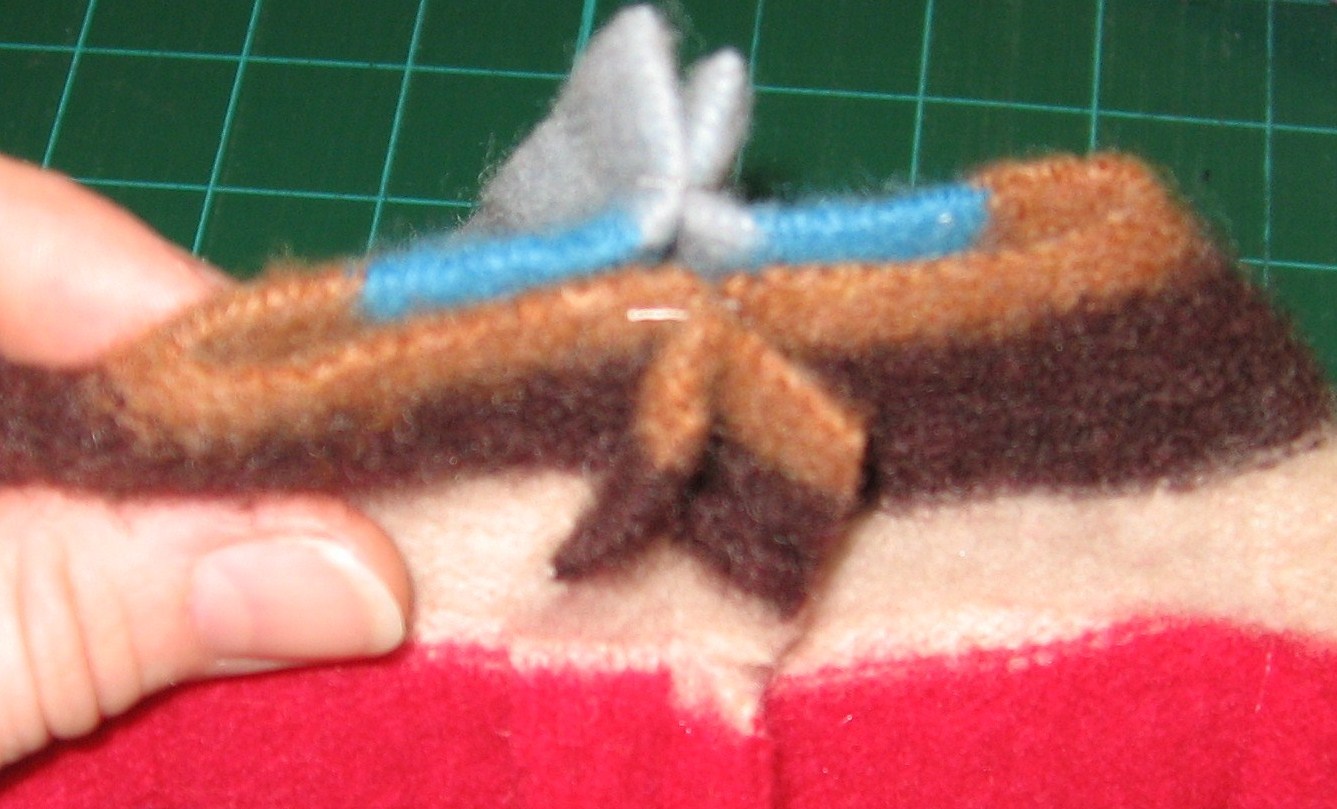
Turn right side out and smooth opening.
Stitch closed with a tight whip stitch.
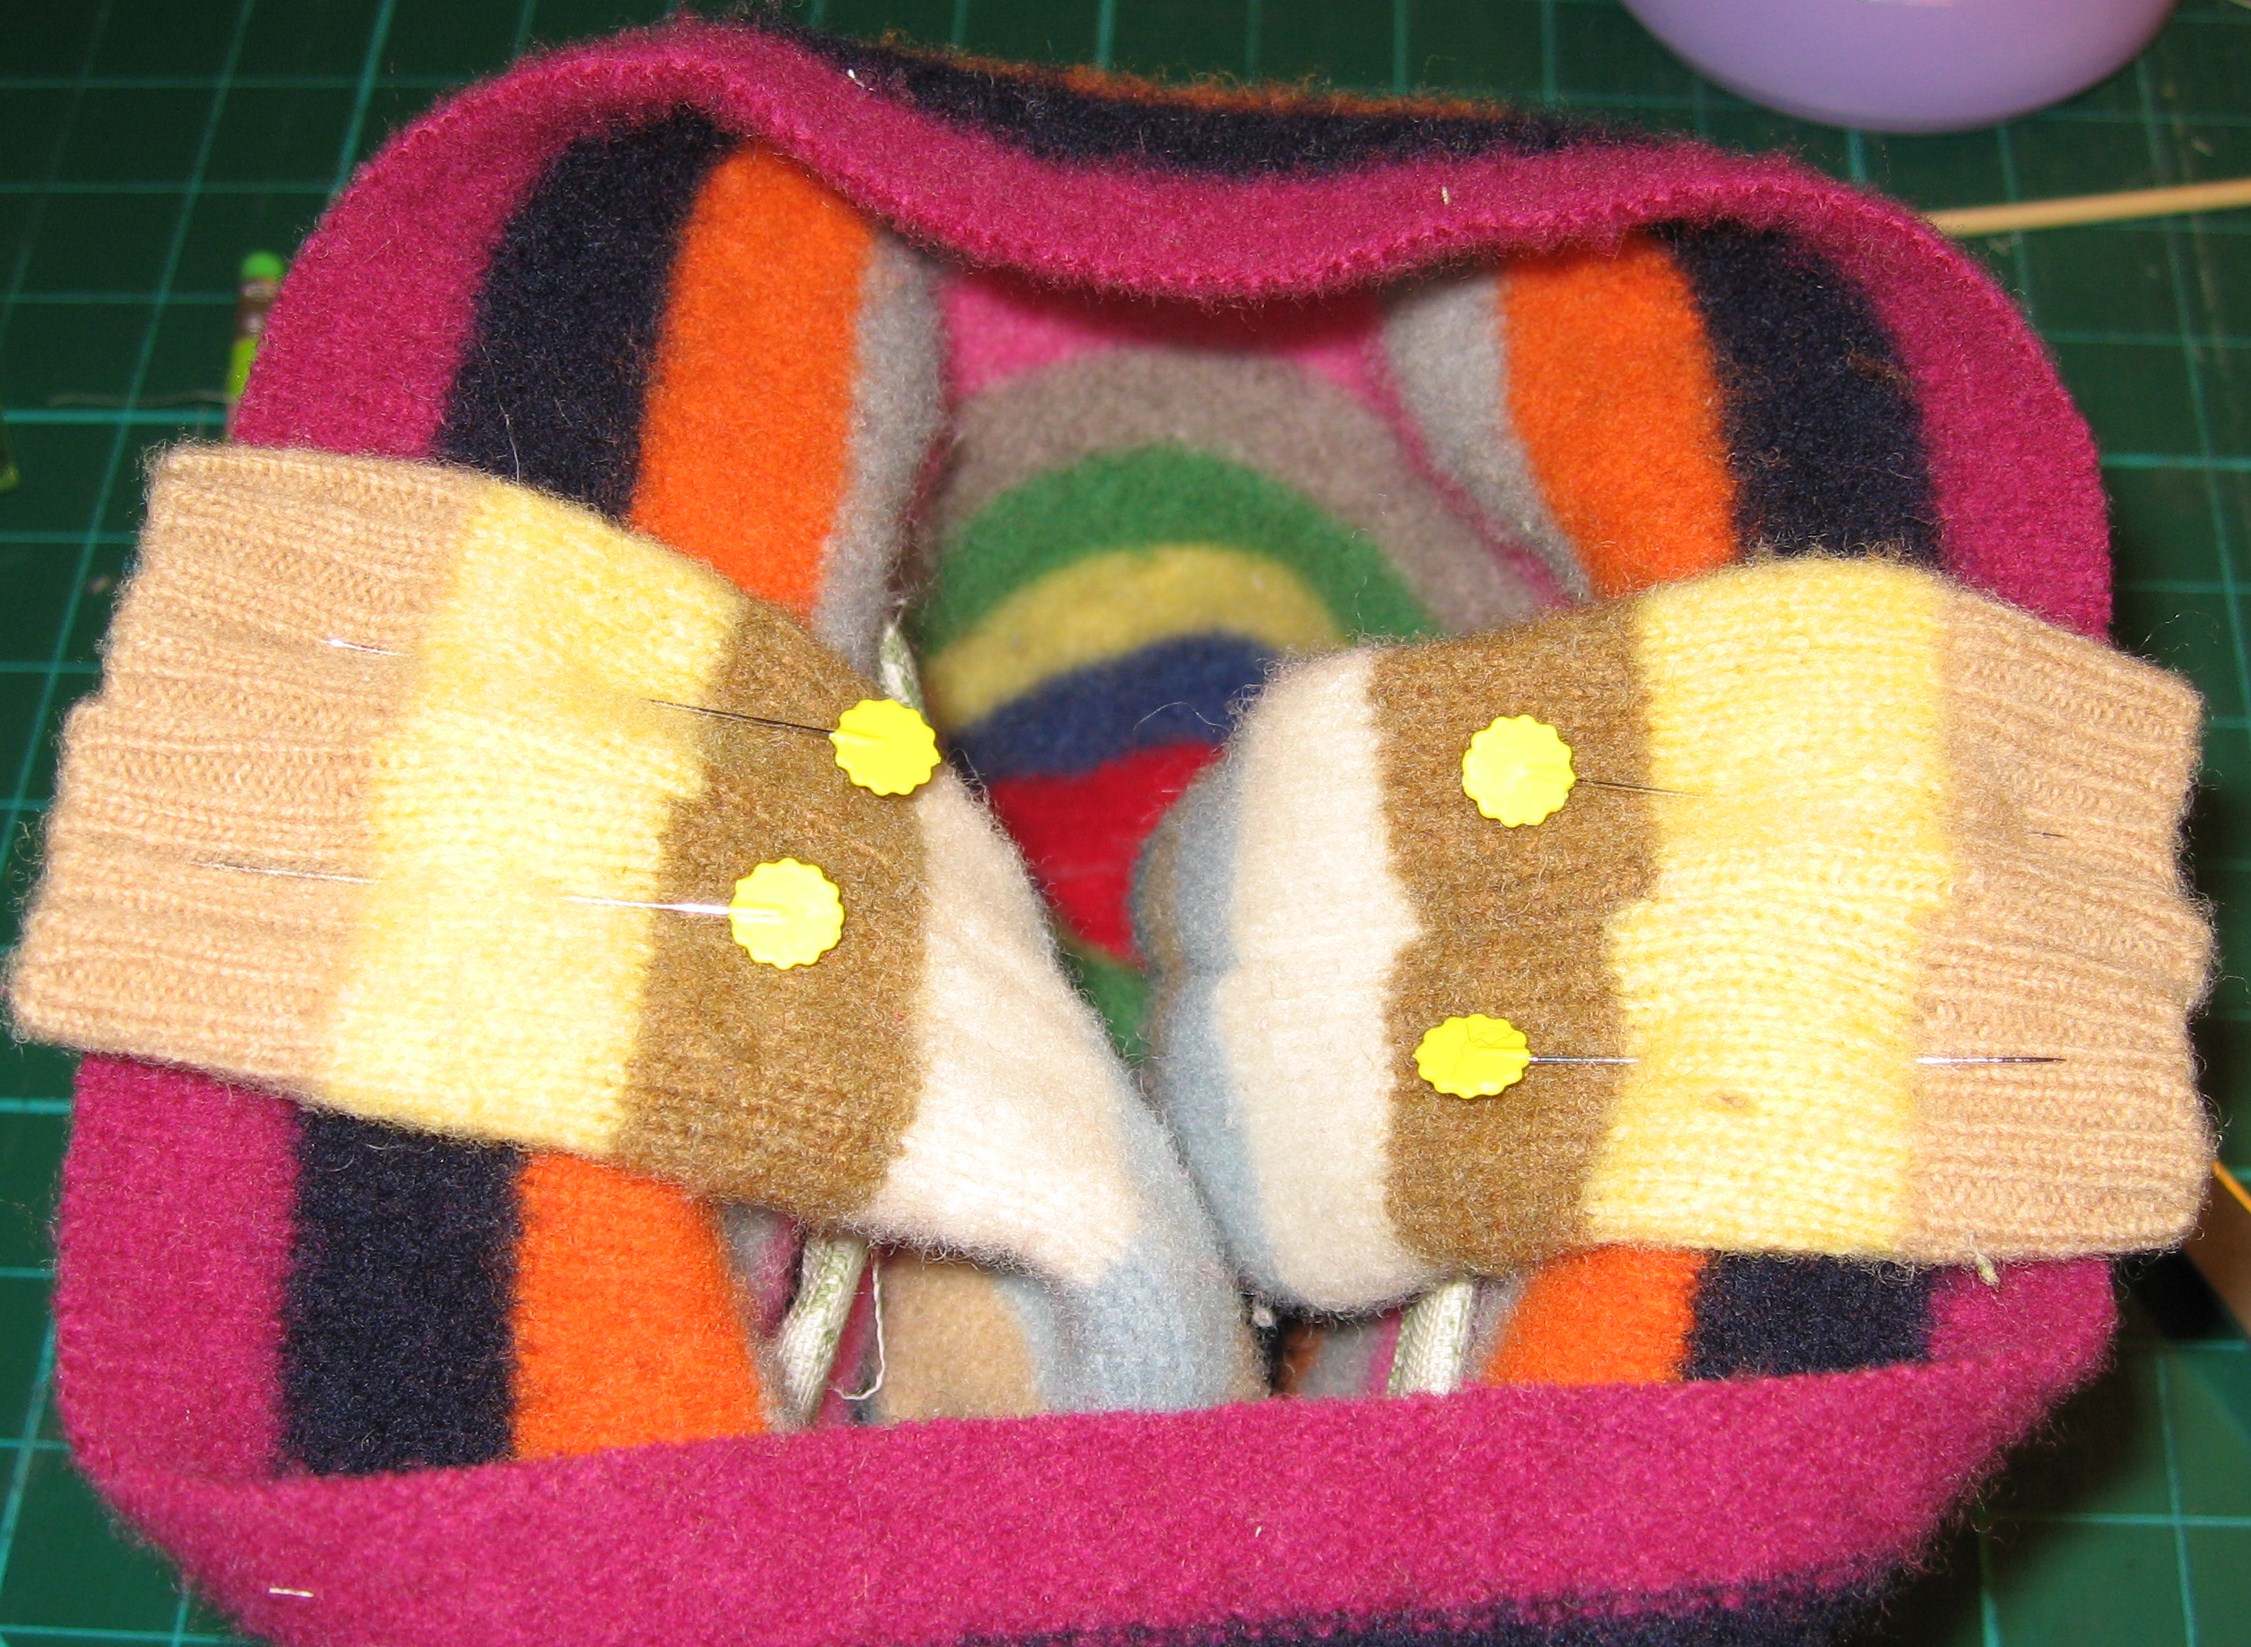
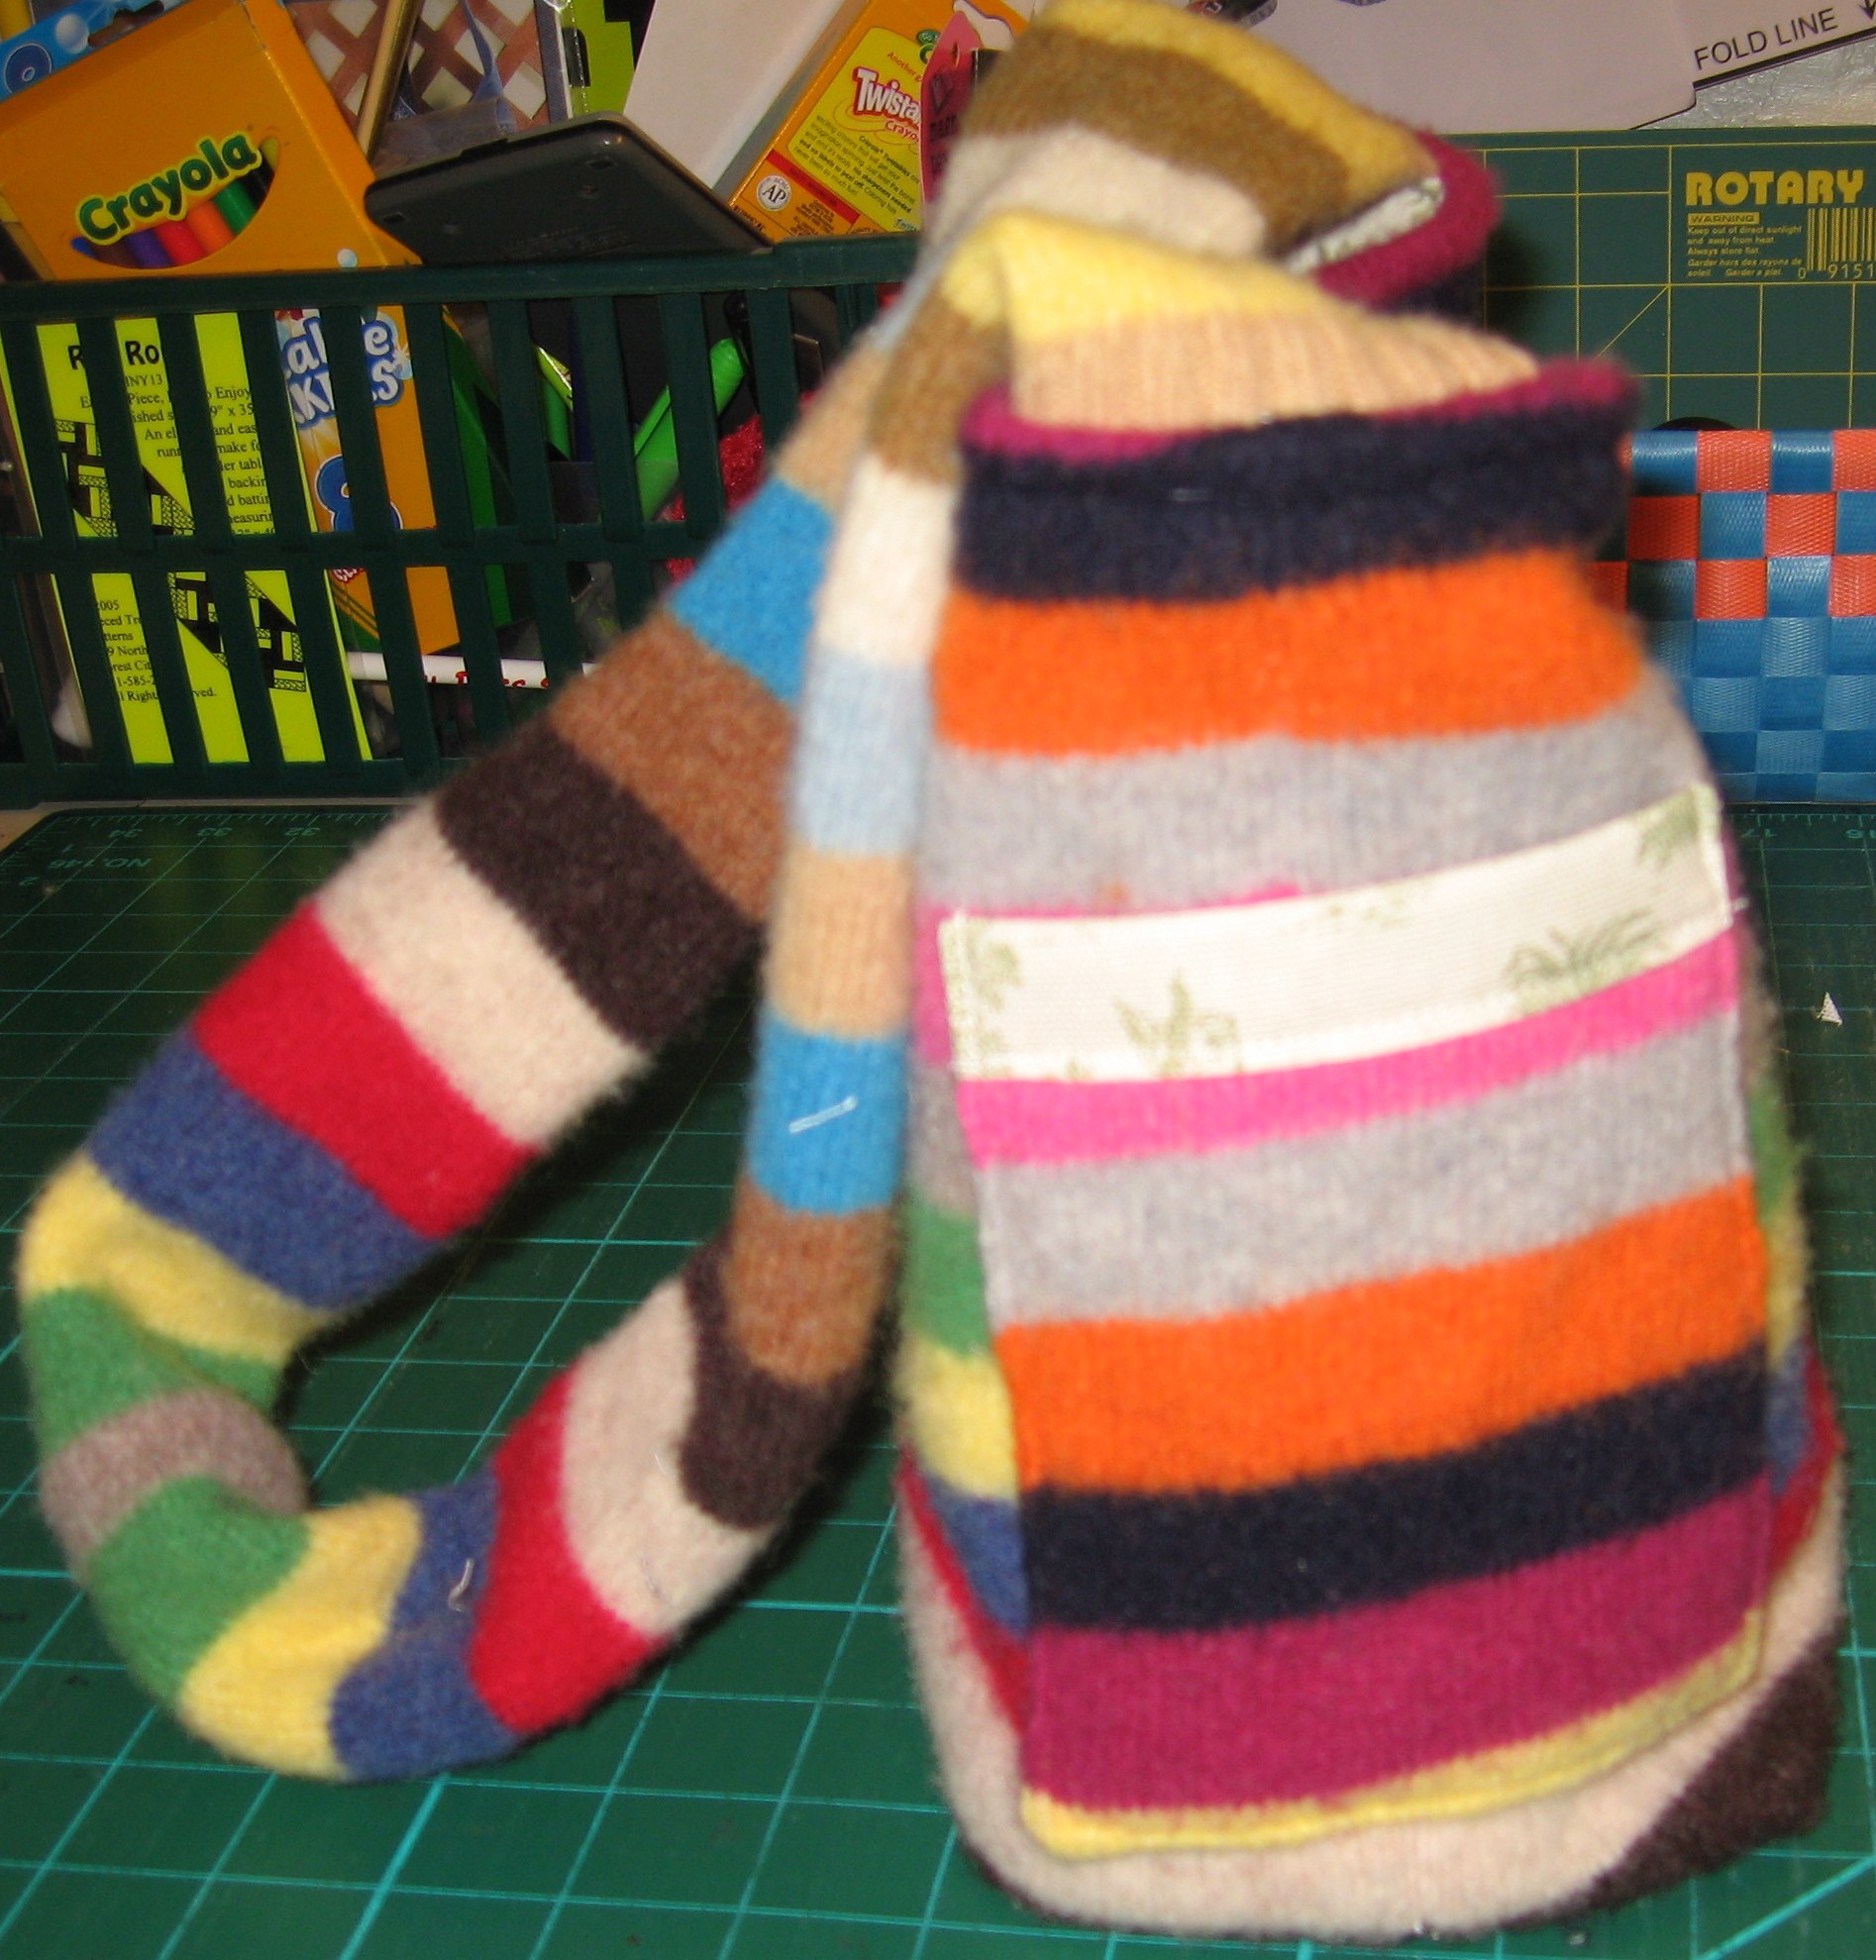
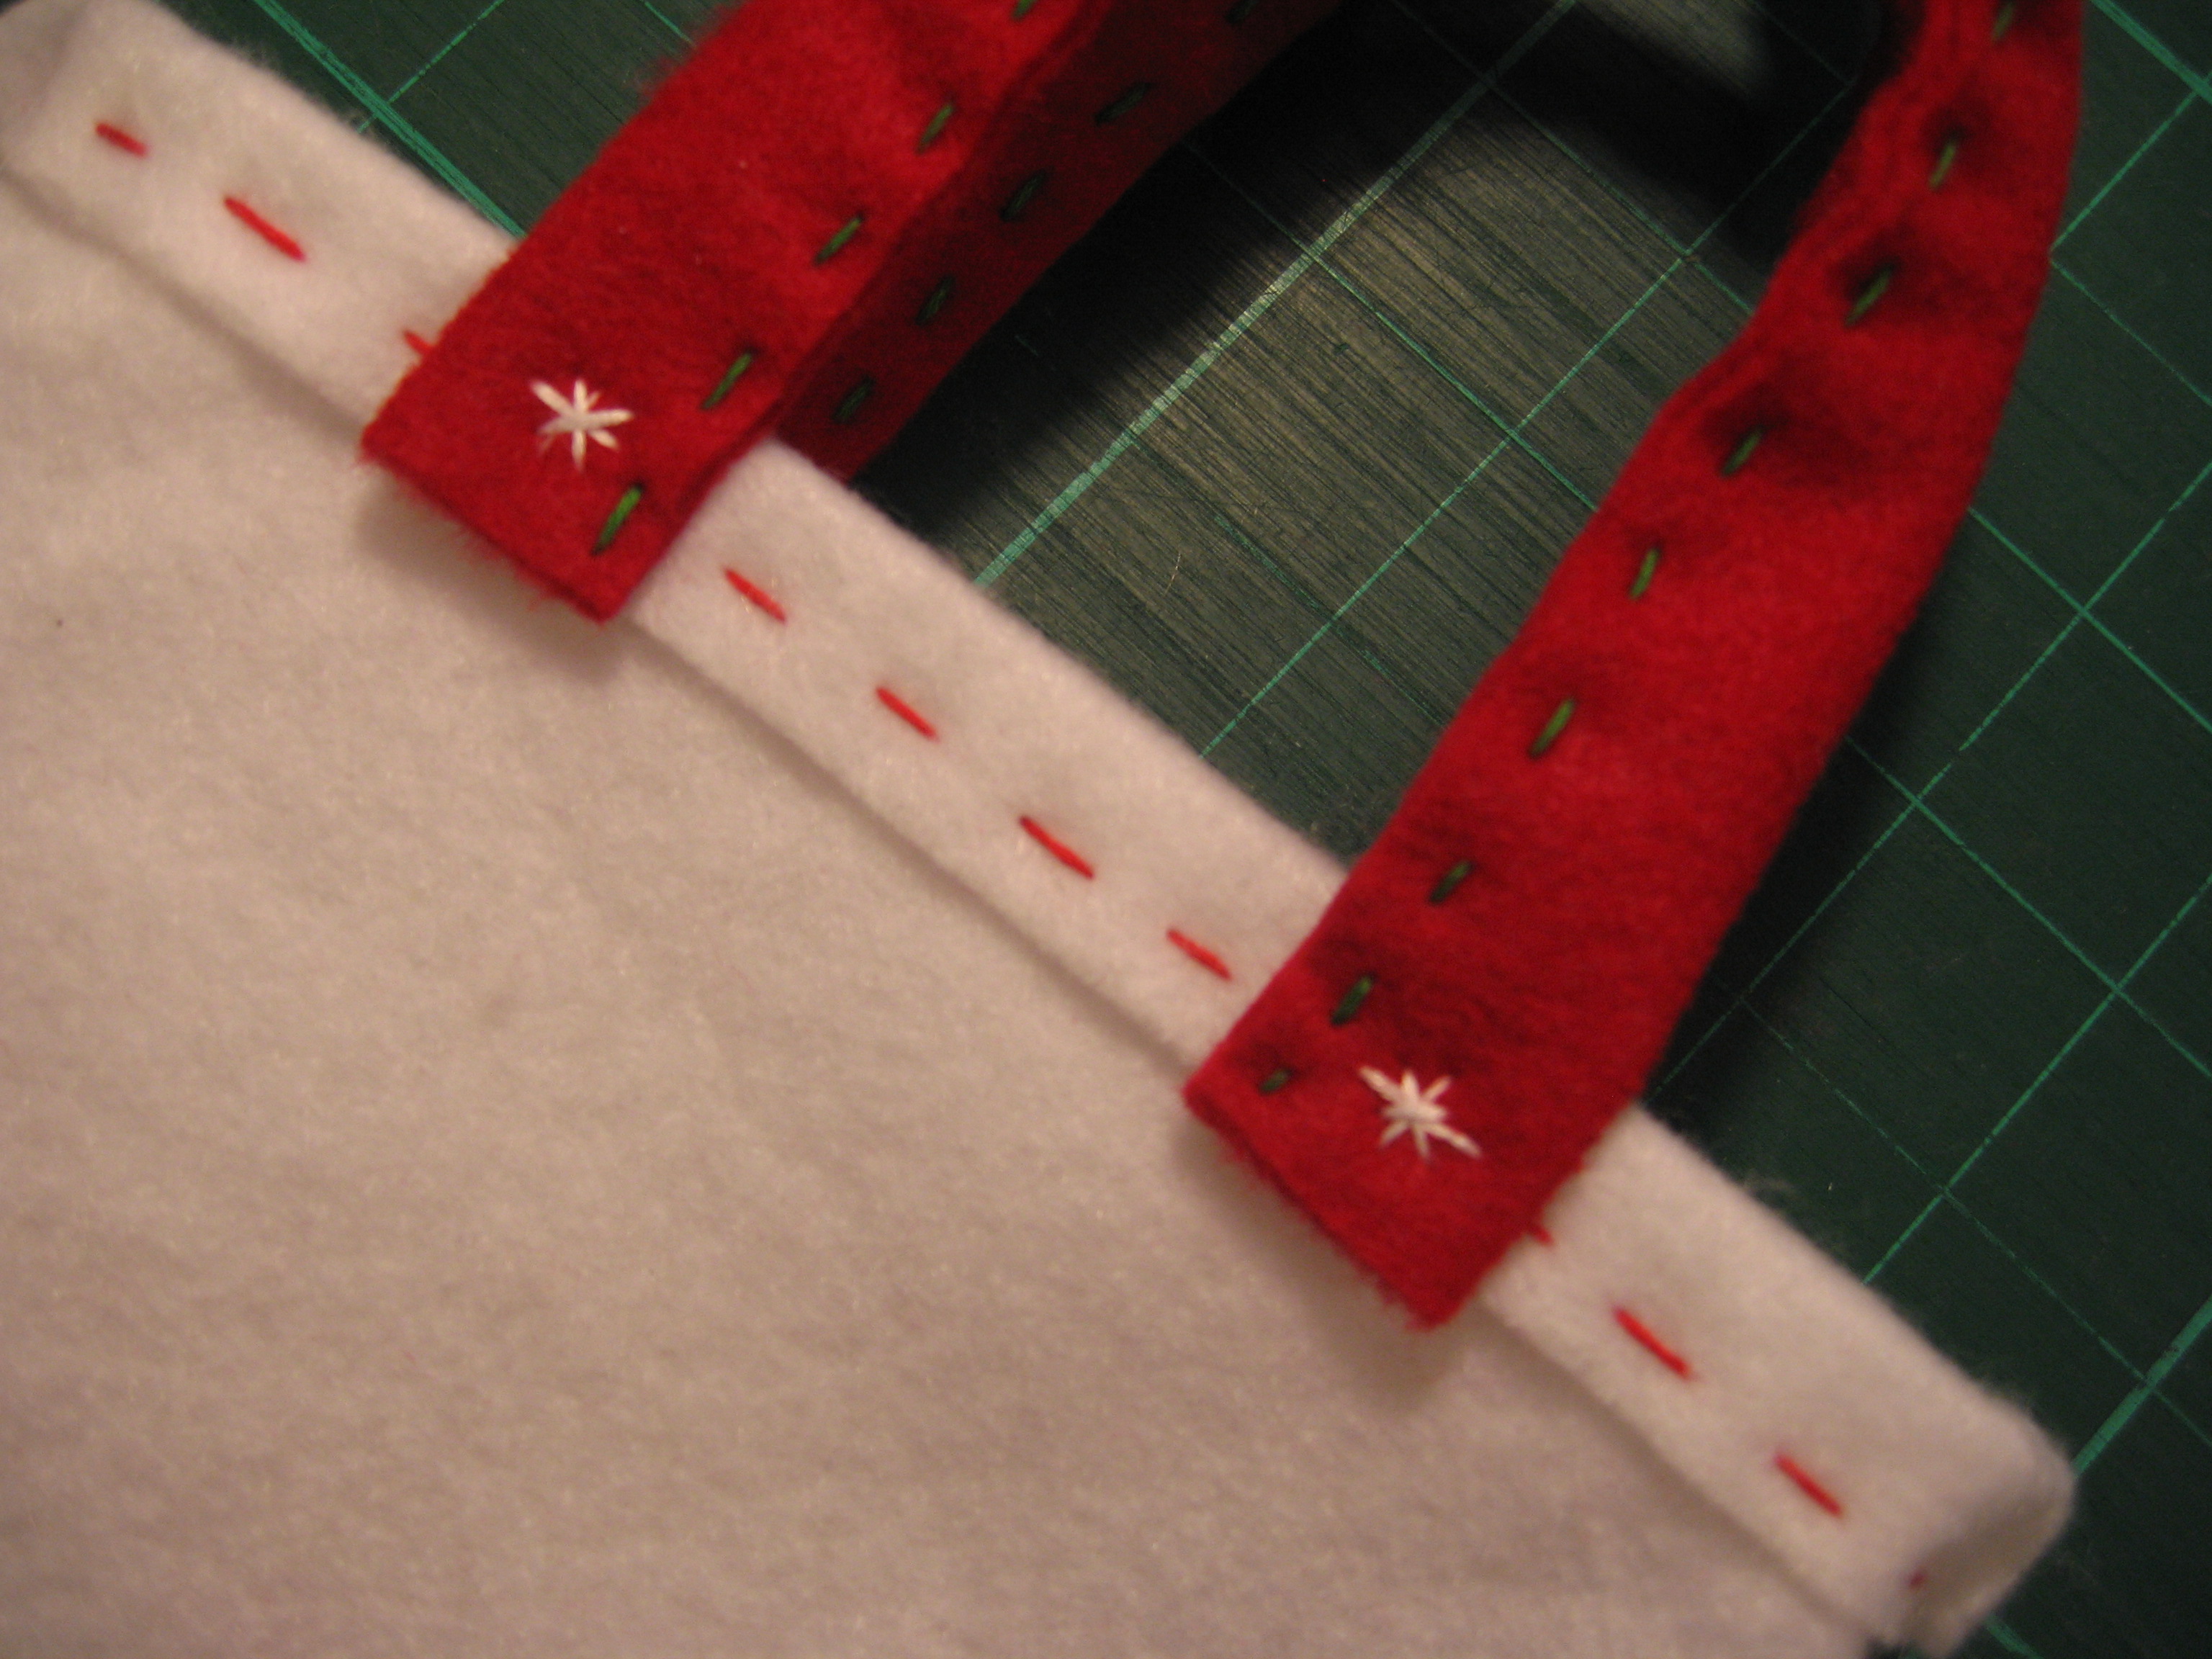
Center and pin straps to side seams, being sure to match right sides. Stitch in place.
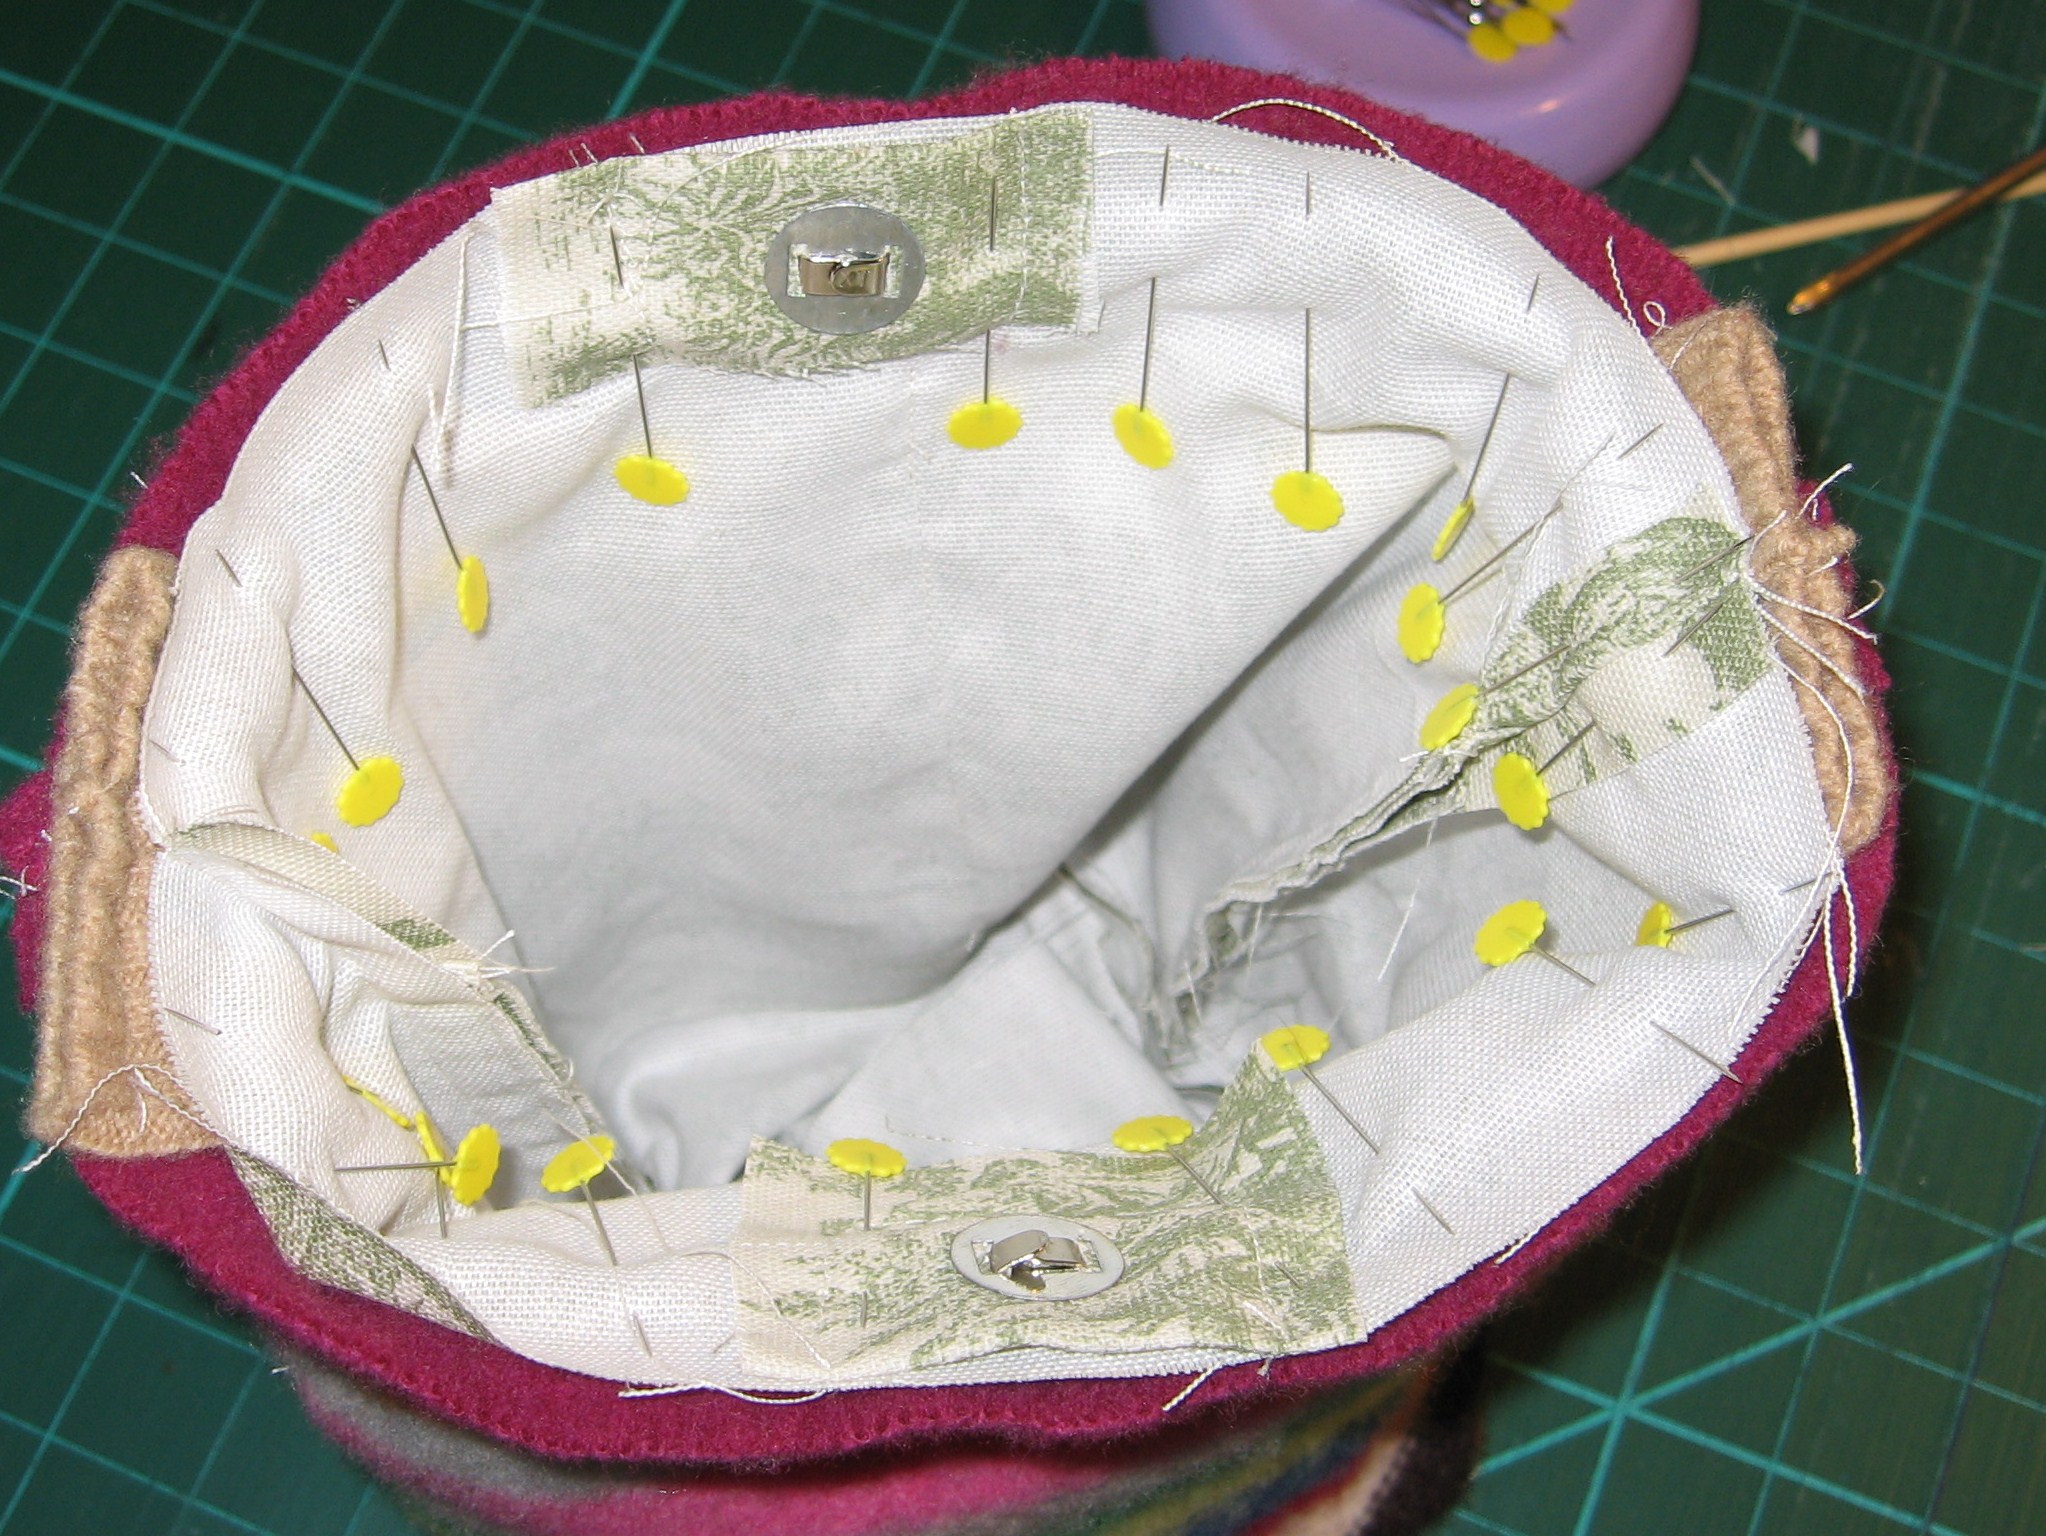
Ensure the straps are inside and pin the lining to the sweater (outside of the bag), right sides together. Stitch around the top.
Turn the bag right side out through the opening in the lining.
Pin opening in lining. Stitch closed.
Turn lining inside, smooth and pin. Top stitch.
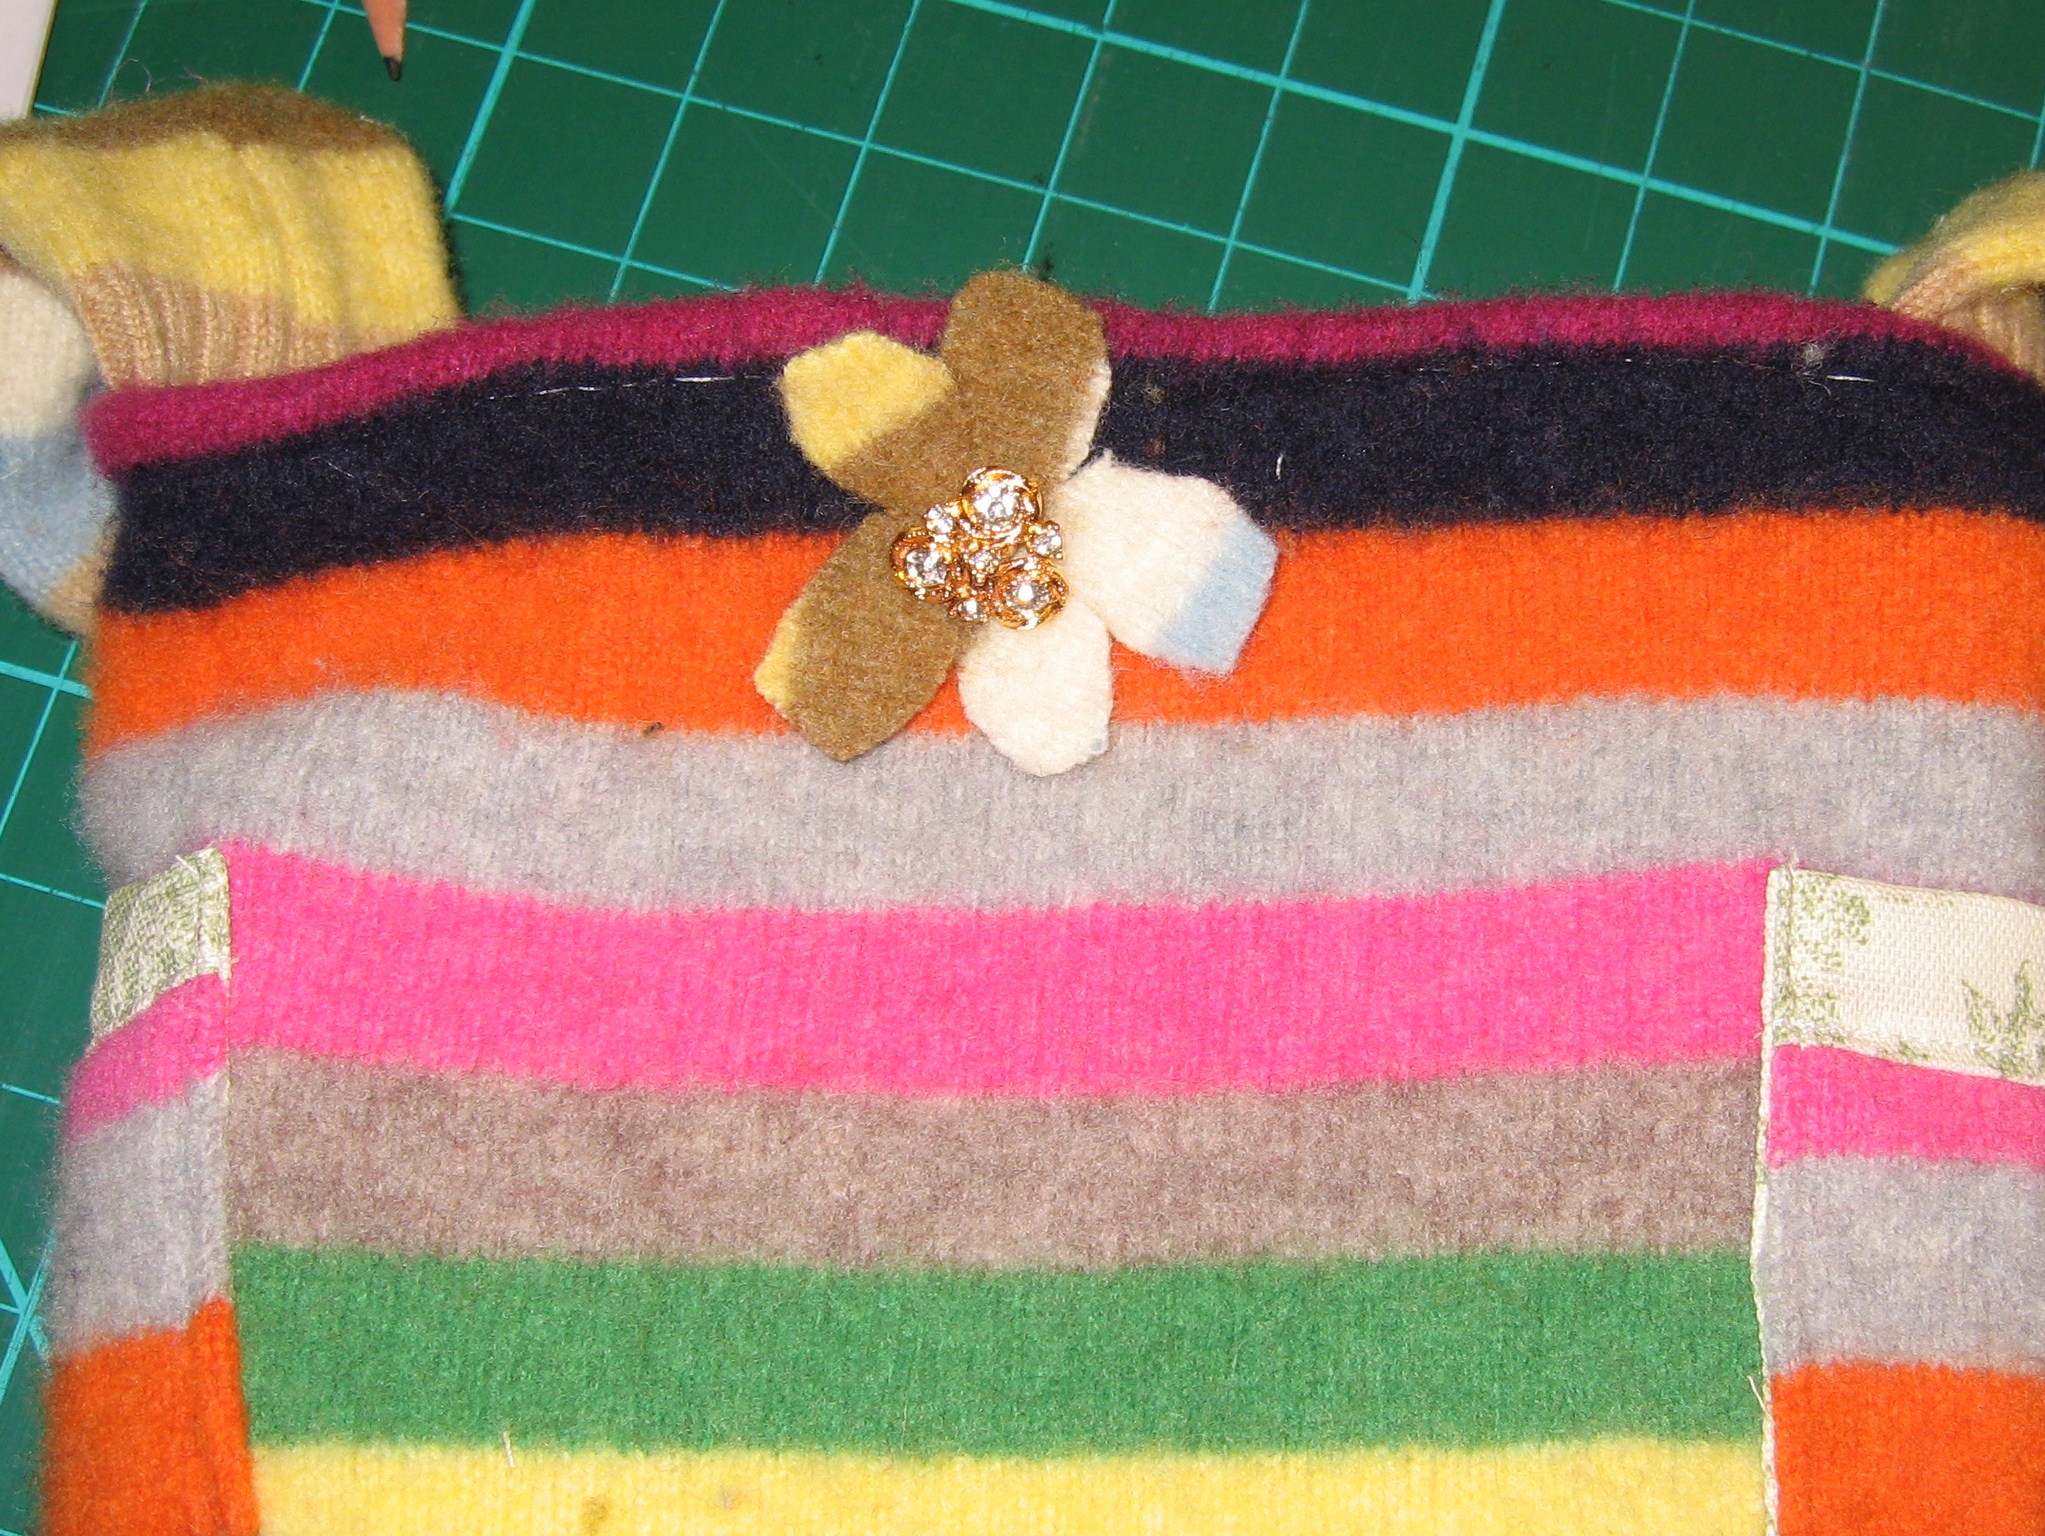
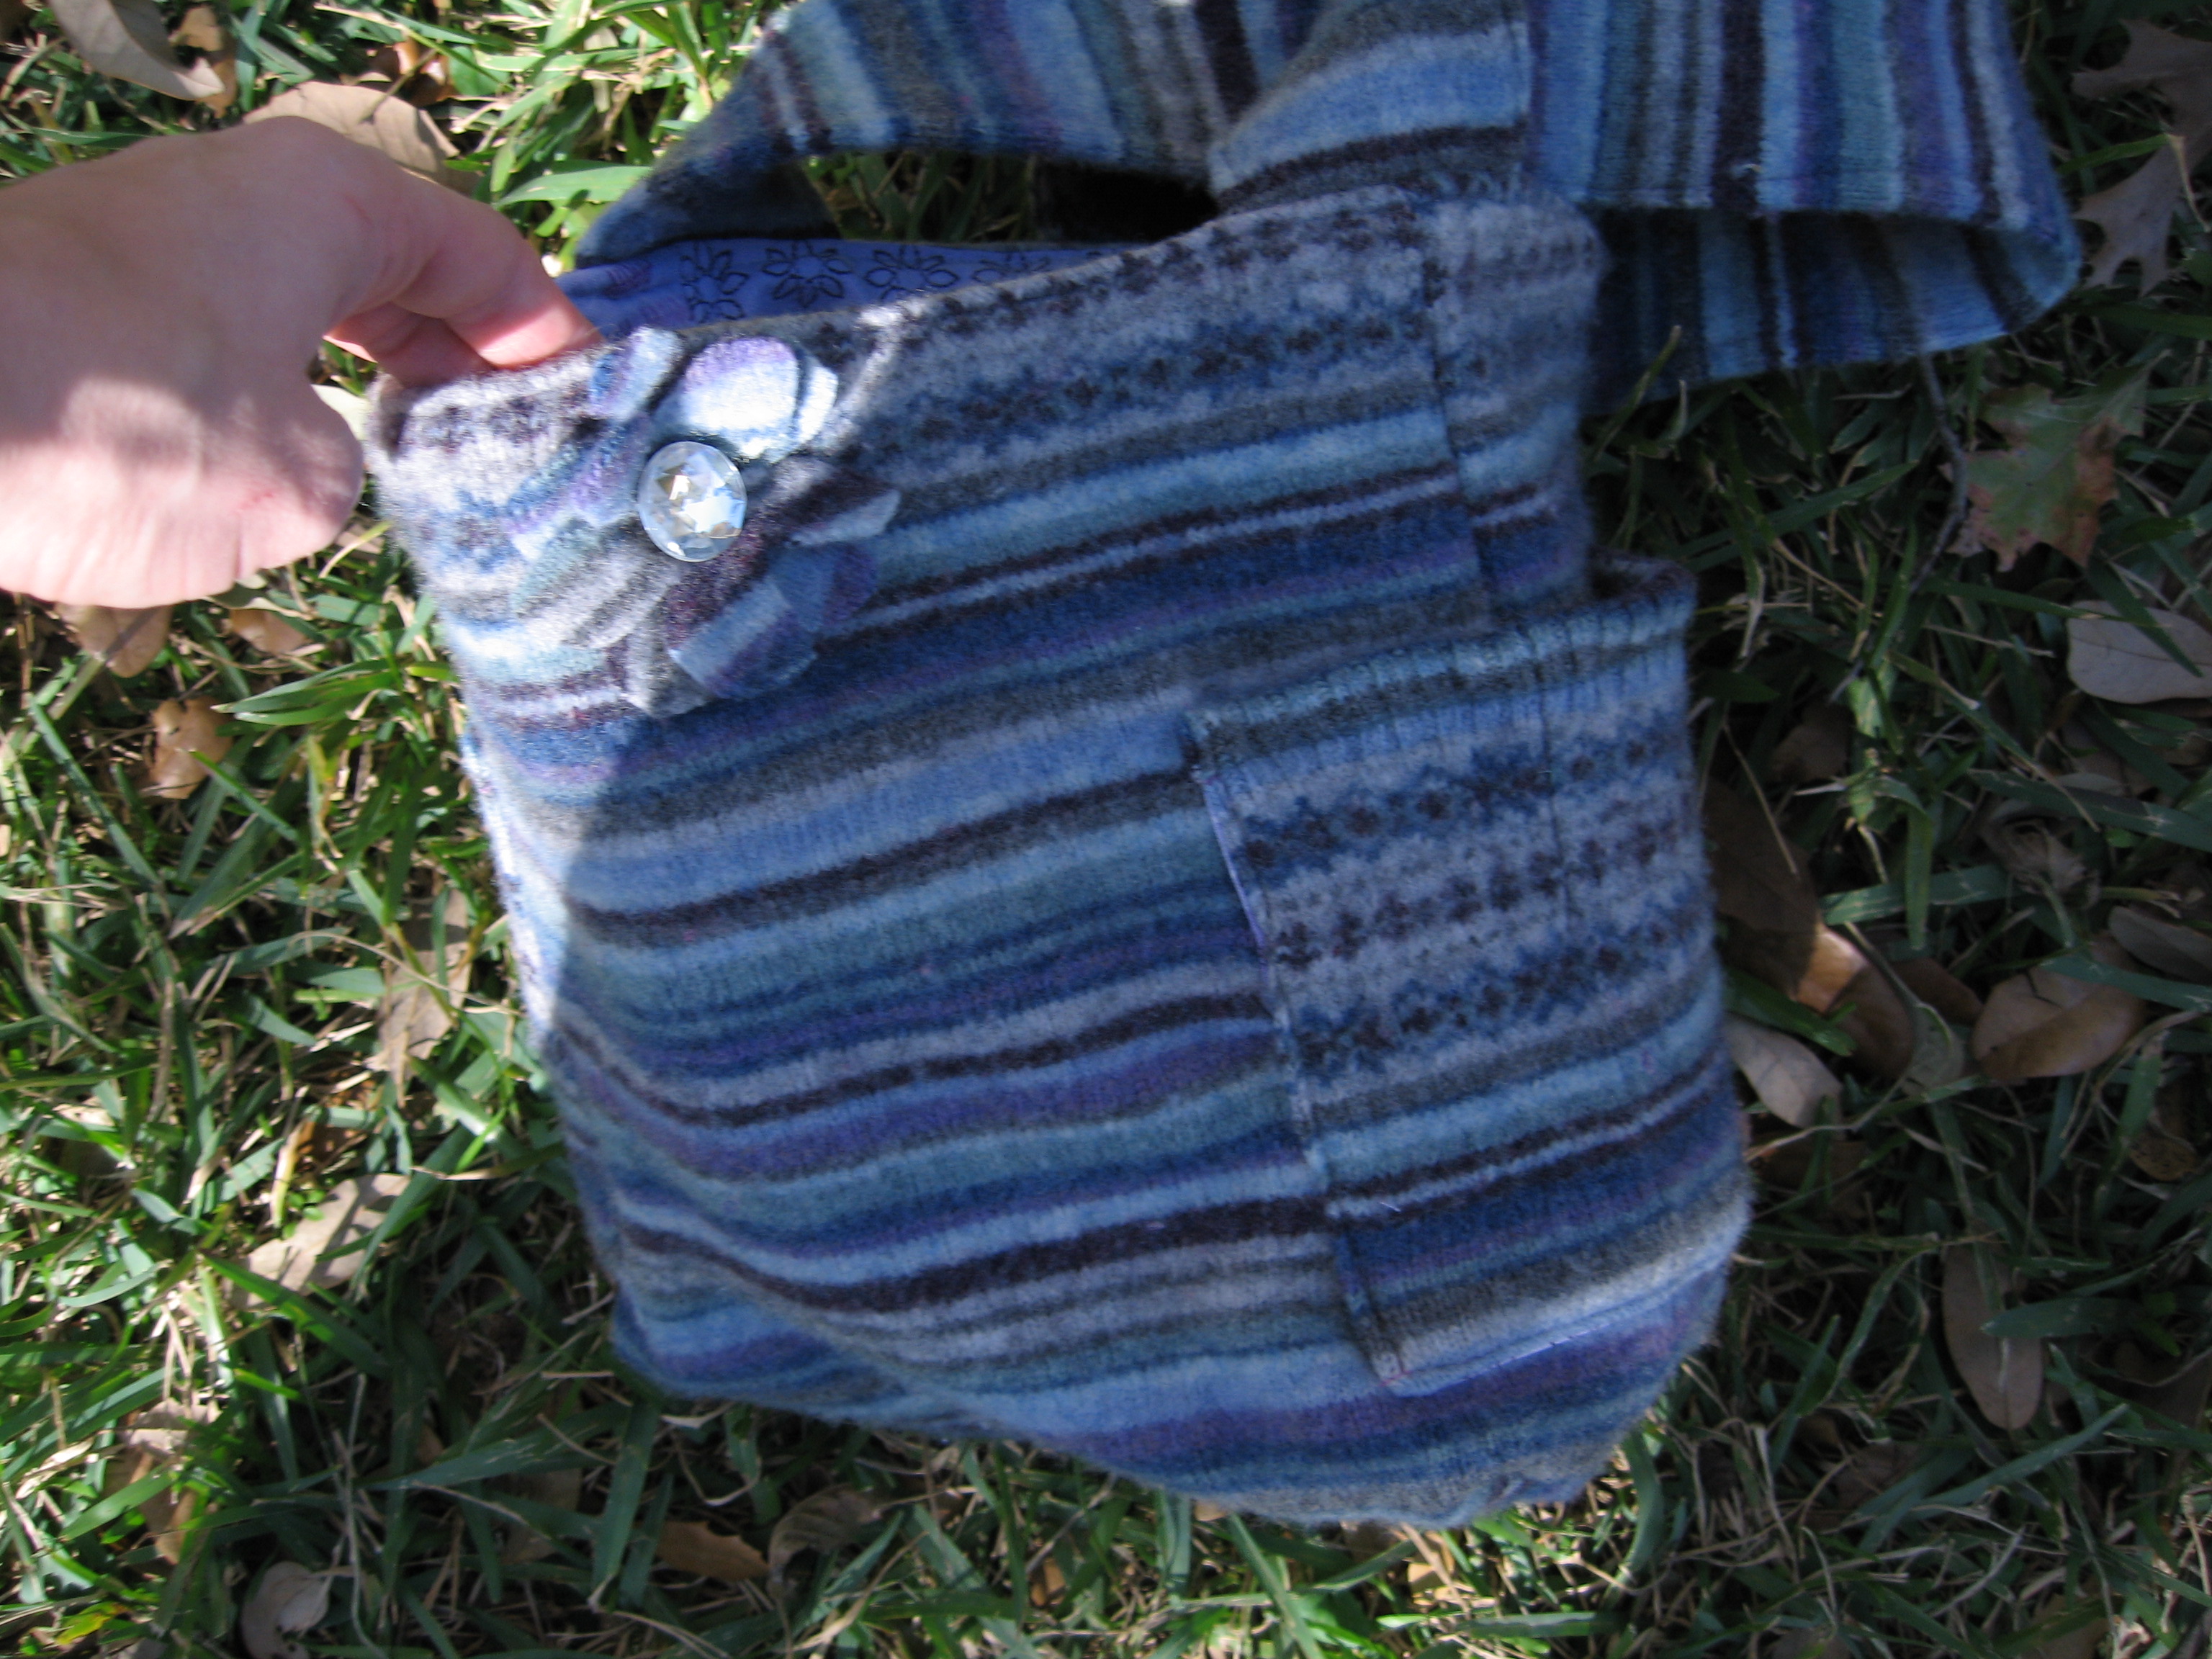
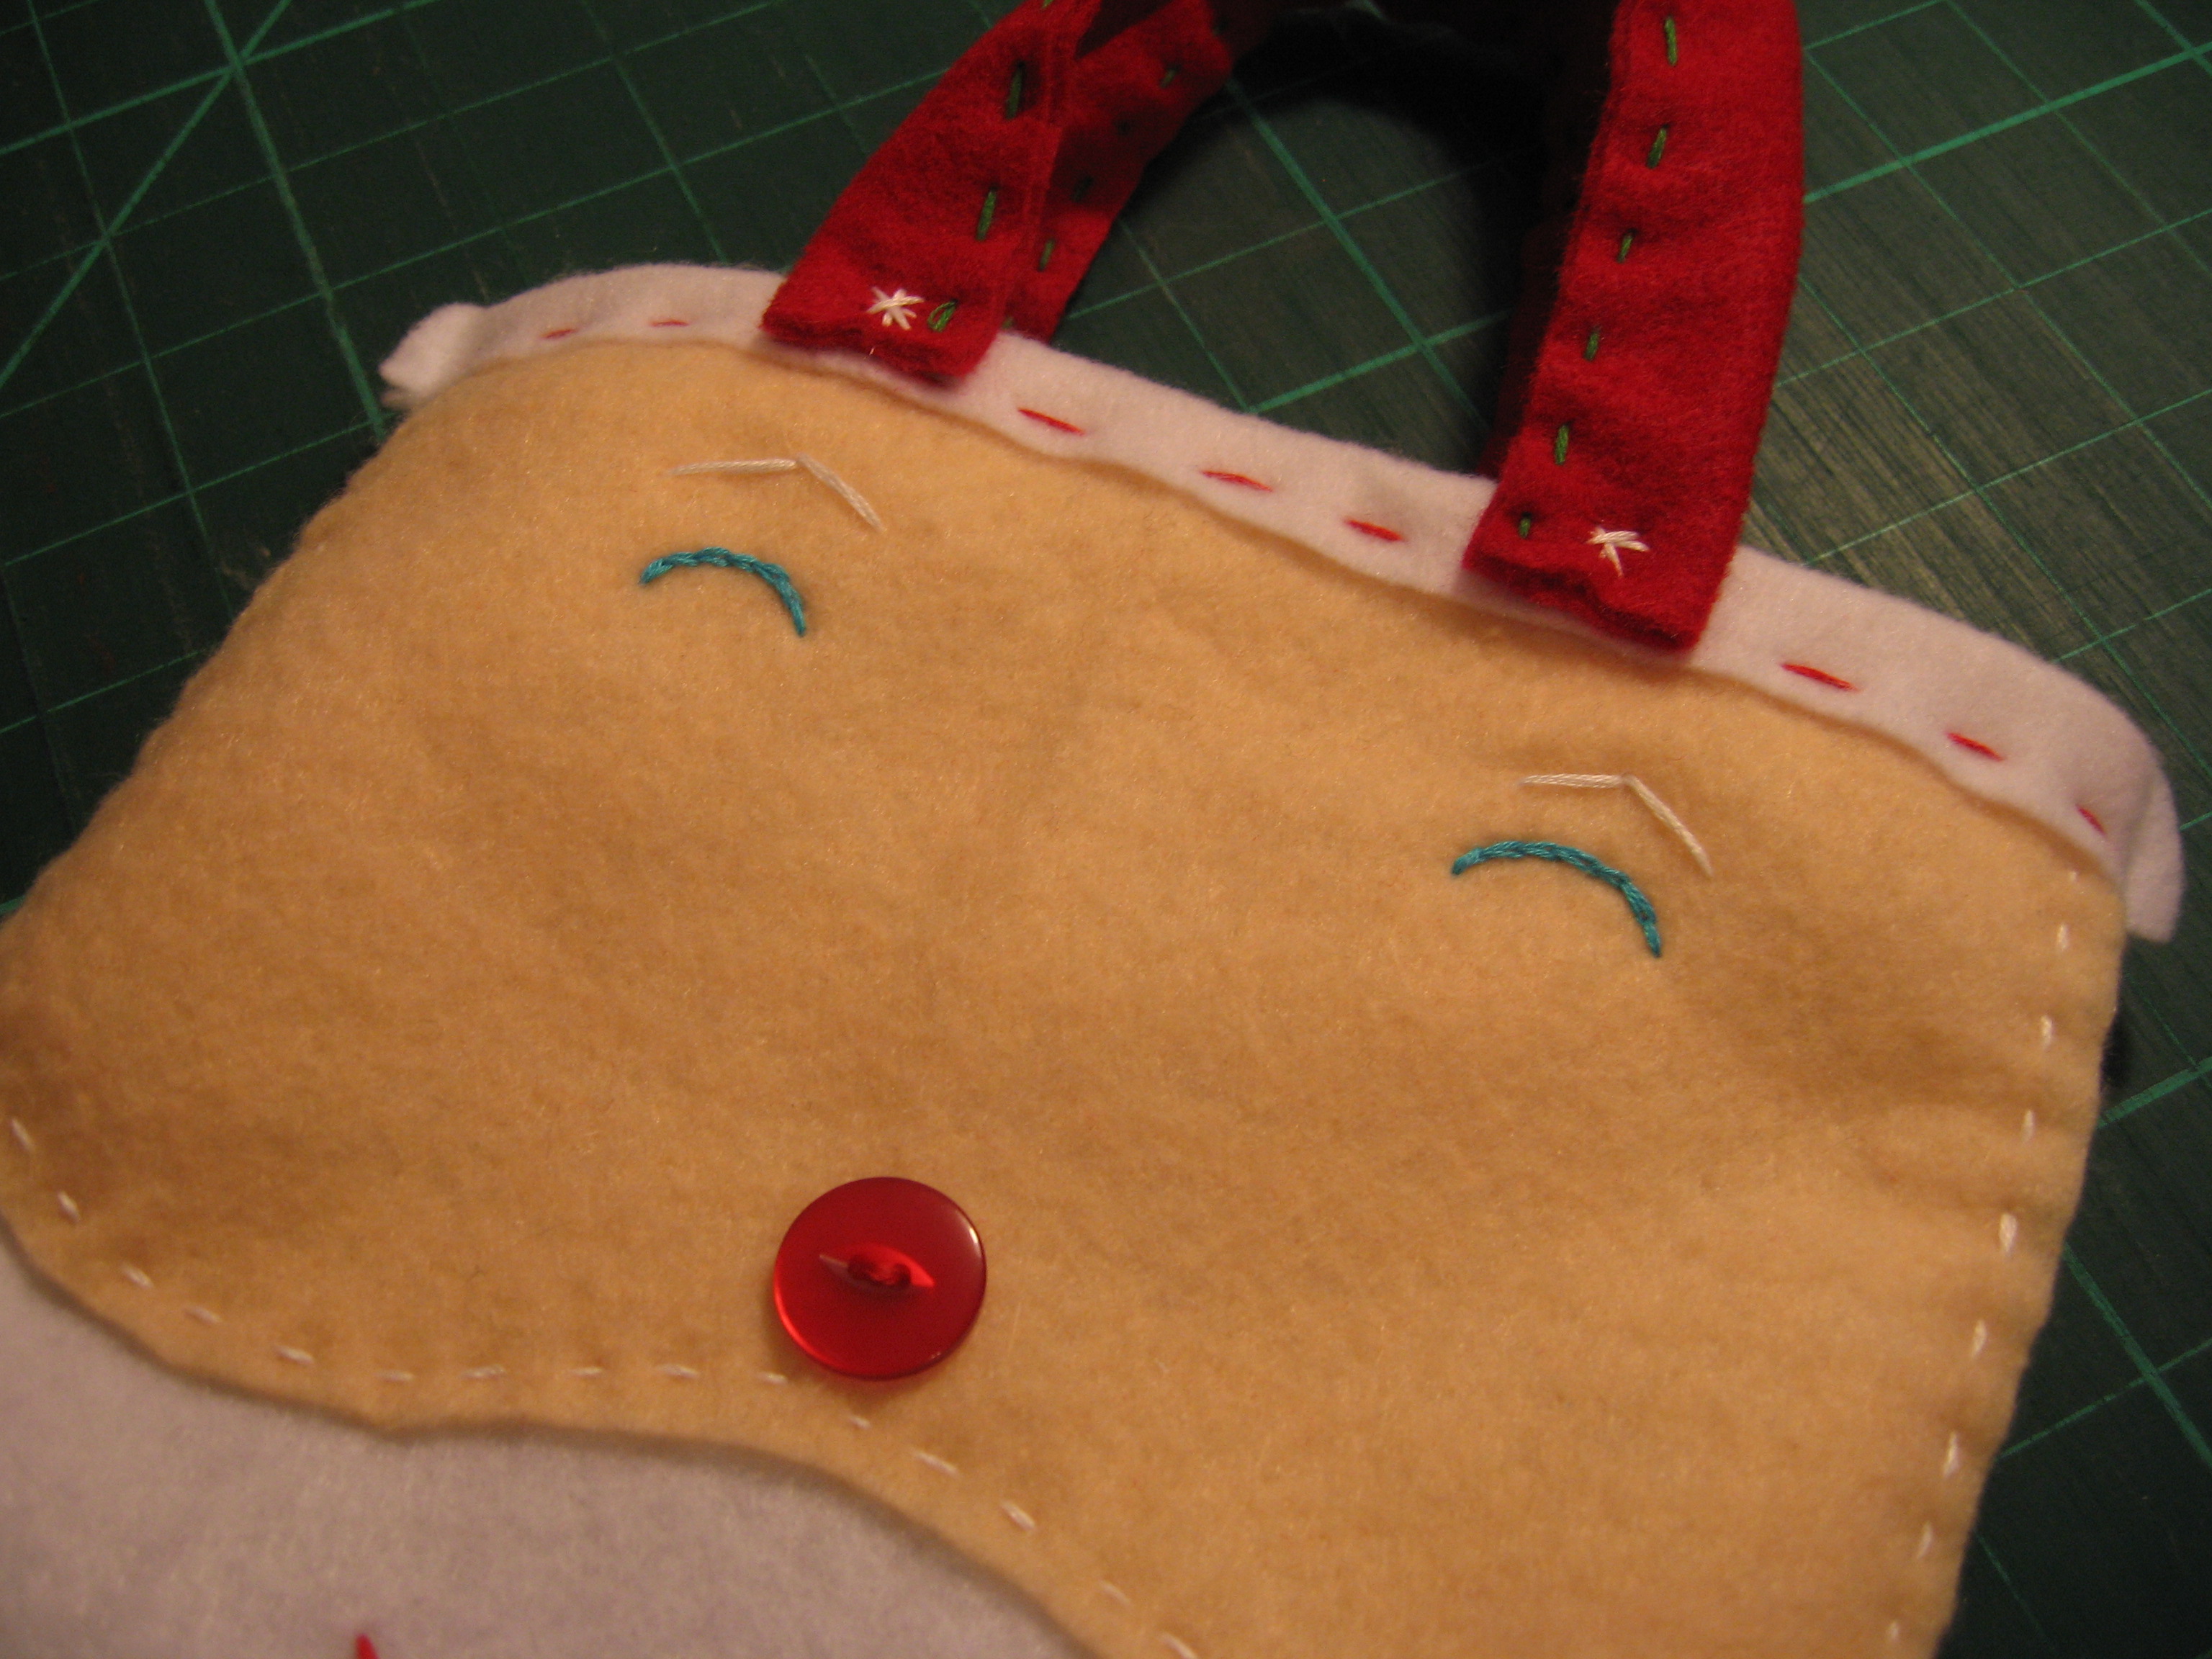
Stitch flower to center of each side over snap, stitch button on top. We are DONE!
What a fun way to recycle an old sweater!
Here’s a fun one I made with a cute purple sweater!
I’ve been making these Santa bags for a lot of years now, but this is the first time I’ve ever shared a how-to for it.
Other similar bags I’ve made include Rudolph, Christmas kitties and Christmas trees. Change the basic bag to any color and add polka dots or stars for an easy birthday bag!
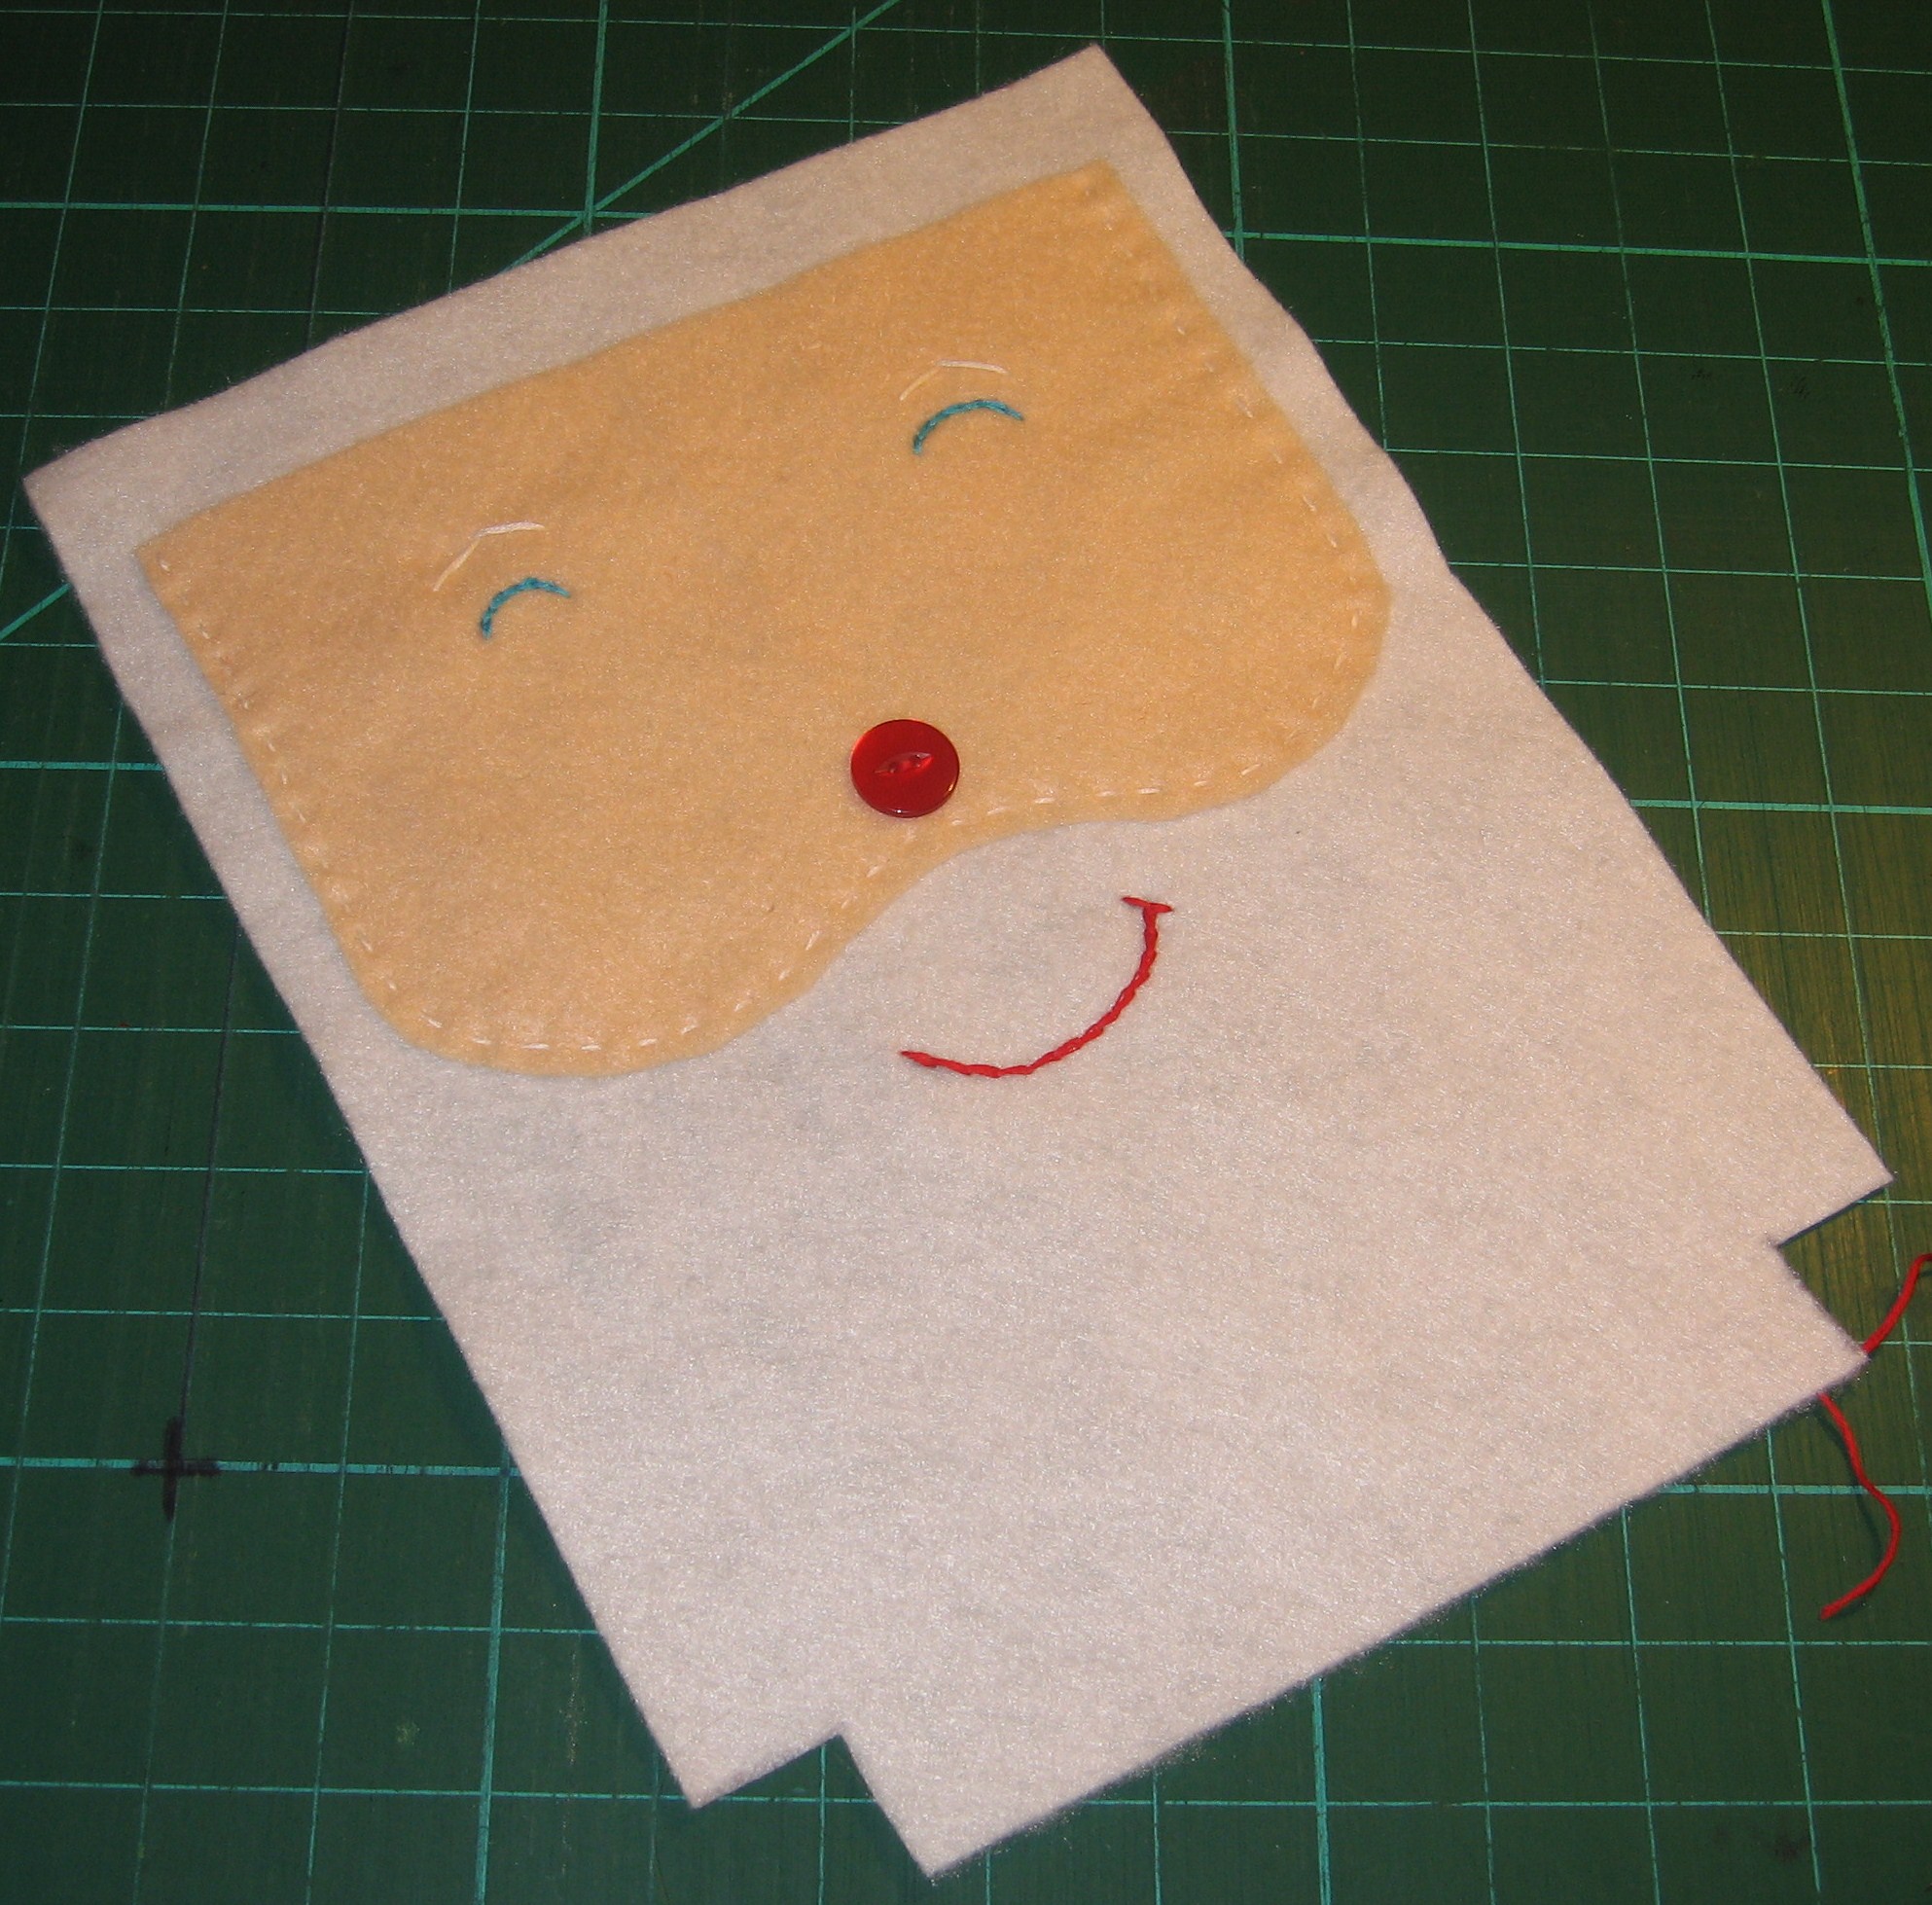
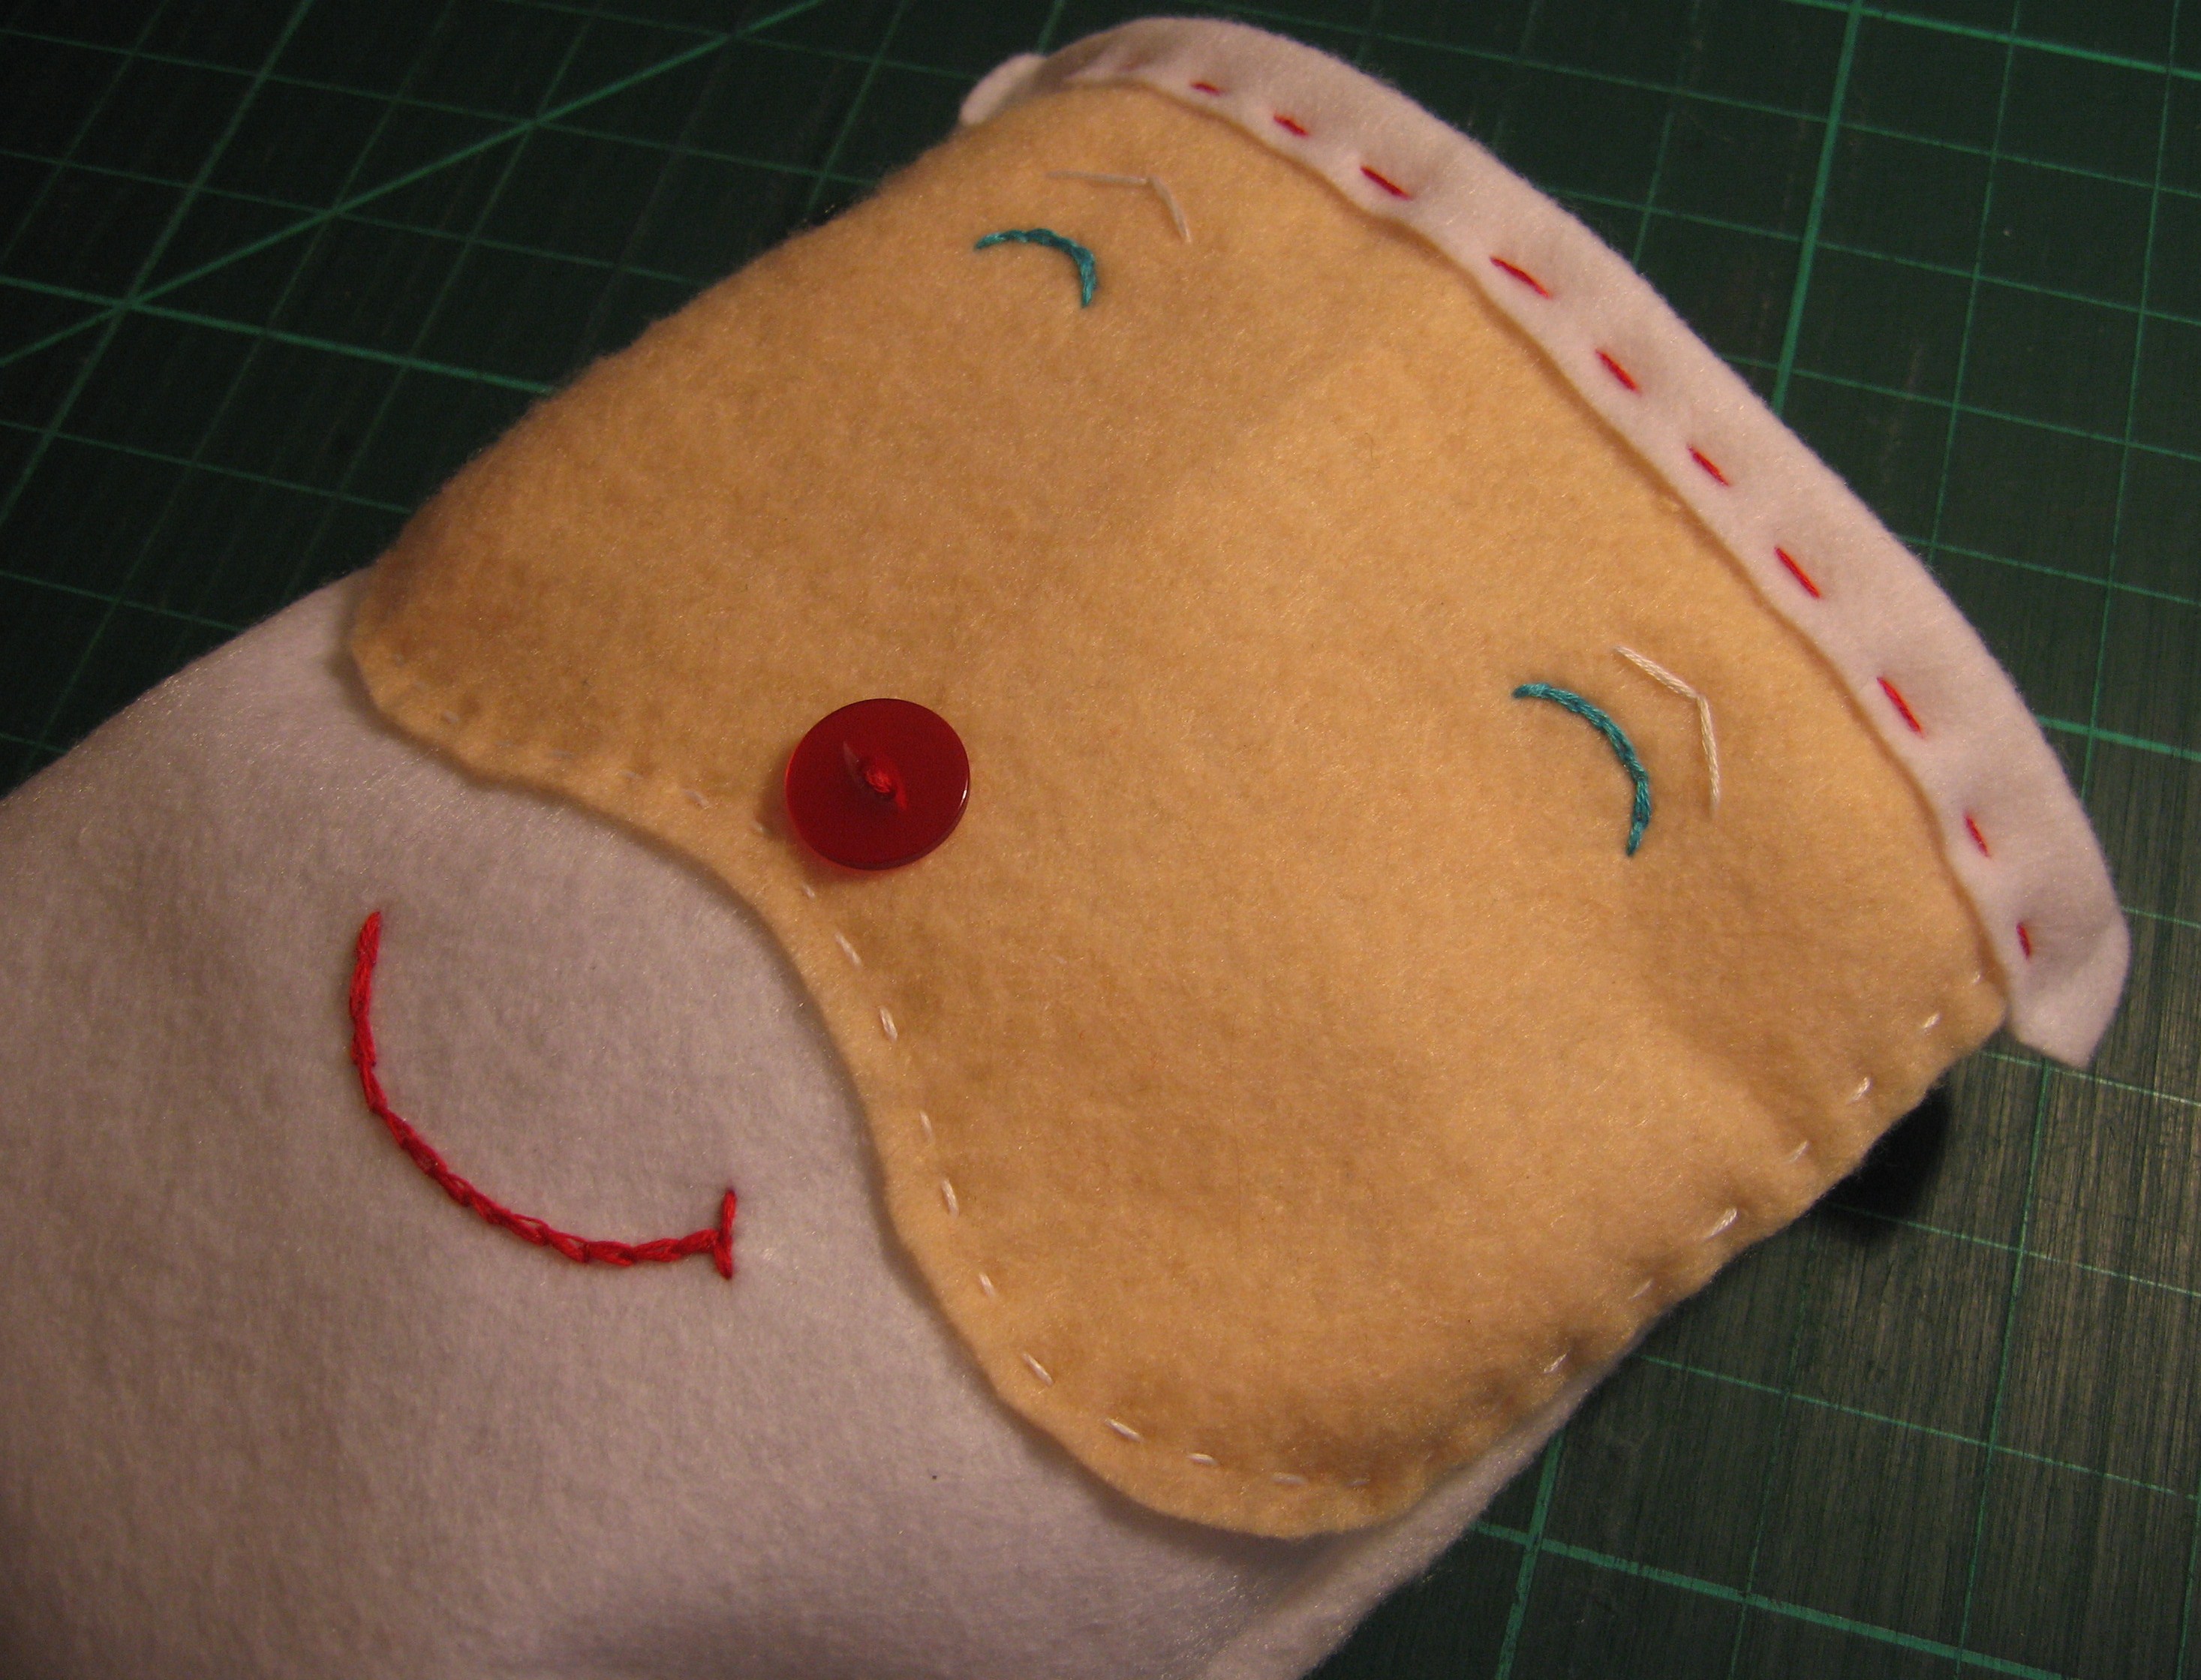
Smiling Santa is reusable, giftable, and darn cute. He’s fast to make with simple embroidered stitches and a button nose. If hand stitching isn’t your thing, fabric paint will work in a pinch!
I use eco-friendly acrylic felt. It’s easy to find, cheap (20 cents a sheet) and sturdy.
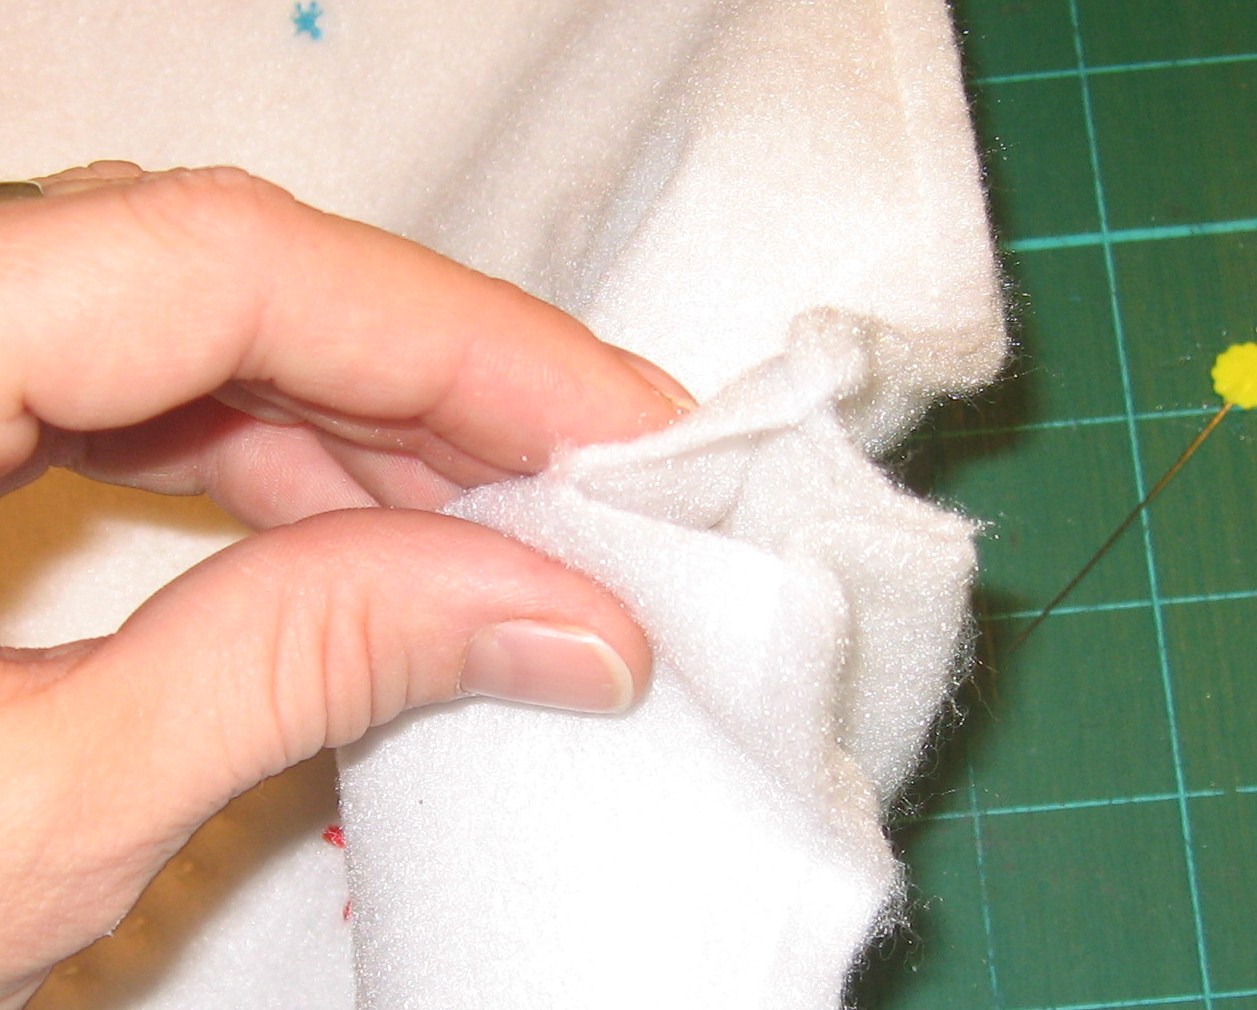
Find the bottom of your bag and cut 1″ squares out of the opposite corners for each white sheet. This will create a faux gusset and allow your gift bag to stand up.
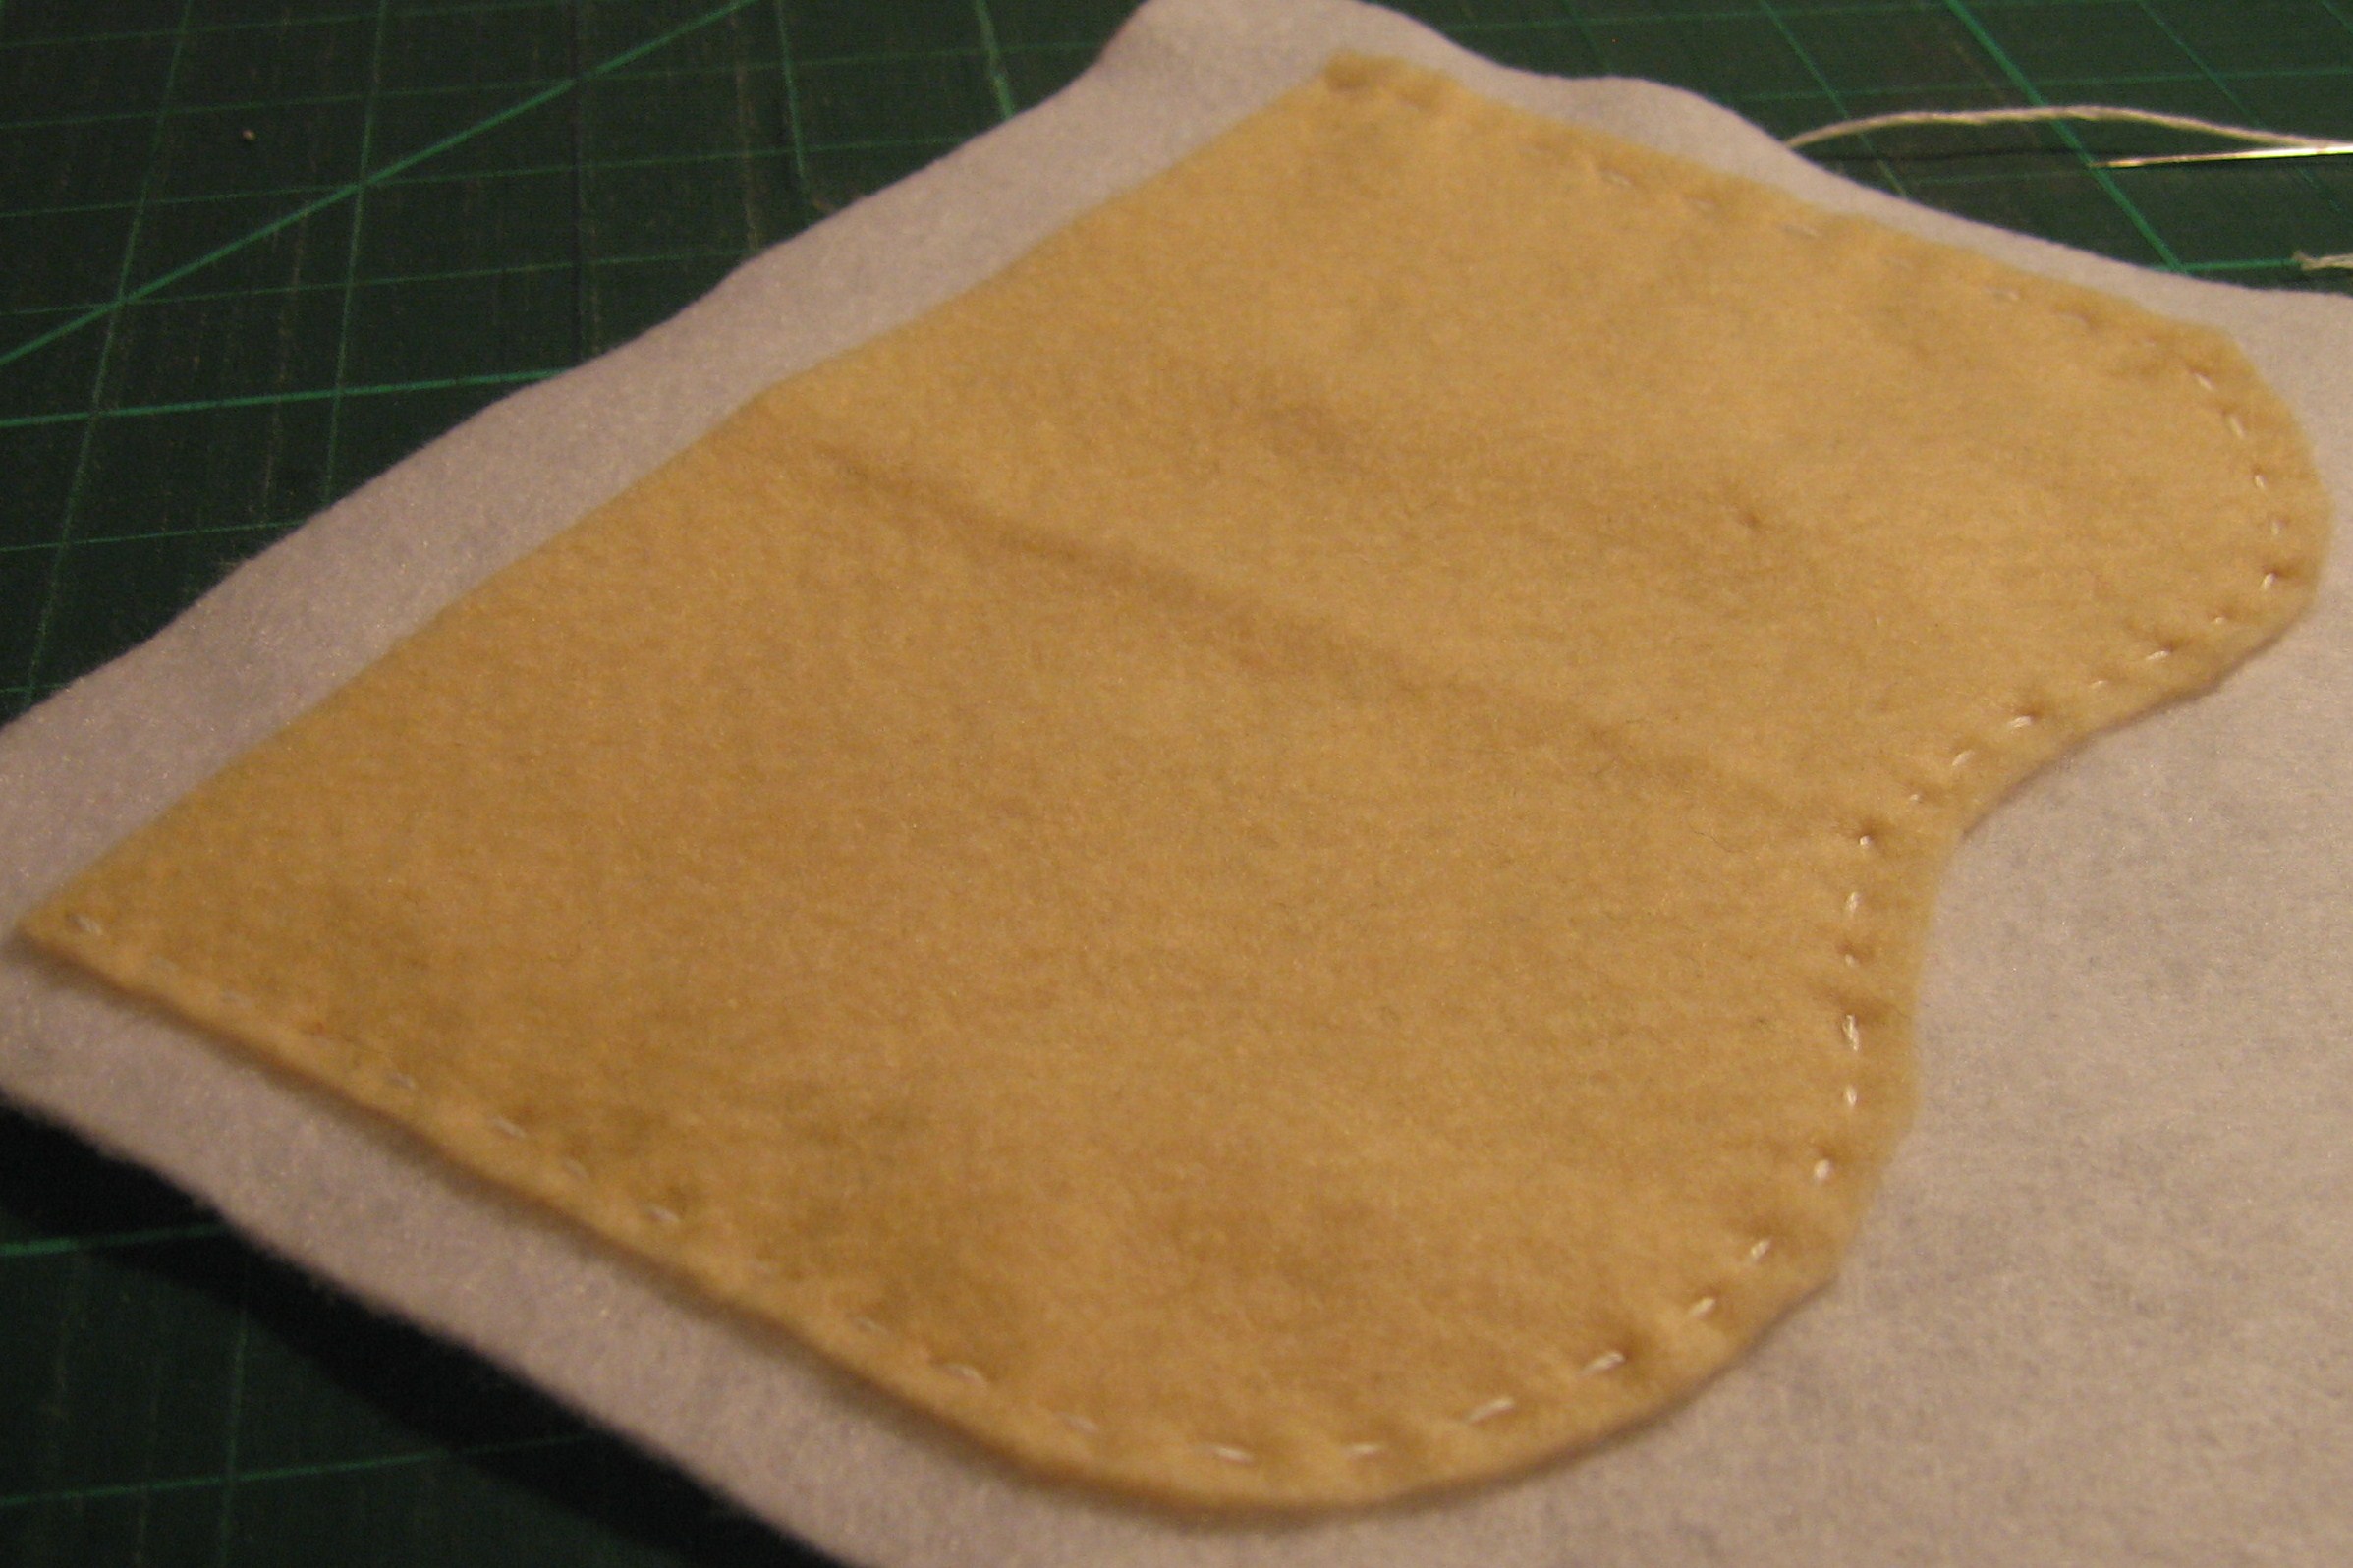
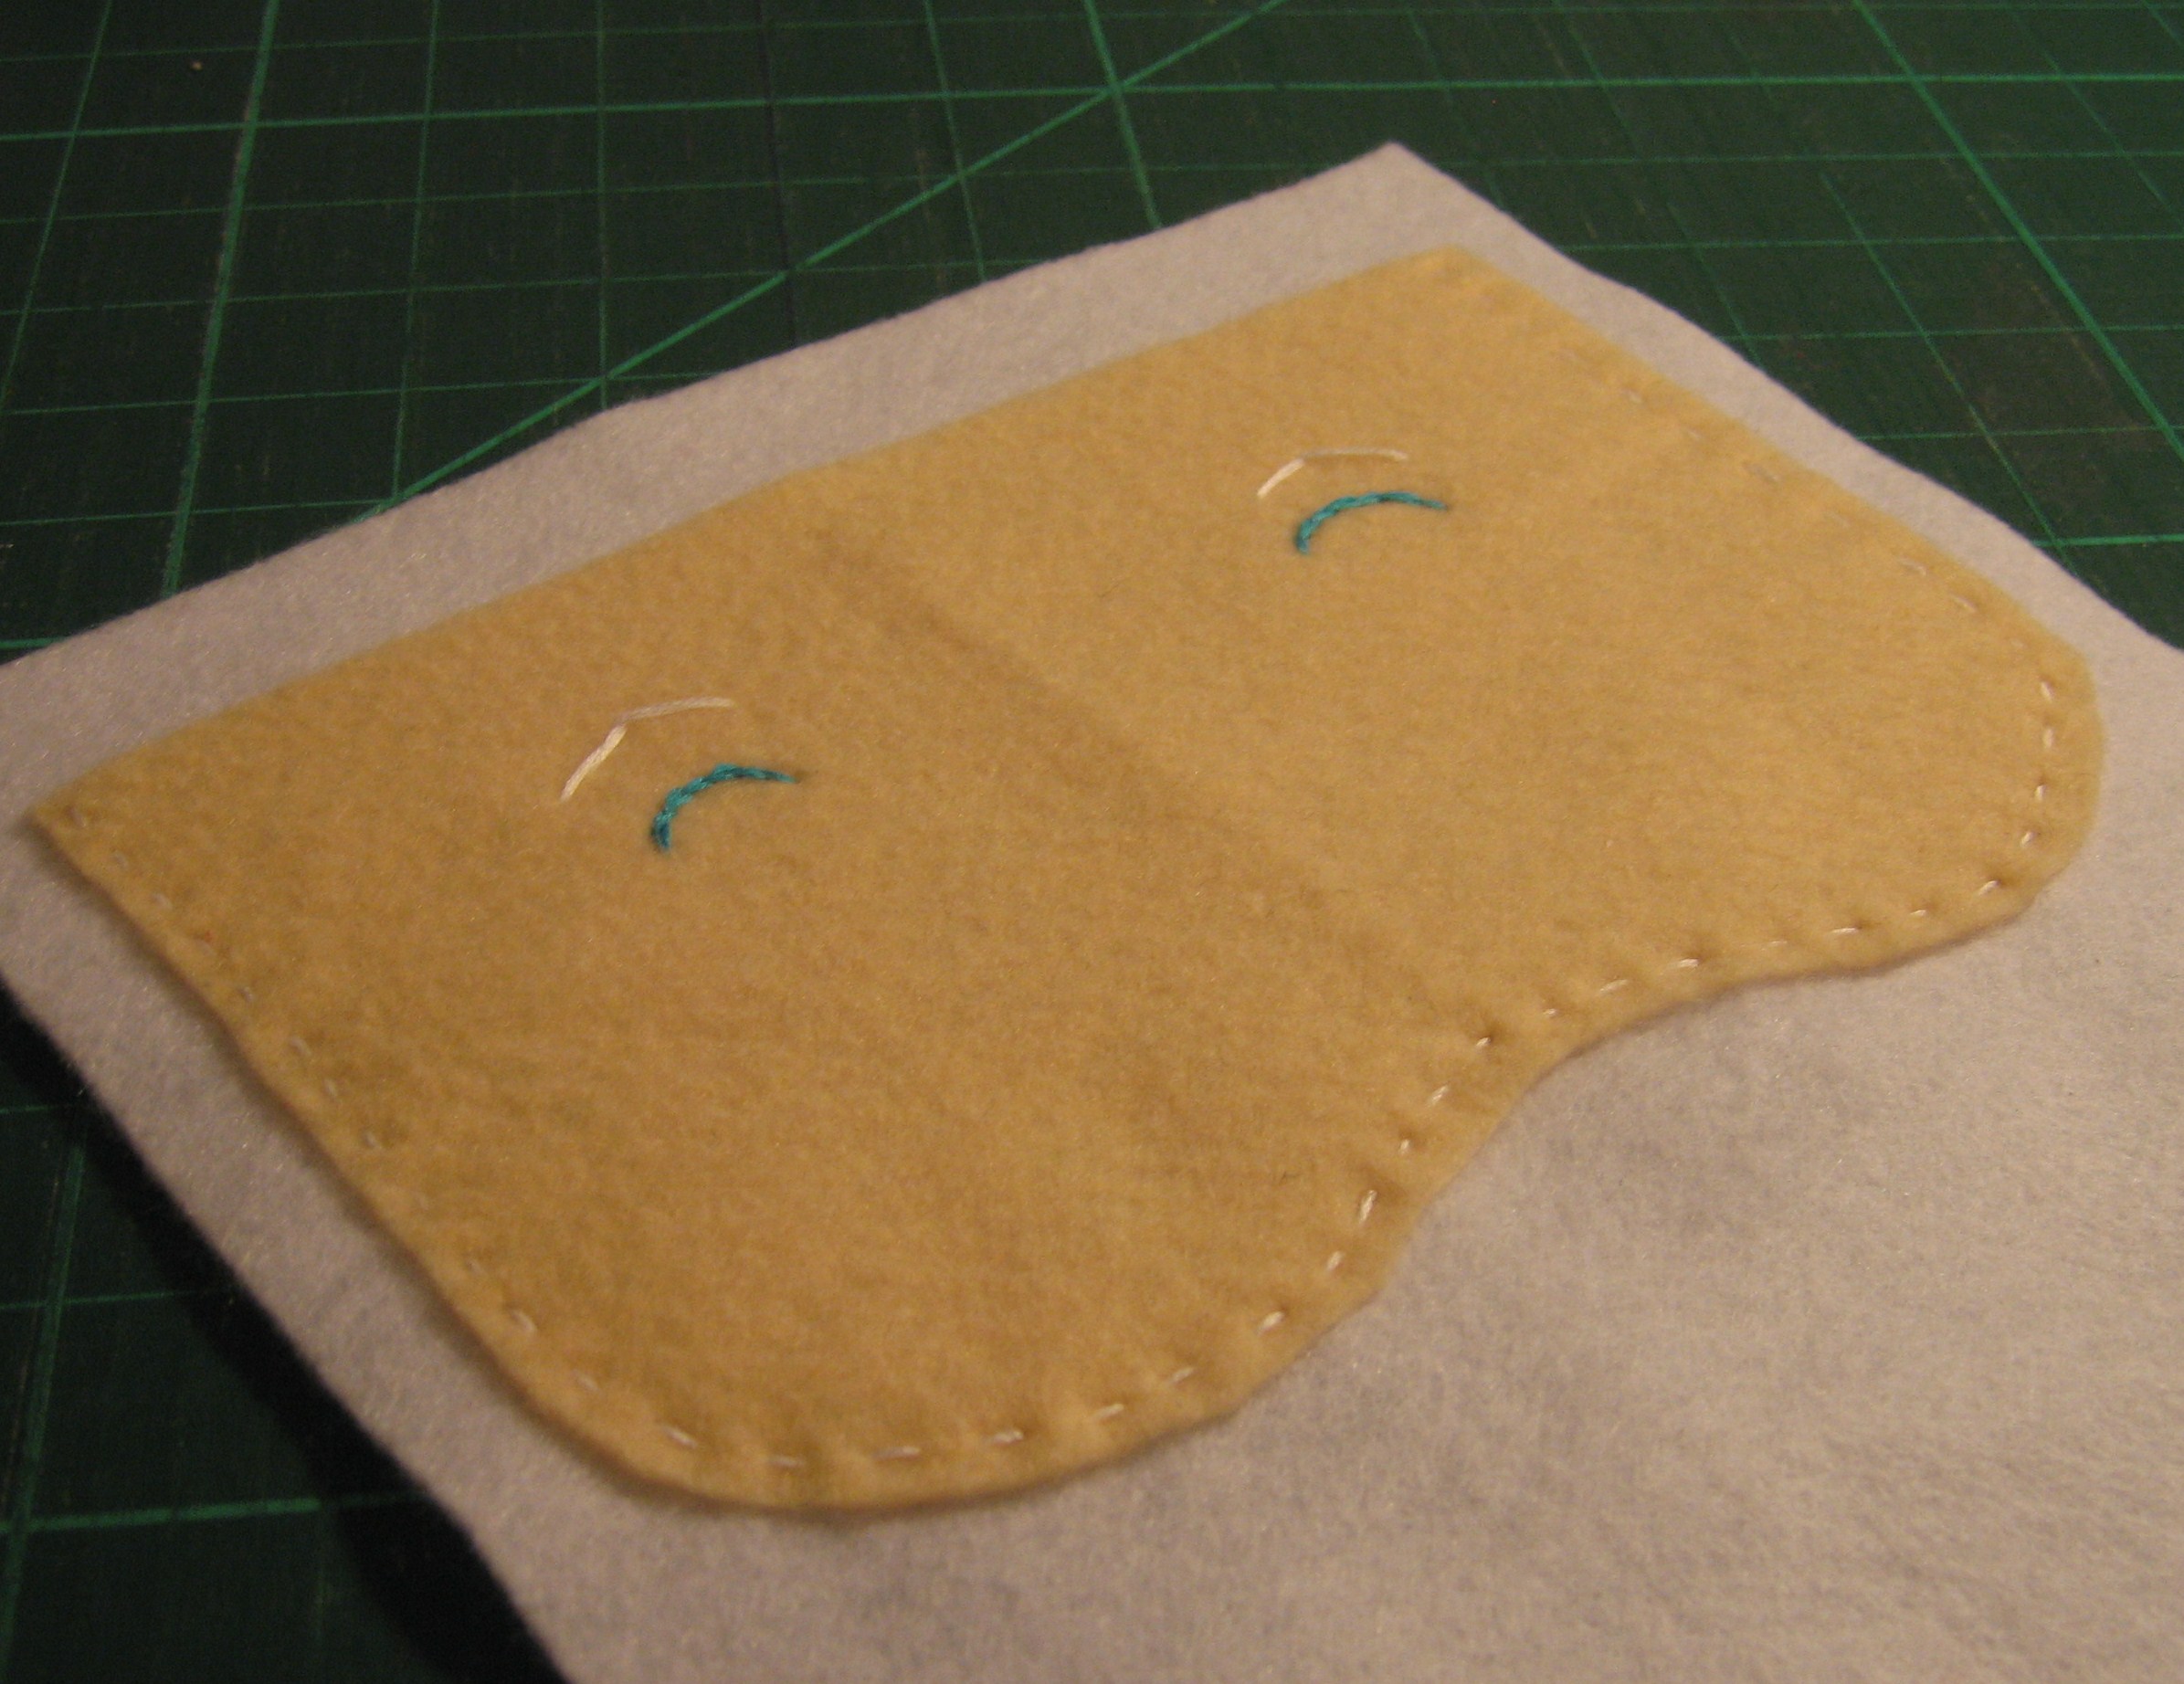
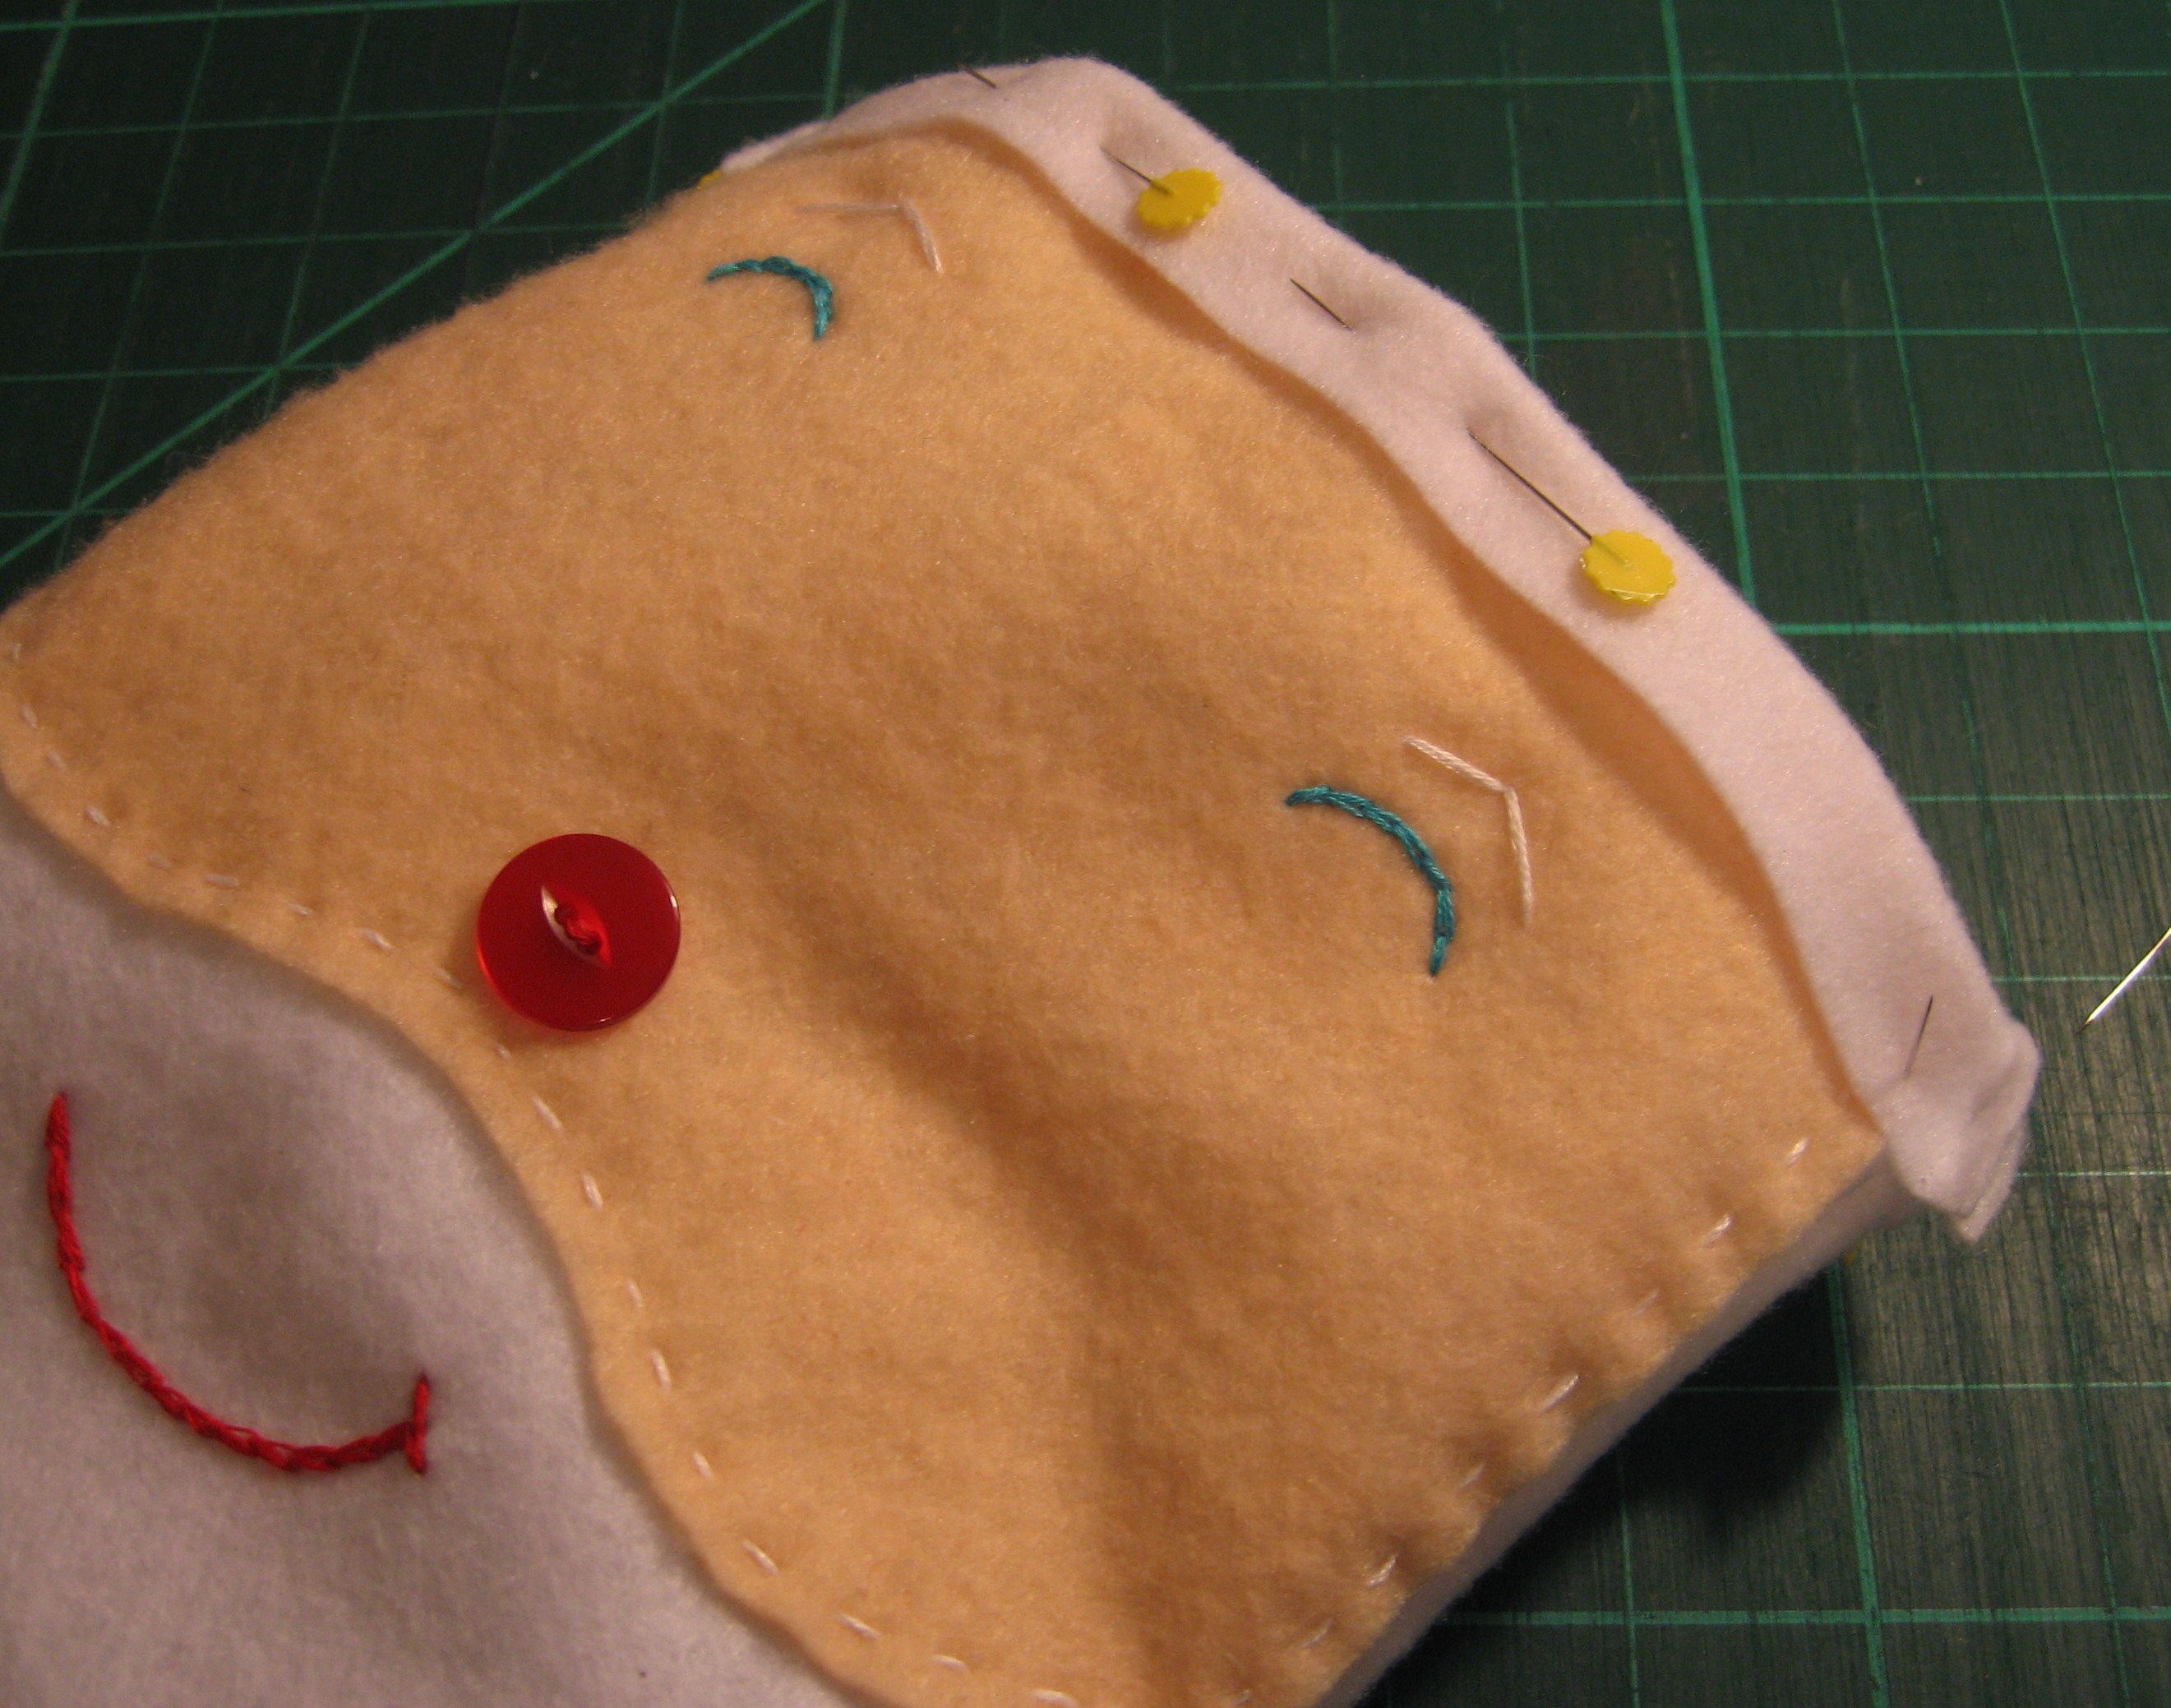
Cut the flesh-colored felt sheet down to 8″ x 5 1/2″. Fold in half and cut a gentle curve.
Open flesh-colored felt. Align 1″ from top of bag, centering so that each side has approximately 1/2″ of white felt showing.
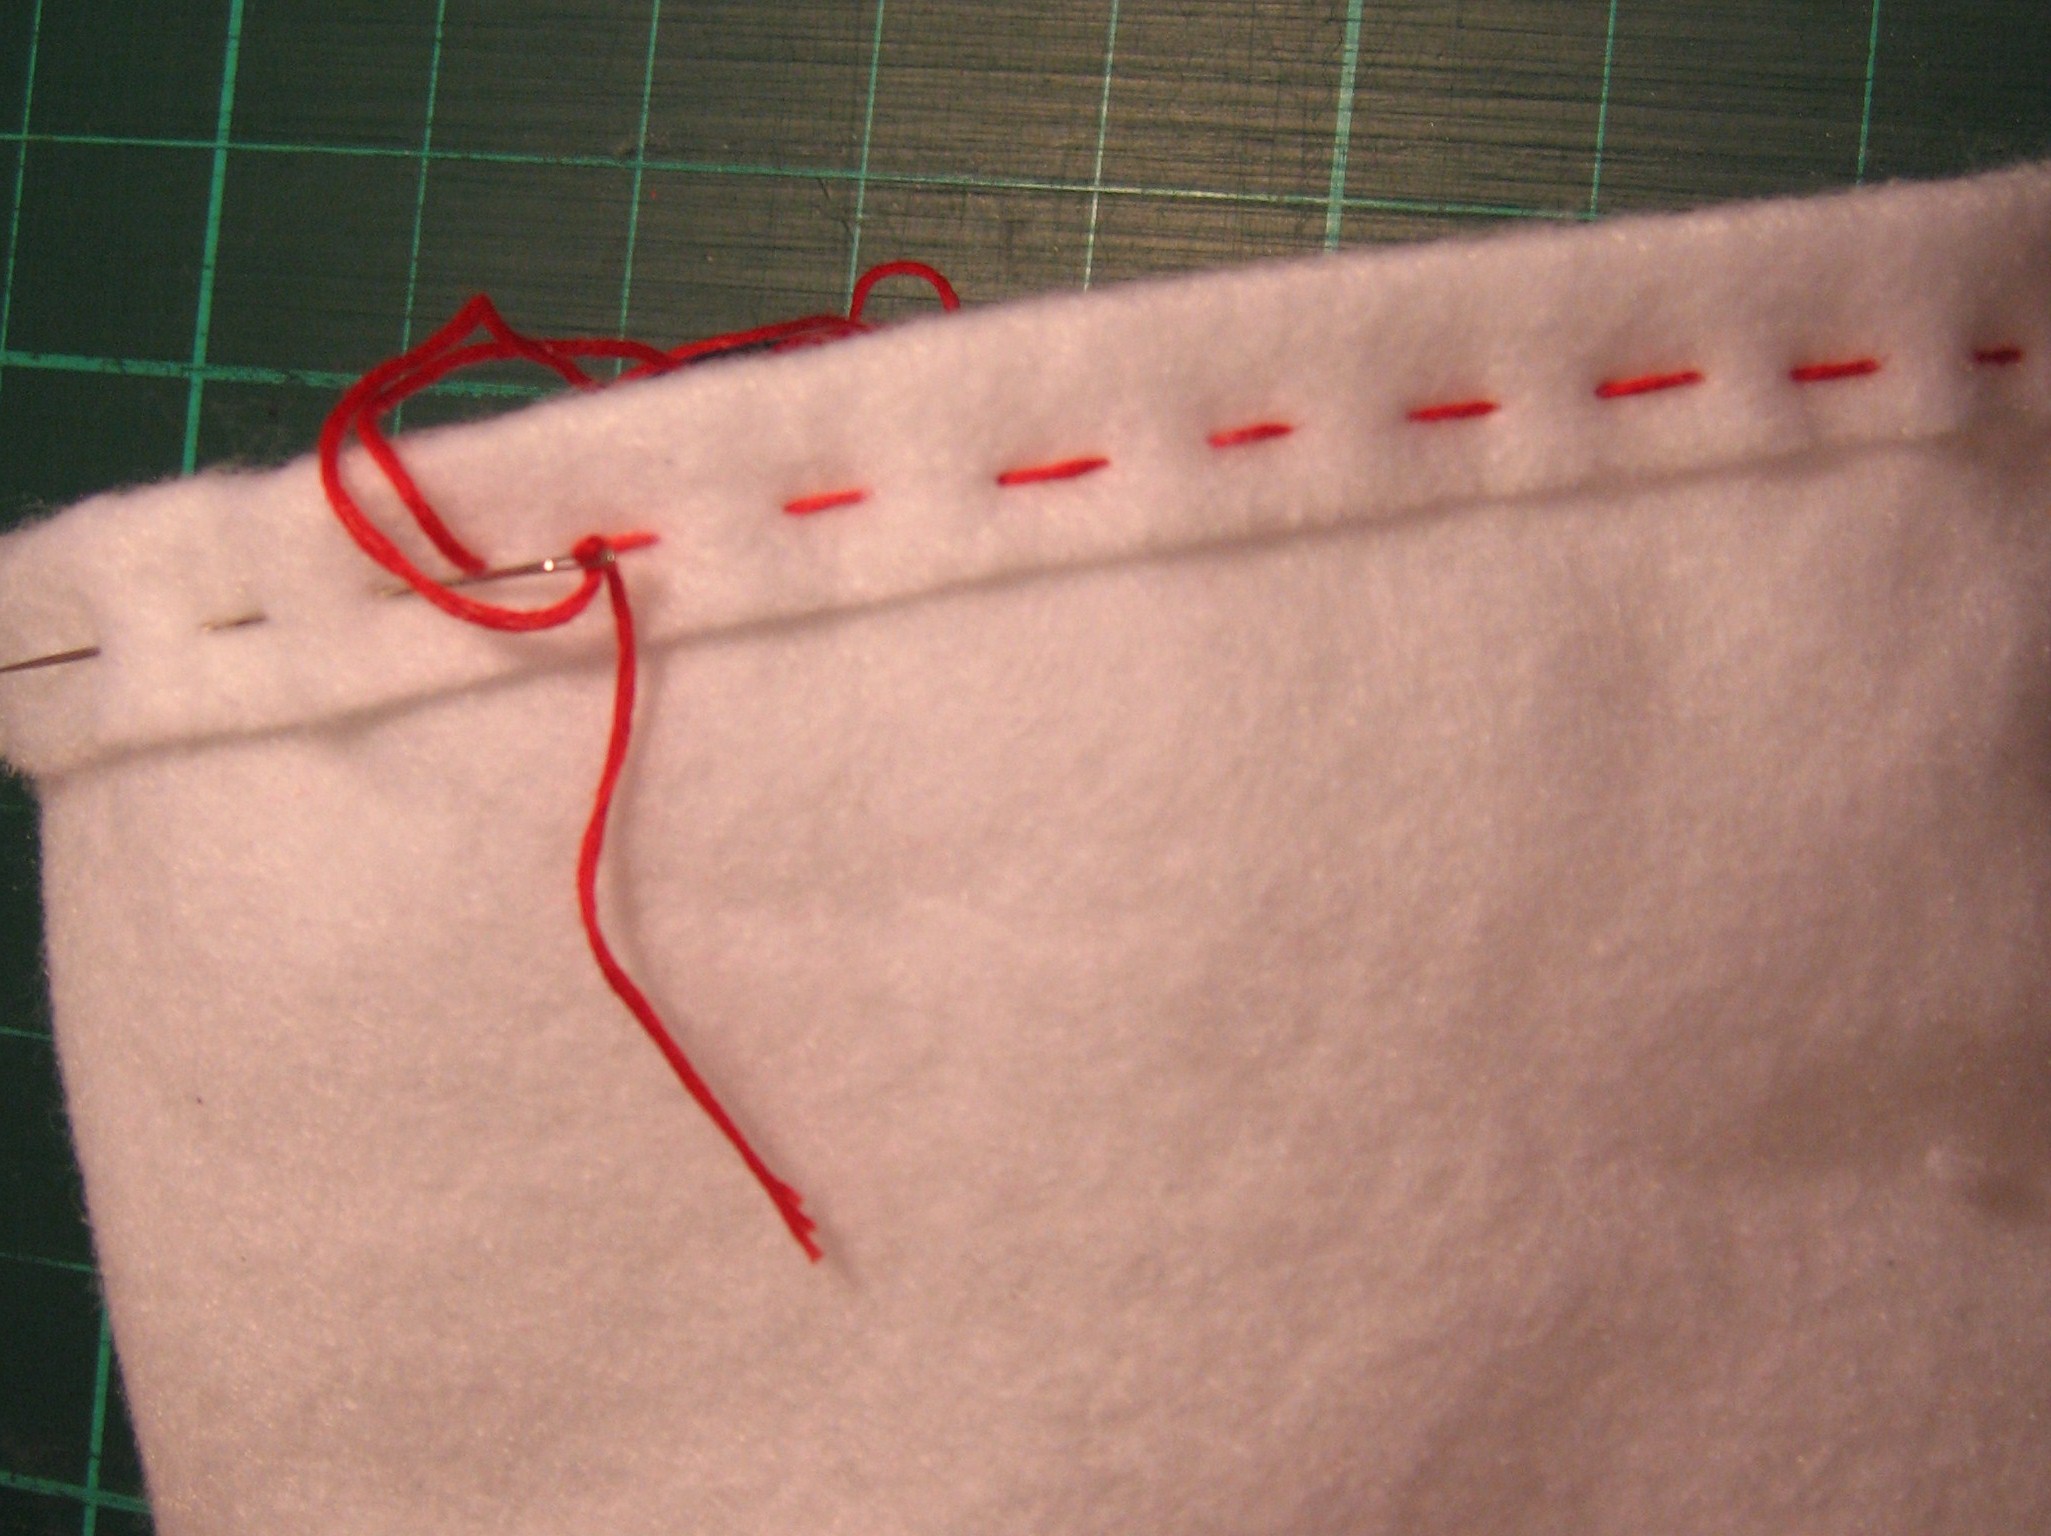
Using the white embroidery floss, hand stitch a running stitch around the two sides and bottom of the face.
Every year, my family and I break out our big orange and black box full of Halloween decorations, cauldrons and punched aluminum candle holders. Folded and tucked into the side of the box are these sweet bats we made years and years ago. They’ve adorned several front doors, including our current home of almost ten years.
Halloween Bat Door Decoration
Super easy and adorable to boot, these anything-but-scary Halloween bats take about five minutes to whip up.
Fold the acrylic felt lengthwise in half. Pin the Bat pattern on the fold.
Cut around the bat shaped pattern, leaving the fold intact. Fold fabric out. Use hot melt glue to attach google eyes, being careful to use only a dot of glue. Use pattern placement as a guide.
Use the same method to add the magnets to the back of the bat, using the placement shown on the pattern.
Two sizes of eyes.
Looking great!
Once the glue has dried, your batty friends are ready to display!
This is part of my “Way Back Craft” series’; patterns, crafts, tutorials and general crafty memories before the days of this craft blog.