I’m feeling much better this week and have (mostly!) finished my tablecloth blouse! There are a couple of small tweaks I want to do now that I’ve worn it, but overall, it’s my favorite of the tops I’ve made myself!
As a recap, I bought a stained and faded tablecloth featuring hand appliqué and embroidery from Austin Creative Reuse for $3. This was the basis for my scarf blouse.
How many Ofensteins does it take to change a light bulb?
In this case, two.
So, we had this light fixture. It was a super-cheap, builder installed glass globe. The problem was, the light hangs on a chain in our stairwell. The glass globe, attached to the fixture by screws. It takes a broom handle with a hook attached to the end just to reach it. It takes one person to hold it with the broom while the other gingerly removes the globe, swaps the bulb and then replaces the globe. All of this while trying desperately to not drop any of the breakable pieces to the concrete of the first floor below.
In short, changing the light bulb…pain in the rear end. And the thing was not even pretty.
Some time ago, I found a fabulous silk (or silk-like) lampshade at a thrift store. It cost $2. The shade was meant to be on a floor lamp, but I really wanted to use it in the stairwell. The problem was, I could never quite figure out how, so for over a year, it hung from a hook in my bedroom ceiling.
Then the stairwell light bulb went out.
The hubby and I went to work as described above. 15 minutes into the painful act of changing the stairwell light bulb, with two dropped screws and a lot of swearing, we took a break before putting the glass globe back on.
Then, epiphany. I finally figured out how to attach the shade to the fixture.
I used a small hole punch and made evenly spaced holes around the top of the shade. Into these, I attached short chain I made out of split rings, and then to that, S-hooks. The S-hooks went into the base of the original fixture where the glass globe was attached by screws.
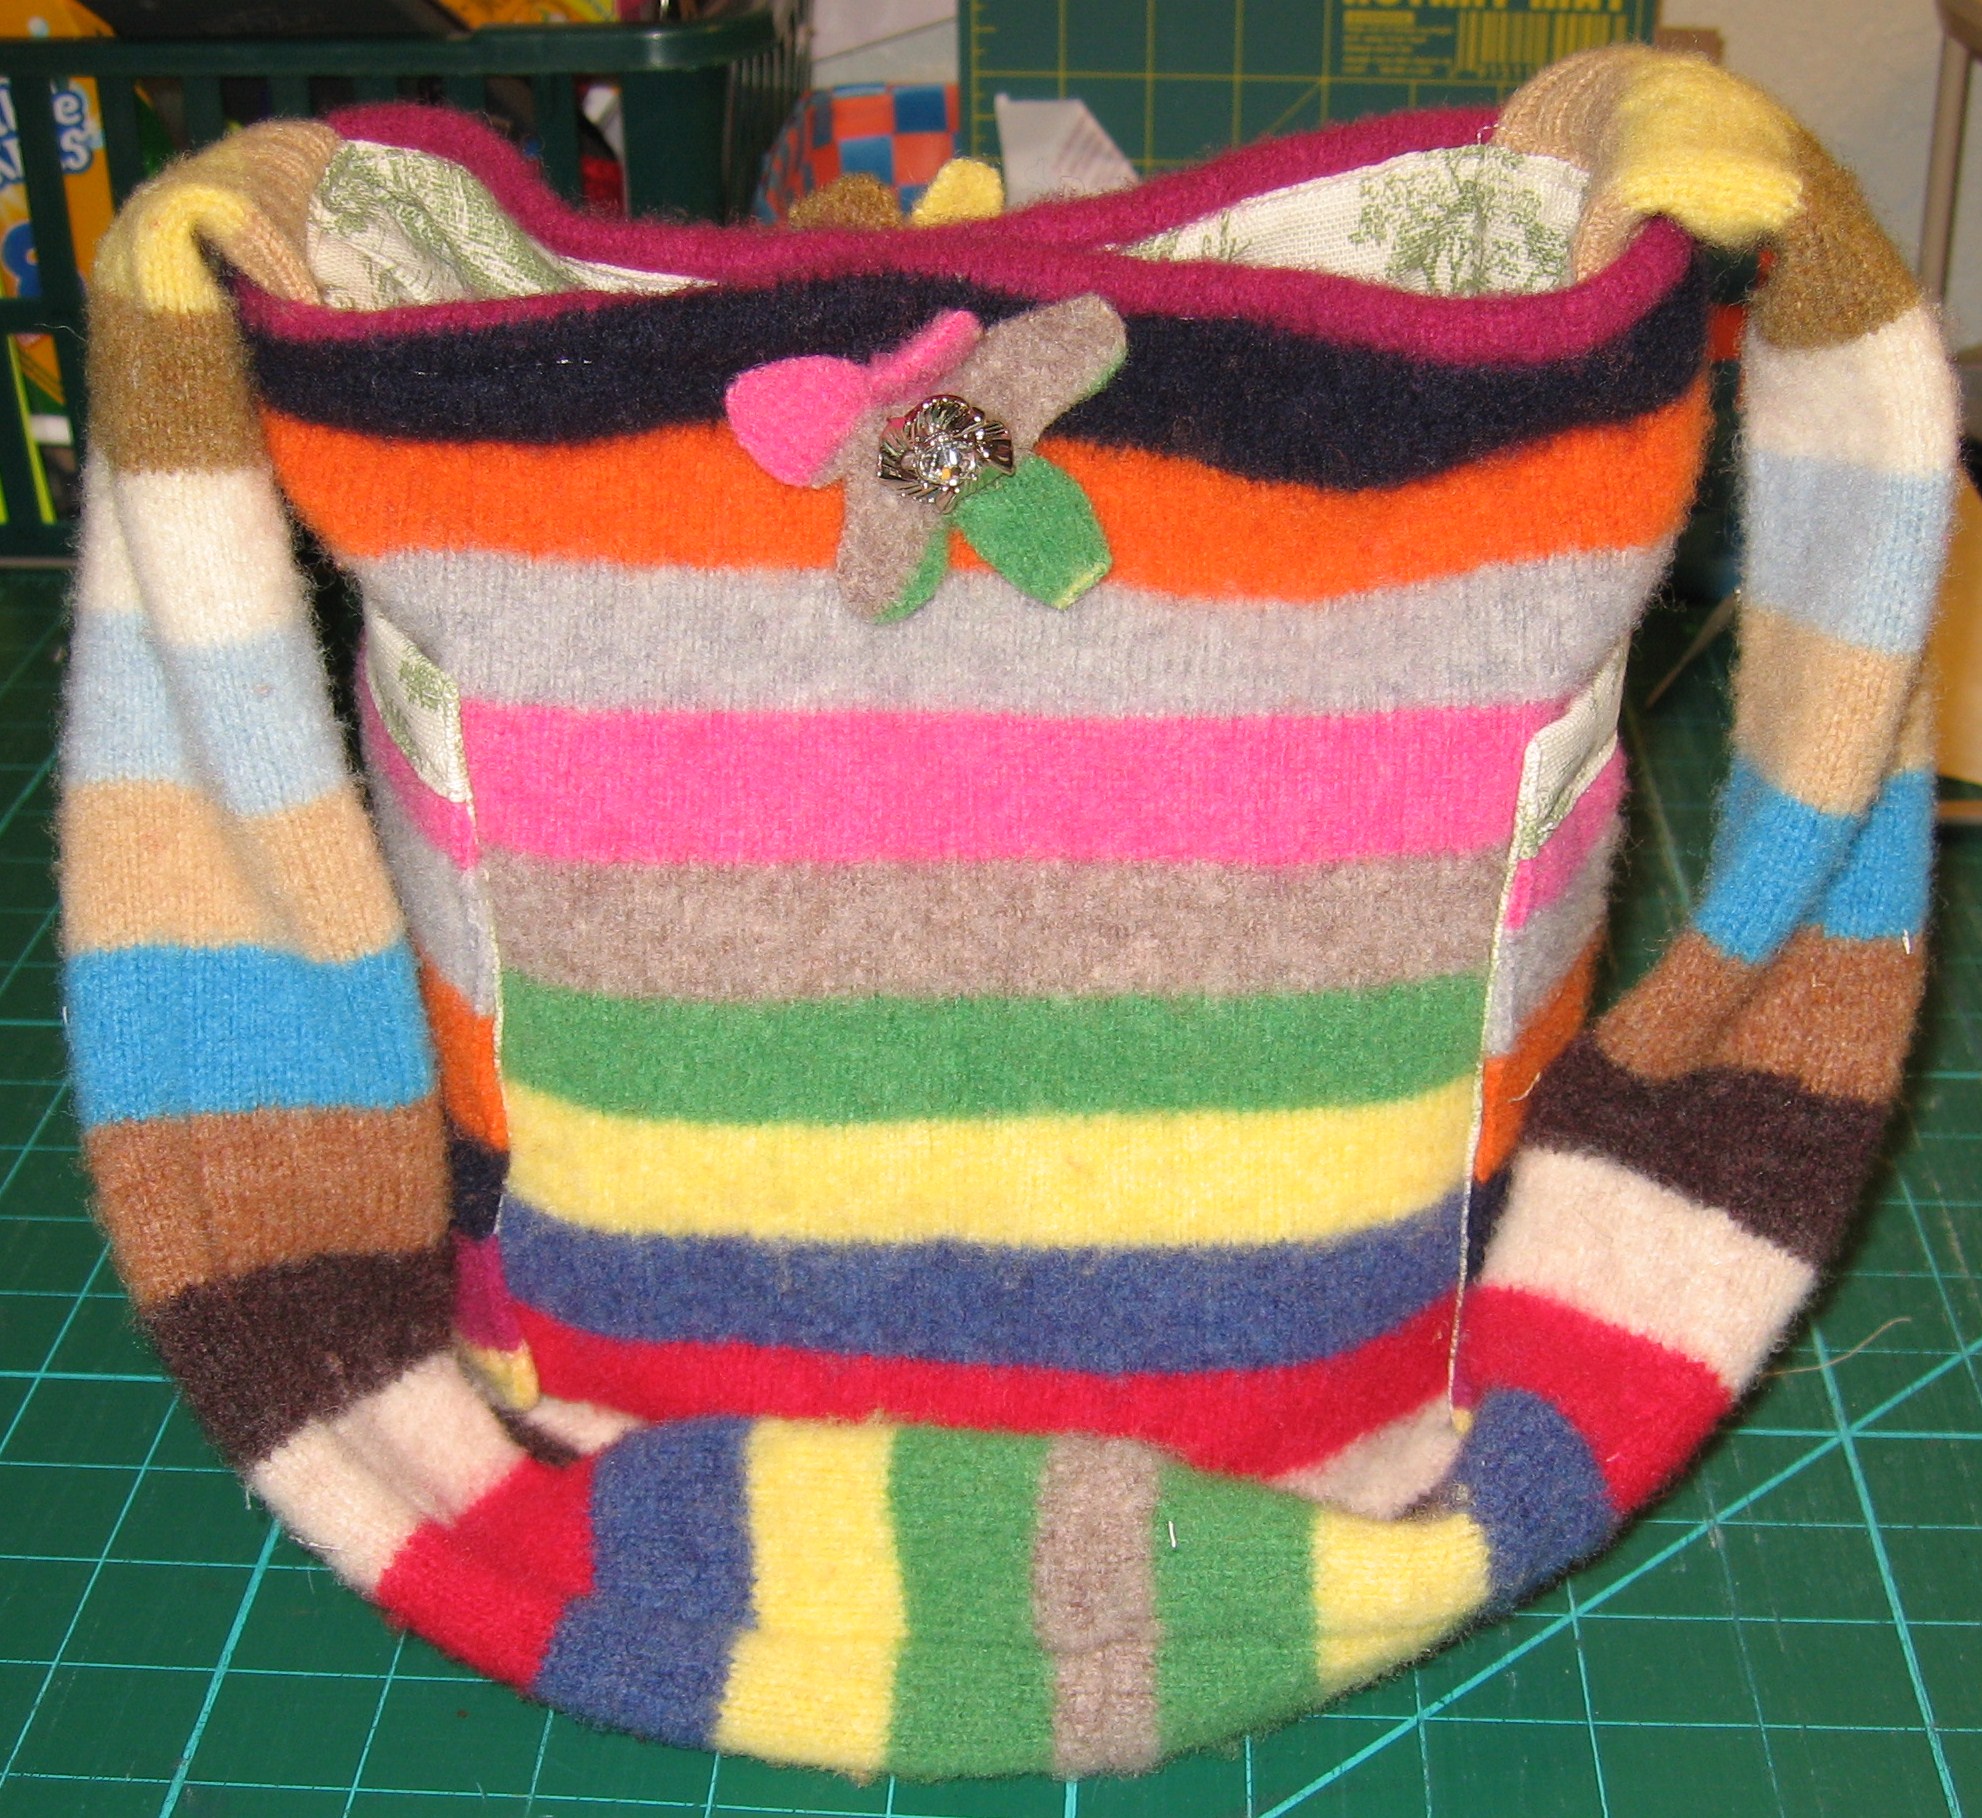
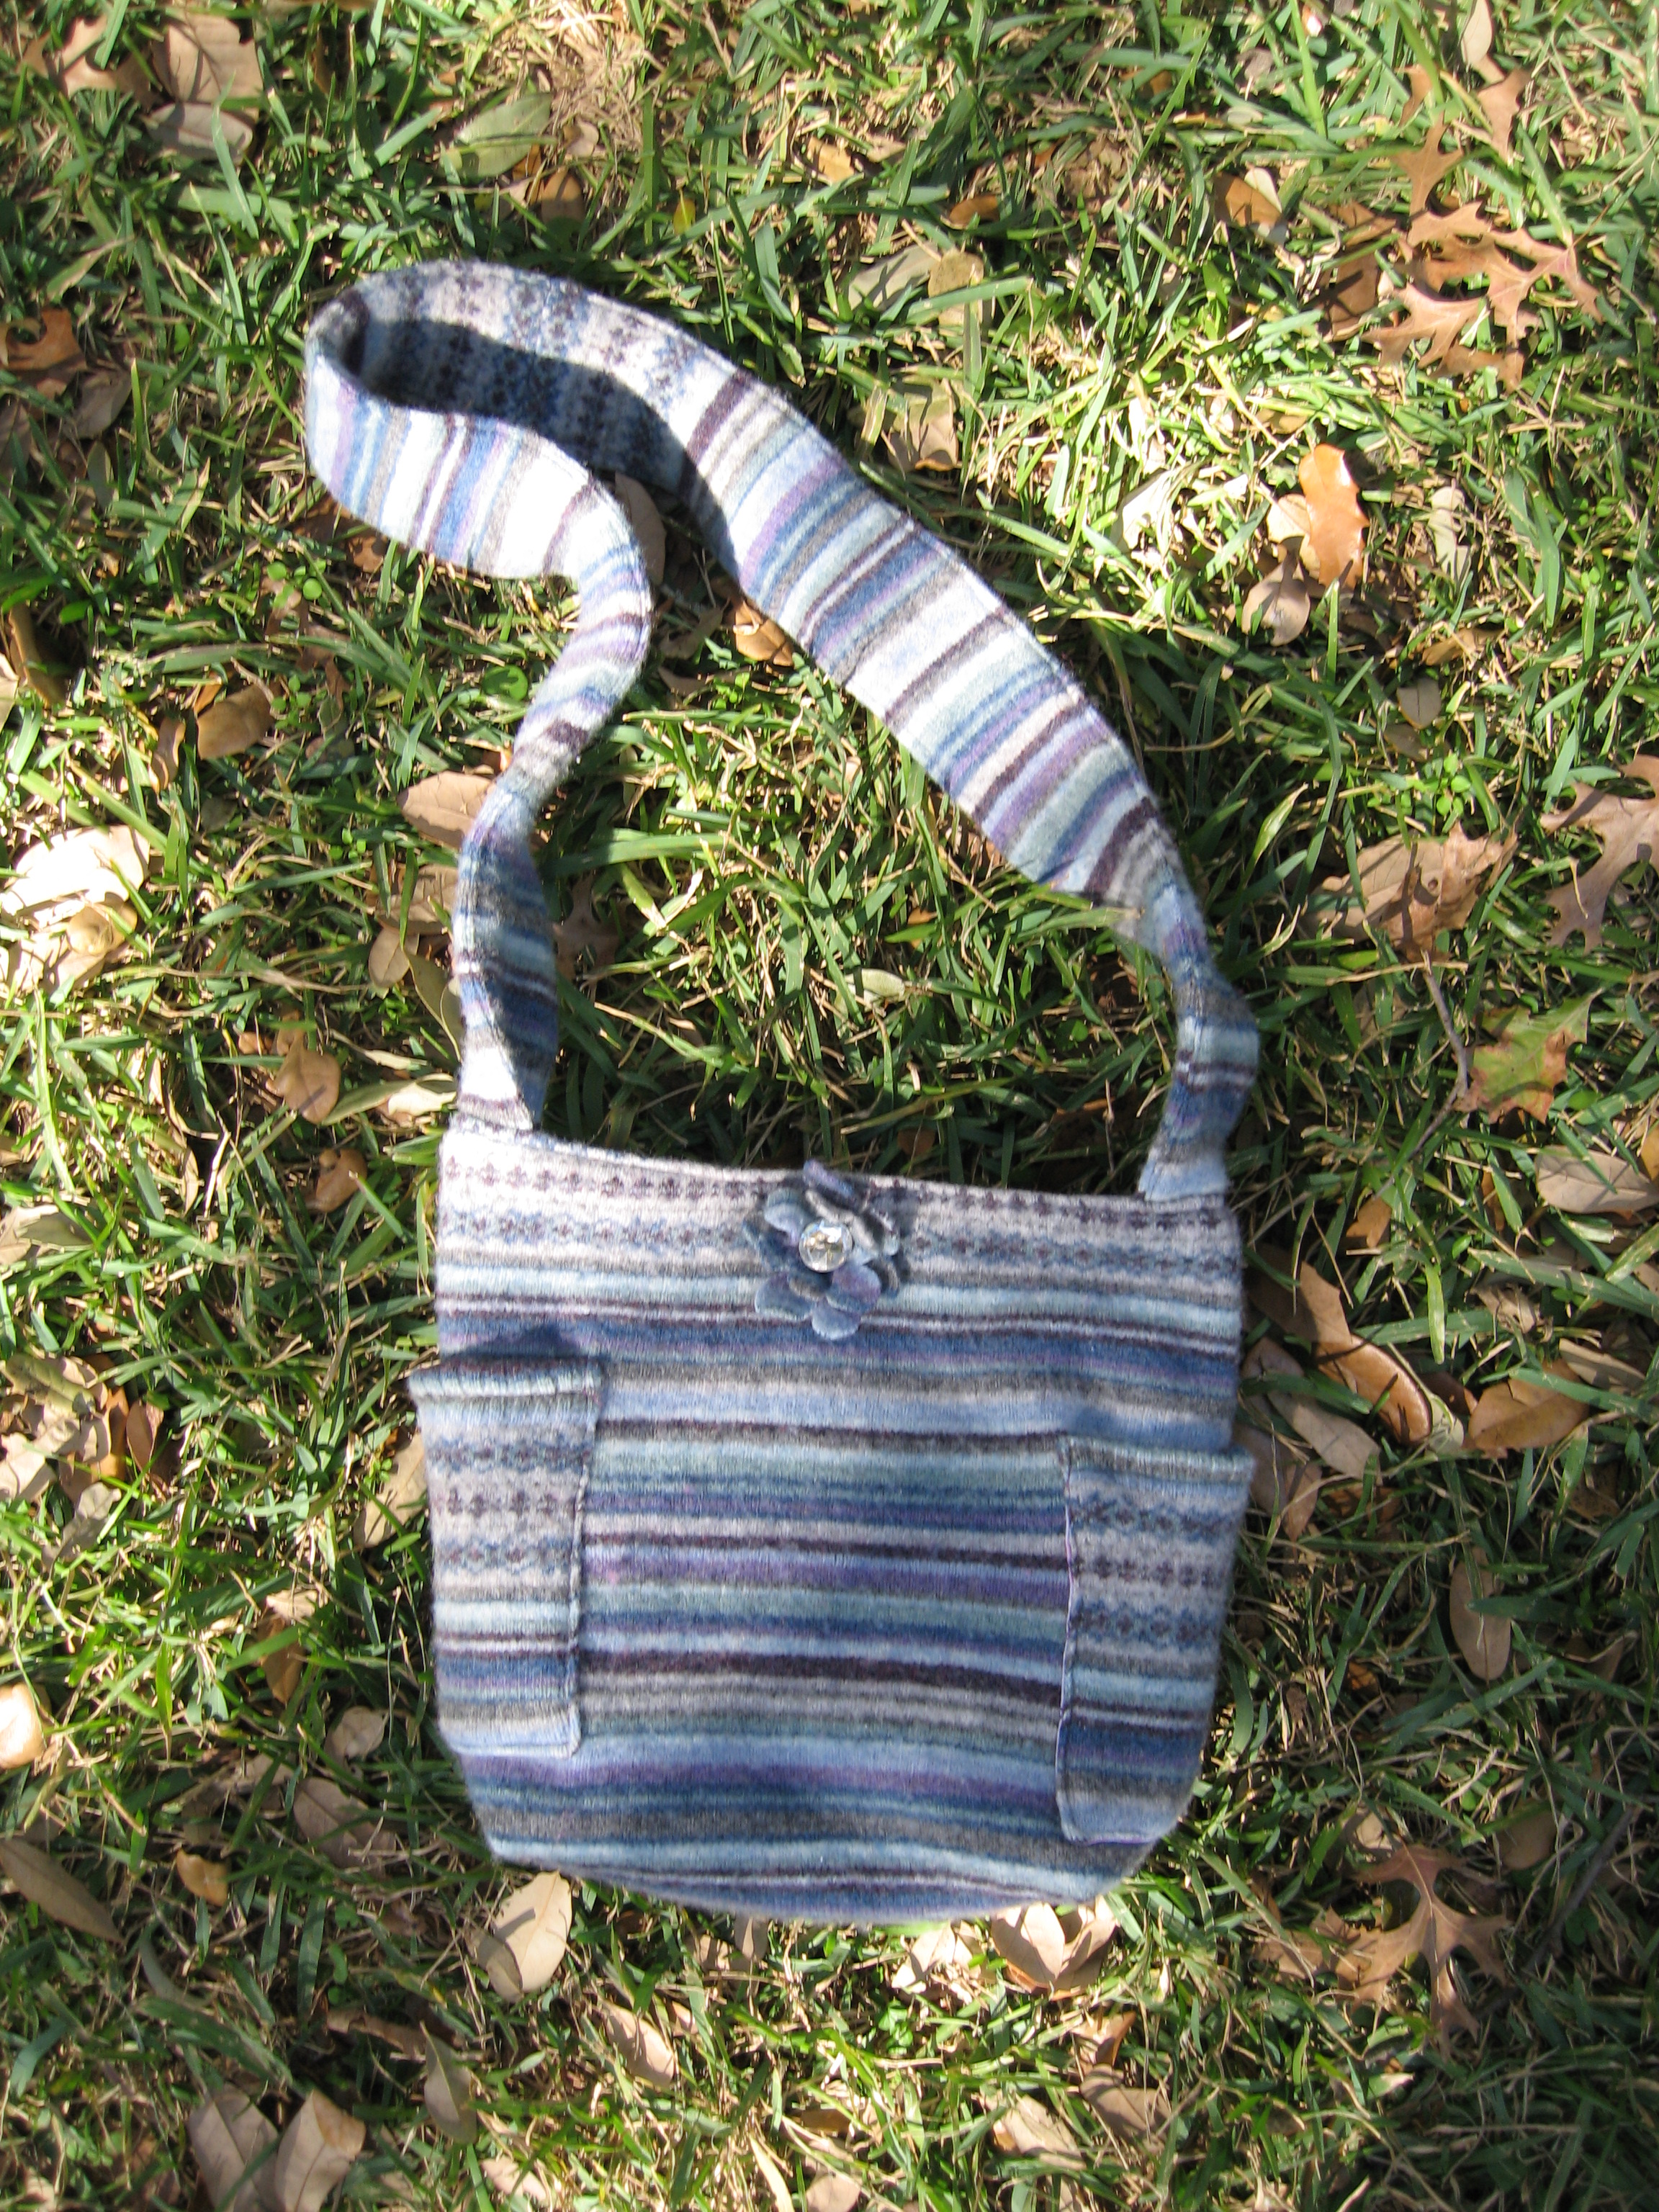
The Recycled Sweater Bag isn’t quite old enough to be considered a Way Back Craft. I first started making this bag last year. It works great with a felted thrift store sweater, but you can also make this bag out of denim, upholstery fabric, or just about any other heavy duty material.
The bag size will vary based on the size of your sweater.
Do I need a reason to make a new bag? Not really, but recycling is a darn good incentive!
Use the written instructions below or watch the video. (Please note this video tutorial was posted in 2008, and the quality reflects that).
You will need:
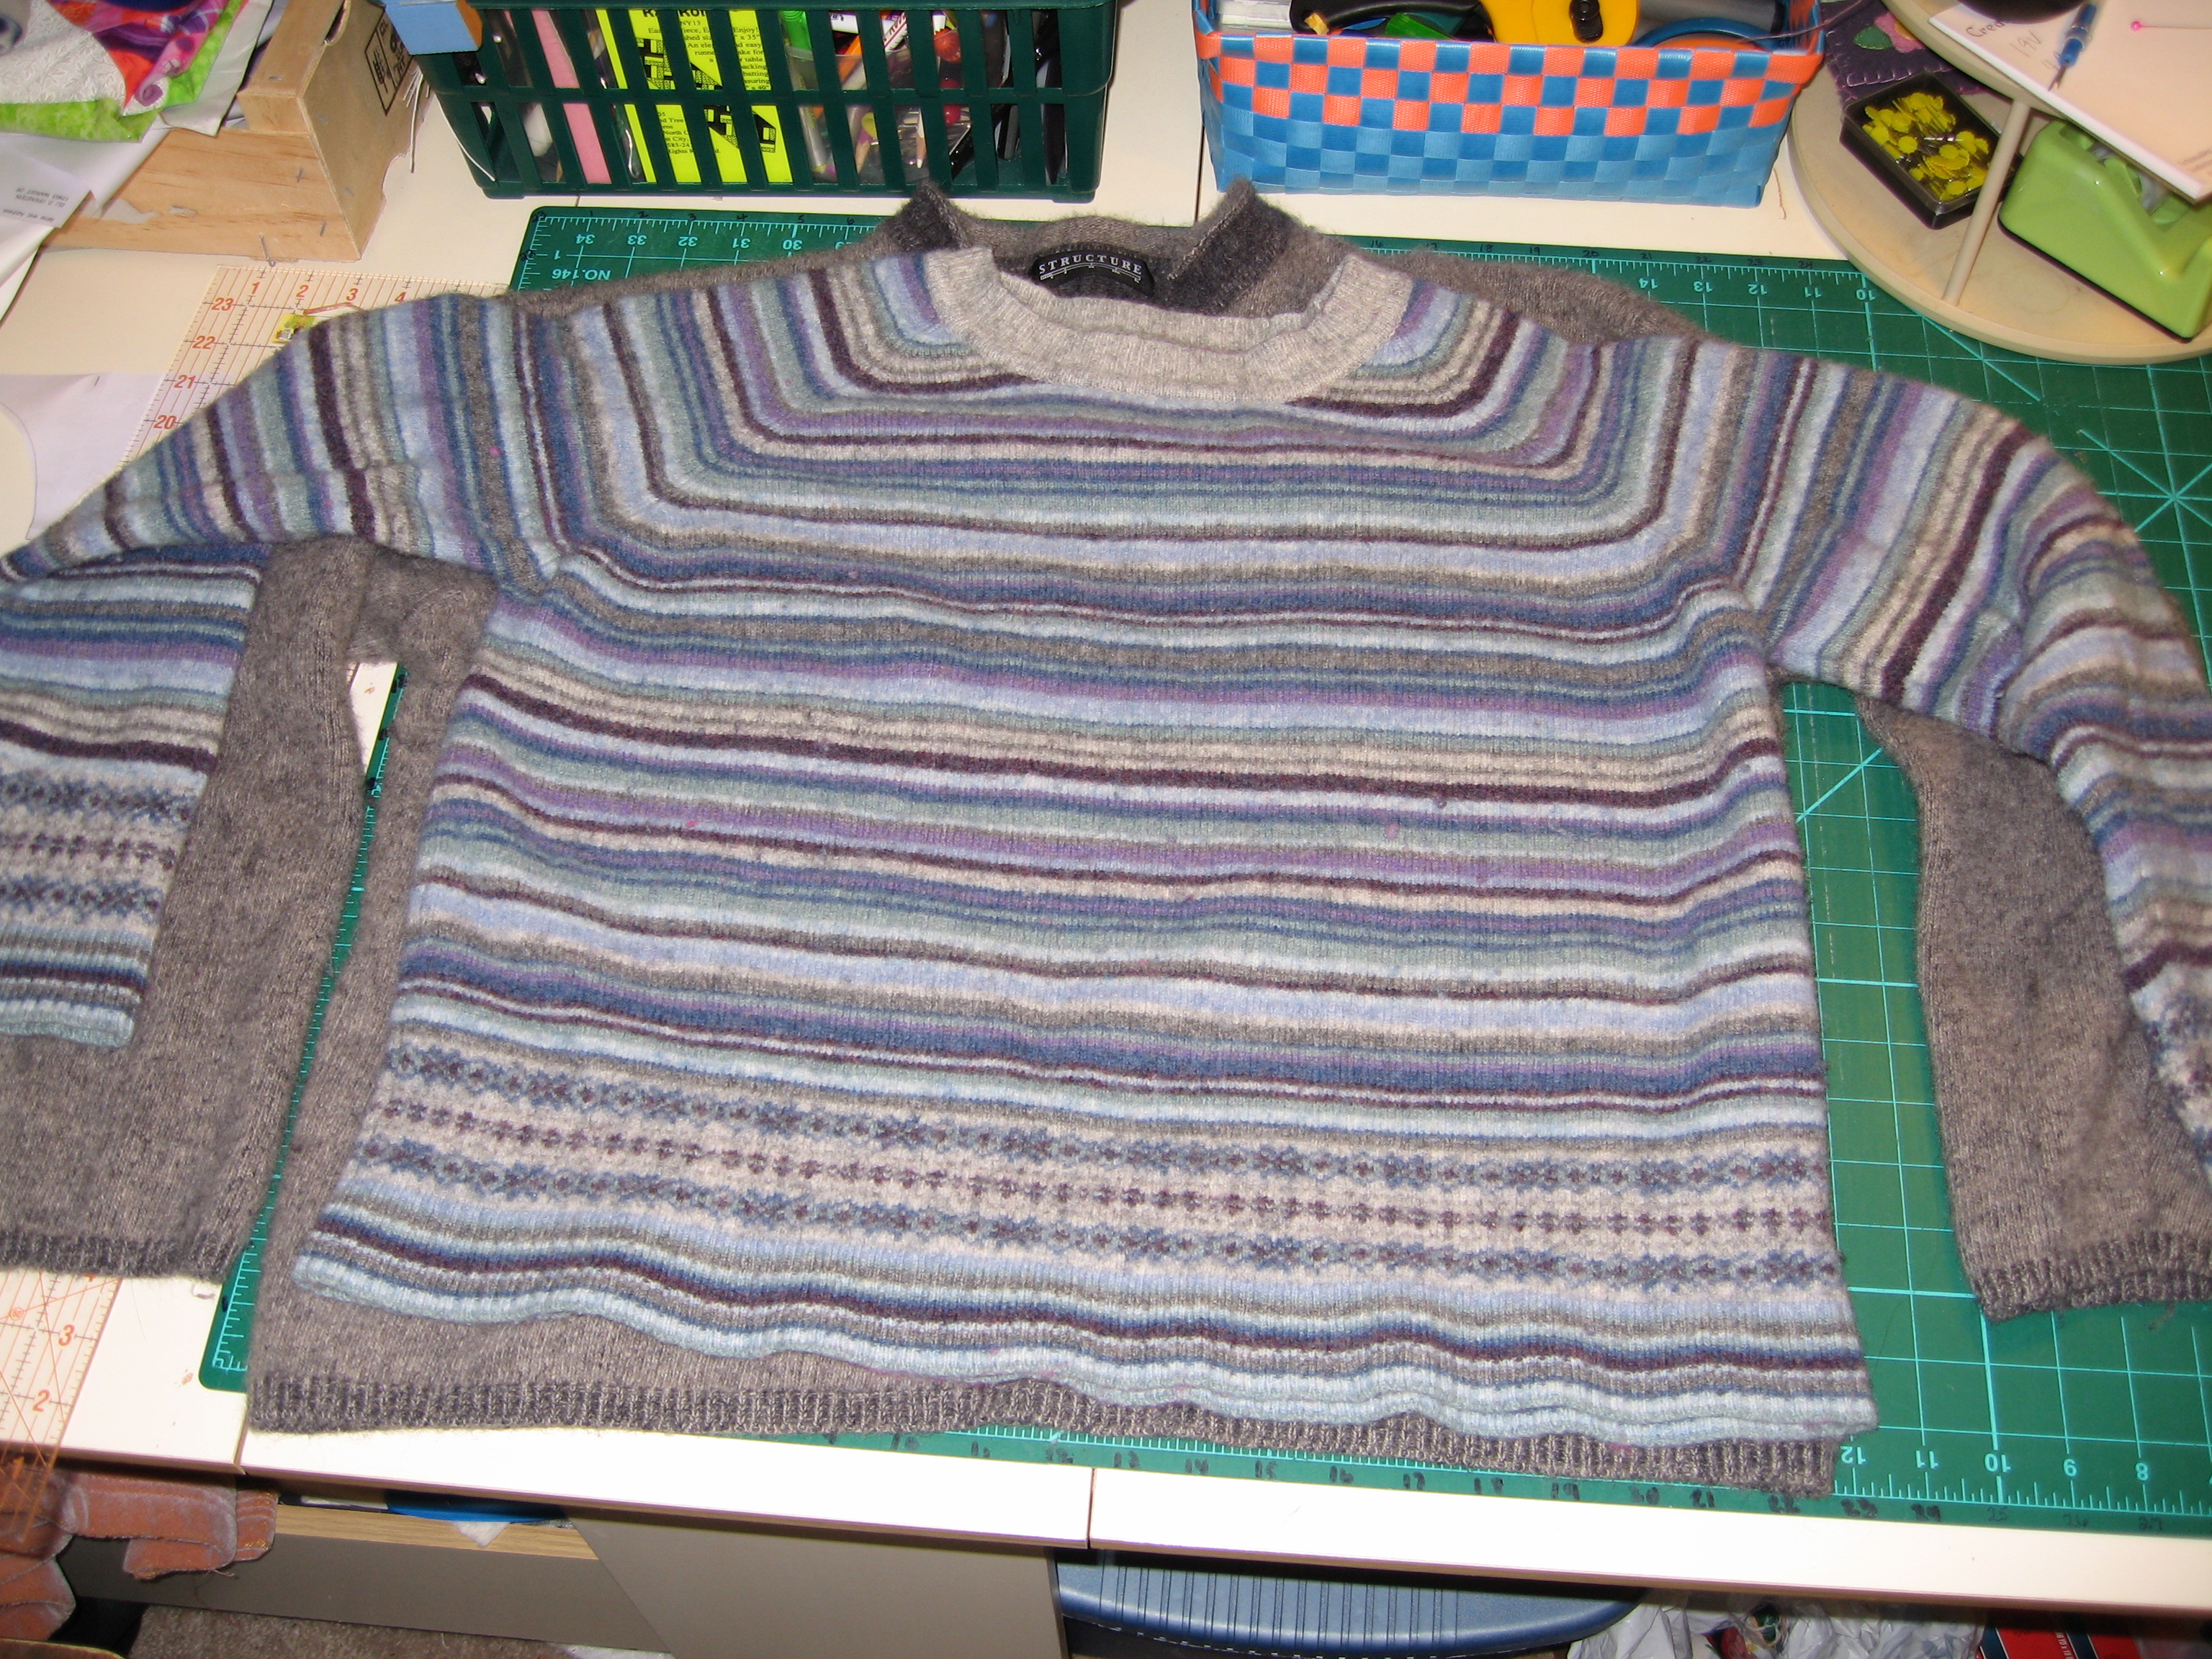
1 old (or thrift store) 100% wool sweater – felted
fabric for lining & pockets
magnet purse snap
2 buttons
sewing machine
thread
scissors
chalk
pins
rotary cutter (optional)
walking foot (optional)
I used a 1/2″ seam allowance throughout. If your sweater is bulkier, go a little wider or use what works for you.
First up – let’s prep our fabrics!
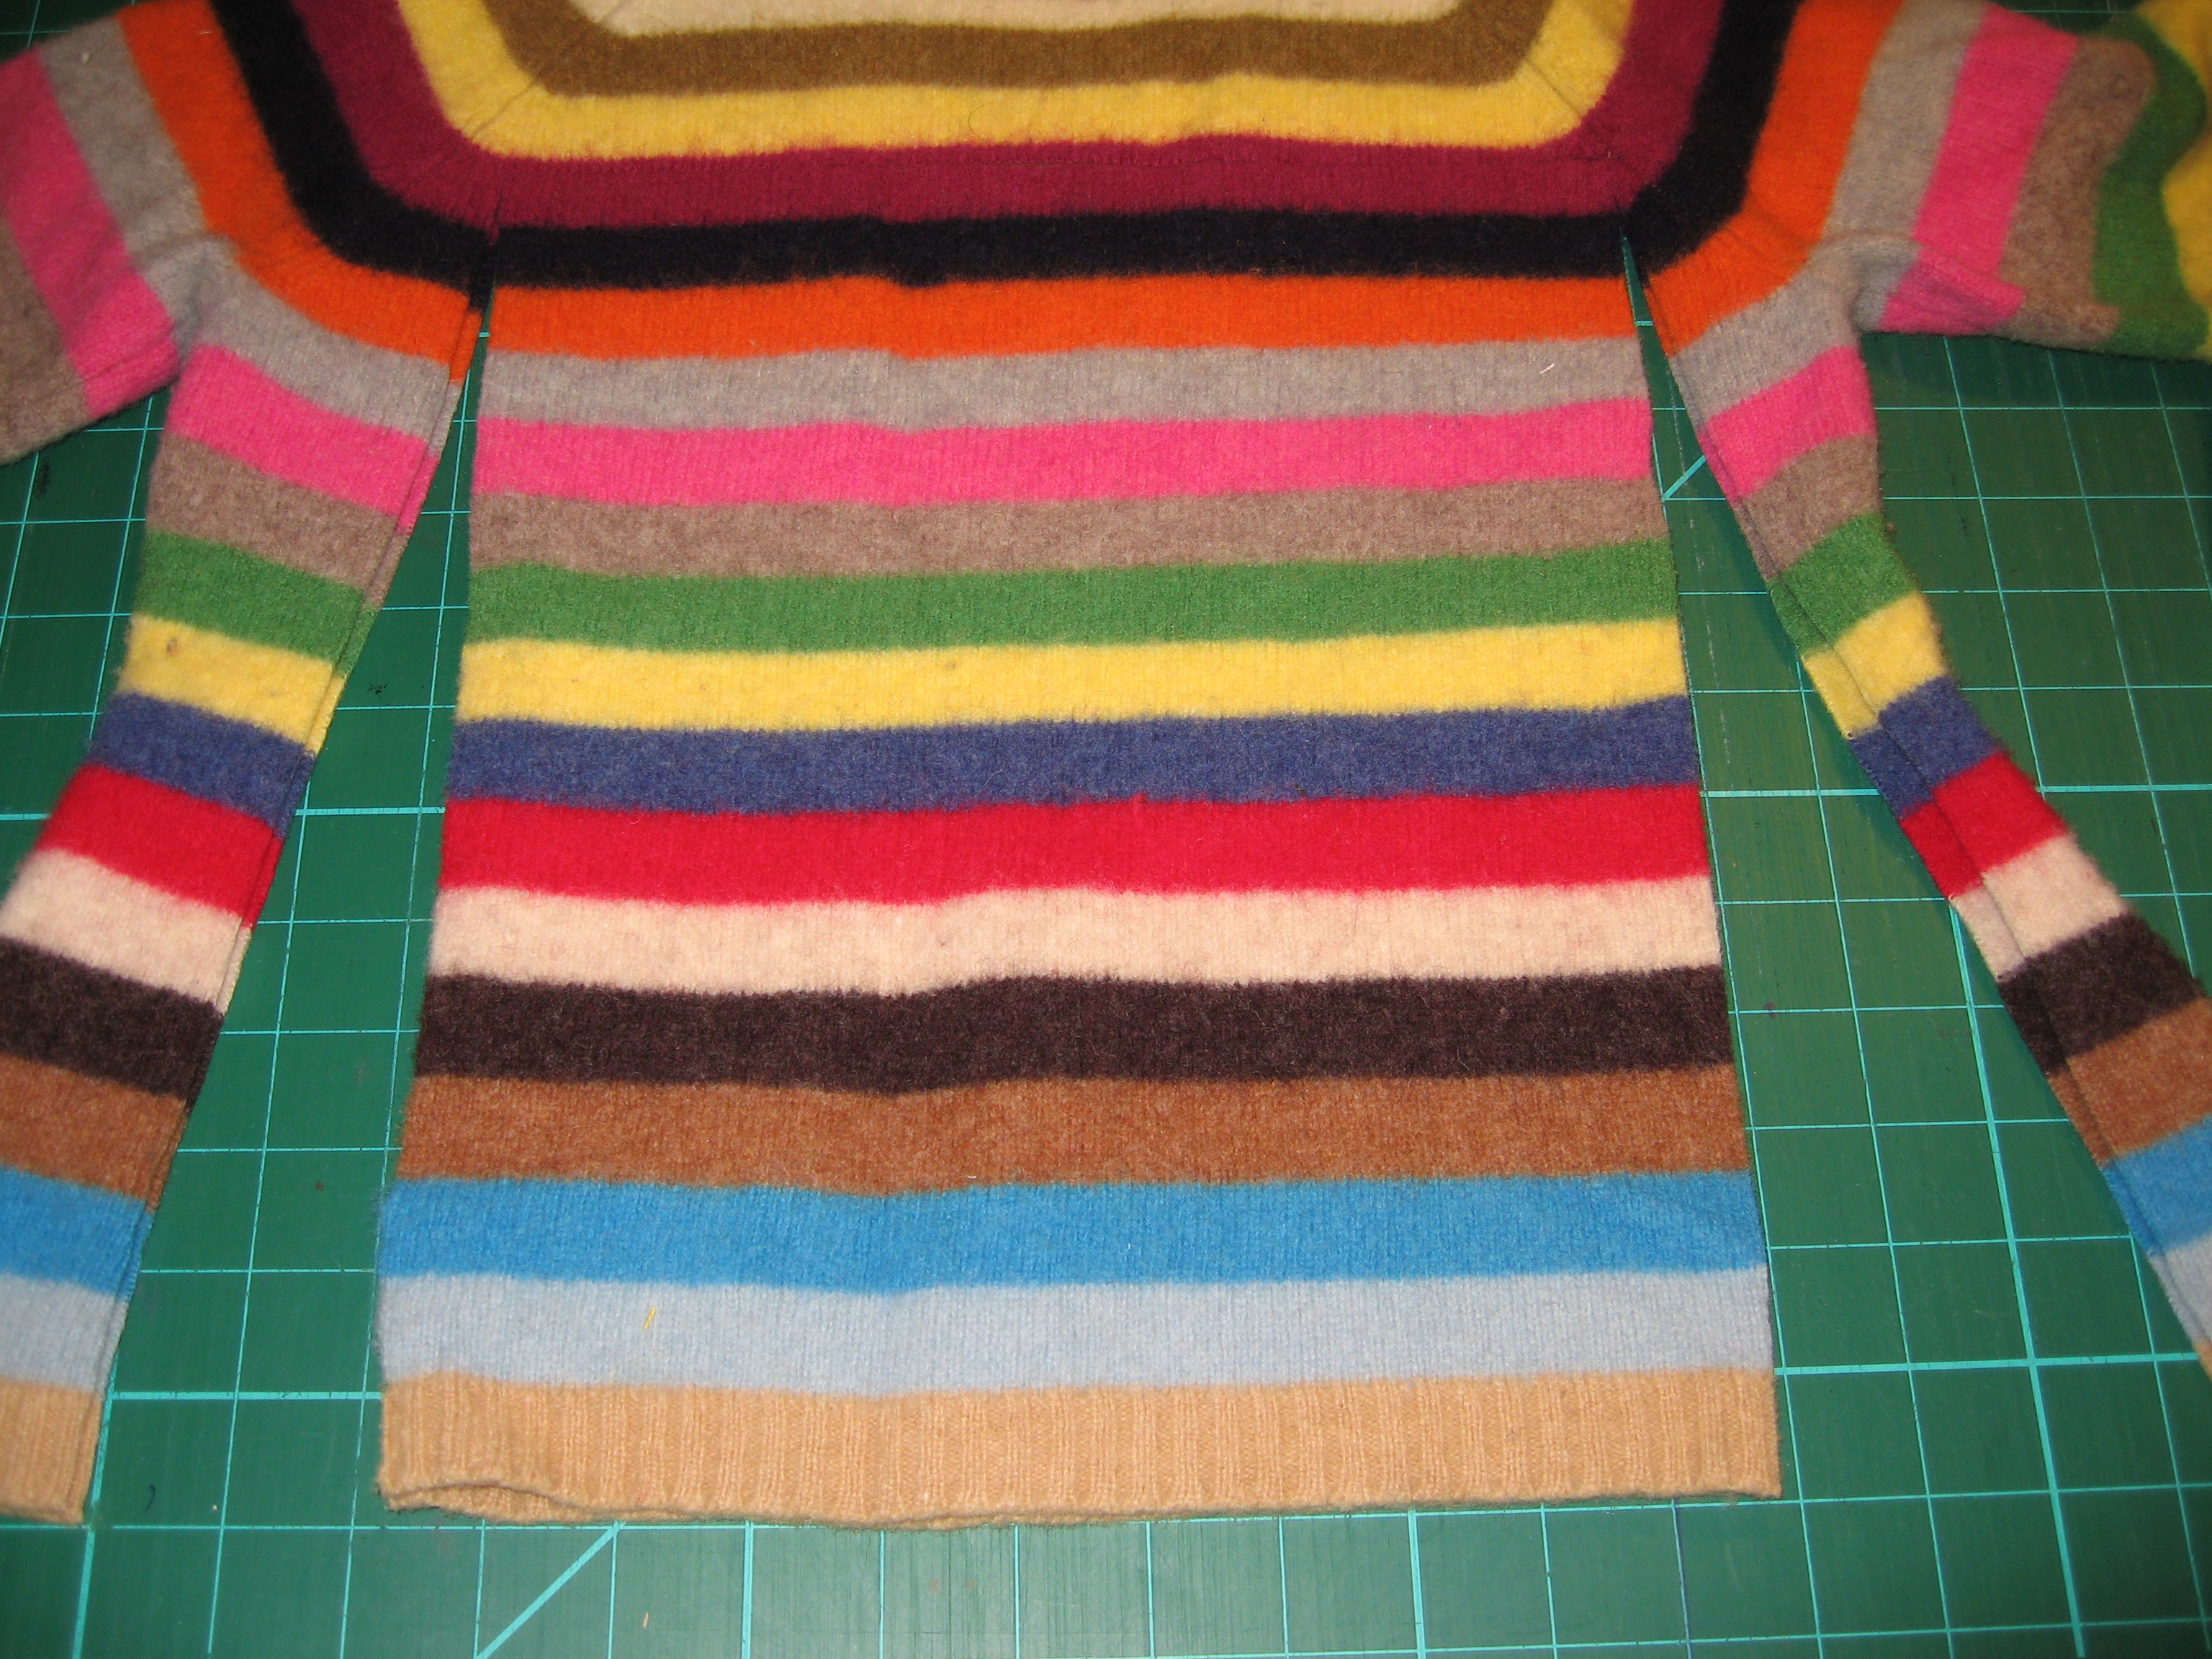
Cut a square or rectangle out of the body of the sweater, cut the same dimensions from lining fabric, remove sweater arms.
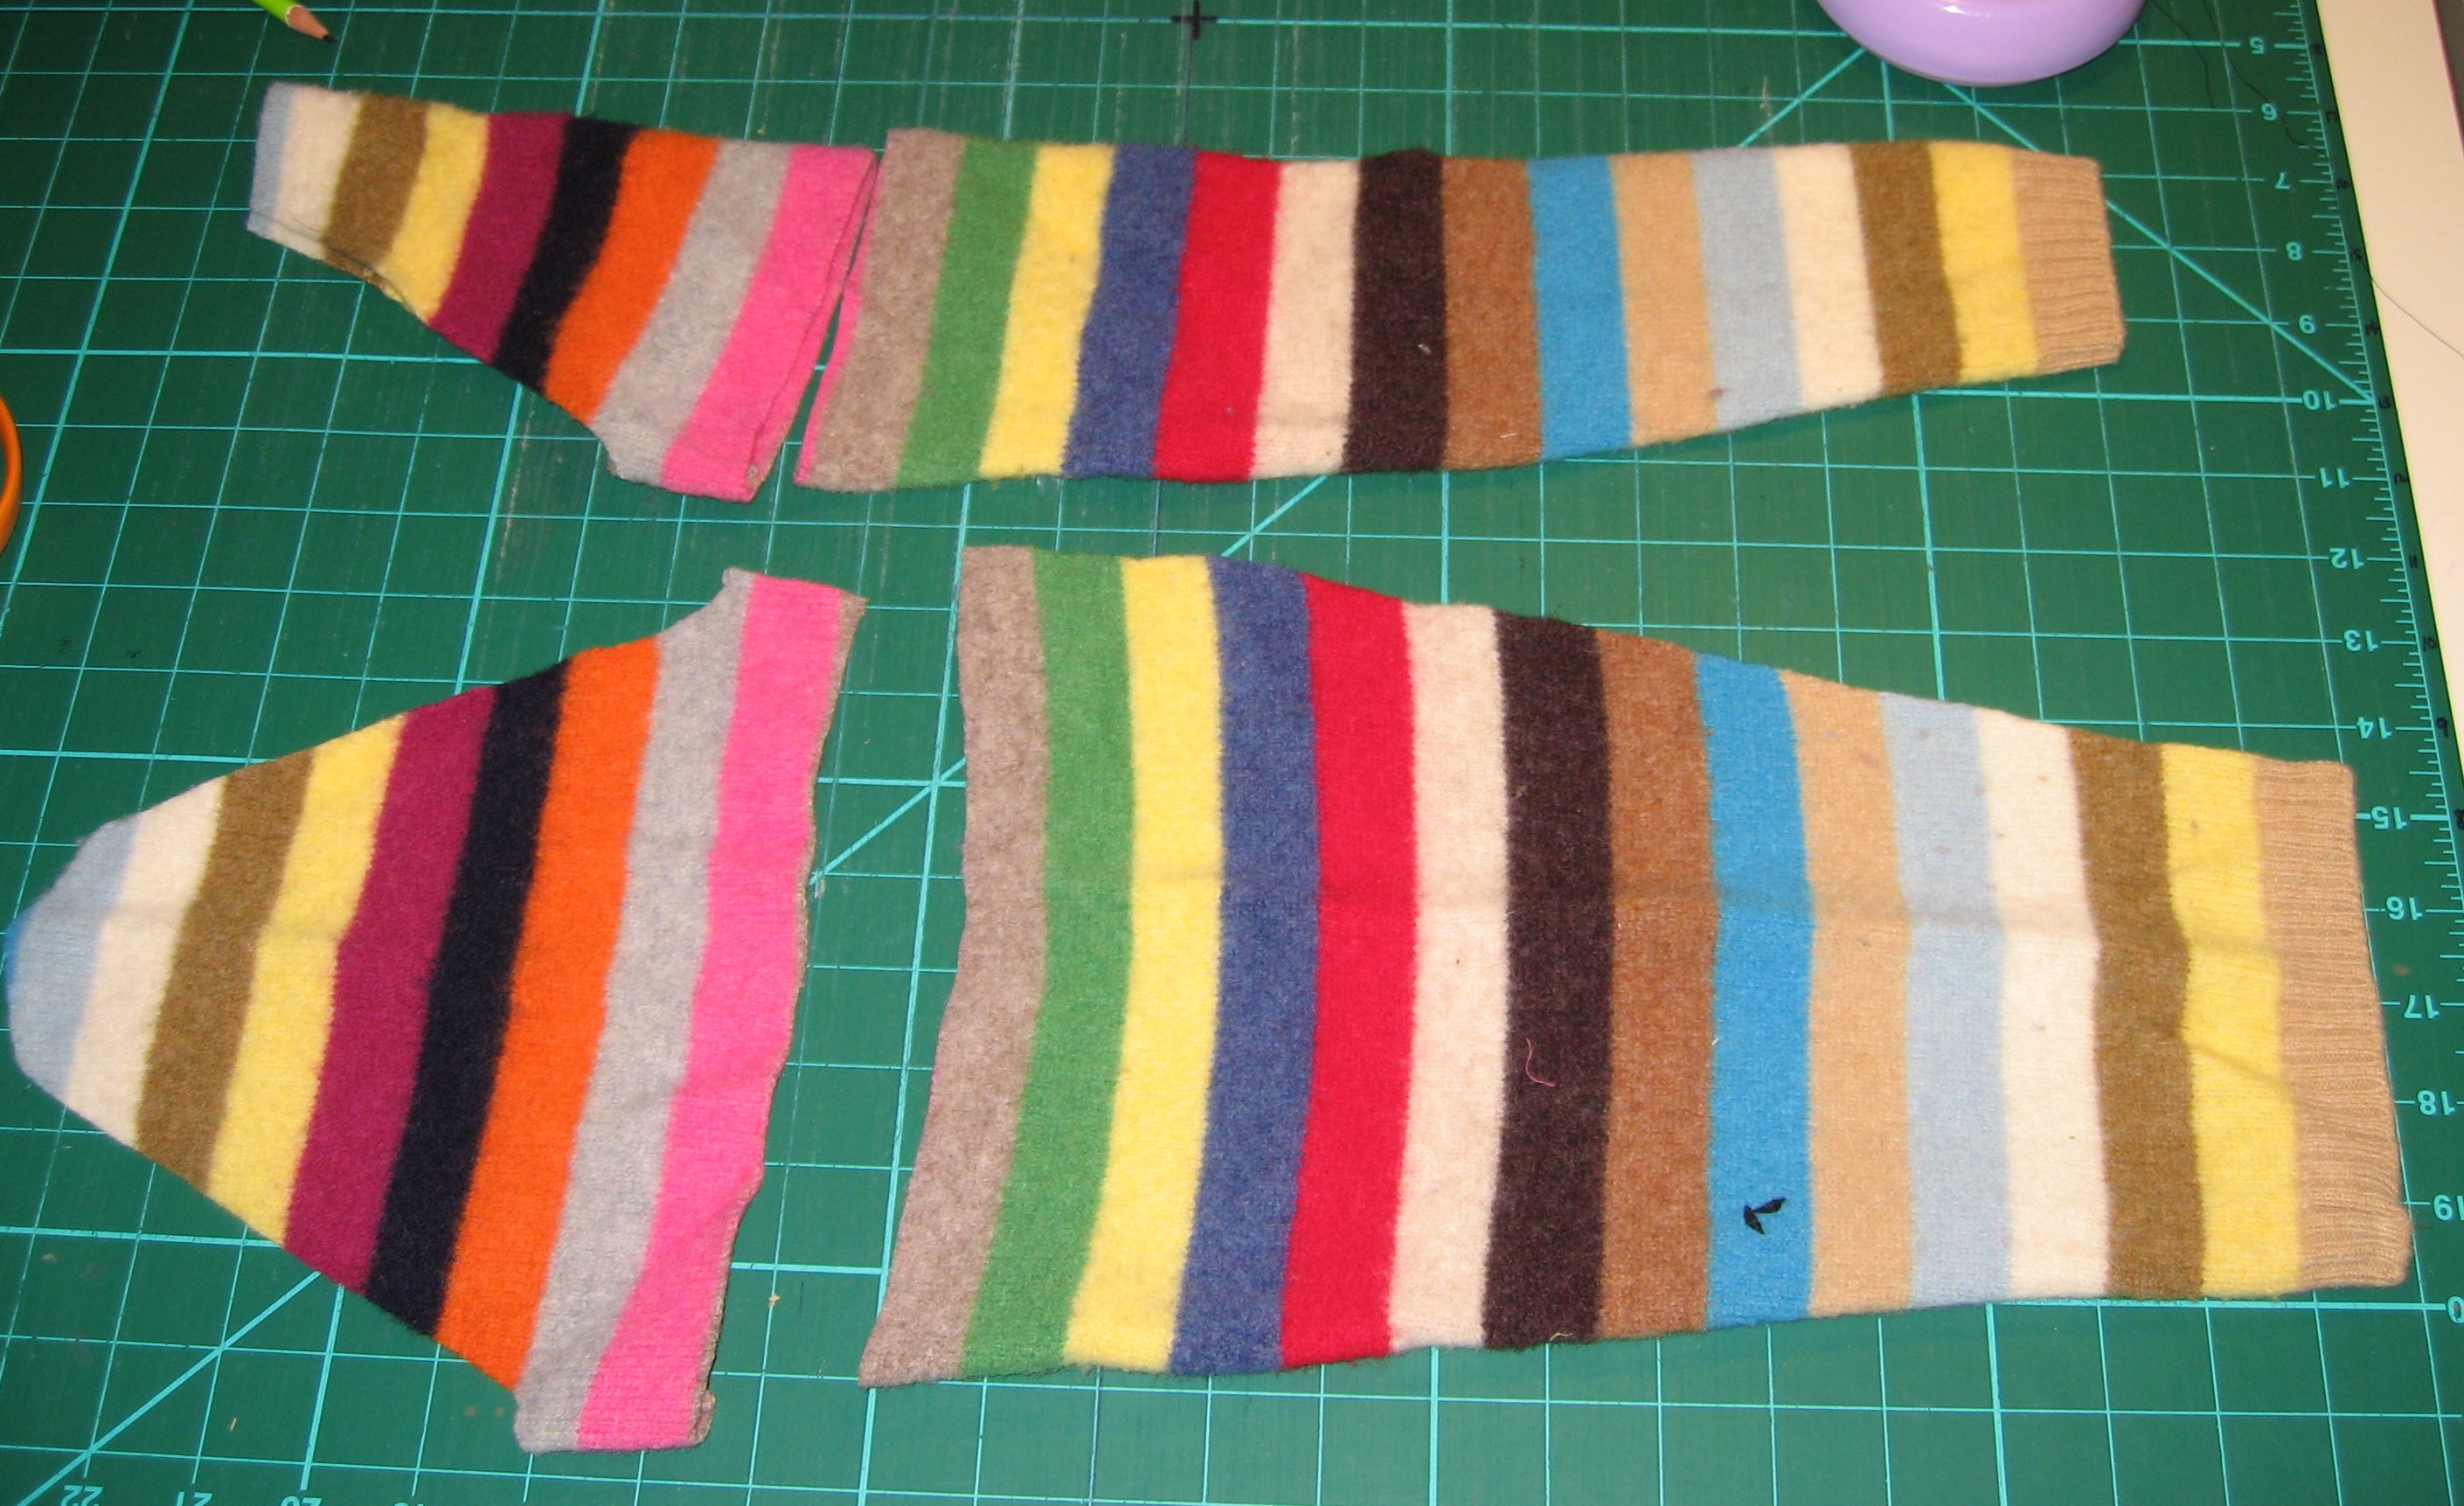
Split sleeves up seam and cut off the tops for pockets.
Cut rectangles out of the sleeve tops, cut same dimensions +1.5″ in length for lining.
Using the remaining scraps, cut out 2 circles and trim the circles into free-form flowers.
Cut 2″ squares out of the bottom left and right, repeat for lining fabric.
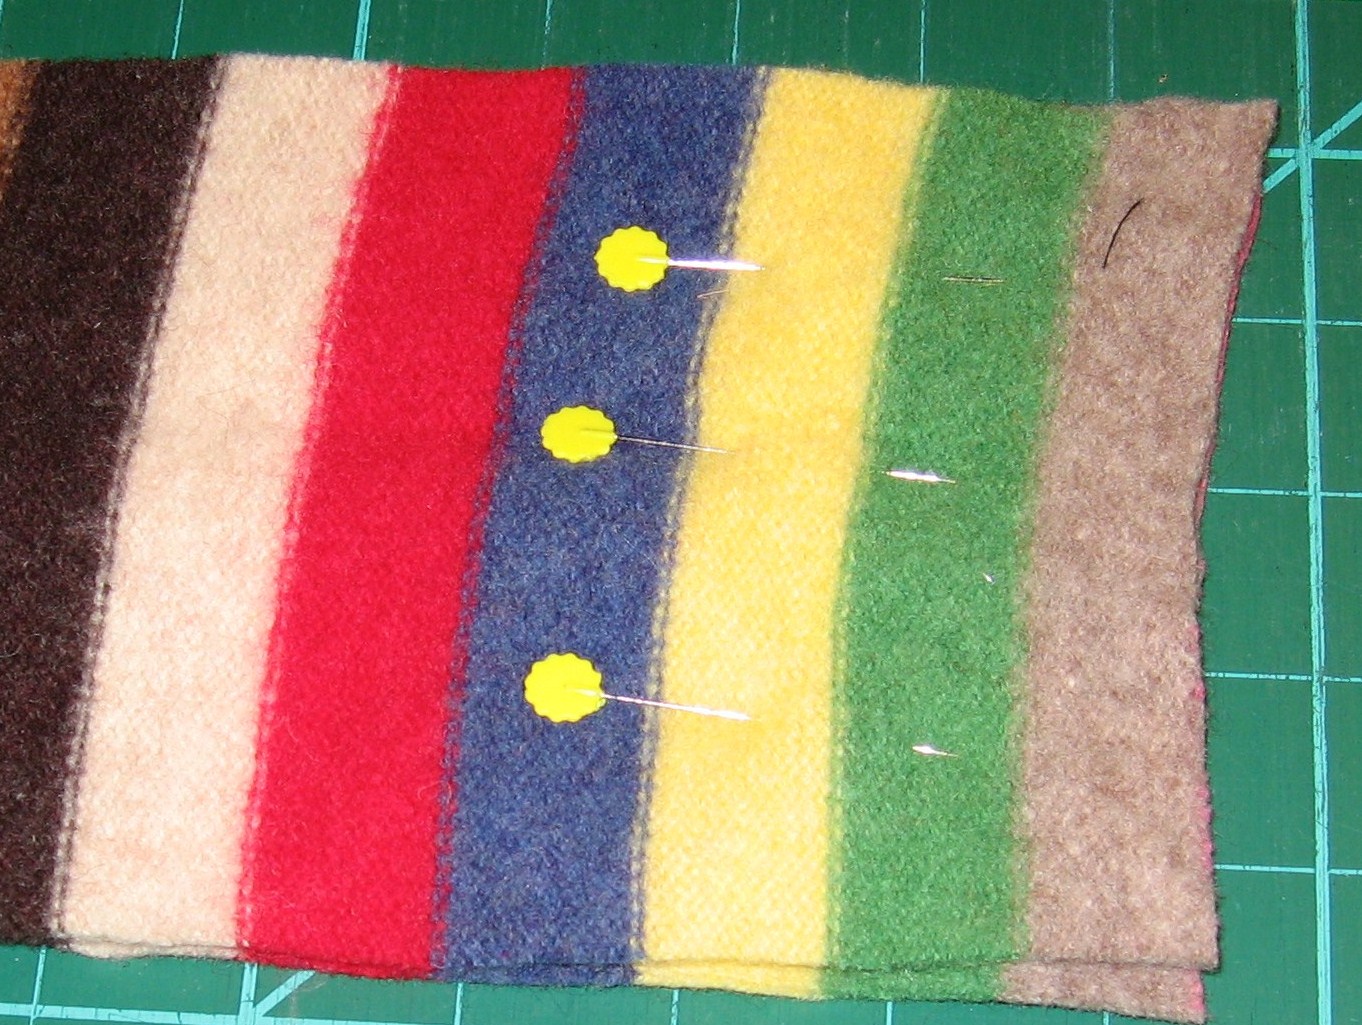
Now, let’s make the lining!
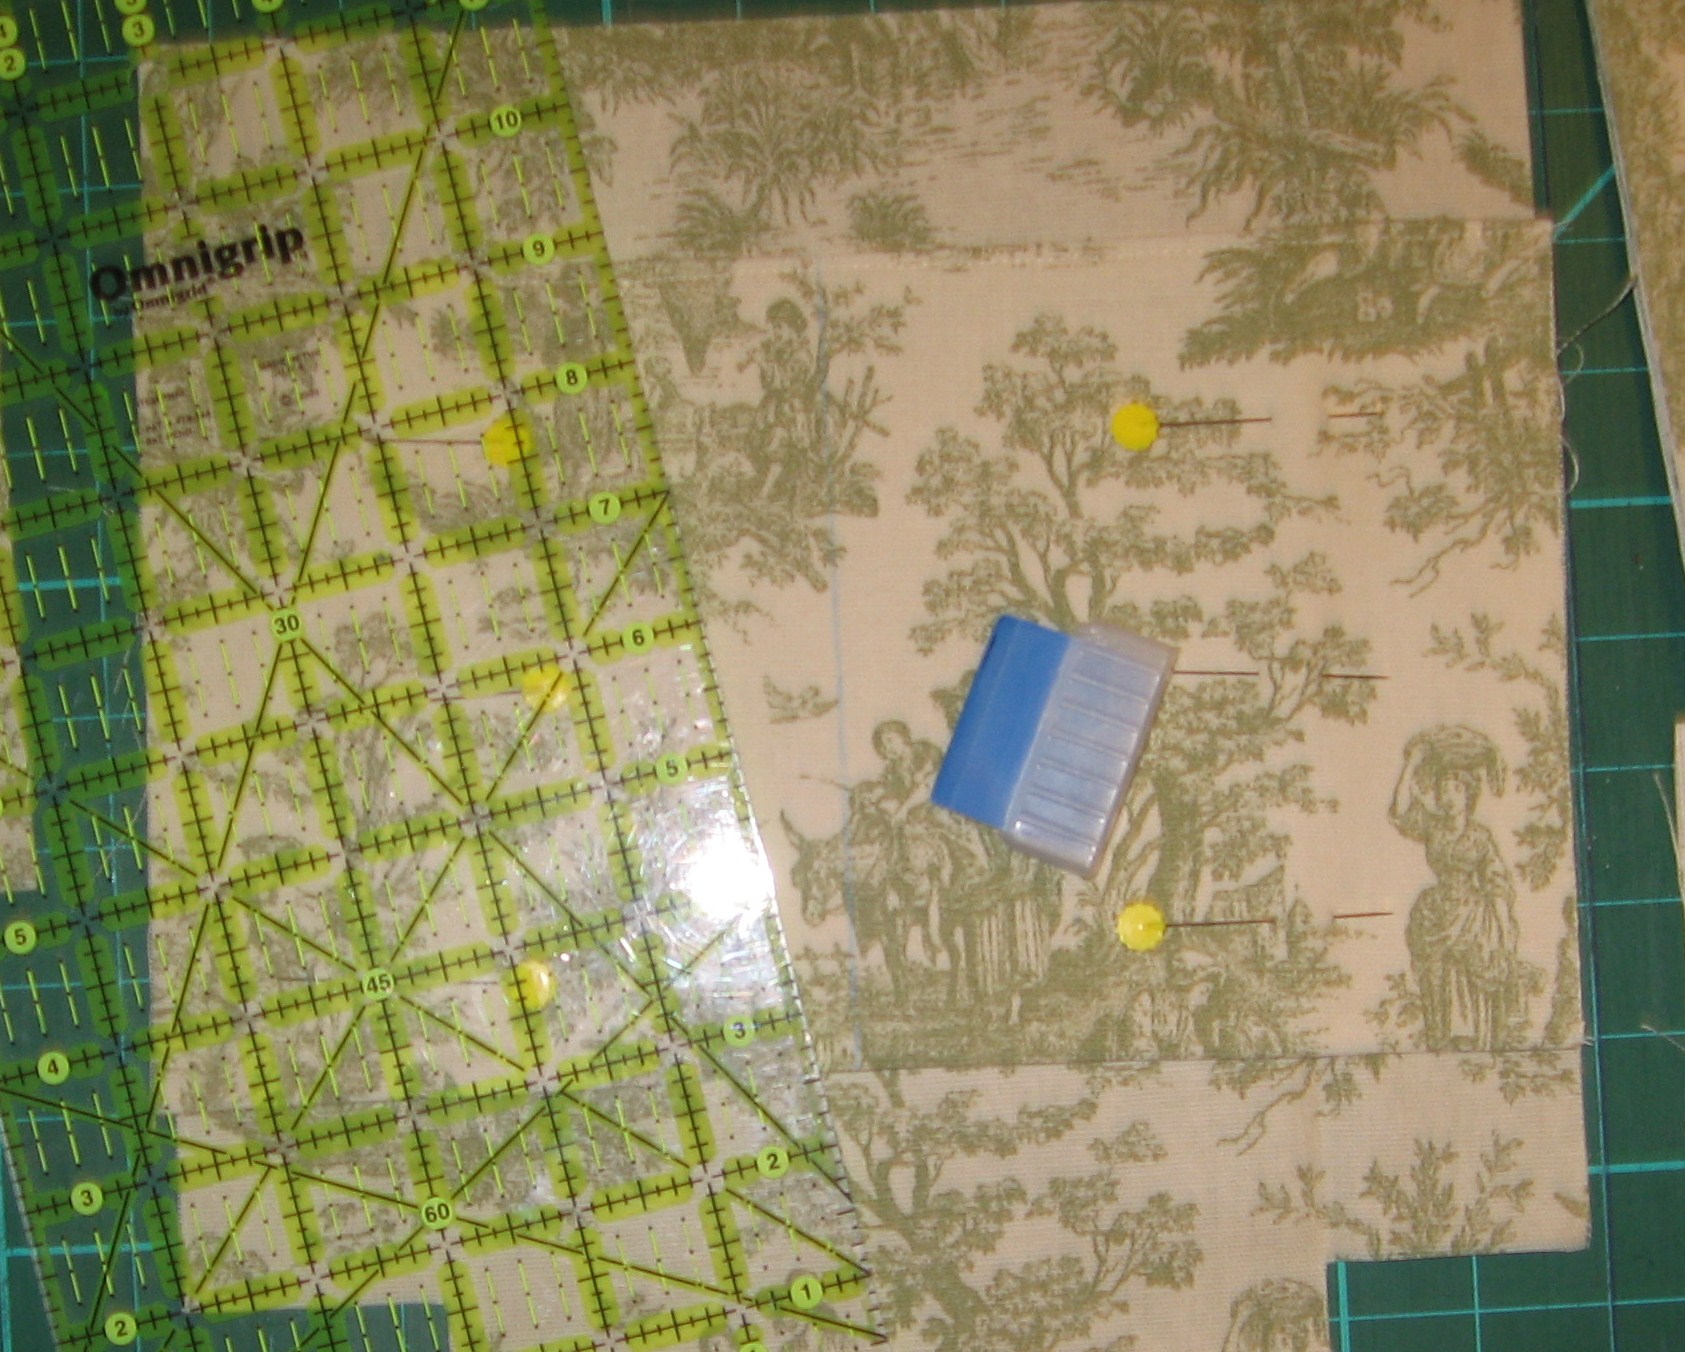
Cut a square the same width and length from lining fabric for inside pockets. Fold in half and stitch along the fold.
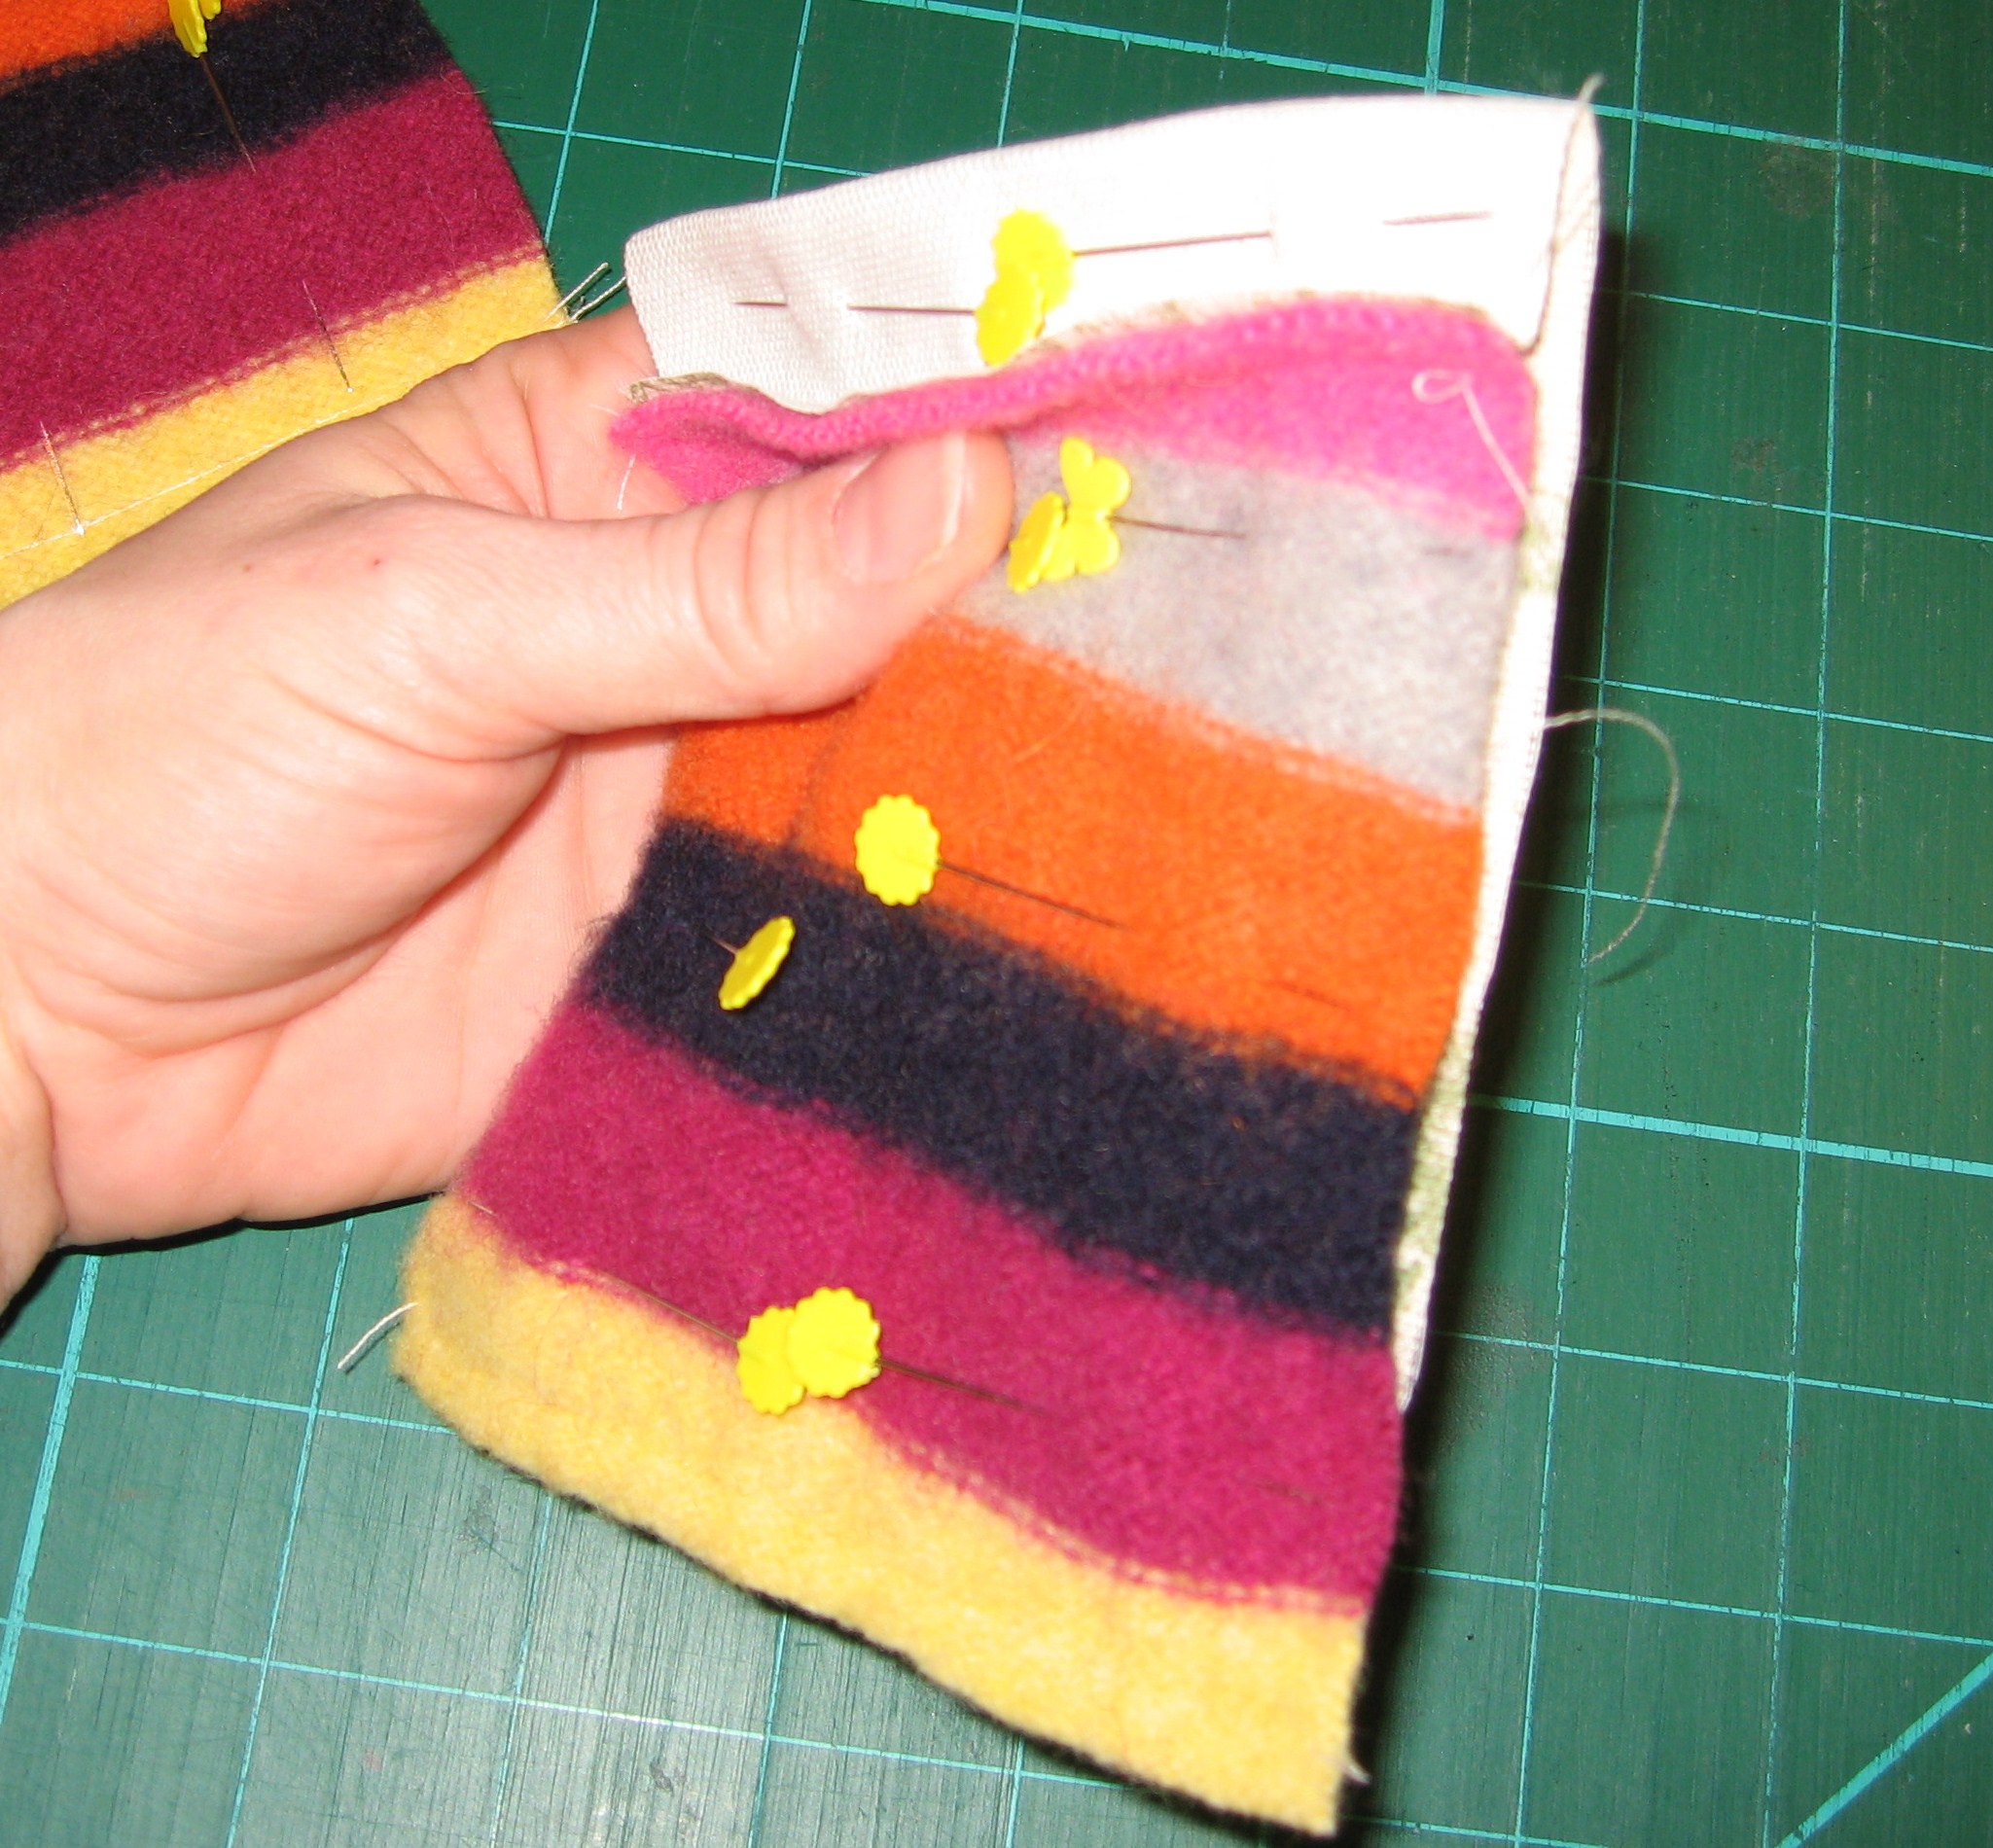
Pin pocket to inside and mark center with chalk for stitching line.
Pin sides and bottom of lining, stitch, leave 2″ corners open, leave opening in the side or bottom for turning.
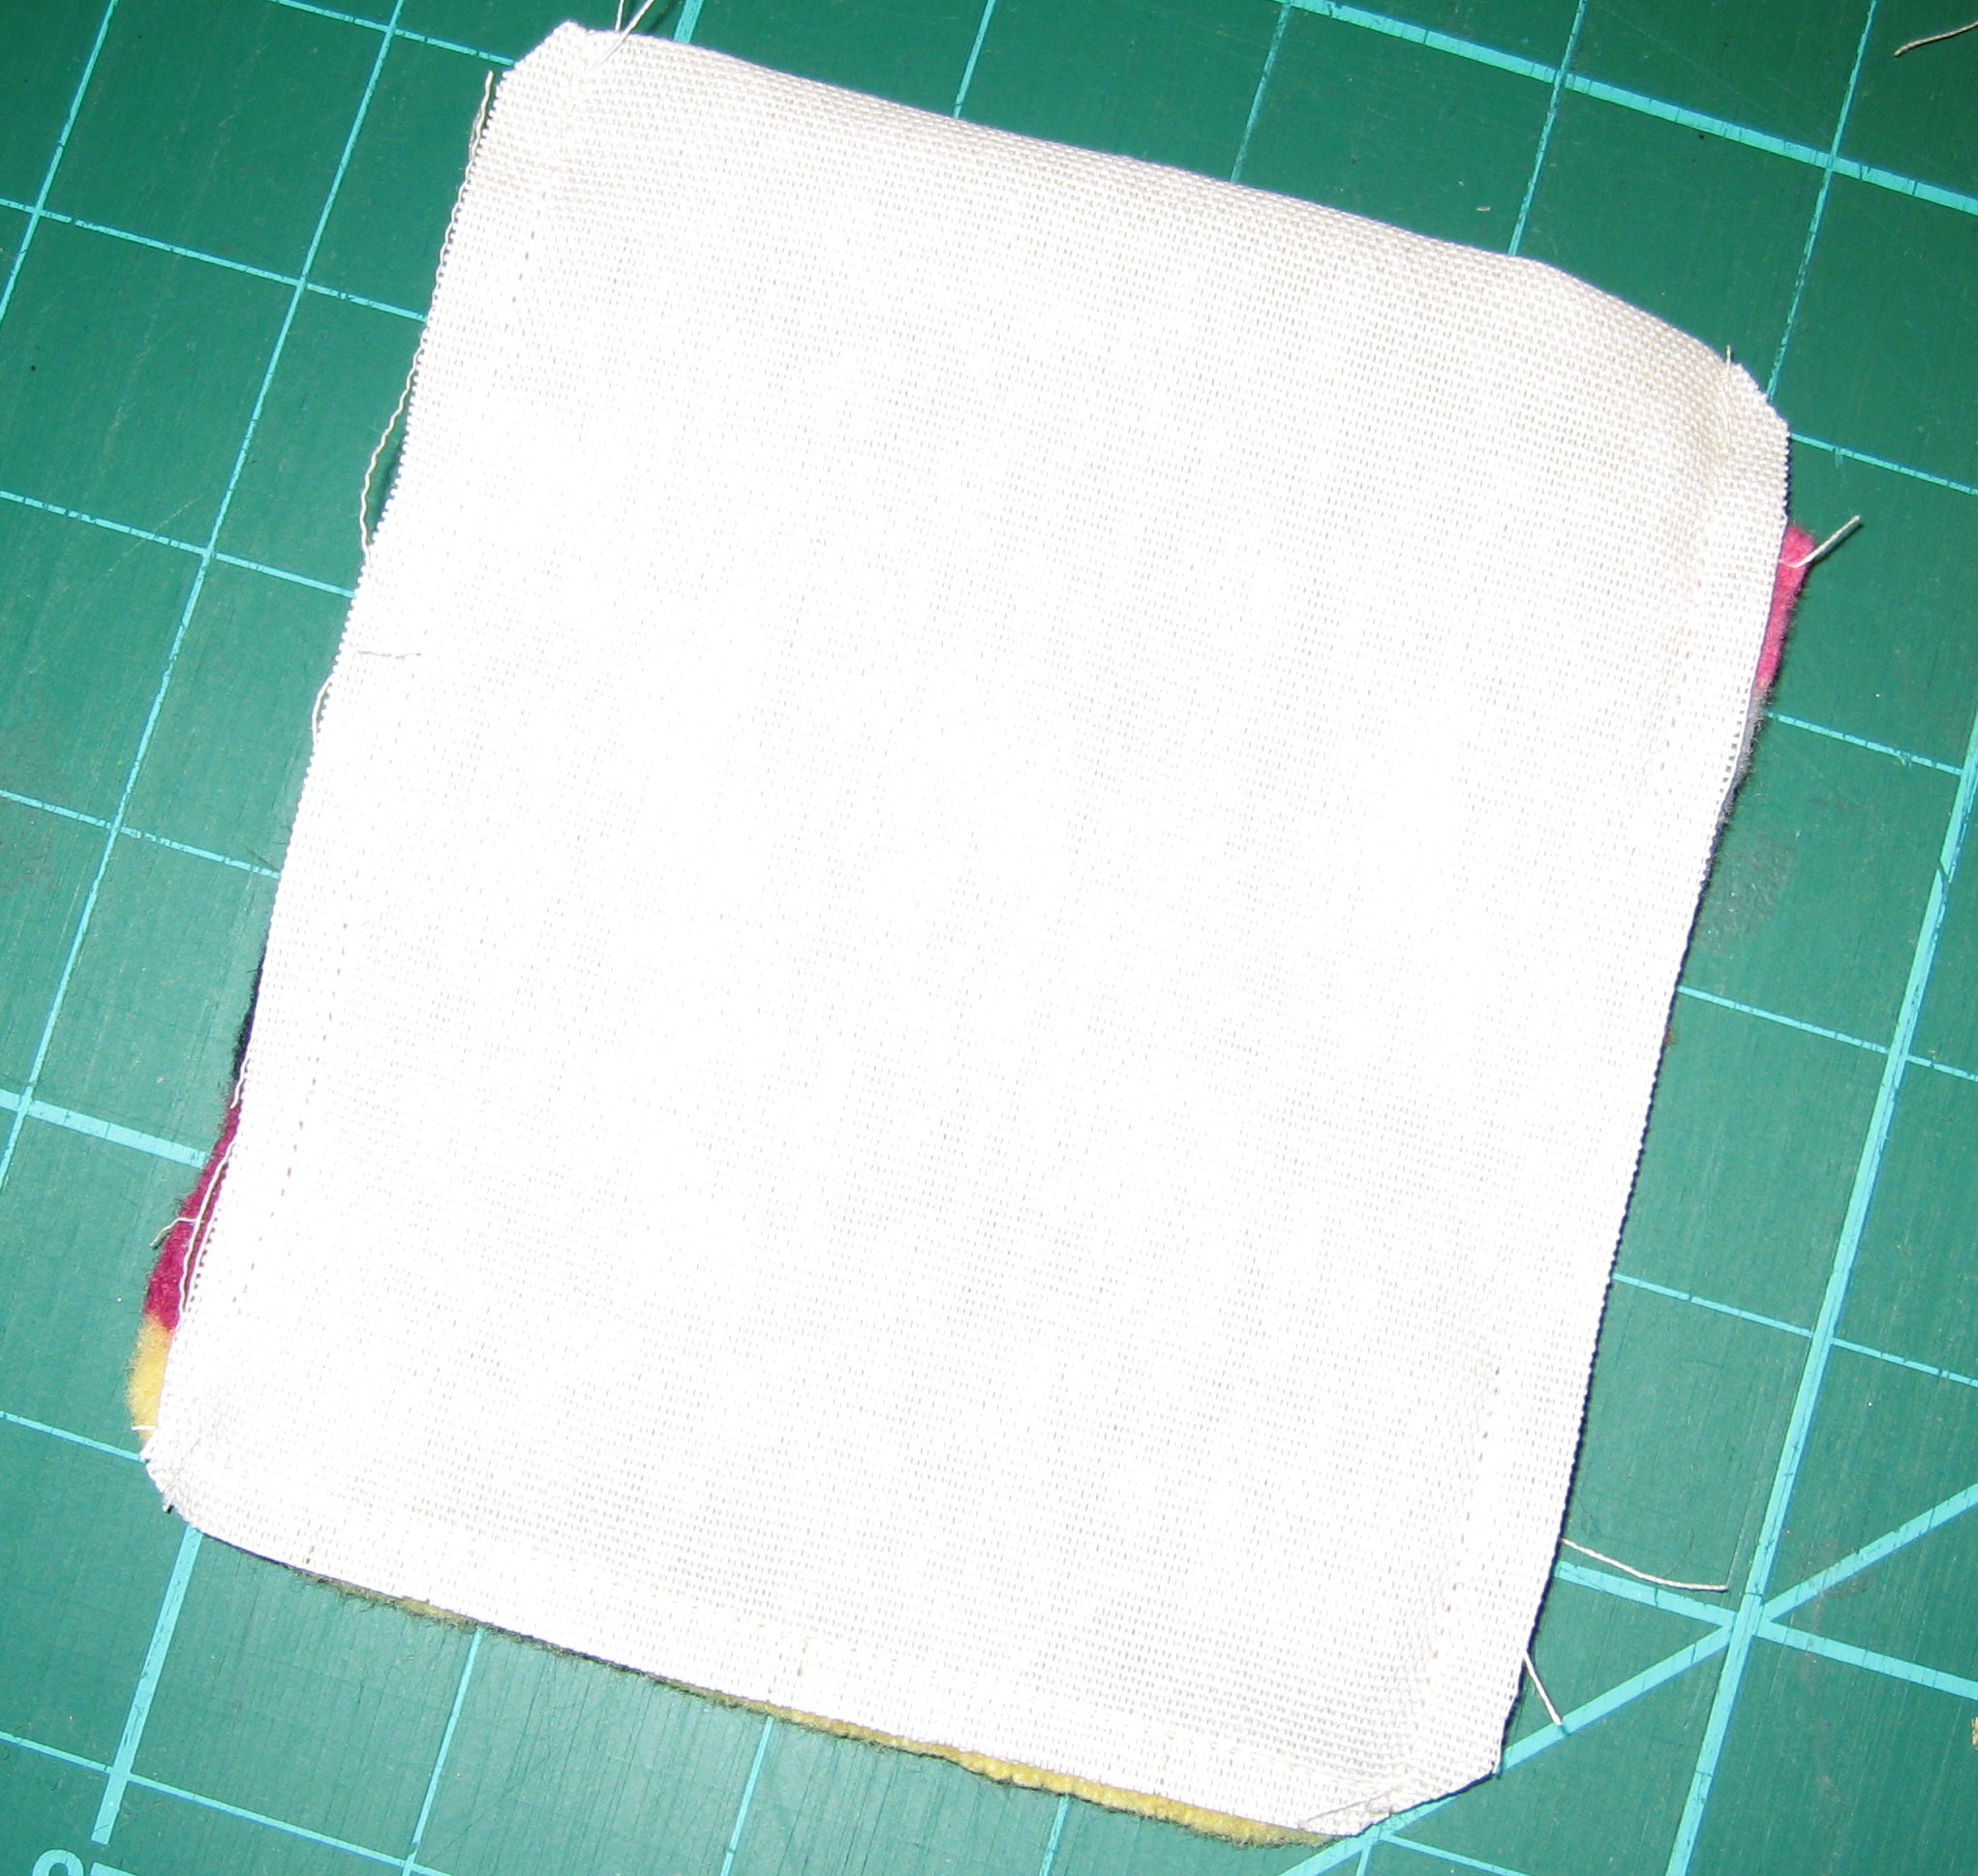
Match boxed corners (the notches in the bottom of the bag), pin & stitch.
Press seams then turn right side out. The bottom and pockets of your lining should now look like this.
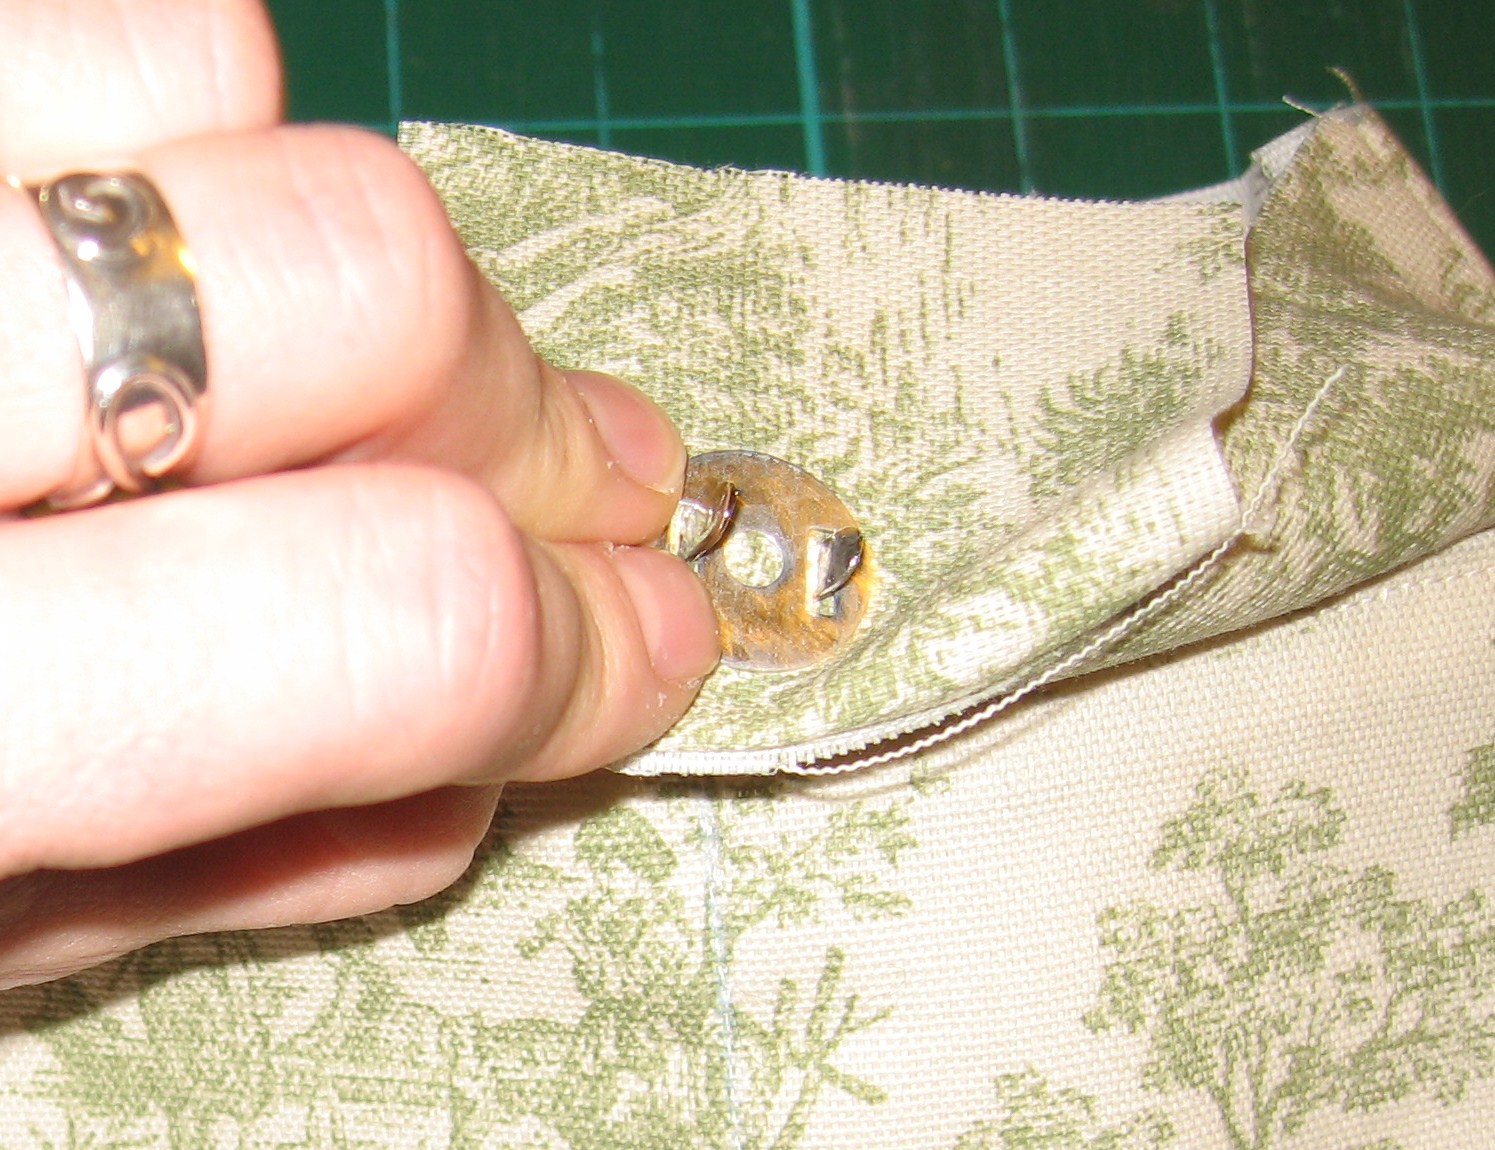
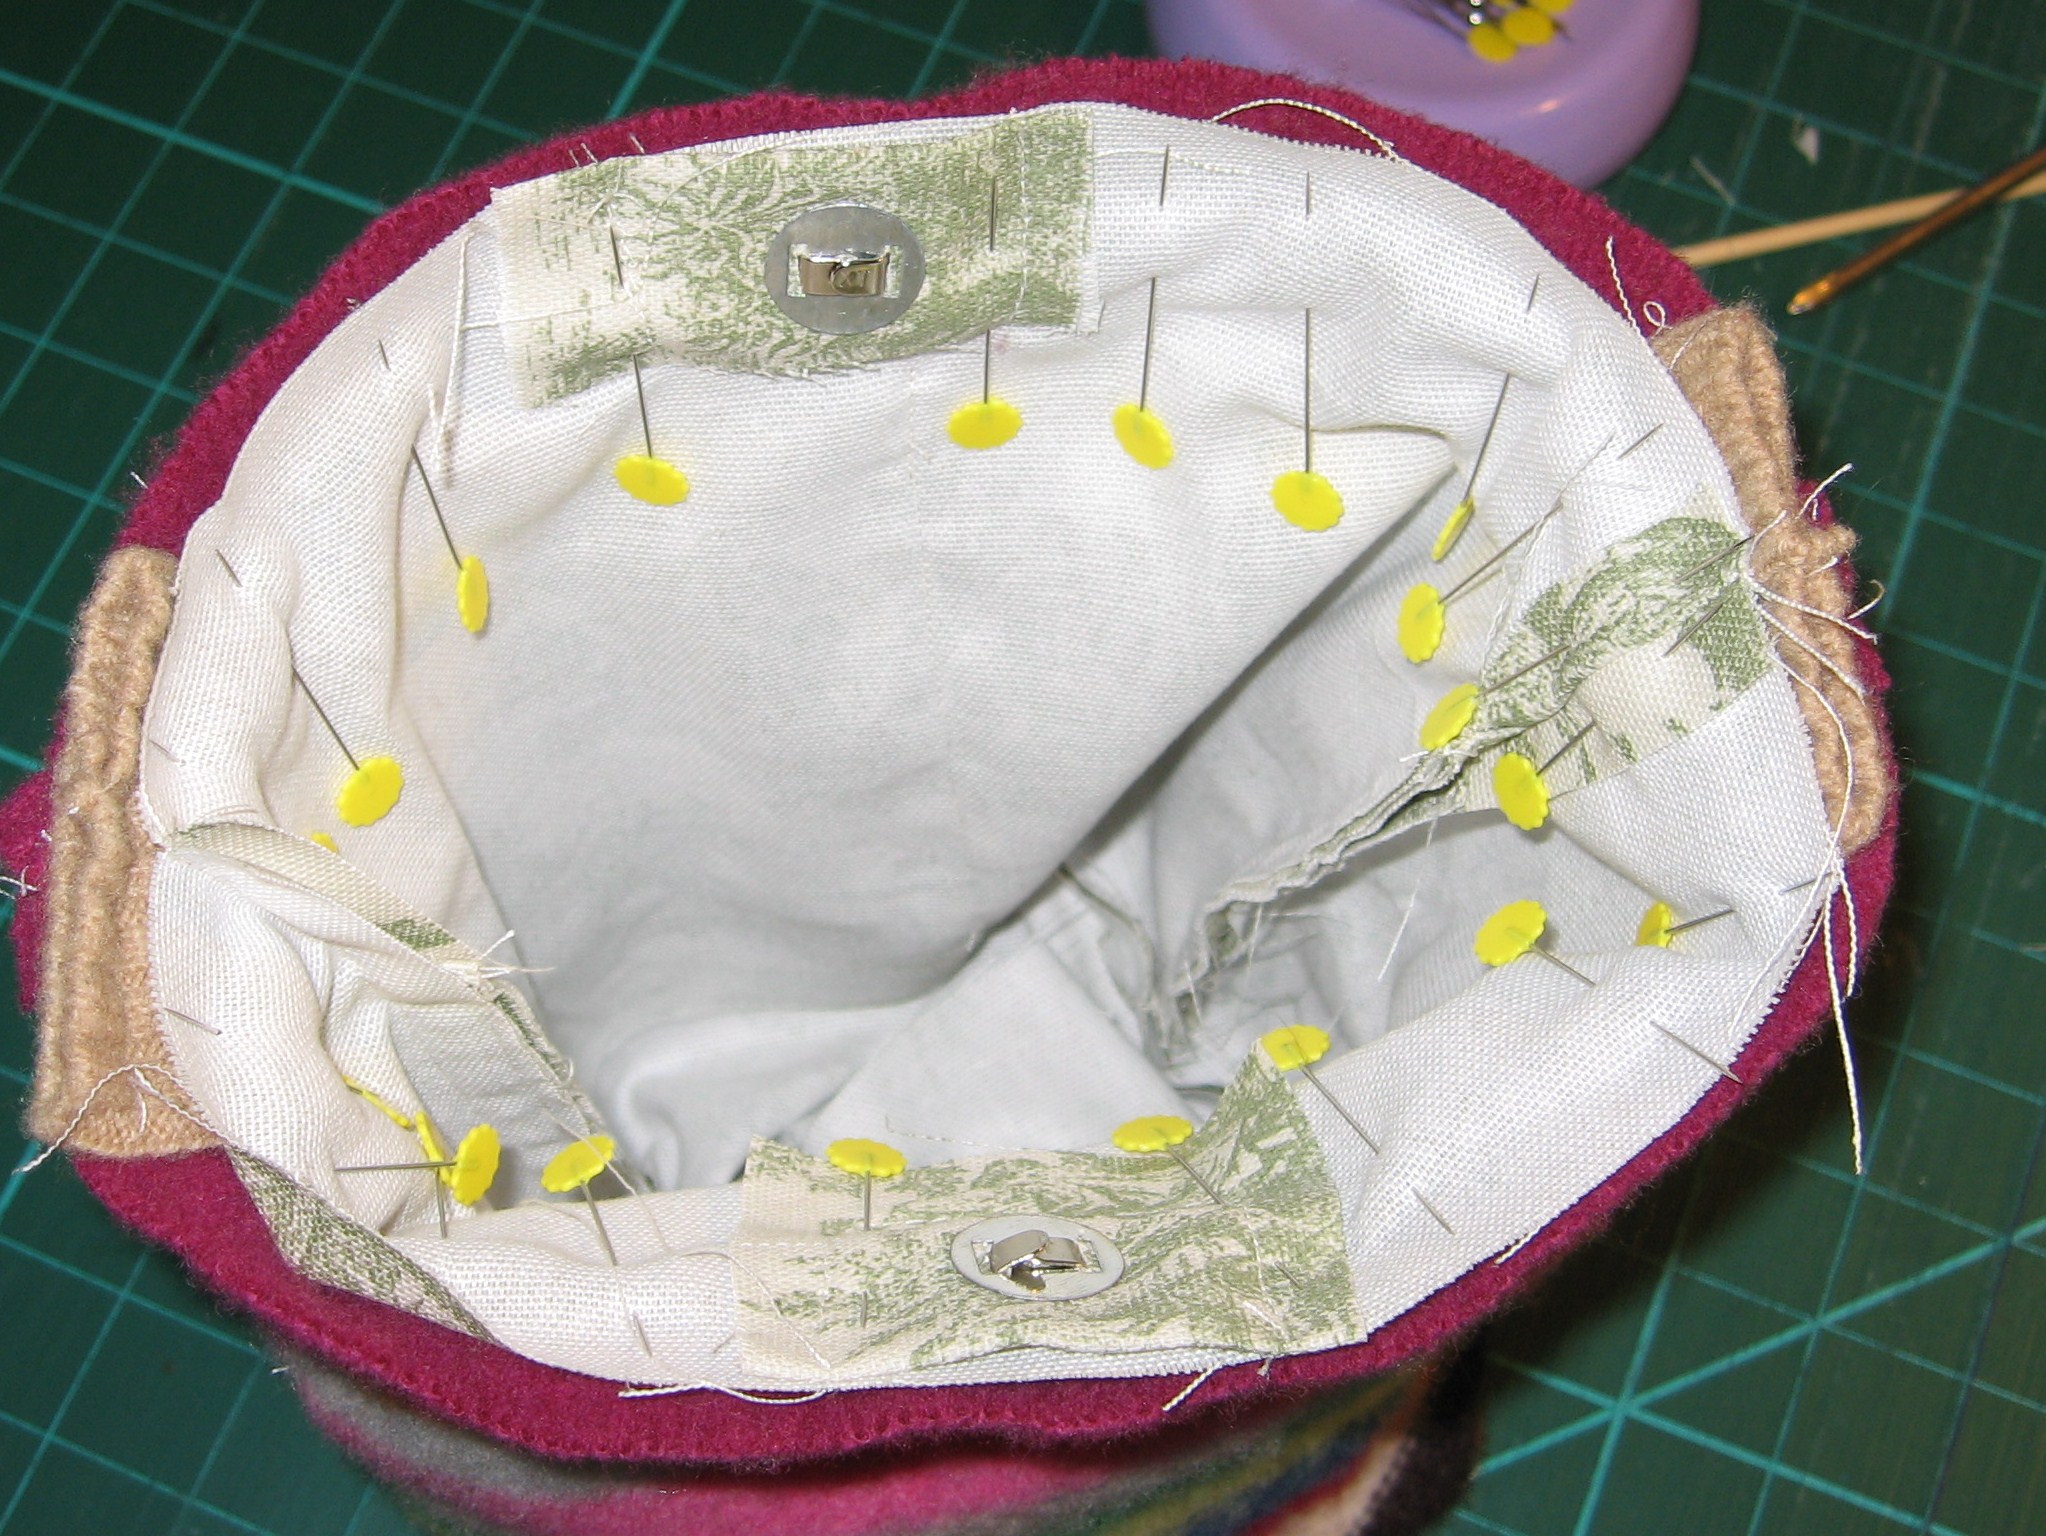
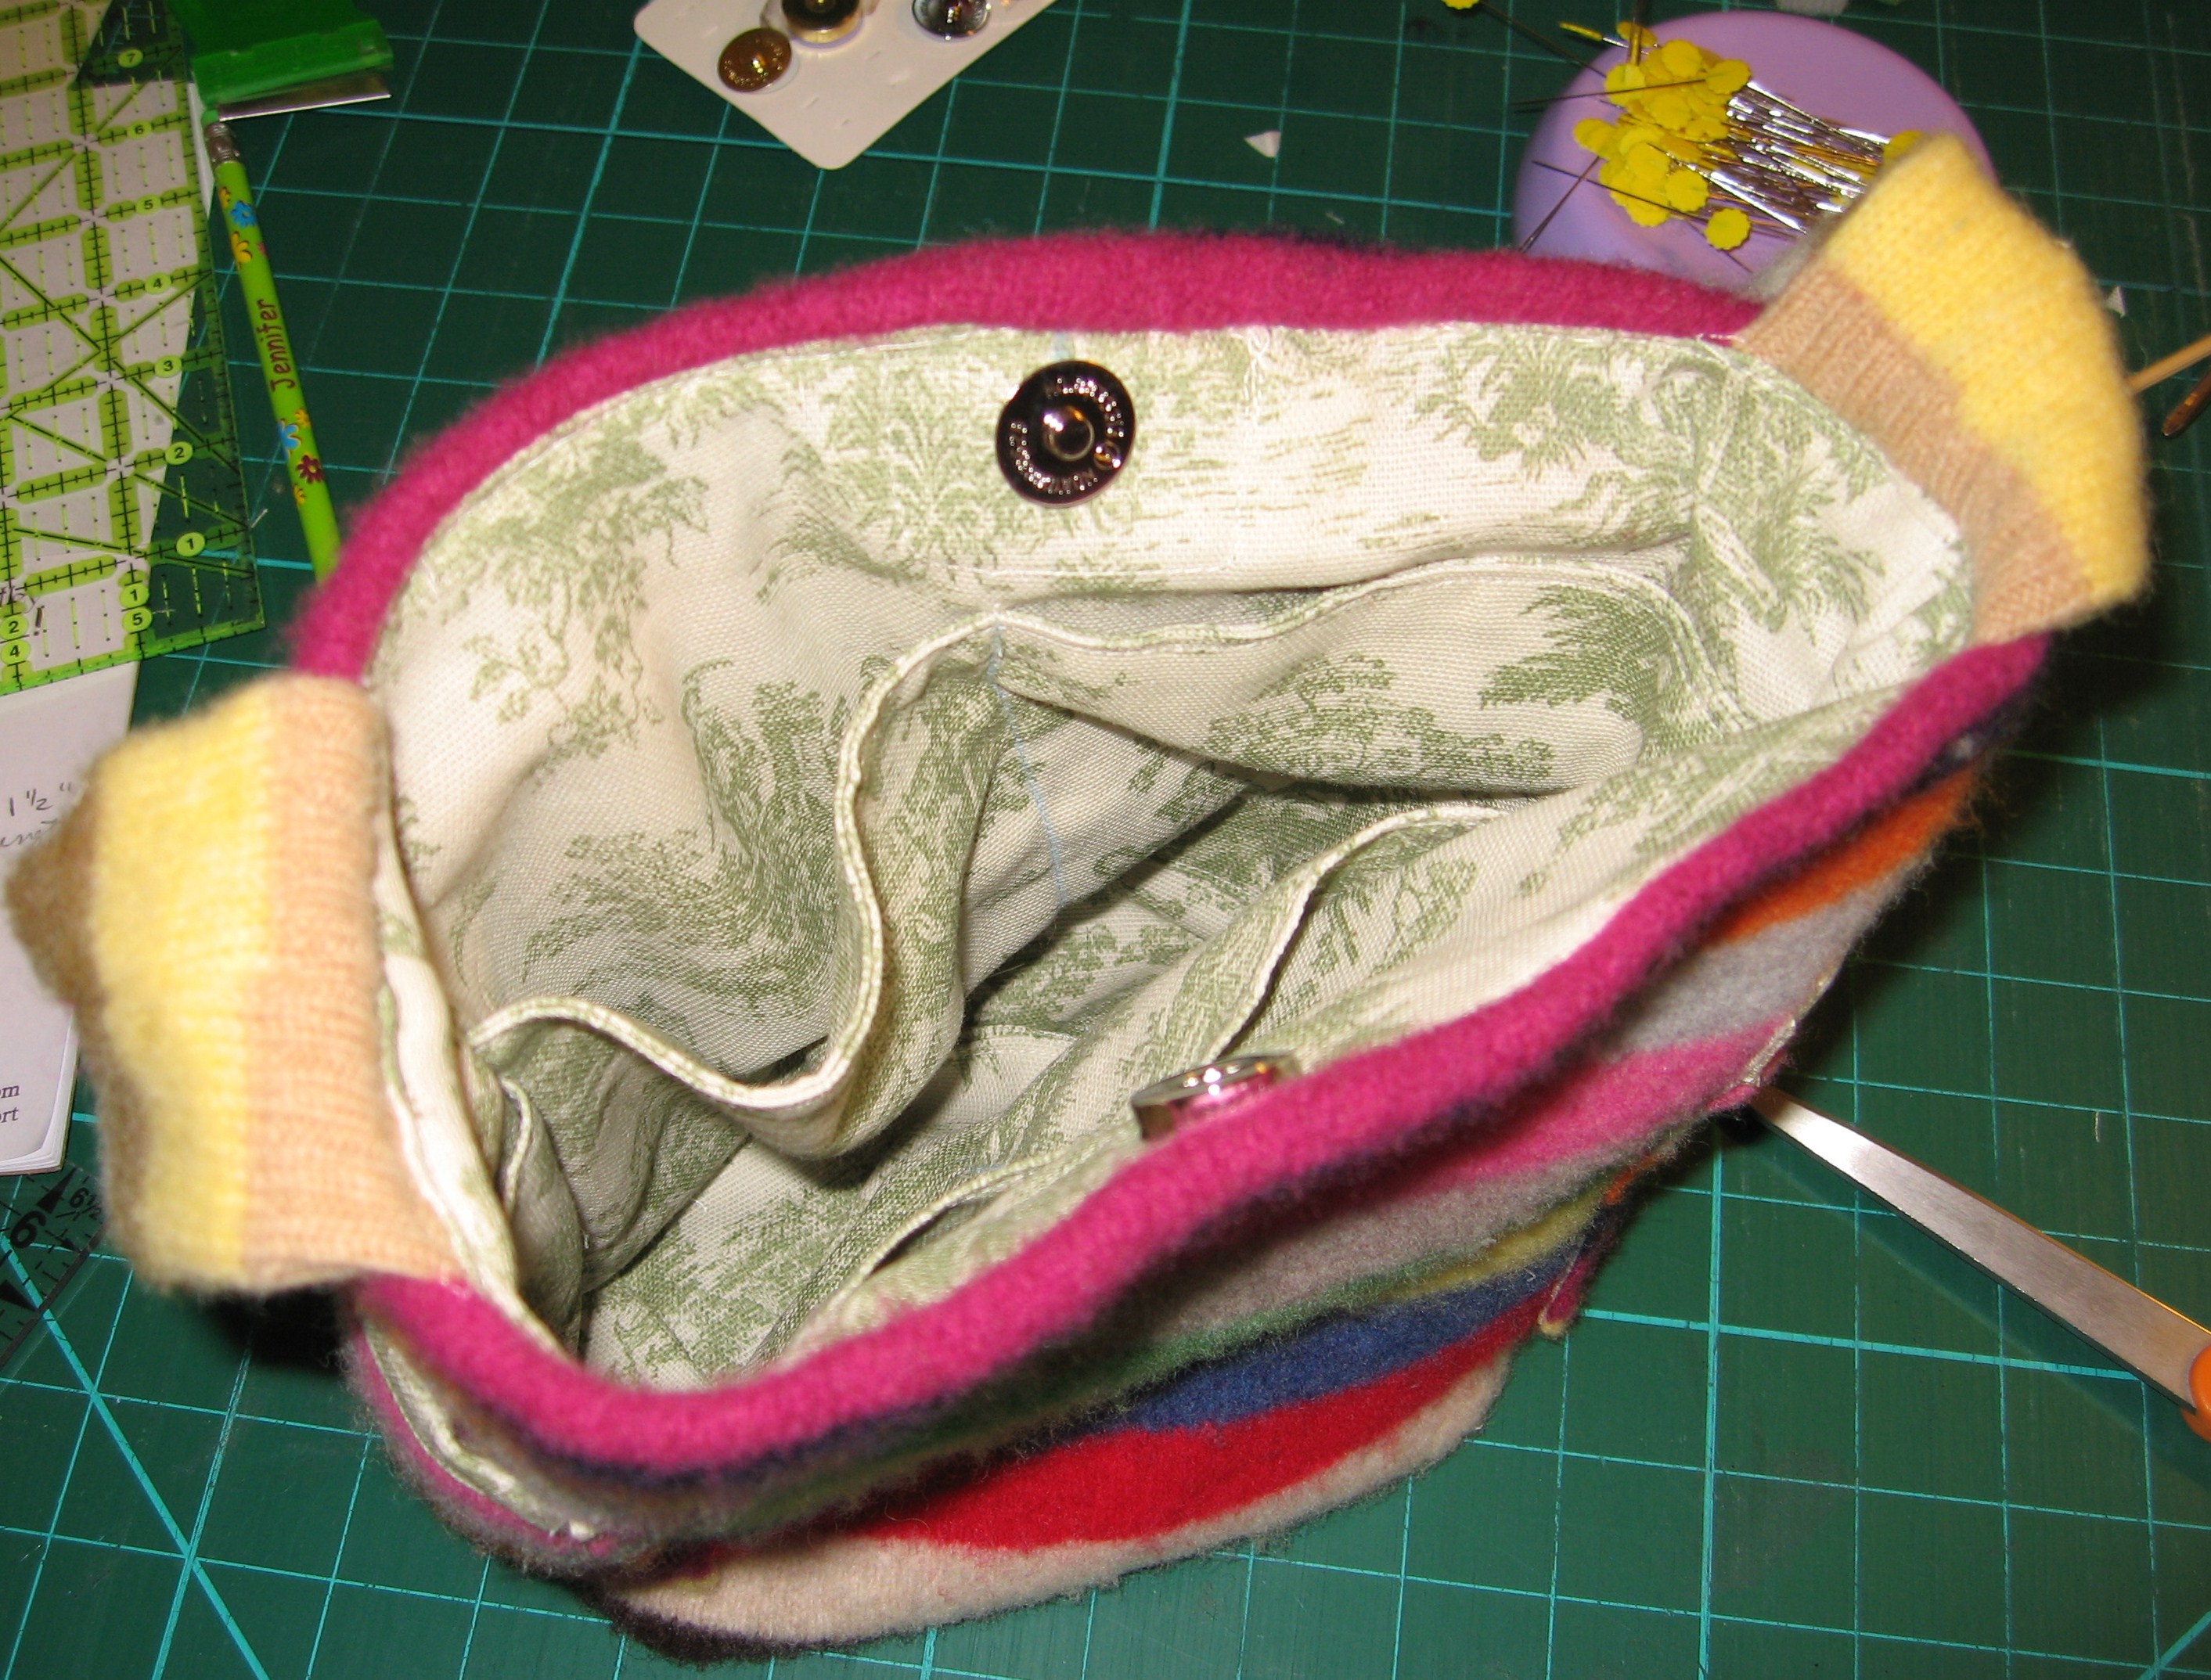
Add magnetic snaps to your lining following the manufacturer’s directions. Leave enough seam allowance at the top for stitching around. I recommend 1″ or more of space. Add a folded piece of scrap fabric to the back to reinforce the snap. Stitch around the snap to reinforce extra fabric.
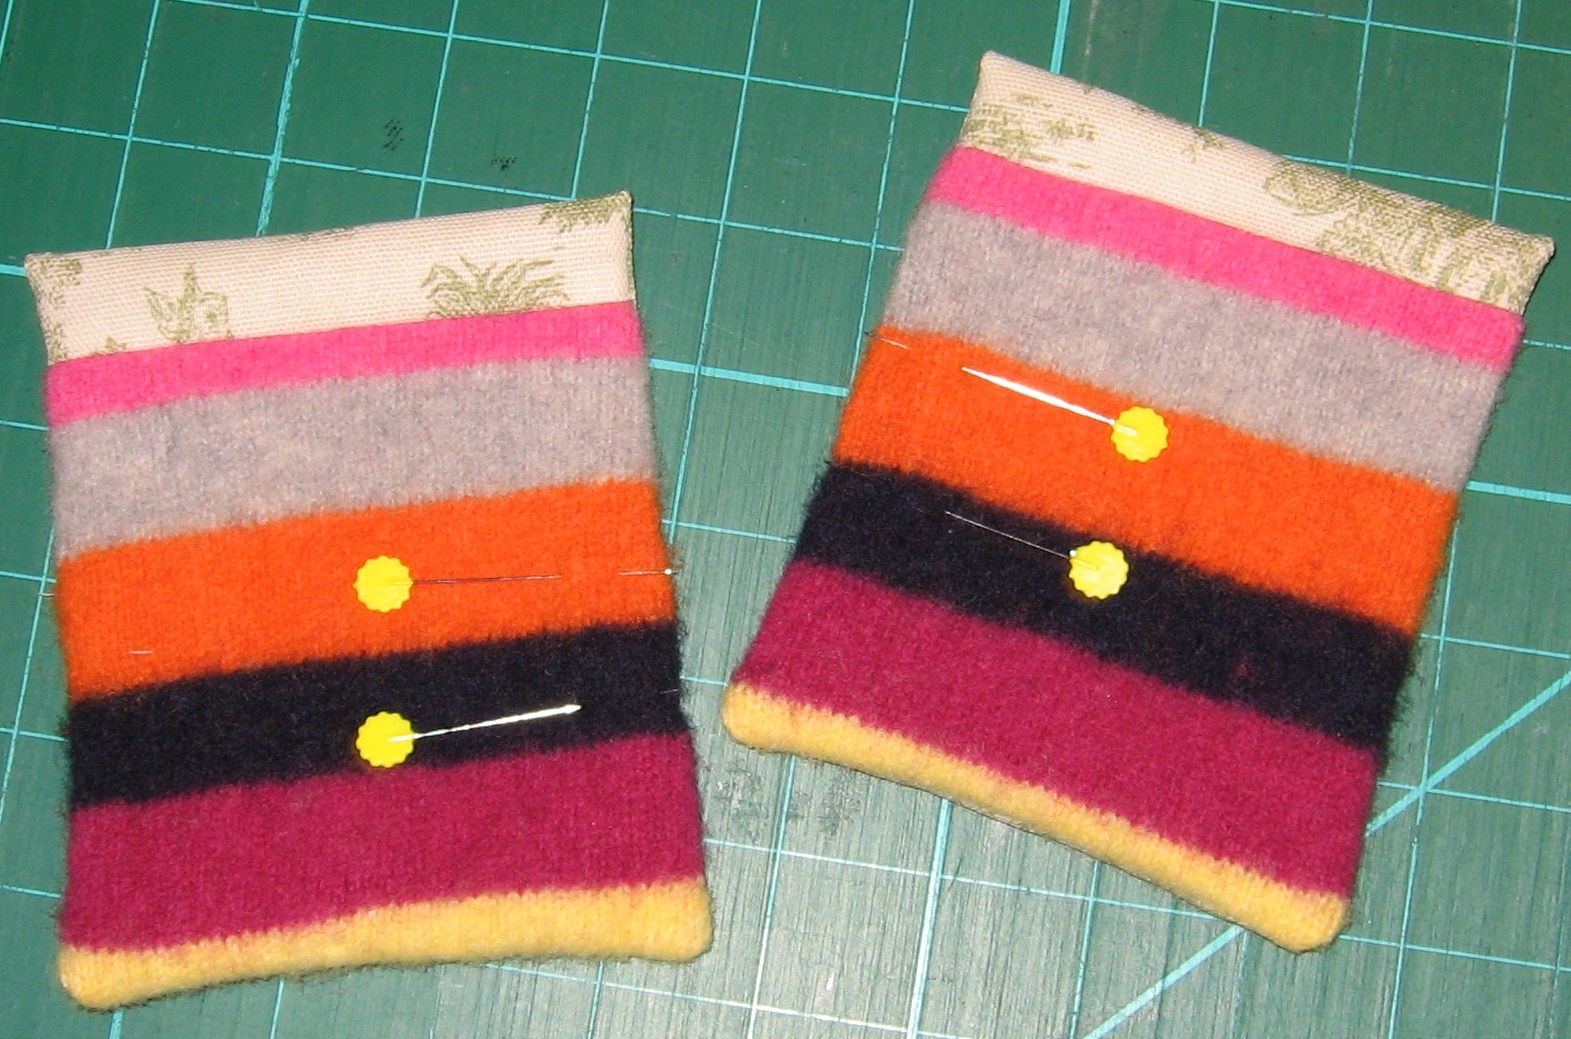
Time to work on the outside sweater pieces!
Pin sweater pocket piece to lining pocket piece, right sides together (lining should be 1.5″ longer), stitch ends.
Line up bottom of pocket, pin, then stitch sides. Leave an opening for turning.
Trim corners, turn pocket and pin openings.
Stitch side seams of bag, leaving bottom open.
Turn the sweater bag body right side out, matching seams. Pin pockets over the side seams, then stitch to attach.
With right sides together, stitch across sweater bag bottom.
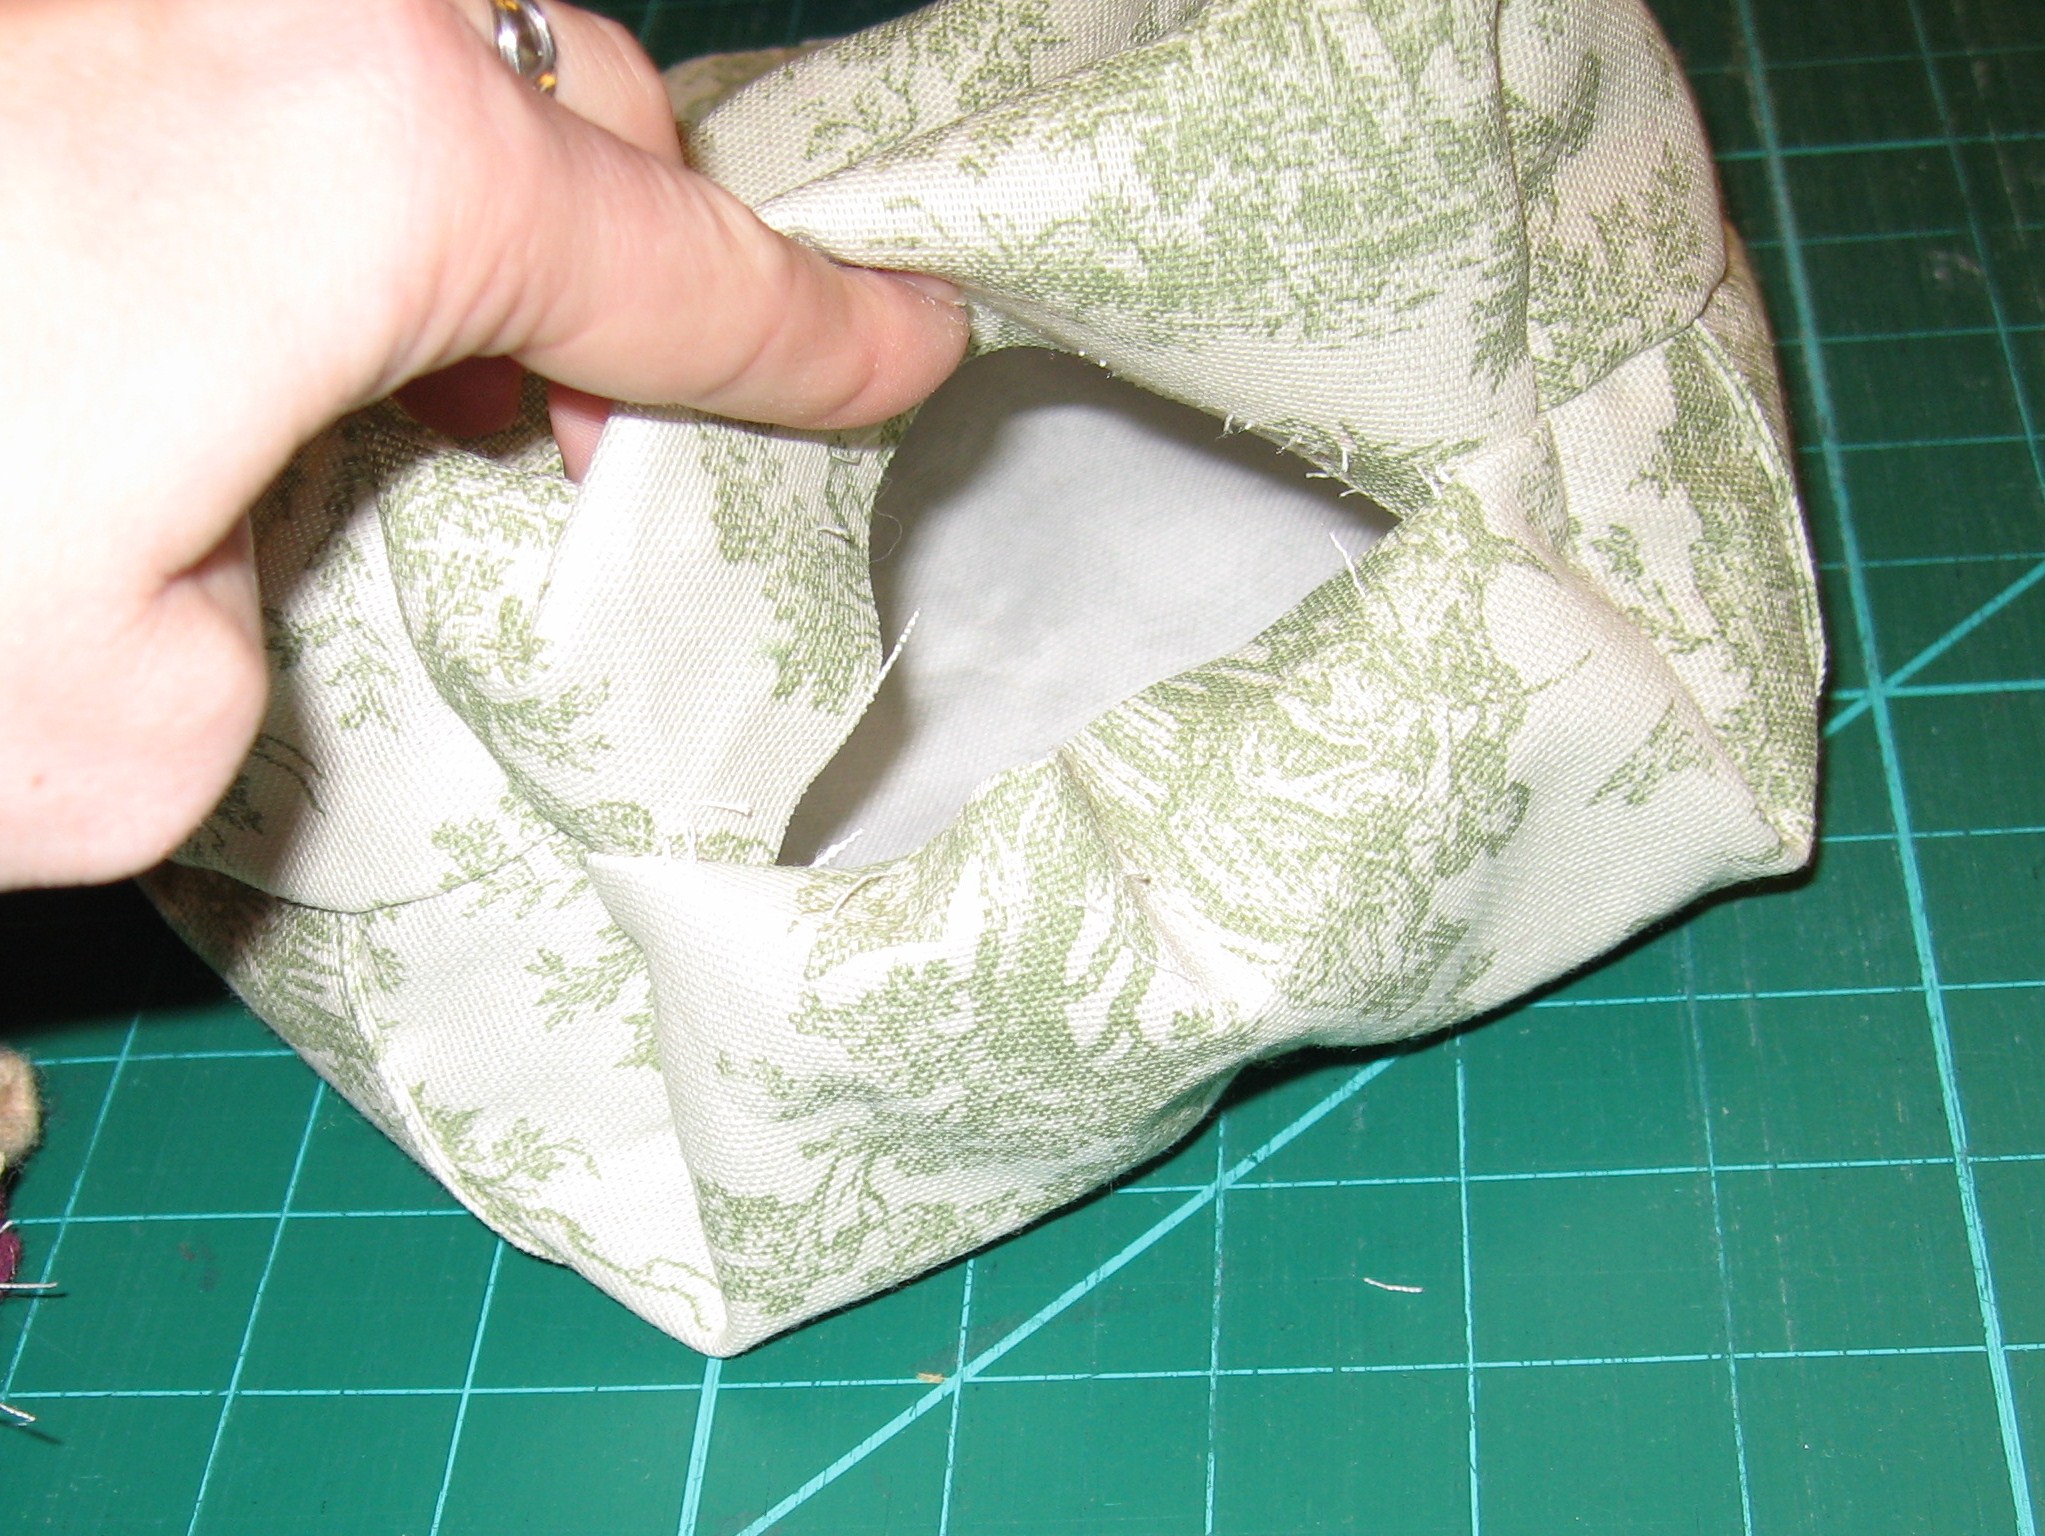
Fold in boxed corners, matching side & bottom seams, pin & stitch.
The inside bottom should look like this.
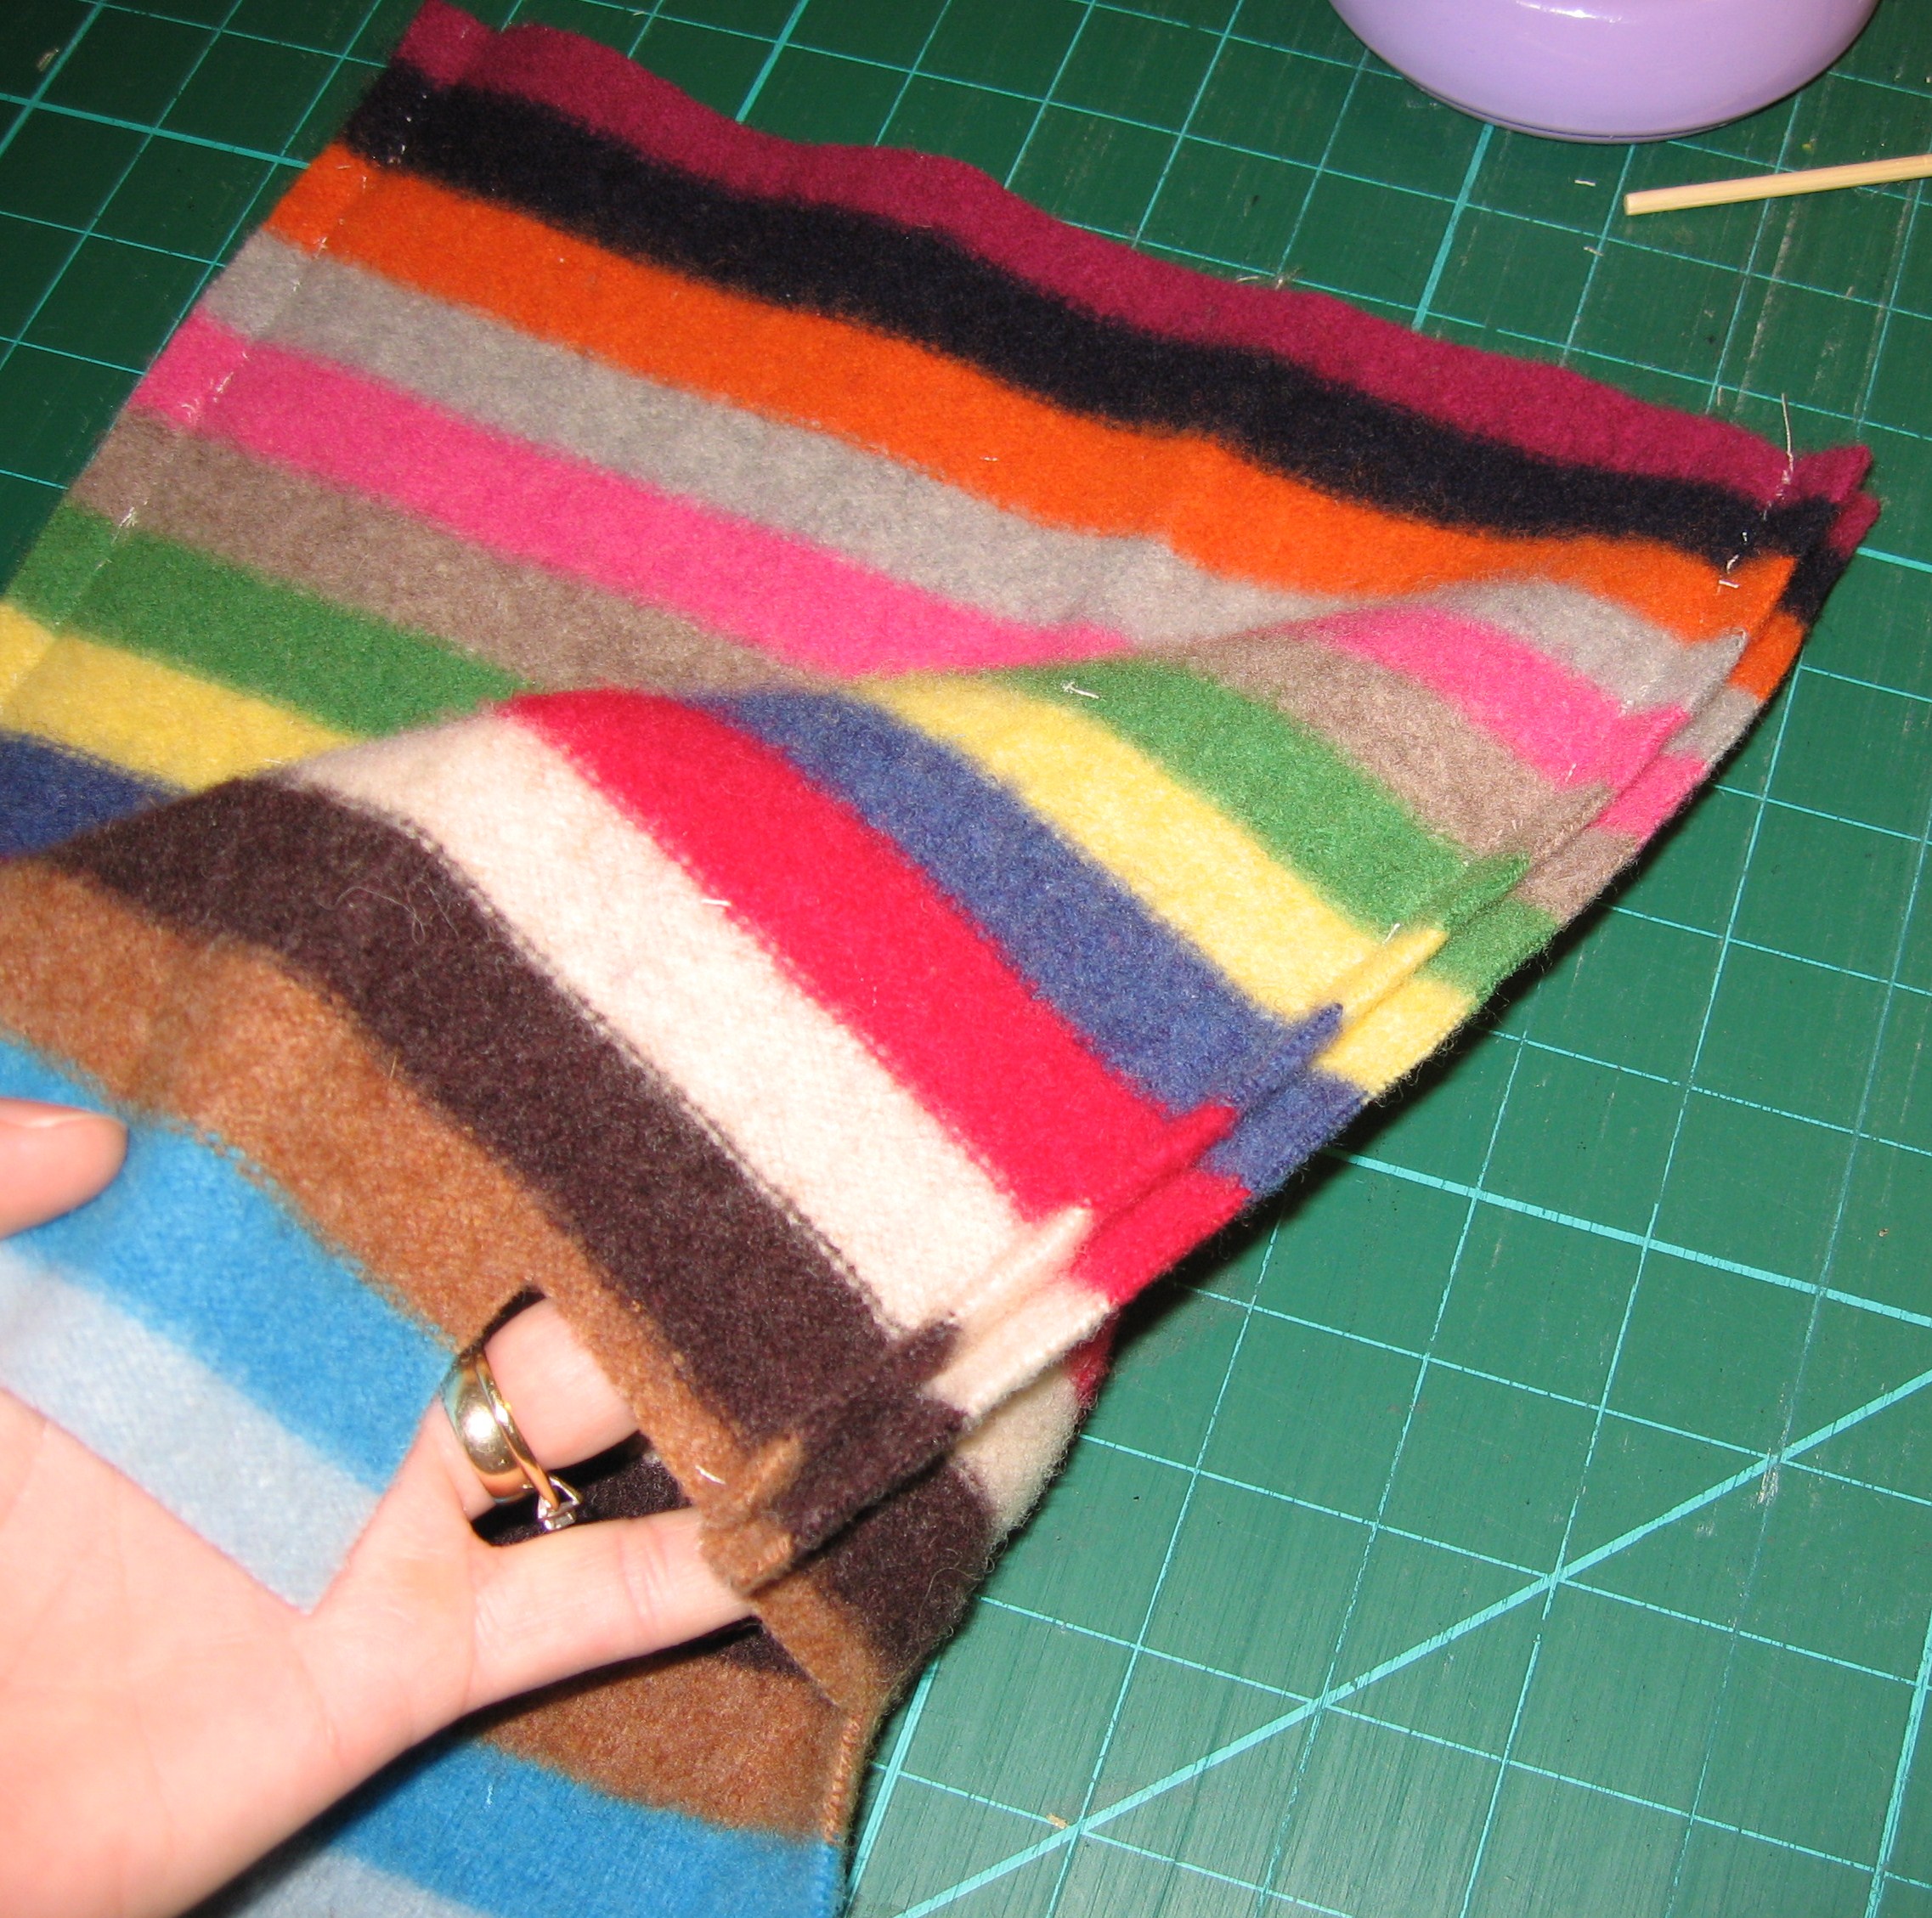
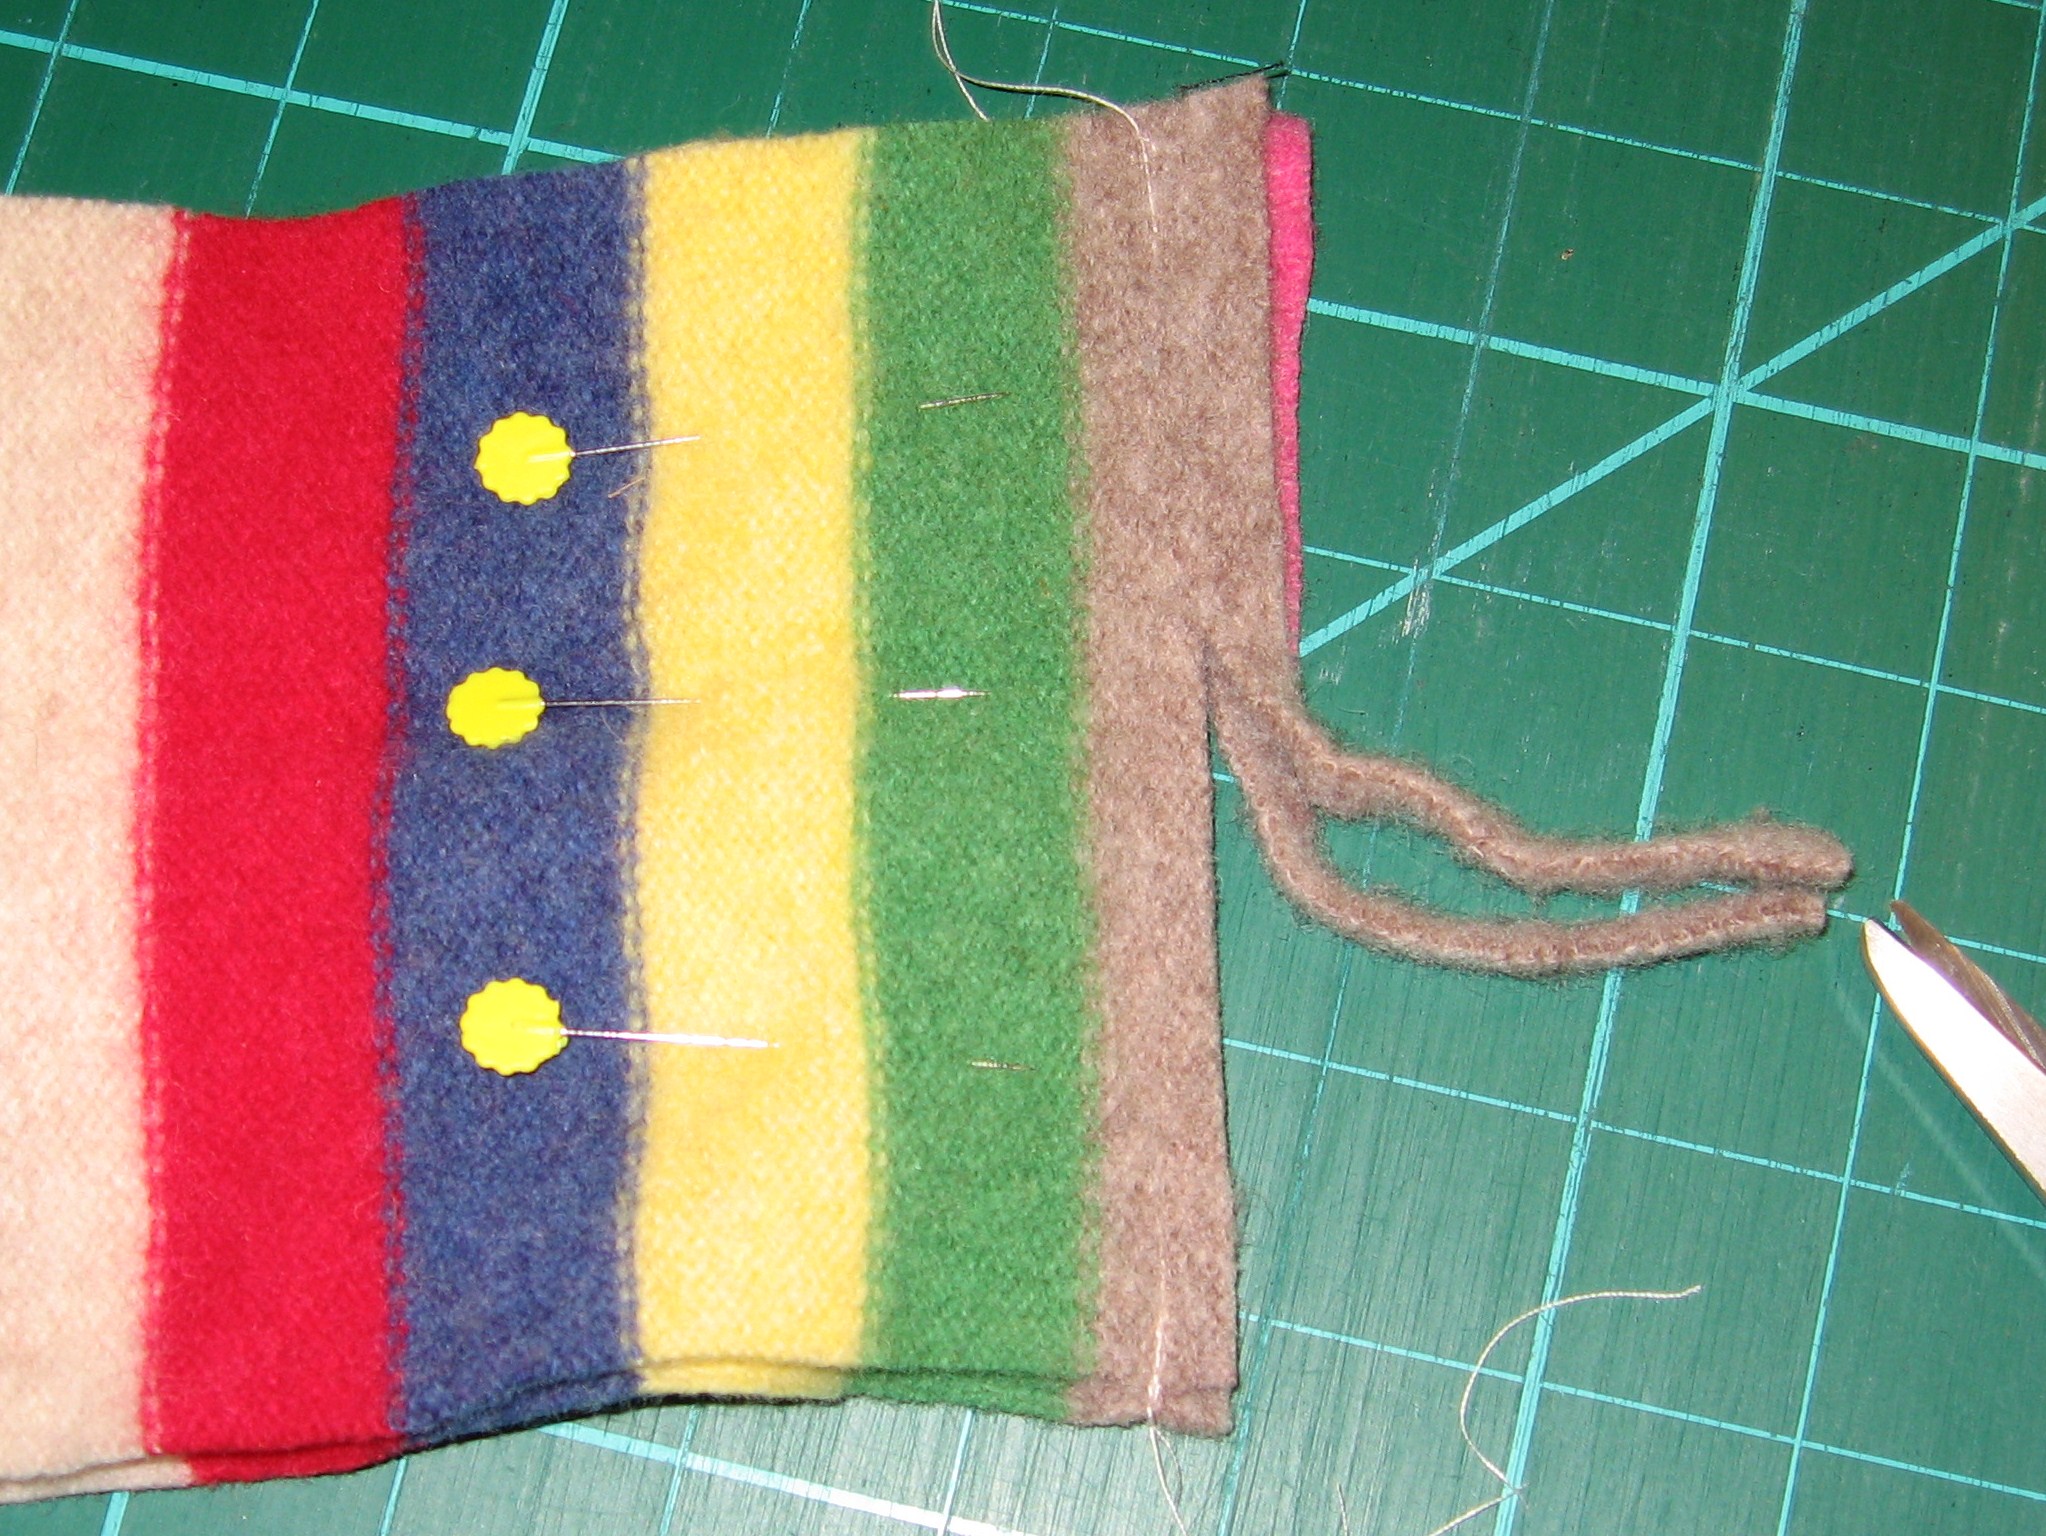
Time for Sleeves!
Trim sleeves to desired width for strap, I like a wider strip so tend to cut about 5″. This includes seam allowance. Remember, this is your bag, and this width will vary based on your sweater, so the dimensions are all yours!
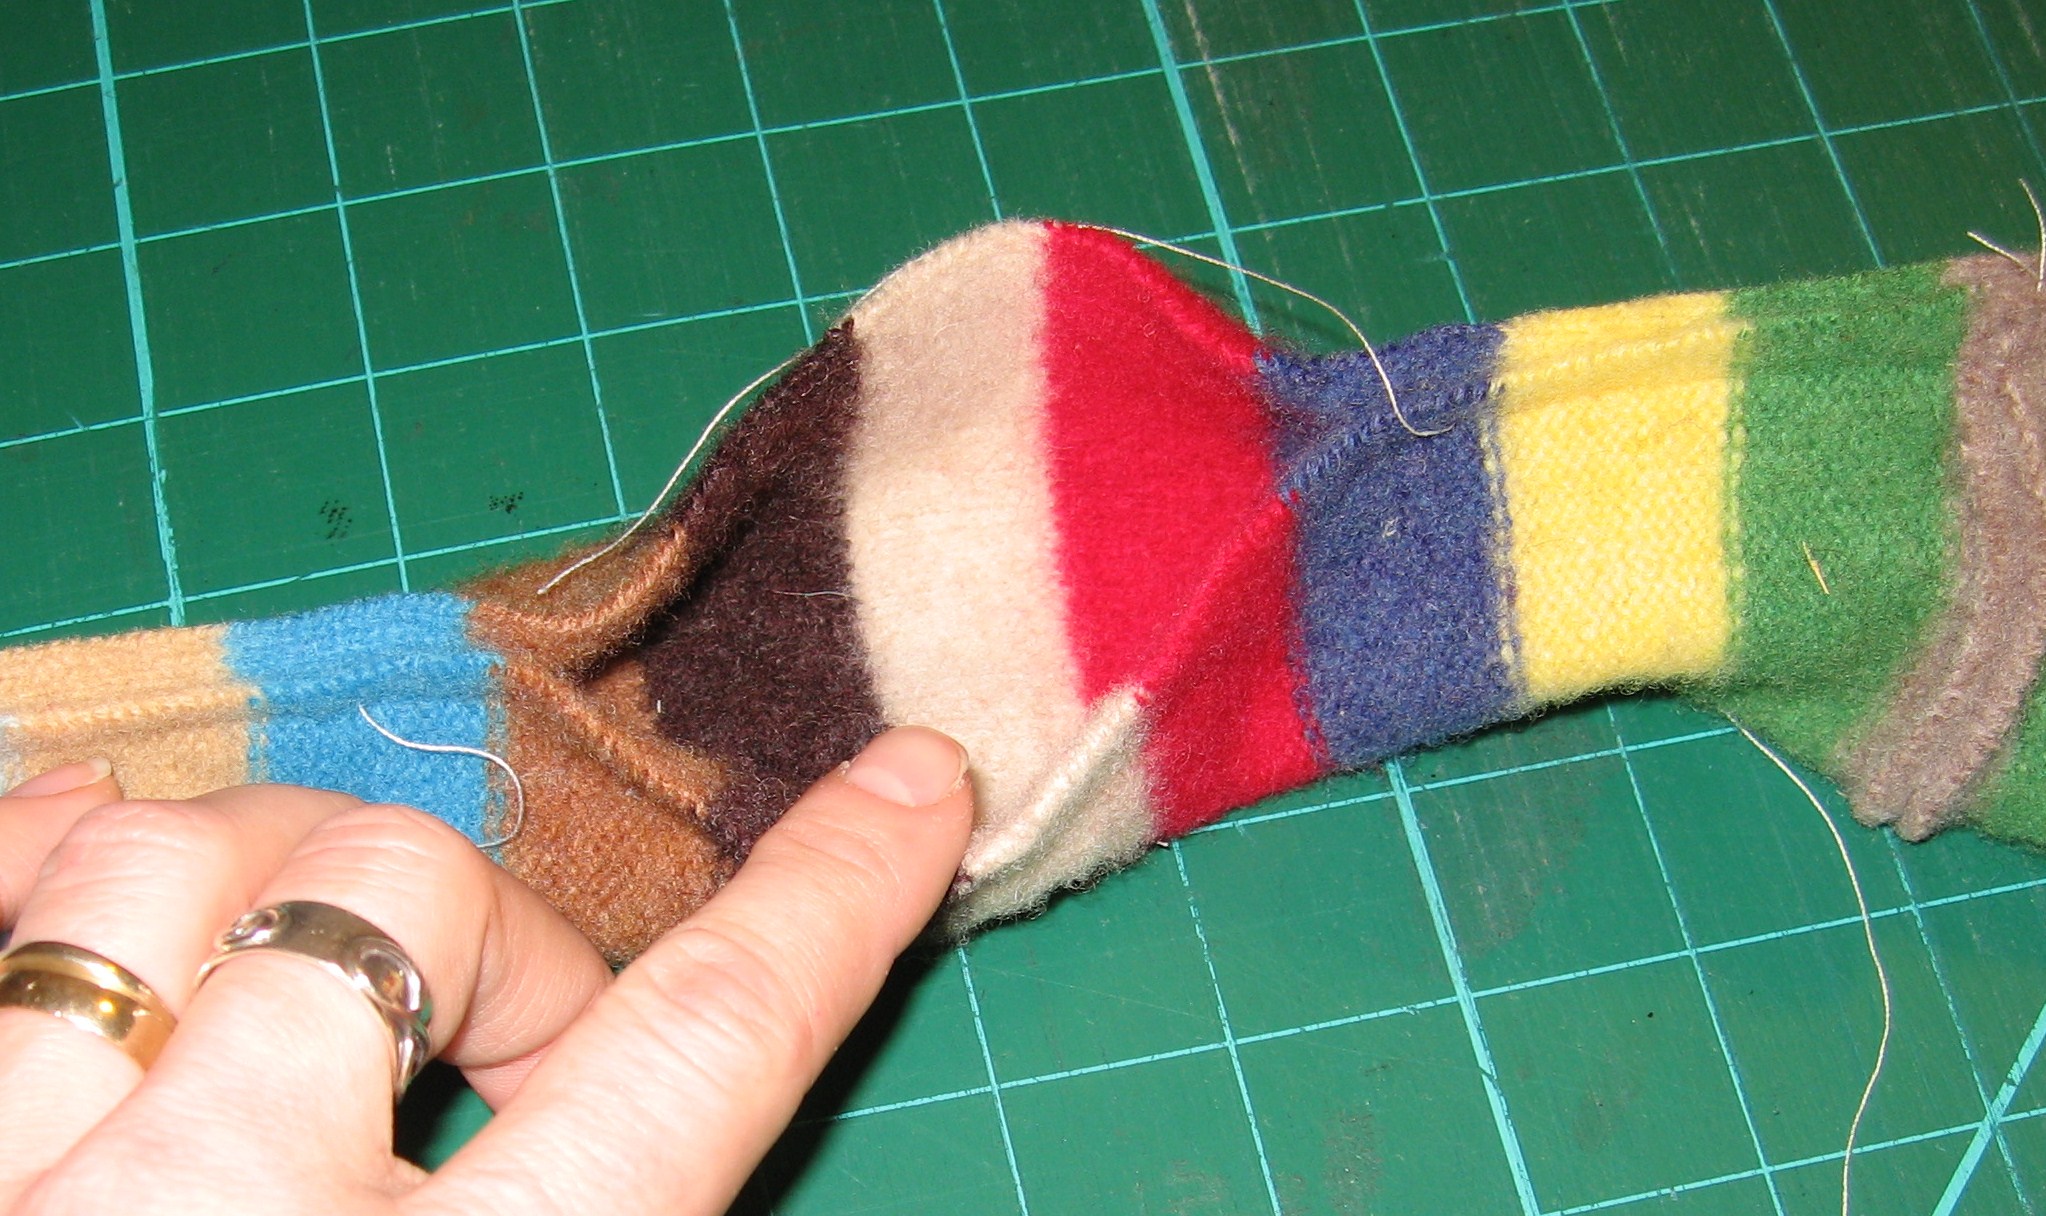
Pin ends of two sleeves together, stitch and trim seam.
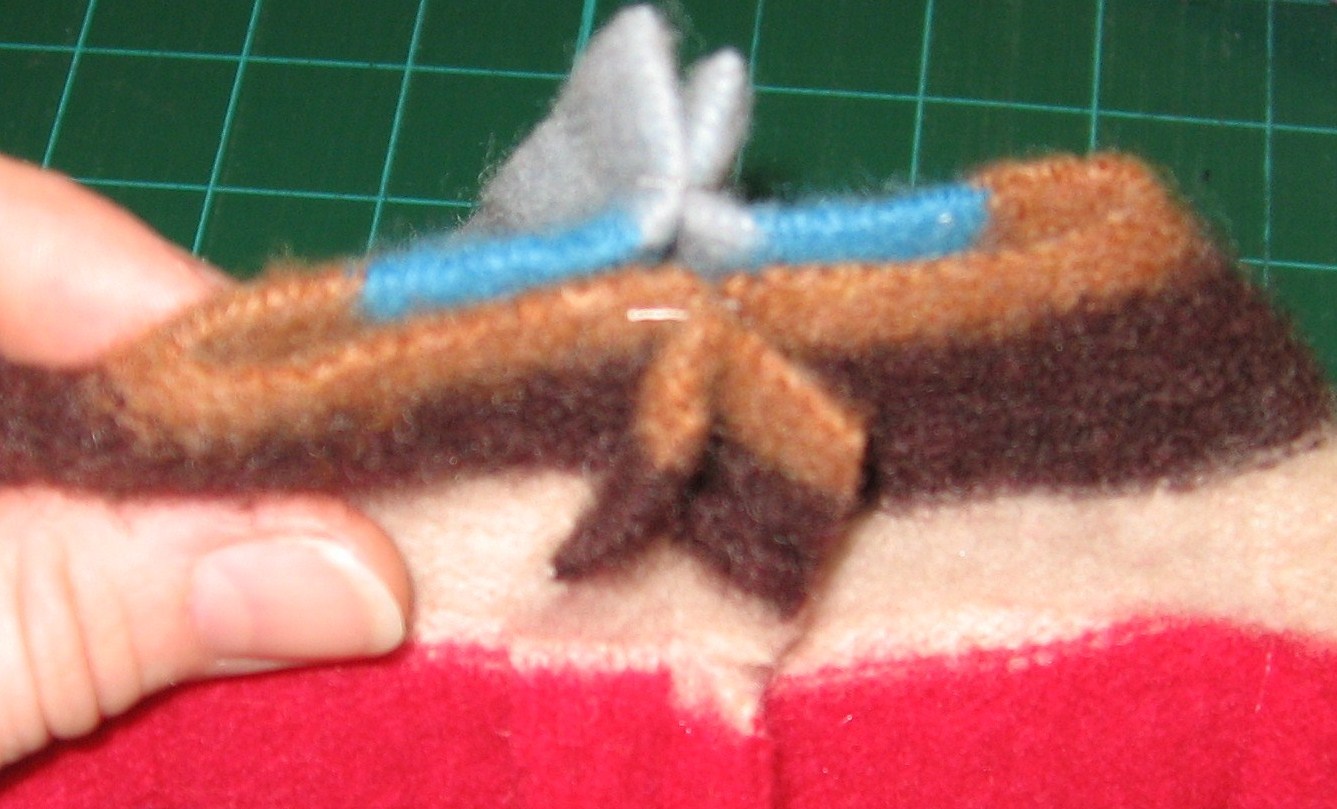
Fold lengthwise, stitch, leaving approx. 6″ open for turning
Turn right side out and smooth opening.
Stitch closed with a tight whip stitch.
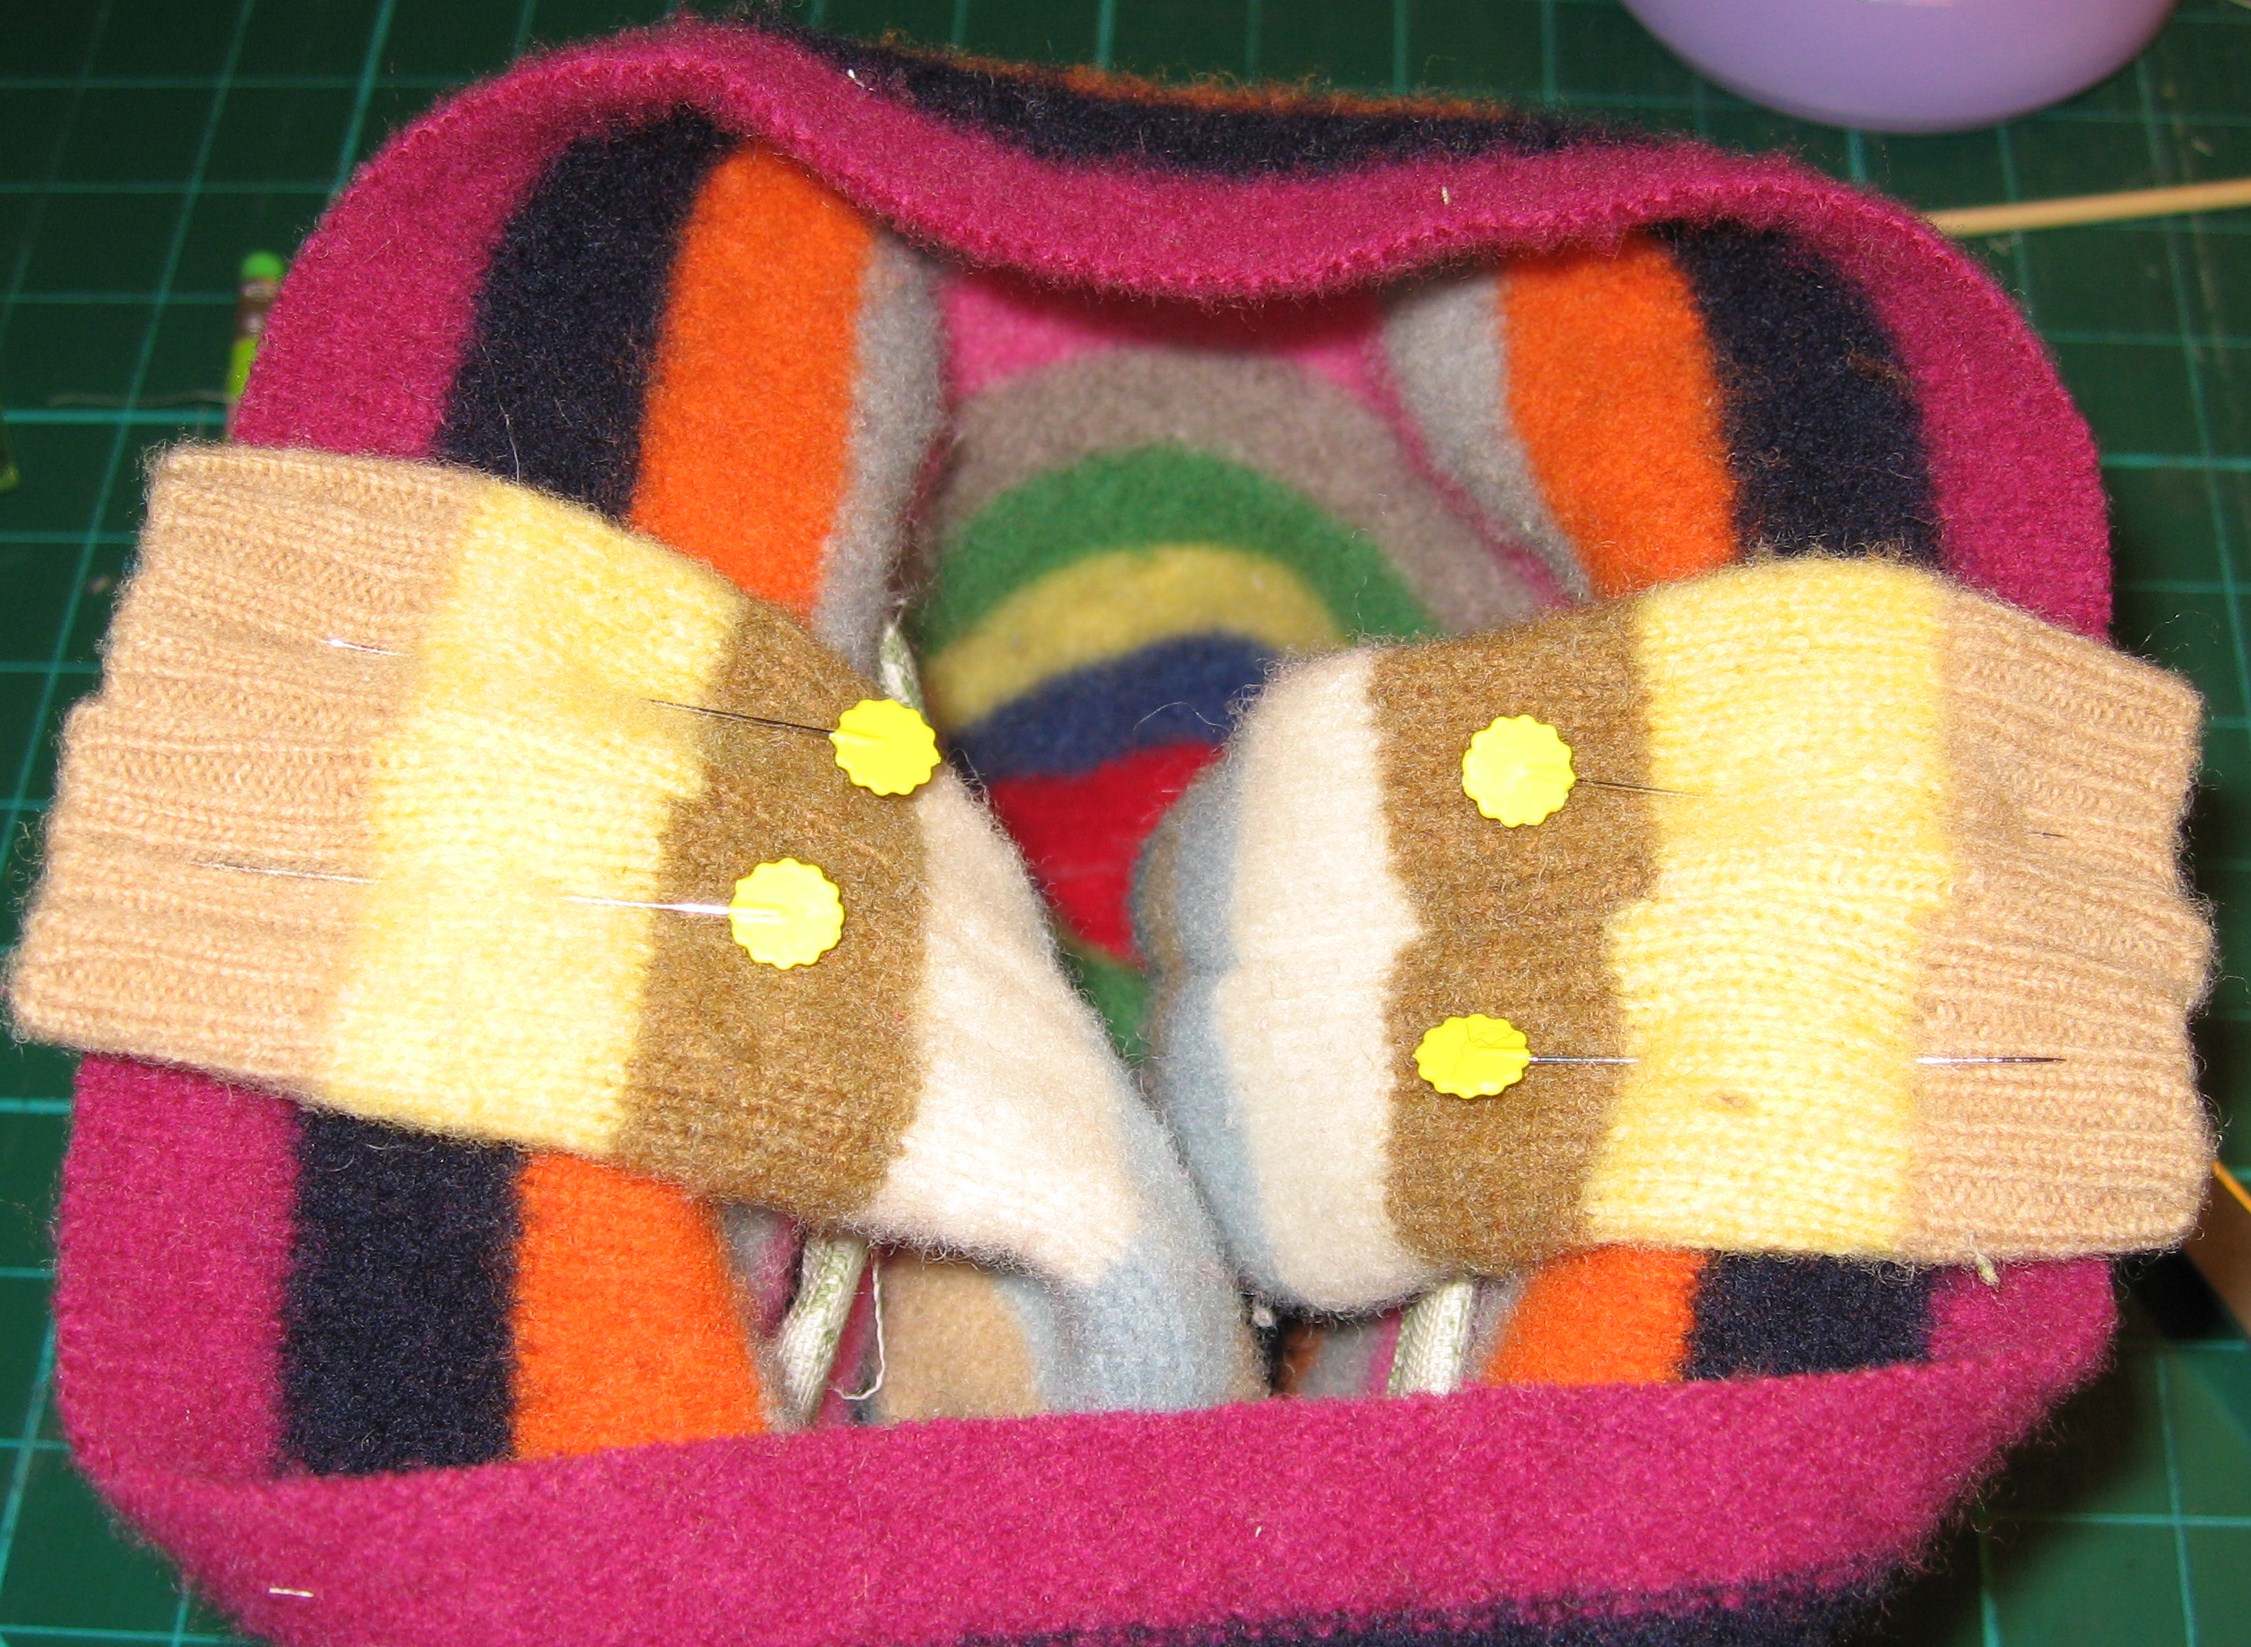
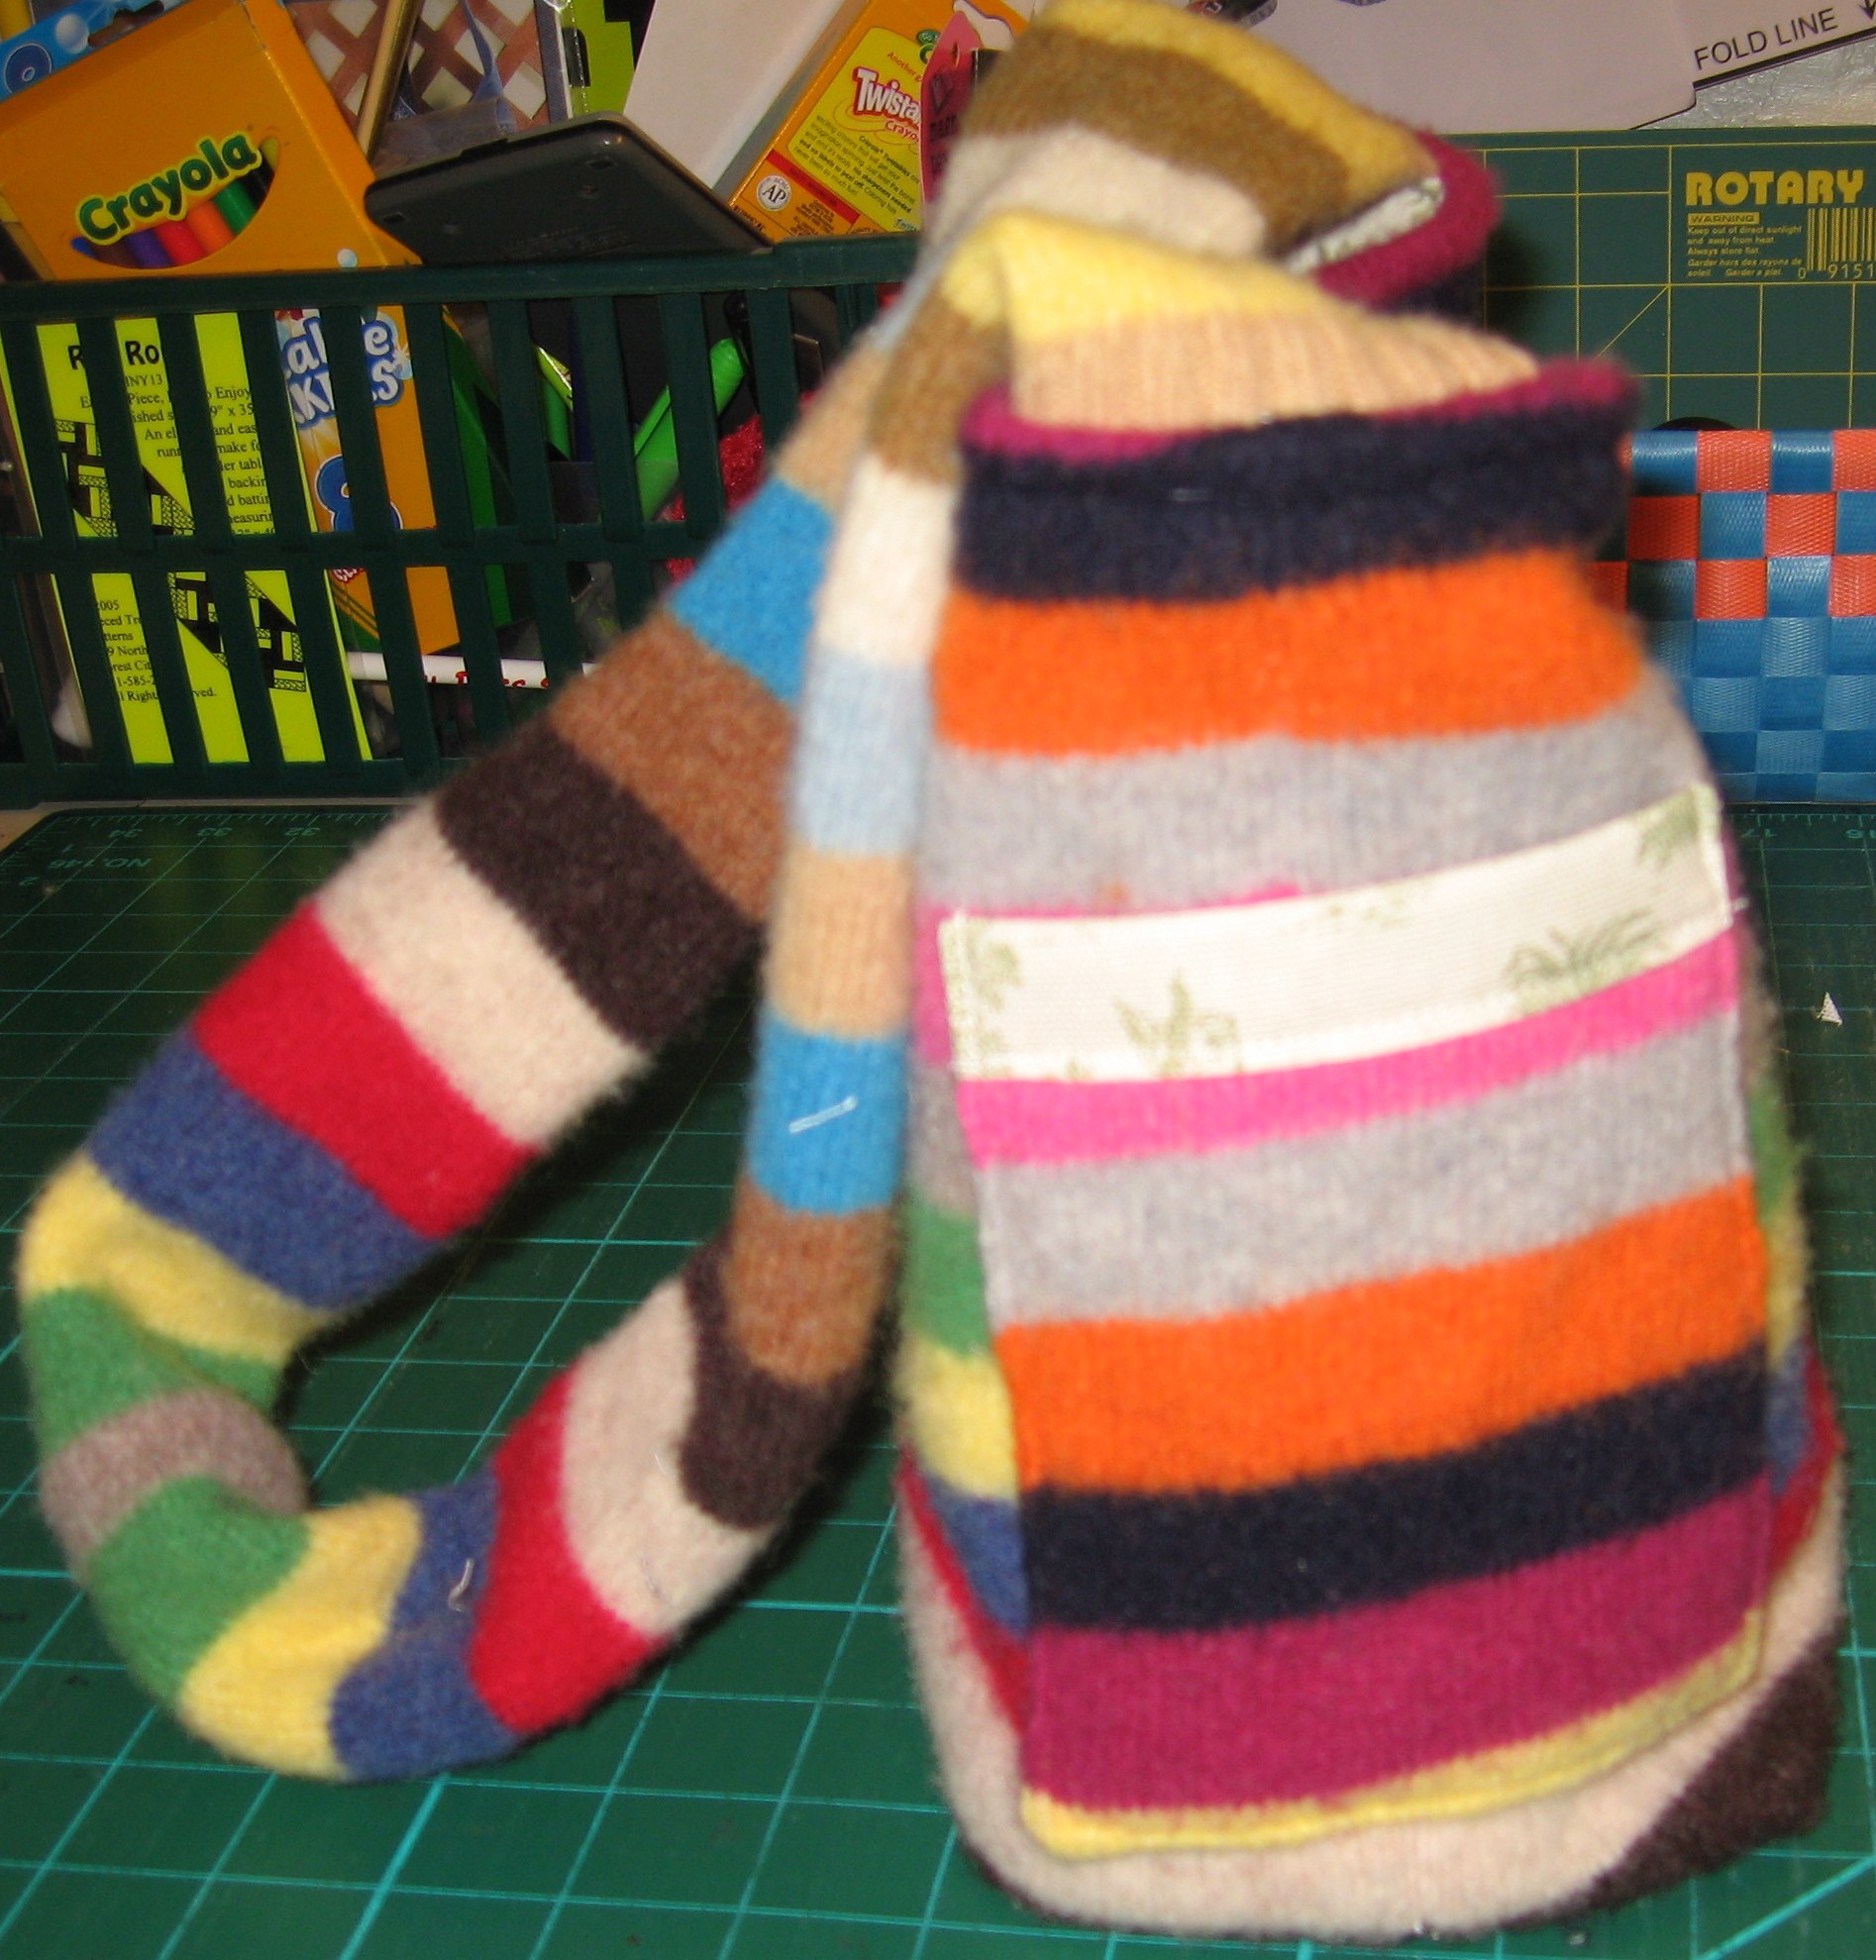
Center and pin straps to side seams, being sure to match right sides. Stitch in place.
Ensure the straps are inside and pin the lining to the sweater (outside of the bag), right sides together. Stitch around the top.
Turn the bag right side out through the opening in the lining.
Pin opening in lining. Stitch closed.
Turn lining inside, smooth and pin. Top stitch.
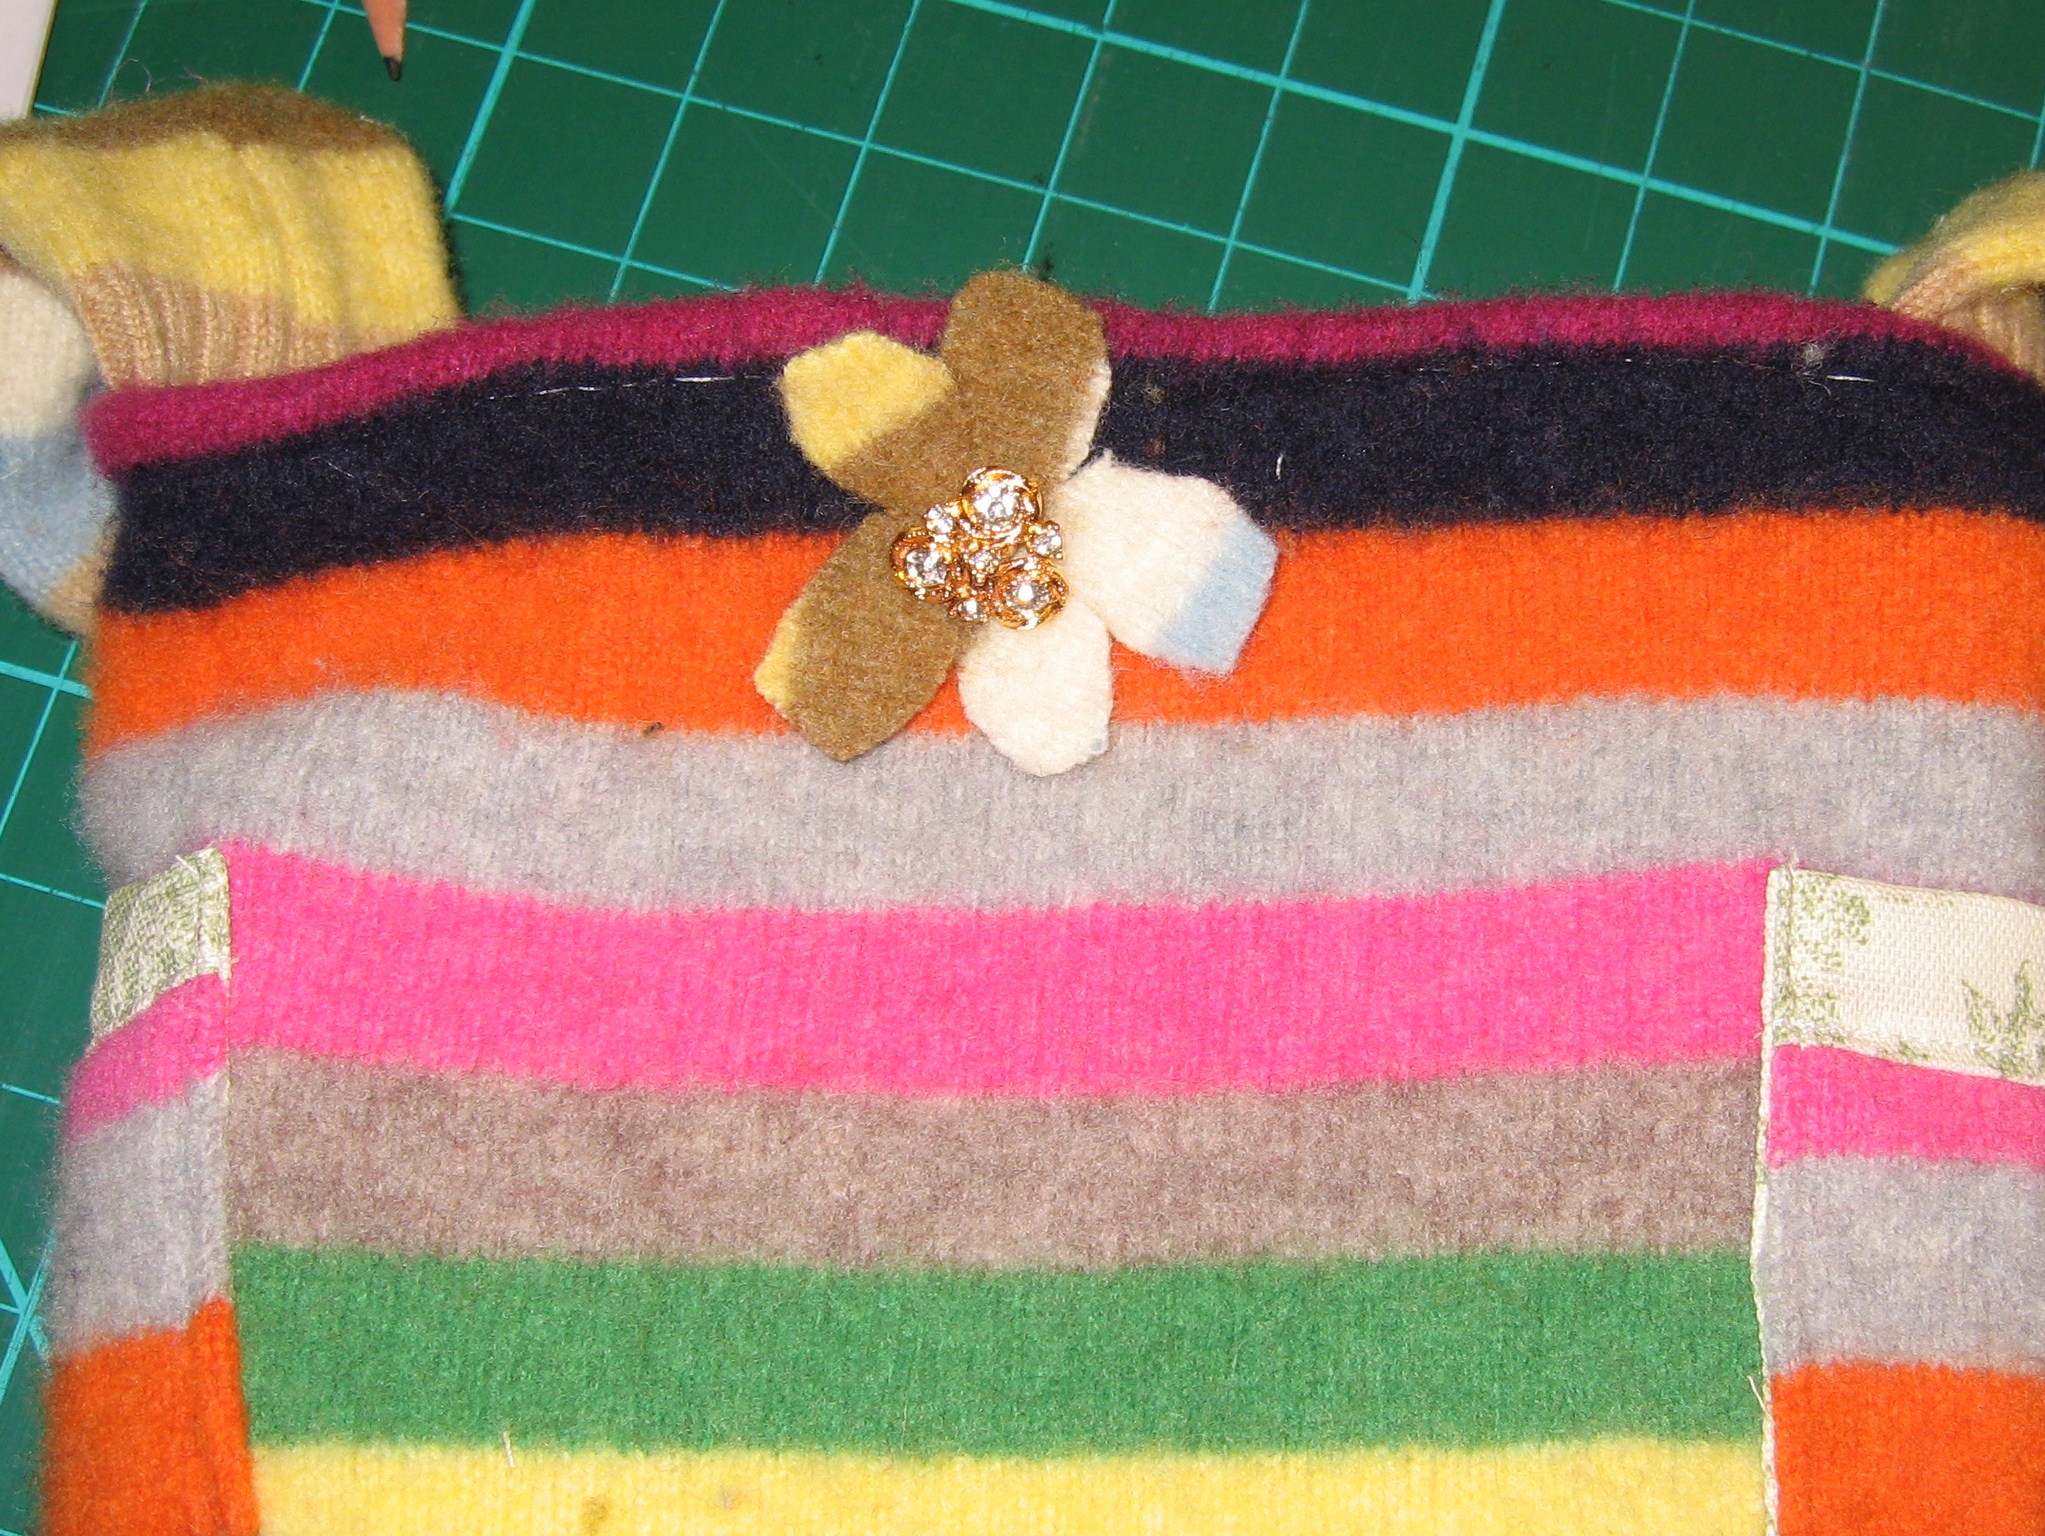
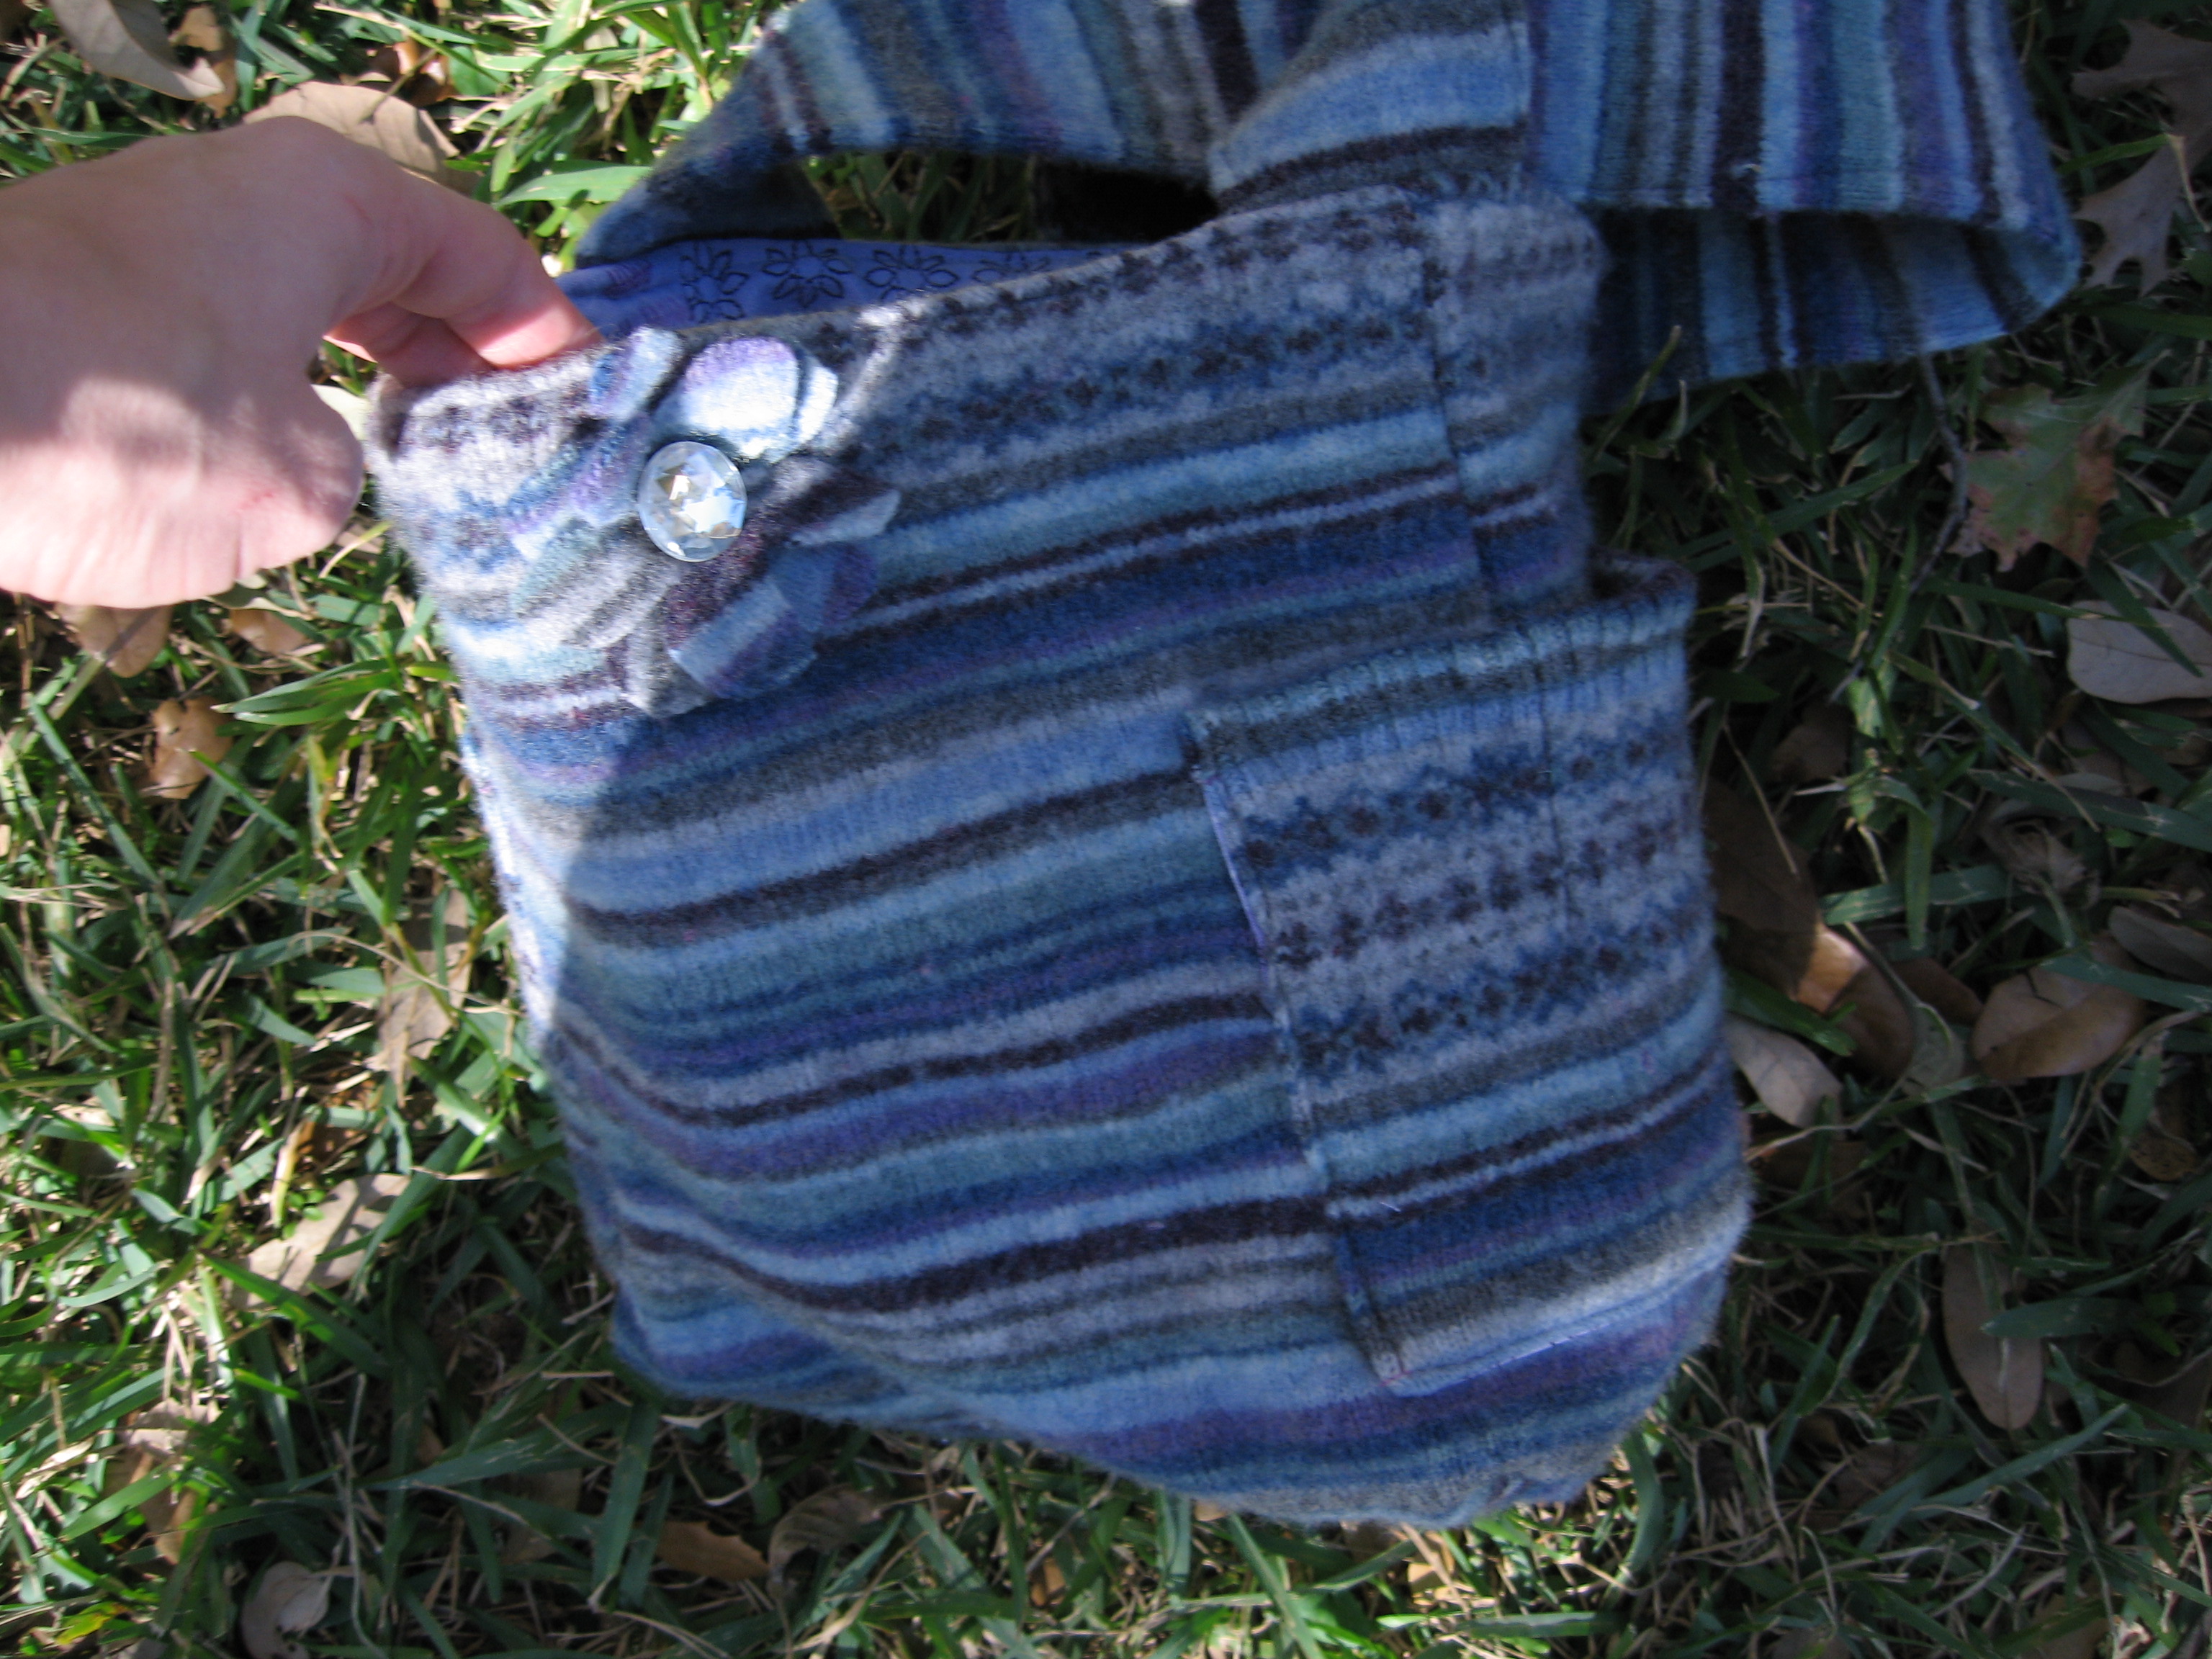
Stitch flower to center of each side over snap, stitch button on top. We are DONE!
What a fun way to recycle an old sweater!
Here’s a fun one I made with a cute purple sweater!
I’m a big thrift store shopper. Sometimes, I find great articles of clothing that are the perfect size for one of my kids, but I know they won’t wear it because of a design or picture that’s on it. They’re both really into black at the moment and I found a great black hoodie sweatshirt the perfect size for my son. The price? $1.25. Could I pass that by? NO WAY.
The drawback? It came with an embroidered image of The Grinch. Cute, yes, his style, absolutely not!
After having the sweatshirt linger in my “to do something with” pile for a while, it occurred to me that I have all kinds of odds and ends leftover from other projects that might update the shirt and make it ready to wear.
One Levi’s pocket and about ten minutes of stitching later, and the update is complete and the hoody has gone from “Absolutely not!” to “Cool, Mom!”
It’s more of an update than reconstruction, but you get the idea!
To update a logo sweatshirt, you’ll need the sweatshirt and one jean’s pocket. Use a heavy-duty seam ripper to remove the pocket, or, if you feel comfortable doing so, a razor blade. Just be careful if you do!
A sewing machine is pretty much a must for this project, but if you want to try it by hand, you’ll need a heavy duty needle and a bit of patience to sew through all the layers!
Smooth out your sweatshirt.
Remove jeans pocket, being careful not to tear the fabric or cut yourself.
Pin the pocket in place. You can go for a straight angle like I did here, or turn it a bit left or right for a more interesting look.
From the front, stitch carefully around the pocket using the existing stitching lines. Reinforce at the corners and top of the seams.