Tag Archives: reconstruction

TTMT #561 – That was fun!

In which I talk a little bit about Quiltcon and a whole lot about what I worked on over the last week.

We walked around and around and around Quiltcon and enjoyed all the fabulous quilts, the vendors, and each other’s company. The charity quilts were by far my favorites. I might be a bit biased because: A) charity quilts! and B) I saw quite a few of my text fonts floating around out there.

I neglected to say that Jennifer R brought TWO BAGS of Linus quilts she’d quilted, one bag from tops I’d given her to quilt and the other bag full of her quilts to donate as well as one from Laura from Fandom in Stitches. I’ll absolutely do a show and tell of those quilts soon! If you need a long arm quilter, she is AMAZING.

signature-2016

Posts on this blog may contain affiliate links. Thank you for your support. ♥

A Special Project for my Brother

20190131_142939

It’s done!

After Christmas, my little brother gave me his whole cloth baby quilt our grandmother made for him over 40 years ago with the mission to “save it.”

The back was transparent and dry rotted. Many of the original hand ties were missing. The edges were frayed and poking out. The quilt was oddly lumpy.

I really struggled with where to start. I considered patching it, but then quickly realized it was too damaged to just be patched. It’s a quilt full of love and meaning for my brother and I wanted to make sure I did this right.

I shared the “before” quilt on Talk to Me Tuesday earlier this week and then I just dove in. I had to fix this quilt and it wasn’t getting done sitting on the table in my sewing room!

image-20190130_160336

In the end, I took the whole thing apart, carefully picking out every stitch. The inside was layers of old sheets and flour sacking!

20190130_171122

image-20190130_161824

One of the layers was completely shredded and had turned into fluff, which created the random lumps. I sprinted the vintage fluff outside for birds to use in their nests.

To complete my mission to save this quilt, I hand washed the original fabric top and added a super lightweight fusible to the back for stability and to help close some of the tiny holes created by the ties.

20190131_115518

20190131_115509

I kept the sheet that was inside for the weight but replaced the shredded flour sacking with my favorite Hobb’s 80/20 batting. I carefully basted the top, batting, and old sheet and then serged the edges together.

20190131_121228

Then I added a new soft flannel back, rebasting and hand tying to keep it as close to the original configuration as possible.

20190131_122217

20190131_132714

The back is turned to the front and stitched. The finish is as close to the same as I could make it.

20190131_125404

I shared a photo with my brother and he’s a happy camper. It’s already in the mail back to him.

PhotoGrid_1549052143148

PhotoGrid_1549052173690

This was a very emotional project and I felt like I was communing with our grandmother while I worked on the quilt. I did record a bit for TTMT before shipping this guy off, so look for that next Tuesday.

Have a wonderful weekend!

signature-2016

Sewhooked Pattern Shop

My Quilty Facebook ♥ Sewhooked on FB

Sewhooked Facebook Group

Instagram

Posts on this blog may contain affiliate links. Thank you for your support. ♥

TTMT #499 – Piratey Preview

Holly Jolly Christmas

All of my Winter and Christmas themed paper pieced patterns are on sale in my Etsy shop through December 2018!

Please note this is ETSY only and not available on Craftsy.

Sewhooked Snowflake Title

New Freebie – 10″ paper pieced!

Download Sewhooked Snowflake from Craftsy or Save/Print from Google Drive

signature-2016

Craftsy Pattern ShopEtsy Shop

FacebookSewhooked on FBSewhooked Facebook Group

InstagramFlickrTwitter

Posts on this blog contain affiliate links. Thank you for your support. ♥

TTMT #498 – Polly Want a Costume

Holly Jolly Christmas

Now through the month of December 2018, all of my Winter and Christmas themed paper pieced patterns are on sale in my Etsy shop!

Please note this is ETSY only and not available on Craftsy.

Sewhooked Snowflake Title

New Freebie – 10″ paper pieced!

Download Sewhooked Snowflake from Craftsy or Save/Print from Google Drive

signature-2016

Craftsy Pattern ShopEtsy Shop

FacebookSewhooked on FBSewhooked Facebook Group

InstagramFlickrTwitter

Posts on this blog contain affiliate links. Thank you for your support. ♥

TTMT #497 – Talking Parrots

Holly Jolly Christmas

Now through the month of December 2018, all of my Winter and Christmas themed paper pieced patterns are on sale in my Etsy shop!

Please note this is ETSY only and not available on Craftsy.

signature-2016

Craftsy Pattern ShopEtsy Shop

FacebookSewhooked on FBSewhooked Facebook Group

InstagramFlickrTwitter

Posts on this blog contain affiliate links. Thank you for your support. ♥

Pocketses

Make a pocket for workout pants from an old tee.

I am not an athlete and I never have been. I kind of loathe exercise and would rather be sewing. Ehem. That said, I do try to take care of myself. Seriously, I’m 40 and I’d rather not fall apart as I get older.

I have a fabulous collection of yoga pants and jersey shorts of varying ages. These are my favorites for taking a long walk in the morning, something my hubby and I have been making an effort to do on a regular basis (see above comment about falling apart).

One of the best parts of these walks is that I usually text with my best friend while we’re out.  My best friend, my husband and I have all known each other for about twenty years. We all shared a house in college and we’re all friends. Eli and I live in Austin. Jewells lives in Albuquerque. Texting gives us a way to walk together despite the geographic distance. It’s kind of awesome and I look forward to it every day.

What’s driven me crazy for ages is that my favorite workout pants have no pockets. No place for keys. No place for a phone. That’s great if I’m not leaving my house, but for a long walk when I want to take my phone and I want easy access to it? Not so much. I’ve tried pouches, hip bags, and neck slings. They all make me crazy. I just want a pocket!

And then this happened…

My hubby has been cleaning out his closet. He’s 6’5″ and I’m 5’5″. I love his big tees for sleeping in and sometimes I do things like turn them into pants or girl shirts for myself.

He pulled out a plain grey tee that had a pocket on it. I looked at that pocket and it hit me that it’s the perfect size for my cell phone, so I grabbed my handy Havel seam ripper (best seam ripper EVER!), and removed the pocket.

When I flipped it over, WHAM!, I realize it I can use the bottom of the tee to make more pockets just like it!

This was a serious case of “Why did I not think of this before?!”

Make a pocket for workout pant from an old tee.  Make a pocket for workout pant from an old tee.

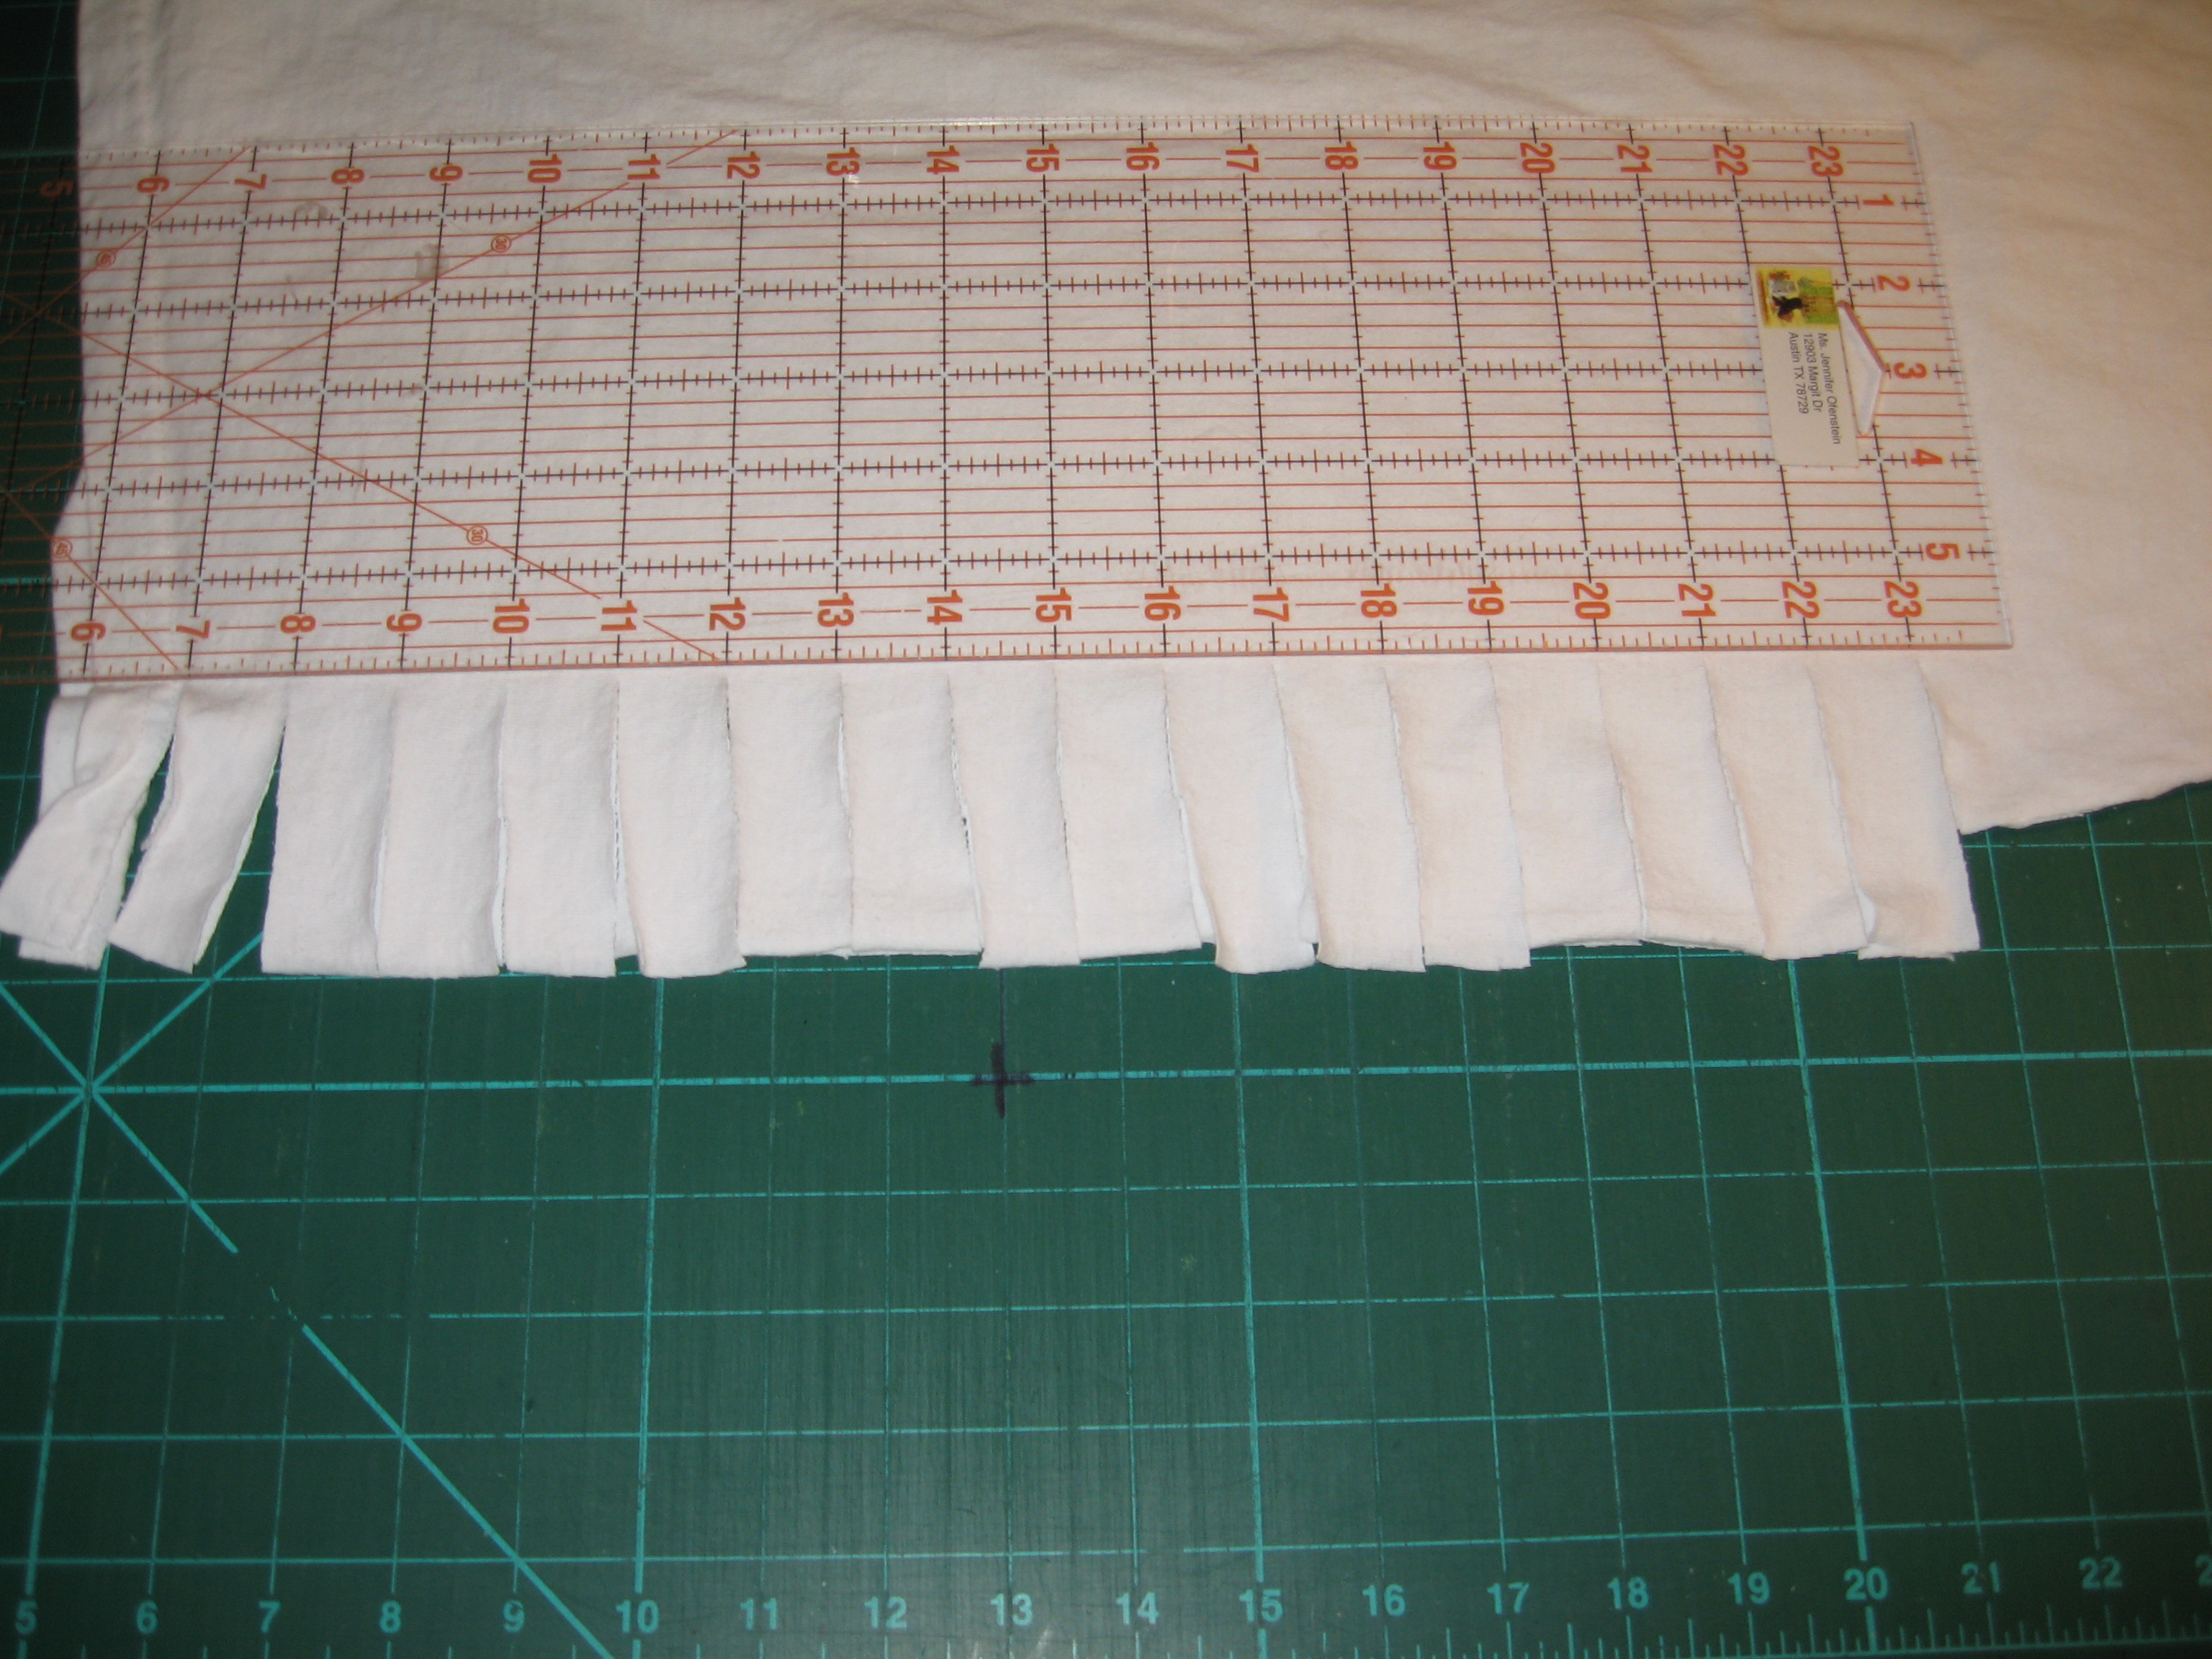
This is the pocket I Removed from the tee. It is an approximately 6″ square before the bottoms and sides have been folded in, including the seam.

Make a pocket for workout pant from an old tee.

I cut a 6″ strip from the bottom of the t-shirt, leaving the hem intact. I then subcut that 6″ strip into 6″ squares. Using the original t-shirt pocket that I removed from the same shirt, I pressed the squares to match. I used Best Press and steam to get them seams to stay. My iron was a little over enthusiastic with the steam…

Make a pocket for workout pant from an old tee.

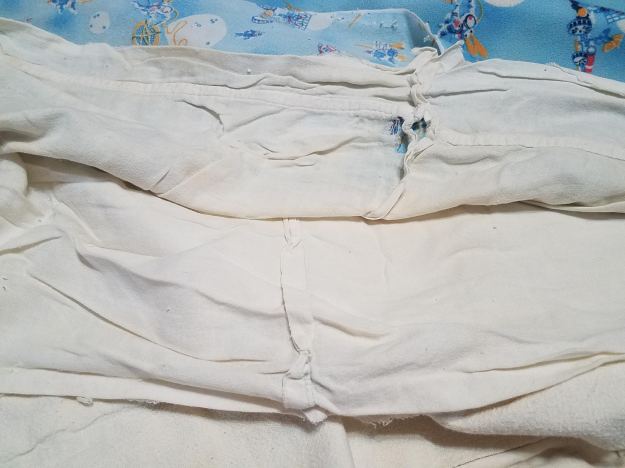
This is the original t-shirt pocket on navy yoga capris. I lined it up just below the elastic and the string in the waistband.

Make a pocket for workout pant from an old tee.

Pins are good, just to keep everything in place.

Make a pocket for workout pant from an old tee.

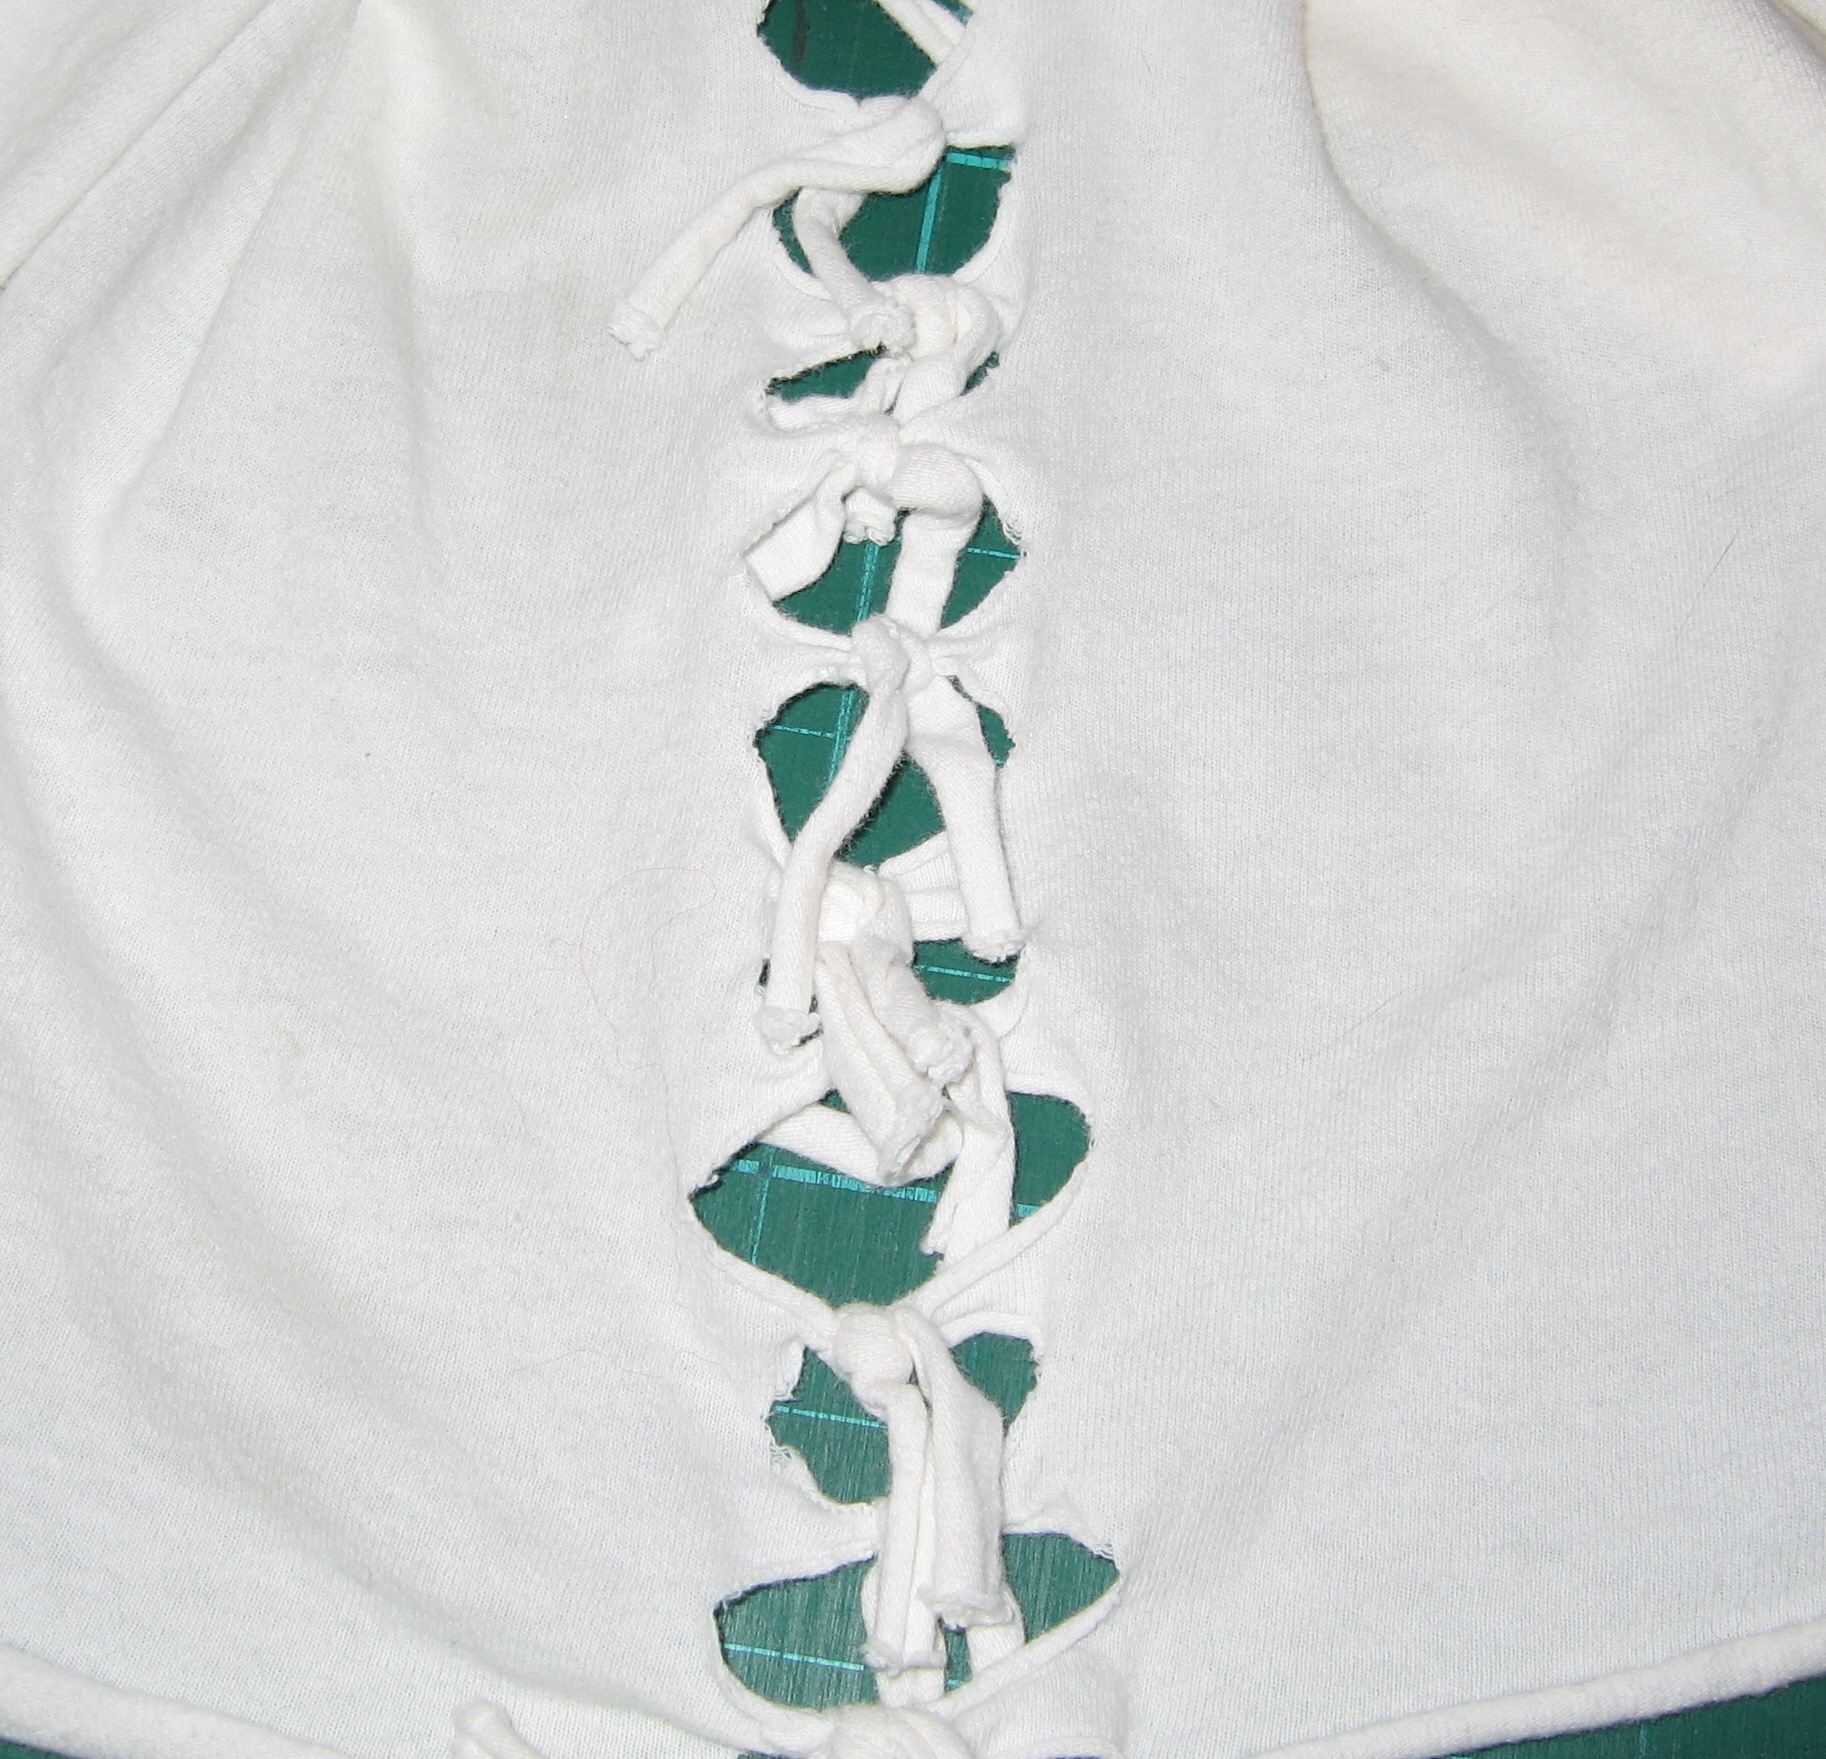
I stitched around each pocket using a ball point needle and a stretch stitch. Ball point needles are made for stitching through stretchy fabrics like jersey and makes stitching it much, much easier. Stretch stitches have “give” so that when the fabric stretches, the thread doesn’t snap. Most sewing machines will have at least a basic stretch stitch. A narrow zig zag works just as well.

In the end, I placed all the pockets in the same spot, on the left hip. It’s been a couple of days since the addition of the pockets, and I LOVE them. My phone fits perfectly and it’s easy to grab when I get a text from my bff. I can even keep my house key in the bottom and it doesn’t interfere with my phone at all.

So, what became of the rest of the shirt?

XXL Tee to Tank Top
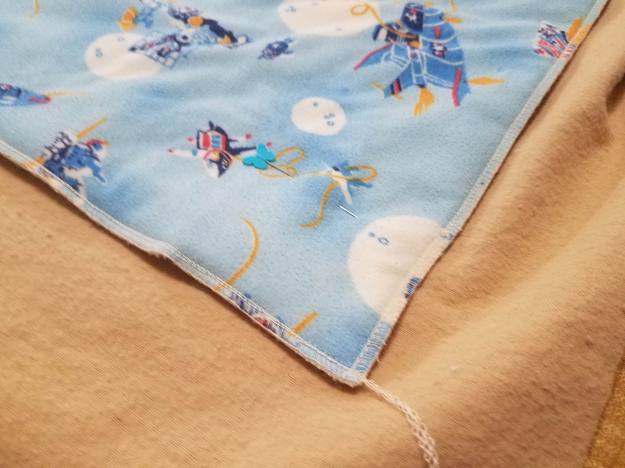
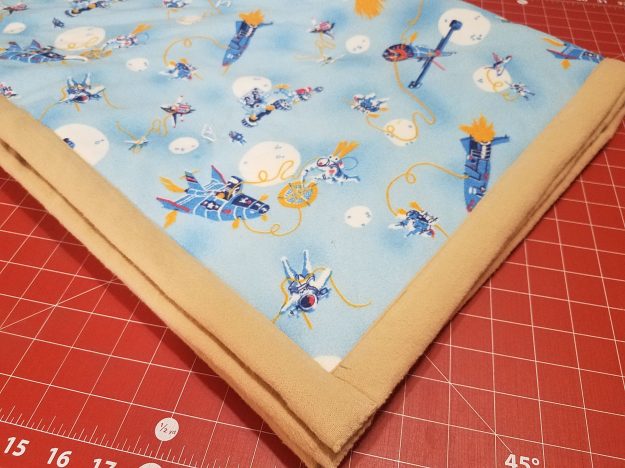
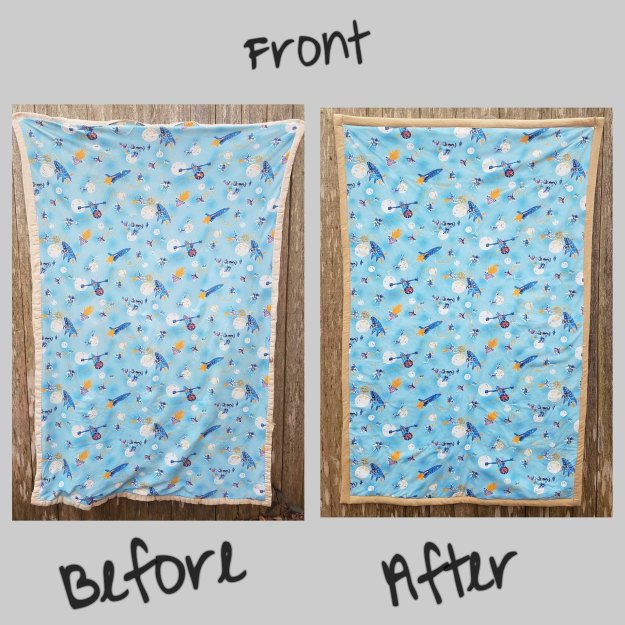
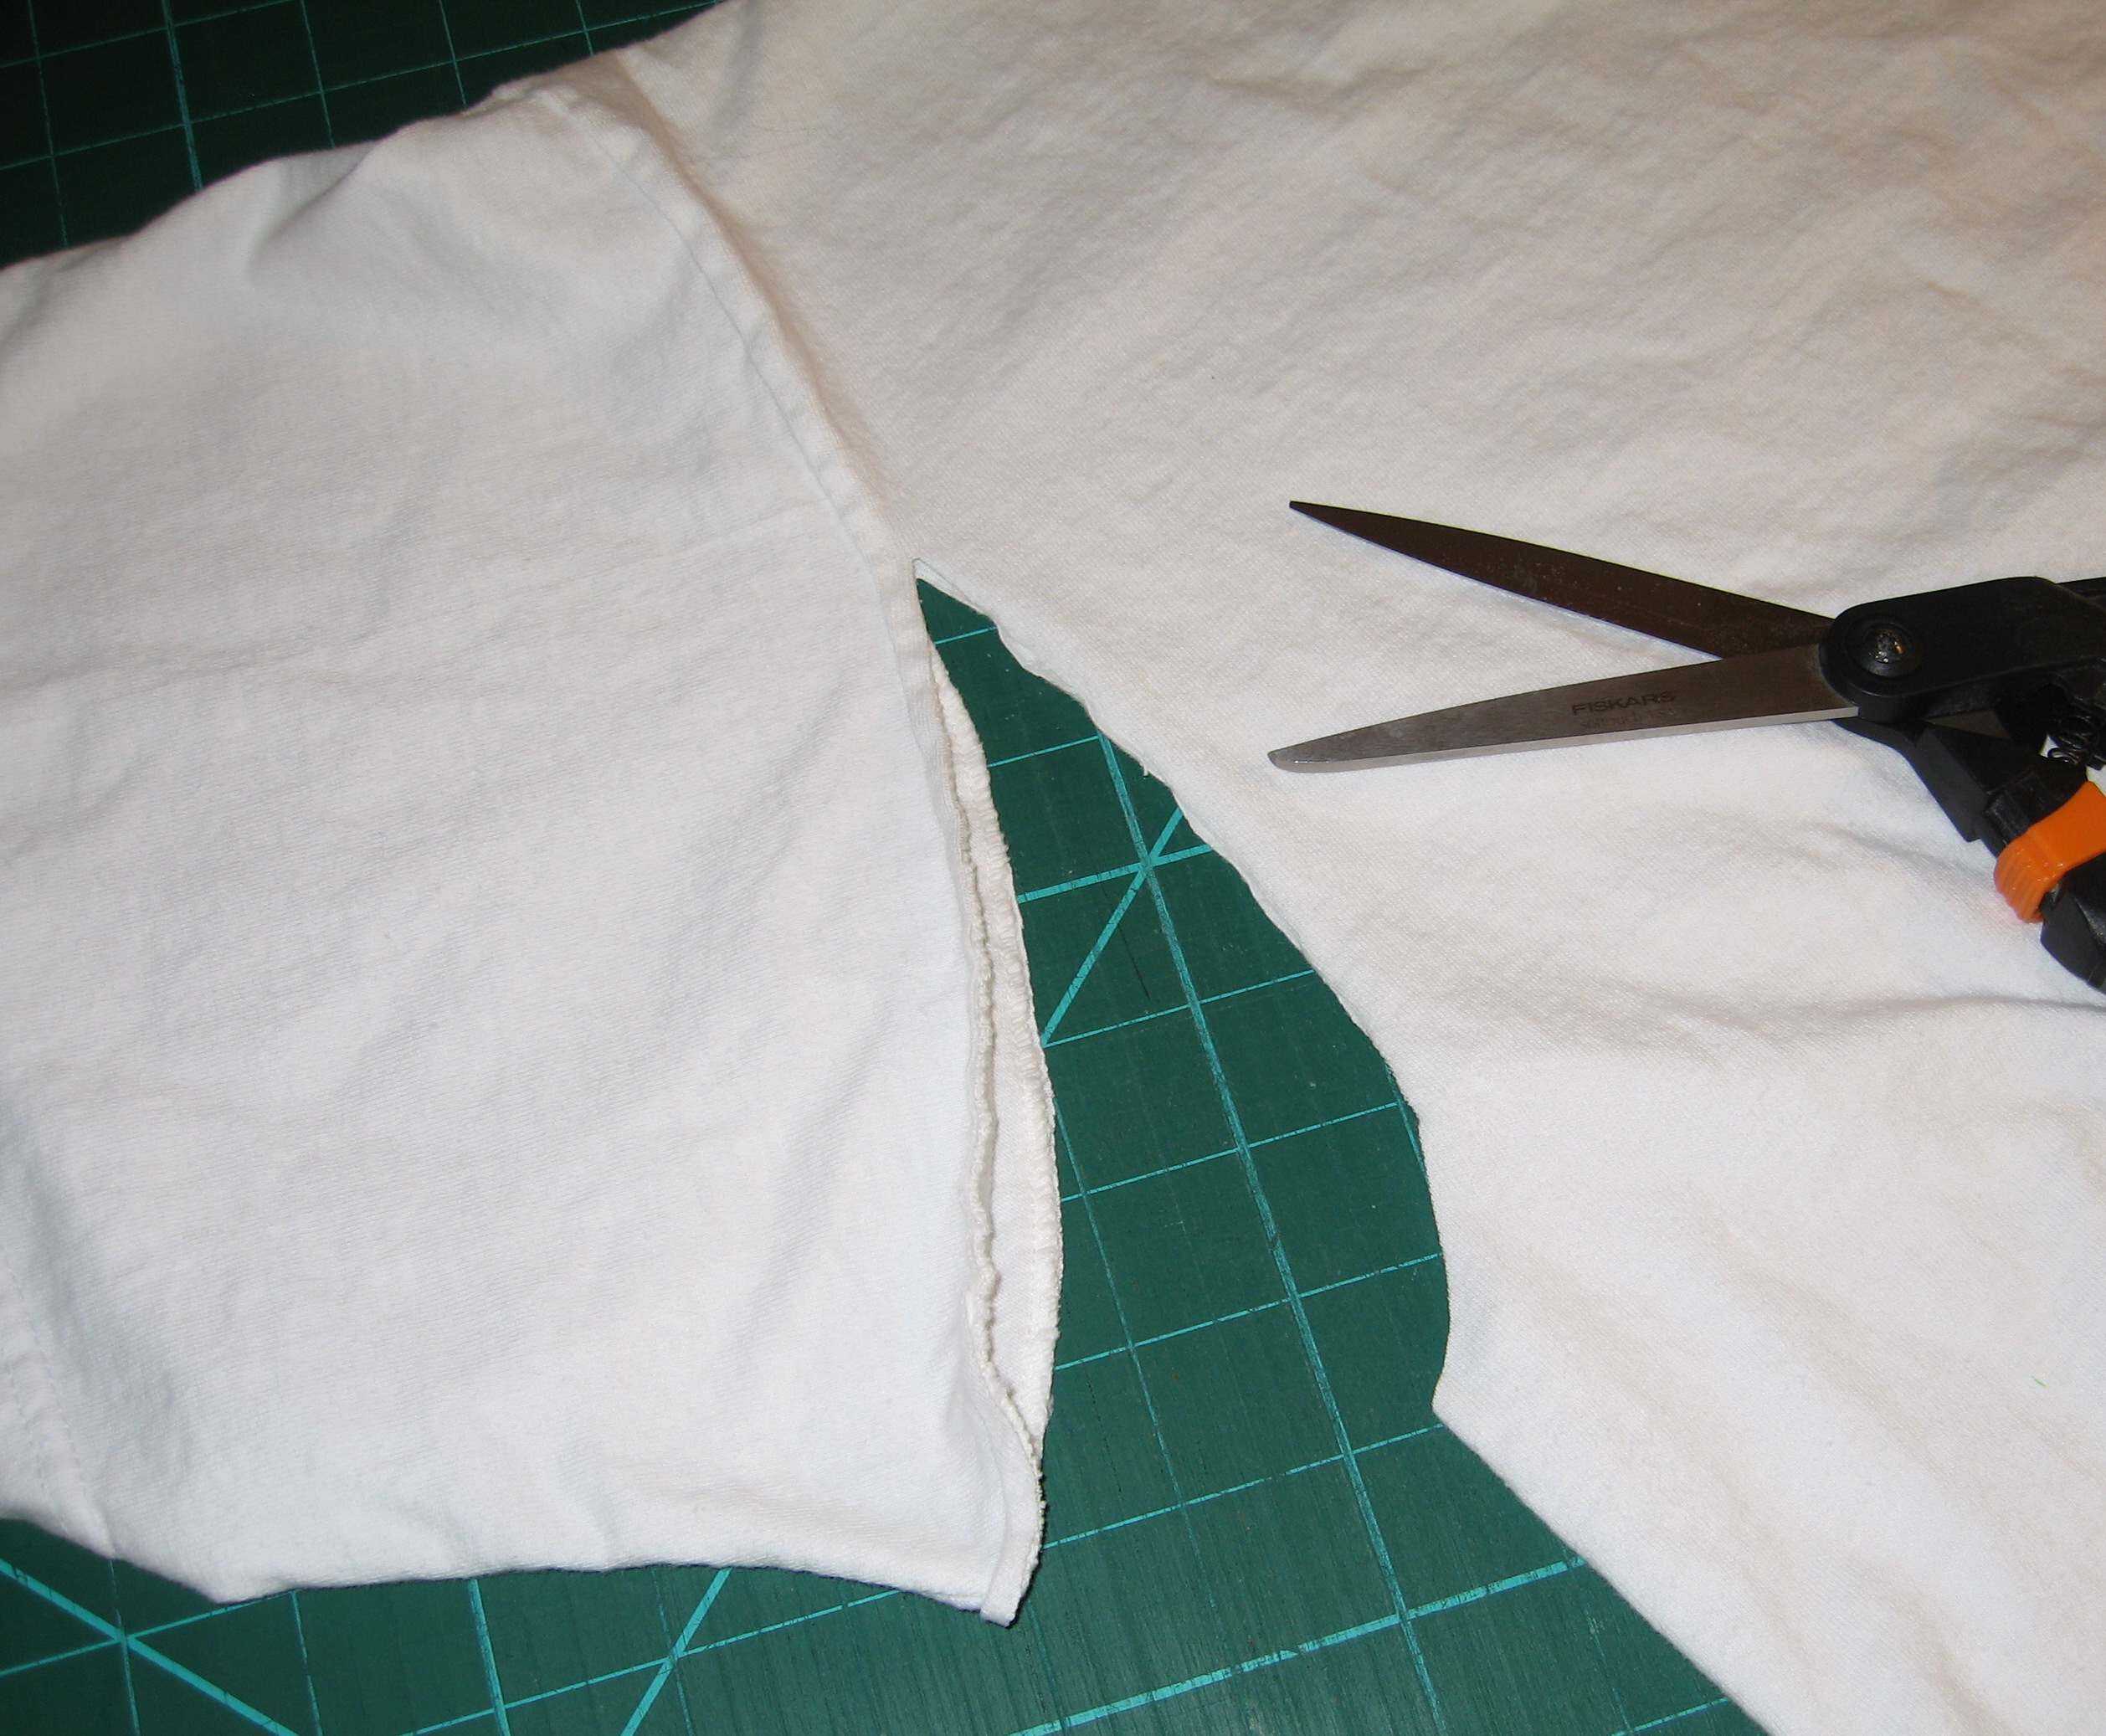
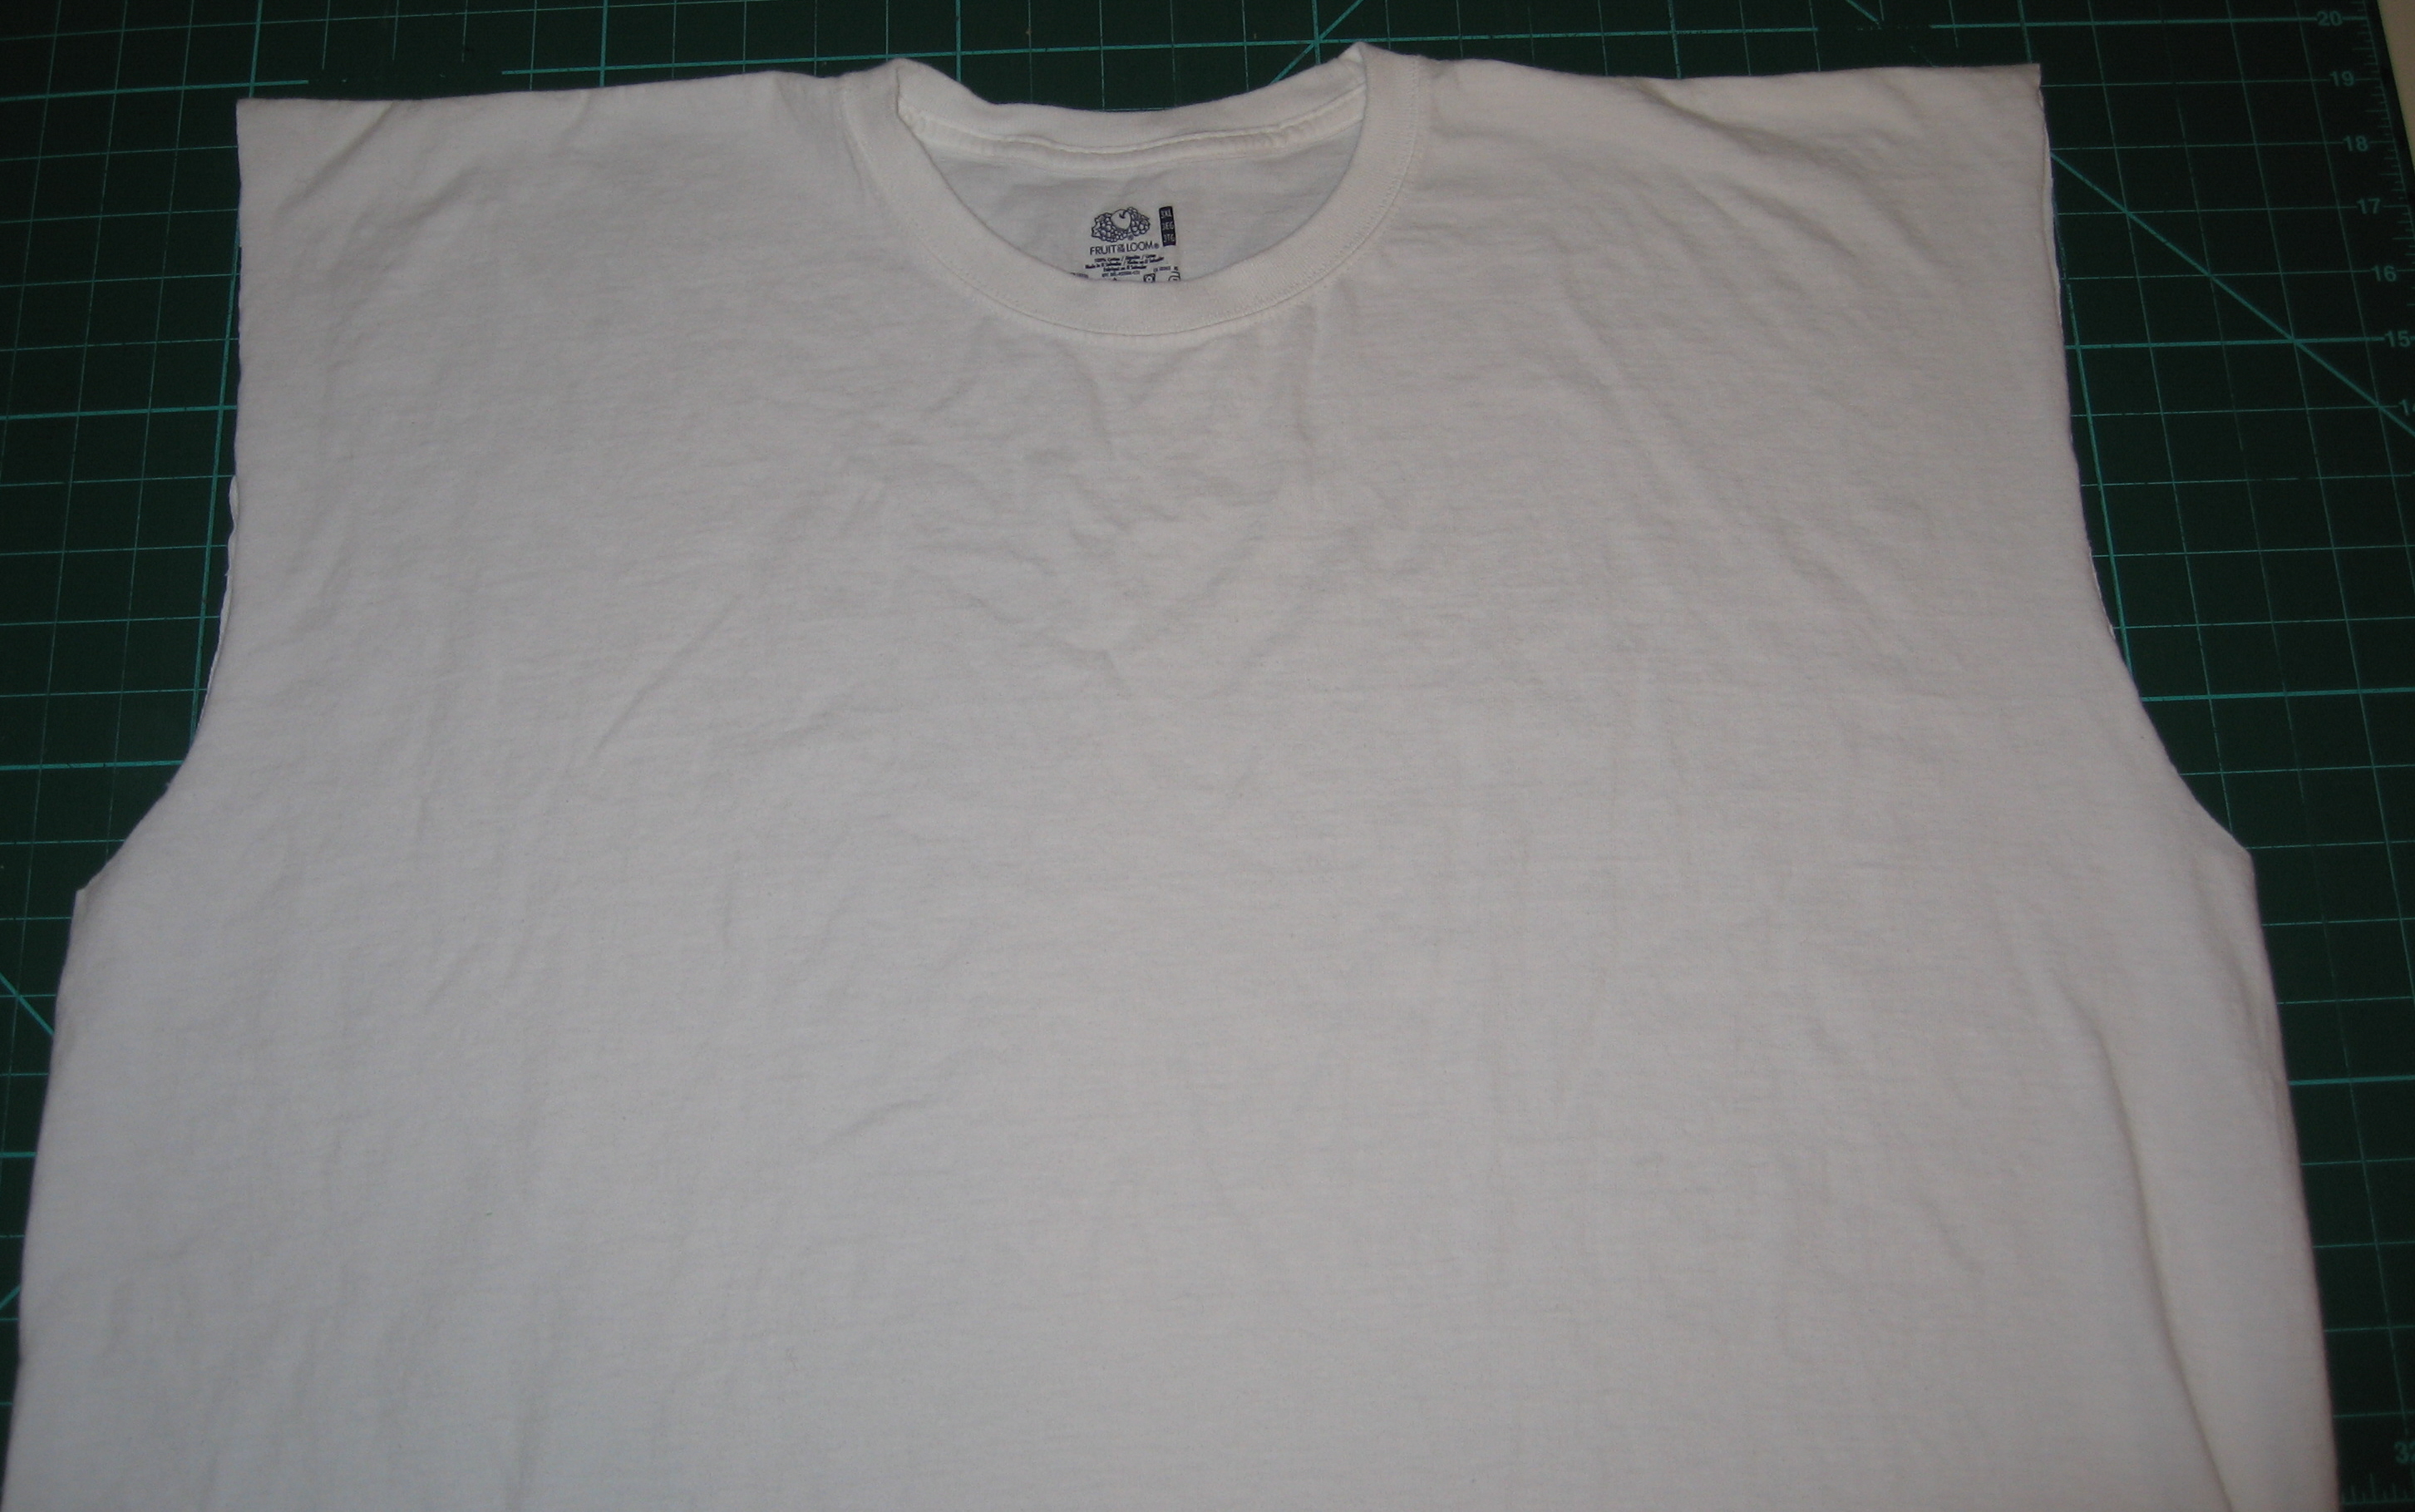
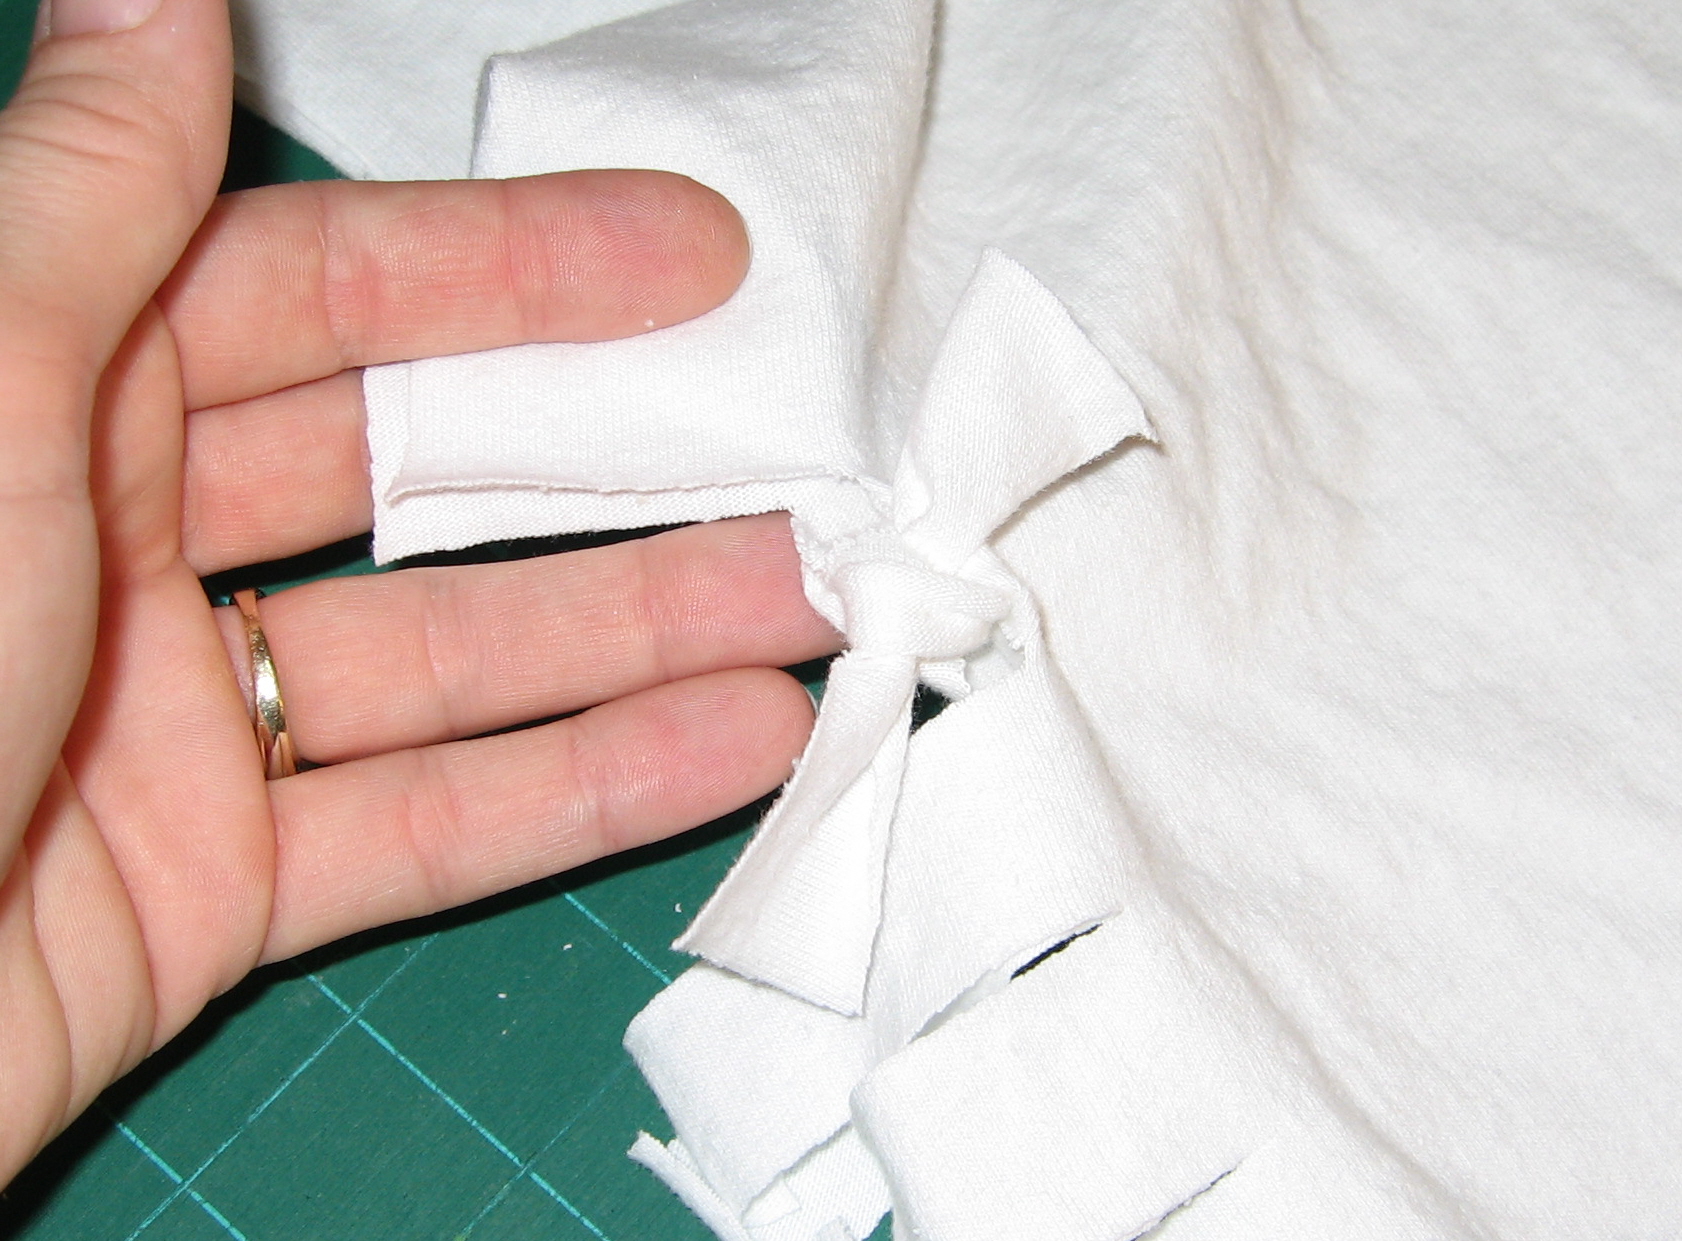
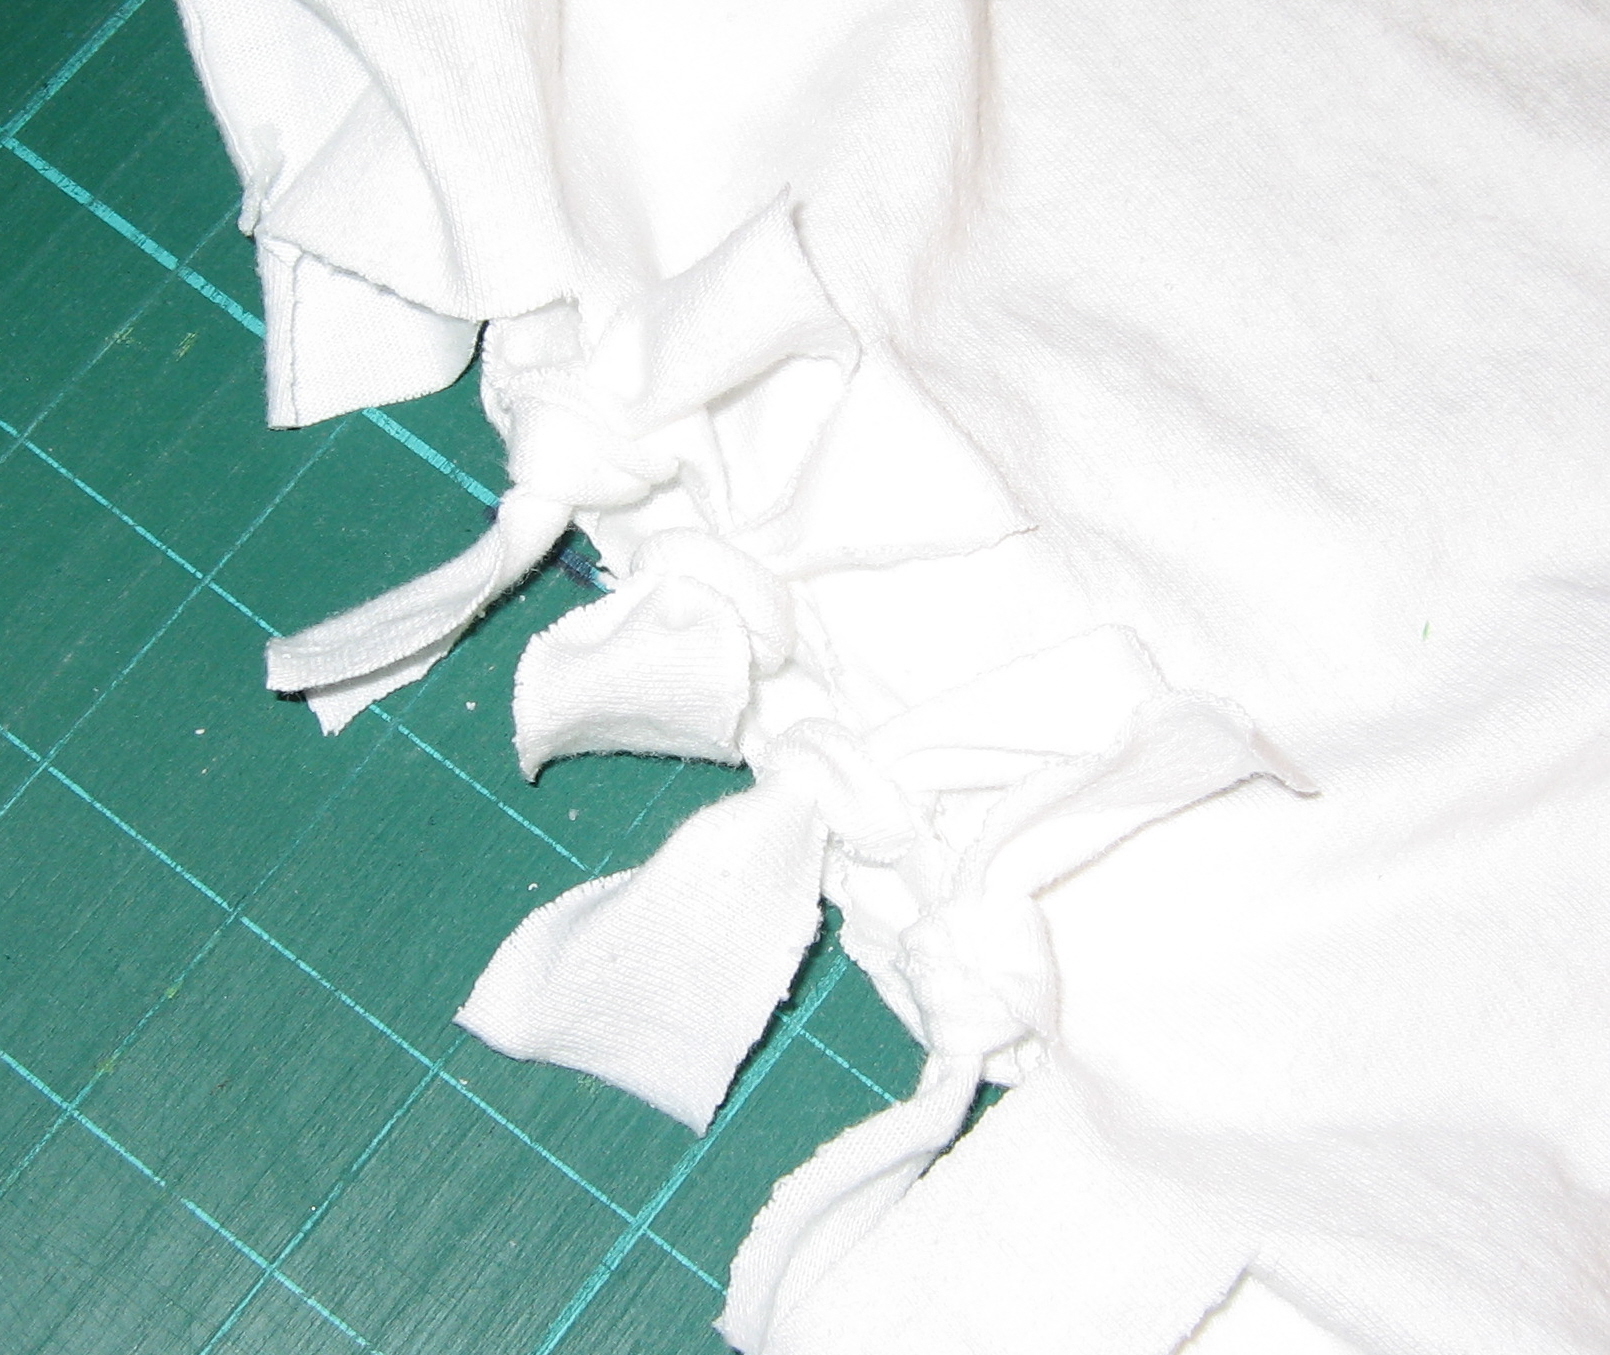
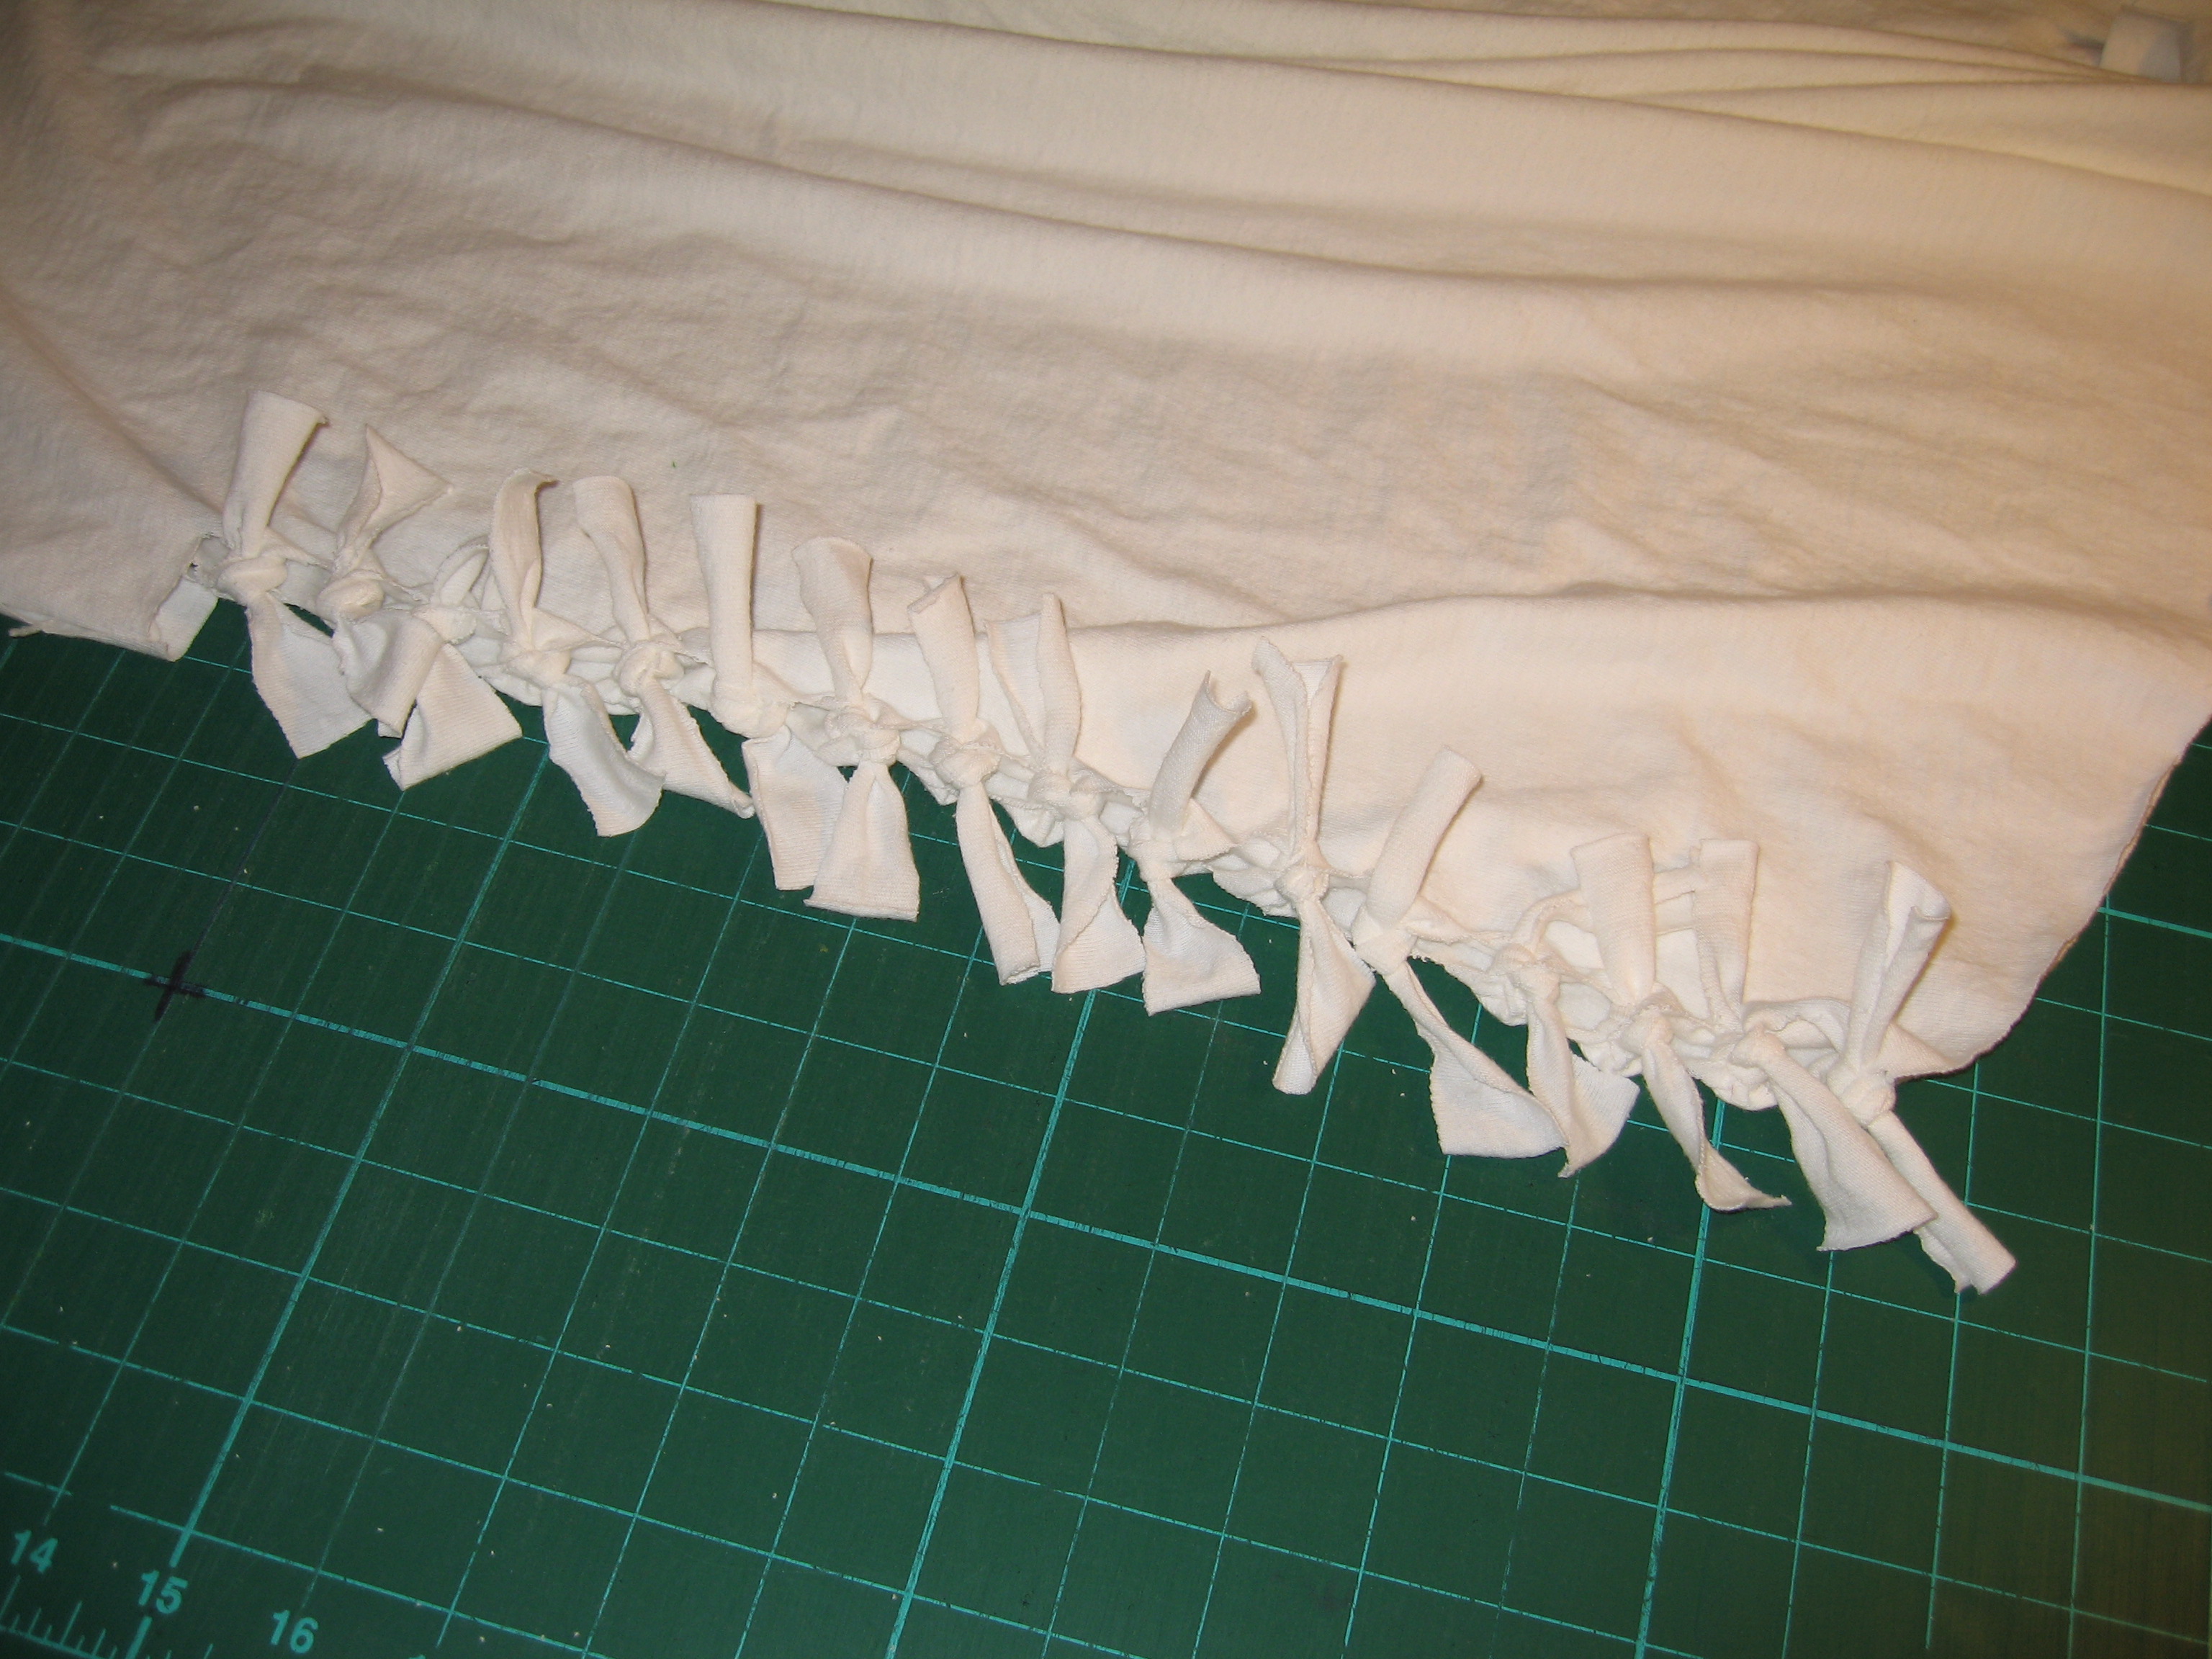
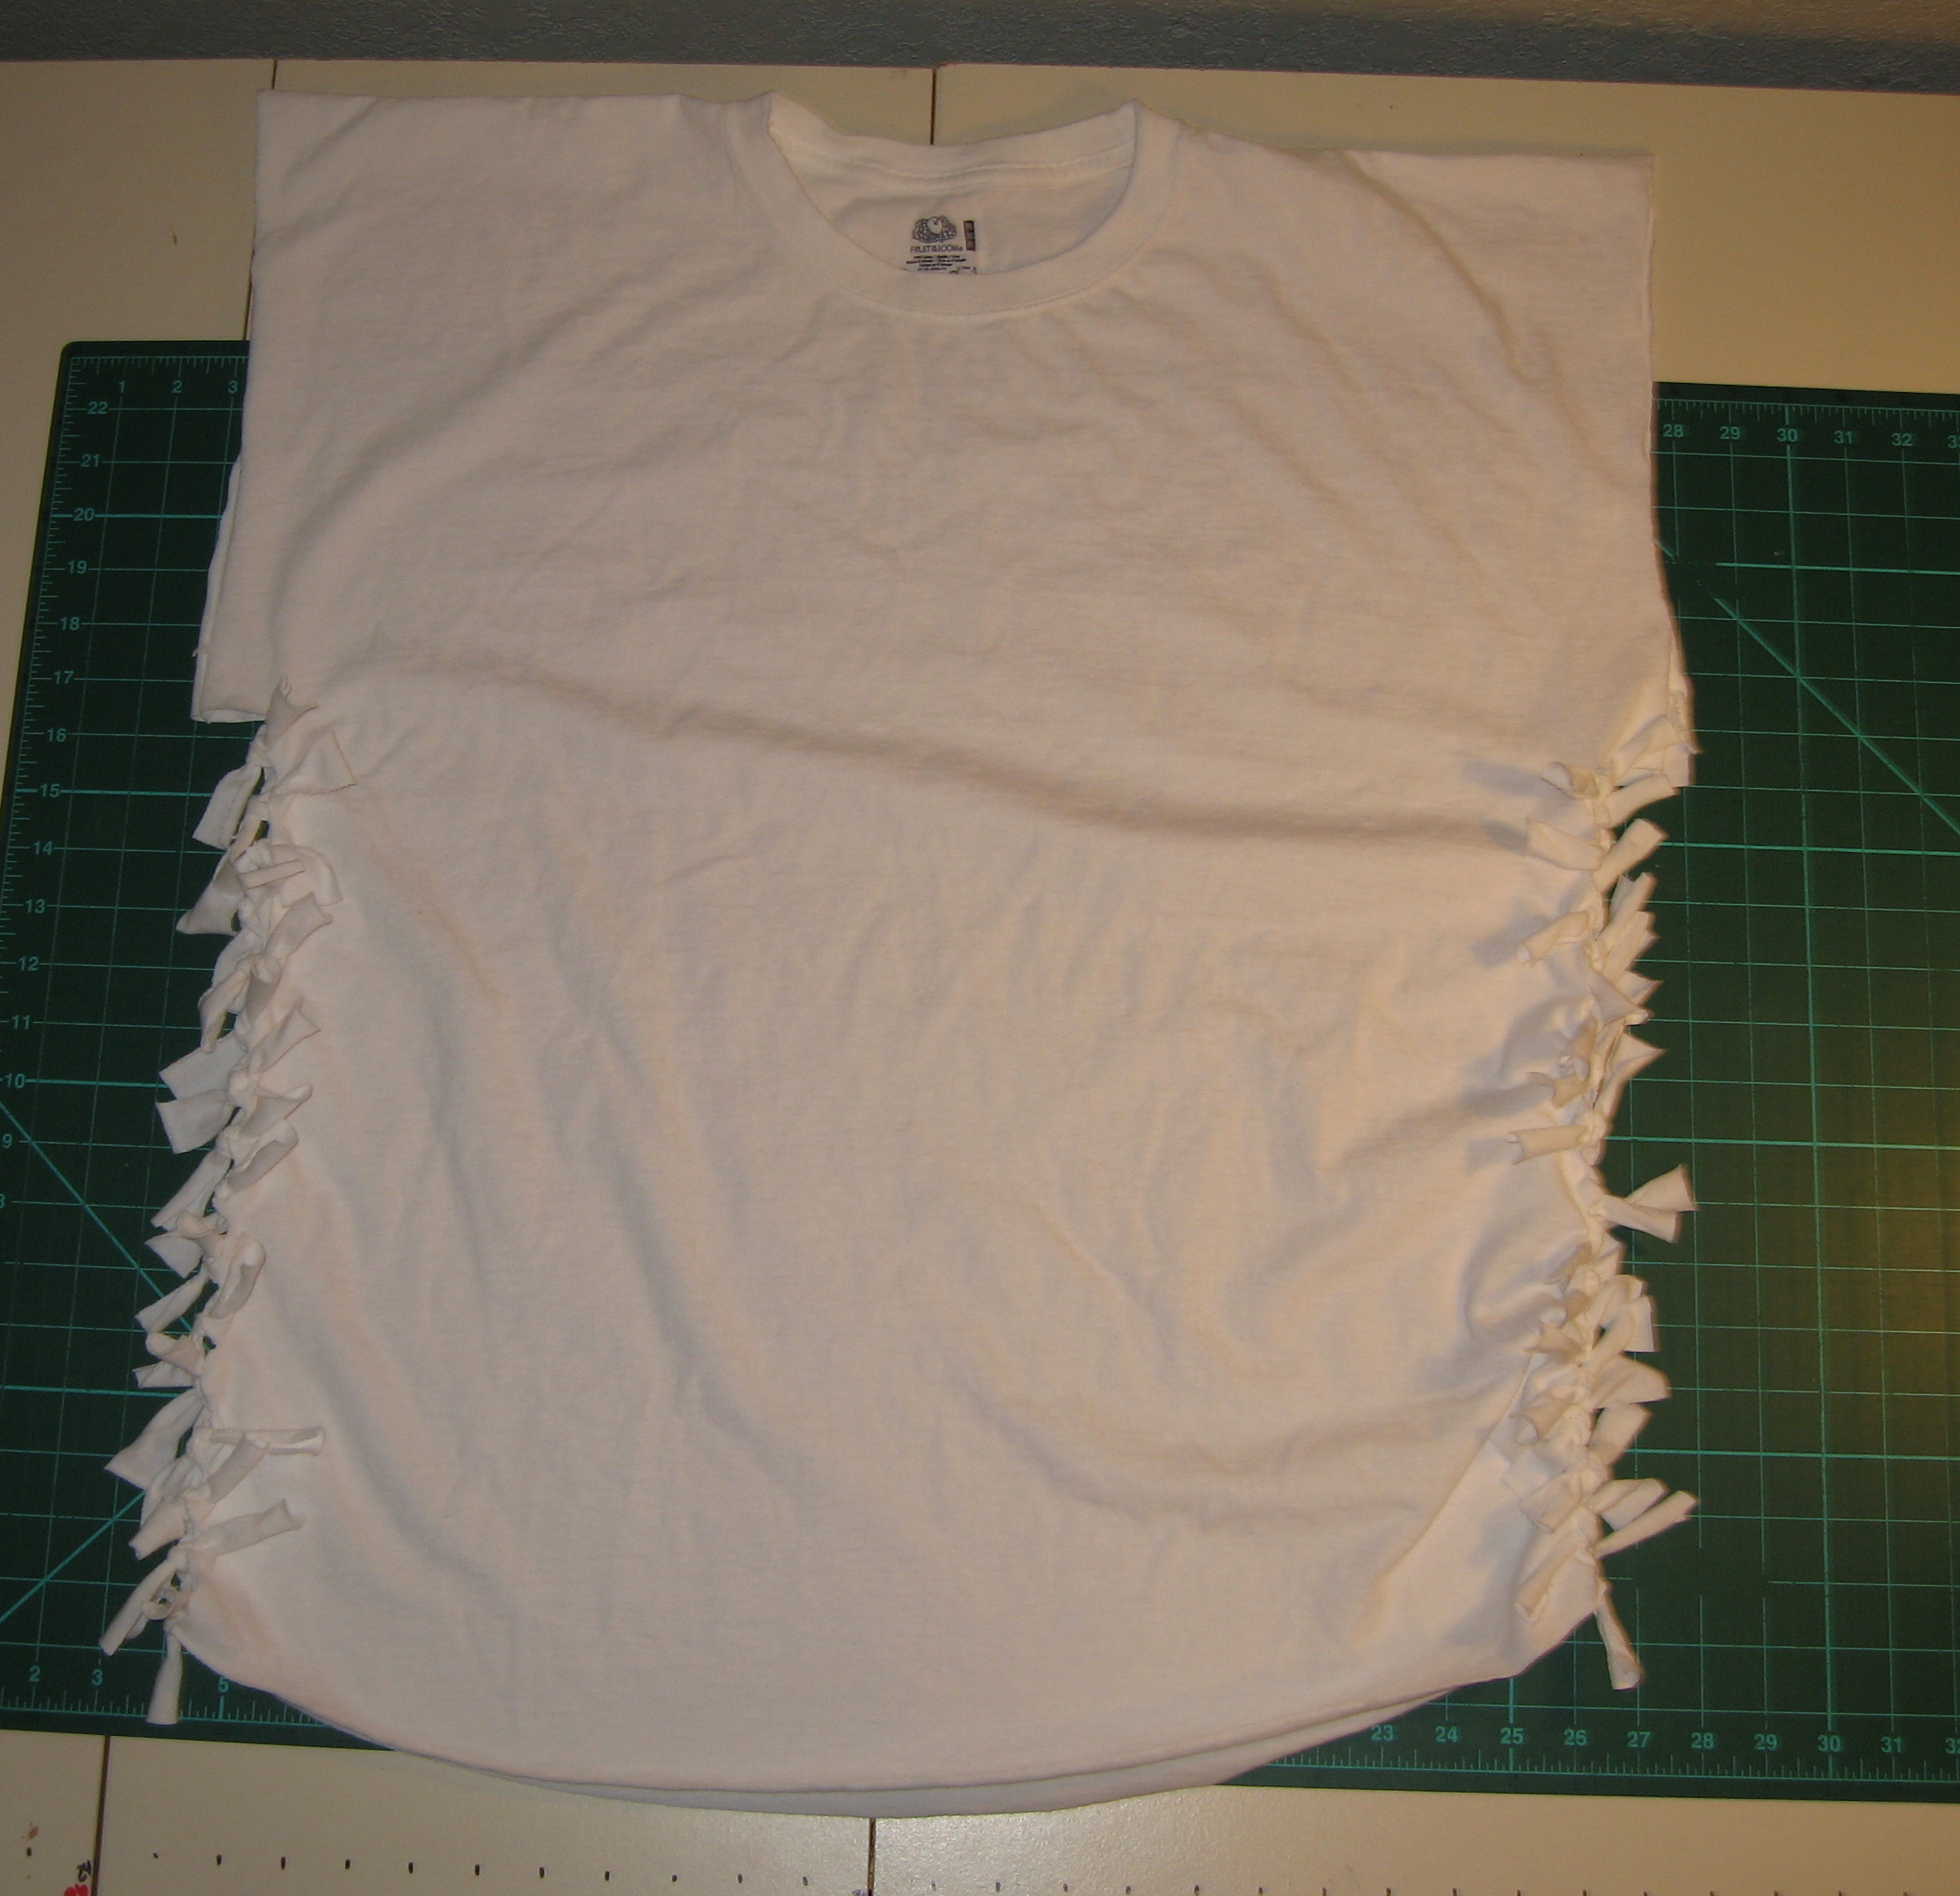
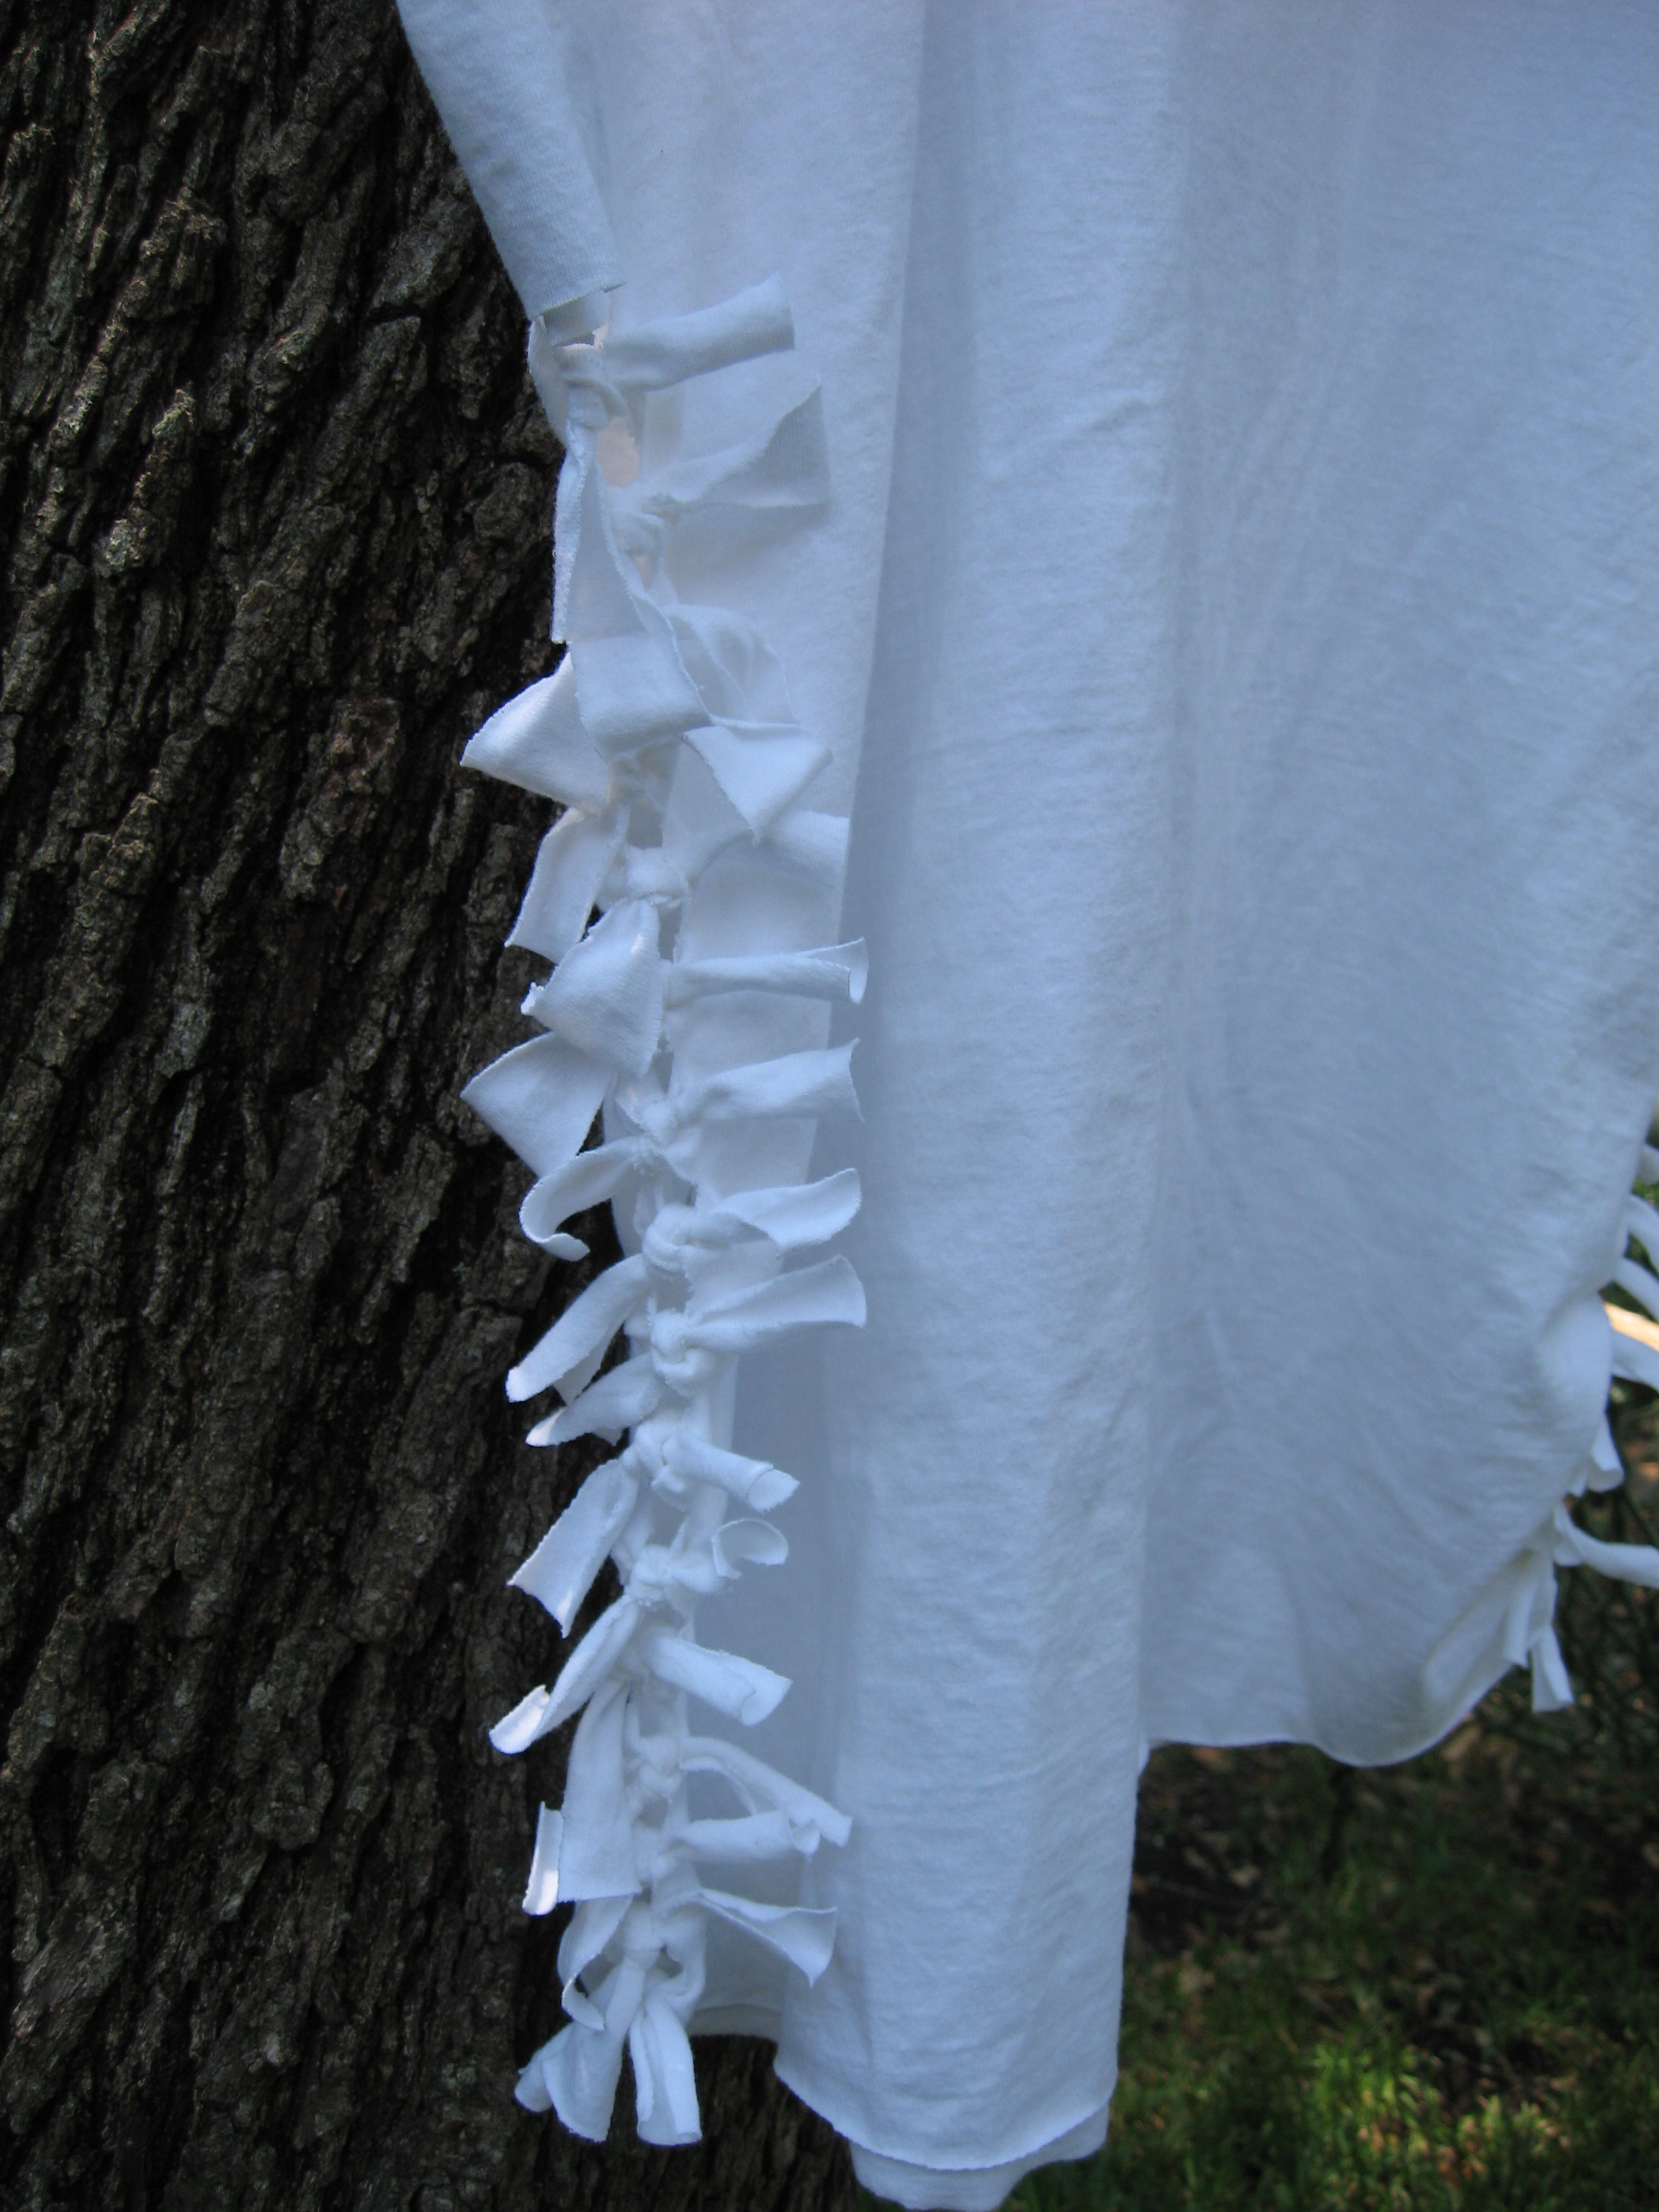
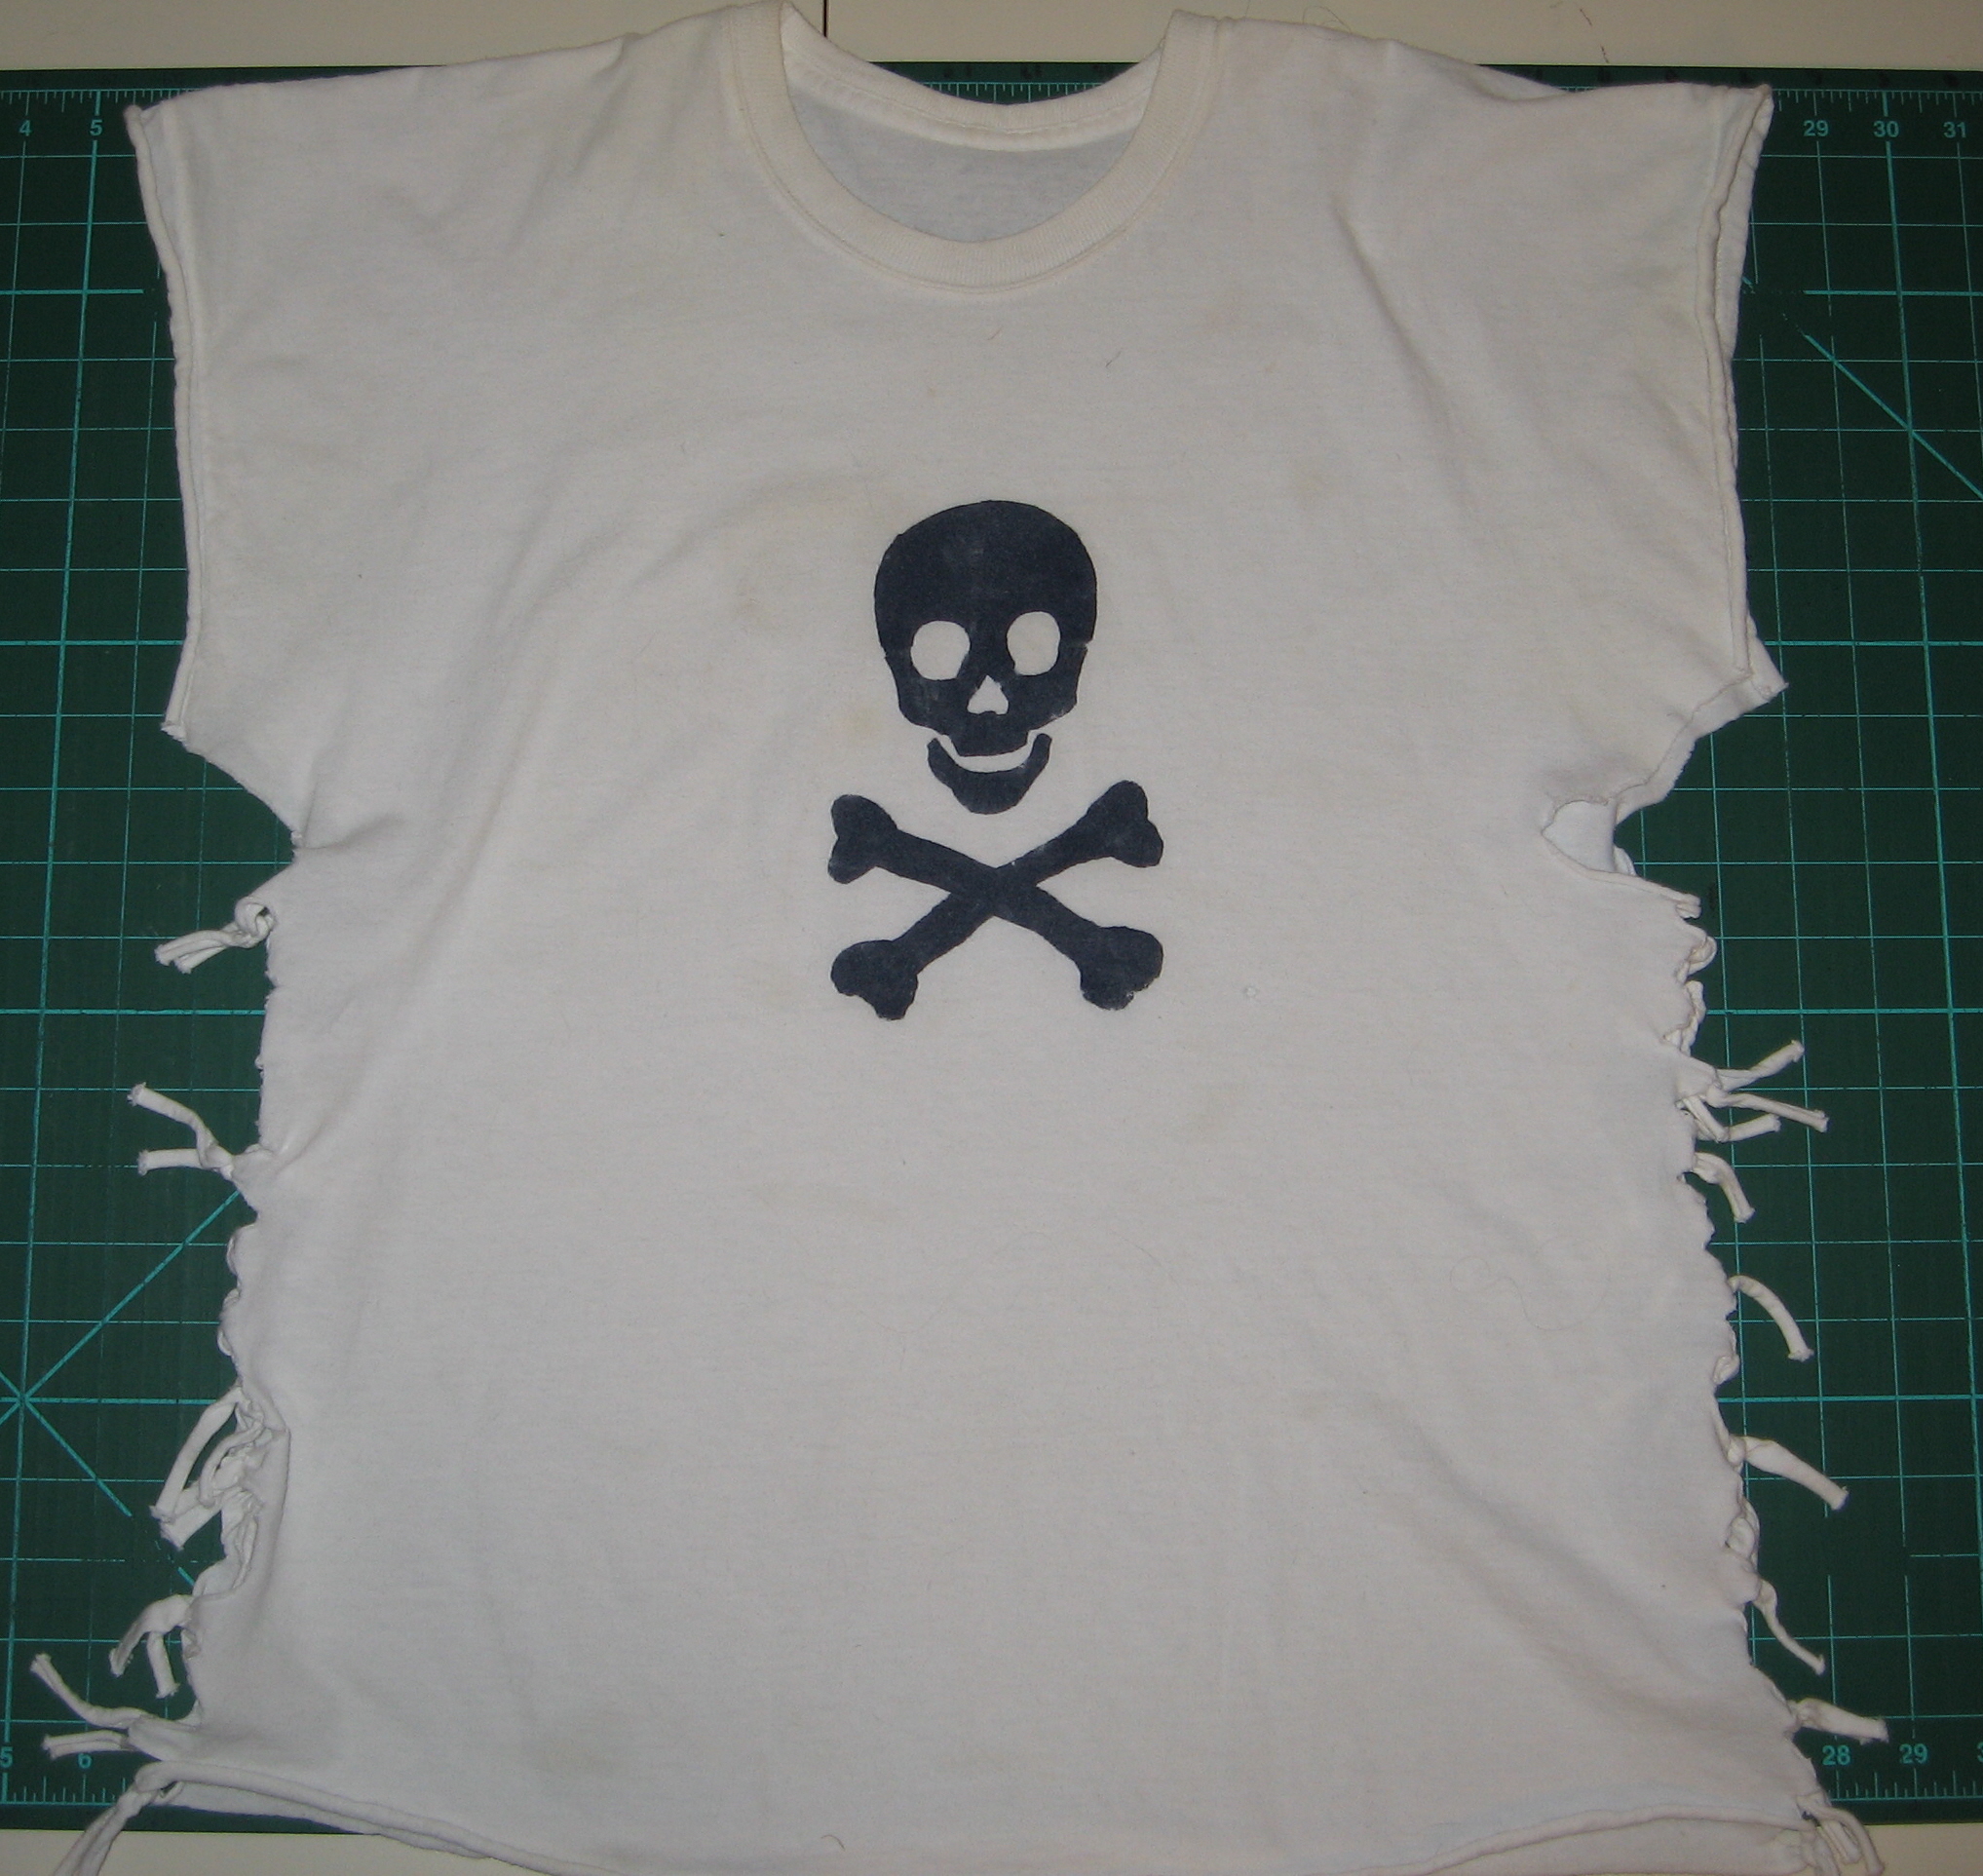
I used one of my favorite tank tops to as a template for this. This was the length after removing the 6″. I cut off the sleeves and just serged up the side seams so it matches my other tank top. Wallah! One new work out top and 5 pockets from one t-shirt! I still have the sleeves and a few squares from the bottom, just in case I need to add spontaneous pockets to anything else!

Photobucket

FB | SHFB | Flickr | Twitter | PinterestBloglovin

Featured Pattern: Tree Trimming, $8 on Craftsy!

stencil a t-shirt

Next class: You Can Stencil A T-Shirt!

READ MORE

Friday, September 6, 9 am – 12 pm
$30 per person, pay online or RSVP to pay at the door.
You will receive handout upon registration.
Add to Cart

Recon: No Sew Swim Shirt


My 14 year old daughter heads off for a week of orchestra camp on Saturday. During the week, they get the chance of swimming in the river near the college where the camp takes place. My lovely daughter is pale and freckled, the worse kind of complexion to spend a day in the sun.

Enter the No Sew Swim Shirt. This is the second version of this shirt I’ve made, the first having done it’s duty honorably for several summers now.  The sides are nice and open so the water will flow through your shirt and not weigh you down.  A must for any super-sun-sensitive gal.

There really is no sewing and you only need a couple of supplies and you’ll have your own No Sew Swim Shirt in about 10 minutes!

You’ll need:

  • 1 t-shirt, at least 2 sizes too big, in a light color to reflect the sun
  • a pair of scissors
  • a large ruler OR yardstick
  • cutting mat OR masking tape with 1″ intervals marked to about 20″


spread the t-shirt out, making sure the top and bottom are nicely aligned


cut off sleeve just inside the seam line, save for another project


repeat for second sleeve


slice up sides of t-shirt


smooth out the side of the t-shirt, using either the cutting mat and a ruler (shown) OR a yardstick and masking tape, measure 3″ from the cut edge along the shirt sides, cutting up those 3″ at 1″ interval


repeat on both sides, stopping before the sleeve area


snip off the bottom curve of the sleeve


remove bottom hem


starting at the top of one side, tie together front and back 3″ pieces


repeat for all 3″ pieces


repeat on the second side of the shirt


Done! Because this was a blank shirt, I added an iron-on dragon to jazz it up a bit.


side close up


Old No Sew Swim Tee, too small now and at the end of it’s sun-protecting days!

This one was stenciled using acrylic paint and my pirate stencil.

If you make a Sew Awesome Craft or any pattern, craft or recipe from sewhooked, I’d love to see a photo. Email me or add it to the sewhooked flickr group.

Reconstruction: Pockety Hoody

sweatshirt update

I’m a big thrift store shopper.  Sometimes, I find great articles of clothing that are the perfect size for one of my kids, but I know they won’t wear it because of a design or picture that’s on it.   They’re both really into black at the moment and I found a great black hoodie sweatshirt the perfect size for my son.  The price?  $1.25.  Could I pass that by?  NO WAY.

The drawback?  It came with an embroidered image of The Grinch.  Cute, yes, his style, absolutely not!

After having the sweatshirt linger in my “to do something with” pile for a while, it occurred to me that I have all kinds of odds and ends leftover from other projects that might update the shirt and make it ready to wear.

One Levi’s pocket and about ten minutes of stitching later, and the update is complete and the hoody has gone from “Absolutely not!” to “Cool, Mom!”

It’s more of an update than reconstruction, but you get the idea!

To update a logo sweatshirt, you’ll need the sweatshirt and one jean’s pocket.  Use a heavy-duty seam ripper to remove the pocket, or, if you feel comfortable doing so, a razor blade.  Just be careful if you do!

A sewing machine is pretty much a must for this project, but if you want to try it by hand, you’ll need a heavy duty needle and a bit of patience to sew through all the layers!

sweatshirt update

Smooth out your sweatshirt.

sweatshirt update

Remove jeans pocket, being careful not to tear the fabric or cut yourself.

sweatshirt update

Pin the pocket in place.  You can go for a straight angle like I did here, or turn it a bit left or right for a more interesting look.

sweatshirt update

From the front, stitch carefully around the pocket using the existing stitching lines.  Reinforce at the corners and top of the seams.

sweatshirt update

And you’re done!  Super fast and easy update!

As always, if you make any pattern or craft from sewhooked,  I’d love to see a photo. Email me or add it to the Friends of Sewhooked flickr group.

Happy crafting