Hello, friends! I’m back at it this week with some progress on the bookcase quilt, including a quilty plan, new blocks, and some fun practice in Embrilliance Stitch Artist 1. I even took a little time to make something for myself. ♥
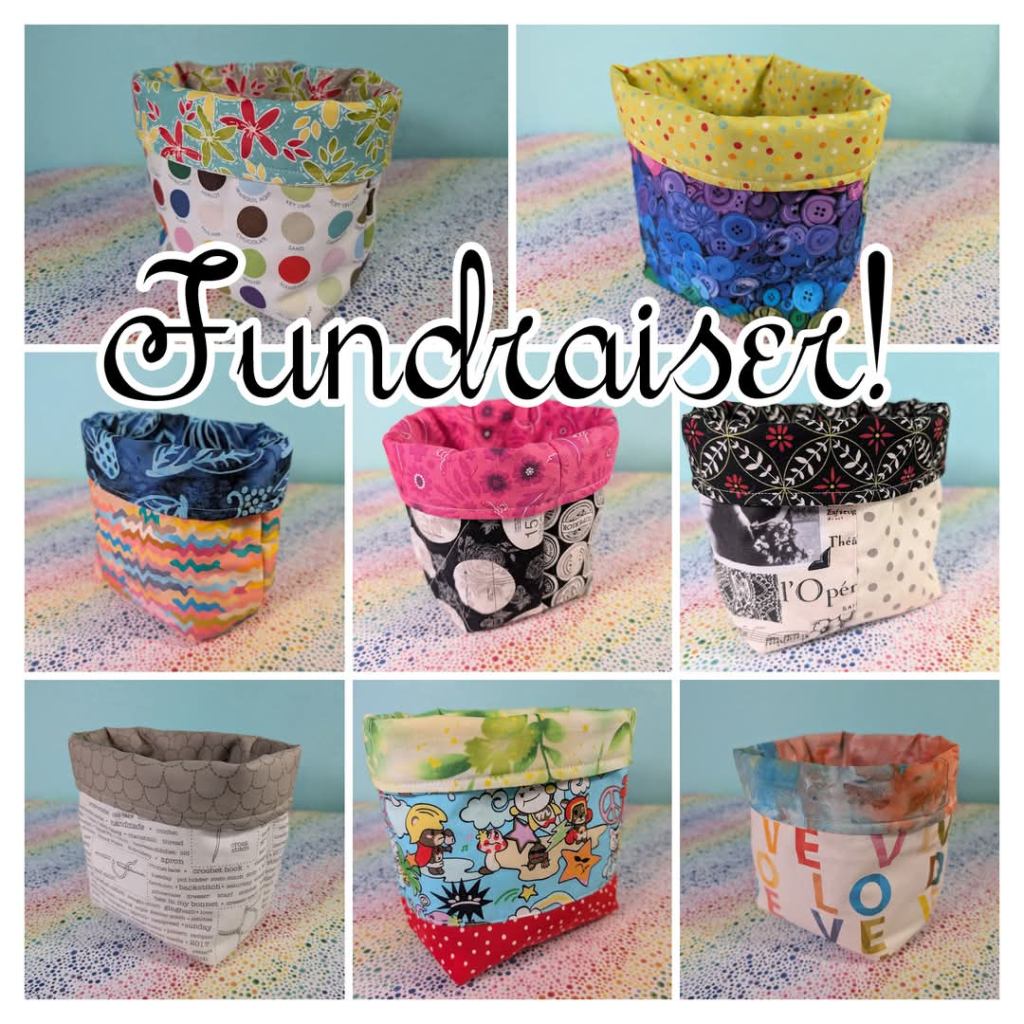
FUNDRAISER for Miss P
🌈
Did you know I share short videos of crafts & critters on YouTube? You can find those here!
🌈

- Embrilliance Embroidery Software
- Cthulhu Crest from Urban Threads
- Simplicity 1605 PJ pants (I added pockets, they are not included in the pattern) (affiliate link)
- If you enjoy my free content, you can buy me a Ko-Fi. THANK YOU to all my supporters. ♥
- Join us on TTMT!
- Follow me on Instagram for lots of photos of cats & quilts!
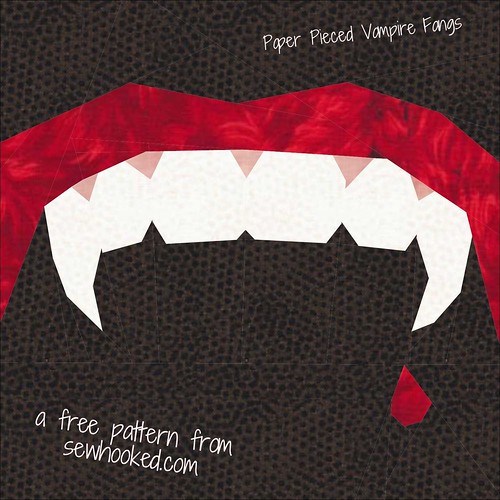
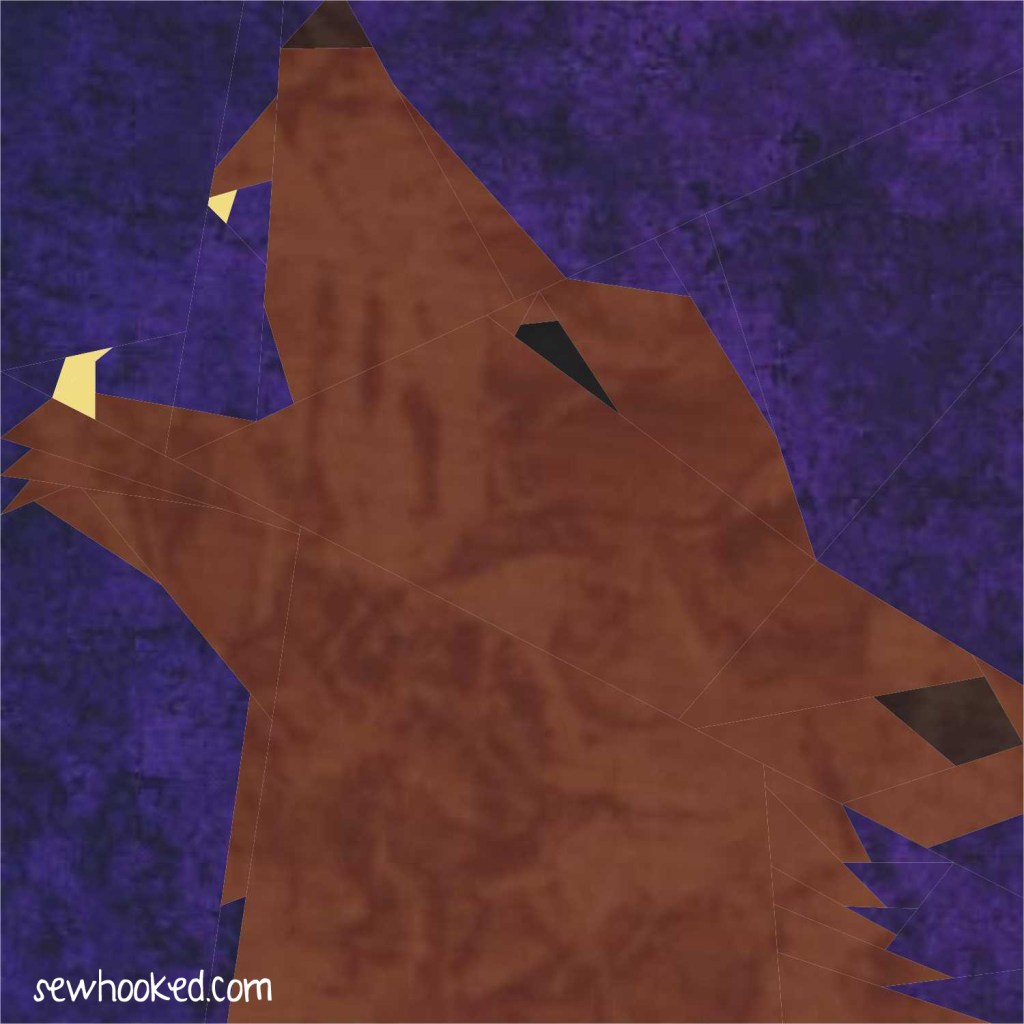
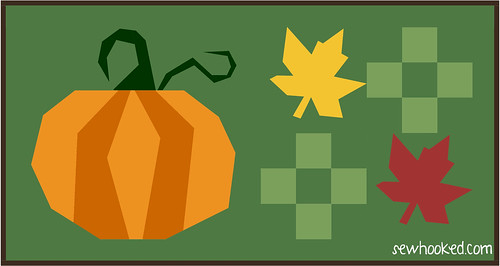
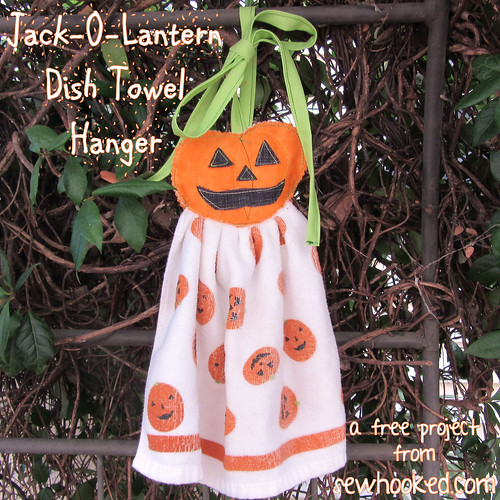
- Find my free patterns on Sewhooked & Fandom in Stitches, where you can also quilt along with us!
♥ Jennifer O
Posts on this blog may contain affiliate links to help cover the cost of my website. I thank you for your generous support. ♥