Happy Tuesday, friends! This week, I wish a belated but very happy birthday to my BFF Jewells, share updates on the Instant Pot cover and jack-o-lantern from last week, as well as progress on the KitchenAid mixer cover, and last (but not least!) some very fun custom onesies made using Cricut Design Space and my Maker 3.
Hello, friends! Last week was one of those All Over The Place weeks!I worked on a project that I will now need to do over because not only did I not measure twice, cut once, I didn’t even measure once!
Birds & other Critters on my second YouTube Channel: Backyard Jen!
In which I share a new Halloween quilt top, the (almost!) finished pumpkin candle holders from BFF Retreat, a new-to-me thrifted blouse, and Abbie’s beautiful Raggedy kiddos in need of both finish & restoration!
In which I share the amazing #thriftcrawl haul from almost a week with the world’s best BFF, Jewells68!
Y’all, it was so great to have her here, and I’m sure you can tell how happy it makes me. I was so excited, I even forgot to mention how completely awesome the new downstairs ceiling looks!
We hit Savers, Goodwill (two regular stores & the Outlet), Habitat Restore, Texas Thrift, Austin Creative Reuse, and the Austin Antique Mall. We also had a great time at Ikea!
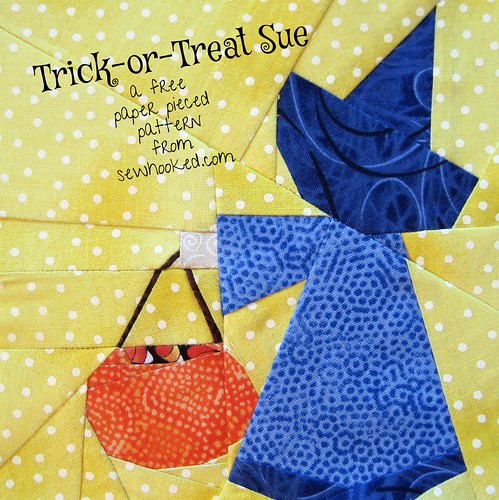
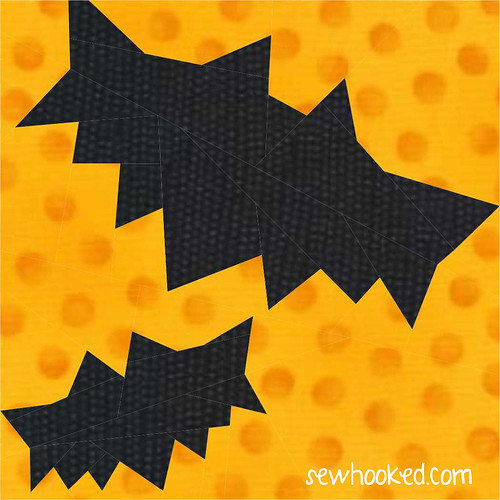
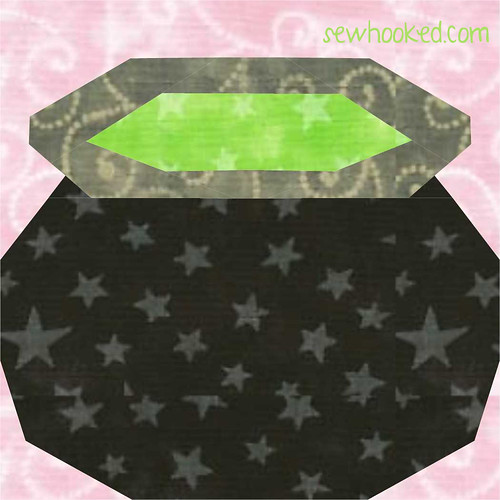
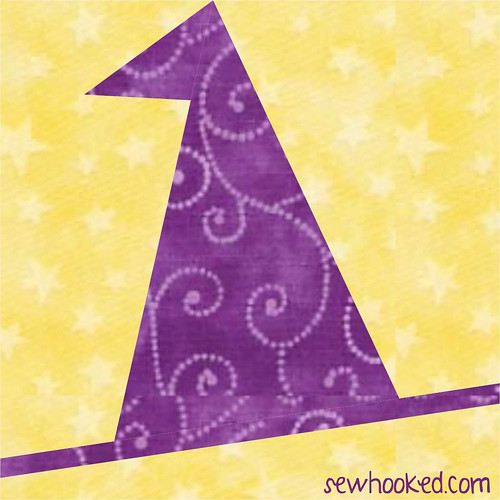
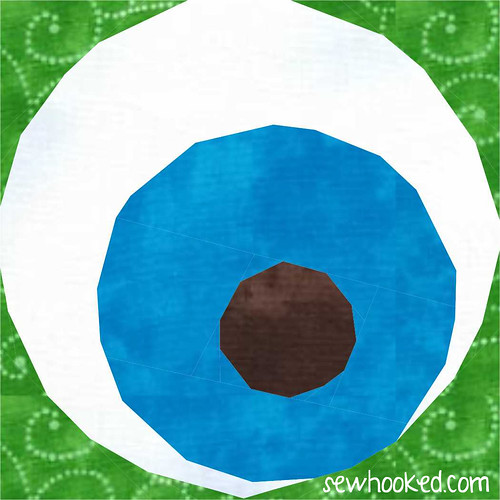
I haven’t shared anything aside from Talk To Me Tuesday since having surgery, and since it is October, my favorite month, I couldn’t resist doing a roundup of my own Halloween and fall patterns and tutorials!
I’ve included both Free Patterns & Retired shop patterns below. As a compromise for those who want access to my previously for sale patterns, I will share the pattern of your choice for a small donation to a local-to-you non-profit. More info below with the Retired Patterns.
To date, wonderful quilters have donated over $300 to a wide variety of charities, donated food, clothing, and hundreds of masks to those who need them. Your charitable efforts make my heart swell with happiness and I thank you from the bottom of my heart!
What are your favorite things to make for Halloween? I’d love to see! Let me know in comments or share over in the Sewhooked Facebook Group!You can also tag me on Instagram – @sewhookedjen.
I retired my online quilt pattern shop December 31, 2019 but I still receive quite a few requests for retired patterns.I decided the best way to address that was to have those interested in a retired pattern make a small donation to a local-to-you non-profit of your choice. Email your receipt and I’ll be happy to send the pattern. Please, only one pattern per receipt.
If you’re unsure if a pattern is FREE (I have loads of those, check out the main menu on sewhooked.com), or RETIRED, just drop me an email or comment and I’ll let you know.
A Little Haunted – Retired Pattern
Monster Madness – Retired Pattern Set
I Want My Mummy – Retired Pattern (supplemental pattern to Monster Madness)
Today’s video includes a very special story about a very special quilt and a brand new pattern set that is part of 31 Days of Halloween. I hope you enjoy!
With all the fabric-related goodness that I share here on Sewhooked, it can be easy, even for me, to forget about all the fun crochet projects I’ve both created and designed over the years.
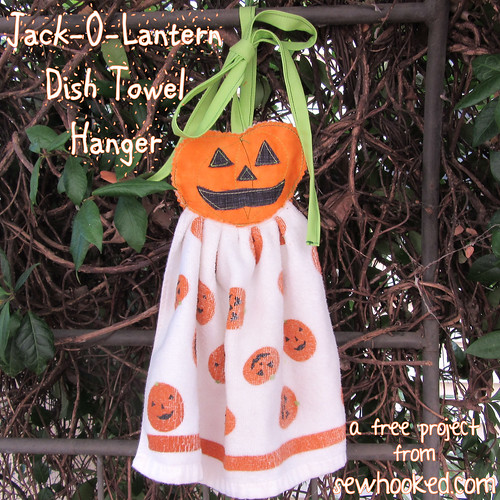
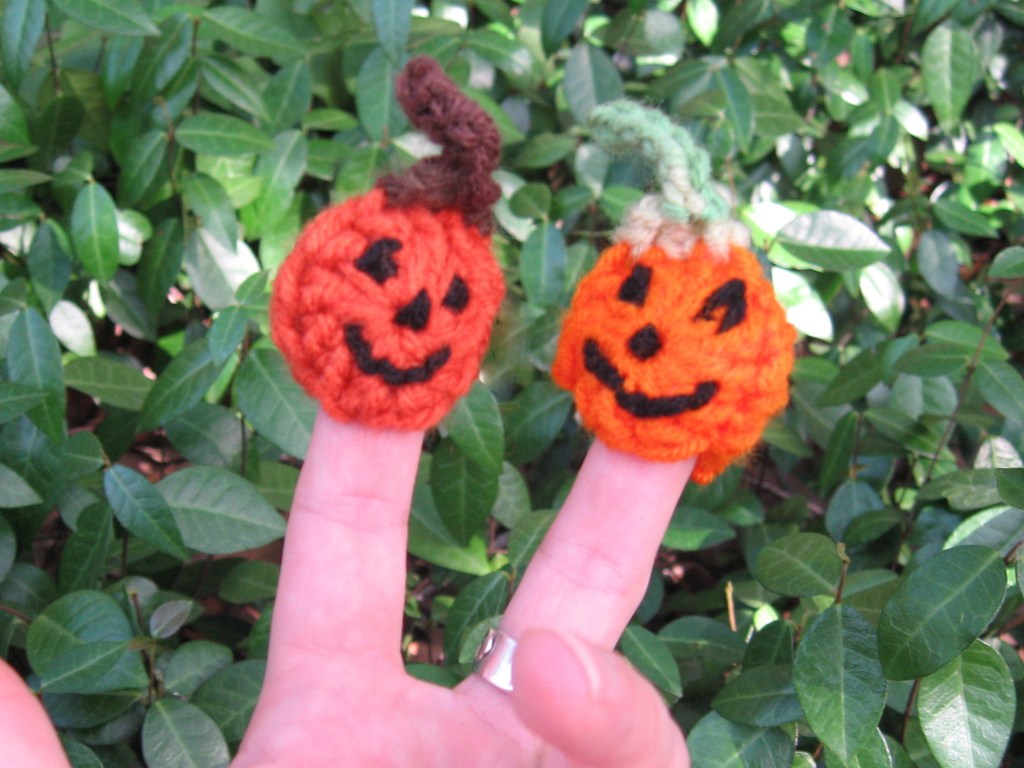
My Jack-O-Lantern finger puppets were originally designed for my daughter’s kindergarten class. Instead of candy, she passed these out as pencil toppers on fun Halloween pencils. This is the original photo from October 2000. I’m guessing I didn’t have the pencils when I took the photo, but I do remember the fun orange and black pencils!
This is the same daughter that’s a college freshman now, so this really is a craft from the past!
To make reliving the Crafts of Halloween Past even more fun for you, I’m offering a challenge with a prize!
Make any of my Halloween projects or patterns posted during the course of the month and post a photo to the Sewhooked flickr group tagged “halloween.”
At the end of the month, I’ll draw a winner to receive a free copy of Quiltmaker’s Quilts from 100 Blocks, which includes my pattern Corn Maze! Heck, I’ll even sign it, if you like!
Do you design paper pieced, embroidery, applique or other quilt patterns? Love John Green books? Join us for the #tfios Design Challenge, happening now on Fandom In Stitches!
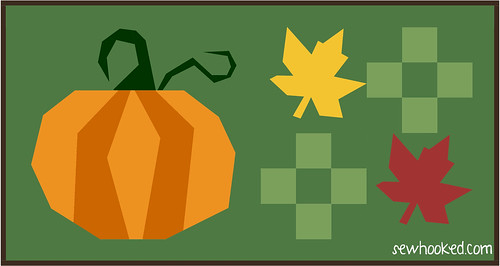
How about a fun new Halloween-themed table runner pattern? This set is SUPER easy to piece and crazy versatile!
Just need the blocks? Use them for whatever you like!
Want a quick table runner? Piece the three blocks, add borders as shown in the pattern and you’re good to go!
I shared a Jack-O-Lantern block in my video yesterday and mentioned that the pattern was coming soon.
How’s this for soon?!
I originally designed this fun piece for a magazine. They passed on the pattern and it’s been collecting dust in my sewing room ever since.
Tis the season for Trick-or-Treat and what better way to decorate than a fun table runner?
Pattern includes two, full-color 8″ block patterns and instructions to create the table runner shown above.
Want a wall hanging instead? Simply piece the blocks vertically! The same instructions will apply to the wall hanging shown on the left as the original table runner. Slightly more fabric will be needed for the example on the right.
How about a longer table runner? Just add more blocks! I love a little versatility!
Once upon a time, I had a kindergartner. That kiddo was five years old, and my oldest child. Halloween was, and had always been, our favorite holiday. When it rolled around, I wanted to make something to share with the class. It needed to be easy, child-friendly, and cute.
Jack was born, as were about 20 of his brothers.
It was eight years ago now and my then five-year-old is thirteen and about to start eighth grade. Times have changed, but Jack is still easy, child-friendly…and cute!
also makes a great magnet or pencil topper!
Small amount worsted weight yarn: Orange, black, green
H hook
tapestry/yarn needle
Pumpkin Body:
With orange, make 2 (for fridgie, make 1):
Ch 4, dc in 4th ch from hook 11 times. Join with sl st in top of ch 3. Leave a tail about 8″ long for stitching later.
Jack-o-lantern face:
Using black yarn with yarn needle, make Jack-O-Lantern face on one circle. Finish off.
Joining the the halves:
Using tail, and a yarn needle, join two circles by whipstitching through both sc. Leave an opening at the bottom large enough to put your finger or a pencil inside the pumpkin. Finish off.
Stem:
With pumpkin facing you, sl st in sc one st to the right of center. Sc in next st, sl st in next. Turn. (Do not ch 1) Sl st in next two st. Ch 5, sl st in 2nd ch from hook. Sl st in next 3 ch, sl st again in base sc. Finish off.
If making a magnet or fridgie, only make one circle before adding the stem and then glue a magnet to the back.
Happy Crafting!
Posts on this blog may contain affiliate links. Thank you for your support. ♥