

Occasionally, someone will tell me they don’t like to have seam allowances on paper pieced patterns.
Everyone’s got their own preferences, so it doesn’t bother me. If you don’t like them, they’re easy enough to cut off patterns that have them.
My personal preference is definitely for seam allowance. A related question I’m regularly asked is if there is an easy way to add seam allowance to a pattern that doesn’t include it.
Yes, absolutely there is!
You need access to a copier, but beyond that, no special tools and only a few minutes of your time are needed.
If you don’t own a copy machine or scanner, you can trace the pattern with tracing paper, adding the seam allowance as you go. That will work best with simple patterns, but if you’re really patient, it will work for any pattern.
Also included are suggestions for labeling and recording sewing order for later piecing.
You’ll need:
- the pattern of your choice (the example is an unfinished pattern of mine)
- a copy machine or printer/scanner with copy function
- graph paper, any grid size
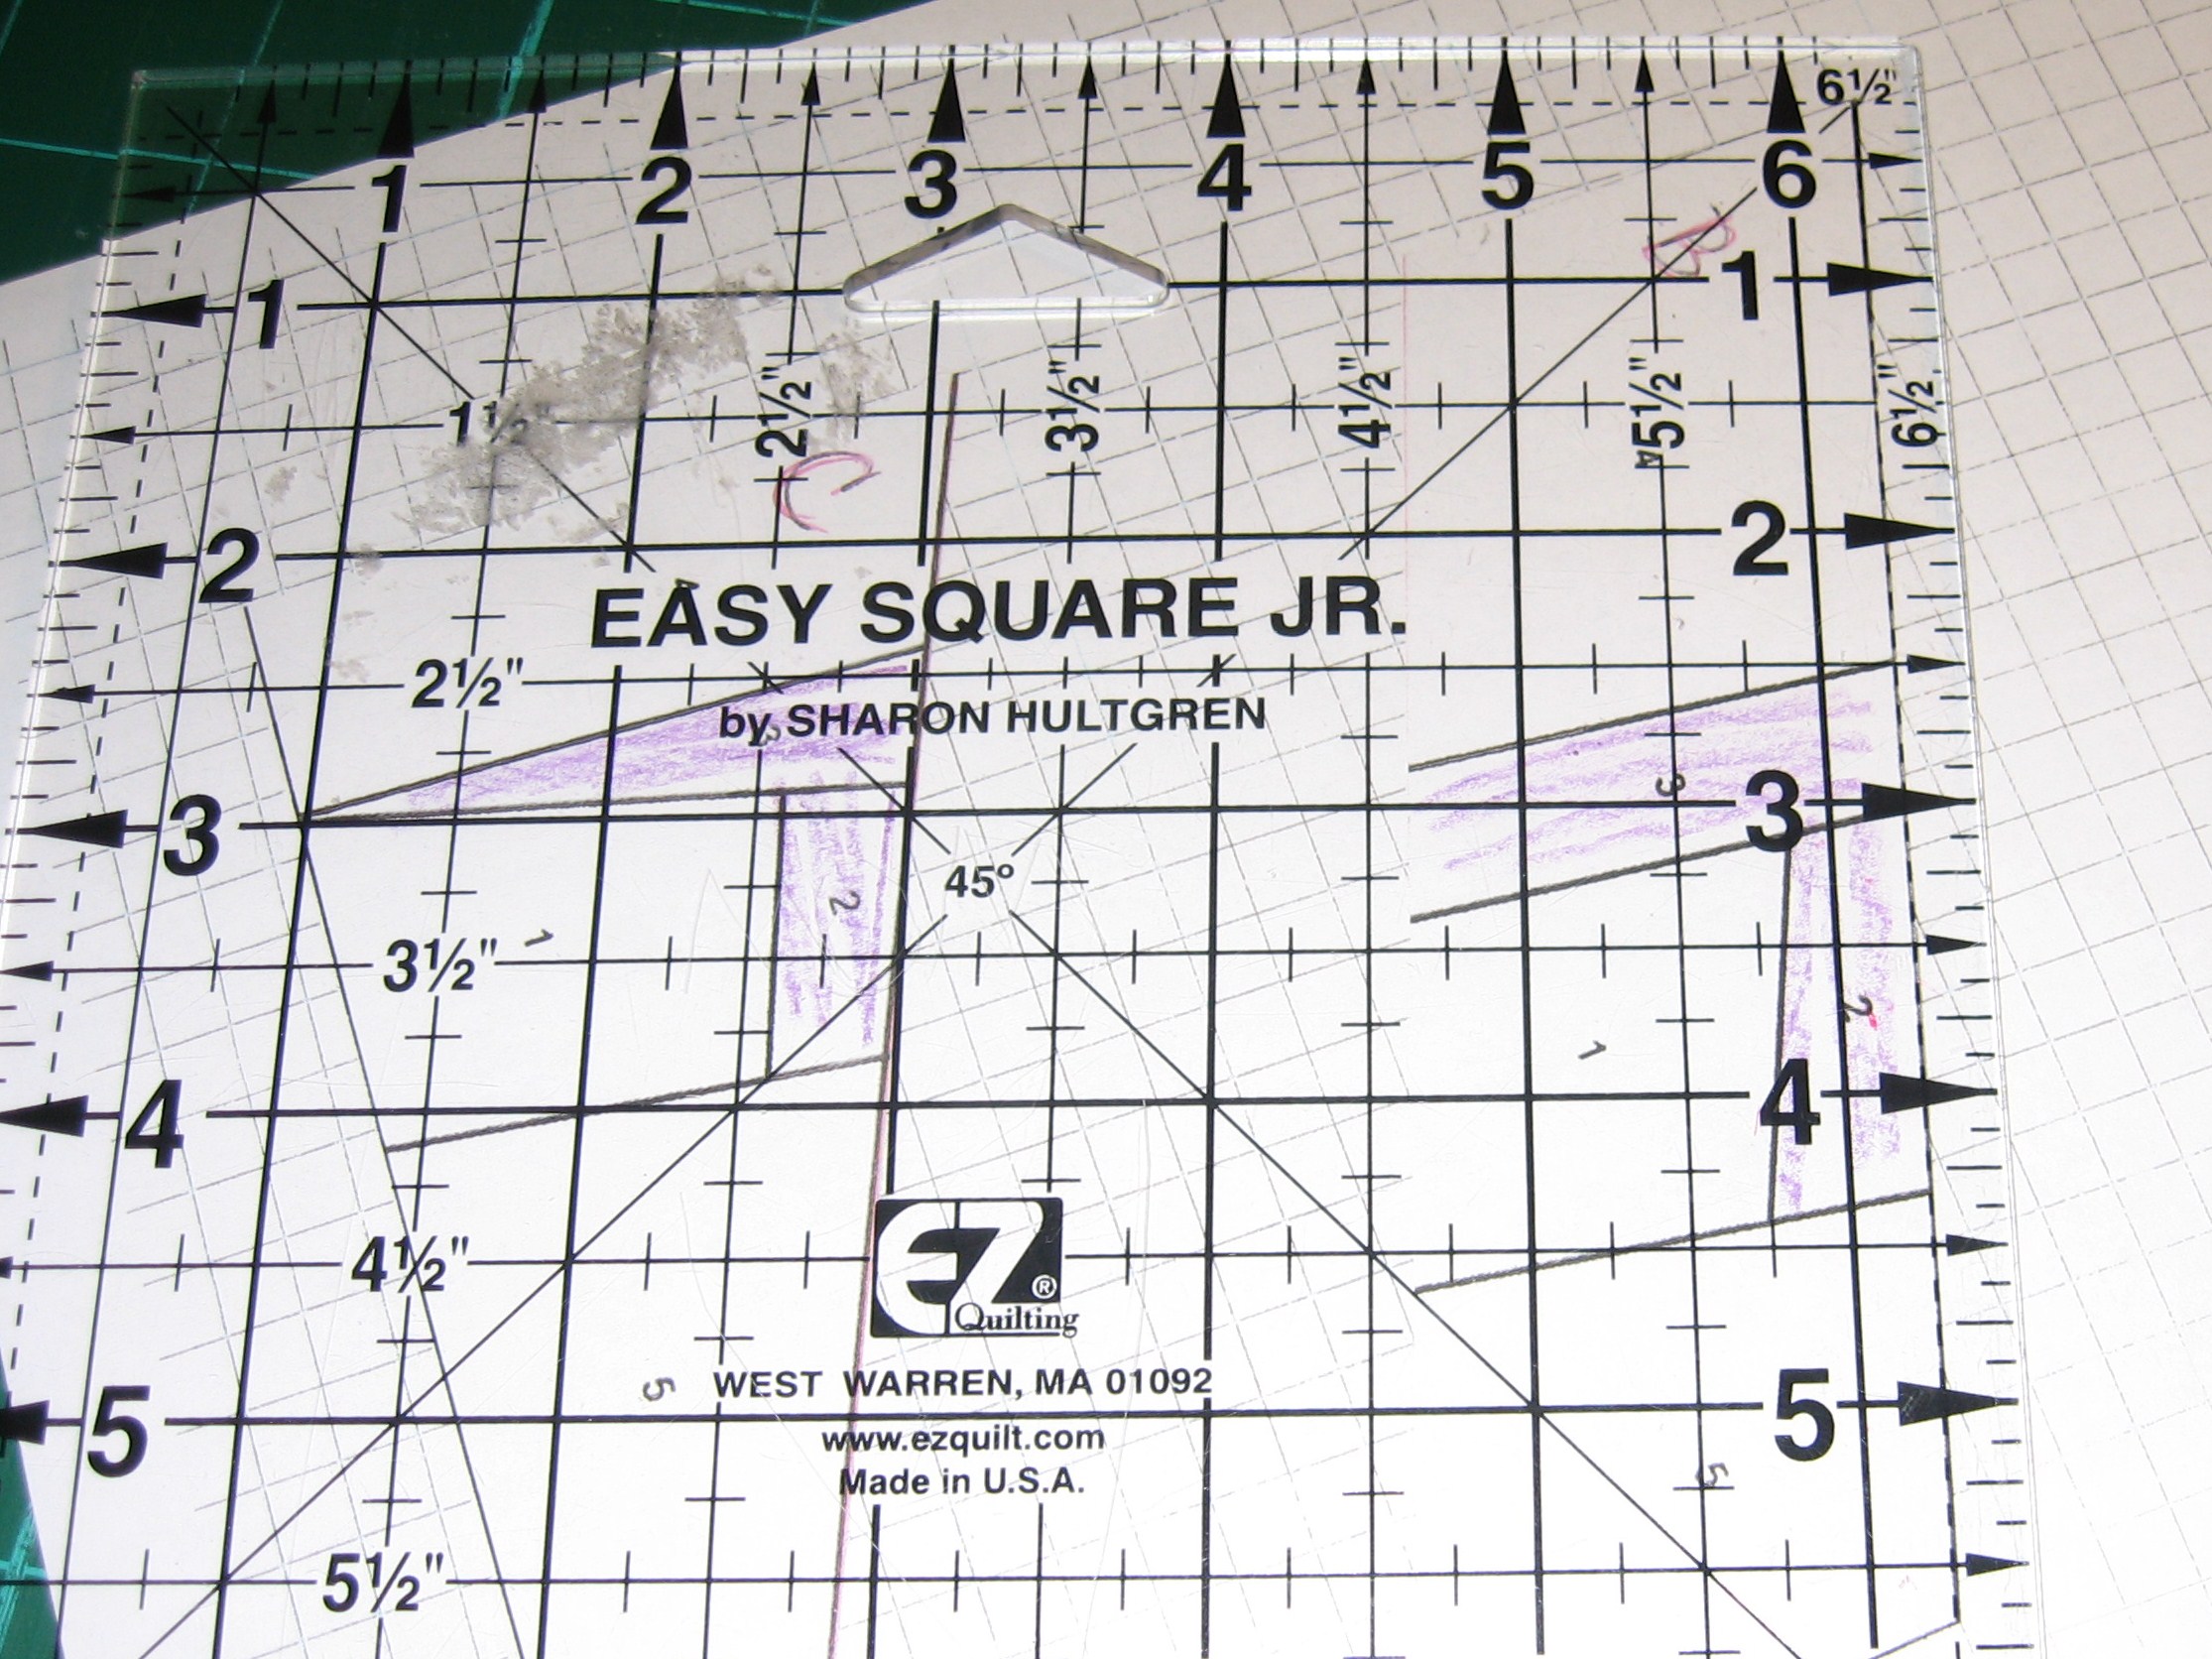
- a ruler
- rotary cutter with a blade for cutting paper (optional, but it’s much easier than using scissors)
- a red or colored pen or map color
- fabric safe markers or pens (crayons are shown, but those are riskier and I no longer recommend them)

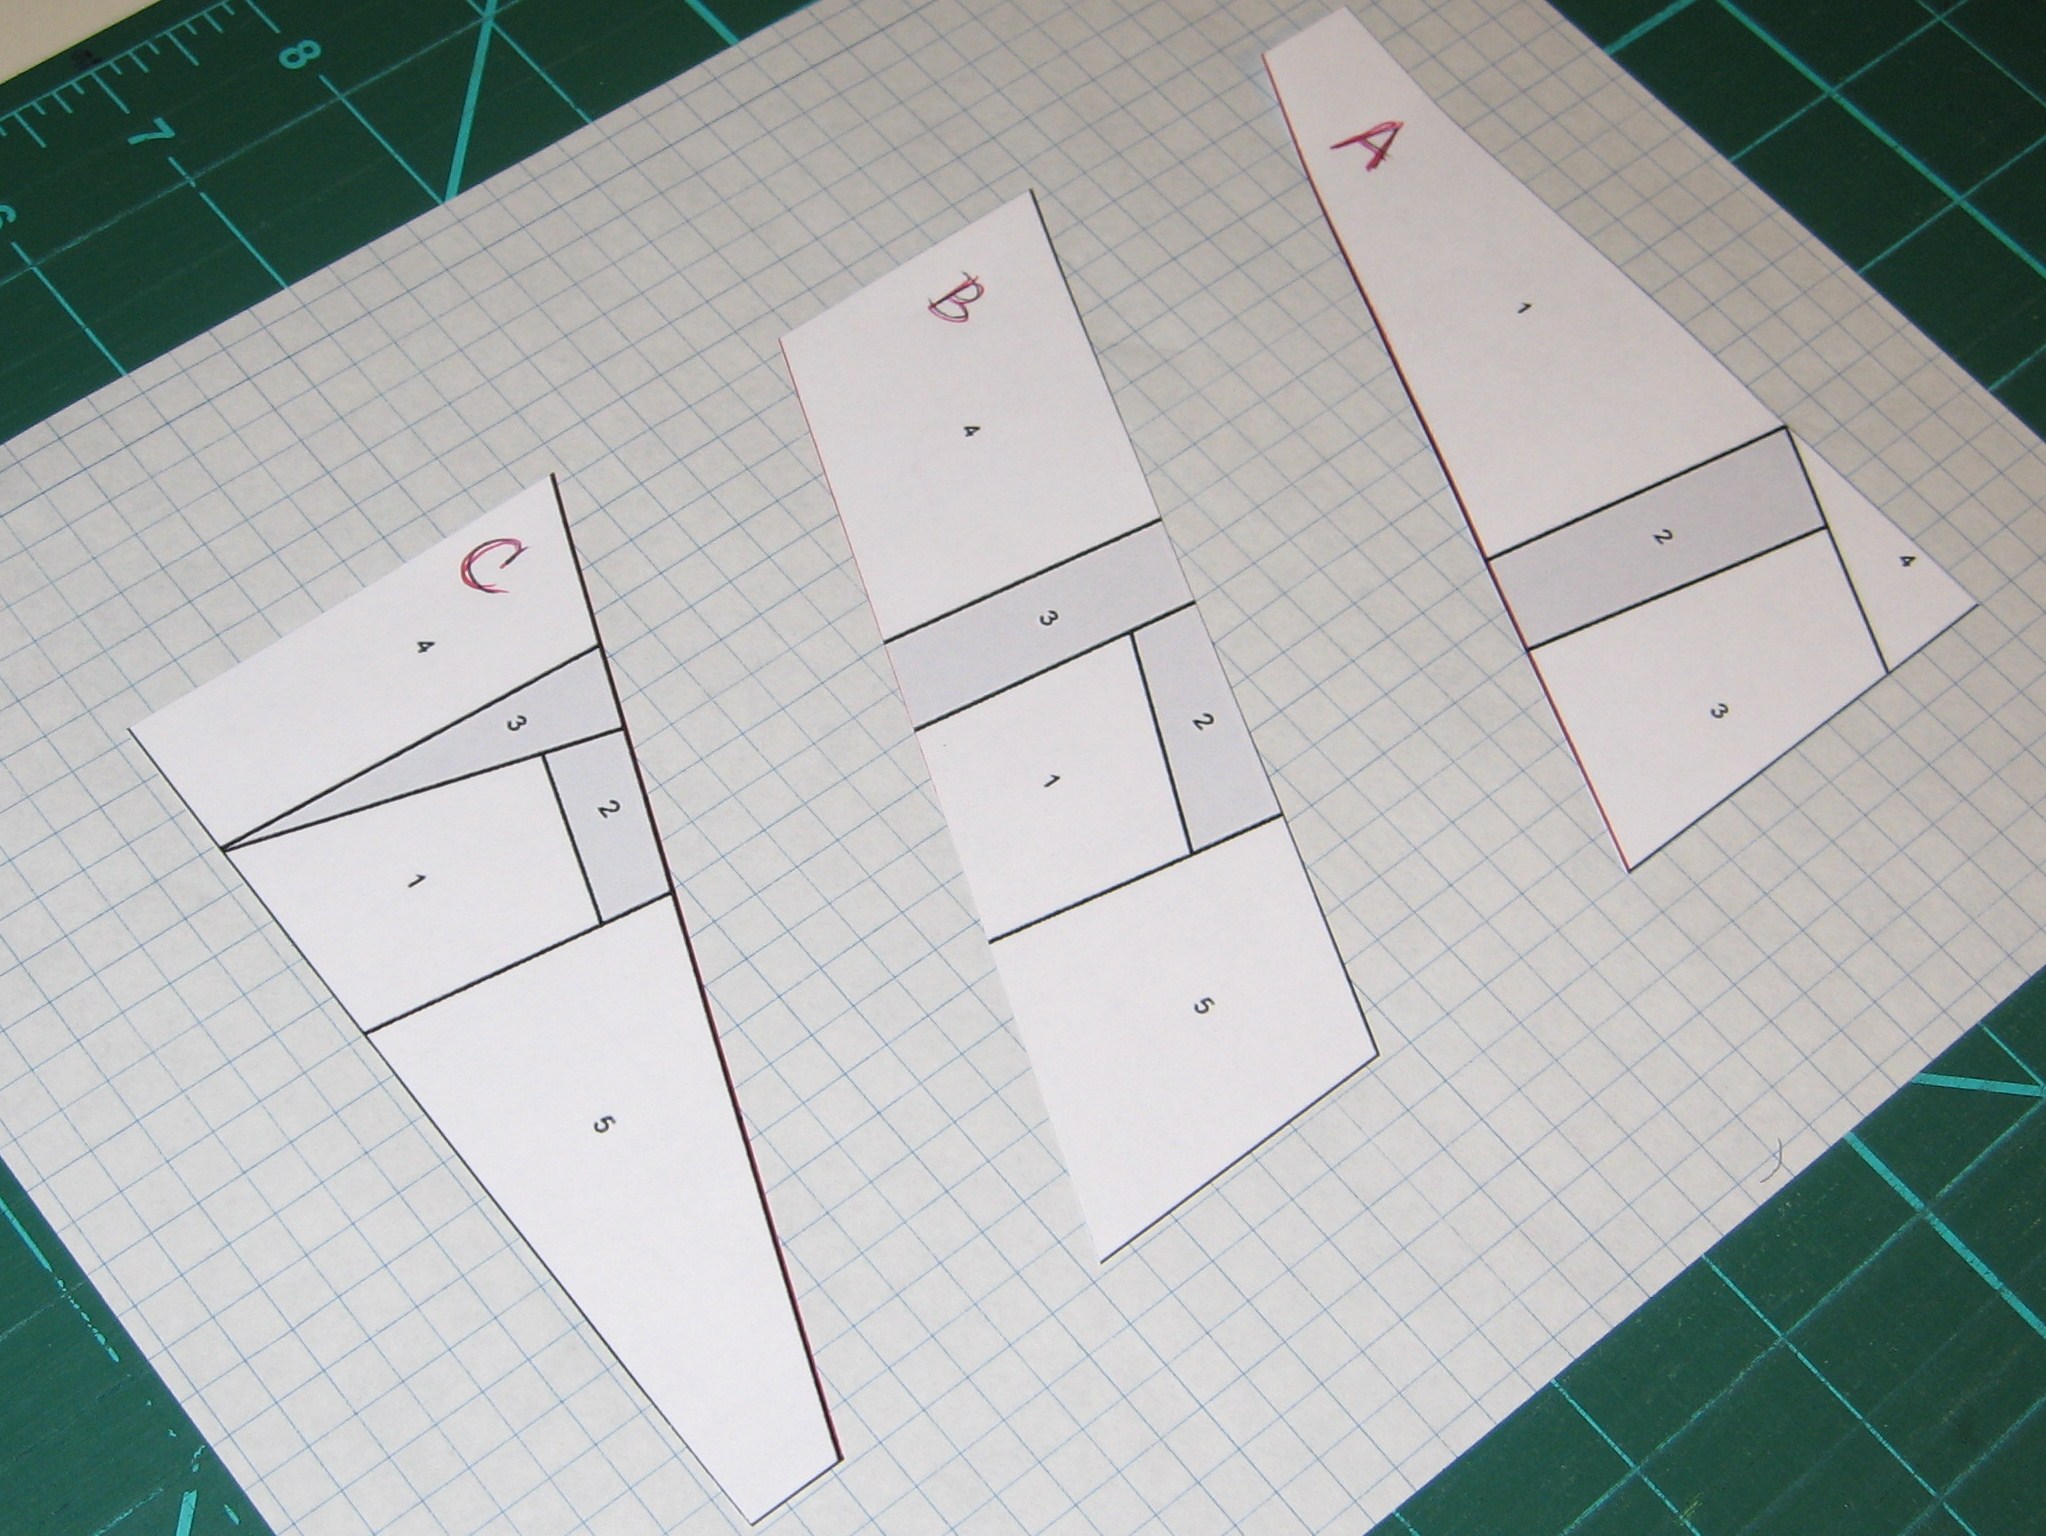
Print the pattern of your choice.

Using your ruler, draw over the lines where the pattern pieces separate (the seam lines), making sure you go past the outside edges of the pattern. Red is used here because it’s easy to see.
If the pattern does not have a line indicating where the outside edge is, I recommend adding one with your ruler.

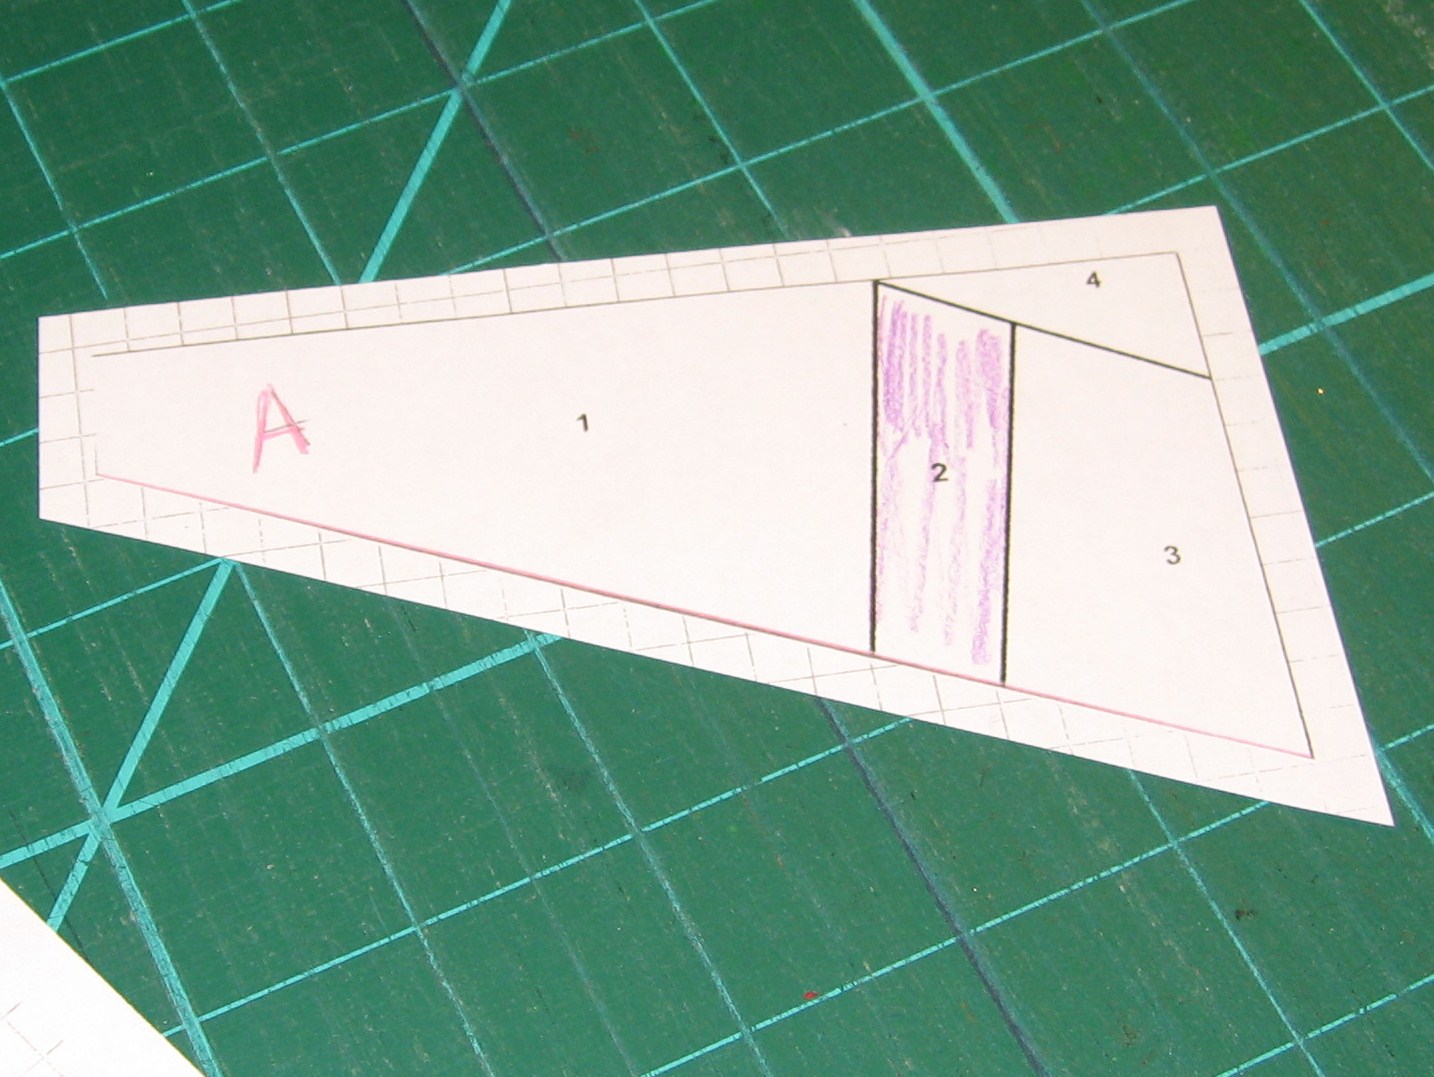
If the individual pieces aren’t labeled and you think you might need it later, label them now. This is especially useful in more complicated patterns. I like to use letters (A, B, C), but you can mark them any way you like. If you need to, make a notation of how the pieces will go back together, for example: A>B>C.

Use the rotary cutter to neatly trim the pattern to the seam lines, cutting through those that go across the pattern. You can use scissors here, but you need to be extremely precise.
Place the pattern pieces face up on a piece of graph paper, using a dot of glue or piece of tape to hold them in place.
Any size grid will do. The grid will make the seam allowance distinctive without using up too much ink. You can also use a lightly colored copy paper.

Place the grid paper face down on your copy machine or scanner and make a copy.

A colored copy (L) and a black & white copy (R). Either works fine.

Using your ruler and red pen or map pencil, draw lines along the inside seams. This will give you a reference point for lining up your pieces later.
See: Paper Piecing: Step By Step for instructions.

If you’d like the pieces of your pattern colored for easy reference while you’re piecing, now is a great time for that. Grab a fabric safe marker or pen and color away! This is a great trick to use if you’re piecing with more than two colors so you don’t accidentally mis-piece any fabrics. Note from future me: don’t use crayons, they melt. 😐
Using your rotary cutter and dull or paper-designated blade, trim the pattern pieces, leaving a 1/4″ seam allowance. It’s easy to see the grid left from photocopying.
Repeat on all pattern pieces and you’re done! The pattern has seam allowance and you’re ready to piece.
Also check out: Paper Piecing: Step By Step
Happy crafting!
Find my free patterns on Sewhooked & Fandom in Stitches.
♥ Jennifer O
Posts on this blog may contain affiliate links to help cover the cost of my website. I thank you for your generous support. ♥

olá,
jennifer,
sou de rio de janeiro / brasil
em 1998 descobri o patchwork, e a primeira técnica que fiz foi o foundation paper, que amei fazer!!!
também sou fã do harry potter!!!
estou entrando em contato com voce, pq vou fazer uma colcha de blocos que voce disponibilizou e gostaria de mostrar a voce conforme os blocos fossem ficando prontos.
voce já me aceitou no flickr.
beijos imensos
cida miranda
Thanks so much for visiting! I am always happy to meet other quilters that love Harry Potter, too.
Jennifer
Thanks Jen! I definitely prefer seam allowances also, and this is a great tip.
I’m okay if it’s a simple pattern, but for more complicated ones, I definitely prefer to seam allowances!
Pingback: Free Pattern: Contessa’s Canoe | Sewhooked