After YEARS and years of being asked to do so, I have created a Sewhooked Suggestion Box! The Suggestion Box is a way for you to suggest pattern ideas directly to me. I can’t make any promises that I can (or will) create a design from every suggestion, but I will do my level best to take them all seriously.
You can find the Sewhooked Suggestion Box linked in the main menu at the top of this page. More details at the link.
Today’s pattern, Love Flag was a special request that went something like this, “I really wish a pattern like this existed…”
Well, now it does! It’s super simple to paper piece and finishes 6″ x 9″.
Extra special thanks to my Instagram followers for the encouragement and to Jessica for testing!
Where you there and are now suffering a terrible case of post-con blues?
Don’t despair!
Whether you’re in Austin, Albuquerque or Adelaide, you can enjoy awesome QuiltCon lectures for free courtesy of one of my absolutely favorite resources for all things creative … Craftsy!
This awesome FREE series includes topics on everything from free-motion quilting to fabric design.
How cool is that? No, really, I mean it…how cool is that?!
Did I mention it’s free?! FREE!
That’s right, you have zero, nothing, NADA to lose! Go, enjoy!
Five of my quilts were in the Babylock booth and I will give a free prize to every person that took a picture of one of them…just leave a link to your photo in comments and make sure to include your contact info!
Not sure which quilts were mine? How about a little hide and seek in my Craftsy shop! All five of the featured projects can be found there!
I just heard of the First Annual Blogger’s Quilt Festival yesterday and my first thought was “why didn’t I think of that?!” What a great idea, bringing quilting bloggers together by sharing photos of our quilts.
The idea is to post photos of your favorite quilt that you’ve made and tell it’s story. Excellent idea, huh!
My Magical Lens, designed, pieced and quilted by Jennifer Ofenstein
My all time favorite quilt that I have made, absolutely hands-down, is my Harry Potter quilt. I embarked on this project in early 2006. My family had long been fans (we started reading Harry in 1999) and I’d been quilting for a few years. After discovering what so many HP crafters now know, that licensed fabric is out of print and nigh on impossible to find (and expensive if you do!), I decided to try to design my own.
The very first HP block I designed was Hedwig, though not the one that ended up in the quilt (you can see it in the photo below…bleargh!). It was pretty dreadful, too complicated and just bad, bad, bad. I’d only ever designed simple blocks before, so I changed gears and started with a broom and a lightning bolt. The stack of blocks began to grow. All through the process, I was sharing on the Harry Potter Crafts Yahoo! Group. Members started asking if I’d share my patterns, and before long, my little craft site, then called Jen’s Crochet & Crafts, grew into sewhooked, full of all kinds of crafts, crochet, and now paper pieced patterns.
I went to Lumos in Las Vegas in 2006 and took my HP blocks with me to share with my online craft friends. By this time I was a Moderator at Harry Potter Crafts. Sharing my designs and other projects I’d made with them for myself and friends, on top of the fact that I knew HTML, led to a year and a half as a Crafty Witch at The Leaky Cauldron where I made truly amazing friends. The quilt that wasn’t a quilt yet was already helping me to connect with people.
In the fall of 2006, I decided to attend Phoenix Rising in New Orleans which, like Lumos, was a Harry Potter fandom conference, and was scheduled to take place in May 2007. Even though my quilt wasn’t even close to done, nor was I close to having enough blocks designed for a whole quilt, I entered a mock-up for consideration in the Phoenix Rising art gallery, and was, to my surprise, accepted. With a deadline looming, I started churning out patterns and blocks, finishing up the quilt in March of 2007, just two months before it was to be shown in New Orleans.
This quilt is more just a million bits of fabric stitched together. It represents all the years I’ve loved Harry Potter and some of my favorite things about the series. It has brought me friends, and fans, and brought more quilters that I can count into the wonderful world of paper piecing. In the fall of 2007, I started hp_paperpiecing on Livejournal as way to share more with other Harry Potter quilters than just patterns. I’ve posted over 100 unique HP themed blocks there and have in the process met a lot of awesome quilters and designers, many brand new to paper piecing.
The mock-up submitted for submission into the Phoenix Rising art gallery (complete with horrible Hedwig).
I don’t design as many HP blocks as I used to, though I’m still very involved with hp_paperpiecing.
Occasionally, someone will tell me they don’t like to have seam allowances on paper pieced patterns.
Everyone’s got their own preferences, so it doesn’t bother me. If you don’t like them, they’re easy enough to cut off patterns that have them.
My personal preference is definitely for seam allowance. A related question I’m regularly asked is if there is an easy way to add seam allowance to a pattern that doesn’t include it.
Yes, absolutely there is!
You need access to a copier, but beyond that, no special tools and only a few minutes of your time are needed.
If you don’t own a copy machine or scanner, you can trace the pattern with tracing paper, adding the seam allowance as you go. That will work best with simple patterns, but if you’re really patient, it will work for any pattern.
Also included are suggestions for labeling and recording sewing order for later piecing.
You’ll need:
the pattern of your choice (the example is an unfinished pattern of mine)
a copy machine or printer/scanner with copy function
graph paper, any grid size
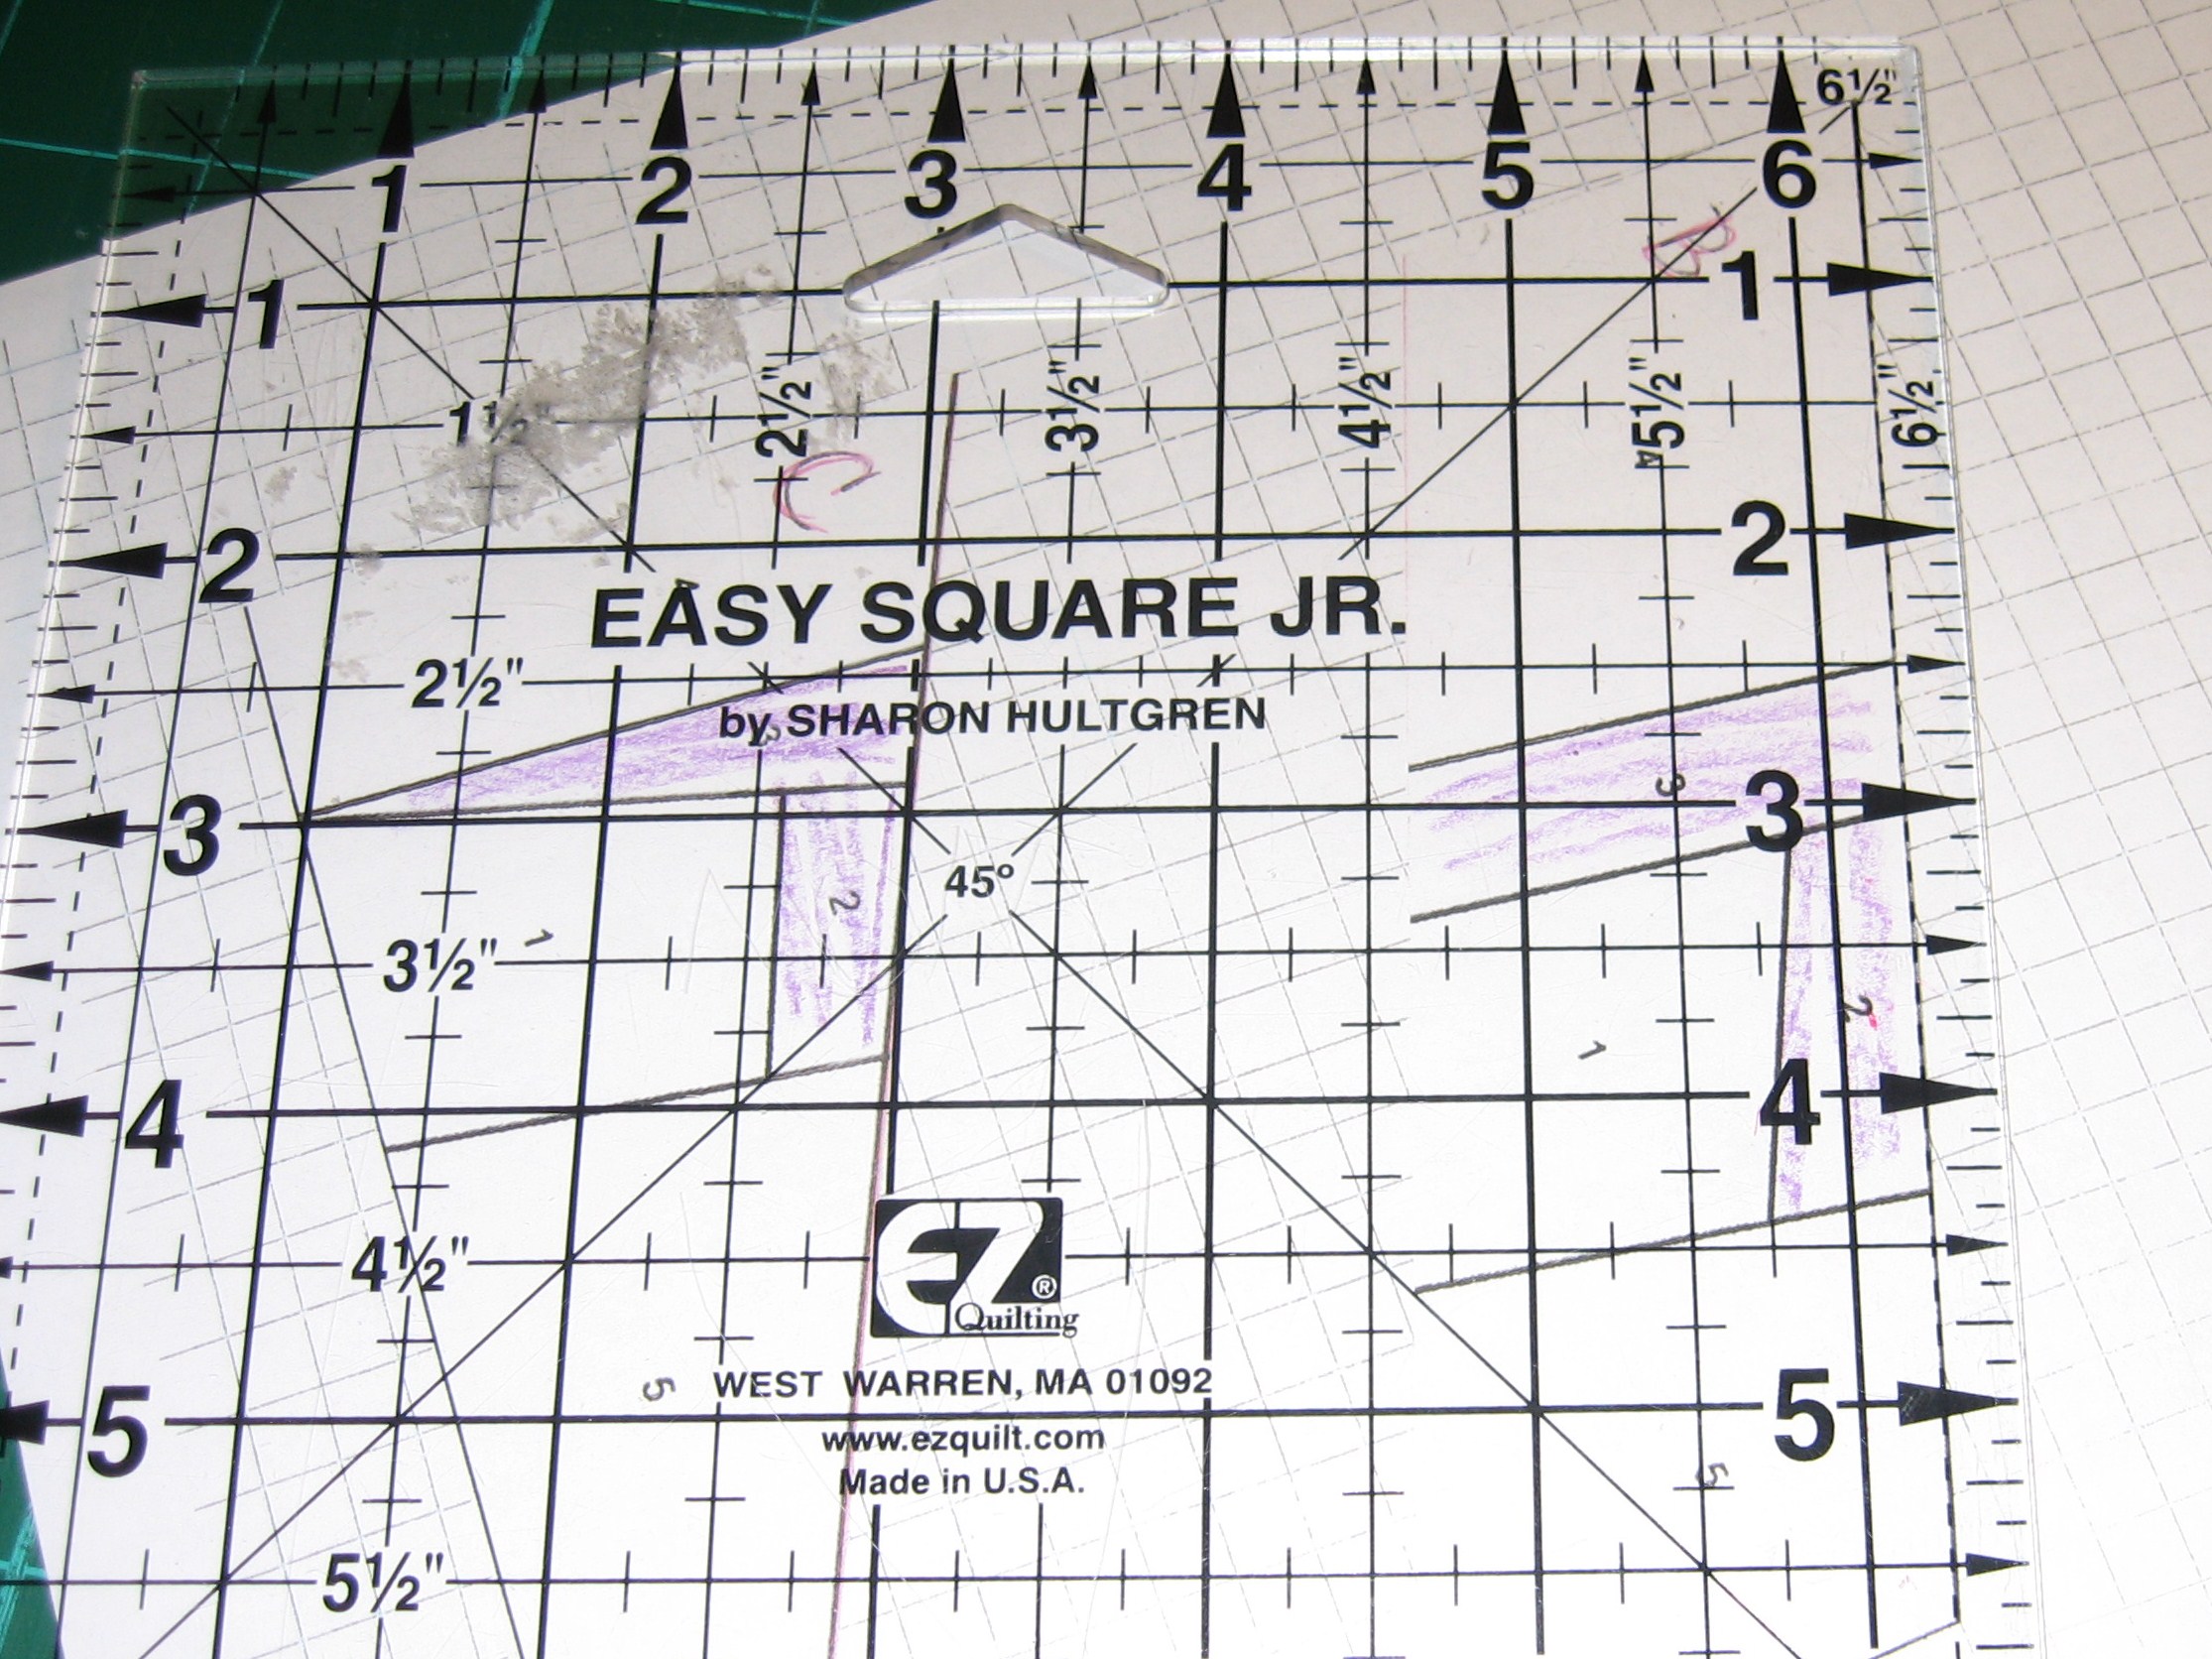
a ruler
rotary cutter with a blade for cutting paper (optional, but it’s much easier than using scissors)
a red or colored pen or map color
fabric safe markers or pens (crayons are shown, but those are riskier and I no longer recommend them)
Print the pattern of your choice.
Using your ruler, draw over the lines where the pattern pieces separate (the seam lines), making sure you go past the outside edges of the pattern. Red is used here because it’s easy to see.
If the pattern does not have a line indicating where the outside edge is, I recommend adding one with your ruler.
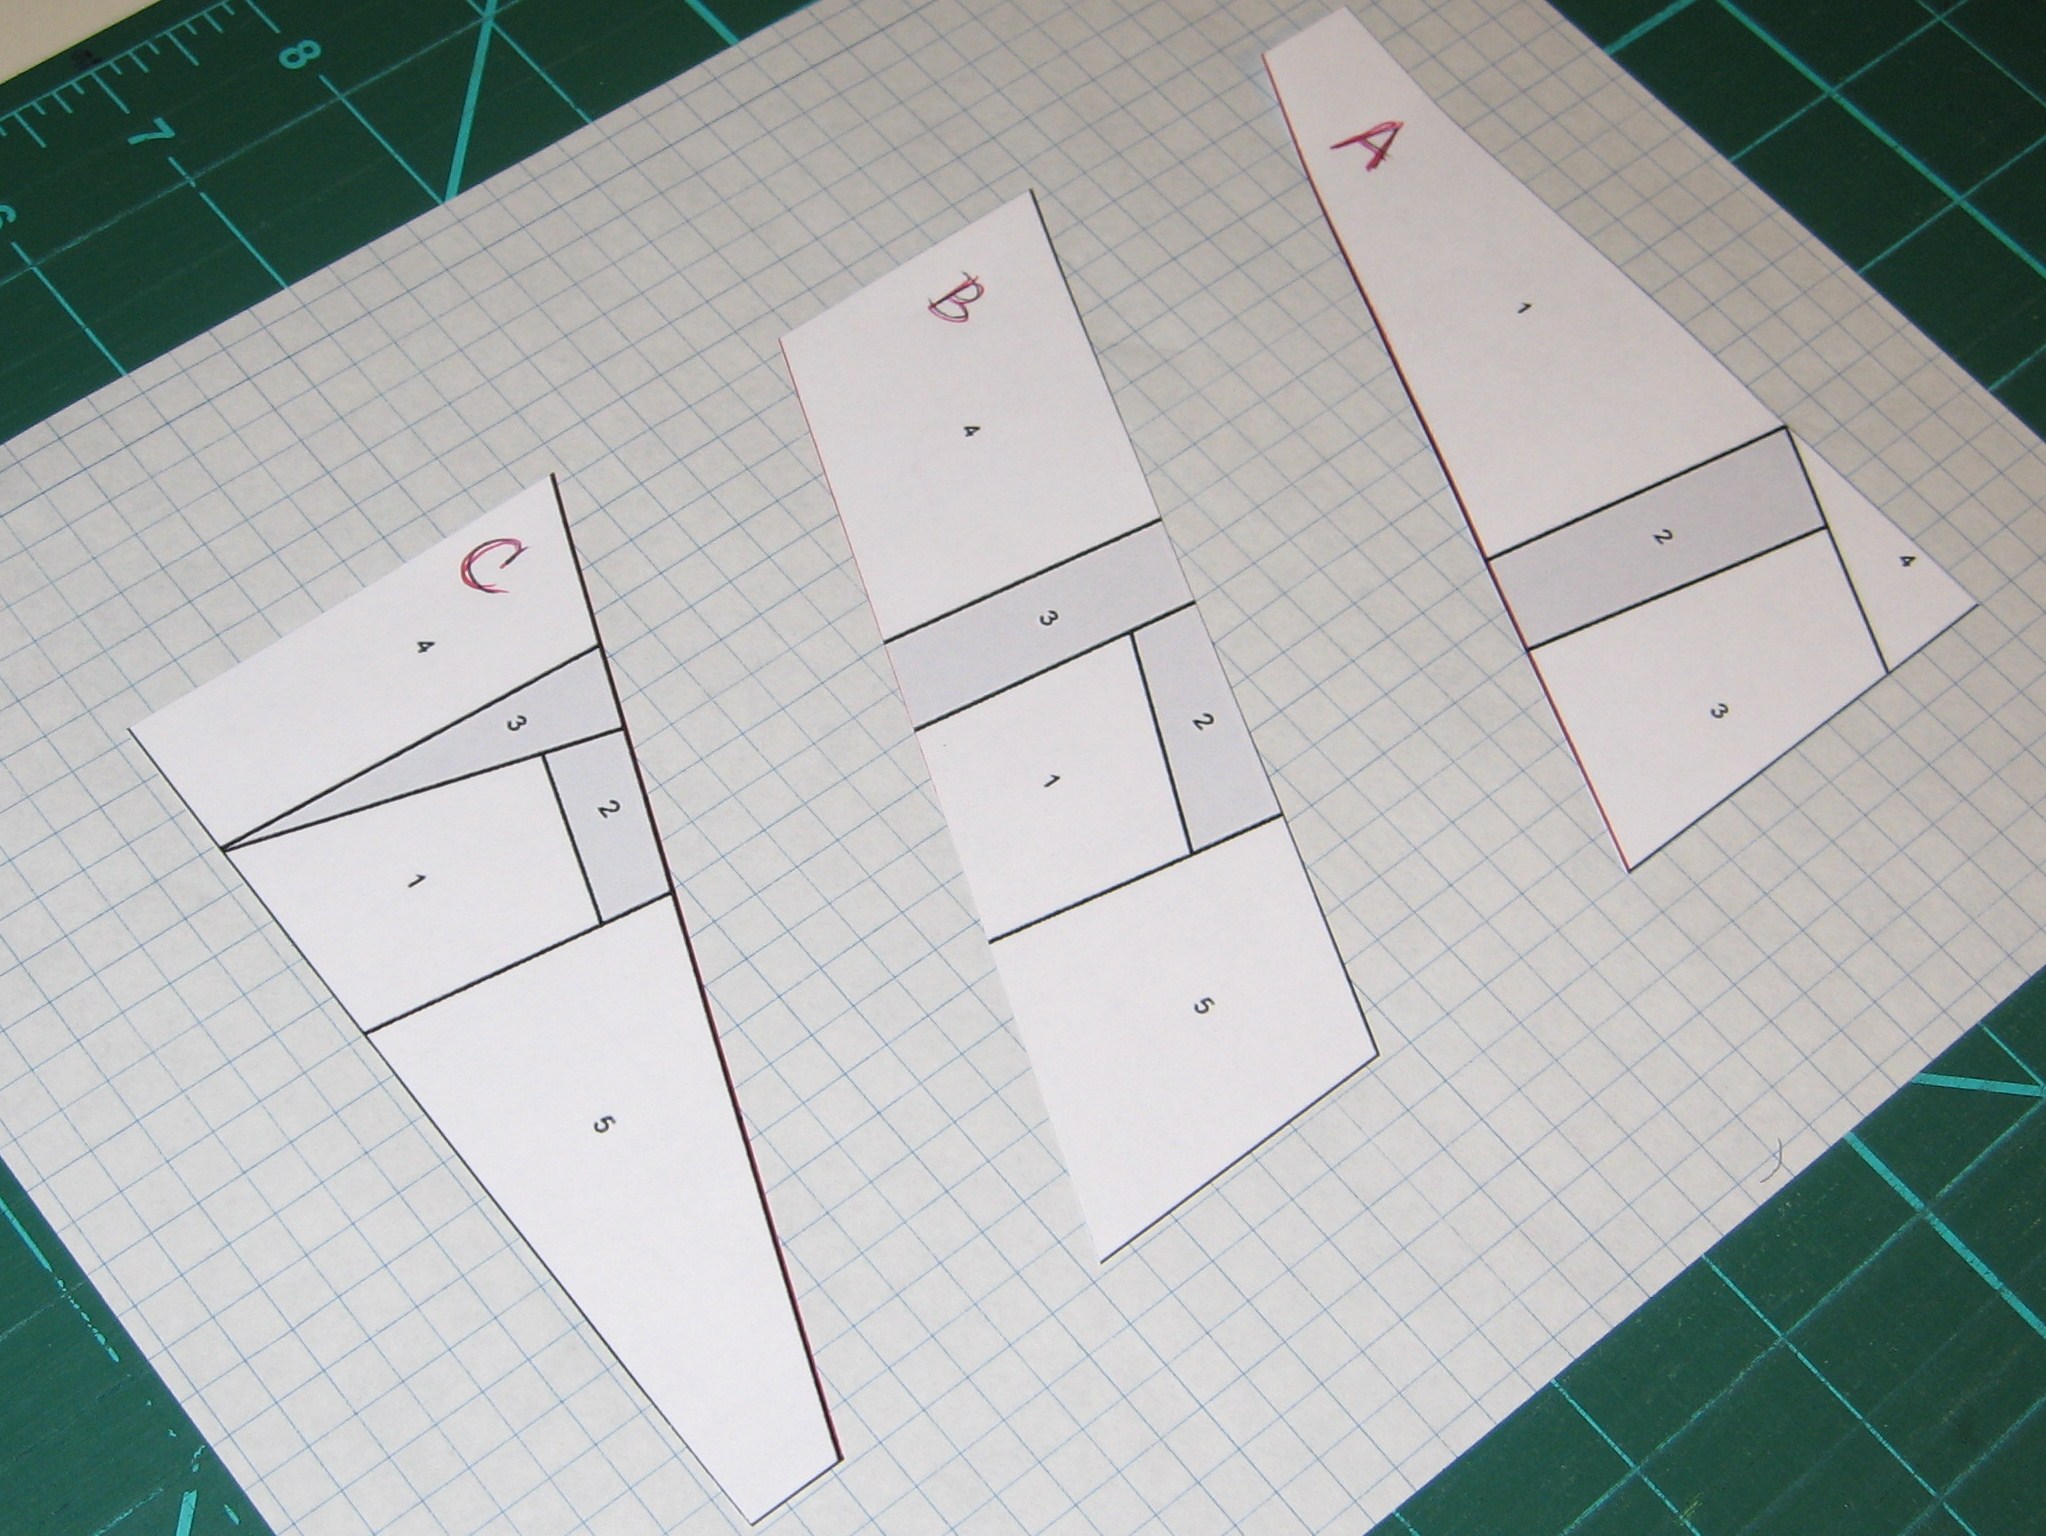
If the individual pieces aren’t labeled and you think you might need it later, label them now. This is especially useful in more complicated patterns. I like to use letters (A, B, C), but you can mark them any way you like. If you need to, make a notation of how the pieces will go back together, for example: A>B>C.
Use the rotary cutter to neatly trim the pattern to the seam lines, cutting through those that go across the pattern. You can use scissors here, but you need to be extremely precise.
Place the pattern pieces face up on a piece of graph paper, using a dot of glue or piece of tape to hold them in place.
Any size grid will do. The grid will make the seam allowance distinctive without using up too much ink. You can also use a lightly colored copy paper.
Place the grid paper face down on your copy machine or scanner and make a copy.
A colored copy (L) and a black & white copy (R). Either works fine.
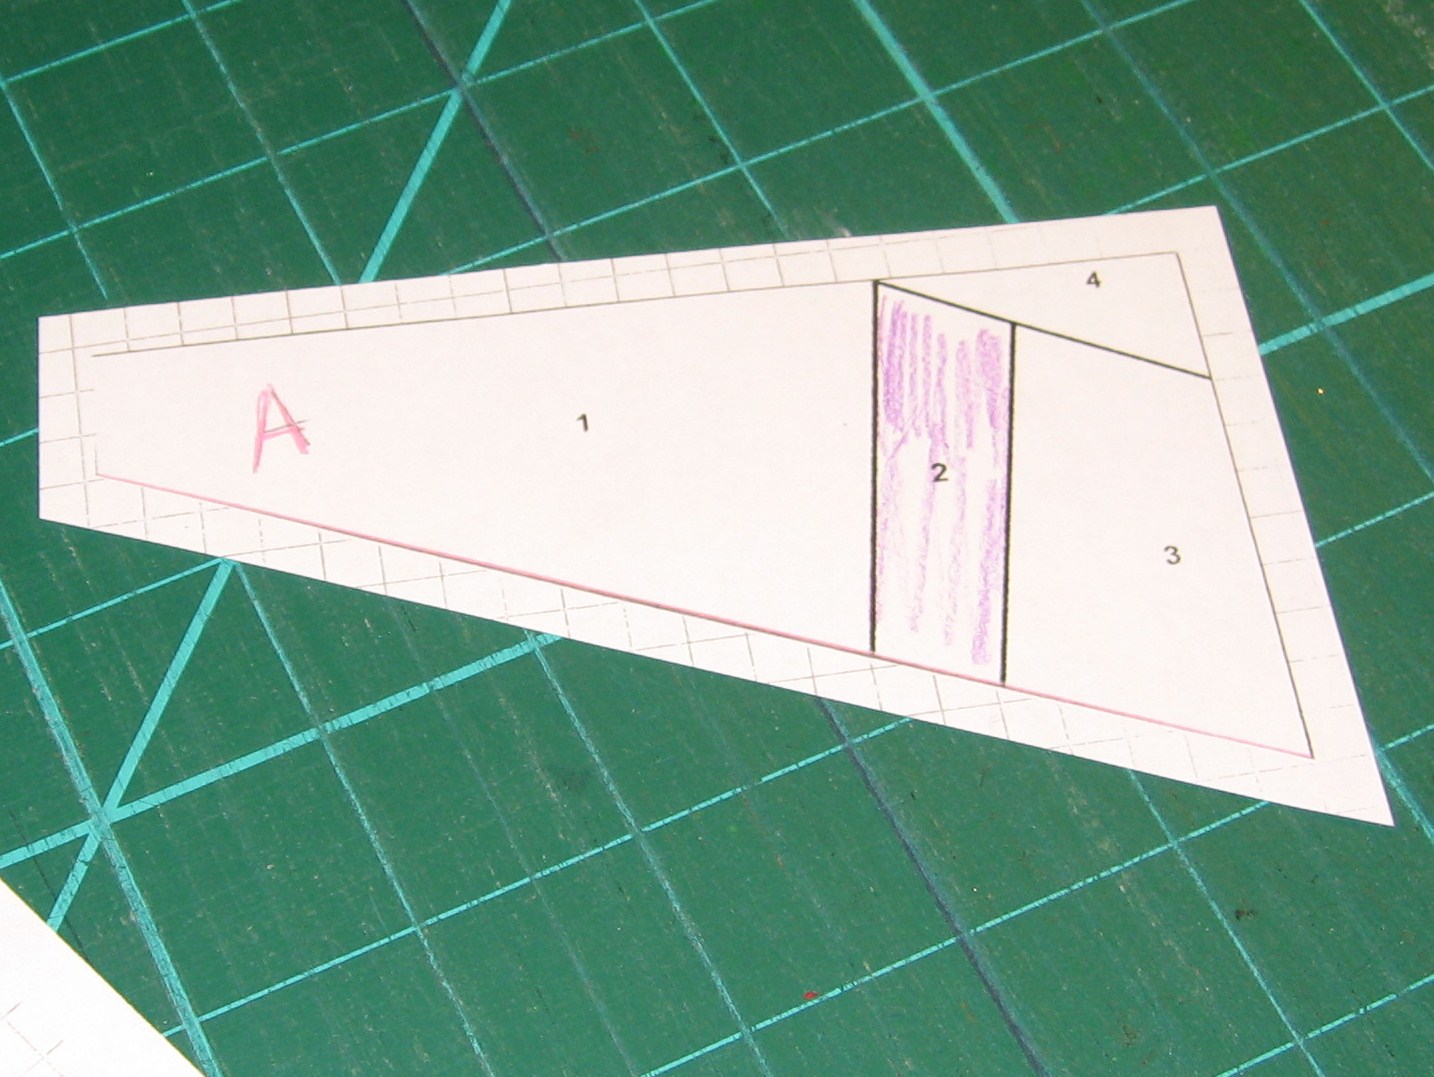
Using your ruler and red pen or map pencil, draw lines along the inside seams. This will give you a reference point for lining up your pieces later.
If you’d like the pieces of your pattern colored for easy reference while you’re piecing, now is a great time for that. Grab a fabric safe marker or pen and color away! This is a great trick to use if you’re piecing with more than two colors so you don’t accidentally mis-piece any fabrics. Note from future me: don’t use crayons, they melt. 😐
Using your rotary cutter and dull or paper-designated blade, trim the pattern pieces, leaving a 1/4″ seam allowance. It’s easy to see the grid left from photocopying.
Repeat on all pattern pieces and you’re done! The pattern has seam allowance and you’re ready to piece.
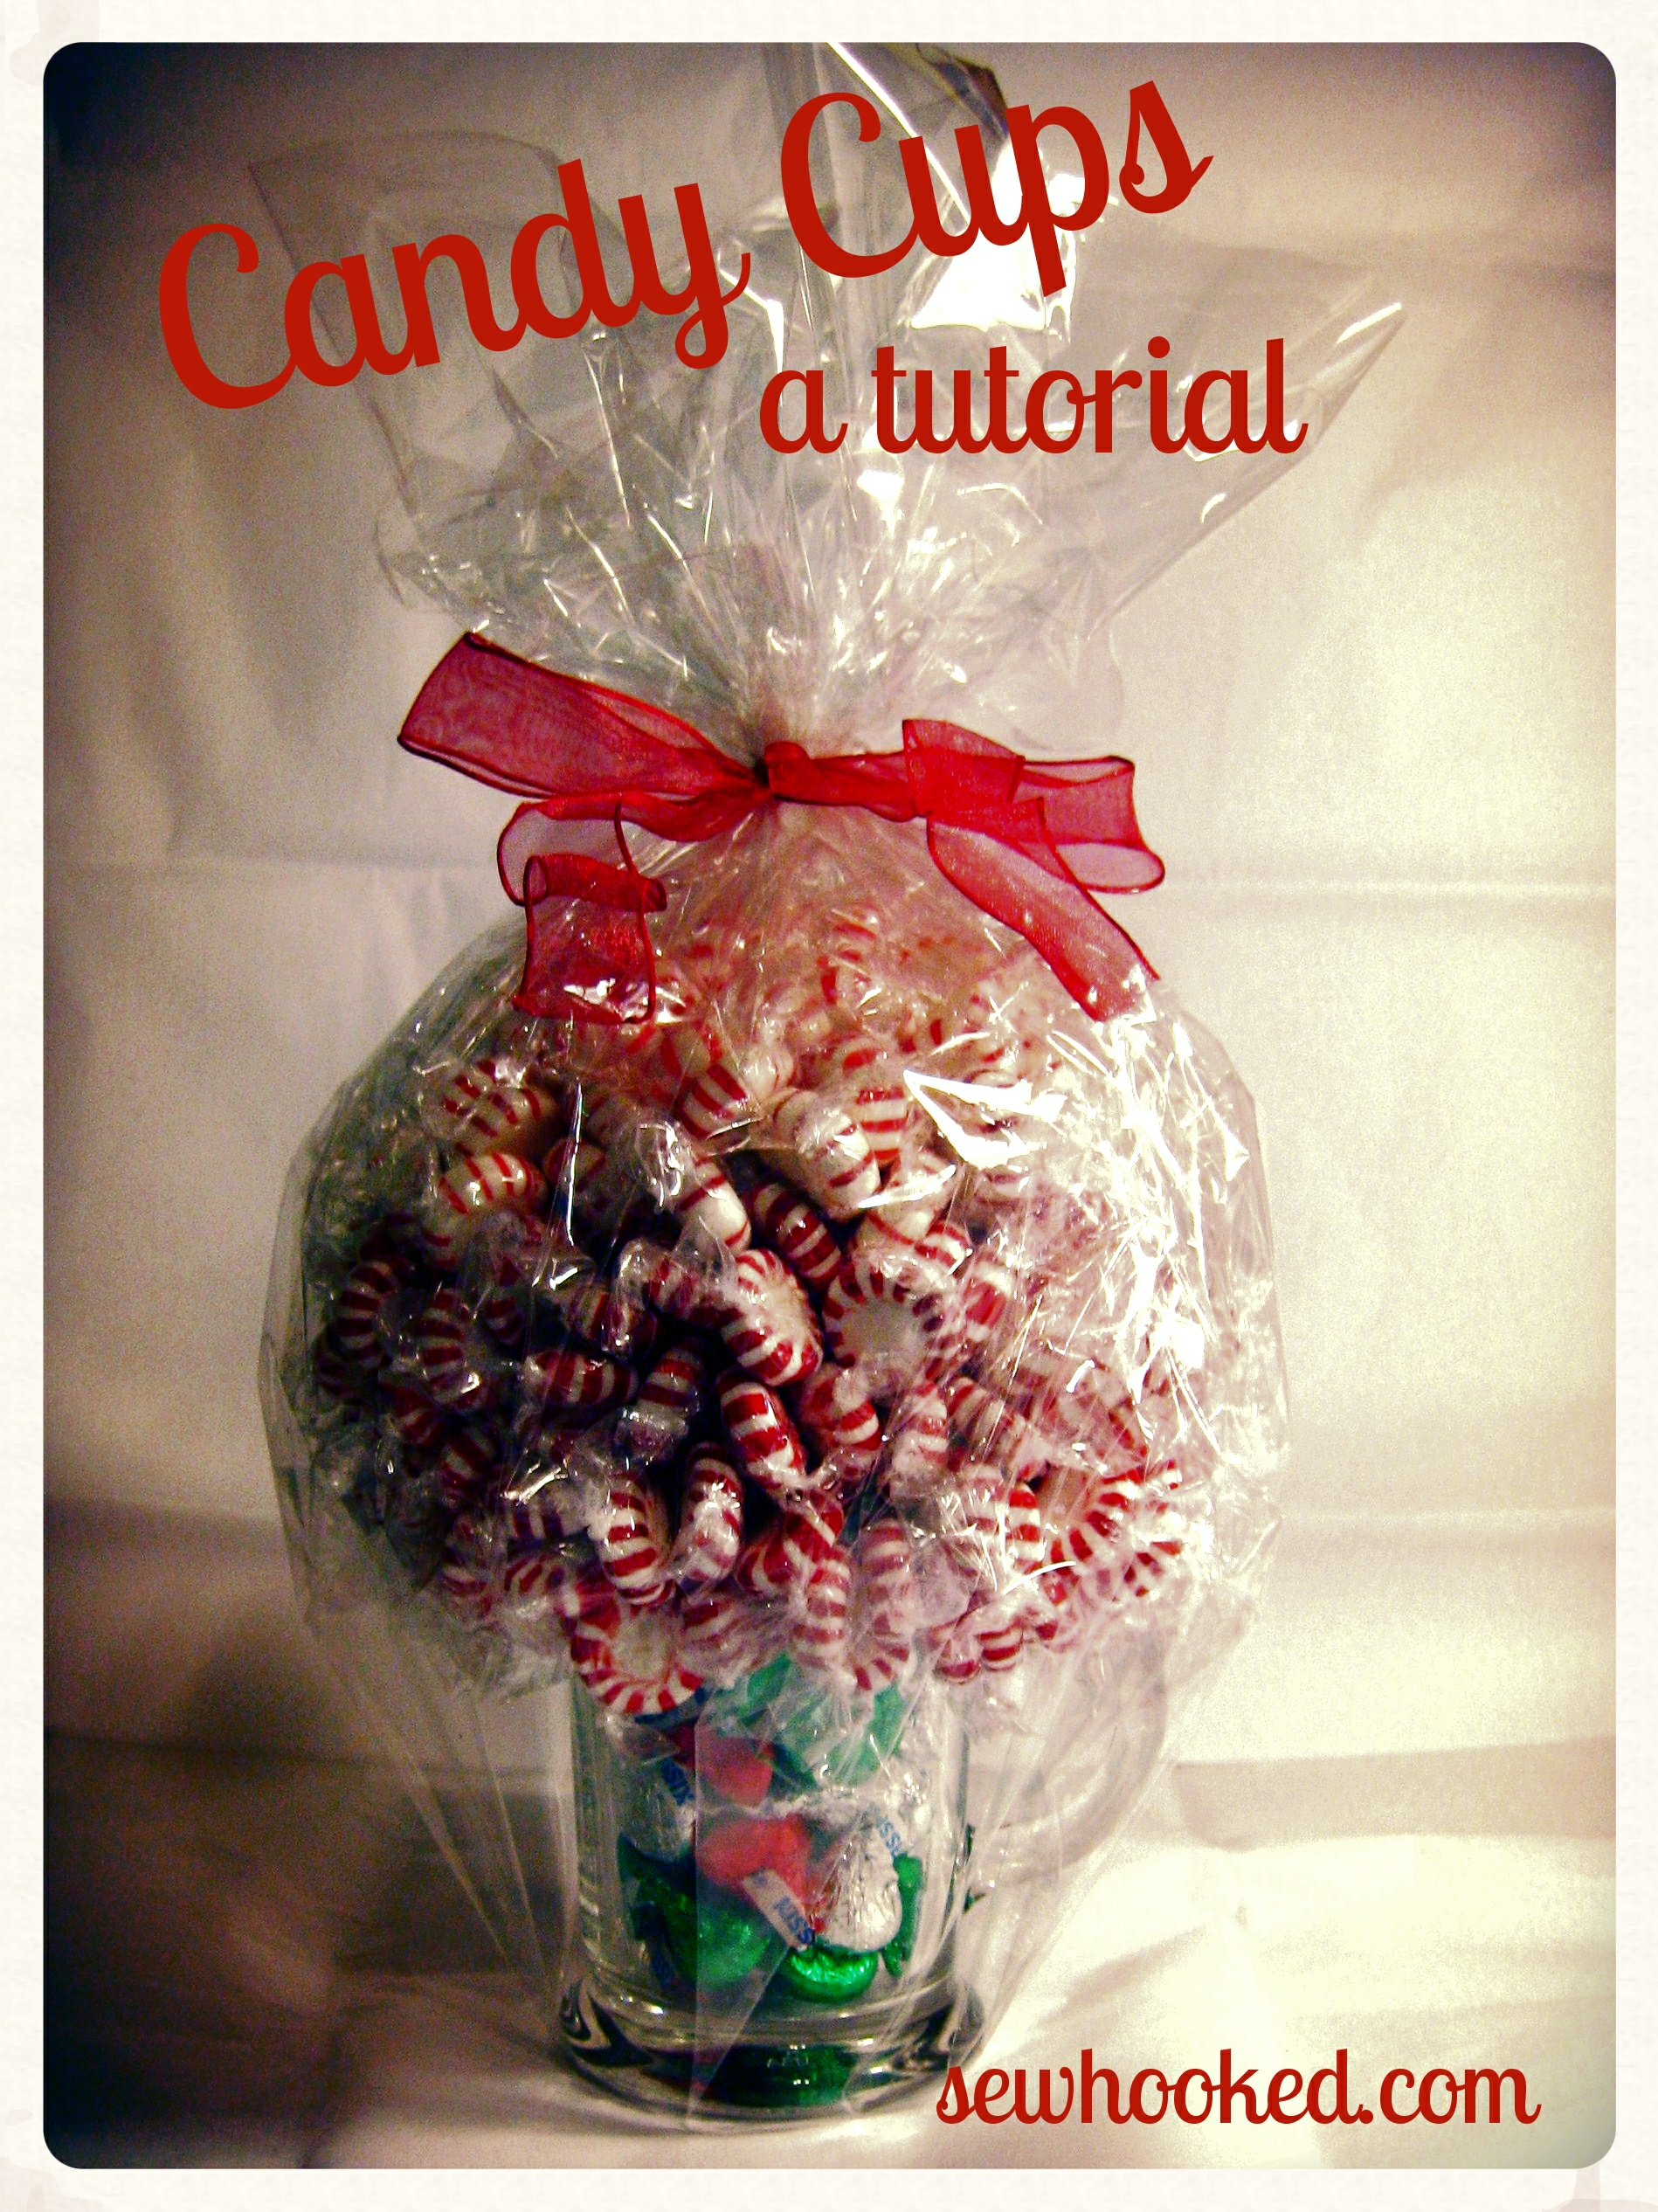
Shared by my aunt, Amy, several years ago, Candy Cups have become a gift-giving standard for me. I’ve made them for Christmas and birthdays and with all sorts of candy.
They’re easy, inexpensive, and make gorgeous gifts for the hard-to-shop for. Think teachers, friend,s and anyone who likes candy. Sugar-free candy works, too!
Once all your supplies are gathered, it’ll take you about an hour to make one candy cup.
You’ll need:
Glass or Mug (I prefer clear, but any kind will work, the heavier the better!)
Candy with loose or twisted wrappers (example used approximately 40 oz. of peppermints)
Styrofoam ball (size depends on your glass or mug)
Filler for the cup – recycled paper or candy
Bamboo Skewer
Scissors
Hot Melt Glue
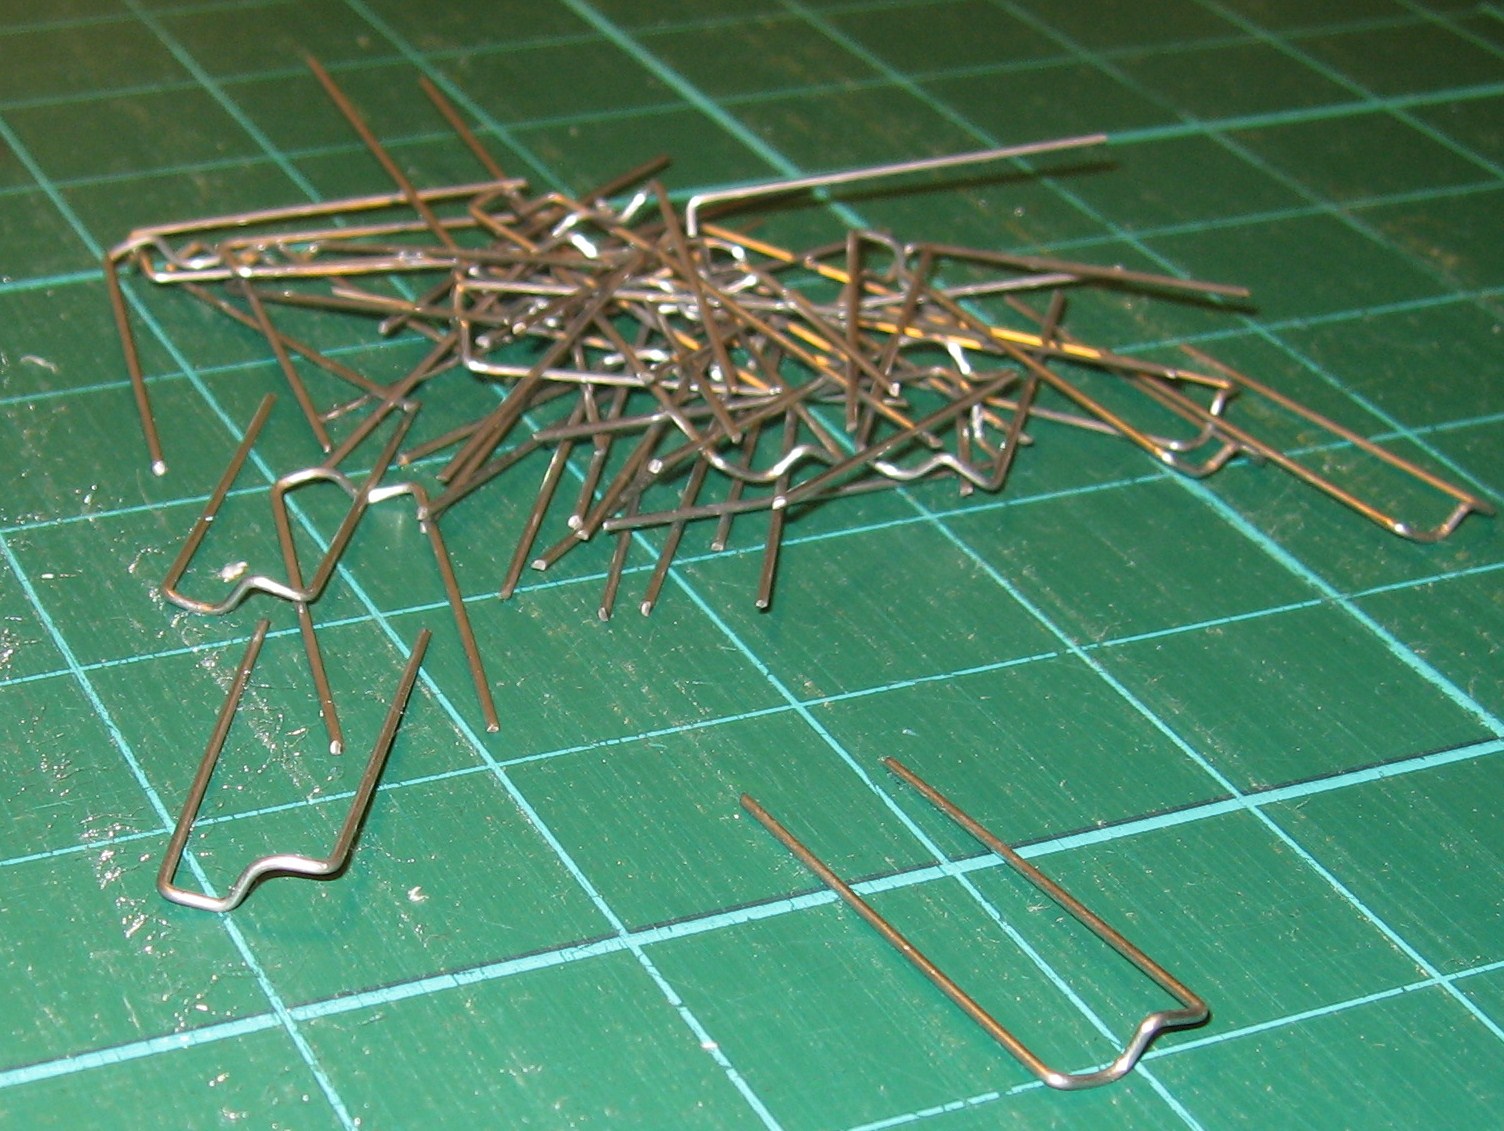
Greening Pins (also available at the hobby store with the floral accessories)
Ribbon
Cellophane
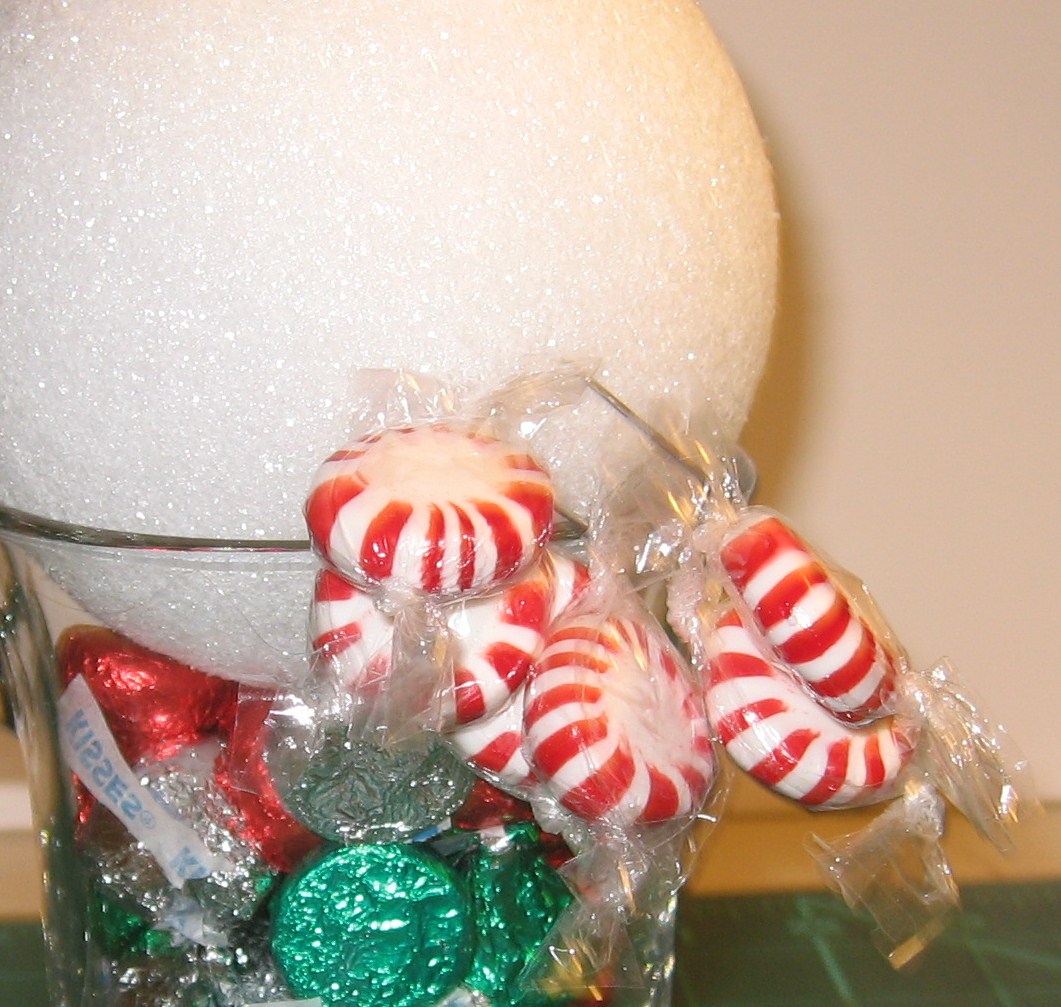
Push the bamboo skewer into the Styrofoam ball, all the way through the top. Put it in the glass to and push down until the ball is snug in the glass.
Snip off the excess skewer with your scissors. You can also use large fingernail clippers, a utility knife, or pruning shears.
With the skewer still in the glass, fill the bottom with candy. Ideas are like M&Ms, Hershey’s Kisses, or Peppermints (though you could really use any candy). Another option is shredded paper, but the candy on the ball will make the cup top-heavy, so having a heavier filler keeps it from tipping over and gives the gifted a sweet bonus.
Place a small dot of hot melt glue on either side of the rim of the cup. Gently press the styrofoam ball onto glue, holding in place until it sets. You don’t need much, just a touch for stability.
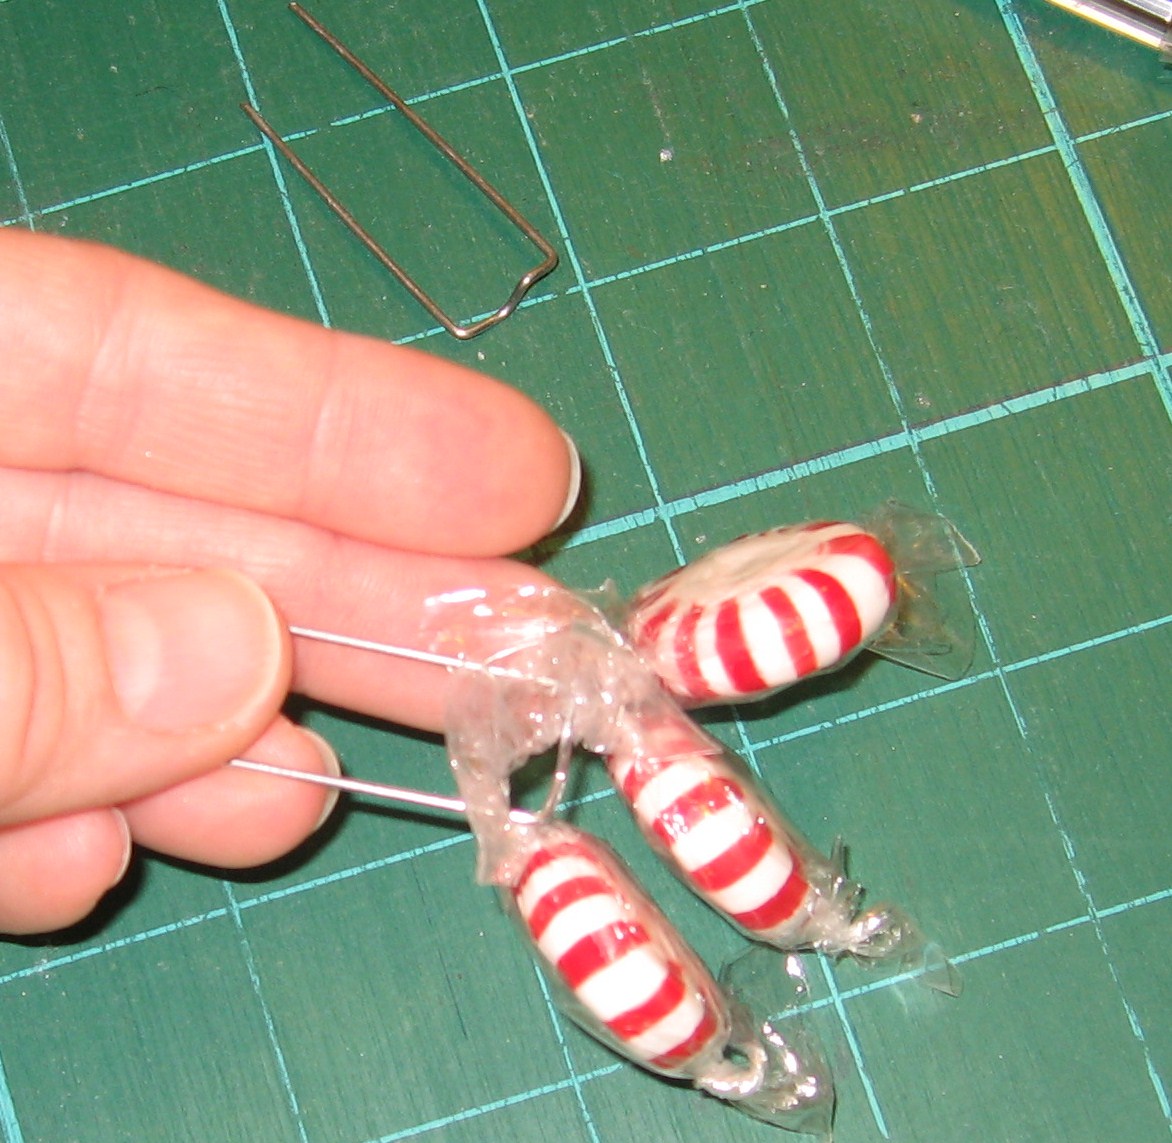
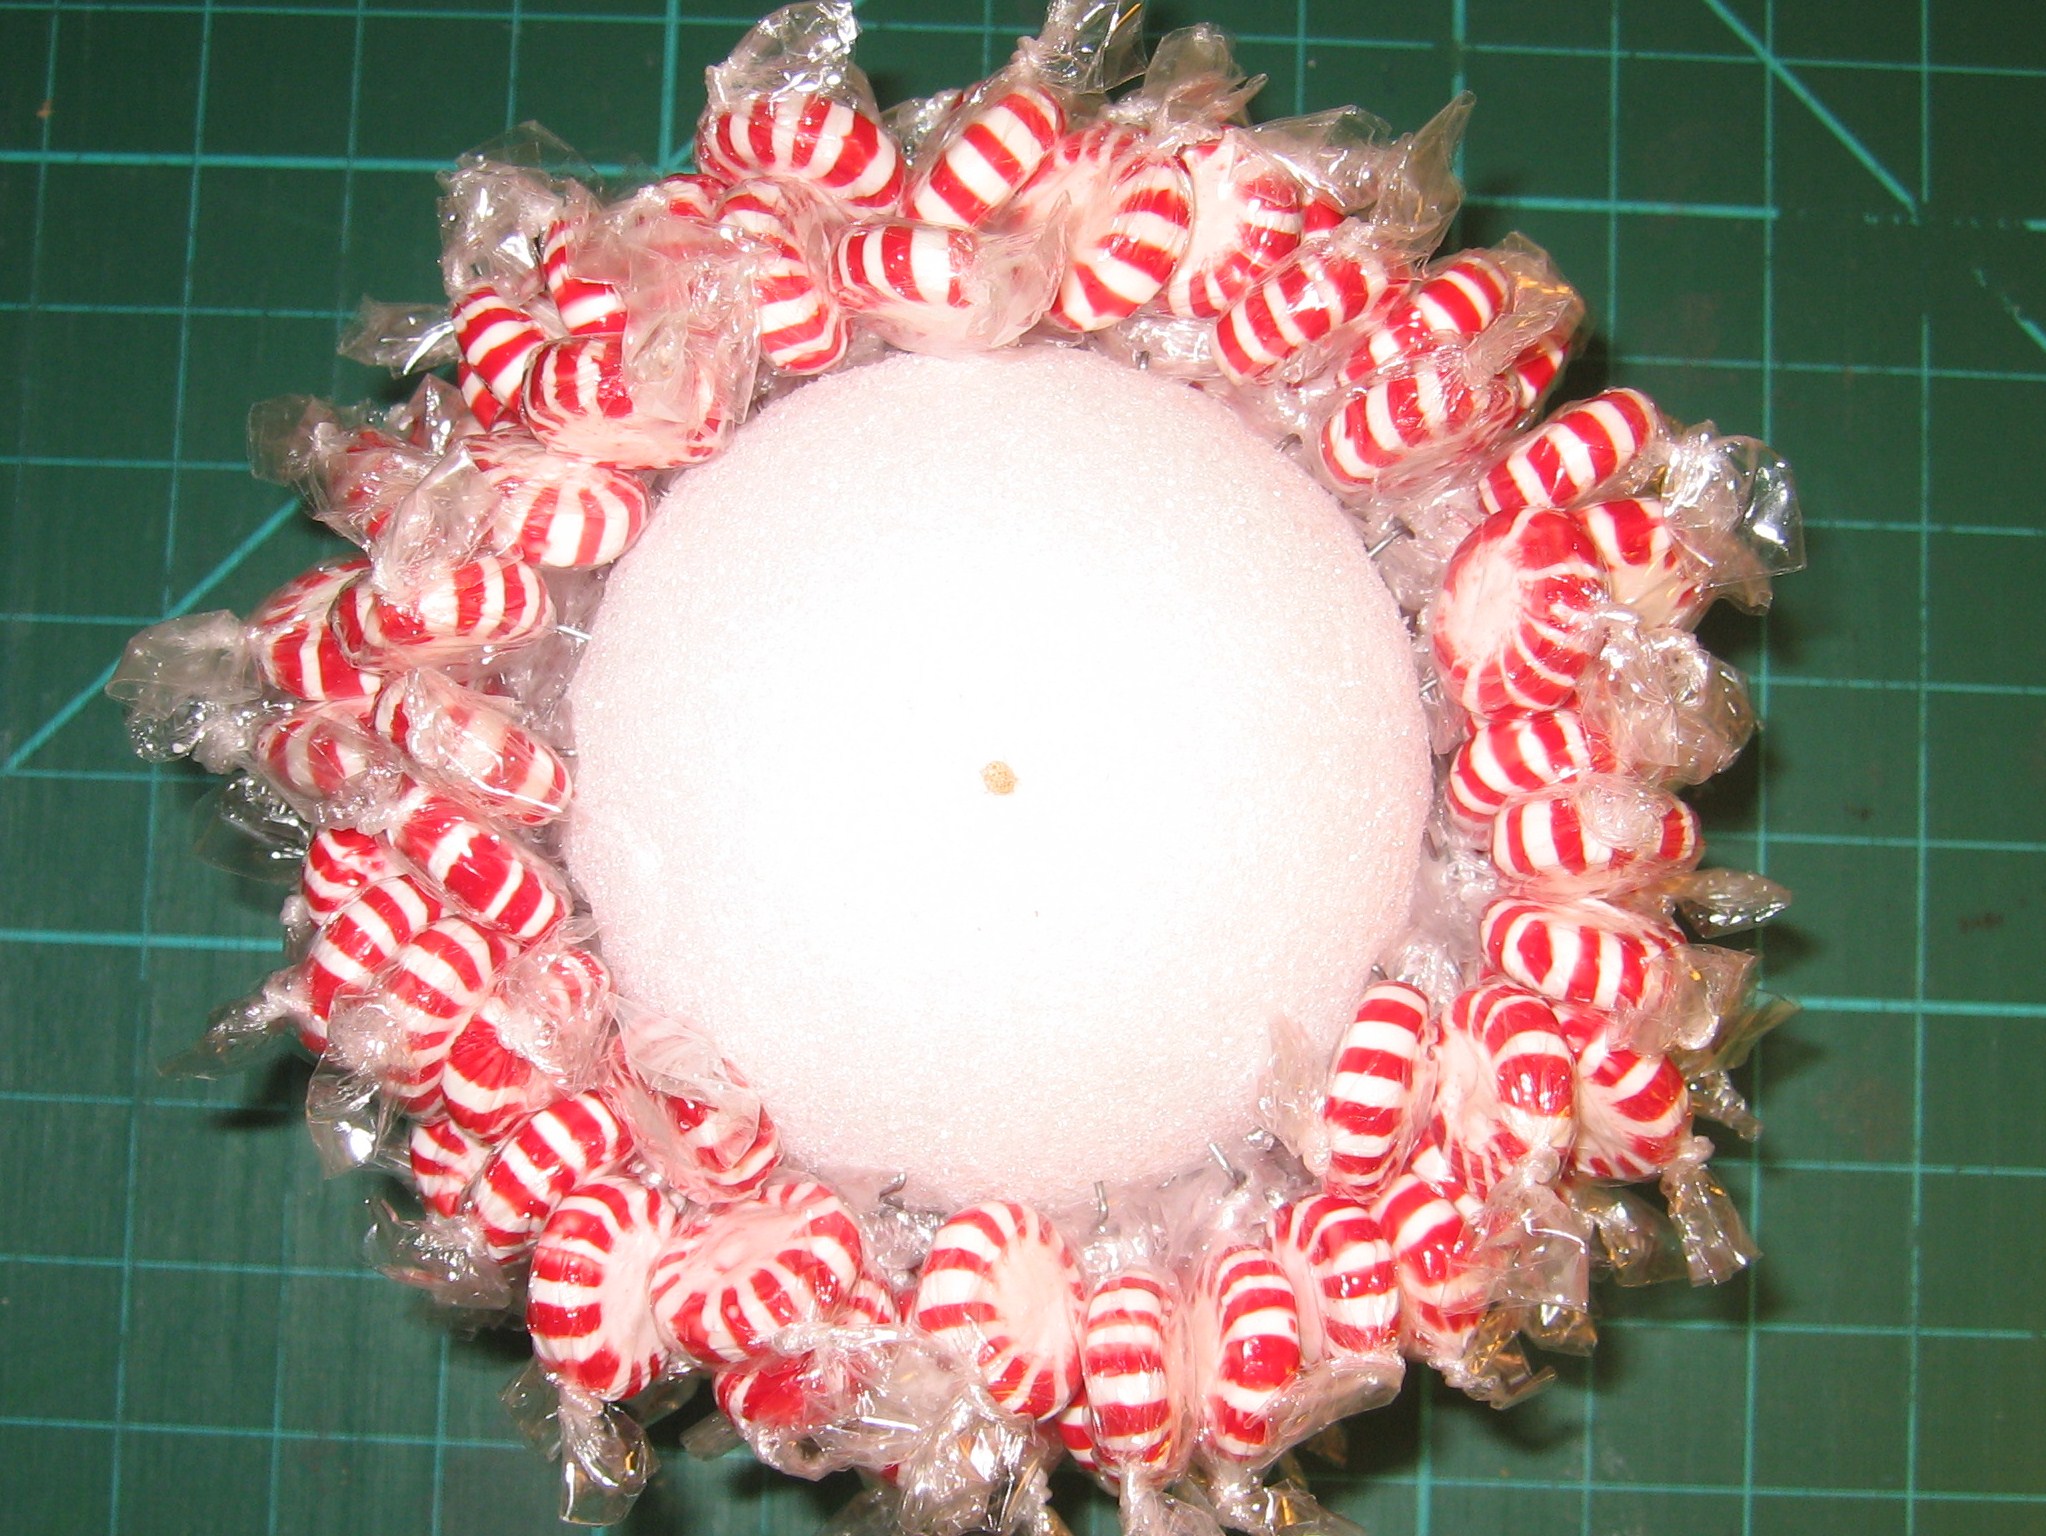
candies in twisted wrappers
greening pins
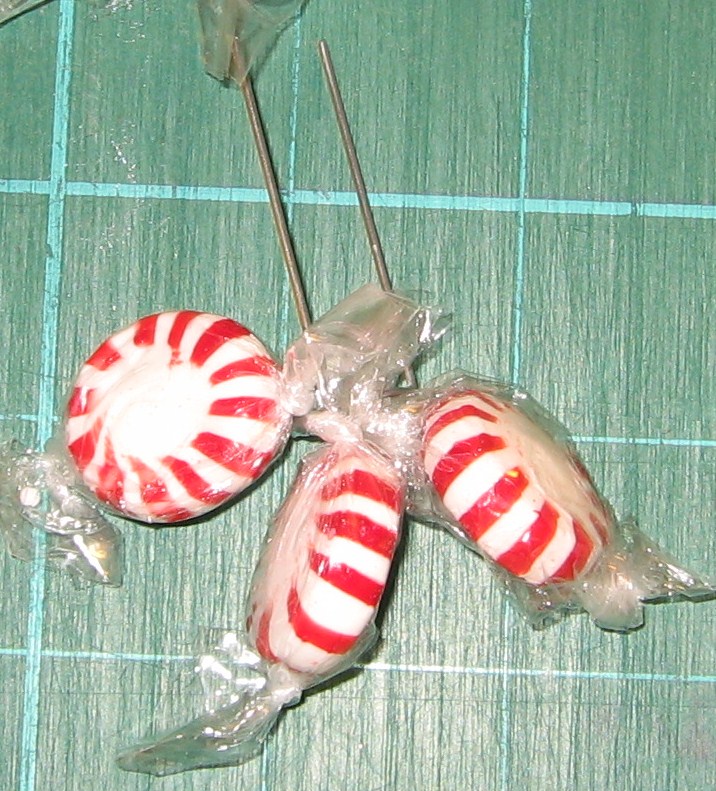
Use greening pins to add candy to ball by poking pins through the loose end near the twist of the candy wrapper. Depending on the candy, you can get two or three on each pin.
Start at the bottom and work your way up to the top, moving in a circular pattern.
First Round complete.
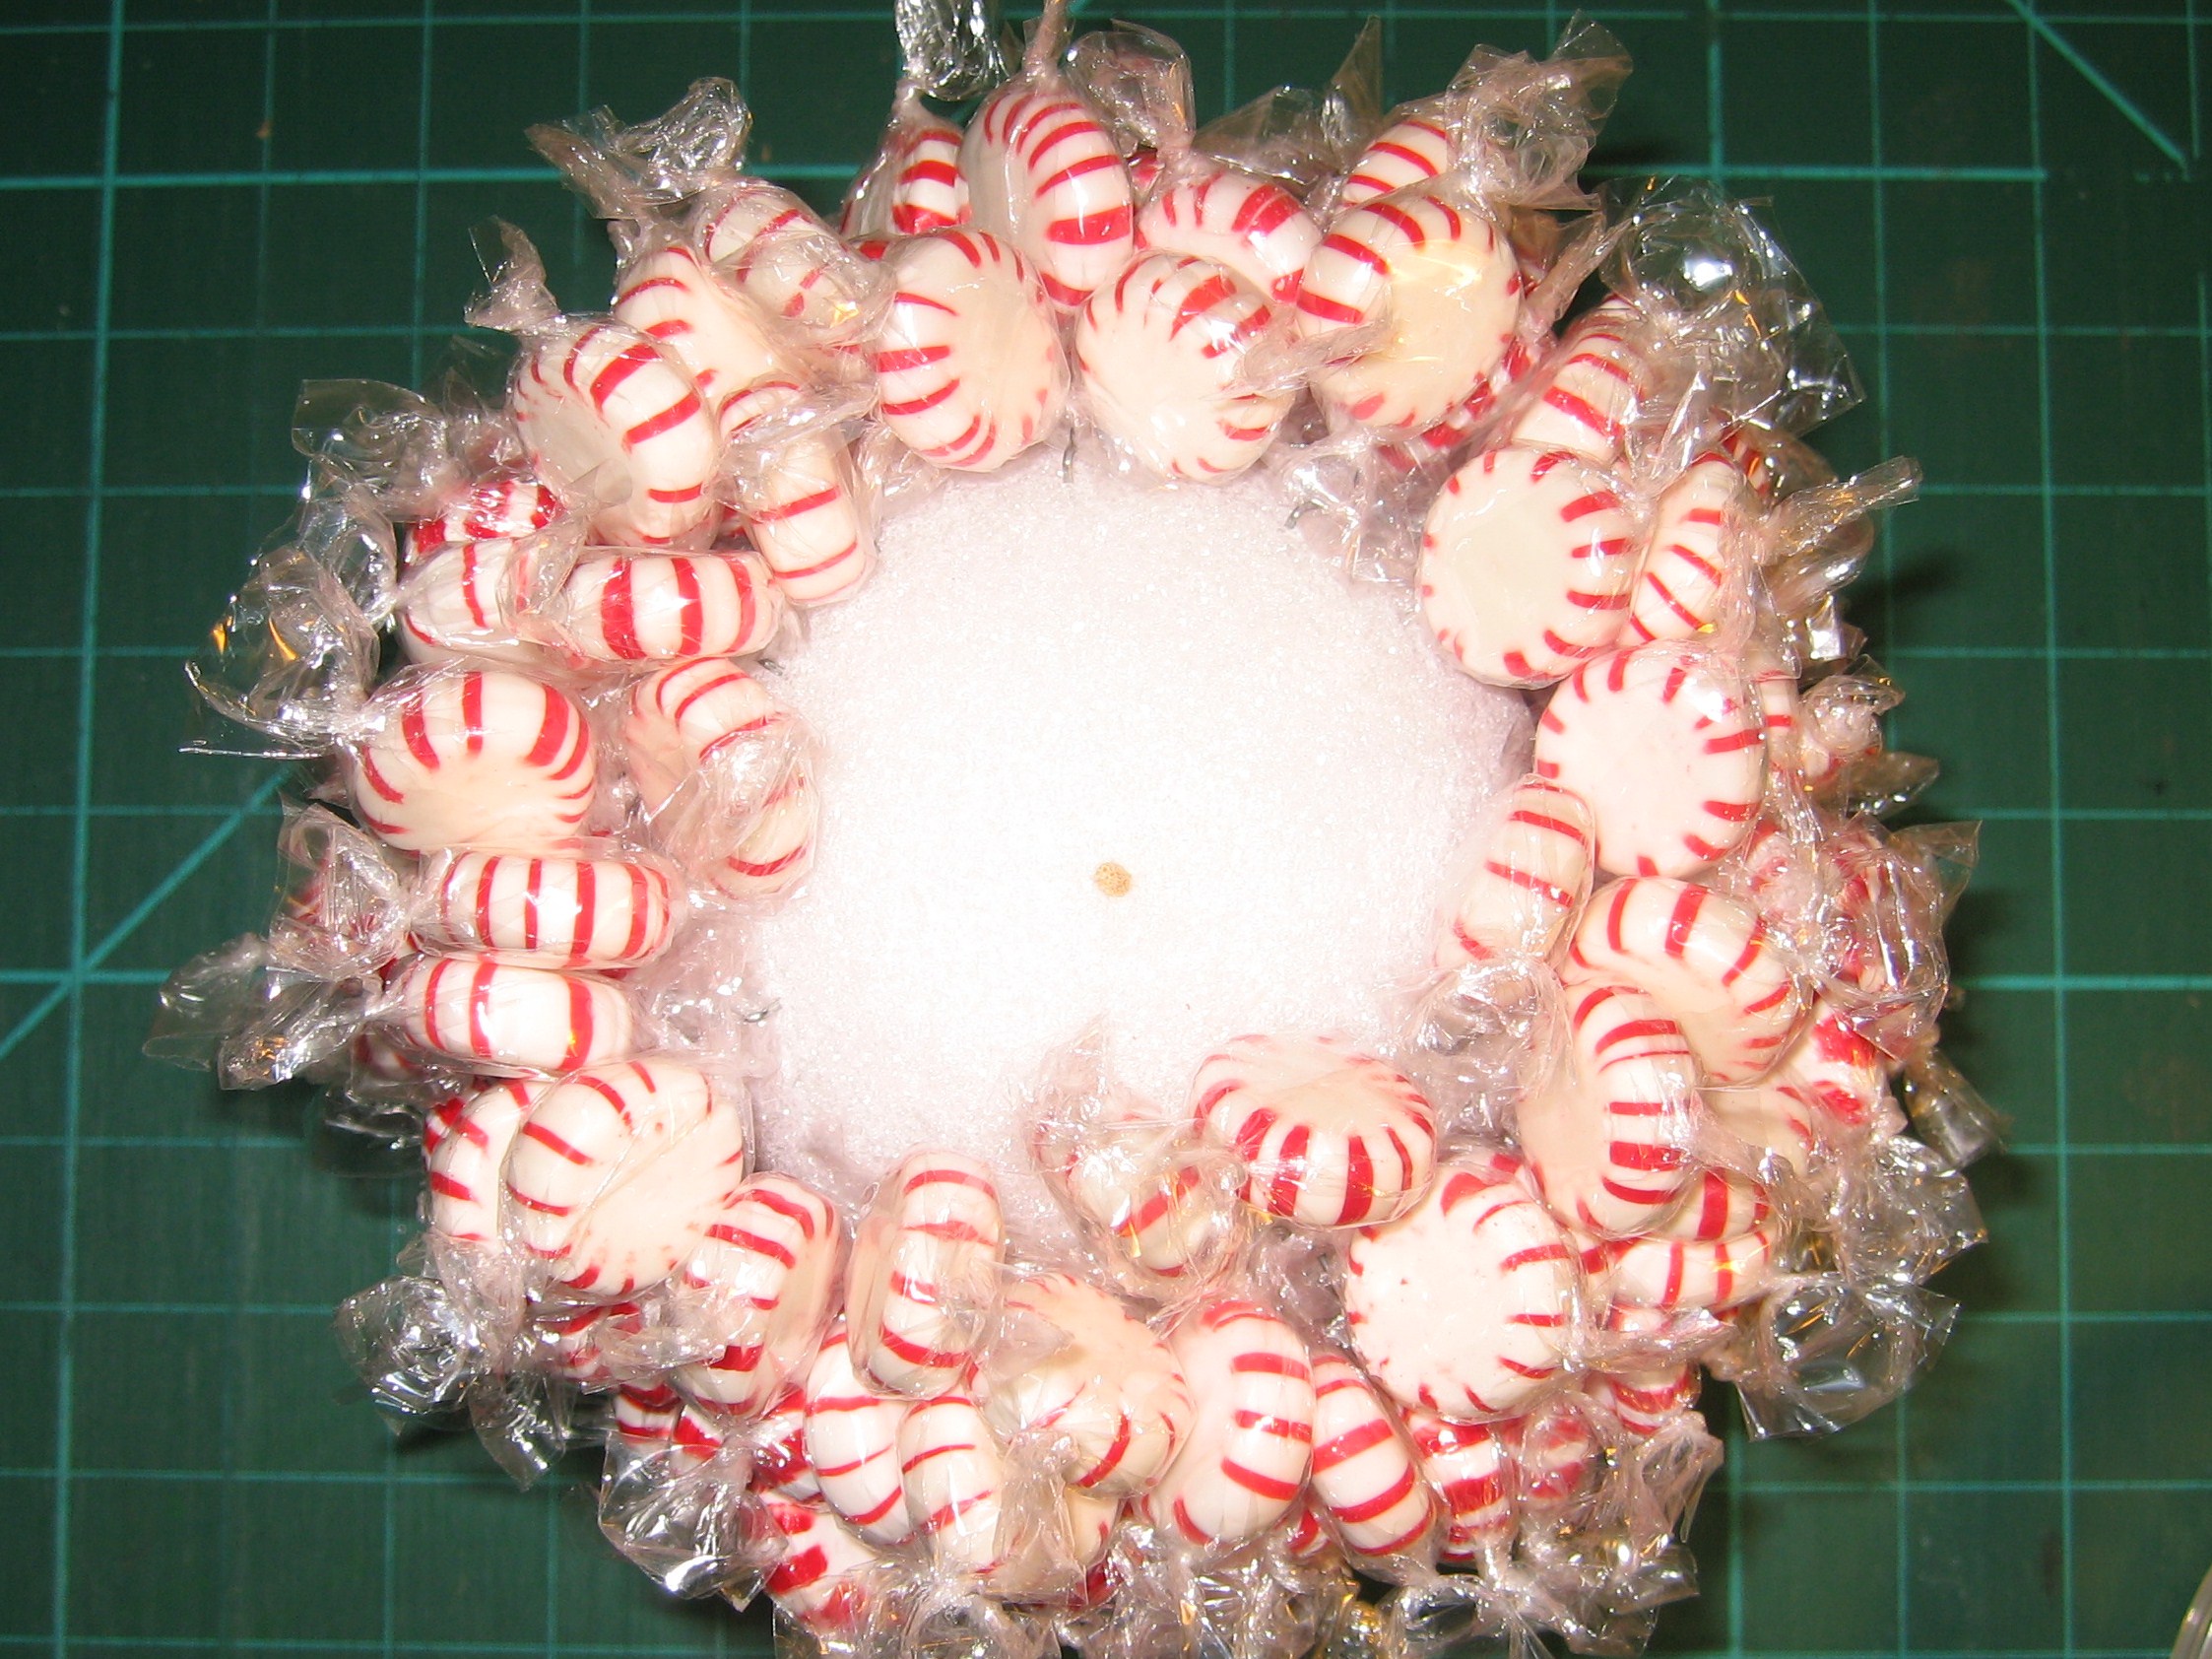
Second Round.
Third Round.
Fill in any holes with more candy & greening pins.
Final round complete, all the holes filled in.
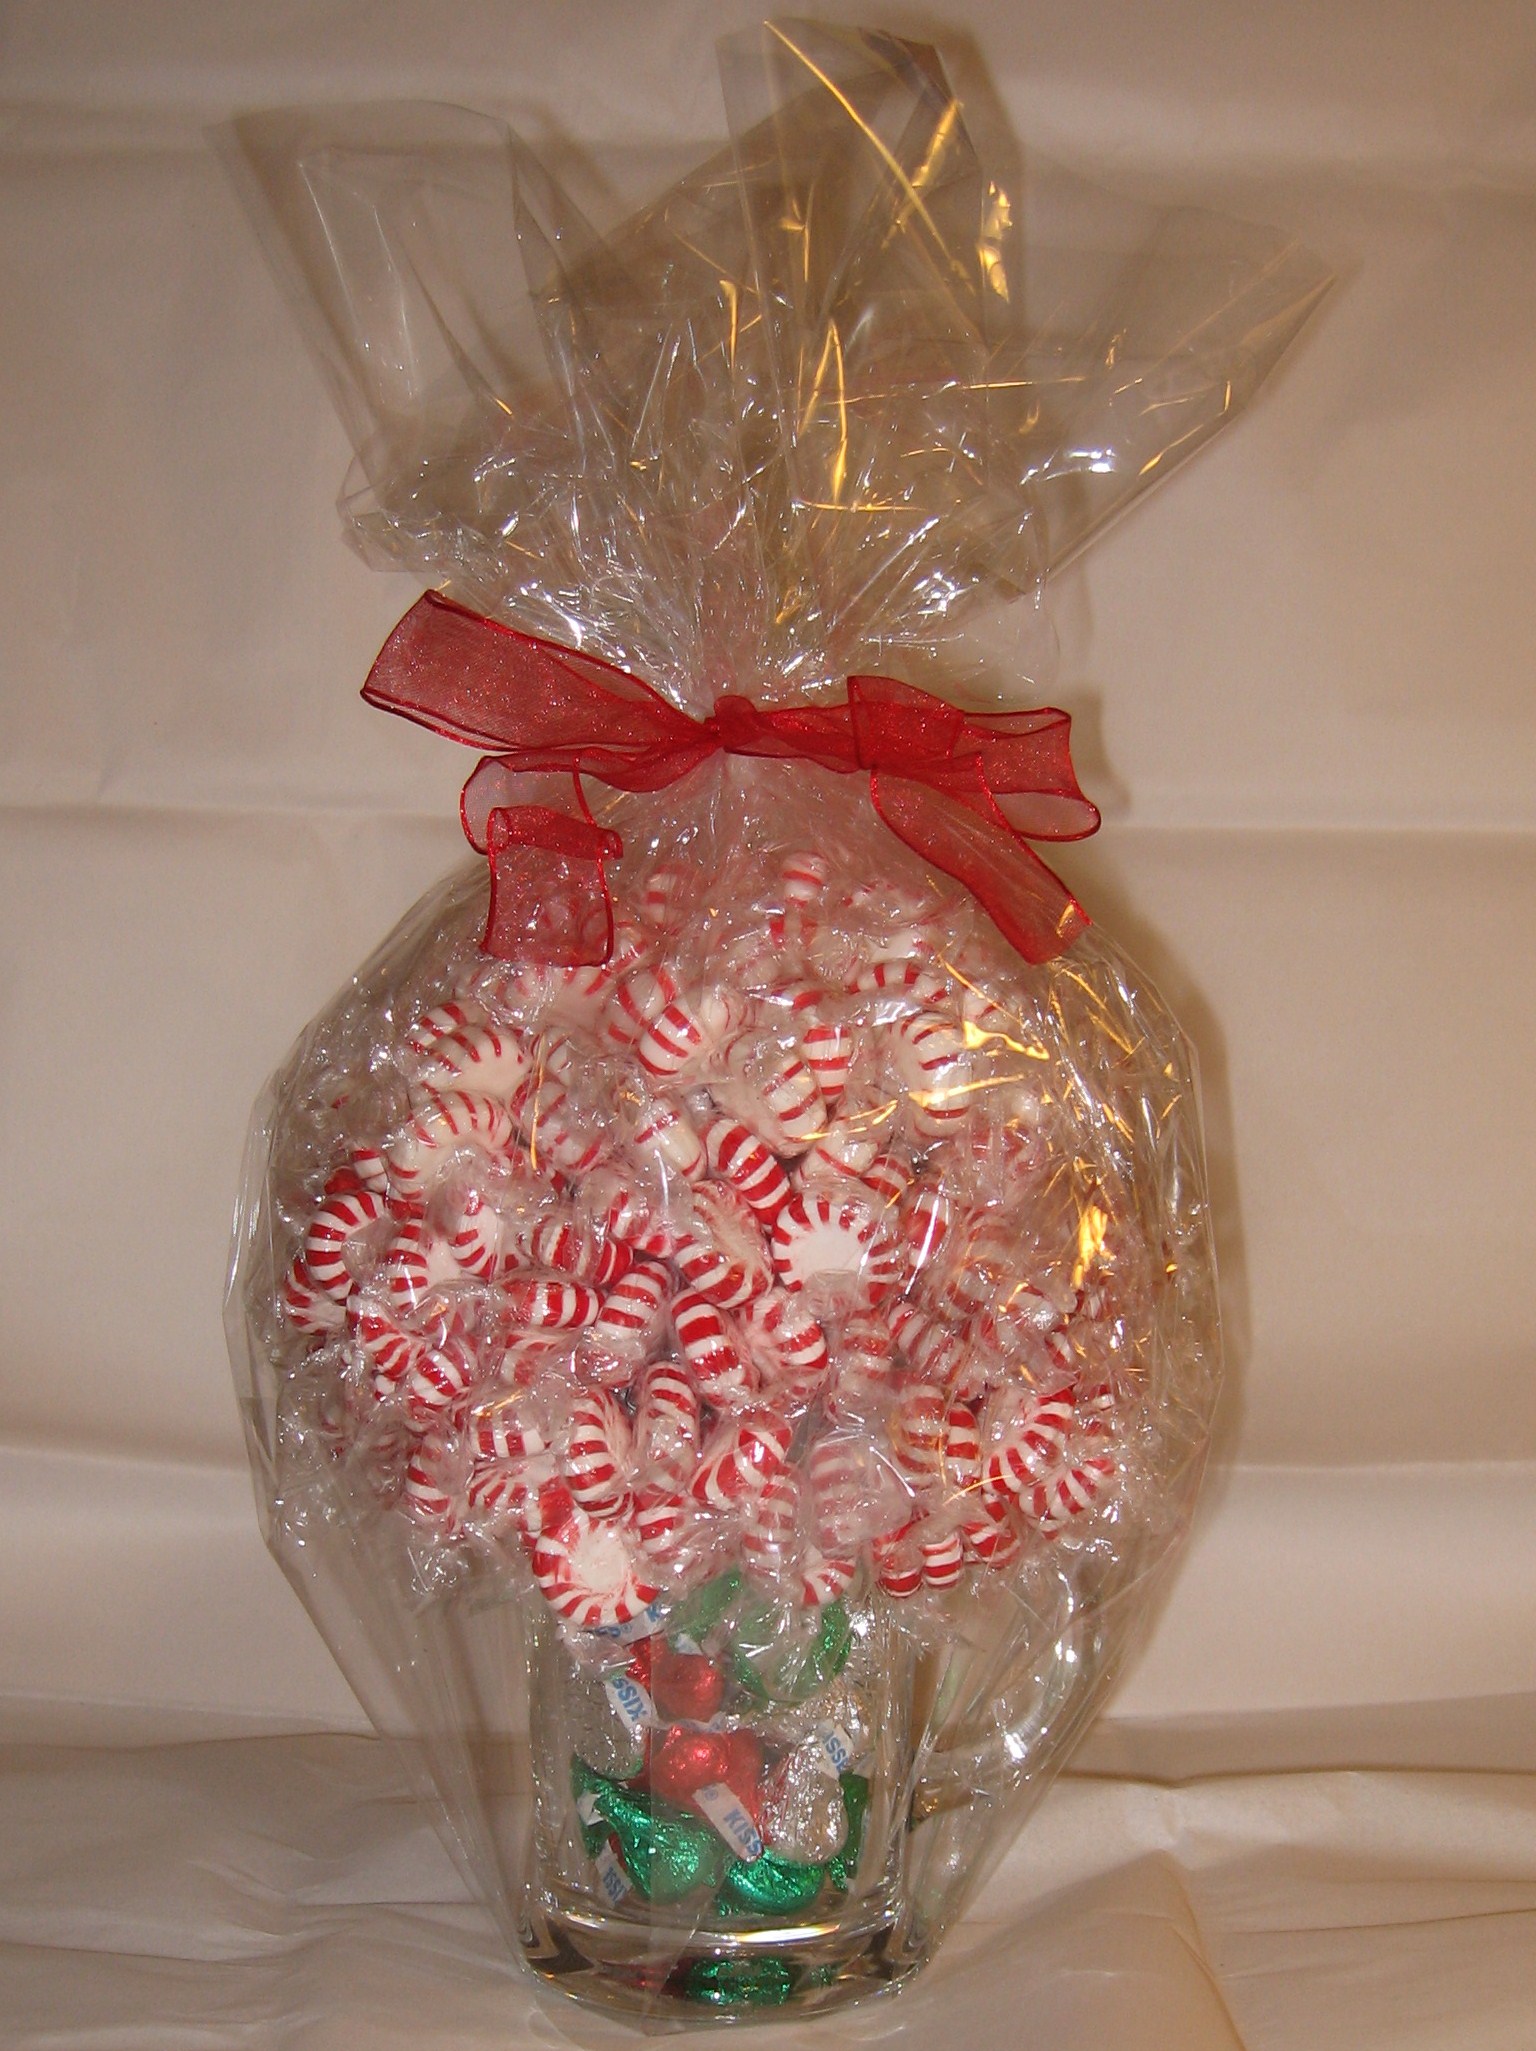
Wrap in cellophane and embellish with a bow or ribbon. The cellophane is optional, but it provides insurance that your candy will get from point “A” to point “B” intact.
Gift it!
Variation with M&Ms and Coca-Cola glasses
Variations by Amy Maxey – toffee coffee & bubble gum soda glass.
December is almost here and that means a couple of things for my family.
We eat too much, get to see family we haven’t seen for ages, and we craft. While crafting in itself is a daily thing for us, December crafting is different. We make ornaments for friends, family and ourselves. Just something about the cold weather, hot chocolate and waiting for Santa makes the crafting a little bit more special.
On that note, today’s craft is an old favorite of mine. It was originally designed to be an easy ornament to make during my kiddos’ elementary school days. I wanted something that was inexpensive, took few materials and would be easy to teach kids how to do.
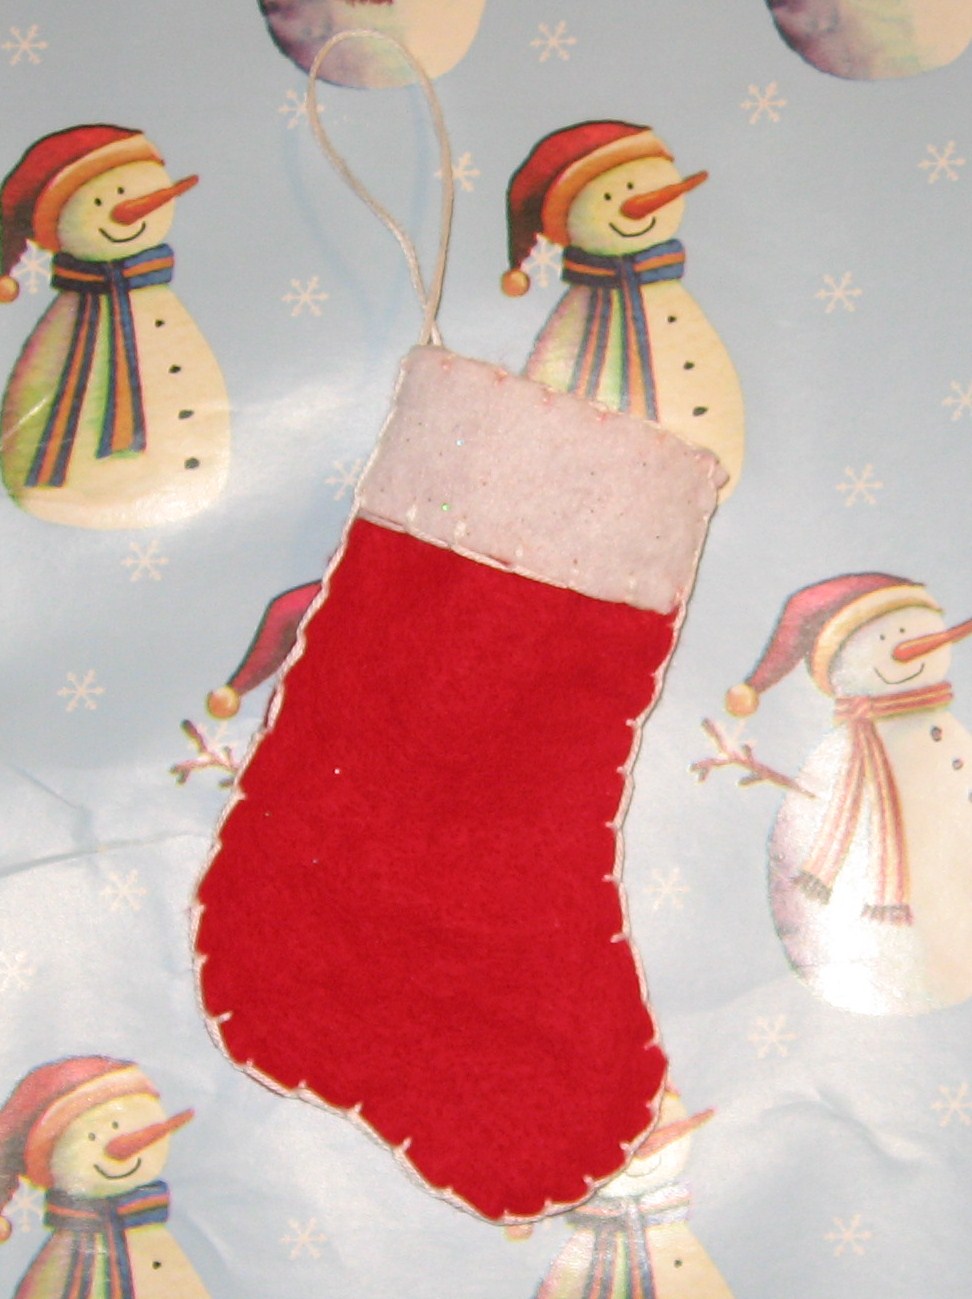
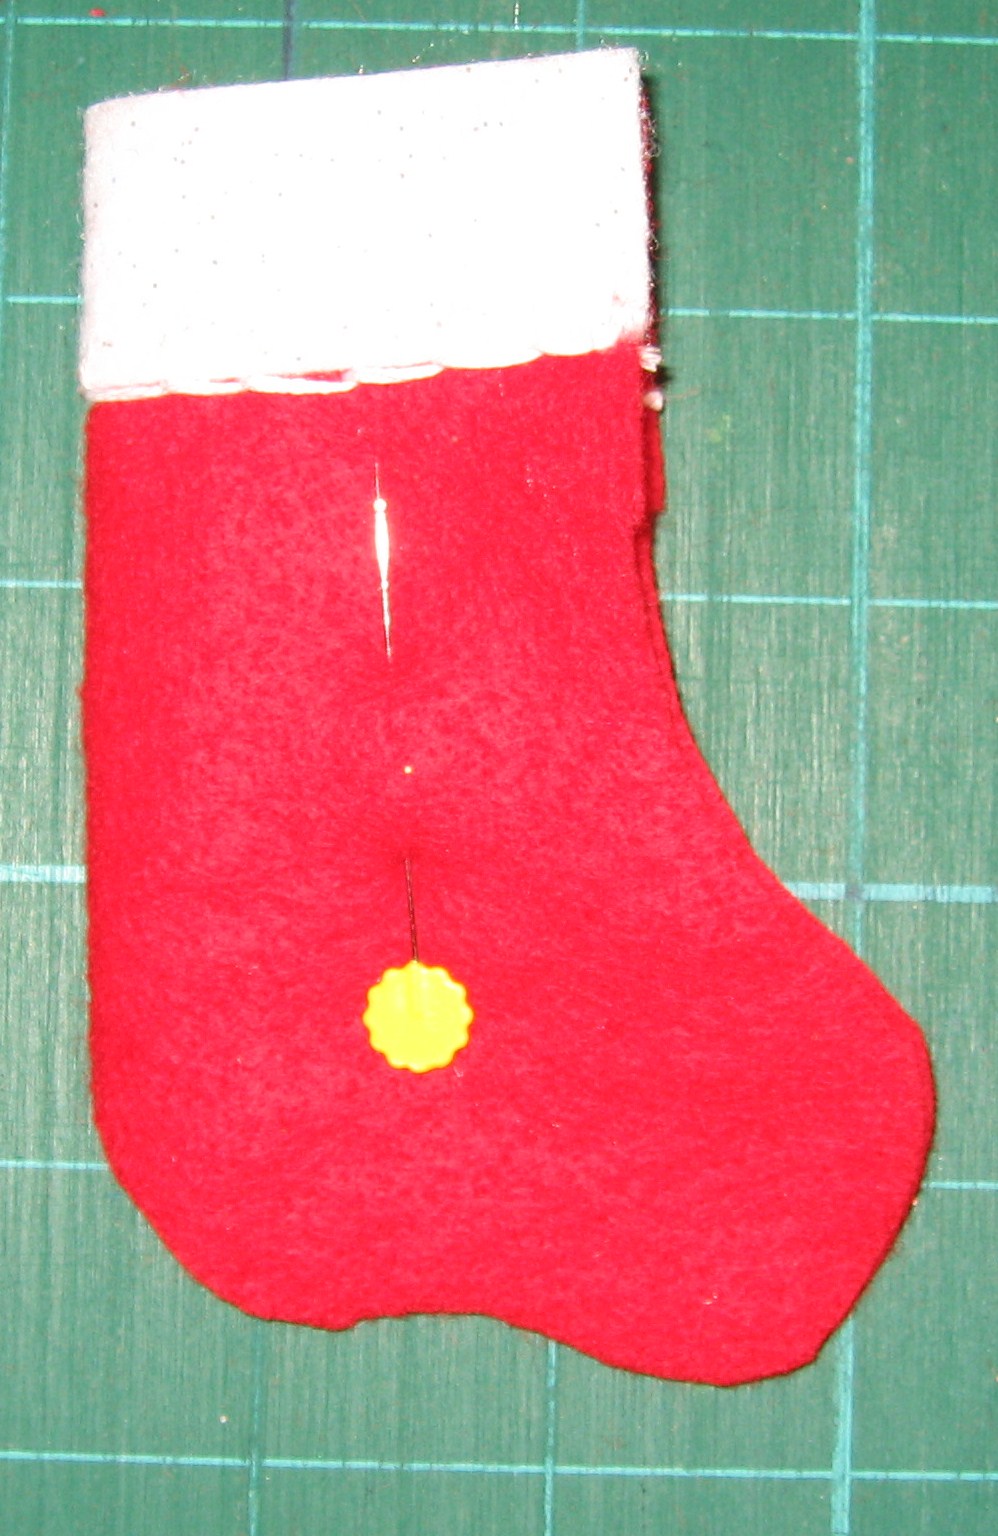
This simple blanket stitched Christmas Stocking is all of these things. The knots might take a little adult assistance, but other than that, it’s a craft easy enough for anyone old enough to thread a needle!
Make it as is and you’ll have a 4″ stocking ornament. Enlarge for a larger stocking; personalize, decorate or embellish!
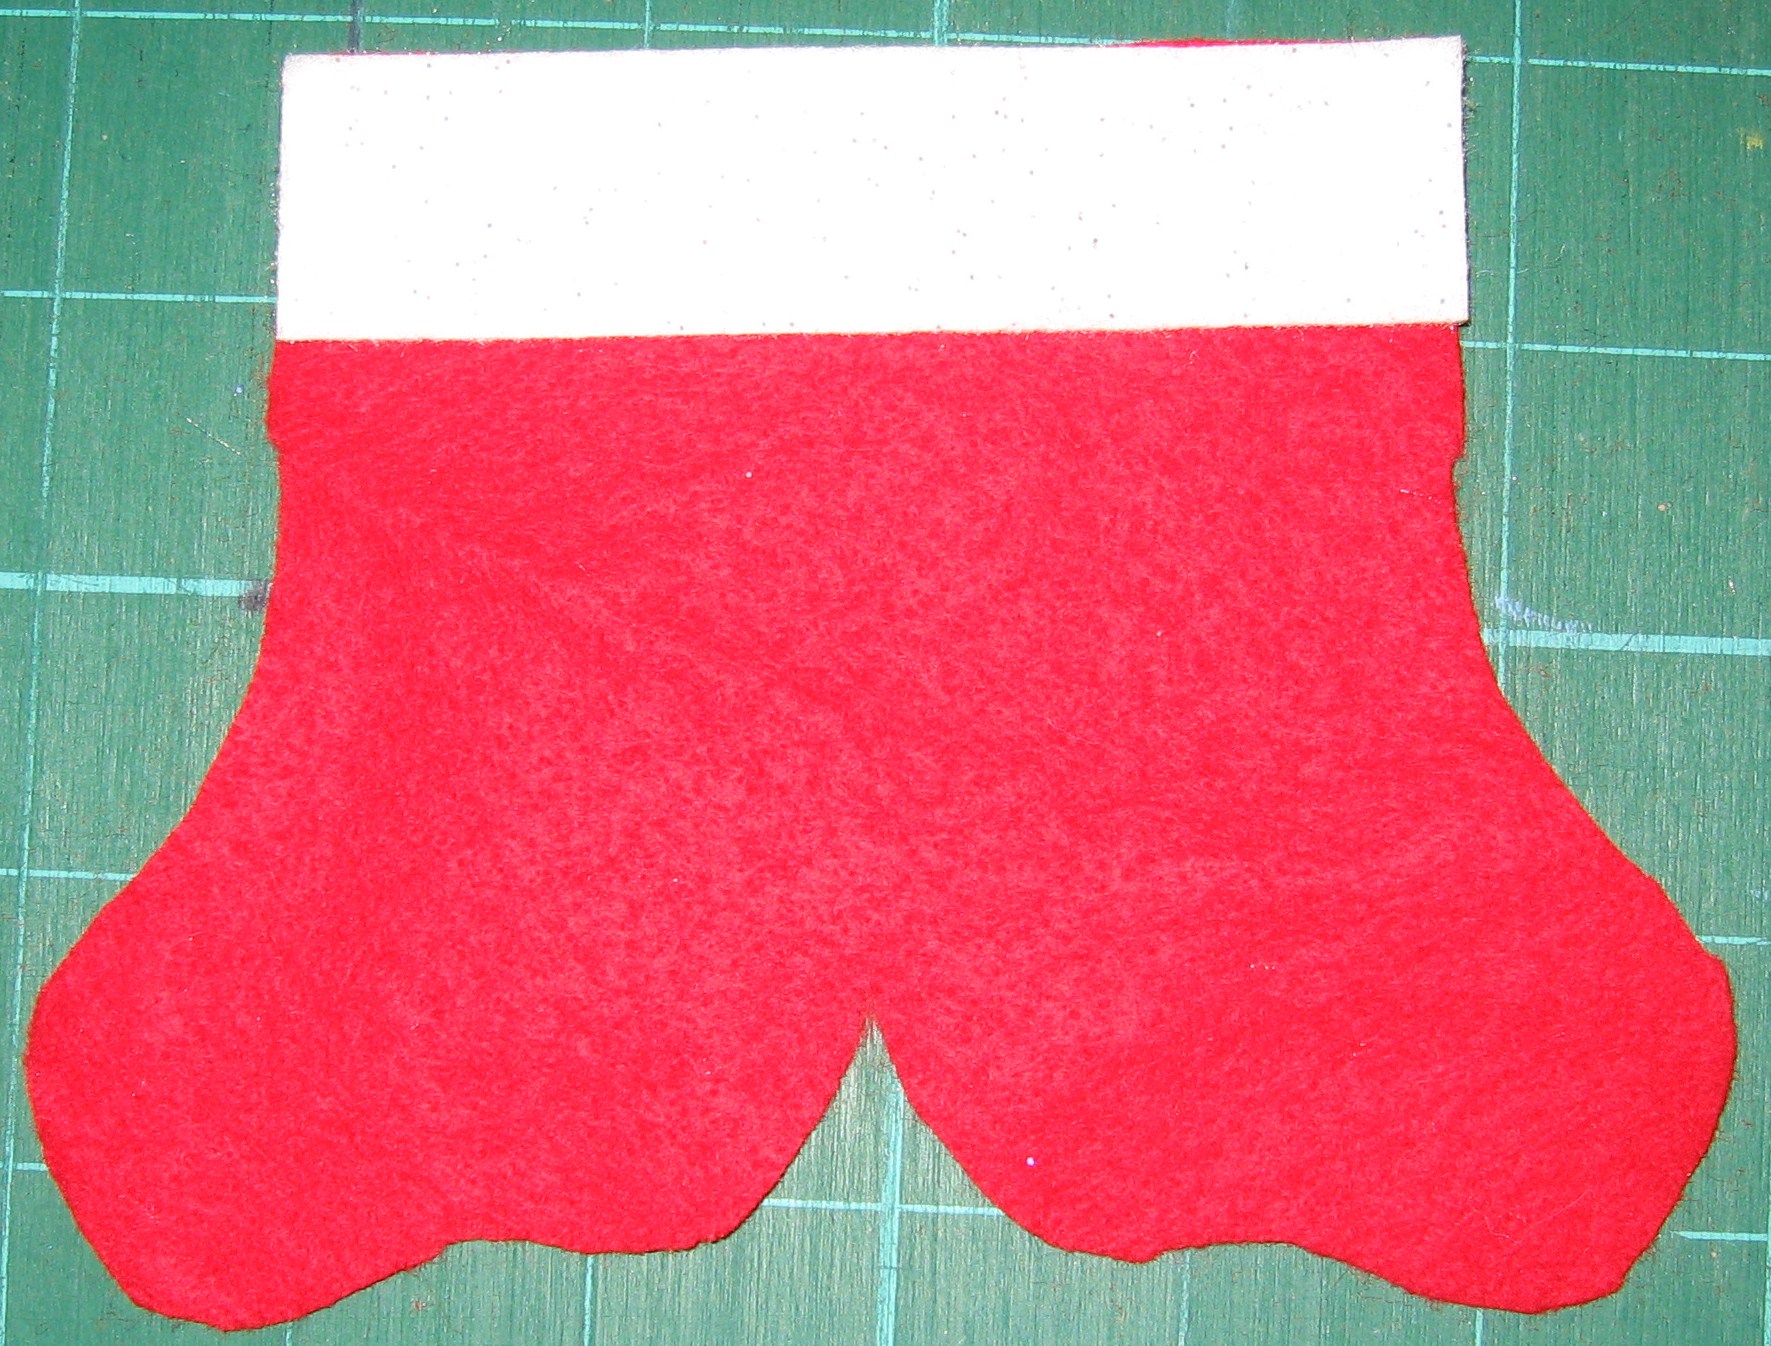
Cut pattern on the fold of red felt. Cut a strip of white felt 1 ” wide by long enough to go across both sides of stocking (4″ shown).
Align white felt across top of red so that the tops are flush.
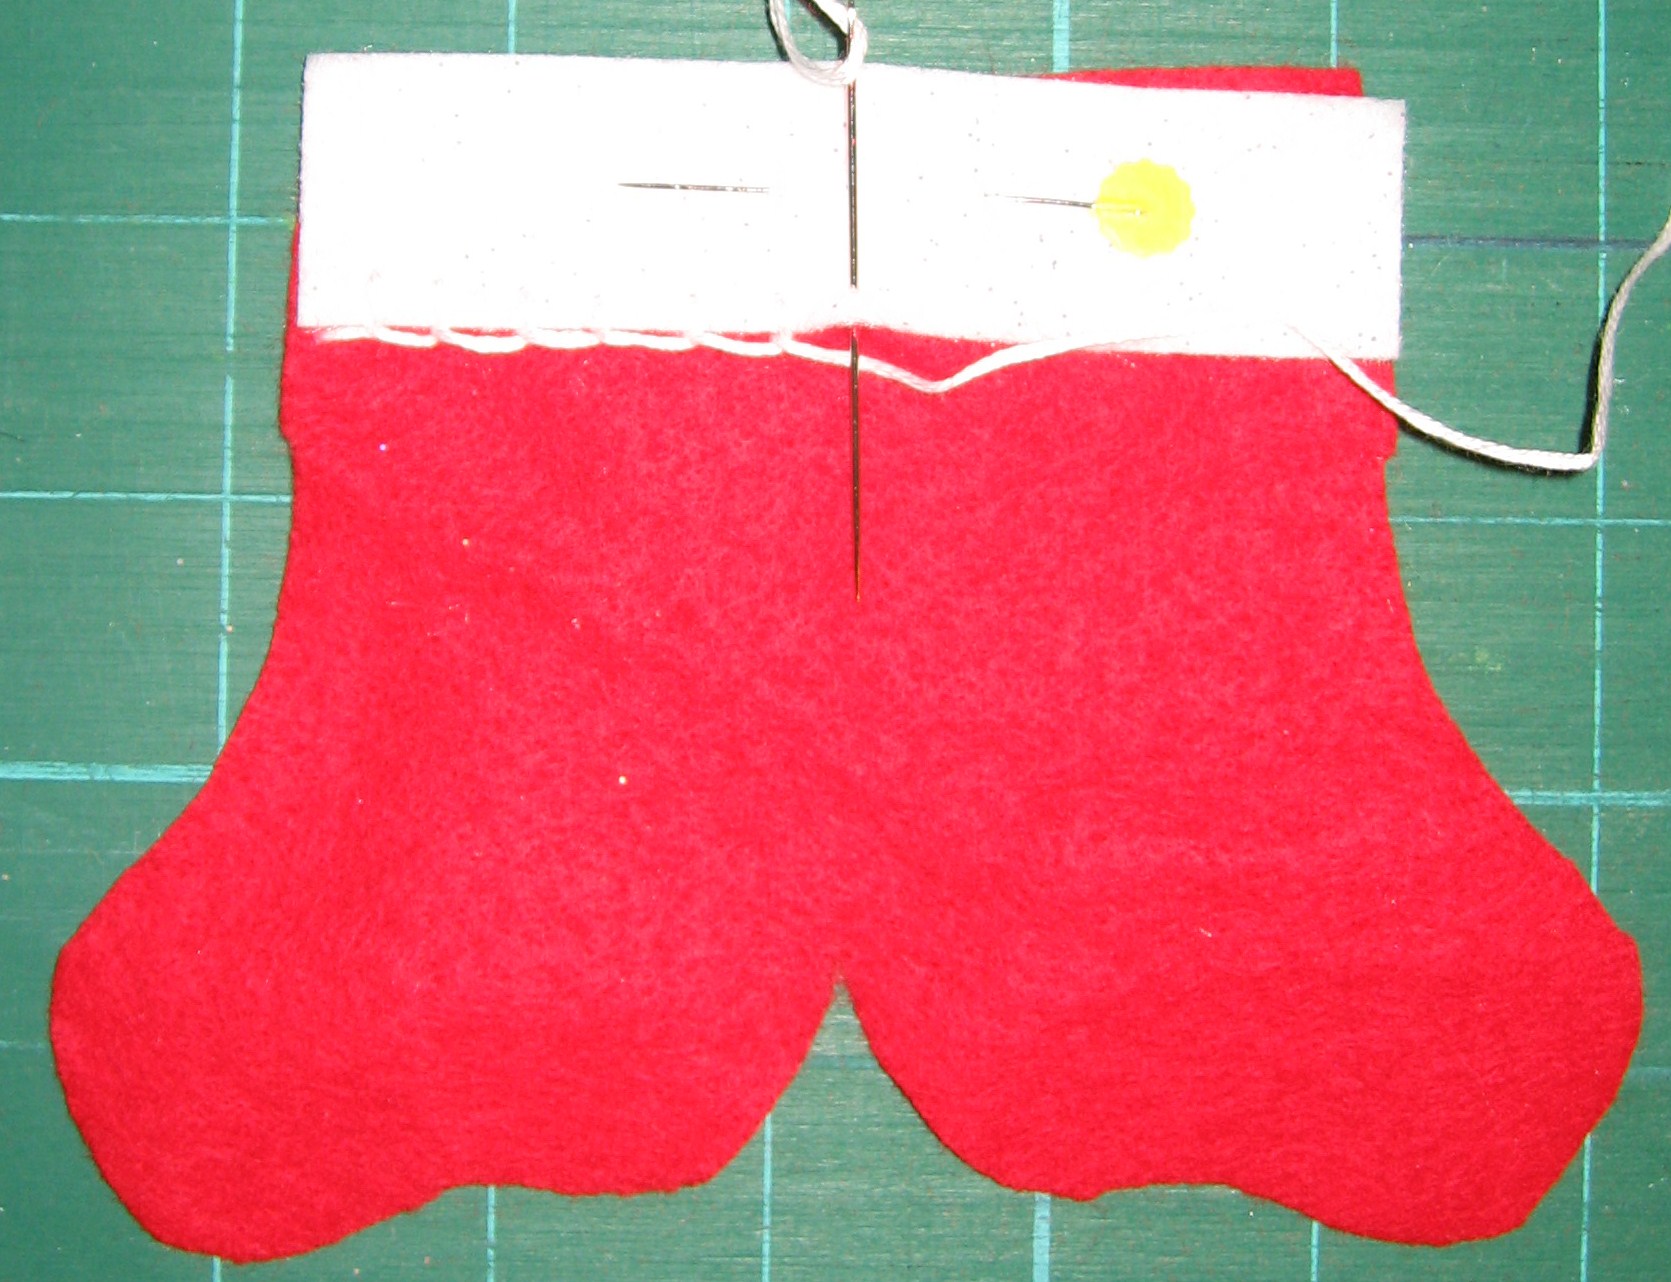
Attach the white felt by stitching across the bottom with a blanket stitch. (How to blanket stitch from futuregirl.com)
Optional – personalize or decorate while the stocking is still open. I’ve left this one plain.
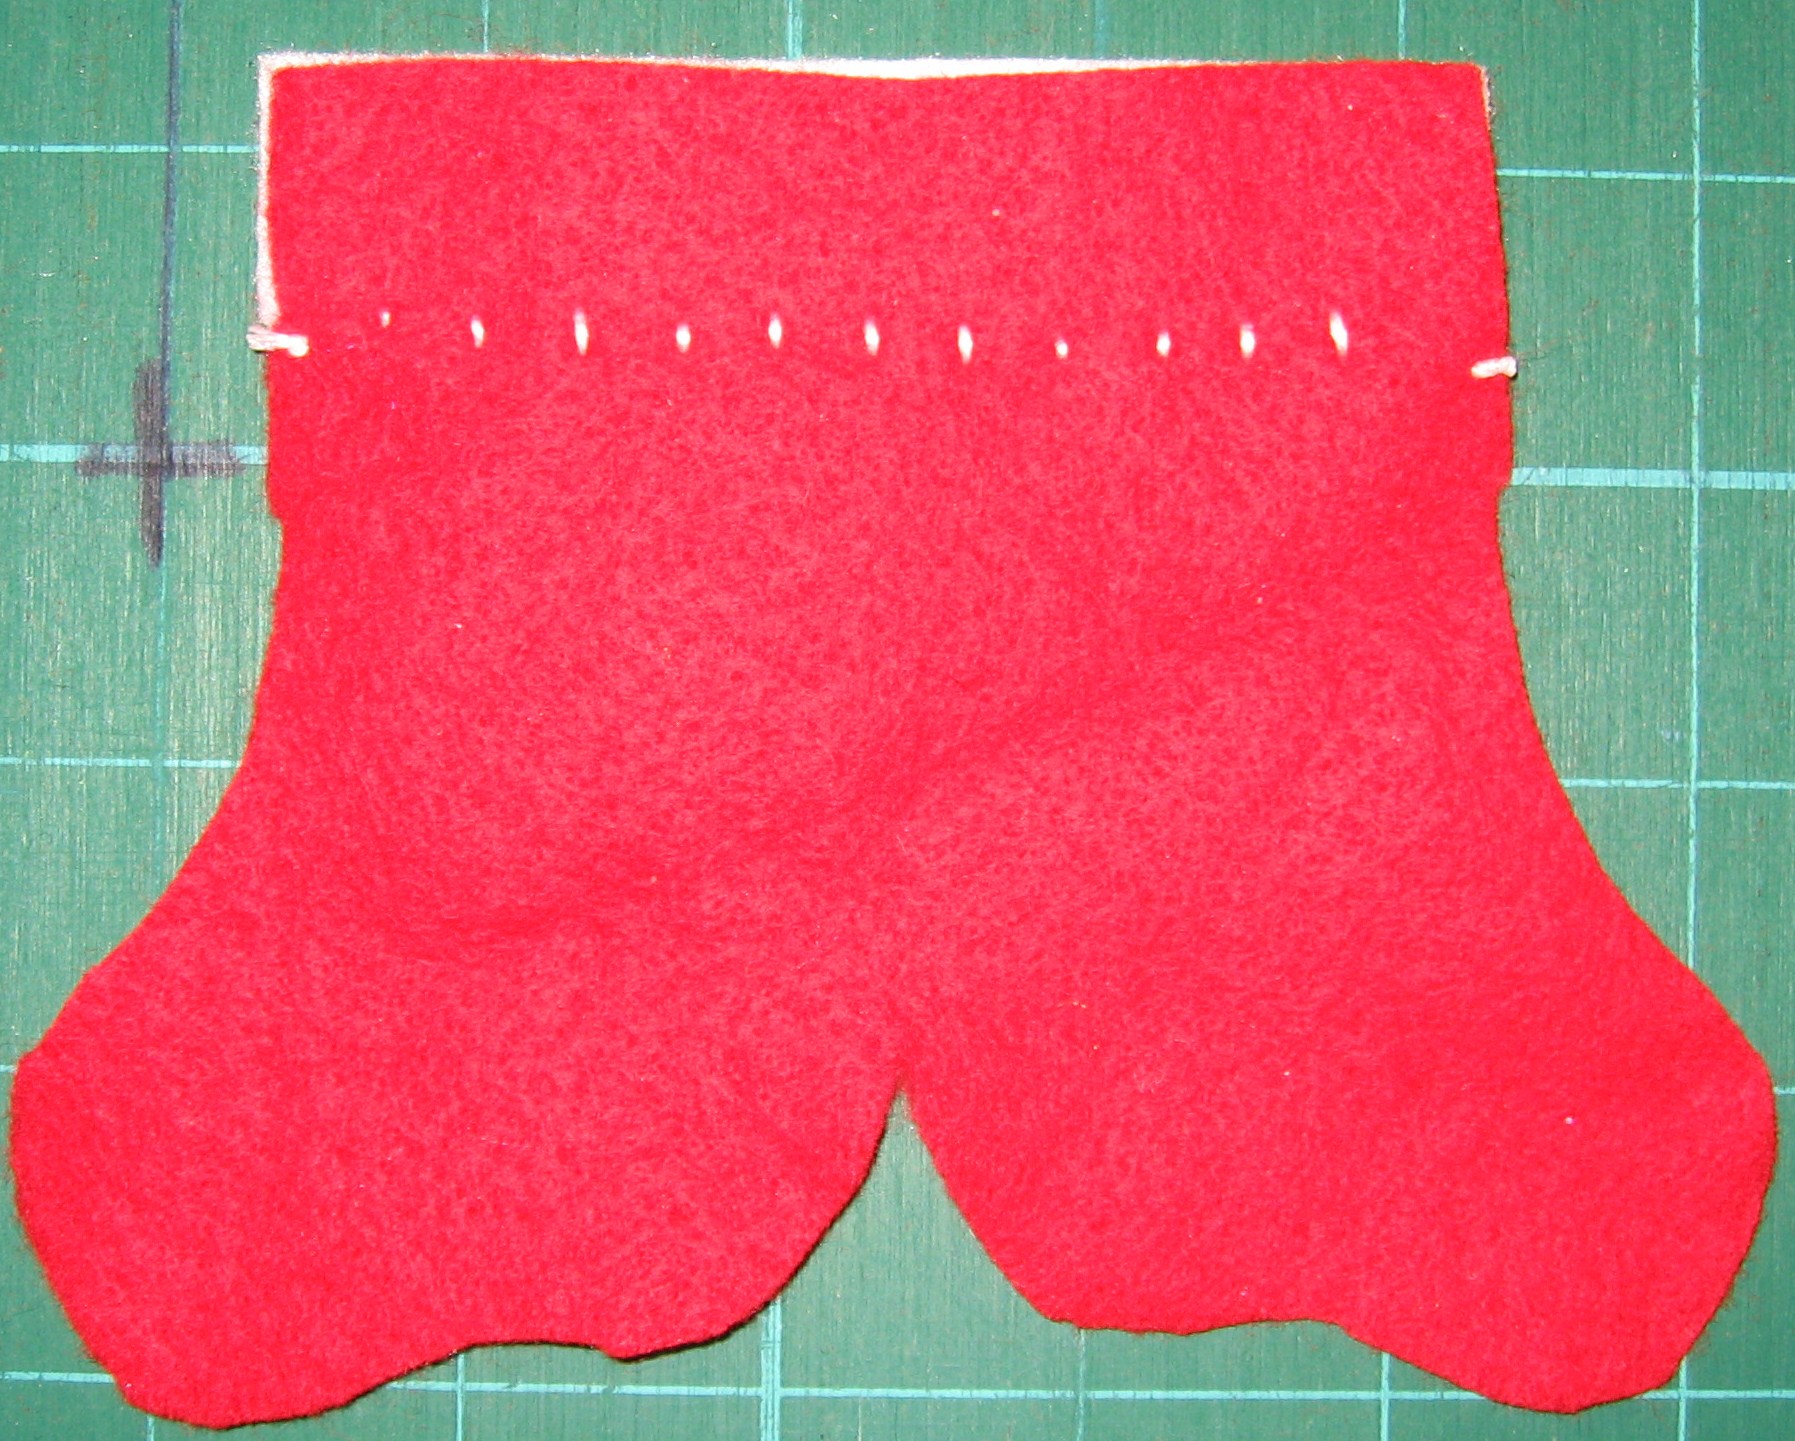
The back should look like this.
Fold stocking so white felt is outside. Pin in place.
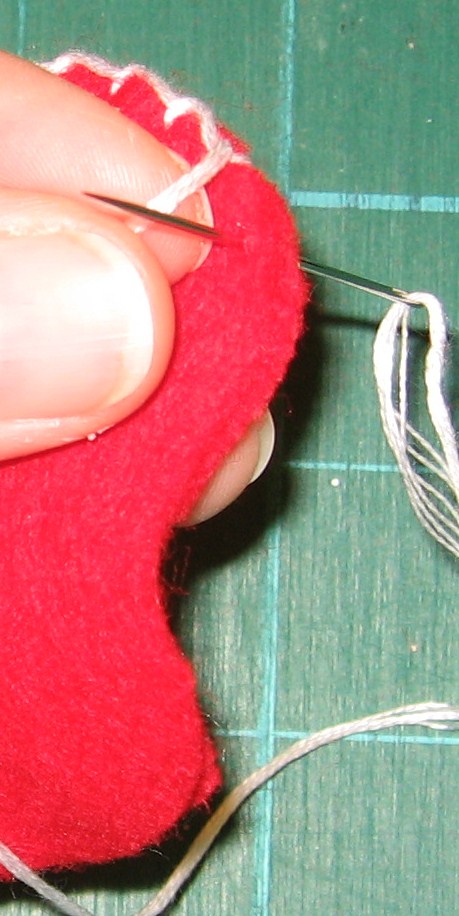
Starting on the open side of stocking, stitch using a blanket stitch. You can hide the knot by starting under the white felt. Push the needle through the three layers of felt and then take another stitch through all four layers before beginning the blanket stitch.
Continue around all the way around.
This is what we have so far!
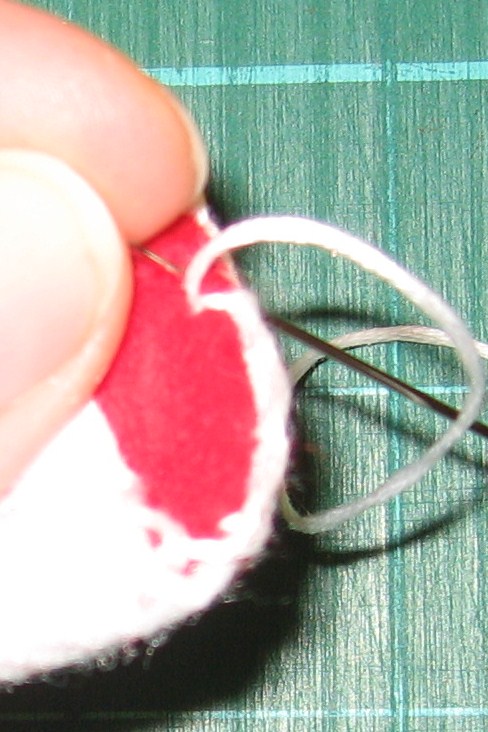
Continue blanket stitching around the top of the stocking, catching both the inside and outside layer in the stitch. Make sure to leave the stocking itself open.
Once you’ve made it all the way around, knot off the embroidery floss then make a loop about 1 1/2″ – 2″ long. Make a knot inside the stocking. Take a stitch and knot again.
The pattern is for a 3″ stocking, but it can easily be sized up or down depending on your needs.