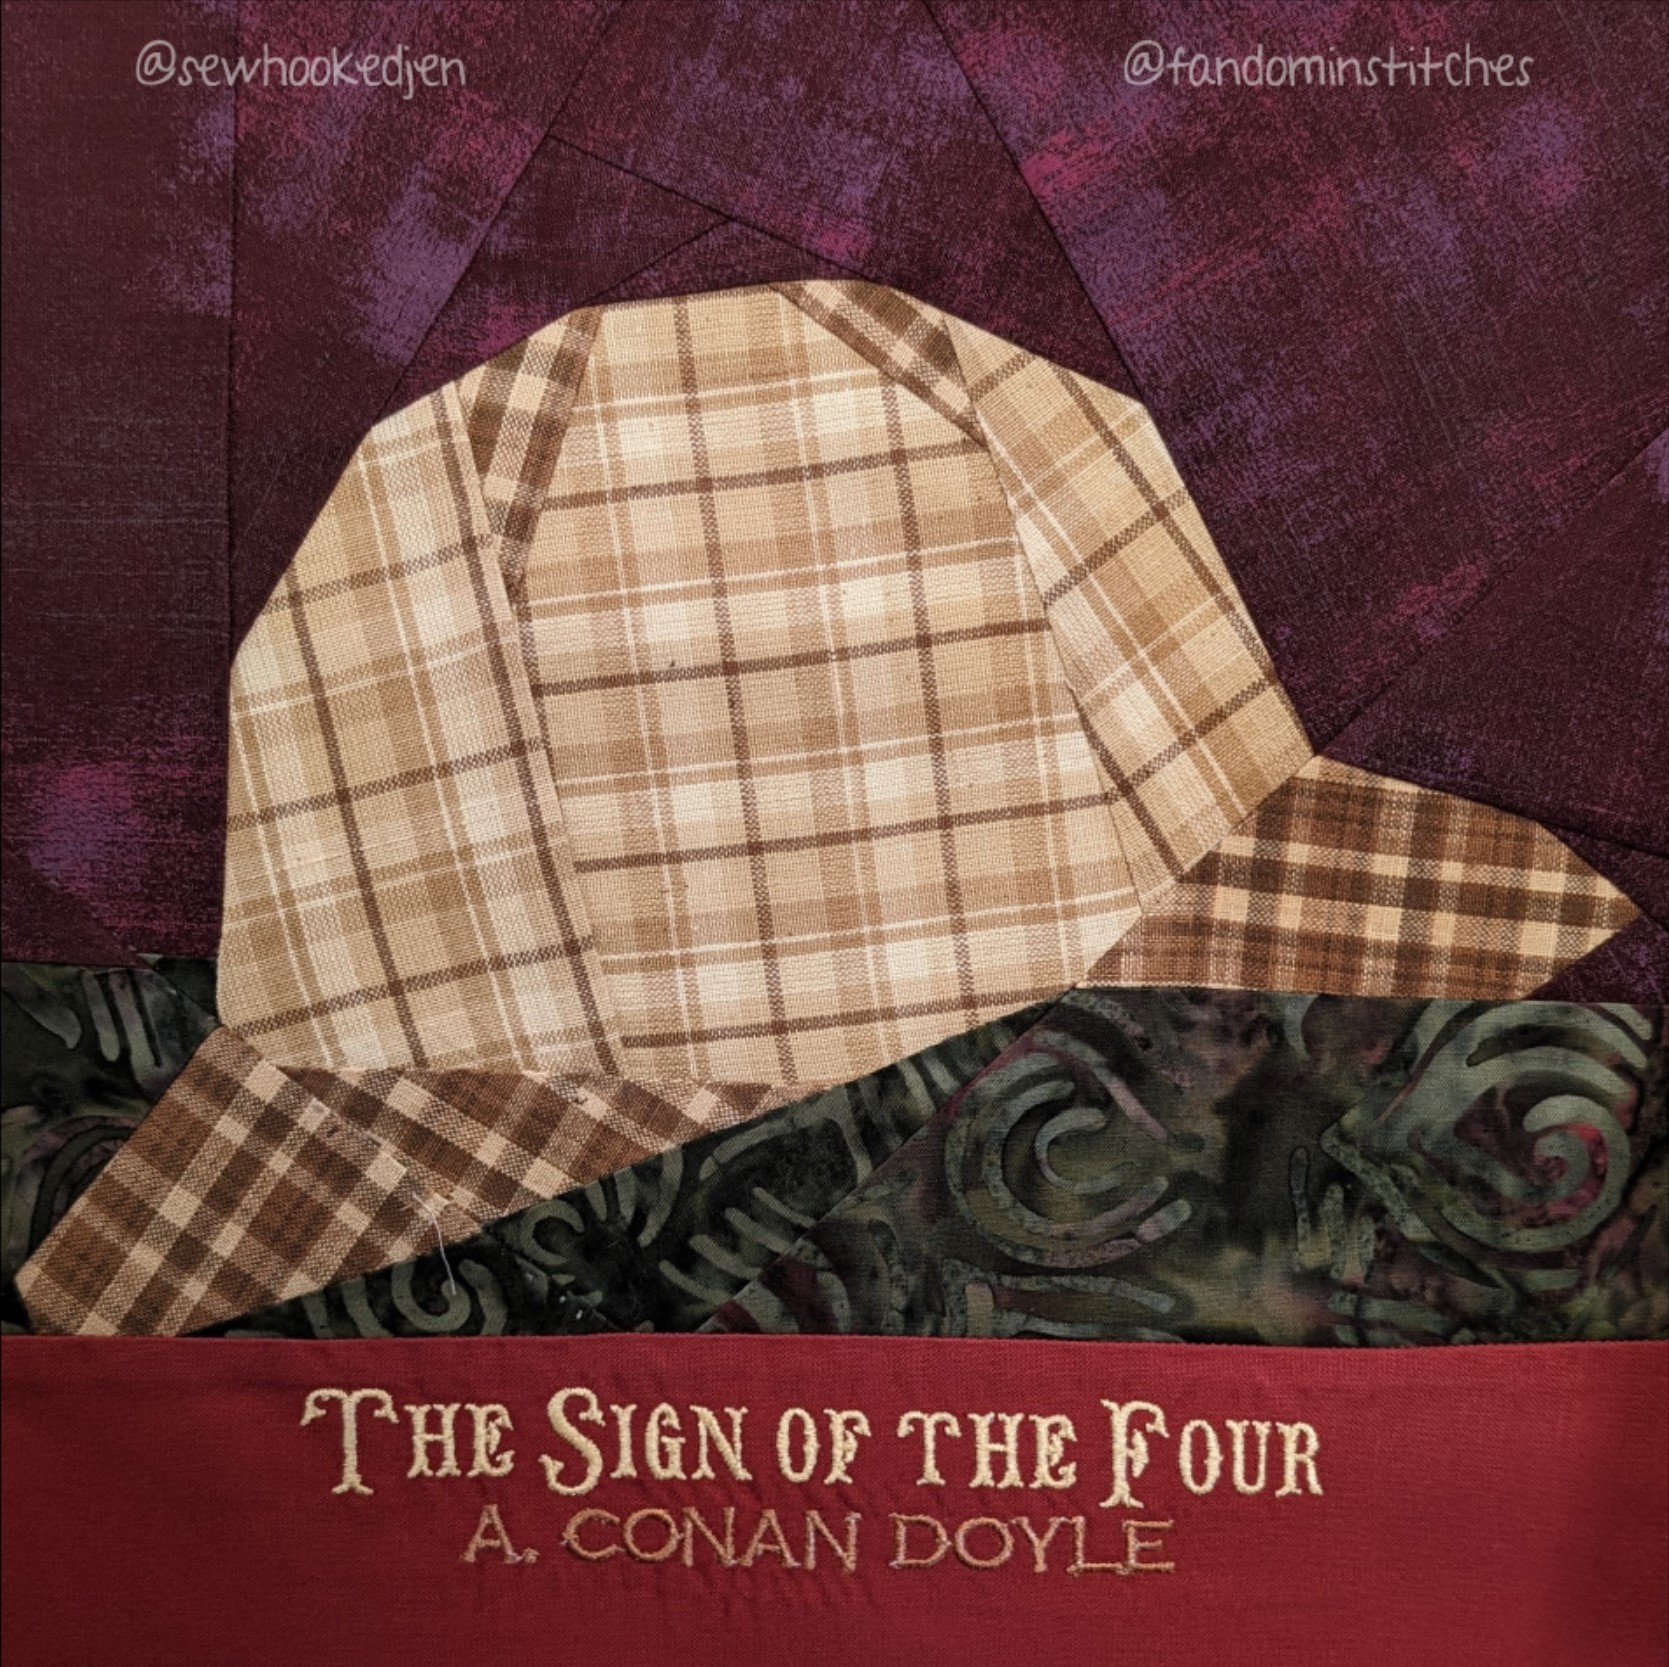
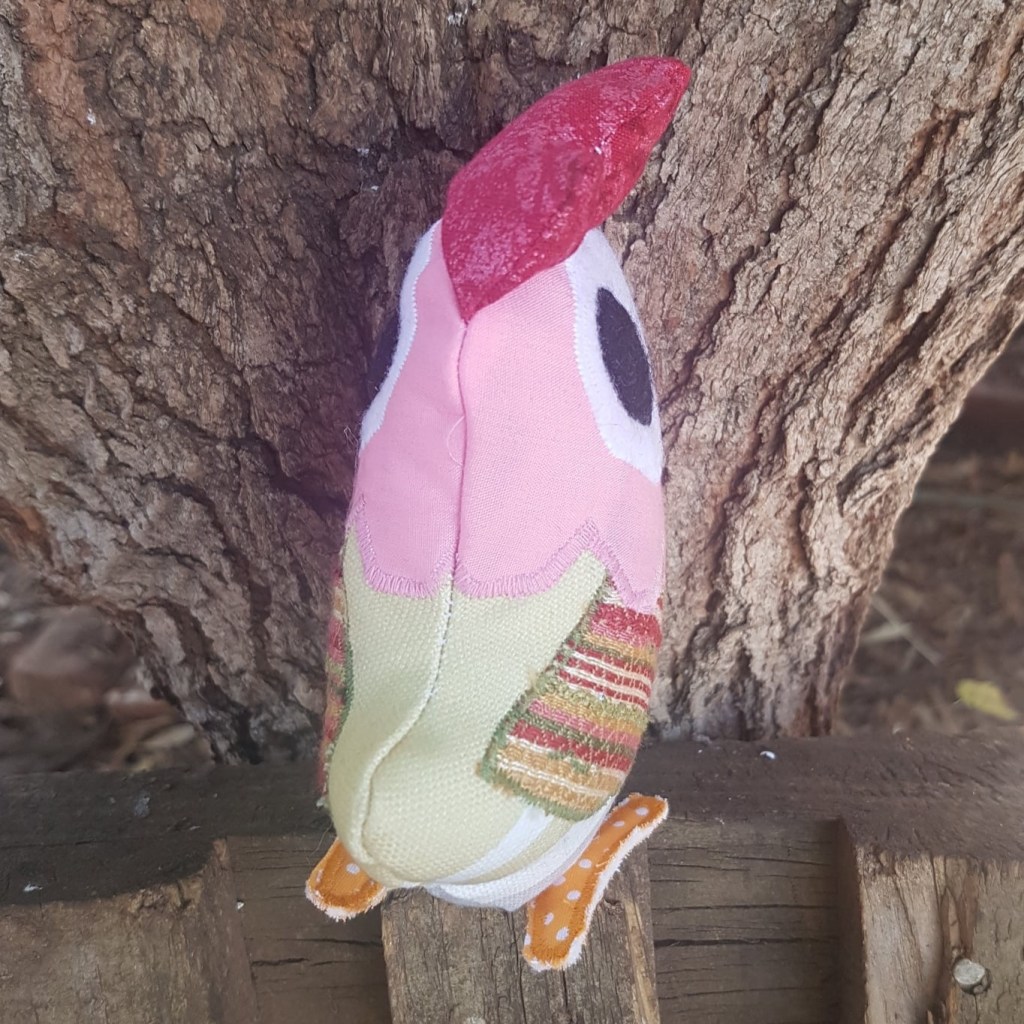
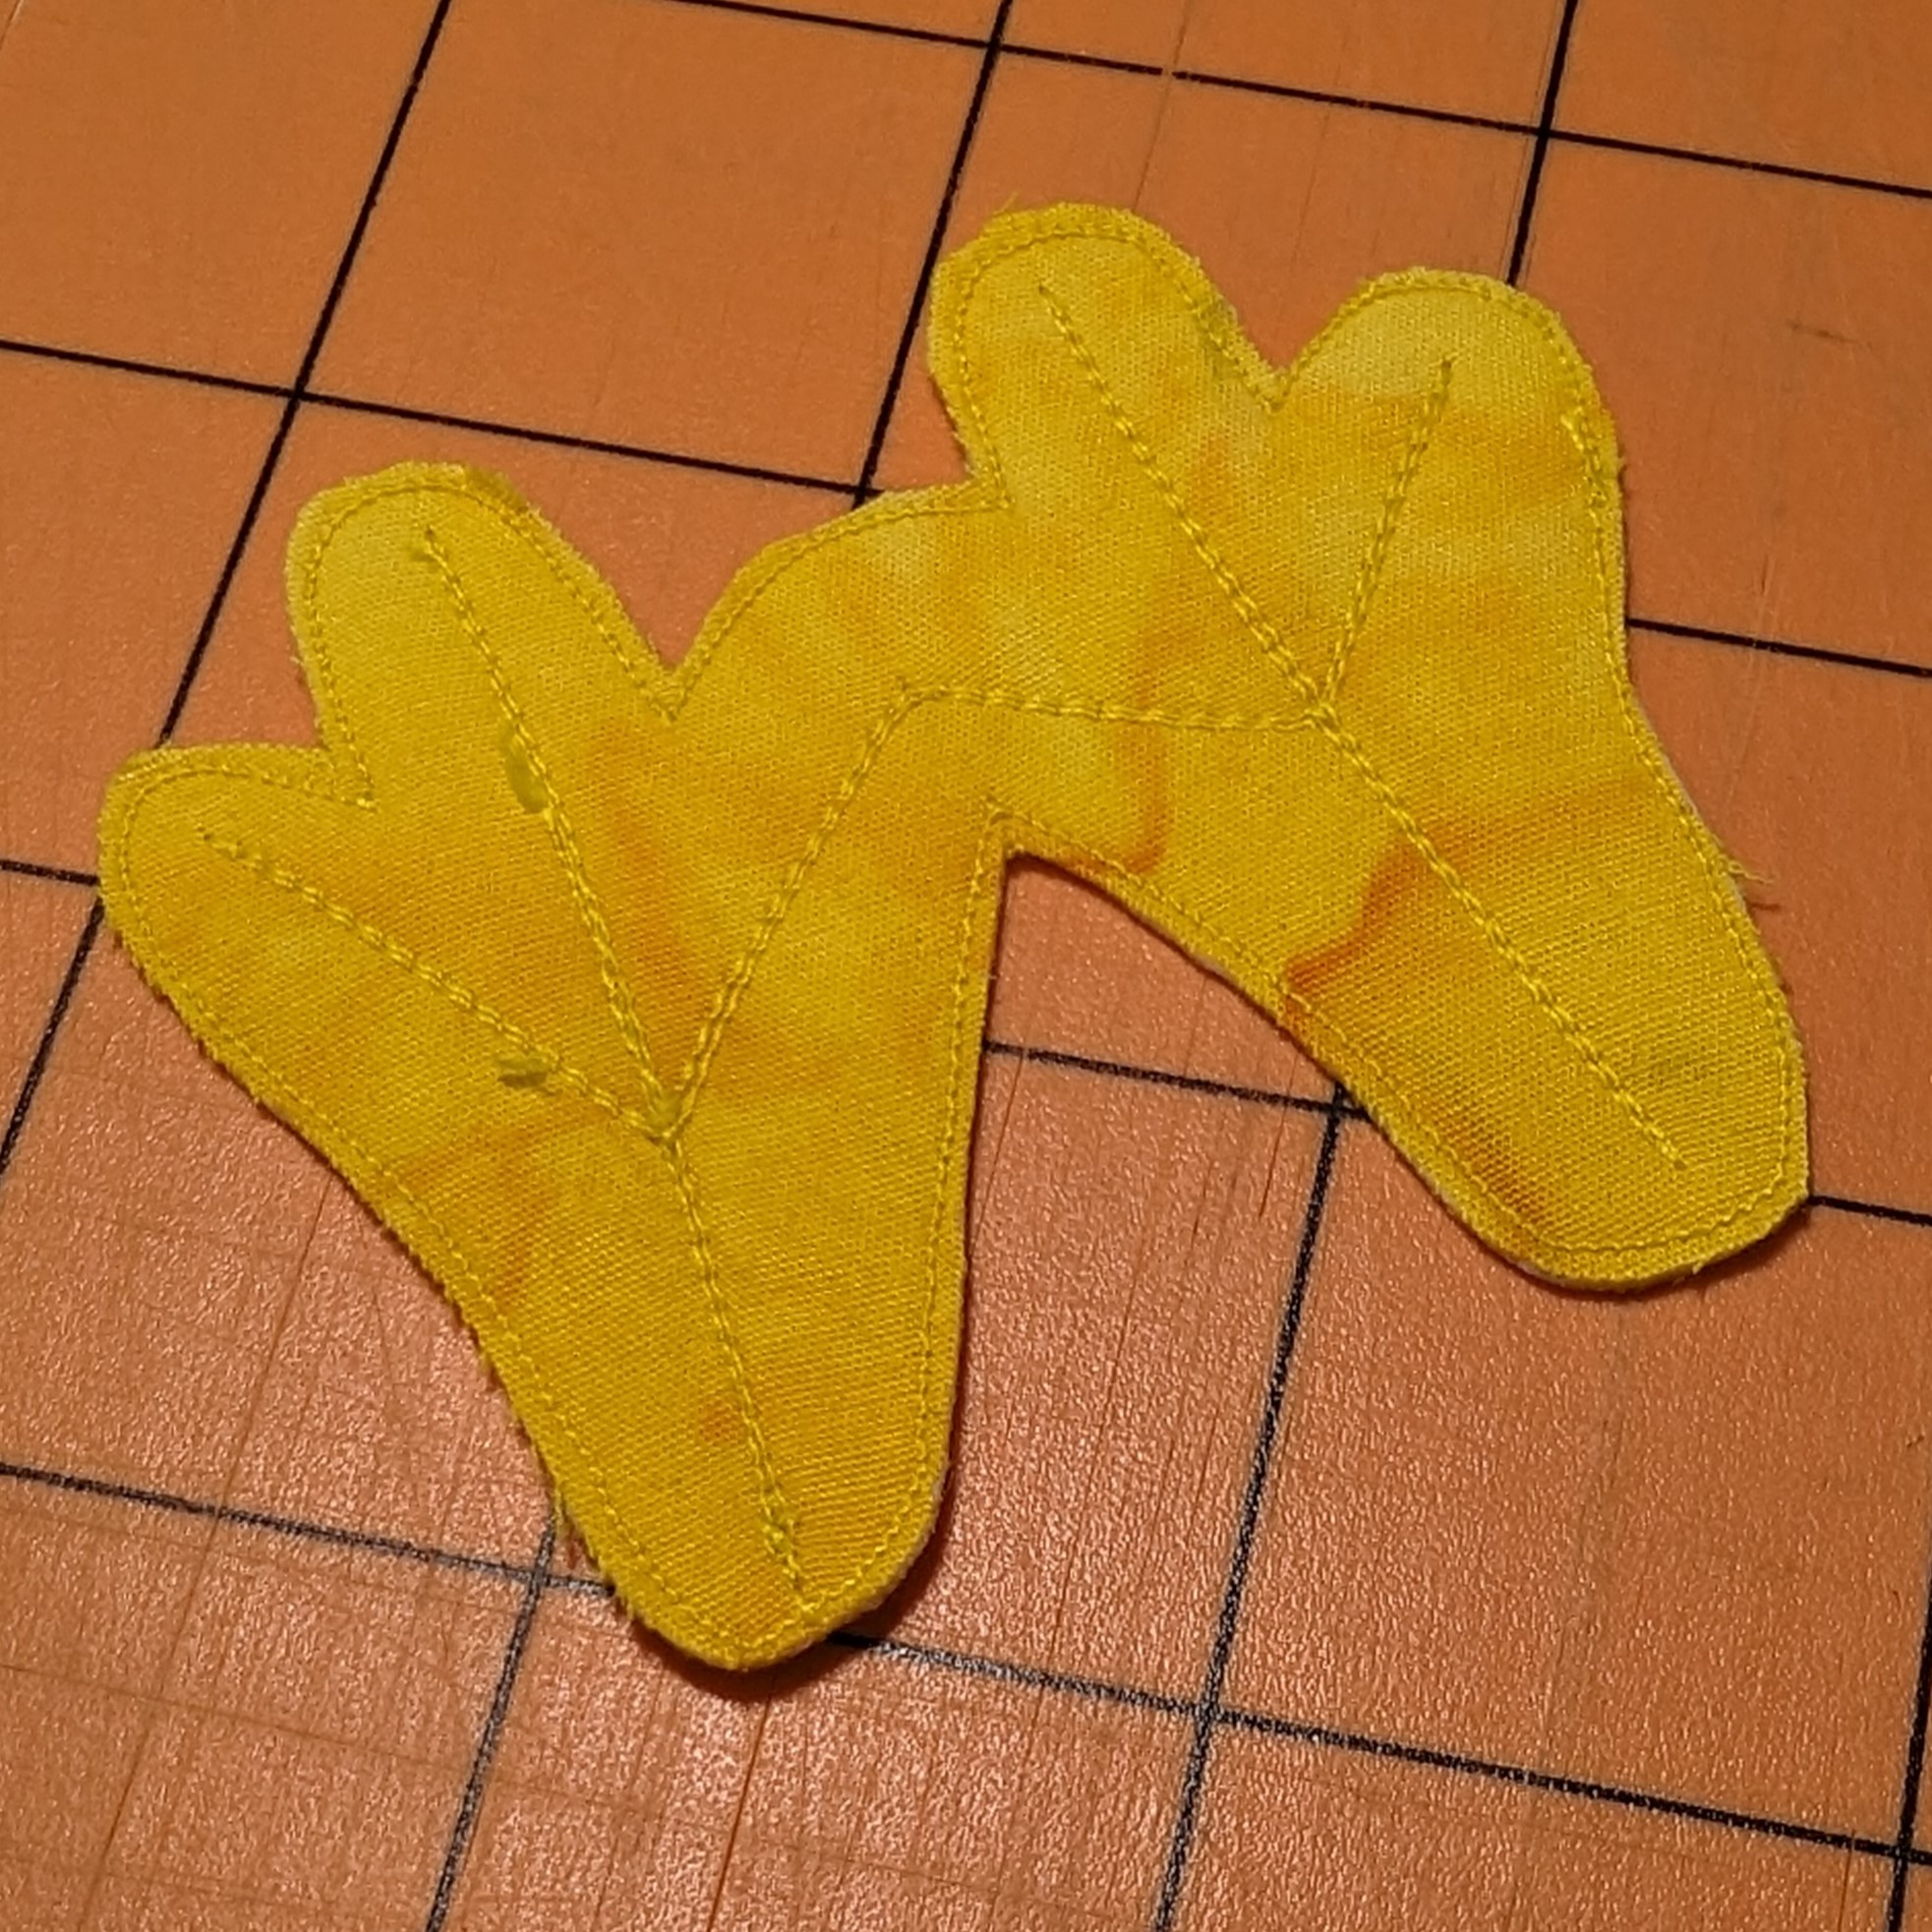
This week, I share a minor misadventure in the finishing of my new-to-me dining chairs, a new Sherlock Holmes-themed paper pieced quilt block designed by me for my husband’s bookcase quilt (pattern coming later this month), some tiny sewing machines made by my son, and a tiny bit of progress on my eldest’s Doctor Who quilt repair. Big thanks to my Ko-Fi supporters, with a special shout out to crankyrat for TEN coffees!

- Sherlock Holmes Patterns on Fandom in Stitches (block shown coming soon!)
- Doctor Who Quilt Along Patterns
- Doctor Who Quilt when it was new! Video 1 & Video 2
- My Retired Patterns
- Say hello to Erica at The Purple Quilt Company on YouTube.
- As requested: Bird Feeders with Cameras on Amazon (affiliate link). Please note that there are LOTS of bird feeders with cameras out there. What works for me may not work for you, so use your own discretion when purchasing.
- If you enjoy my free content, you can buy me a Ko-Fi.
- Join us on TTMT!
- Follow me on Instagram for lots of photos of cats & quilts!
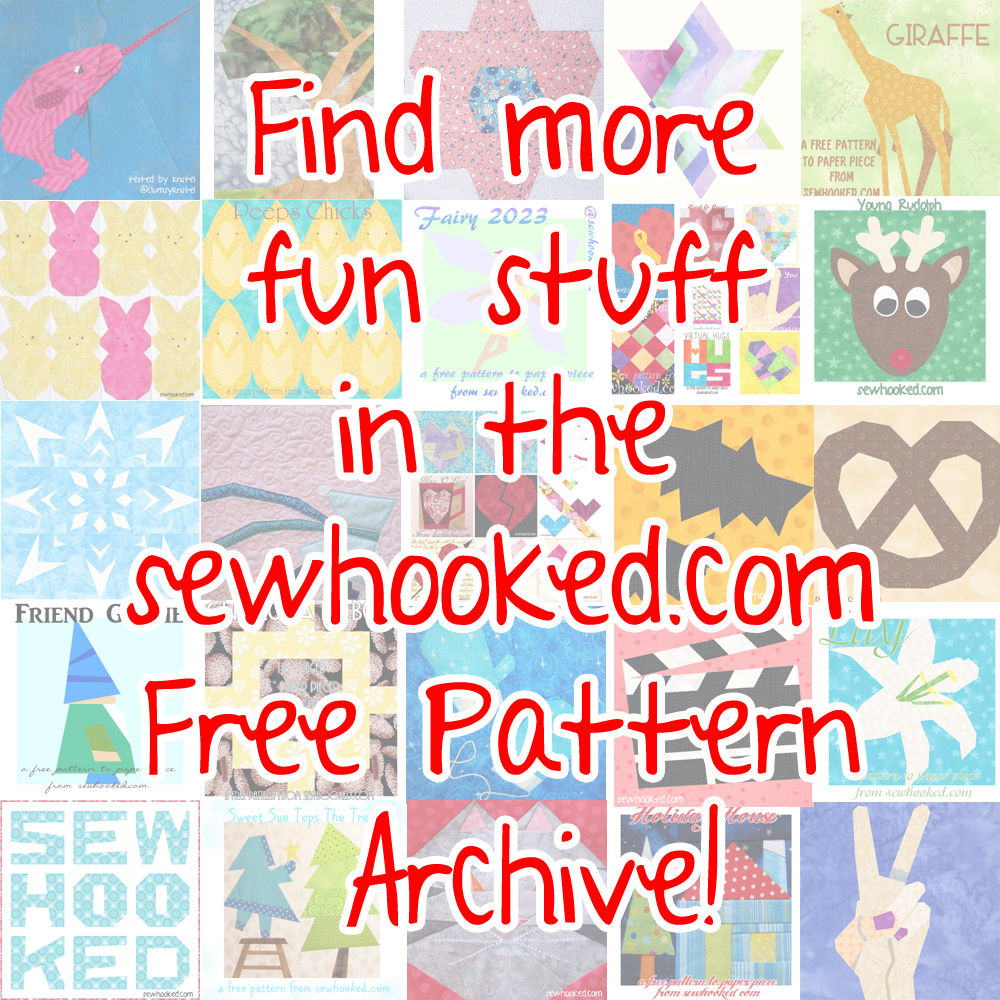
- Find my free patterns on Sewhooked & Fandom in Stitches, where you can also quilt along with us!
♥ Jennifer O
Posts on this blog may contain affiliate links to help cover the cost of my website. I thank you for your generous support. ♥