TTMT #59 – Nada Question

Under My Feet!

Also…  HAPPY BIRTHDAY DAD!  Love you!

If you make a Sew Awesome Craft or any pattern, craft or recipe from sewhooked,  I’d love to see a photo.  Email me or add it to the sewhooked flickr group.

Happy crafting!

Photobucket

FACEBOOK | TWITTER

Photobucket

Grannie’s Trunk Quilt

Grannie's Trunk Quilt

I see and touch a lot of quilts. With my work through The Linus Connection, literally hundreds of quilts will go through the hands of myself and the other volunteers when we distribute quilts each month.  With that many quilts, it can sometimes slip my mind how special every quilt really is. It’s the time, the thought, and the effort that makes a quilt a quilt.

This quilt is very special, indeed.  My mom unearthed it from a trunk in my grandmother’s house after Grannie passed away.  It started out in my hands as an awkward UFO made of hand-cut (and perfectly proportioned!) flour sack blocks.  These are not reproductions, these are the real deal, some of which still  showed stitching marks from where the bags of flour were originally stitched closed.

It was very long, about eight blocks longer than you see in the photo here.  It was narrow, too, just a long, skinny quilt top, with the occasional hole from being folded for 40 years (give or take a few).  My mom estimates the fabrics themselves are much older because the original sacks were used as pillowcases before they were cut up for quilting.

The first thing I did was remove the extra length.  Then, I very carefully removed the damaged blocks, most of which were across the middle, replacing them with some of the ones I removed from the length.  All the blocks left over became new rows to make the top wider.

And then it sat in a bag in my sewing room for over a year.

It was my amazing friend Linda that inspired me to finish.  She co-owns a long-arm quilt machine and was nudging our friends to share thing with her to quilt.  I pulled out the border-less top and what remained of a bolt of muslin I bought several years ago.  There was the perfect amount for borders and backing.  Poking around my supplies, I realized I had batting, too!  Obviously, the quilt needed to be complete.

Yesterday, Linda returned the quilt to me, which I have named “Grannie’s Trunk Quilt.”   I added binding and washed the quilt – the first time this fabric has been washed in ~40 years!  It washed up beautifully, crinkling just the way an old quilt should.

What will I do with it now that it’s done?  I think it’s going back to the farm house where it began.  It’s journey would be full circle then, and that feels right to me.

So, Mom, this quilt will be coming home soon.  I hope you like it.

Grannie's Trunk Quilt

A close up of the beautiful fabrics and the scrunchilicious quilting.

Grannie's Trunk Quilt

Linda added flowers in the border, such a wonderful touch!

Grannie, Steph, Nathan, Pa & Jen
(L-R) Grannie, my sister Stephanie, Pa, me, and towering over us in the back, my “little” brother, Nathan.  March 1994.

Thanks once again to Amy for hosting another wonderful Blogger’s Quilt Festival.  I hope you’ll join in, too!

Happy Quilting!

Photobucket

FACEBOOK | TWITTER

Photobucket

TTMT #58 – Question 1: Stenciling

If you make a Sew Awesome Craft or any pattern, craft or recipe from sewhooked,  I’d love to see a photo.  Email me or add it to the sewhooked flickr group.

Happy crafting!

Photobucket

FACEBOOK | TWITTER

Photobucket

Linus in May

The Linus Connection on Saturday was quite a whirlwind (Linus Show & Tell -there are thank you cards from kids, go see!).  I think that was partially due to my being so busy last week  By the time Saturday rolled around, it was a continuation of The Busy.

If you caught Wordless Wednesday last week, then you know I had 9 quilts to bind between Wednesday and Saturday.  Despite working and having a sick kiddo, I still managed to get them all done!


9 Quilts – binding PWND in less than three days!  Quilted by Marge L. (individual photos below)

This is the end of my Go Get Granny and Log Cabins For Linus posts.  It’s been amazing and I cannot thank you all enough for your generous donations!  Anything I’ve received after the cut-off date has been donated directly to Linus.  Unfinished projects have been and will continue to be shared with other volunteers so they can be turned into finished quilts and afghans without moldering in my craft room until I have time to get to them!

Of course, if I receive a really amazing (finished!) quilt or afghan in the mail, I’ll share it.  It’s just my way!

And now, quilts and afghans that were donated, sorted and distributed on Saturday, May 15, 2010.


Another stunning afghan by Amber’s Originals


Multitudes of Granny Ghans, blocks by Mary, joined by myself and Linda E. (but mostly by Linda!)


Granny Ghan, blocks by auntypsycho and others (Cat’s mum included!)


Donated by Becky G.


Three quilts made from one giant quilt top, which was donated by Shannon Shaw of Rock Creek Quilts, the official quilter of Harry Potter Paper Piecing.


Unquilted tops donated by Becky G.


Made from quilt blocks donated by clumsy_chord, pieced by Shirley B.


Donated by hardhatcat, Australia (the donation from furthest away!)


Log Cabins for Linus!  Individual block donations pieced into tops by me and quilted by Marge L.

Looking for a place to donate your time and talent?  Try searching for “quilt donation” or “afghan donation” and your area.  There are charitable blanket makers and non-profit organizations all over the world!

Photobucket

FACEBOOK | TWITTER

Photobucket

Honey Bee Open House for Summer 2010

stenciling class

Freezer Paper Stenciling

Get the pattern here.

class sample scrappy - pinapple quilt block class sample batik - pinapple quilt block

Intro To Paper Piecing

Today, I’ll be at Honey Bee Quilt Store in Austin, Texas for Open House.  Come meet the instructors, see class models, ask questions, sign up for classes and get a coupon to use on your class supplies!

I’ll be promoting my two summer classes, Freezer Paper Stenciling and Introduction to Paper Piecing.  Space is limited, so sign up today!  If you can’t make open house, you can register online by clicking on the class names.

For other place I’ll be, you can also check out my 2010 Schedule.

I hope to see you there today!

Shop Sewhooked and help keep the free patterns free!

Add your Sewhooked-related photos to my flickr group and you might be featured in a future post!

Happy crafting!

Photobucket

Sewhooked Shop | FB | SHFB | Flickr | Twitter | Bloglovin

Ravelry Shoppe: Bubble Cloche

Bubble Clocke

Free pattern

It’s not that I procrastinate.  Okay, maybe I do.  But mostly it’s because I get myself so very busy that I occasionally forget something important(ish).  Like this hat.  I ❤ this hat, which I call Bubble Cloche.  I made a whole stack of them in December and January and even enlisted pattern testers!

It took a gentle reminder nudge from the fabulous Pren Wilcox for me to remember that I’d neglected this poor cute hat for these many months.

If you make a Sew Awesome Craft or any pattern, craft or recipe from sewhooked,  I’d love to see a photo.  Email me or add it to the sewhooked flickr group.

Happy crafting!

Photobucket

FACEBOOK | TWITTER

Photobucket

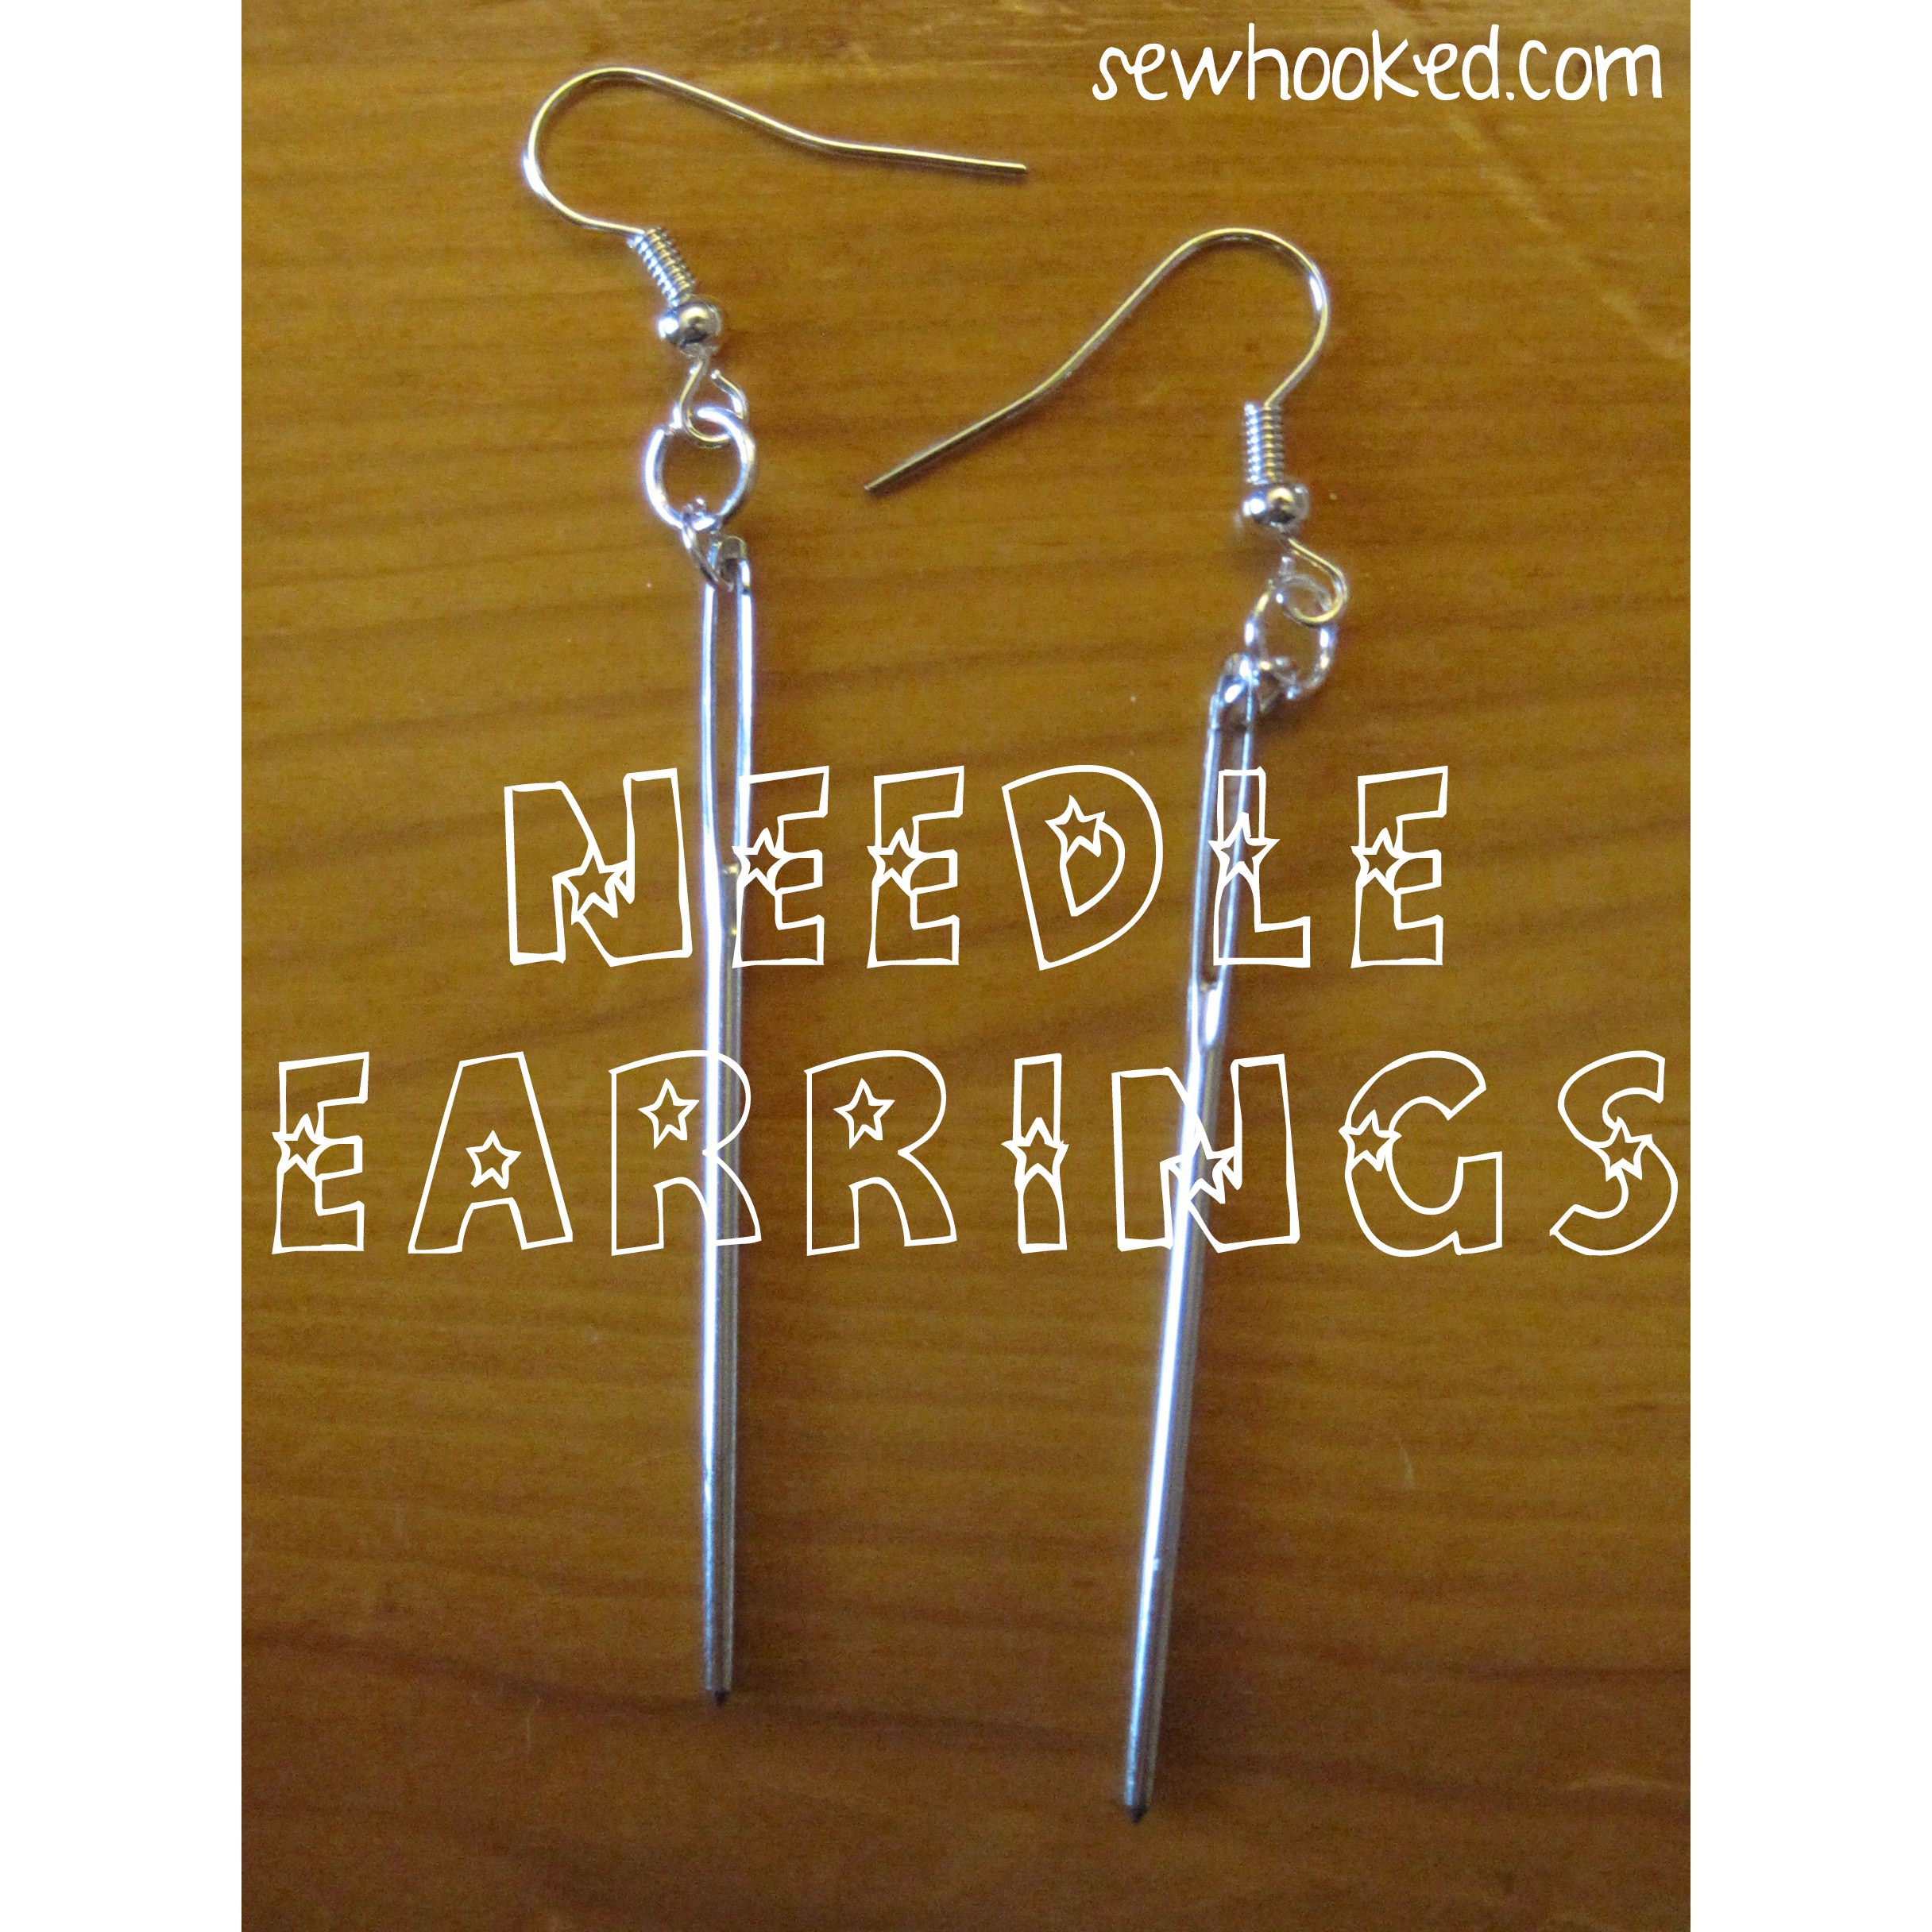
Jewelry: Needle Earrings


Some days, a girl feels cleverer than others.  Take the day that I was trying to think of something simple and inexpensive to make for each of the members of my sewing circle.  At the time, I was weaving in some ends on my crochet work.  I looked down at the yarn needle in my hand and BOOM… light bulb moment!

That was followed by a bout of Why Didn’t I Think Of This Sooner, which itself was followed by a trip to the craft store.

To make an awesome pair of Needle Earrings, you’ll need just a few things:

  • Jewelry Pliers (2 pairs, if you’ve got them)
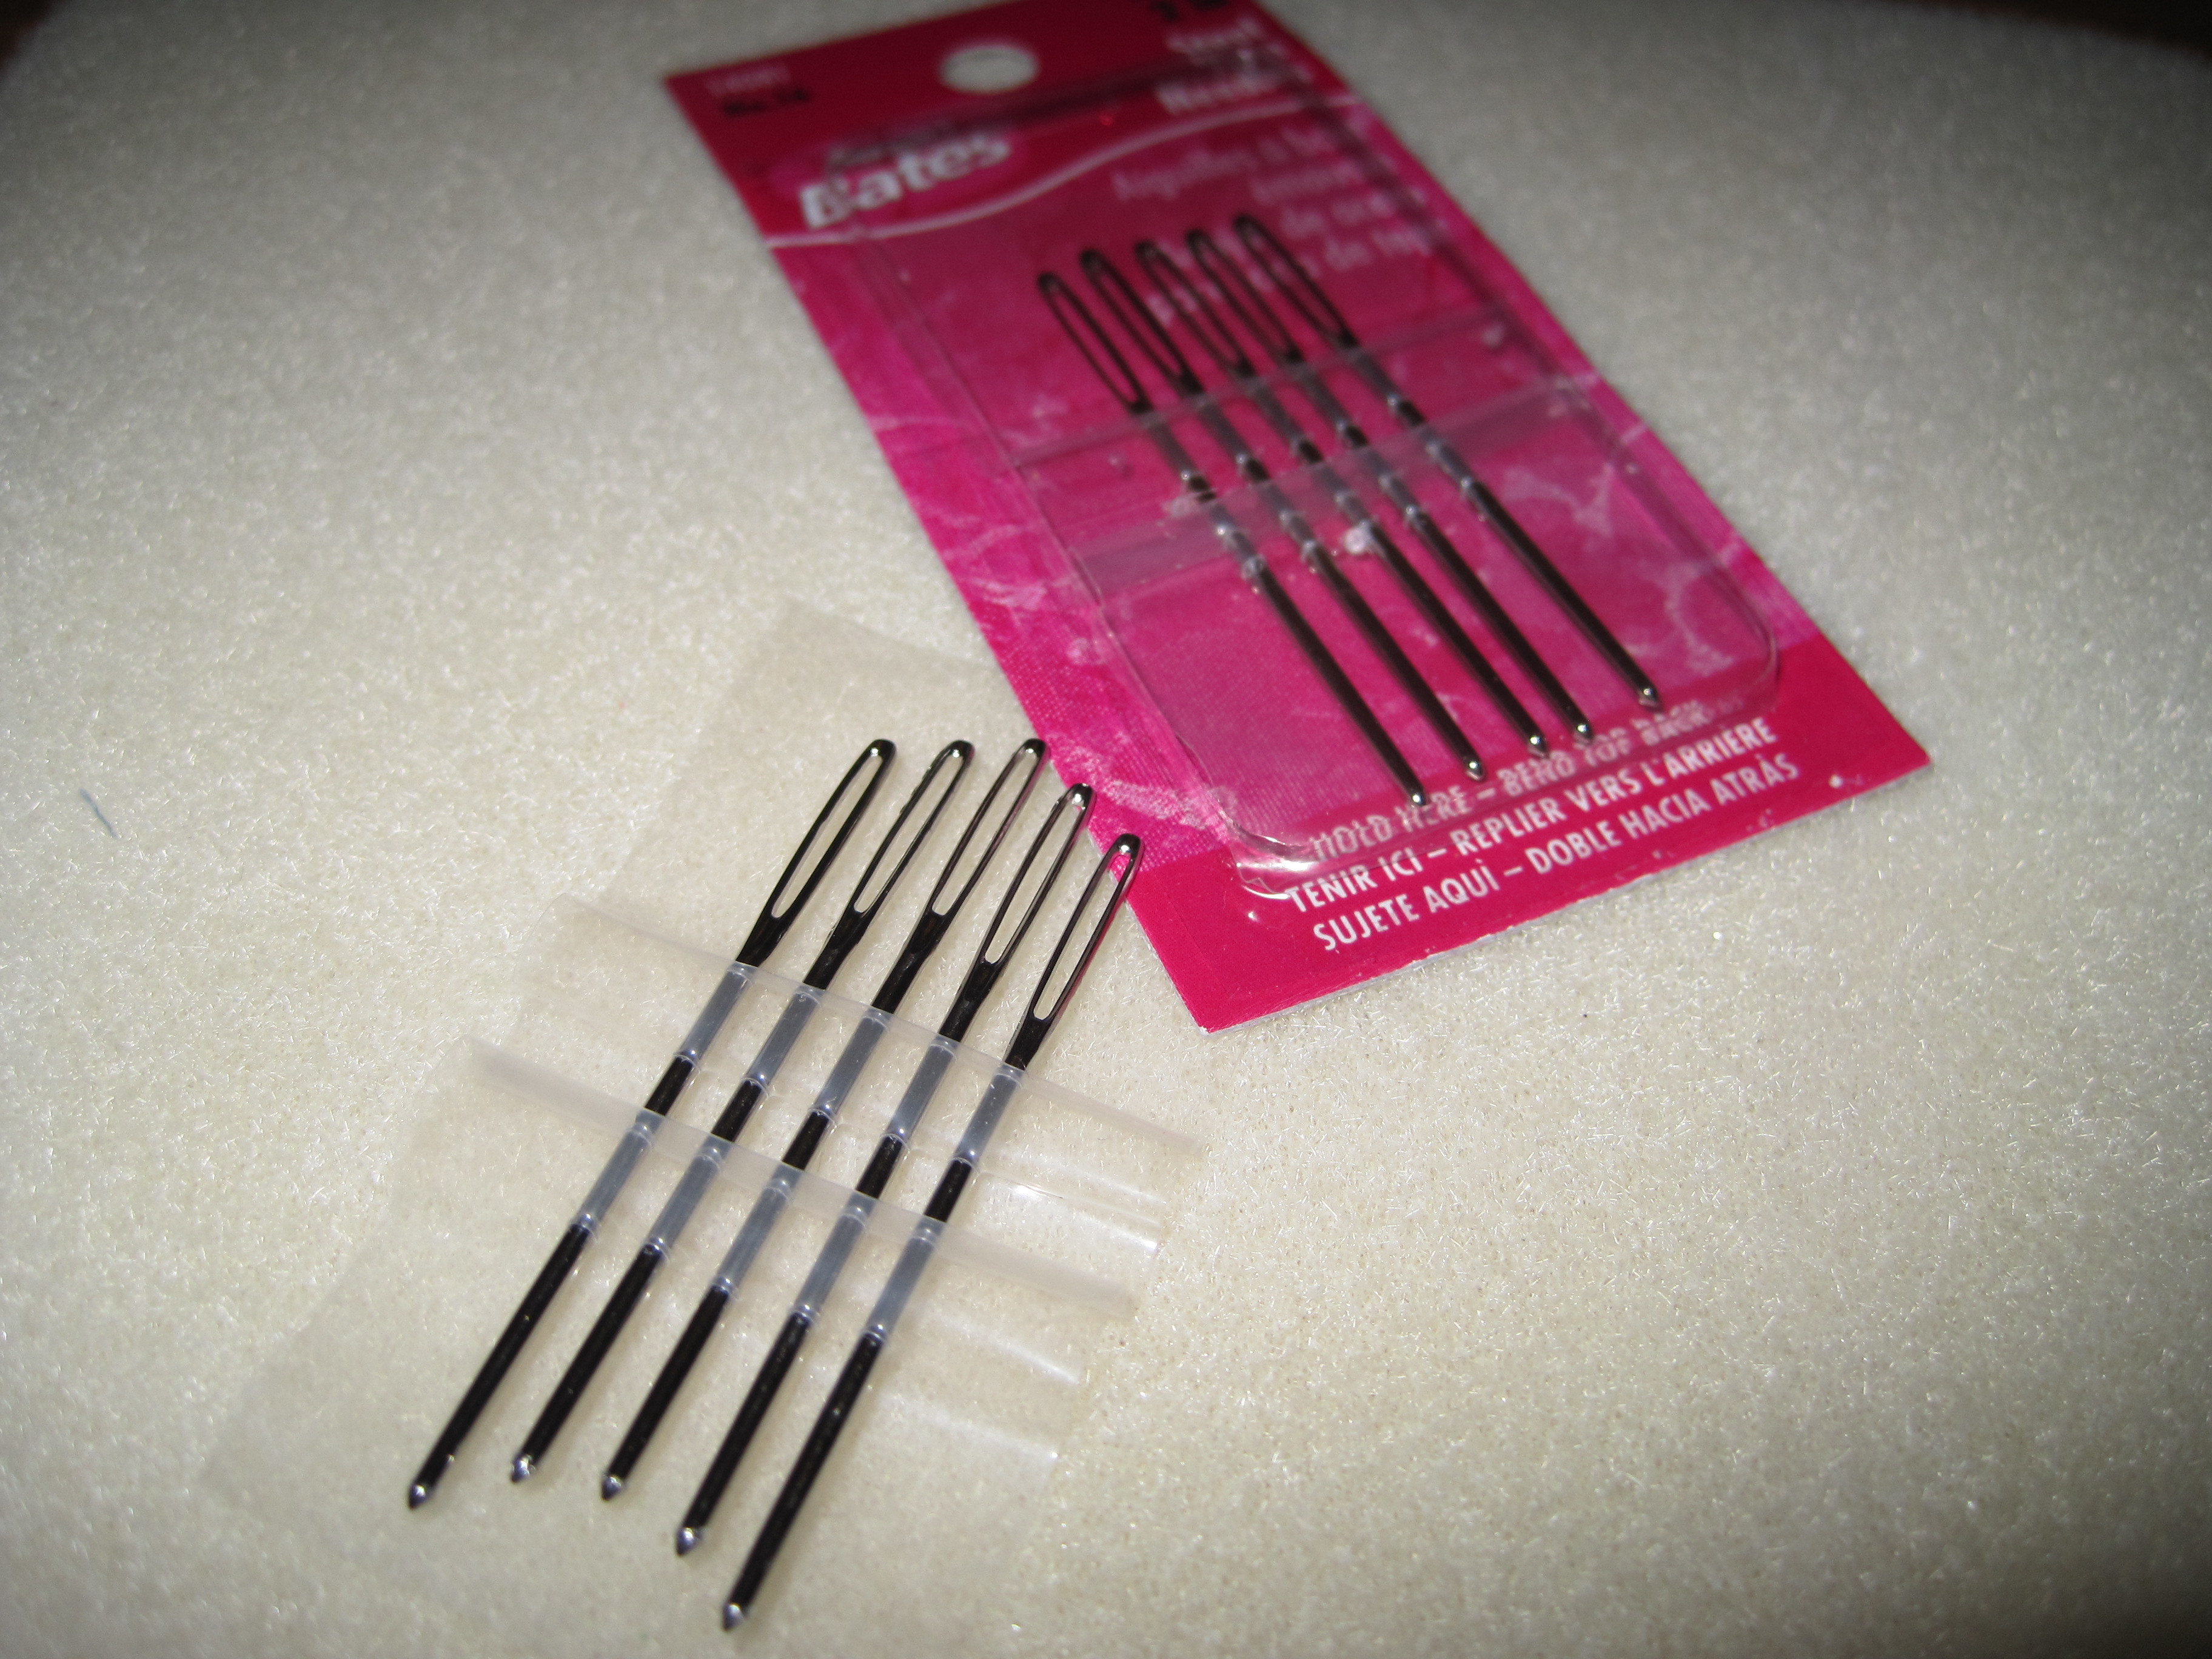
  • A package (or two!) of blunt tip yarn needles (metal or plastic will work)
  • 4 jump rings in the size of your choice per pair of earrings
  • French Hooks or similar

You can find these blunt-tip yarn needles in the needlework section with the crochet hooks and knitting needles.

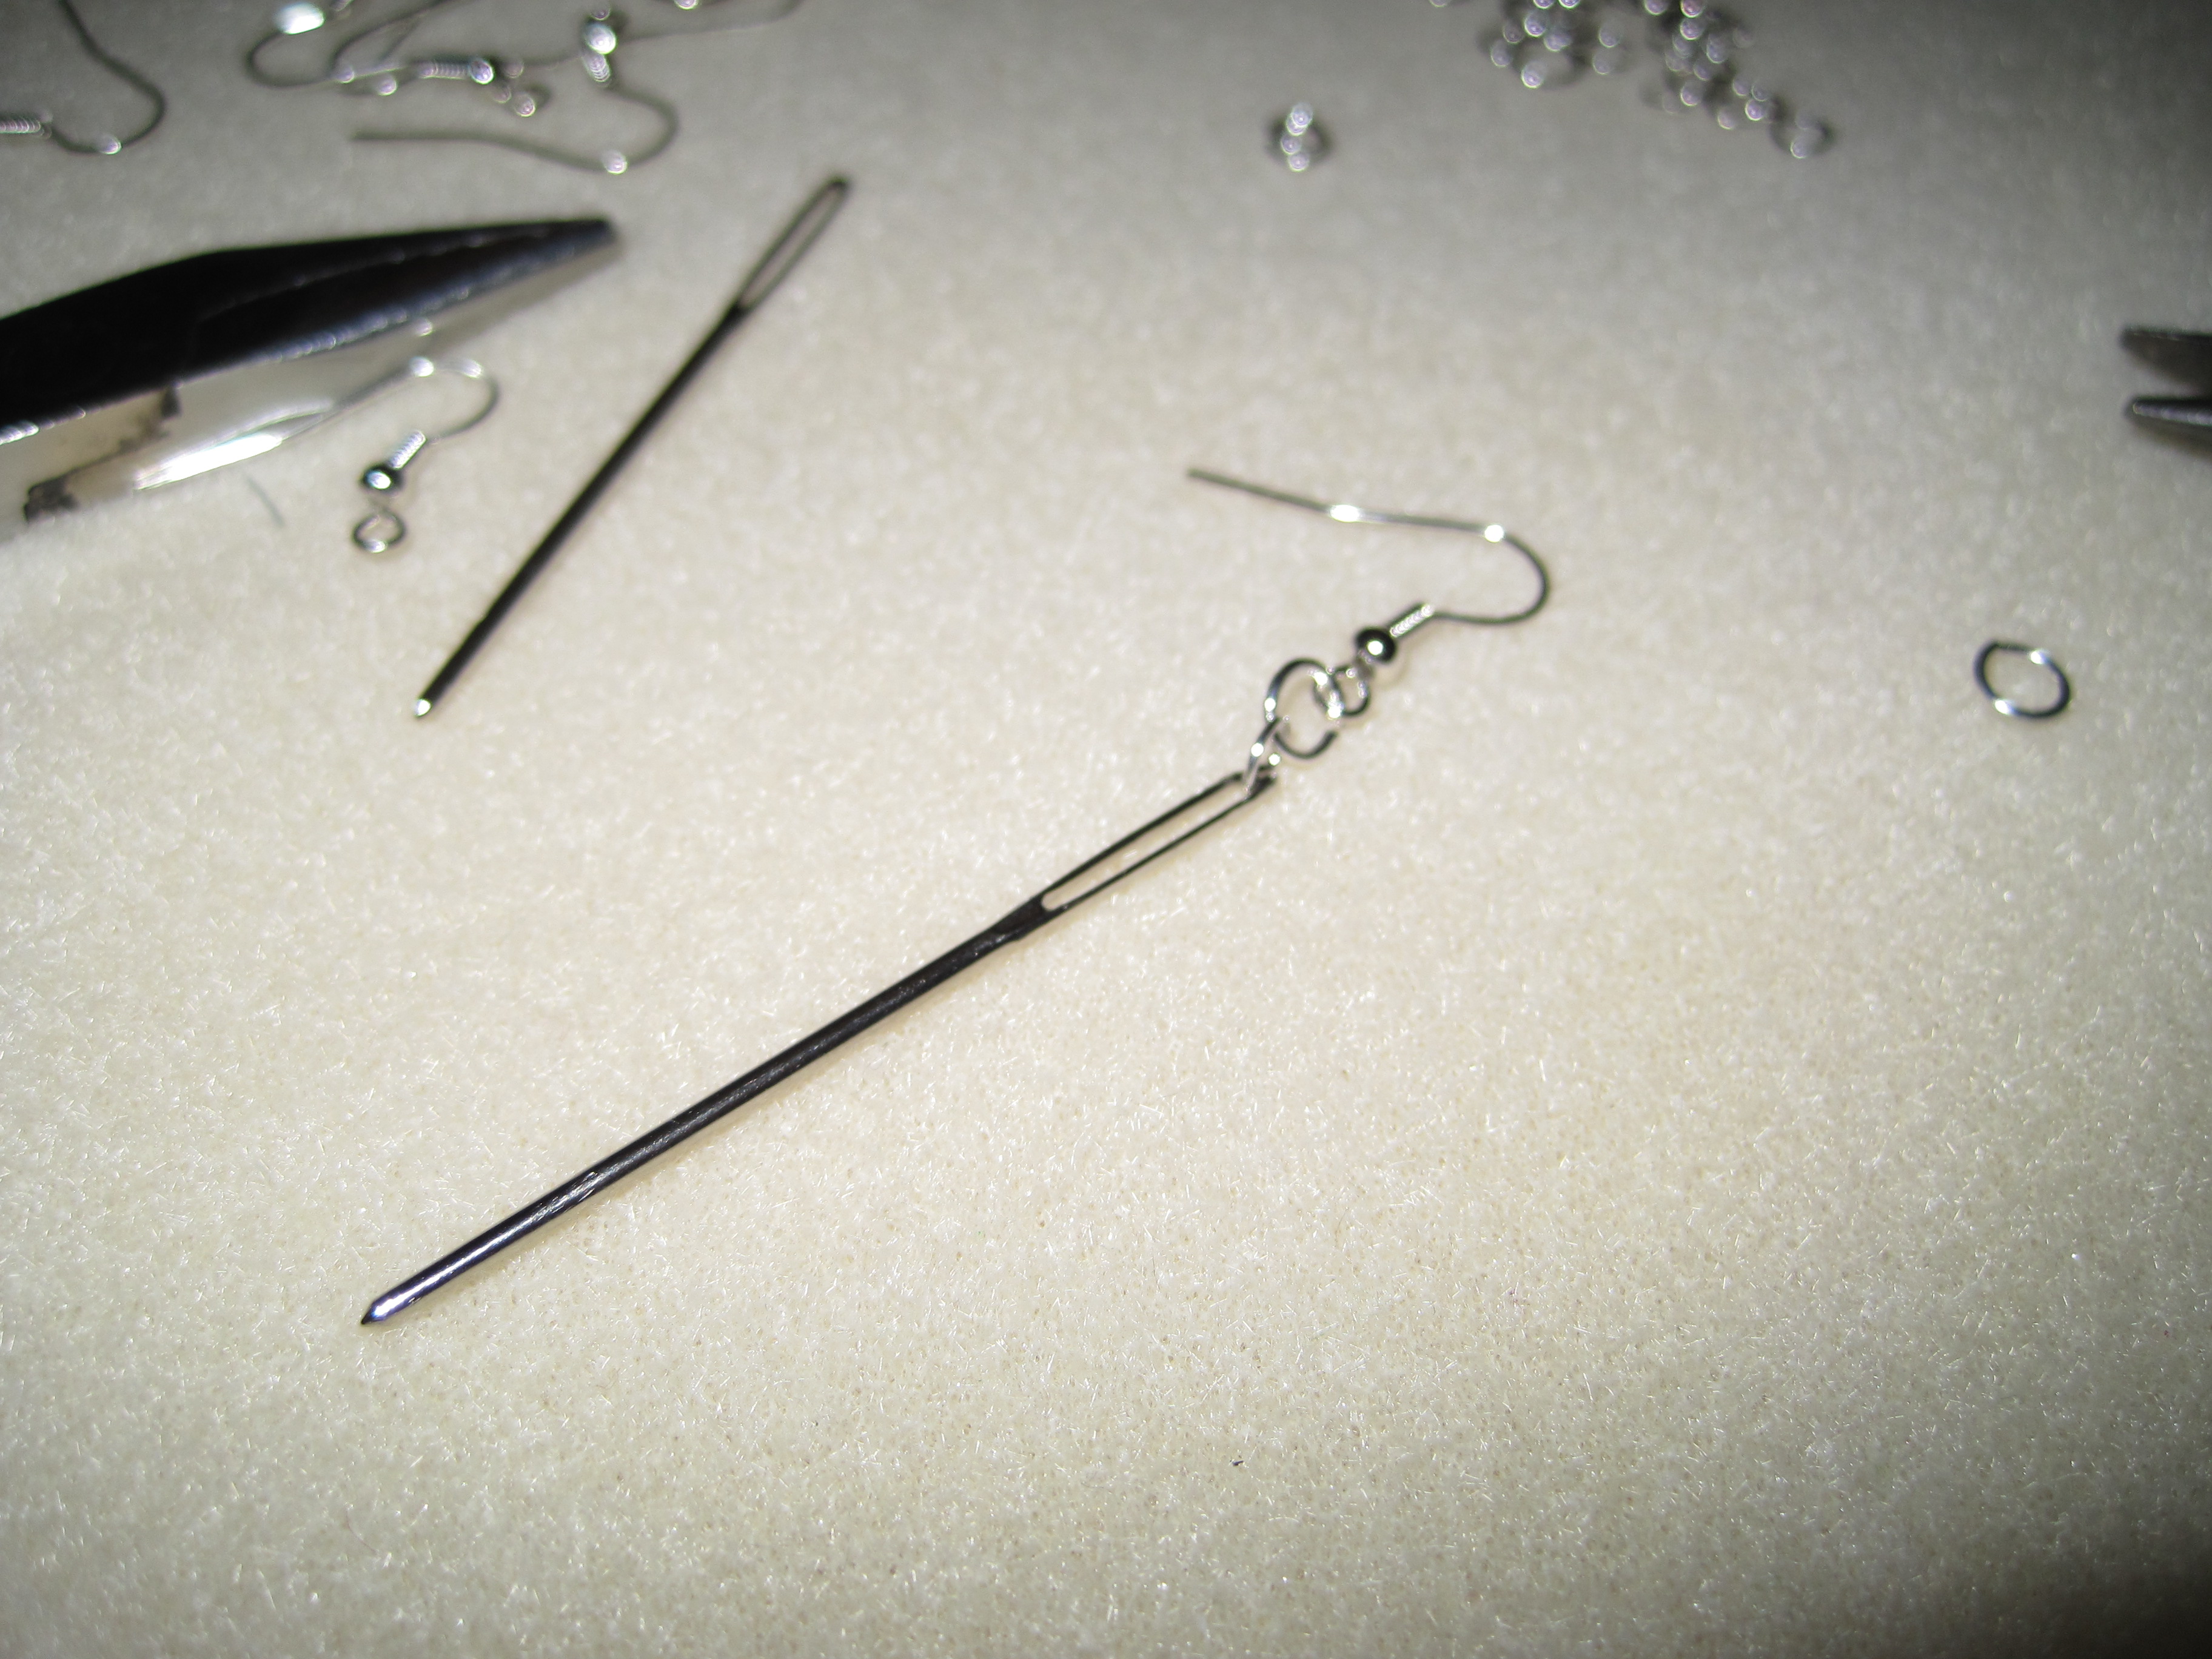
All the supplies to make a slew of needle earrings!

For one earring, attach needle > jump ring> jump ring > earring.  Two jump rings make them hang nicer so that the eye is turned out when you wear them.

Here’s a great photo tutorial on opening and closing jump rings.

Wash, rinse, repeat.  Wear and share!

Happy crafting!

Find my free patterns on Sewhooked & Fandom in Stitches.

♥ Jennifer O

Posts on this blog may contain affiliate links to help cover the cost of my website. I thank you for your generous support. ♥