The holiday head cold has grabbed me with both hands! Fortunately, I finished my gift making and wrapping before I could spread cooties along with my Christmas cheer.
I did something I almost never do and *gasp* bought pre-made gift bags for holiday treats. When I opened the packages, they all had a bottle neck. After I forced my eyebrows down out of my scalp, I realized the cute little bags were practically useless unless the entirety of my holiday giving included M&Ms.
Without any time to spare, I started digging around in my “keep just in case” drawer and came up with a stack of paper wine bags that I’ve been holding on to forever. Jackpot!
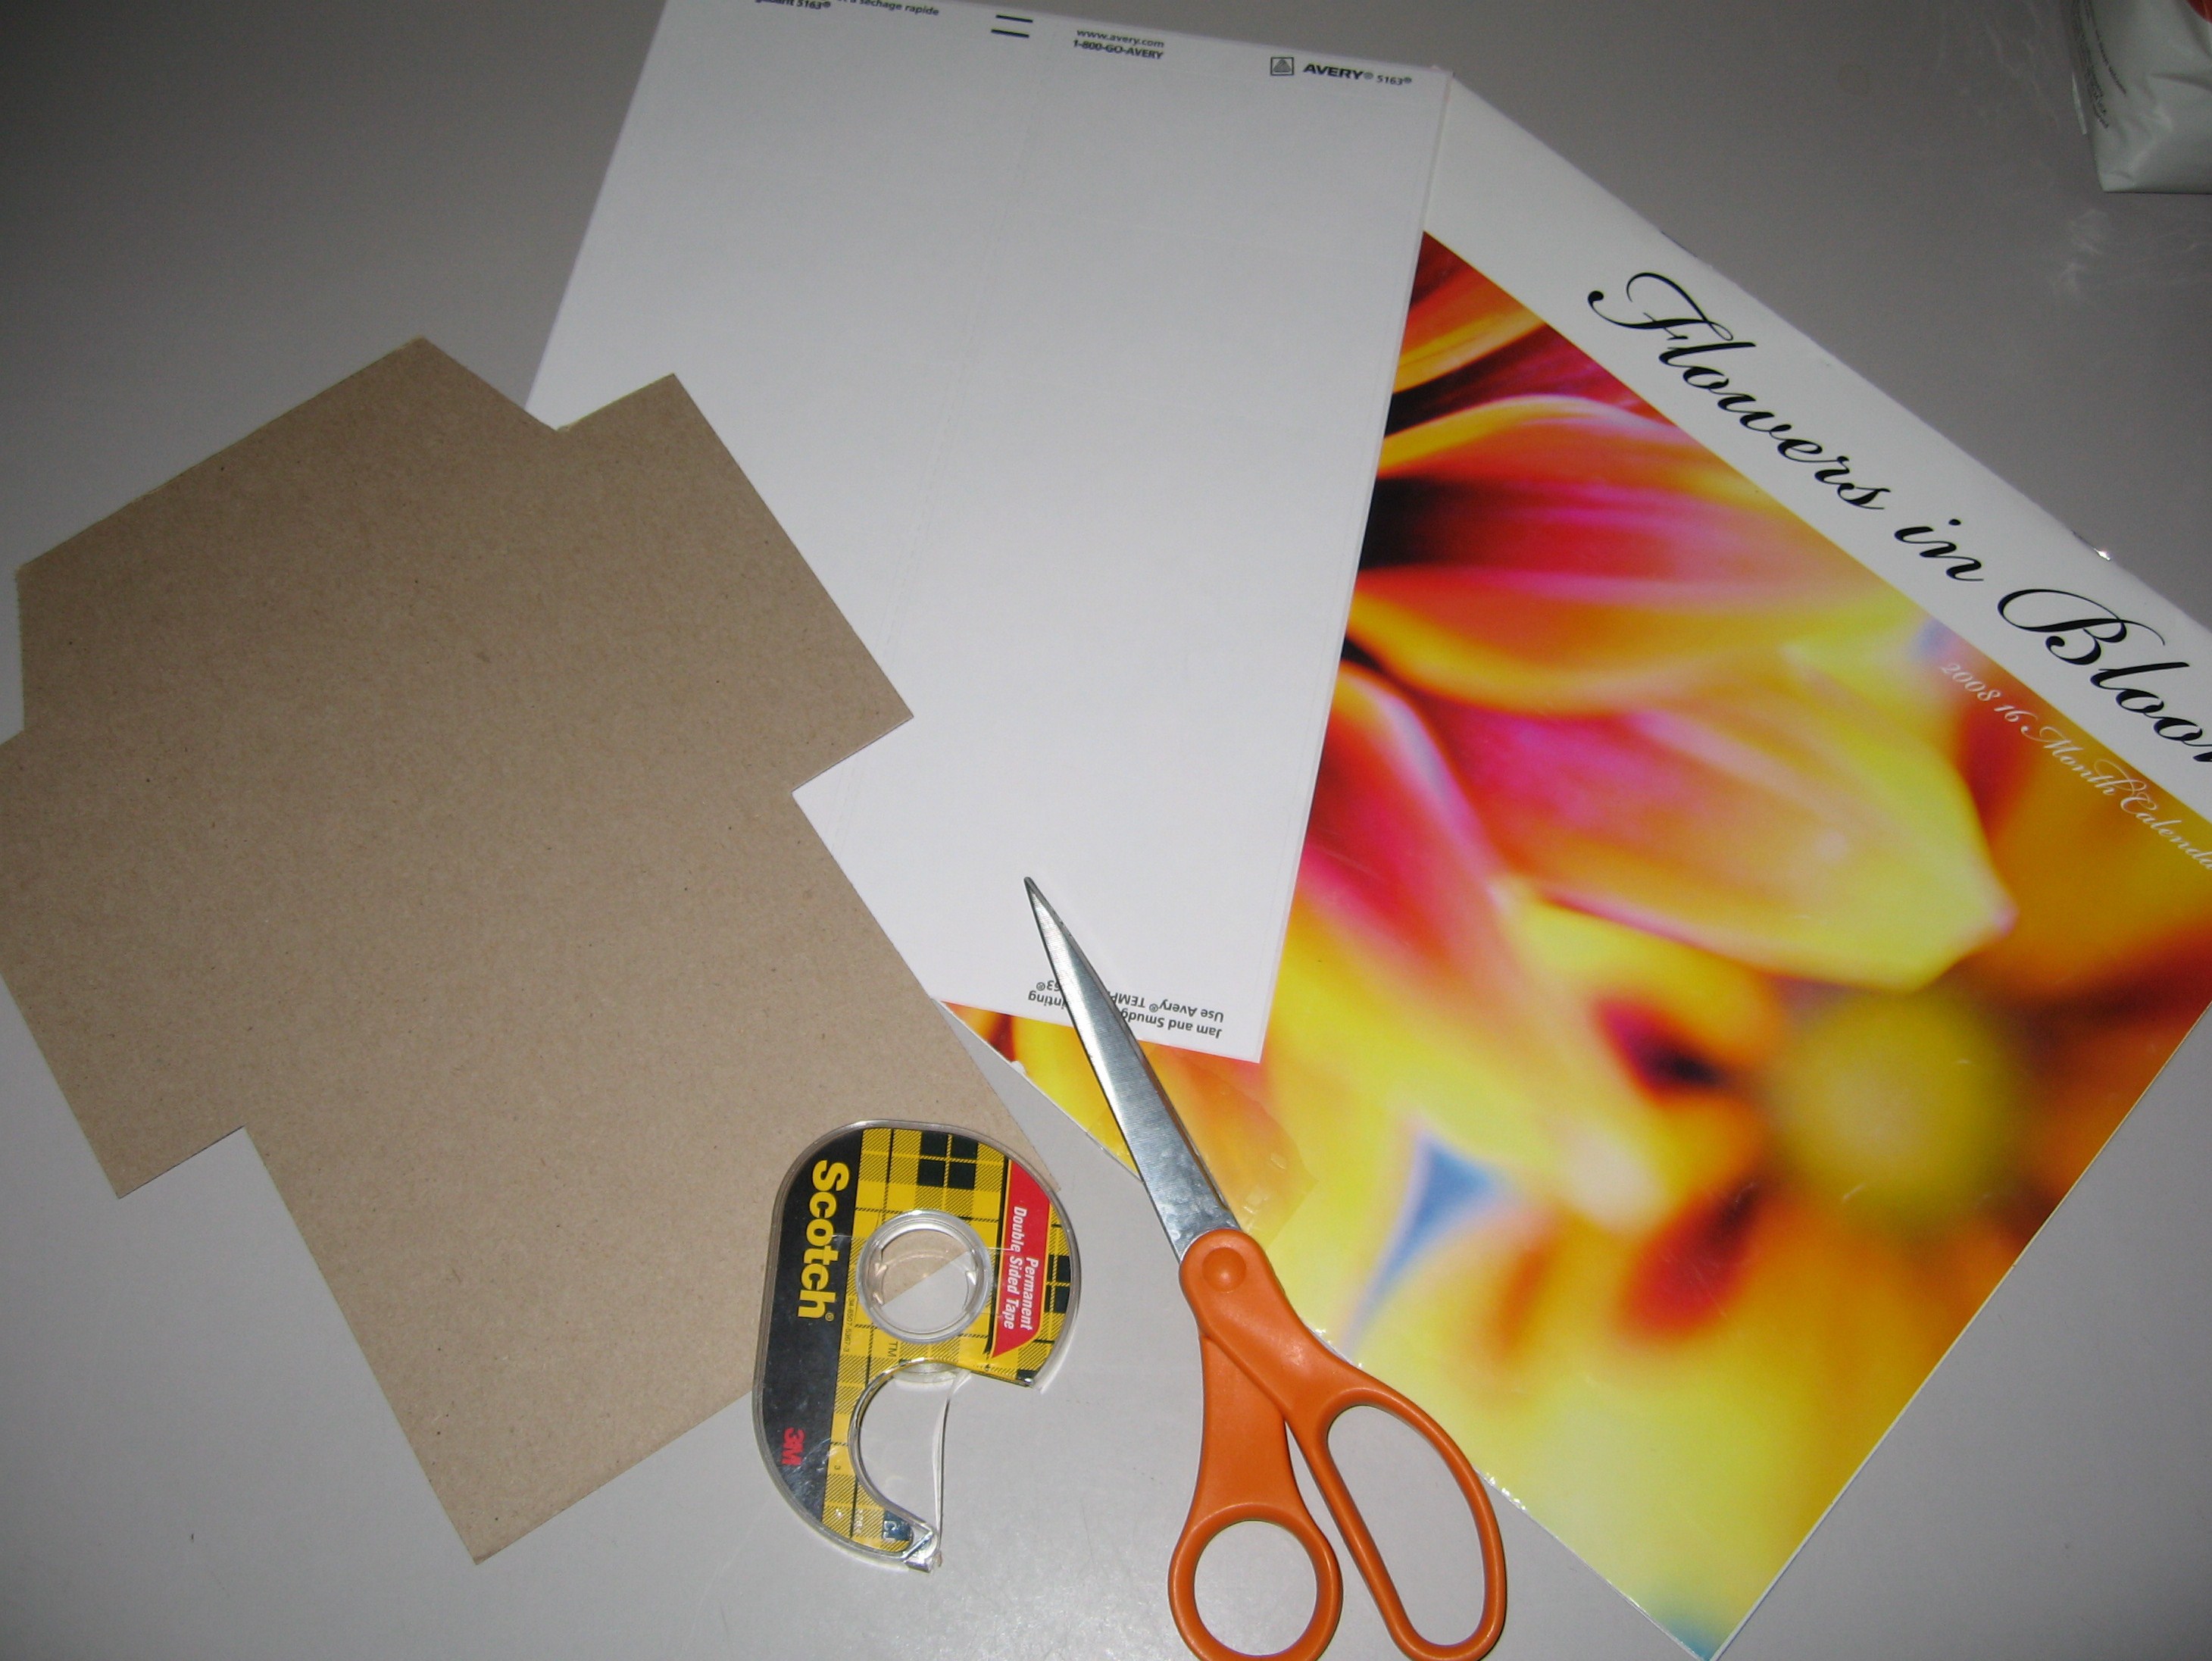
To make your own holiday gift bags/wrap from recycled wine bags, you’ll need:
- paper bags (any size)
- tape or glue
- hole punch
- ribbon
- iron
- Something to cut the bags (paper cutter, rotary cutter, decorative or plain scissors)
- stamps, stickers, or other embellishments
If your bags are like mine, they’re likely to be in all different states of crumpled-ness. So, first things, first, iron those bags if needed. Medium heat works. Ironing on a paper bag will also clean your iron, so you might want to start with a sacrificial bag, just in case your iron has any Ghosts of Craft Projects Past lurking around.

Much better!

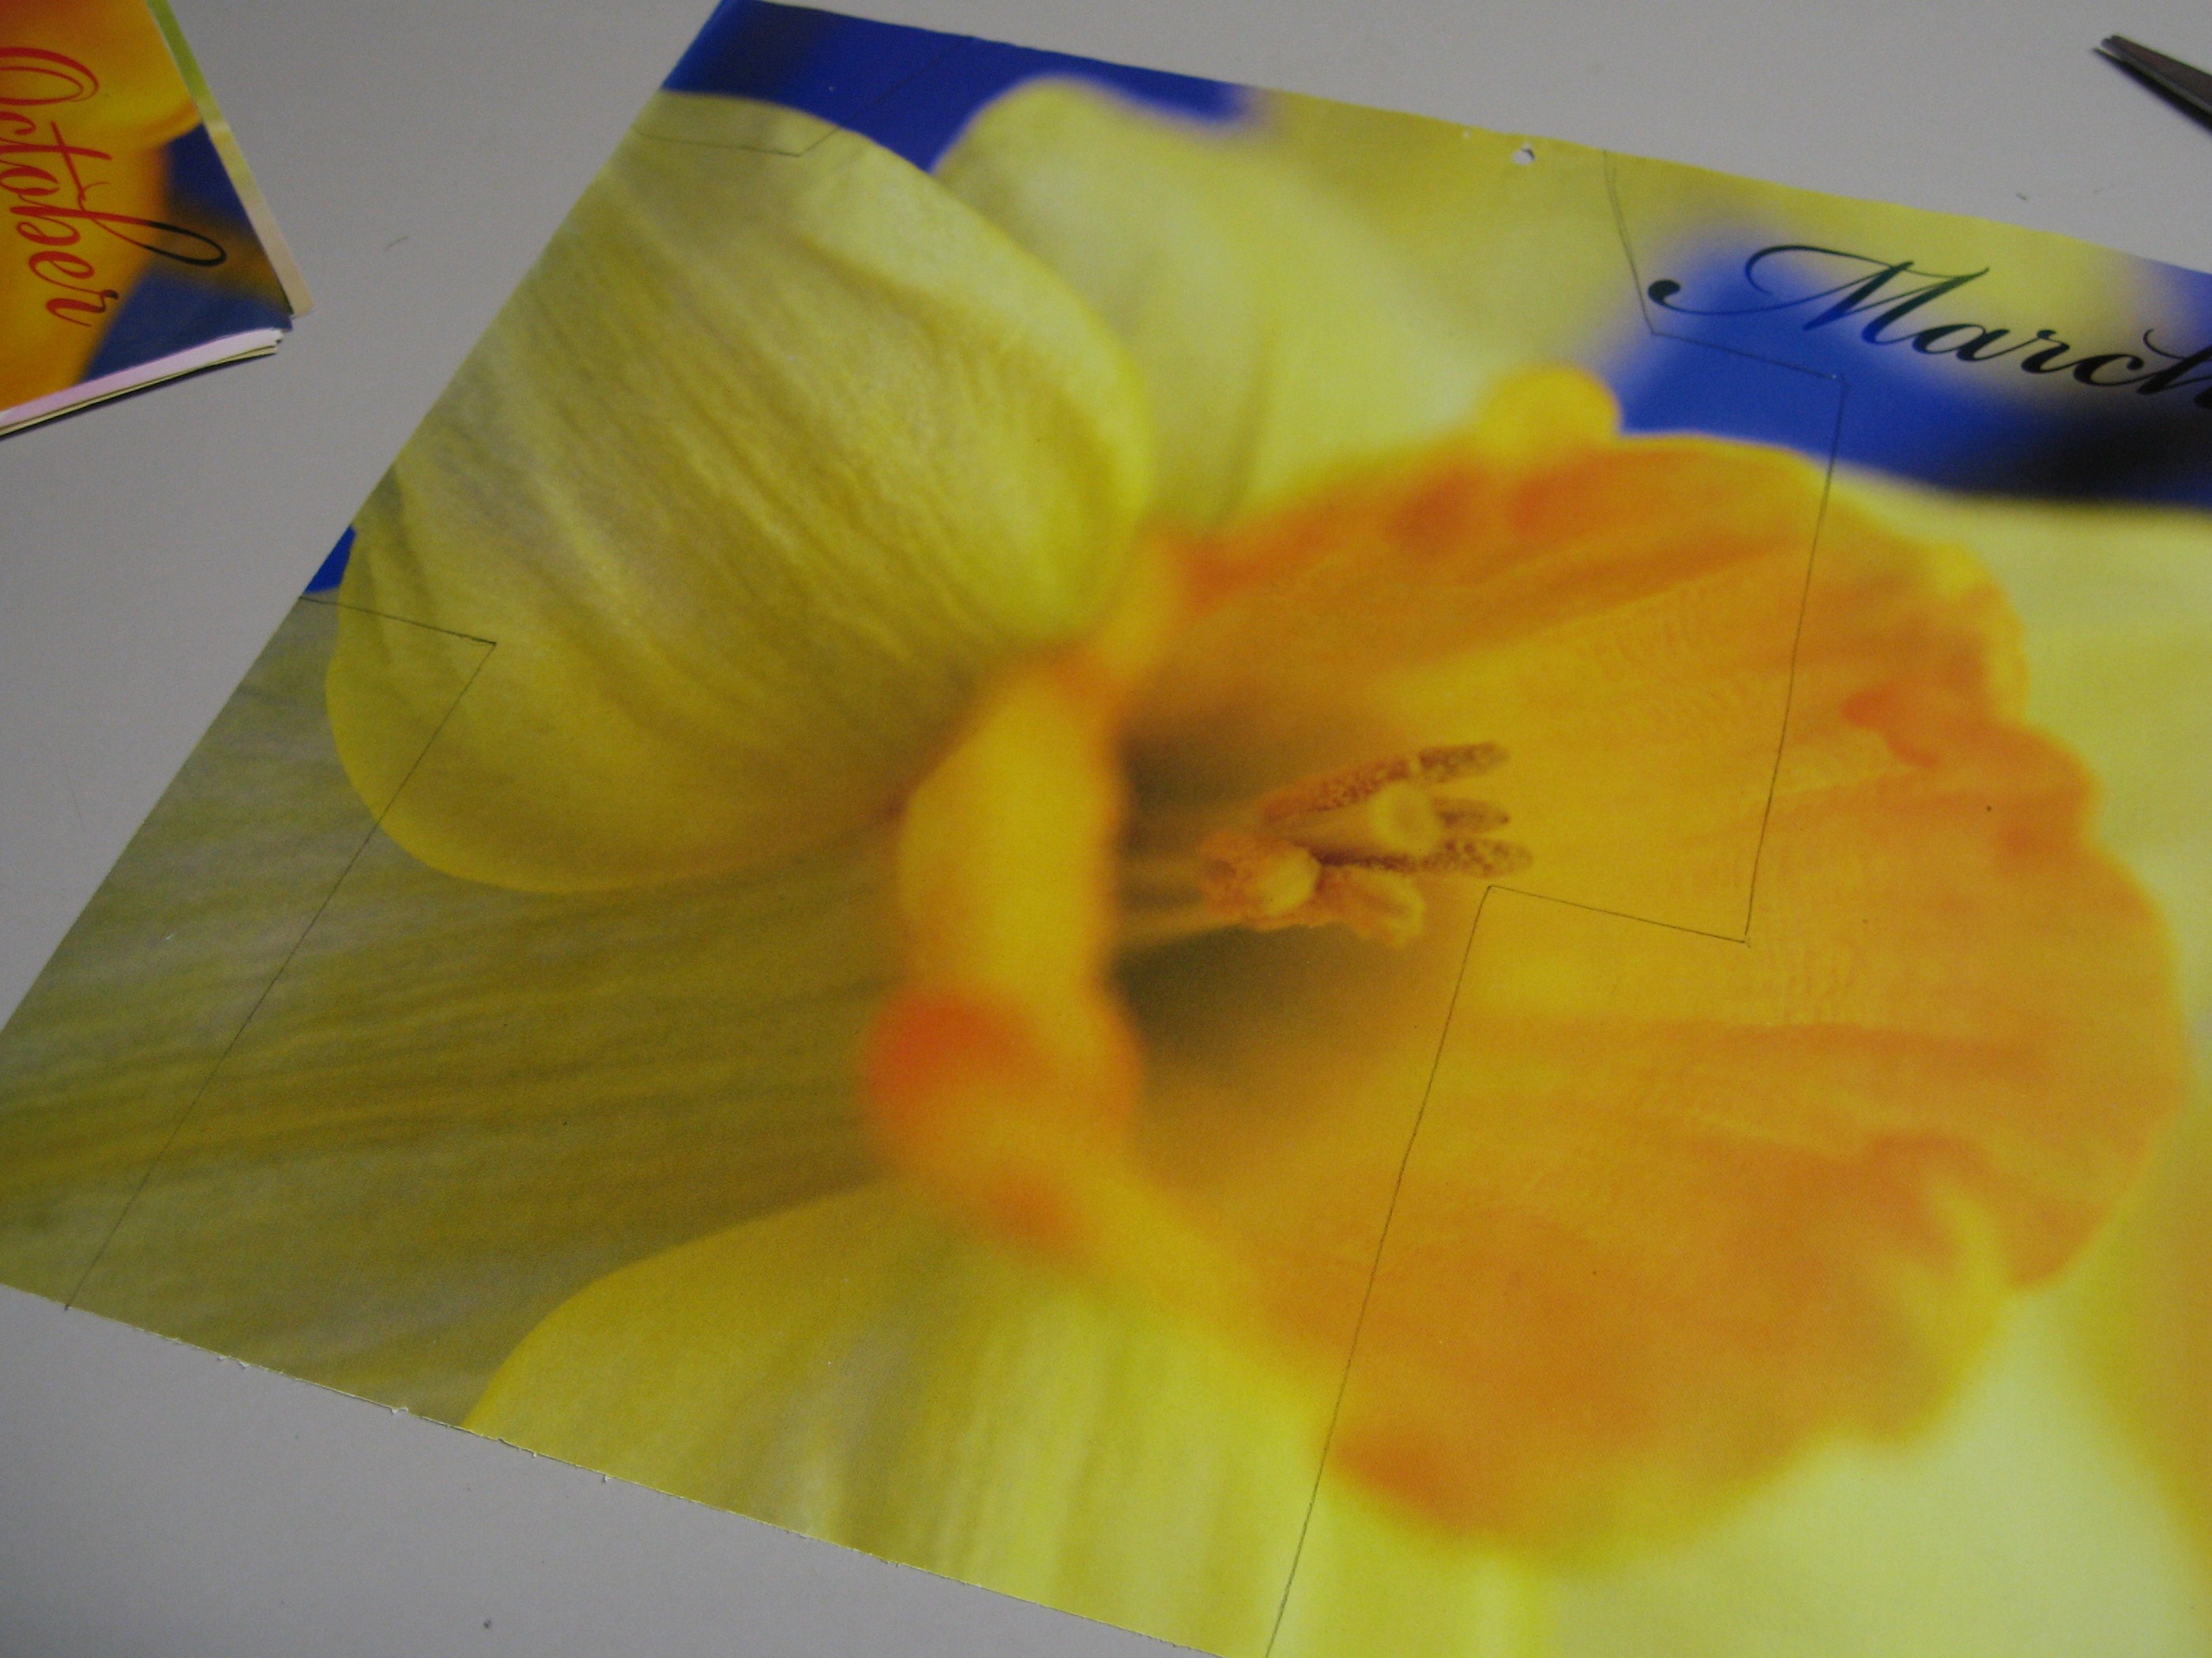
I happen to have a snazzy wavy blade for my rotary cutter. Try scissors, decorative or plain, or fun rotary blades.

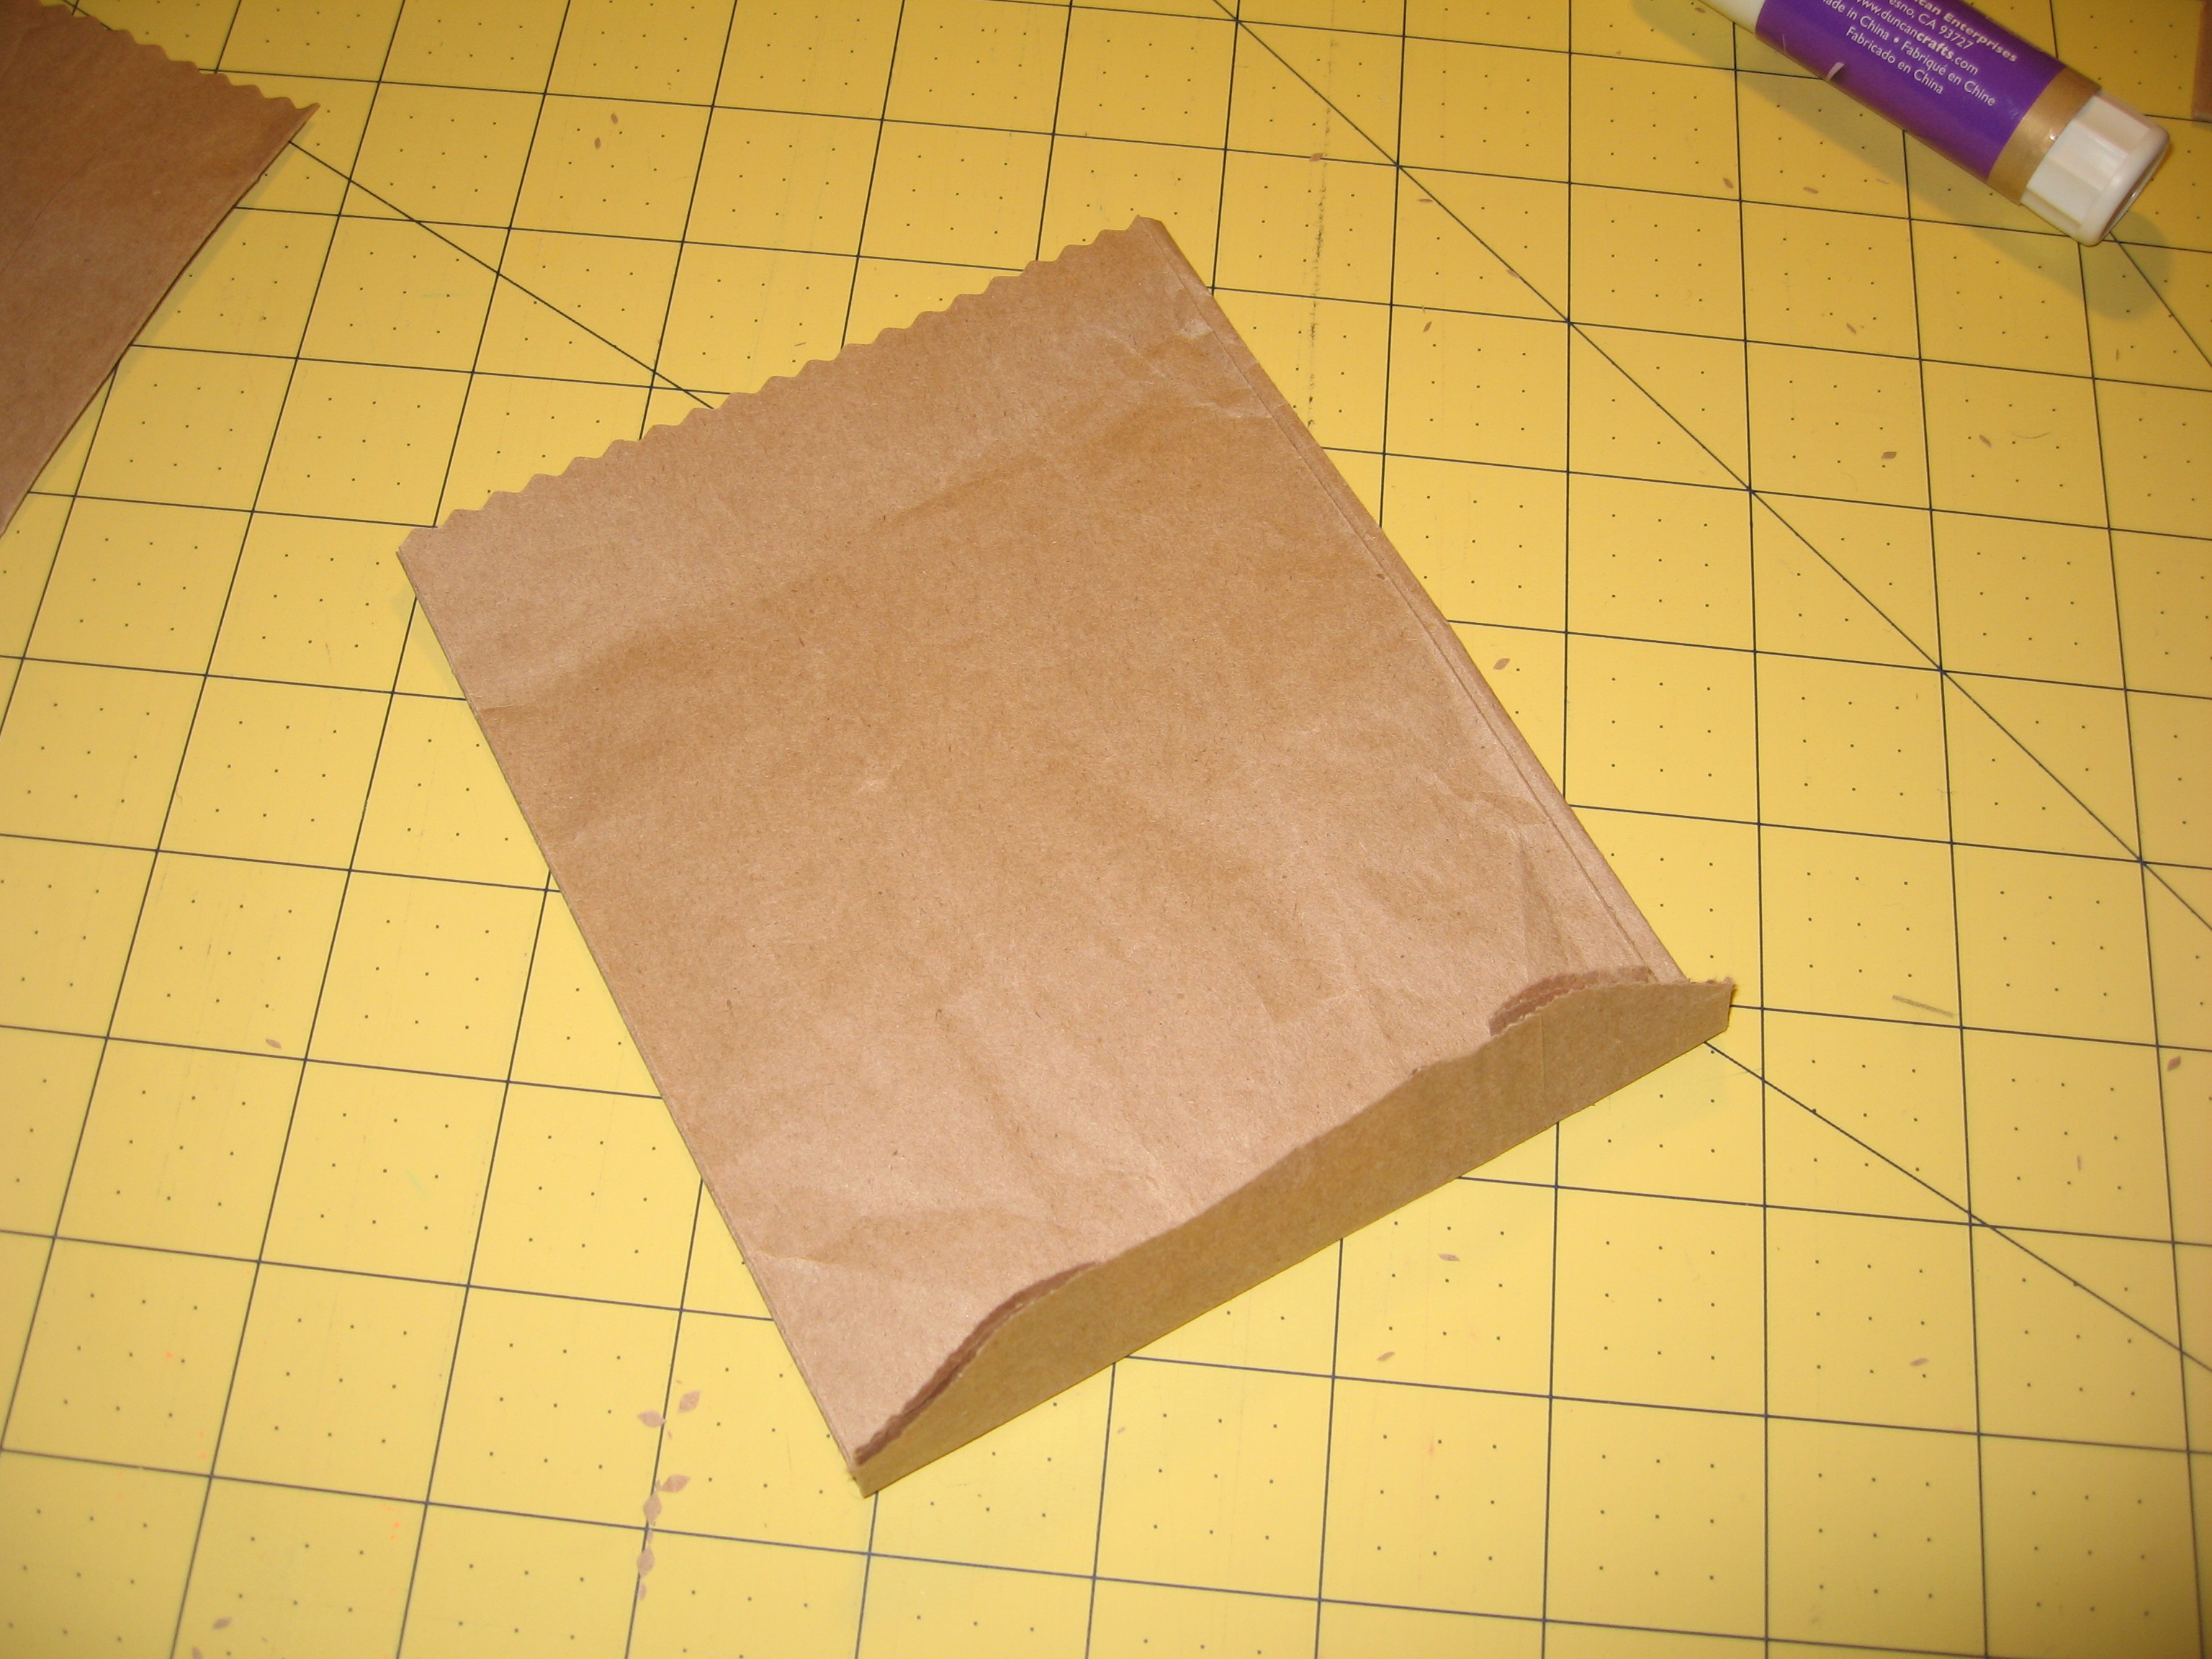
Each wine bag will make 2 gift bags. Determine how big you want each side to be, leaving about 1″ for folding for each bag.

Bottom and top (L-R)
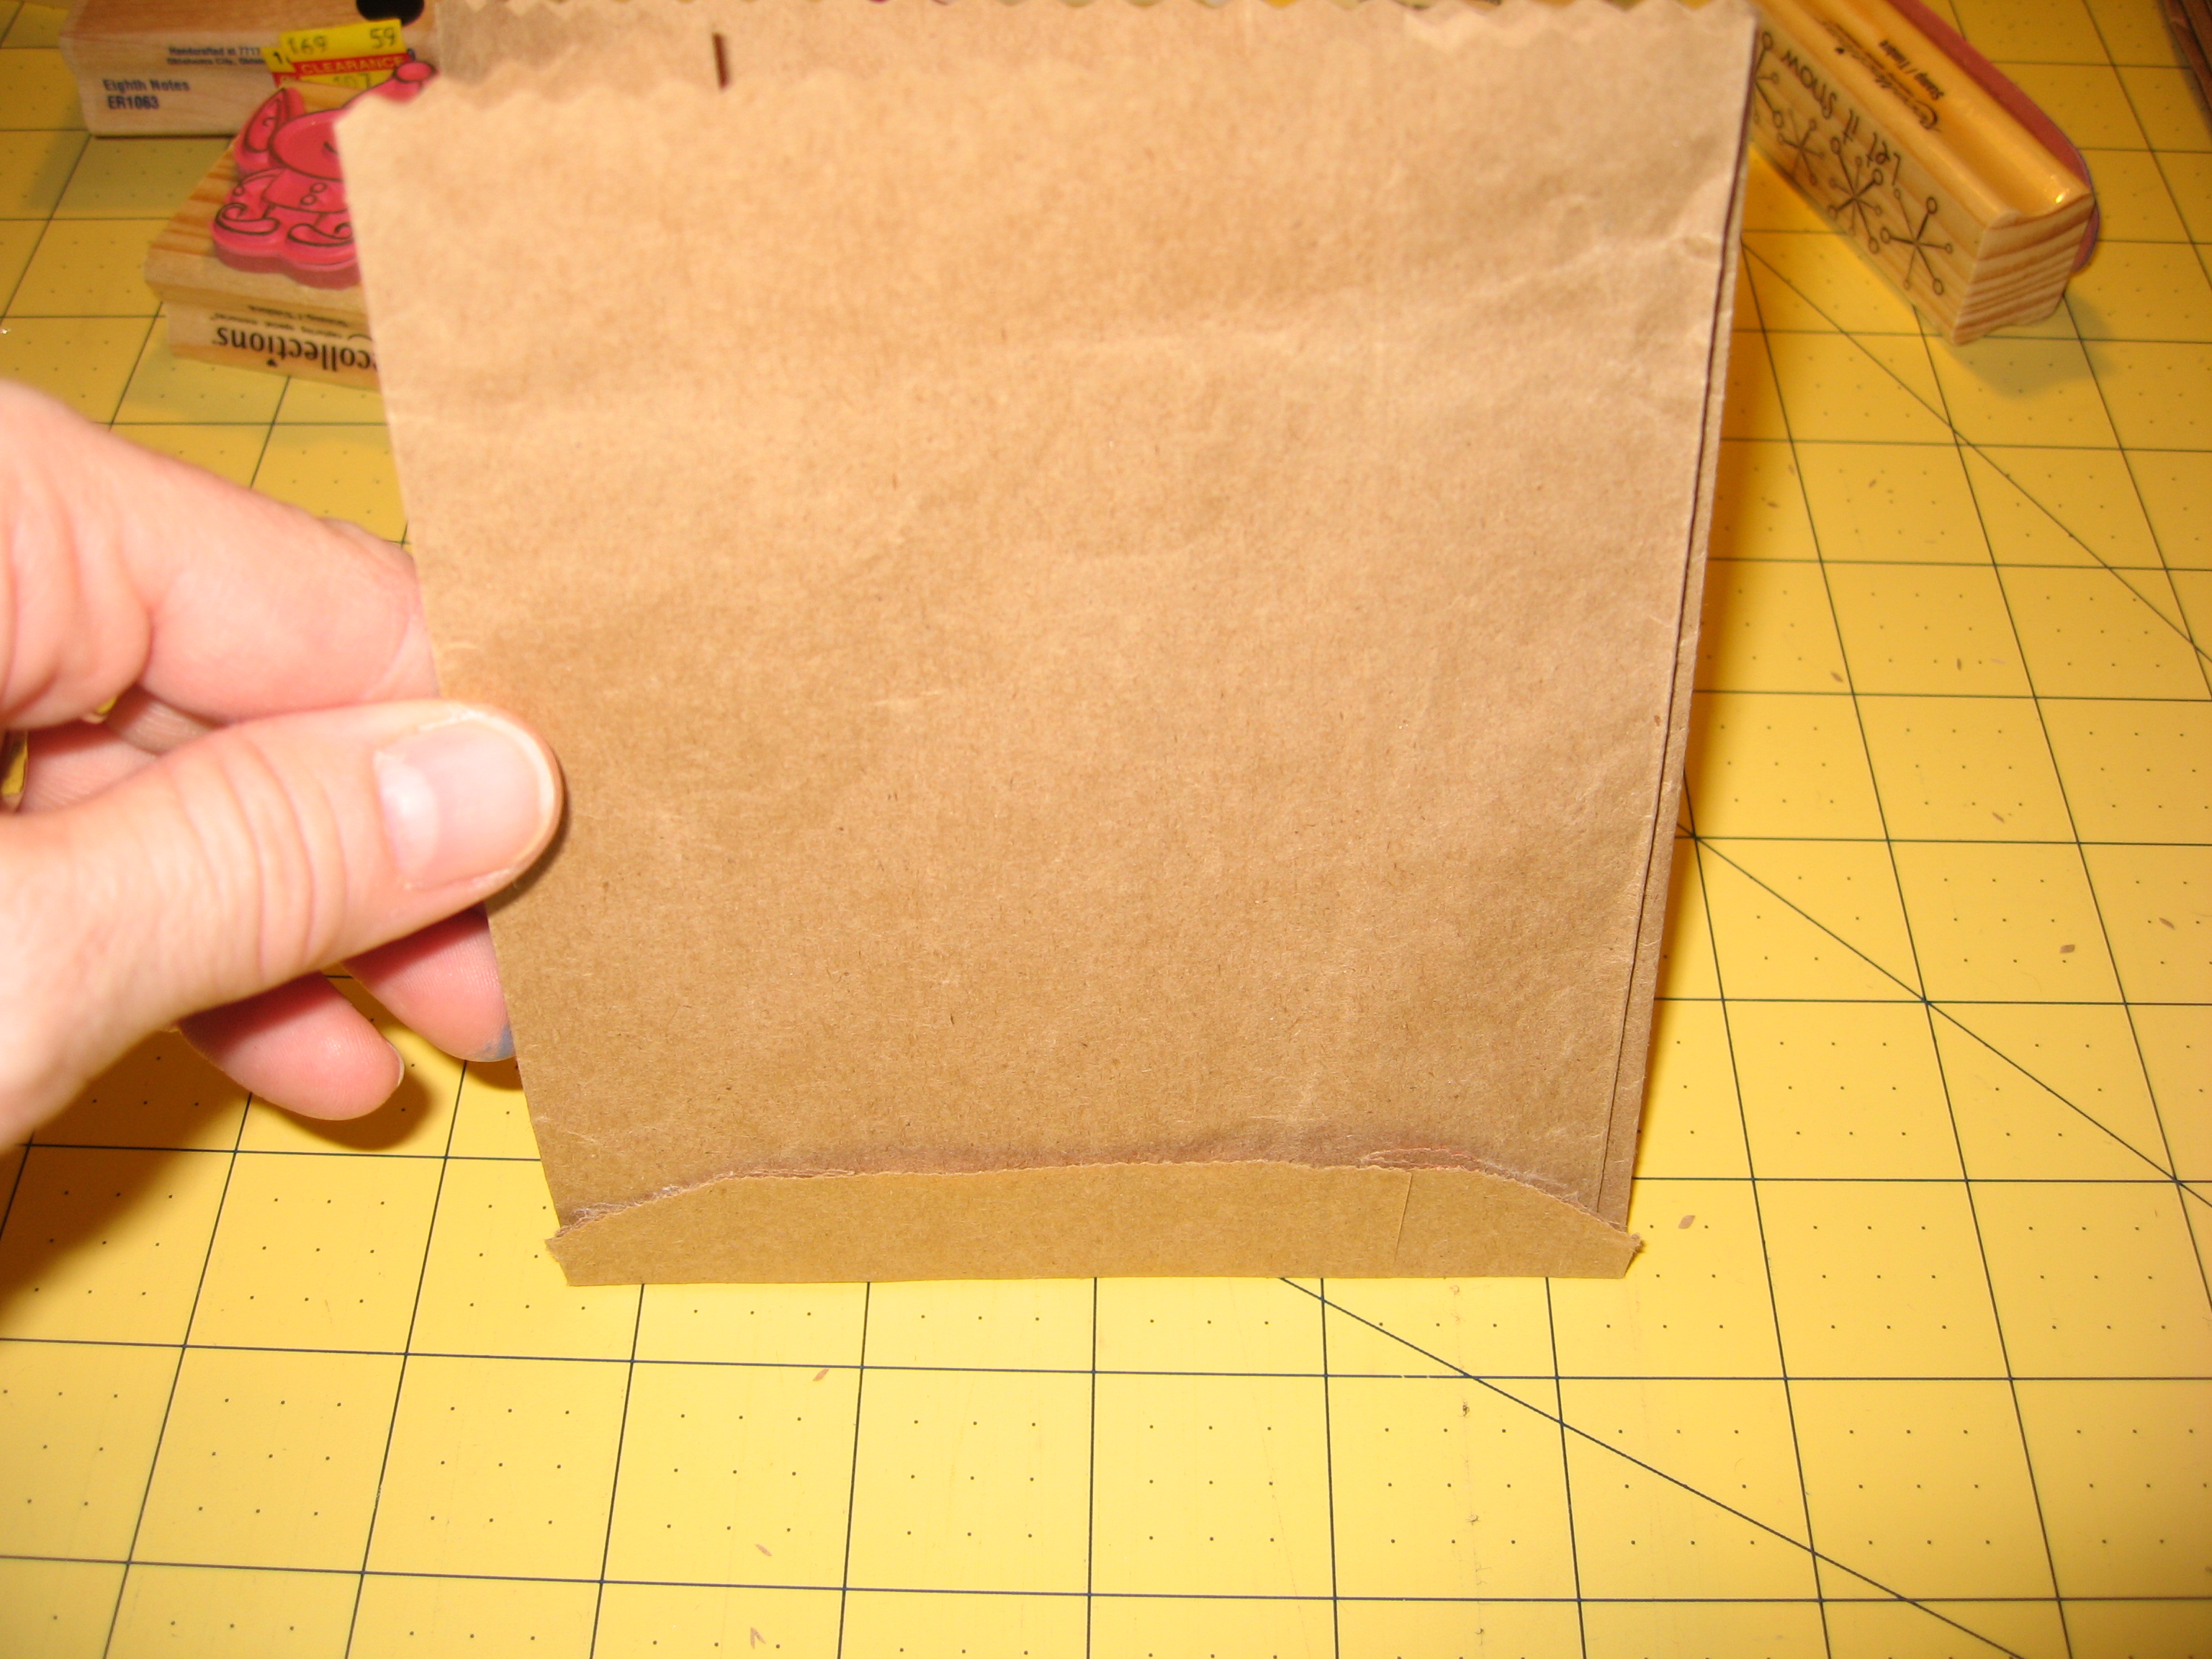
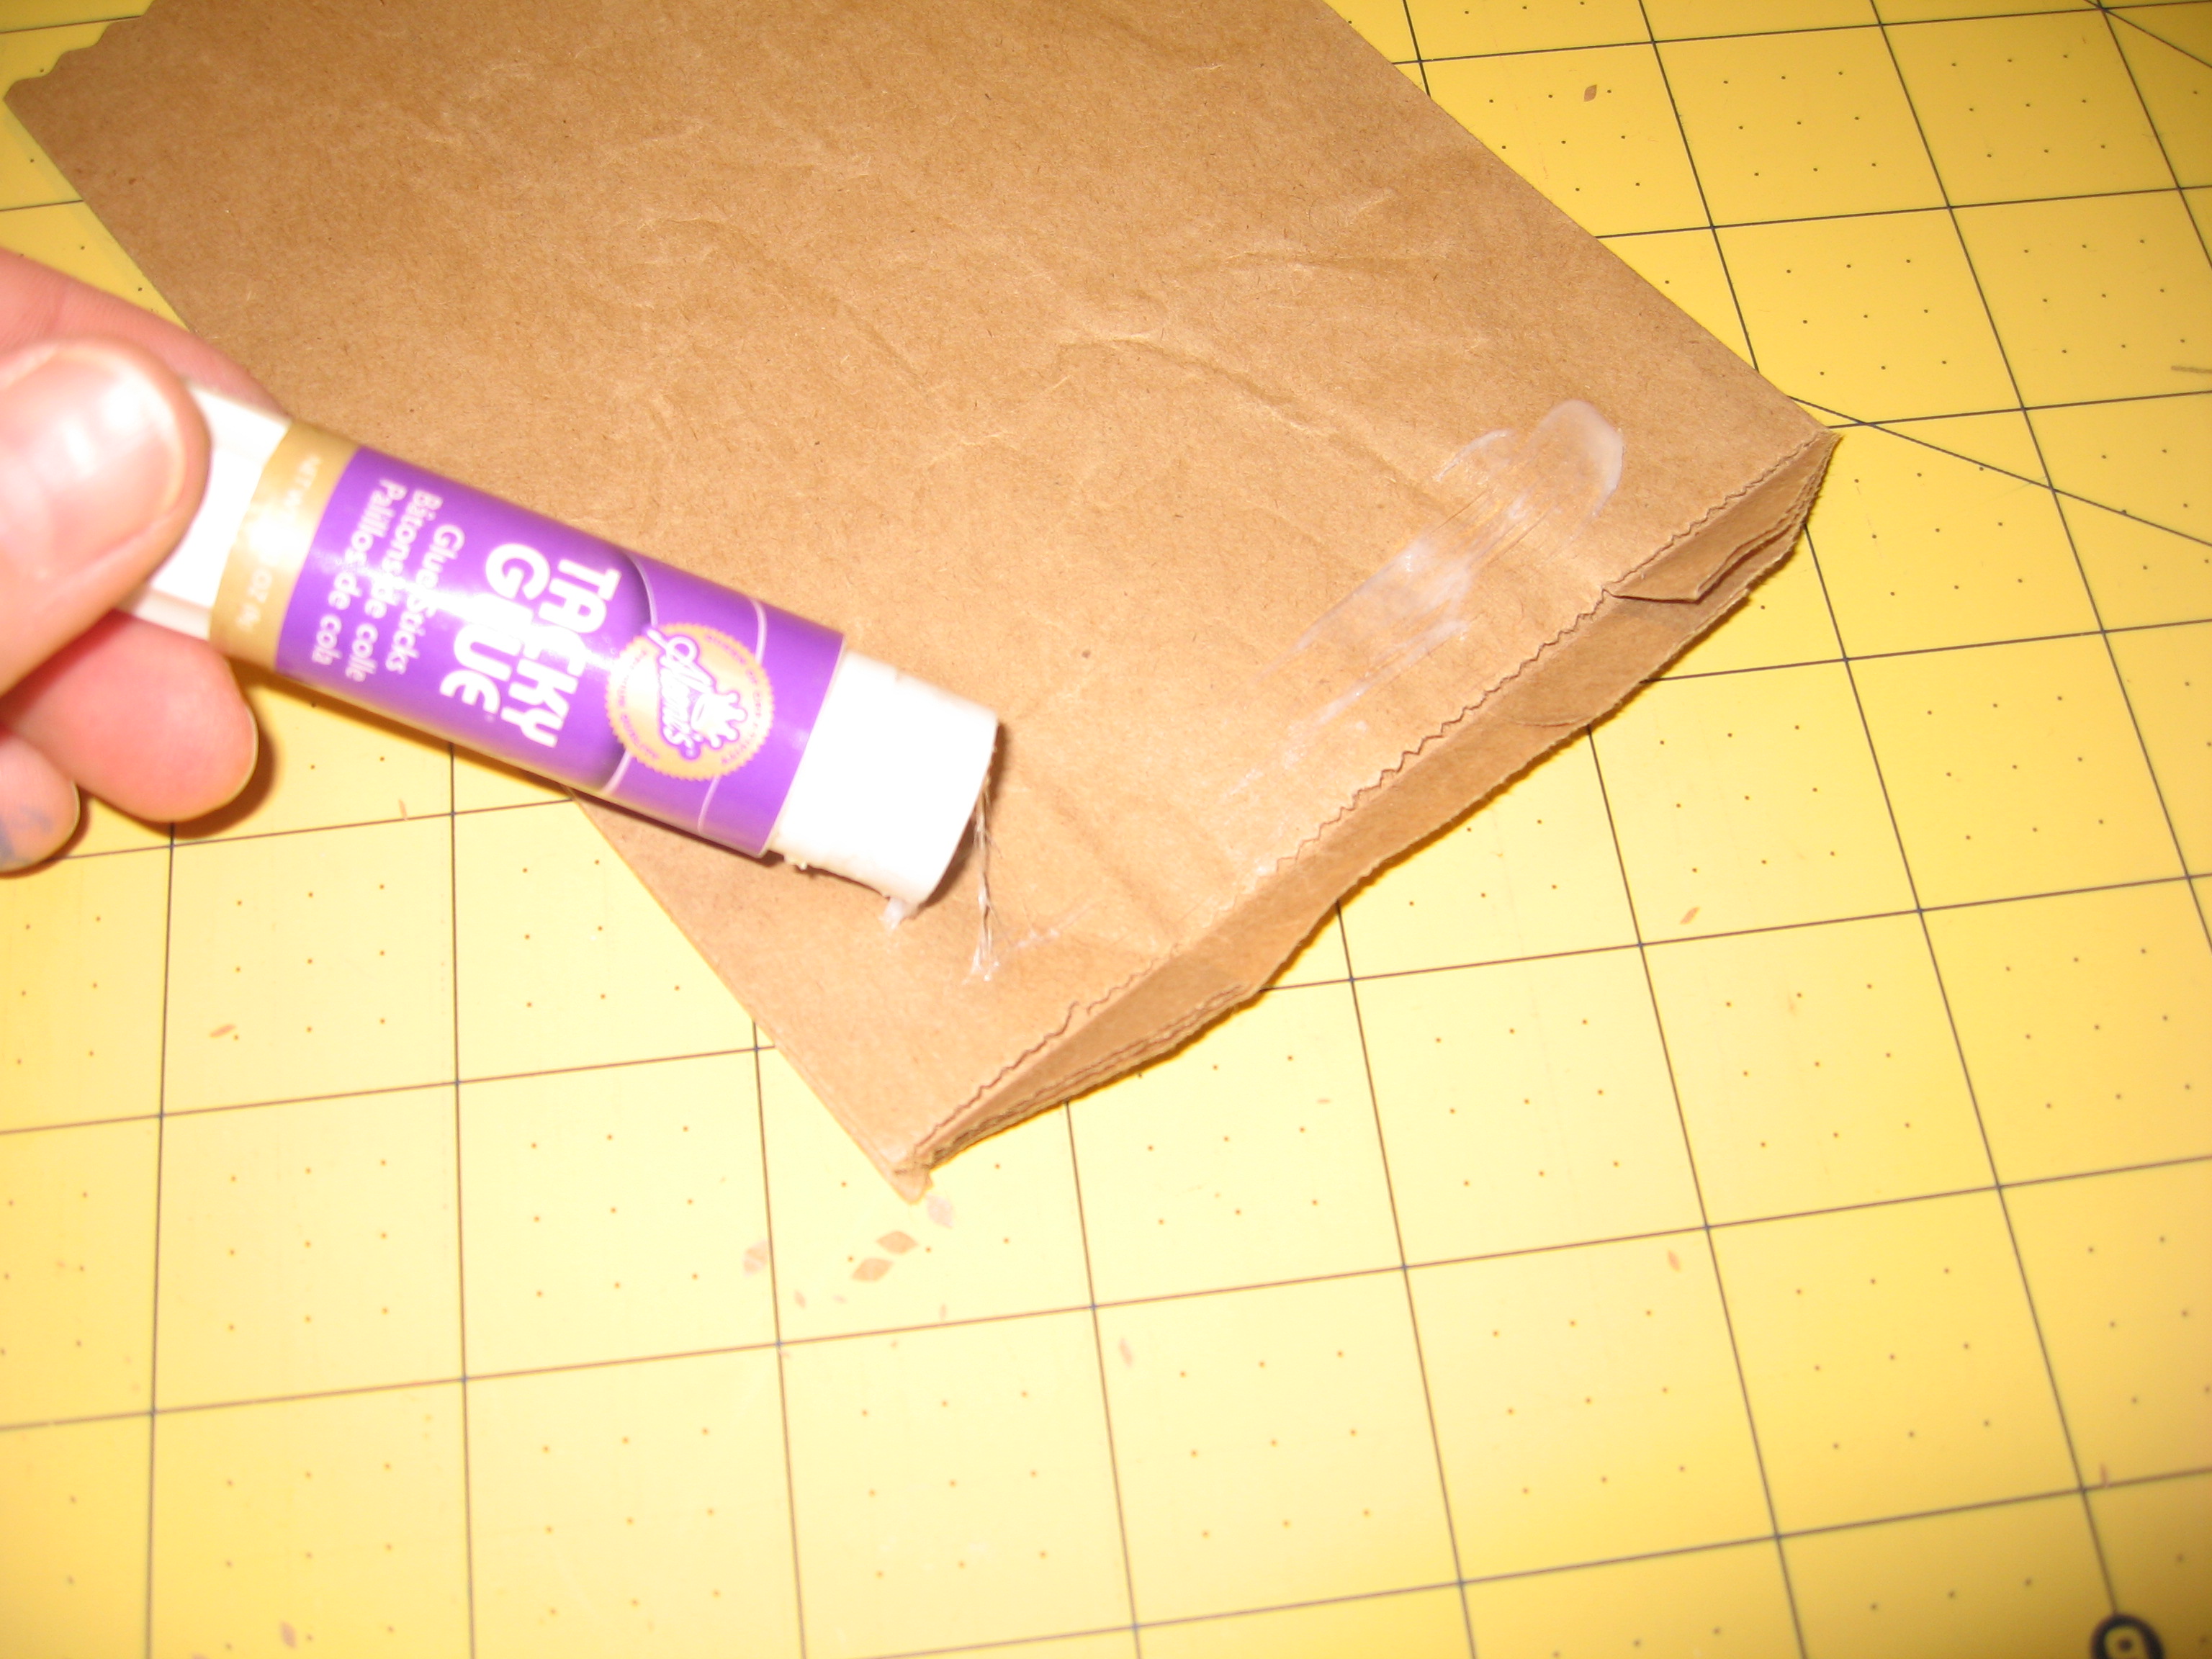
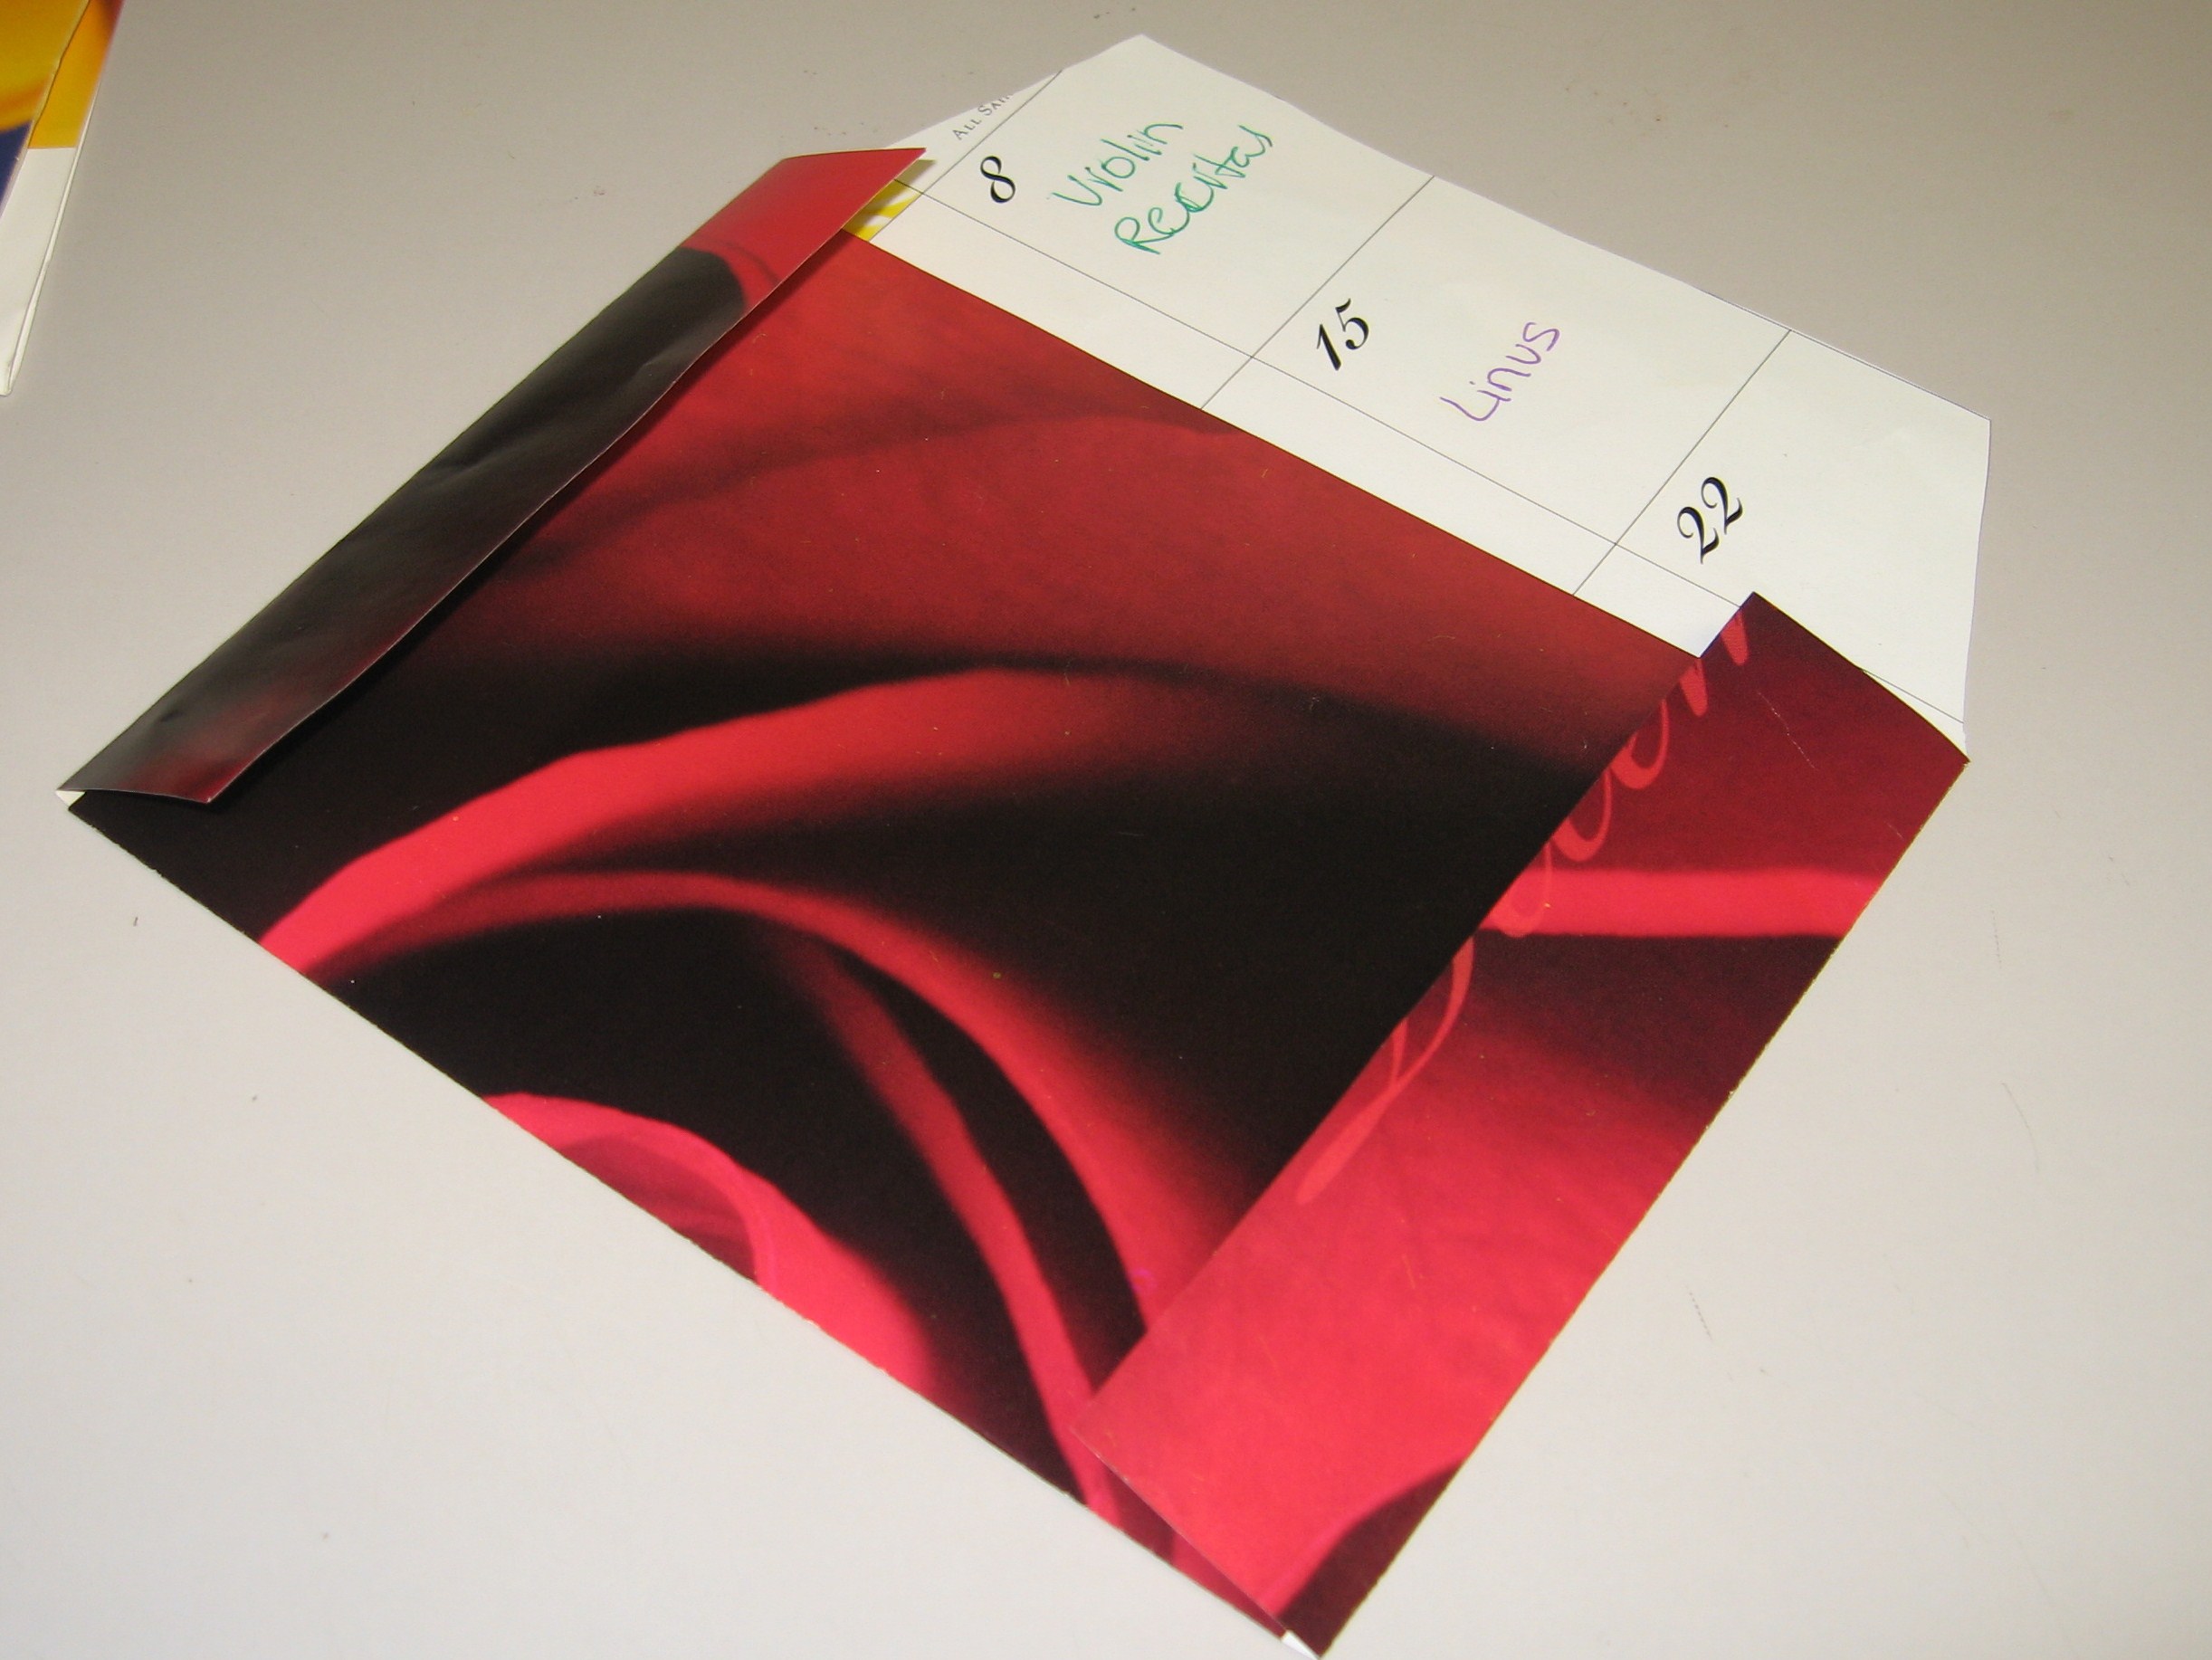
If you’re making more than one gift bag out of your original bag, you may need to seal the bottom. Glue works for this, but so does tape or a cute sticker.
This is also a good time to embellish your gift bag with stickers, stamps, or doodles.

Top finish off, fold the top down and punch two holes through all layers. Insert your gift and tie a ribbon through to close.
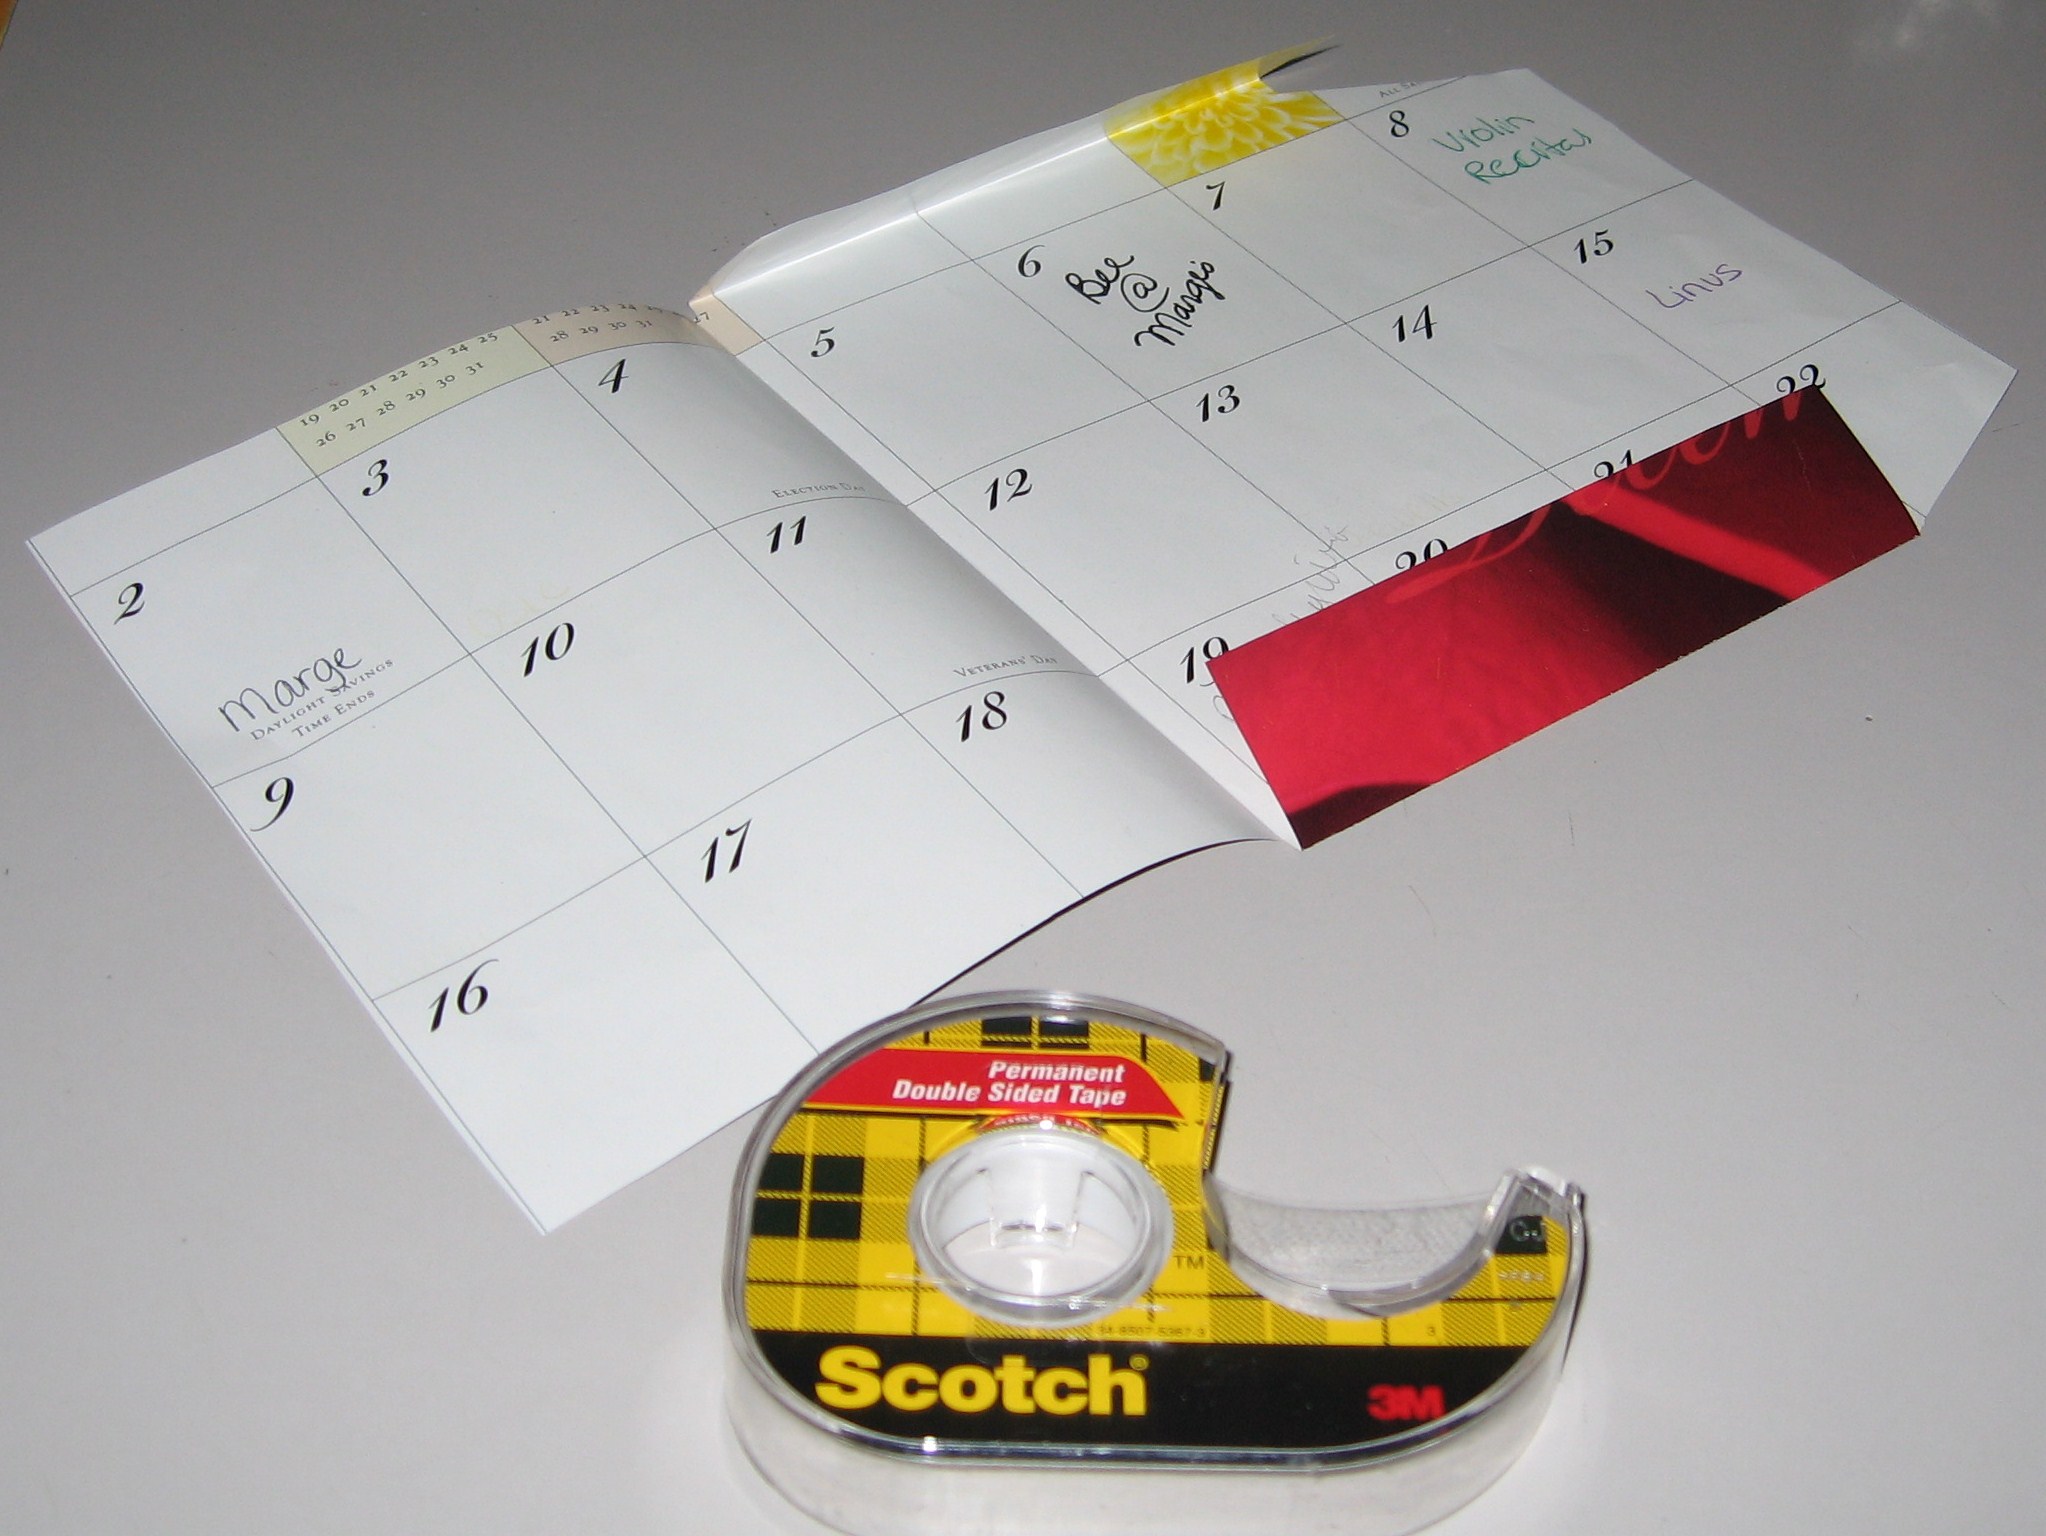
Repeat the steps for all bags. The bottom half of your recycled gift wrap will only need the tops folded and punched since the bottom is already sealed. I stamped mine, but you can embellish your bags any way you like. Now, fill with holiday goodness and gift it! If you’re stuffing your gift bags with edible homemade goodness, I suggest wrapping it in plastic or wax paper before placing it in the bag.
Find my free patterns on Sewhooked & Fandom in Stitches.
♥ Jennifer O
Posts on this blog may contain affiliate links to help cover the cost of my website. I thank you for your generous support. ♥