It’s no secret among my friends that I’m a big Eddie Izzard fan. My family and I were lucky enough to get to see a live performance in June. Eddie was amazing, funny & brilliant, just as you might expect!
Also available as a video tutorial:
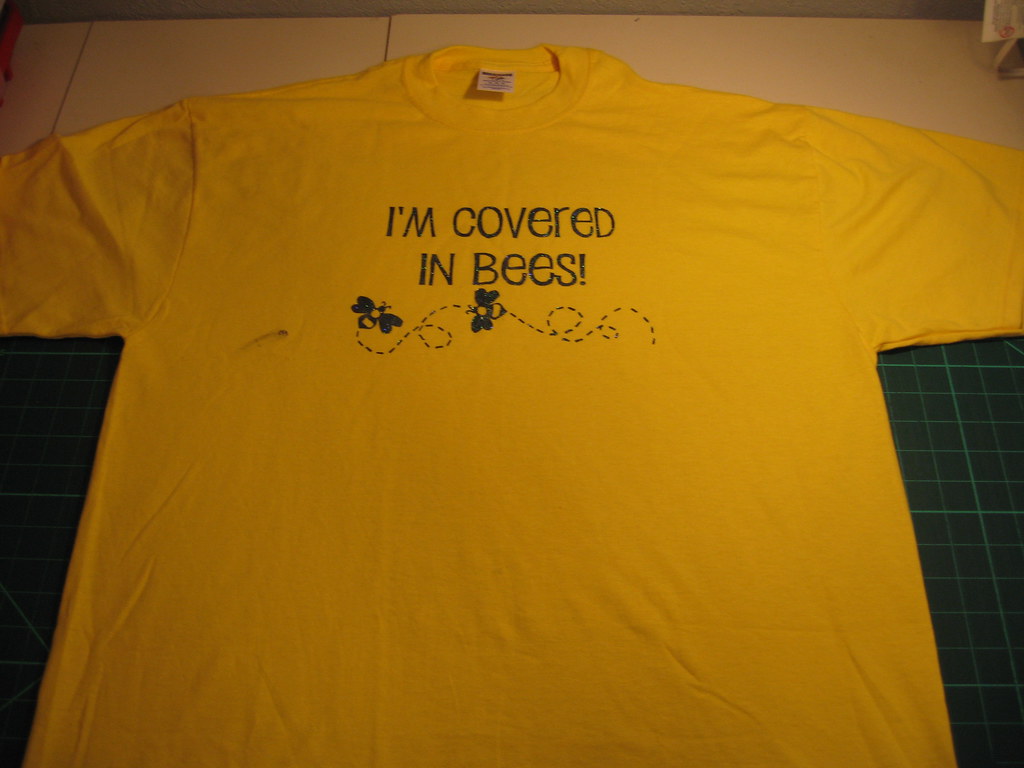
In honor of our shared Eddie-love, my good friend Shae stenciled this fantastic “Covered in Bees” t-shirt for me. She knew it would be too big and sent it with her crafty blessings to be reconstructed however I saw fit.
Resizing tees is the recon I do most often, making my shirts fit me better while still being long (and wide!) enough to go over my hips.
Use a favorite shirt that you already love the fit of and that has similar stretch to the fabric.
This is a fairly easy recon and usually takes about 30 minutes from start to finish.
Supplies:
Too Big t-shirt
smaller tee (guide)
pins
scissors
thread
sewing machine (optional)
ball point needle (for jersey fabrics)
The shirt, before resizing
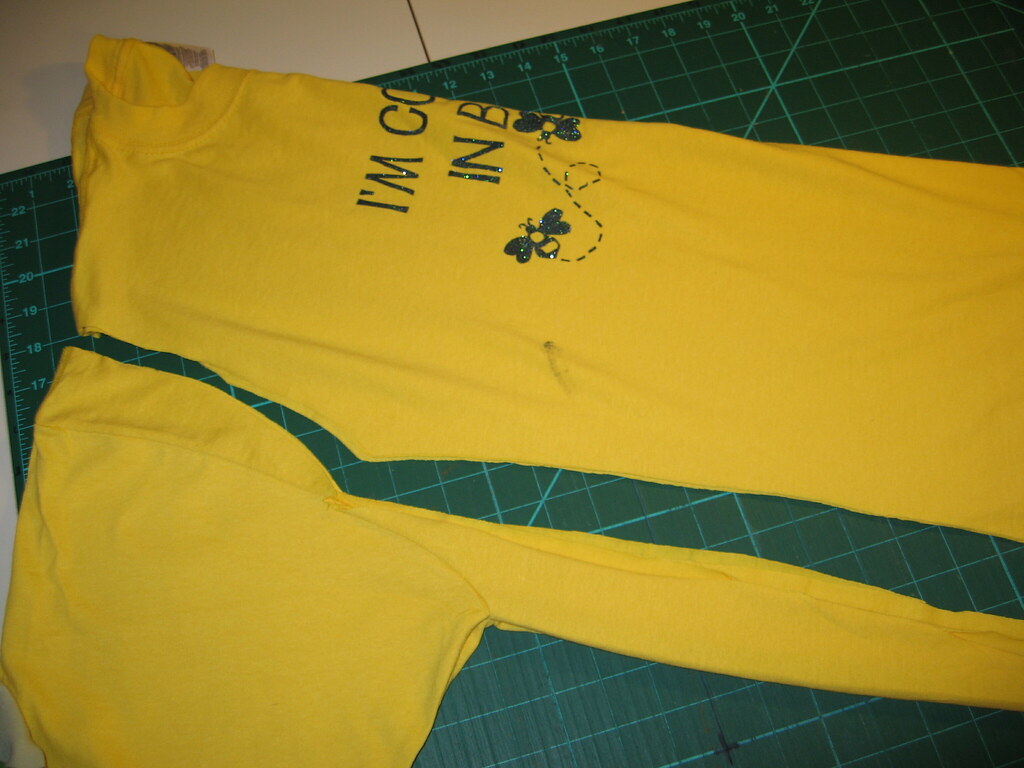
Resizing using a favorite shirt – cut about 1/2″ away from the original shirt so you have seam allowance. You’ll have to do a little guestimating on the sleeves, but if you take it slow and careful, it’ll work out fine.
Use my favorite recon technique and eyeball for the sleeve size, adjusting the sleeve under the body of the t-shirt until it’s the length and shape you want. Pencil a line on the existing sleeve using the cut on the t-shirt, and then added about 1/2″ for seam allowance.
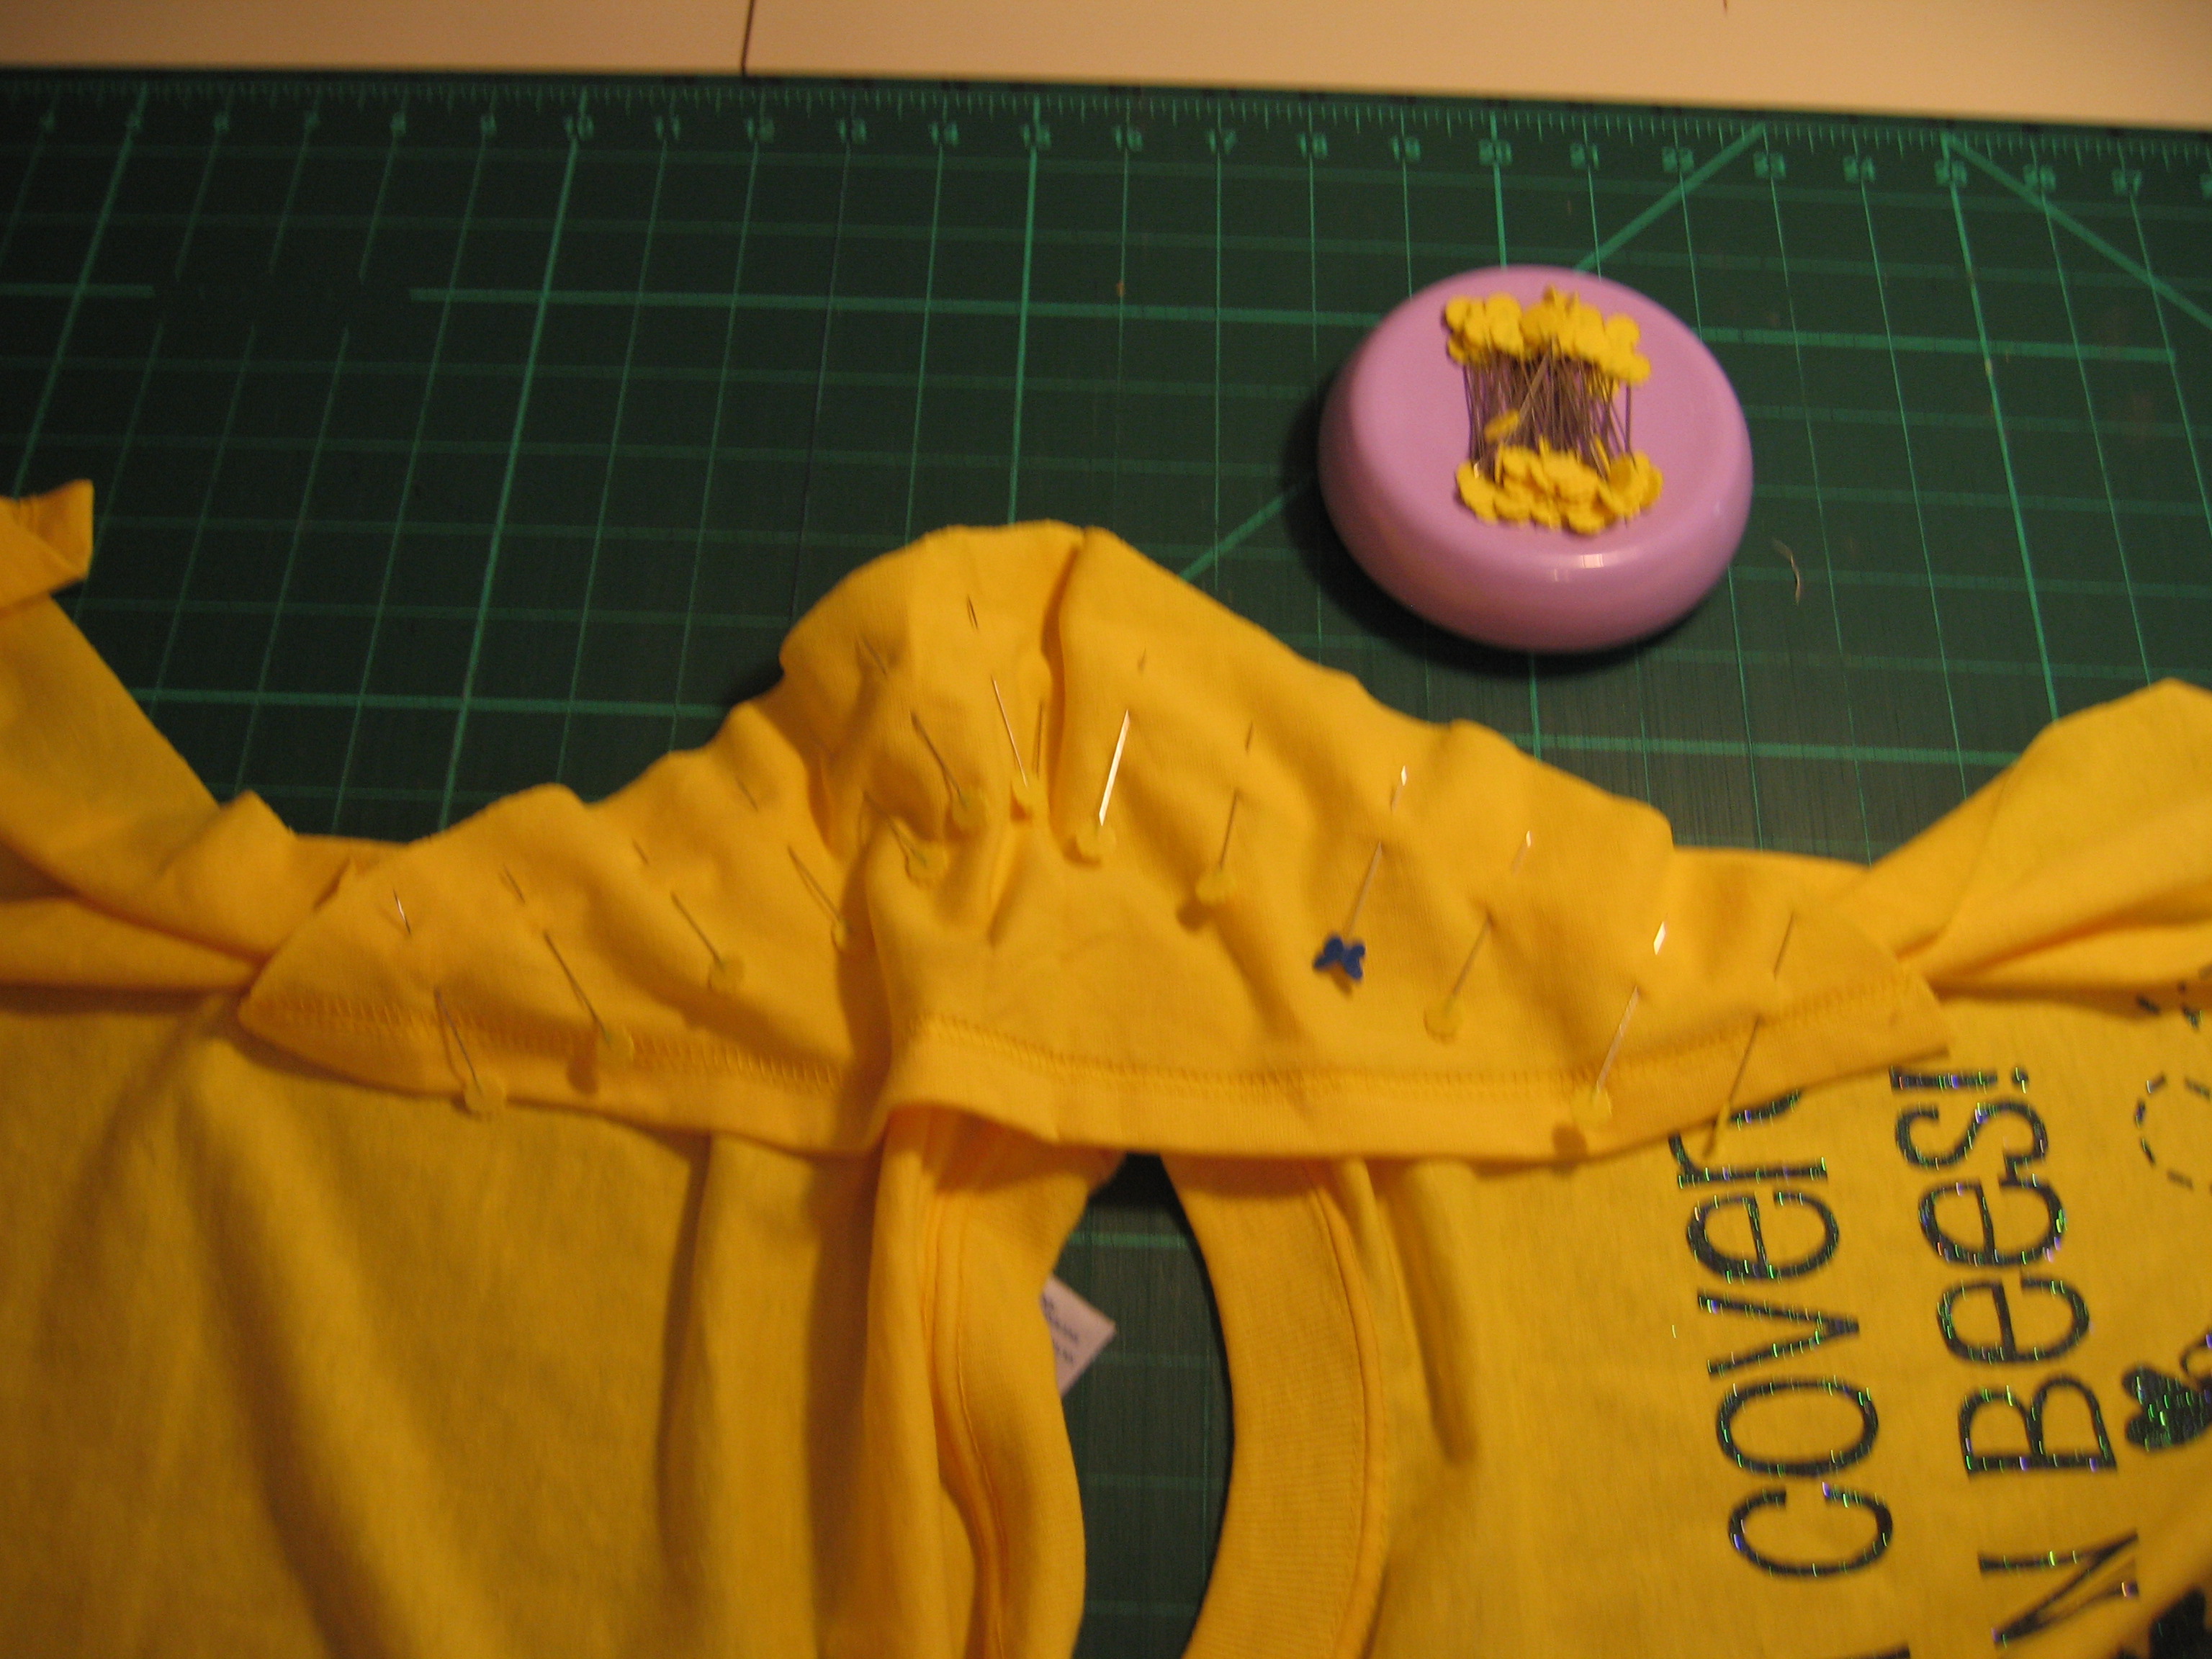
Find the center on the sleeves, pin to the seam allowance on the shirt. Pin along the sleeve, being careful not to pull or tug the fabric. Stitch using a stretch stitch and 1/2″ seam allowance.
(Note from 2025 Jennifer – while updating this tutorial I realized this photo was missing. It appears to be long gone from my files and I do apologize for the inconvenience.)
After stitching the sleeves, fold shirt in half, right sides together, matching the bottom hem. Stitch a 1/2″ seam under the sleeve and all the way down the side. Trim seam allowance, if you wish.
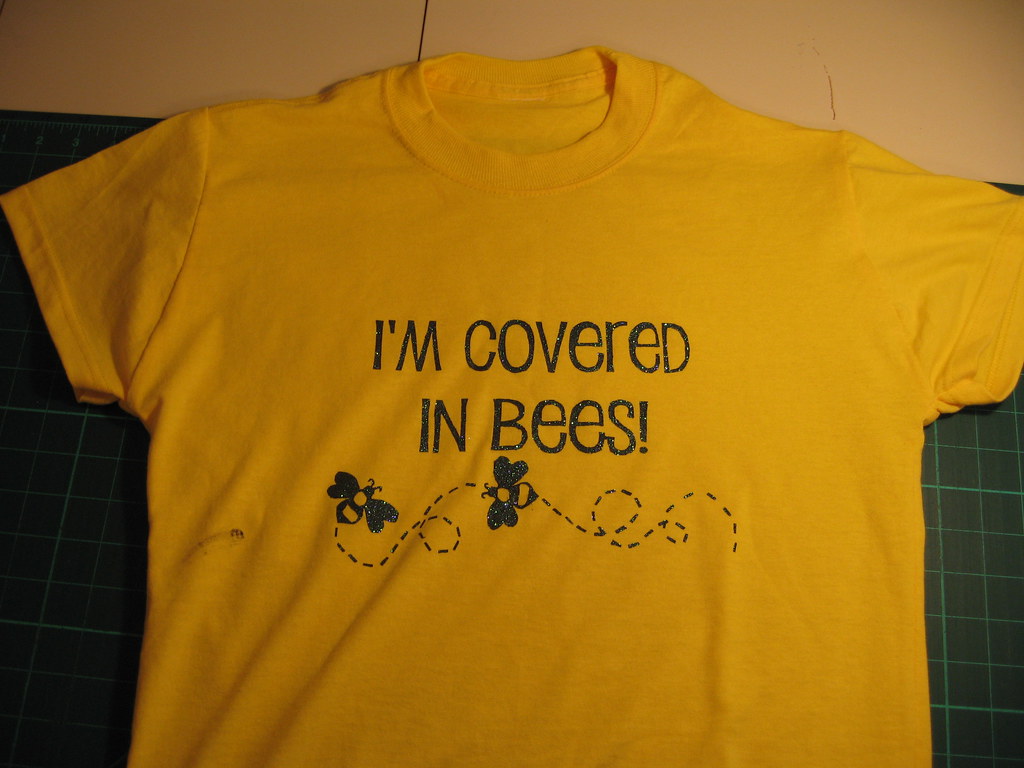
Because you leave the original hems for the sleeves and the shirt in place, the reconstruction is now complete!
Add your Sewhooked-related photos to my flickr group and you might be featured in a future post!
My son got this great orange t-shirt at the science fair he participated in last year. Unfortunately, it was way too small and *gasp* not black, which is his favorite t-shirt color. We talked it through and he agreed that if it was part of a black shirt, he’d definitely wear it.
I used one of my favorite “save a t-shirt” recon techniques, a reverse applique window. It’s easy peasy and takes only about 15 minutes to complete. The sewing machine and rotary cutter are totally optional here. This recon could easily be done with just plain old scissors and a needle and thread.
You’ll Need:
2 t-shirts
straight pins
chalk
ruler
rotary cutter (optional)
scissors
sewing machine with ball point needle OR needle & thread
Slit the shirt that will be in the “window” up each side and open out.
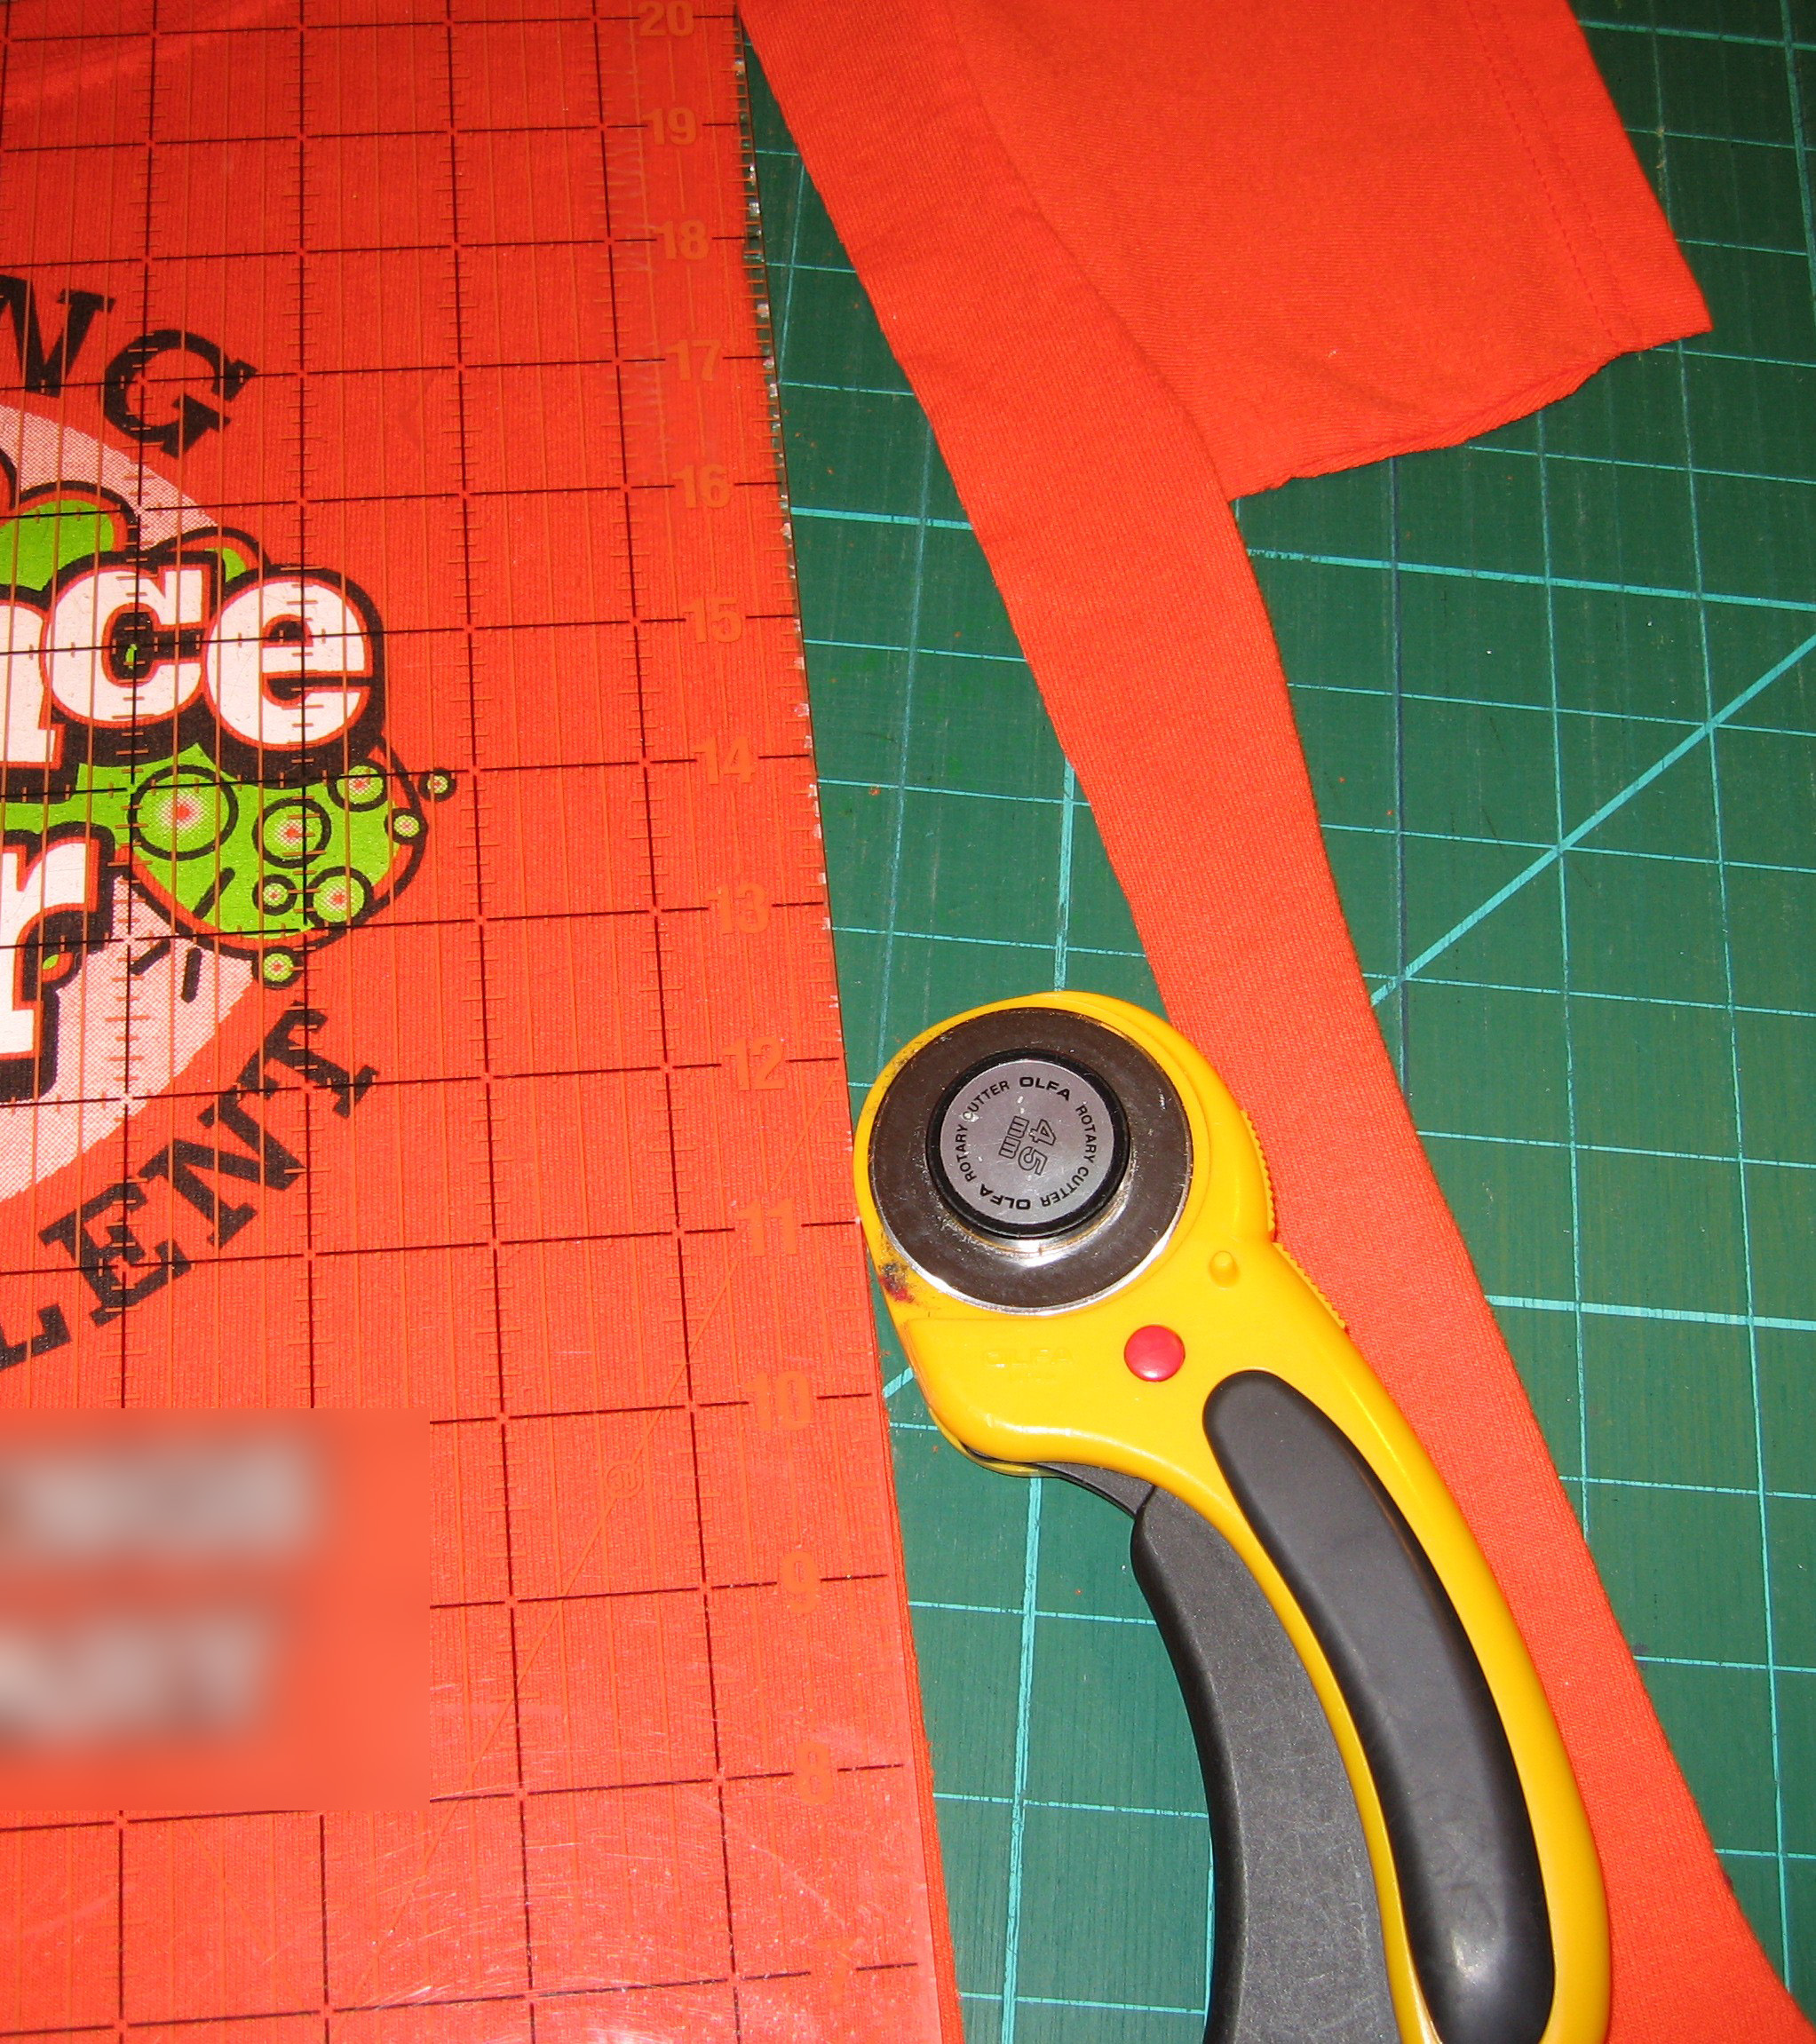
Using a rotary cutter and ruler OR a ruler and chalk with scissors, cut a square out of the front of the window at least 1″ larger than the image on the shirt.
Turn the intact shirt inside out. Center the square with the image on it right side down on the inside front of the intact shirt. Pin clockwise – this makes it easier to remove the pins as you stitch.
Stitch around, removing the pins as you go so as not to stitch over them. If using a sewing machine, choose a stretch stitch.
Turn the shirt right side out. You can faintly see the stitching line here.
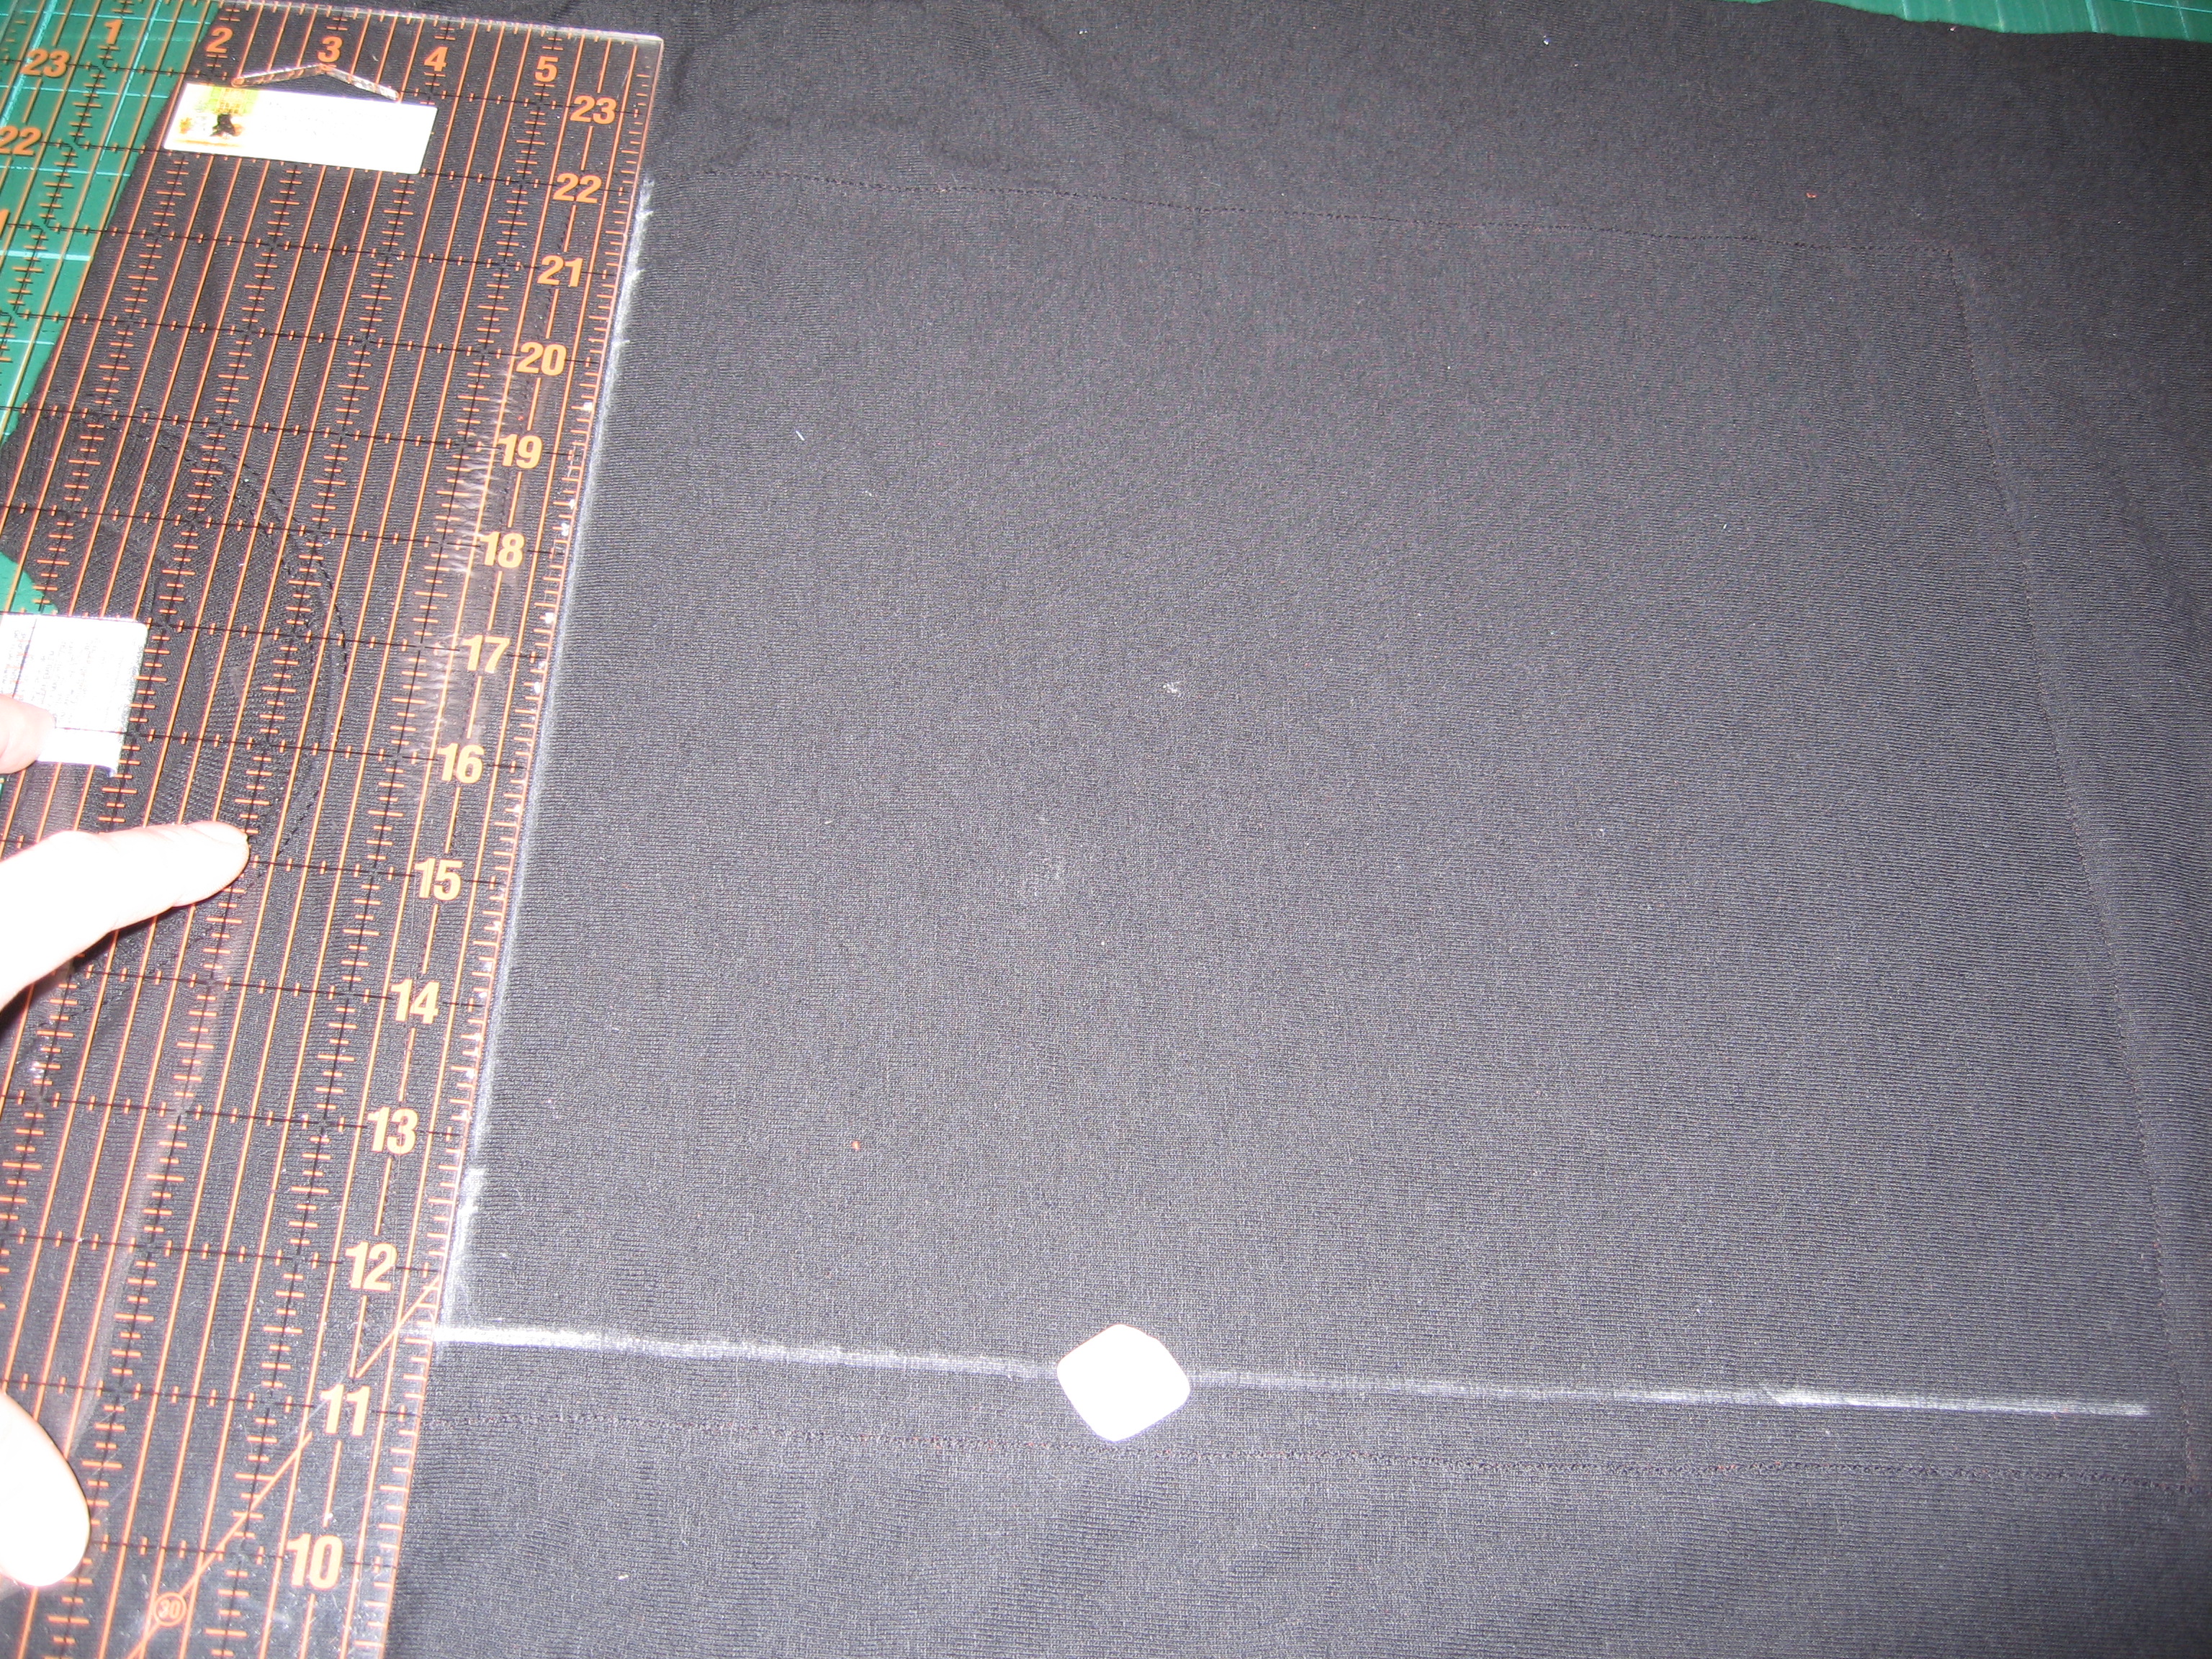
Draw a chalk line 1/4 – 1/2″ inside of the stitching line. This will be your cutting line.
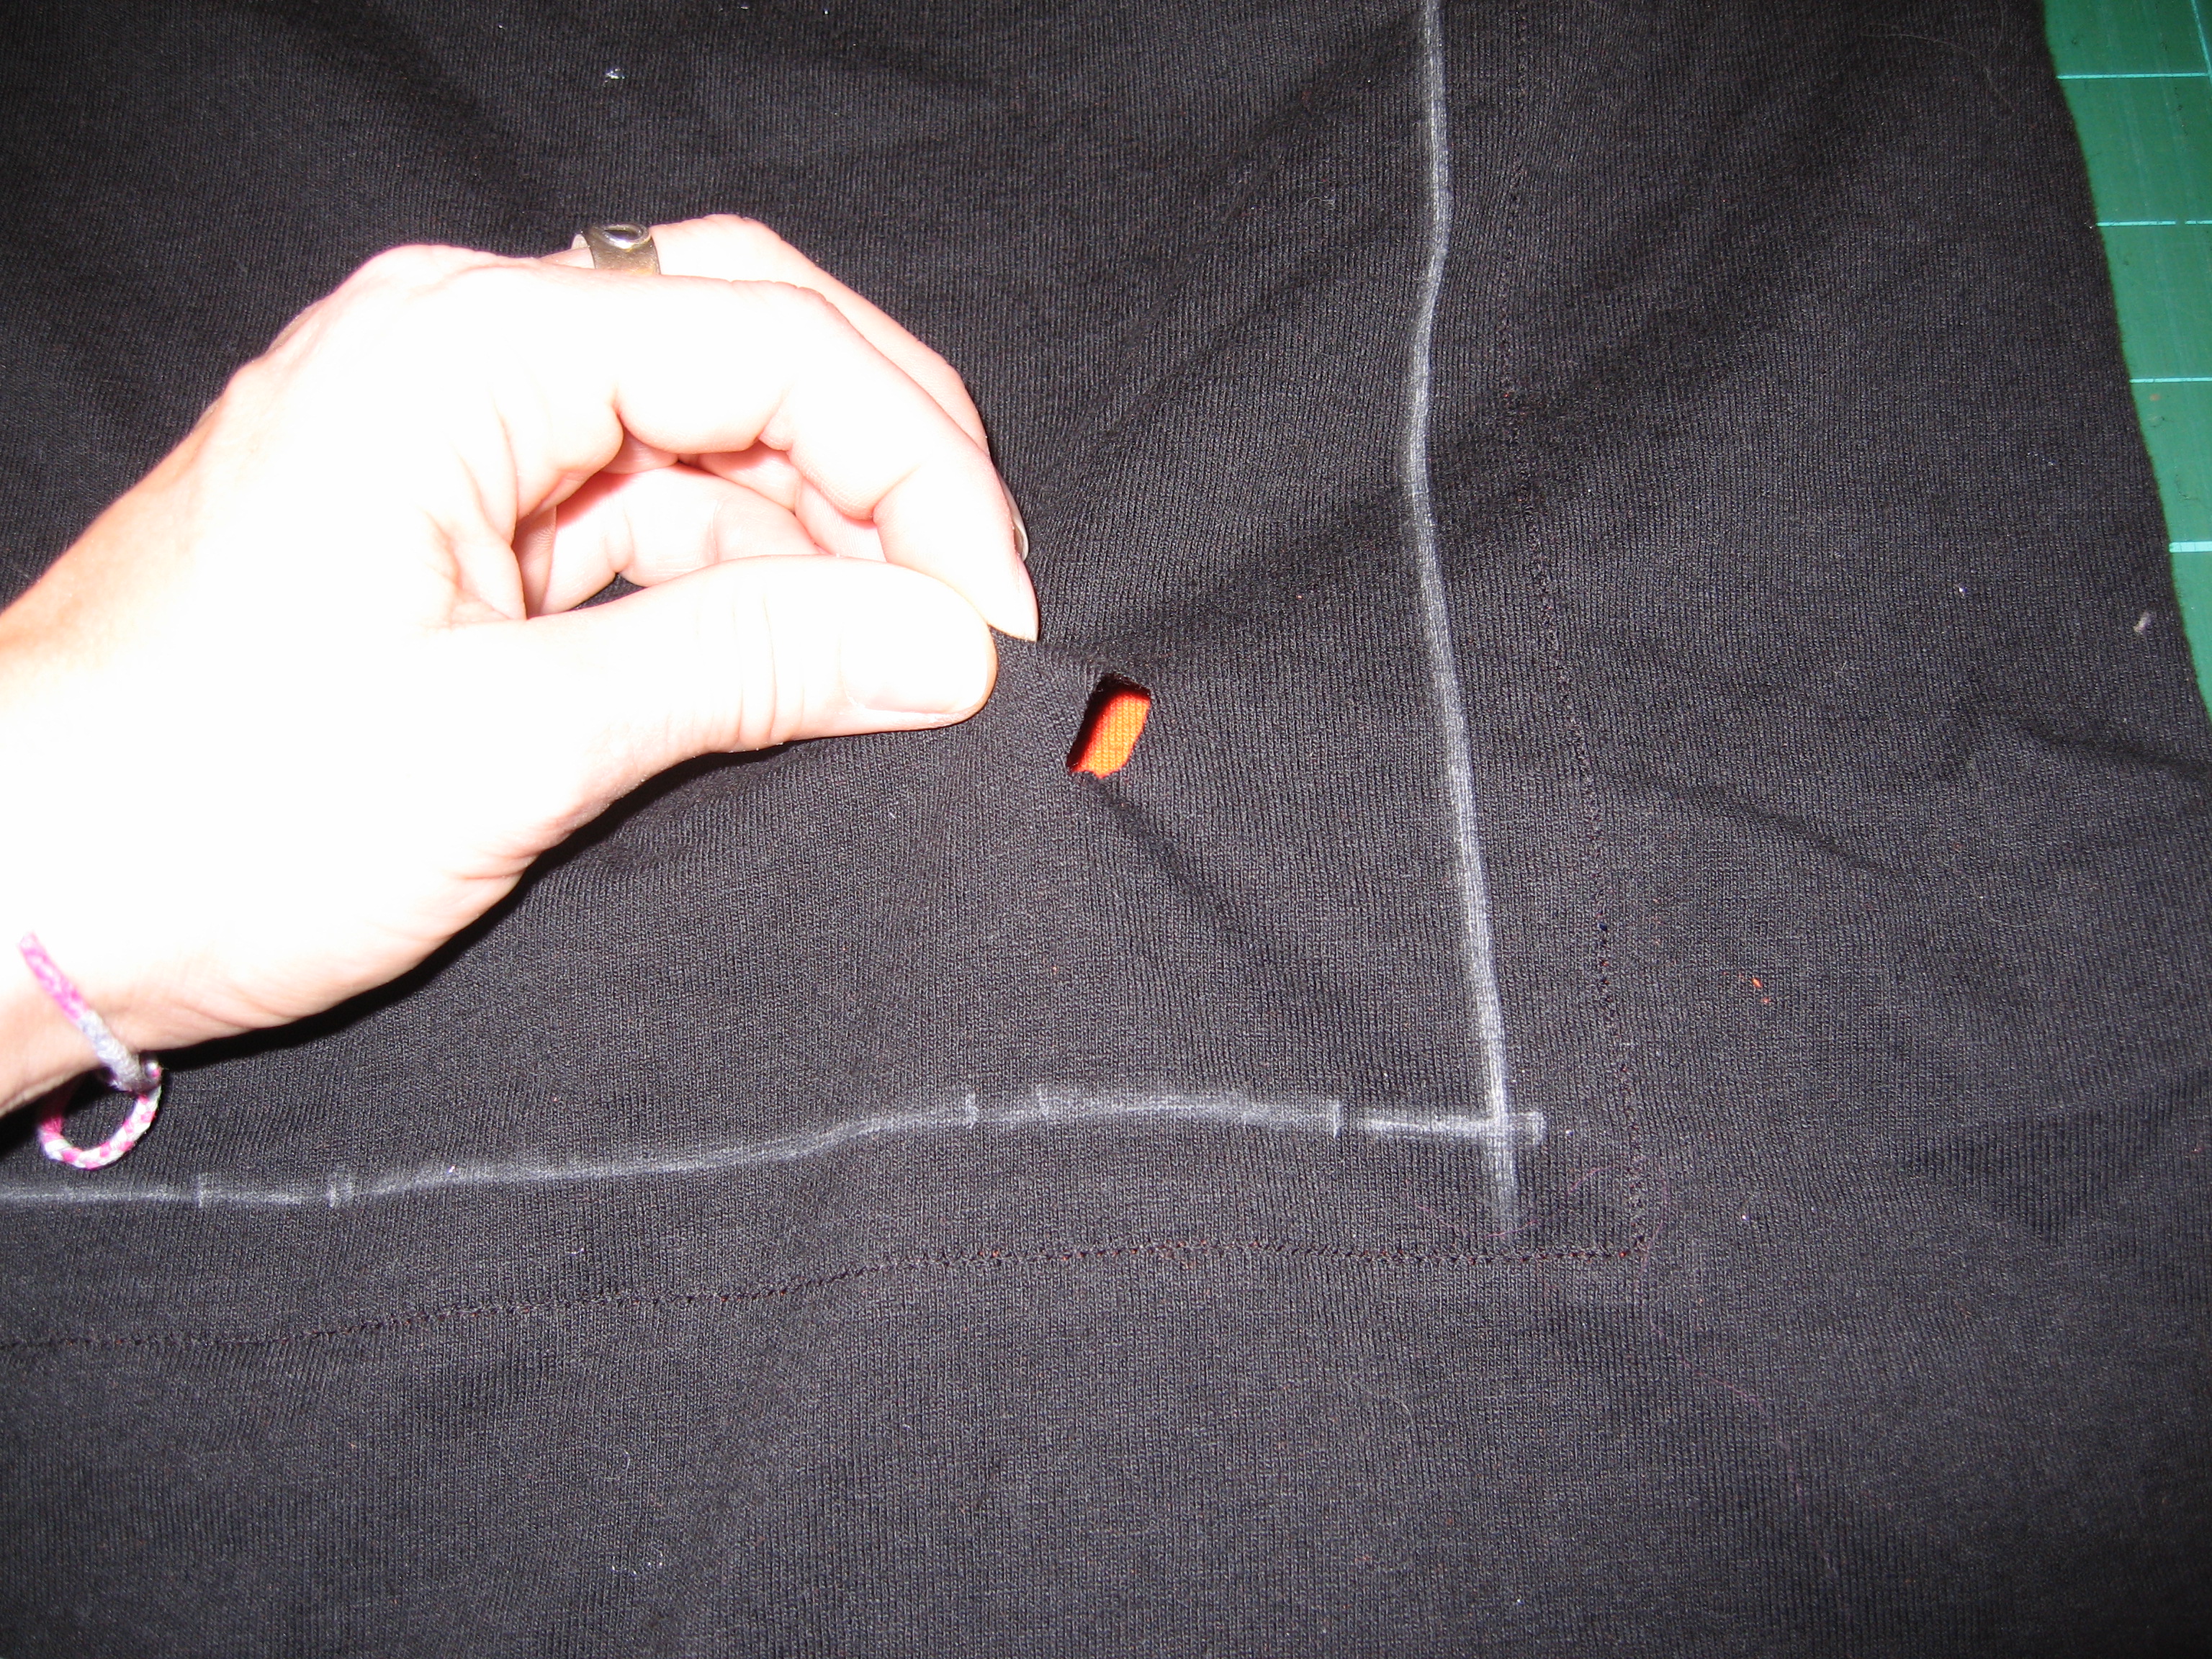
Near one of the corners, pinch the fabric of the intact shirt away from the applique piece on the inside. Make sure you just have one layer of shirt. Cut a small hole with the scissors. Trim carefully towards the chalk line.
Cut around the chalk line and remove the center piece.