(Jodie, if you have not received my message, please email sewhooked@gmail.com. Thanks!)
All Flickr winners are chosen via random.org.
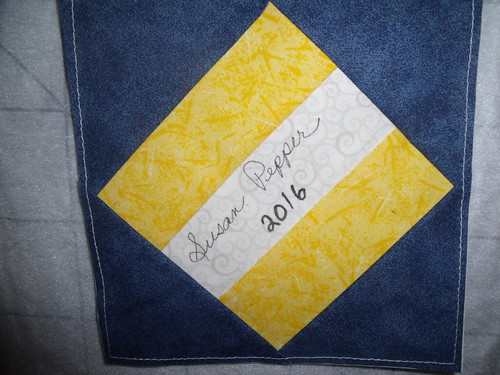
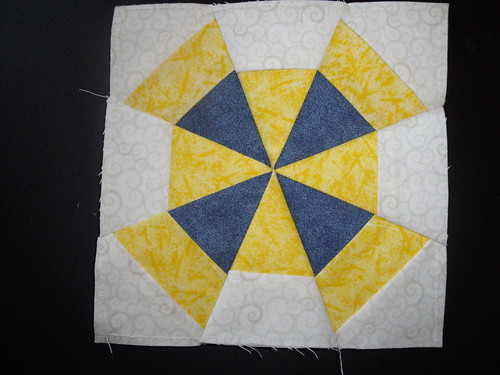
by Susan Pepper
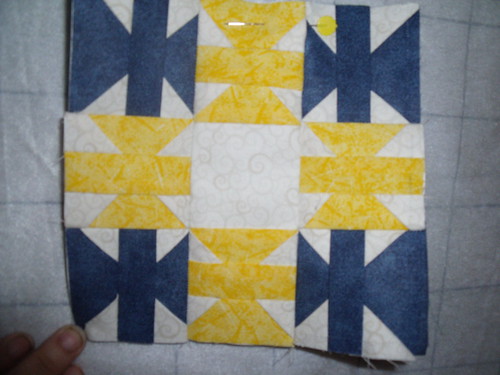
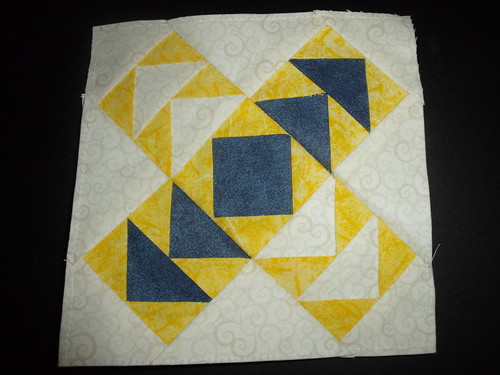
by Marli Neves
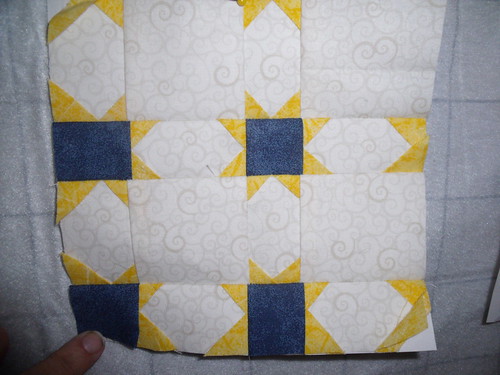
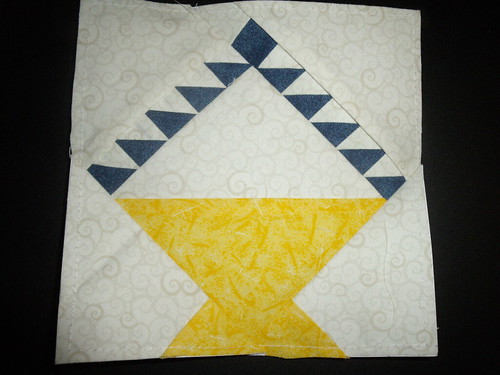
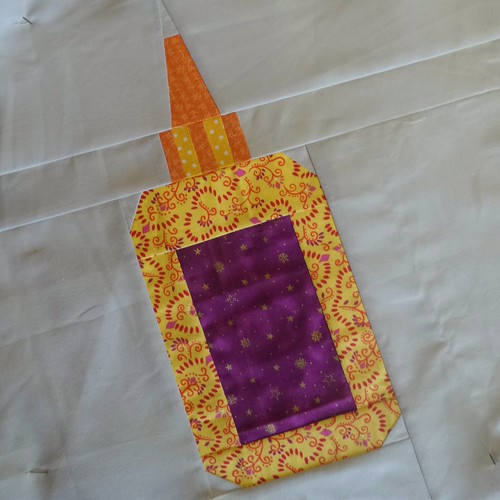
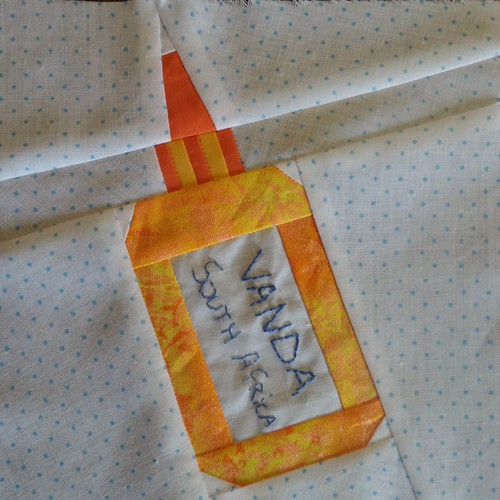
by Vanda Chittenden
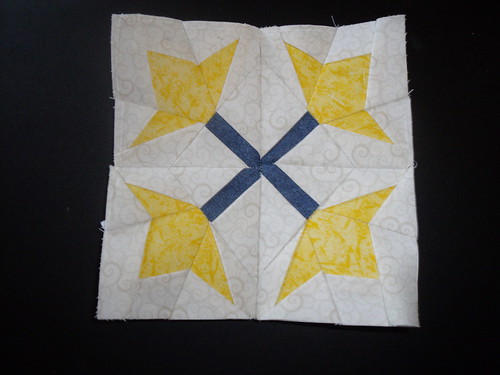
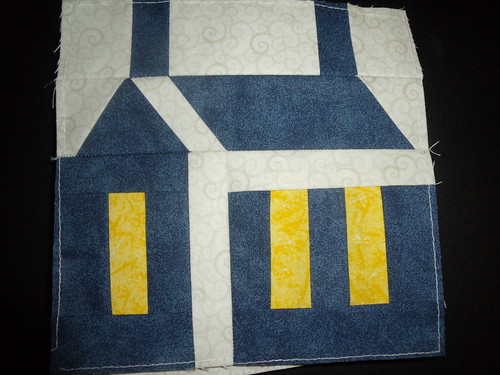
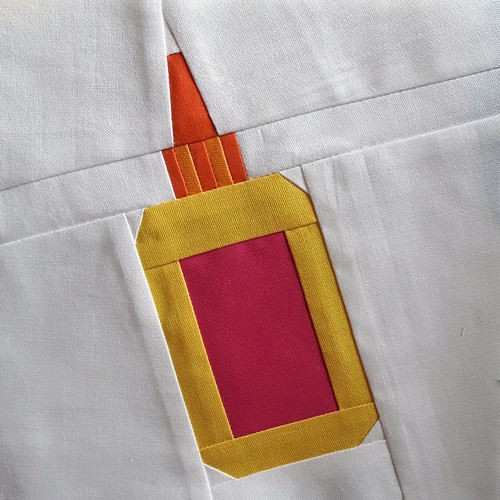
by Jodie Tawn
Did I miss your photo? Check your share settings on flickr. Flick blocks sharing on photos marked private or with sharing turned off. Update your settings then message me and I’ll add your photo to next month’s drawing.
Just over a week ago, I got to do something that I look forward to all year around – see my best friend, Jewells. We live hundreds of miles apart and with our kids still in school, we’re lucky to get one visit a year.
I’ve talked about Jewells here before, when I shared the quilt I made for her 2008 birthday.
Jewells always shares amazingly thoughtful handmade gifts. She’s knitted socks for me, made “snowballs” for my kids (who rarely see snow here in Texas) and just generally shared her talent, creativity and thoughtfulness with my family.
Due to a variety of circumstances beyond her control, my birthday gift for this year was belated. Parts on back-order and such created one delay after another for her. Due to the delays, she was able to do something that I can’t remember happening in many years – hand deliver my birthday gift!
I’m so excited to share this truly wonderful gift here. This gorgeous perpetual calendar was an idea from a craft store flier than ended up morphing into a whole new design that Jewells made especially for me.
She pieced, stitched, stamped, glued, stenciled, covered buttons, crocheted and oh my gosh, I don’t know what else! Look and be amazed. I am truly a lucky girl to have had such an amazing friend for almost half of my life.
The whole Kit And Kaboodle! Why coffee? Because it’s been one of our favorite past times since our time as college roommates and we still enjoy sitting over a cup o’ Joe and chatting the day away.
The months are stamped on felt which sticks right to the velcro. Each month is customized with coordinating ribbon!
The months have their own nifty little pouch for storage.
Each date was stamped on fabric, which was then used to make custom velcro-back buttons.
The set includes the calendar and two pouches (one for the months, one for the days). Even the back is coffee themed!
I repurposed a cafe rod and hooks for hanging this beauty in my foyer. The cafe rod and hooks were cream and brass and have been primed and spray painted black.
Thank you, Jewells, I can’t even express how much I love the time and thought that went into this gift. Even better was getting to open it in front of you!
Now that I have stopped the vlogs cutting off early, my mic seems to be going out. I didn’t realize it until I’d rambled for 8+ minutes. Crap.
I also just realized for the first time that it’s been almost 13 years since my grandfather passed away. I said 11 in the video and immediately knew it wasn’t right. Dang, it doesn’t feel like that long ago.
A HUGE Happy Birthday to my Dad… not that he reads my blog…. 😛
My dad, Pappaw to the kids, taking them fishing over Spring Break.
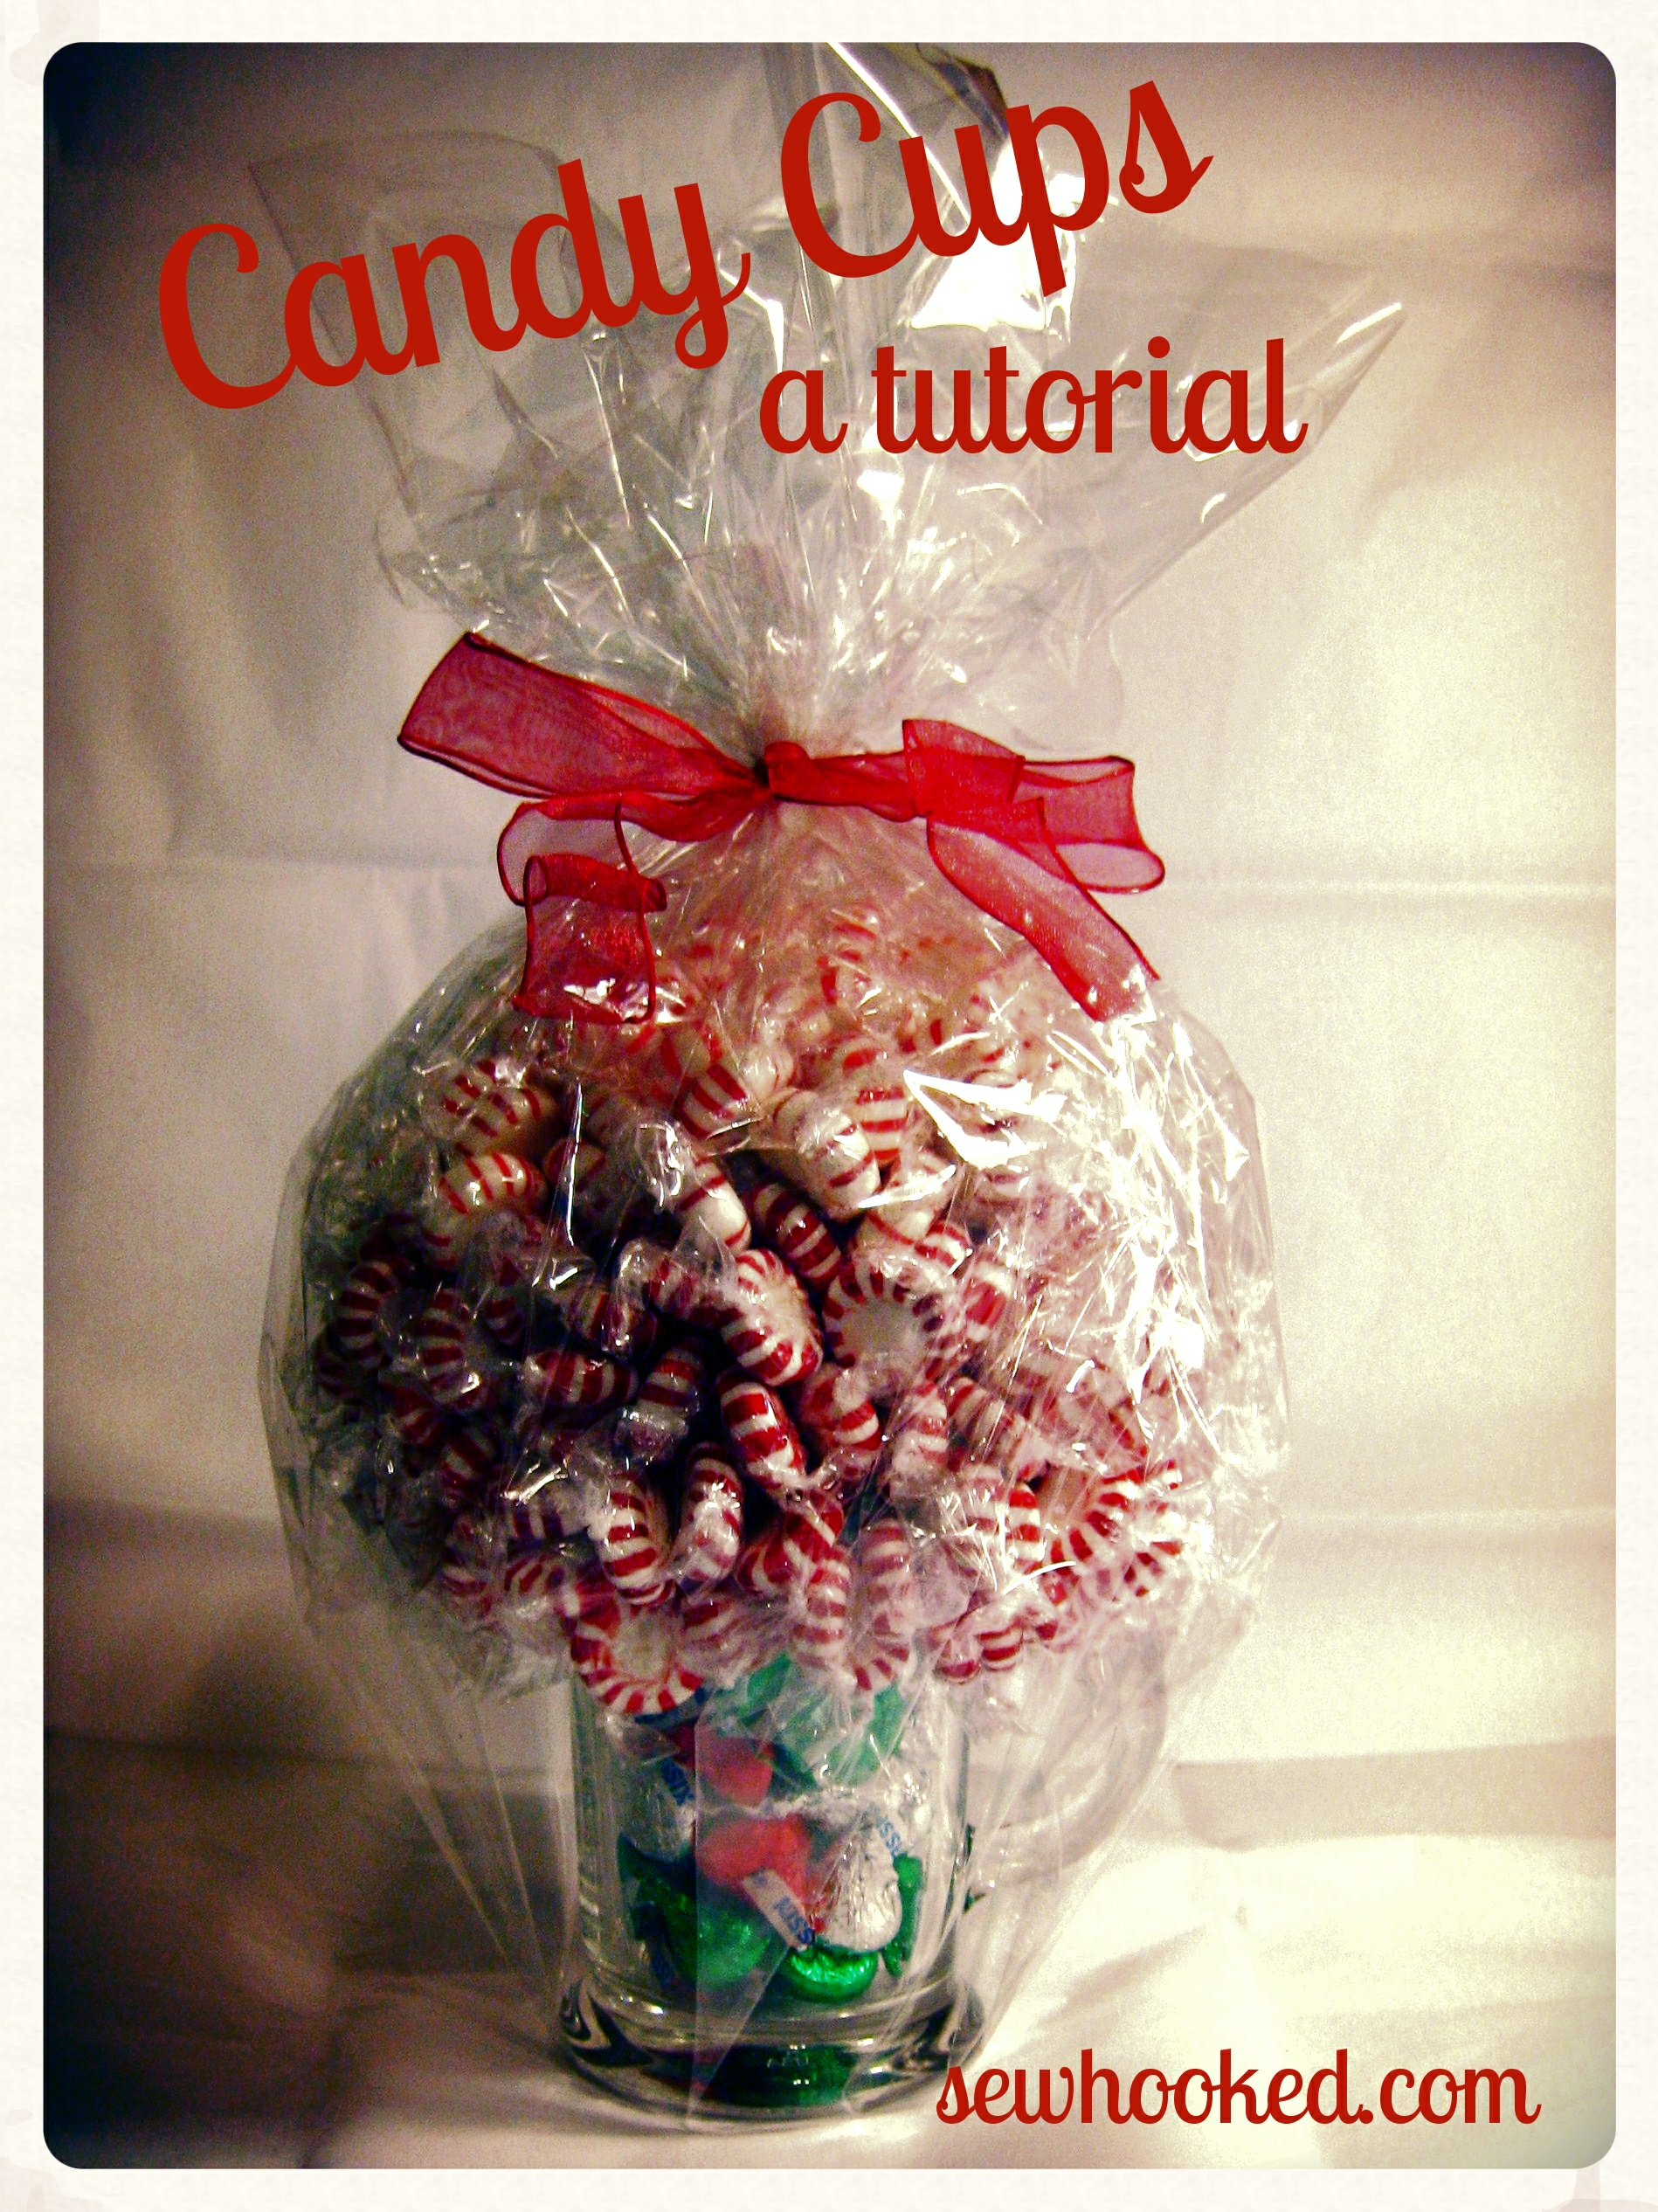
Shared by my aunt, Amy, several years ago, Candy Cups have become a gift-giving standard for me. I’ve made them for Christmas and birthdays and with all sorts of candy.
They’re easy, inexpensive, and make gorgeous gifts for the hard-to-shop for. Think teachers, friend,s and anyone who likes candy. Sugar-free candy works, too!
Once all your supplies are gathered, it’ll take you about an hour to make one candy cup.
You’ll need:
Glass or Mug (I prefer clear, but any kind will work, the heavier the better!)
Candy with loose or twisted wrappers (example used approximately 40 oz. of peppermints)
Styrofoam ball (size depends on your glass or mug)
Filler for the cup – recycled paper or candy
Bamboo Skewer
Scissors
Hot Melt Glue
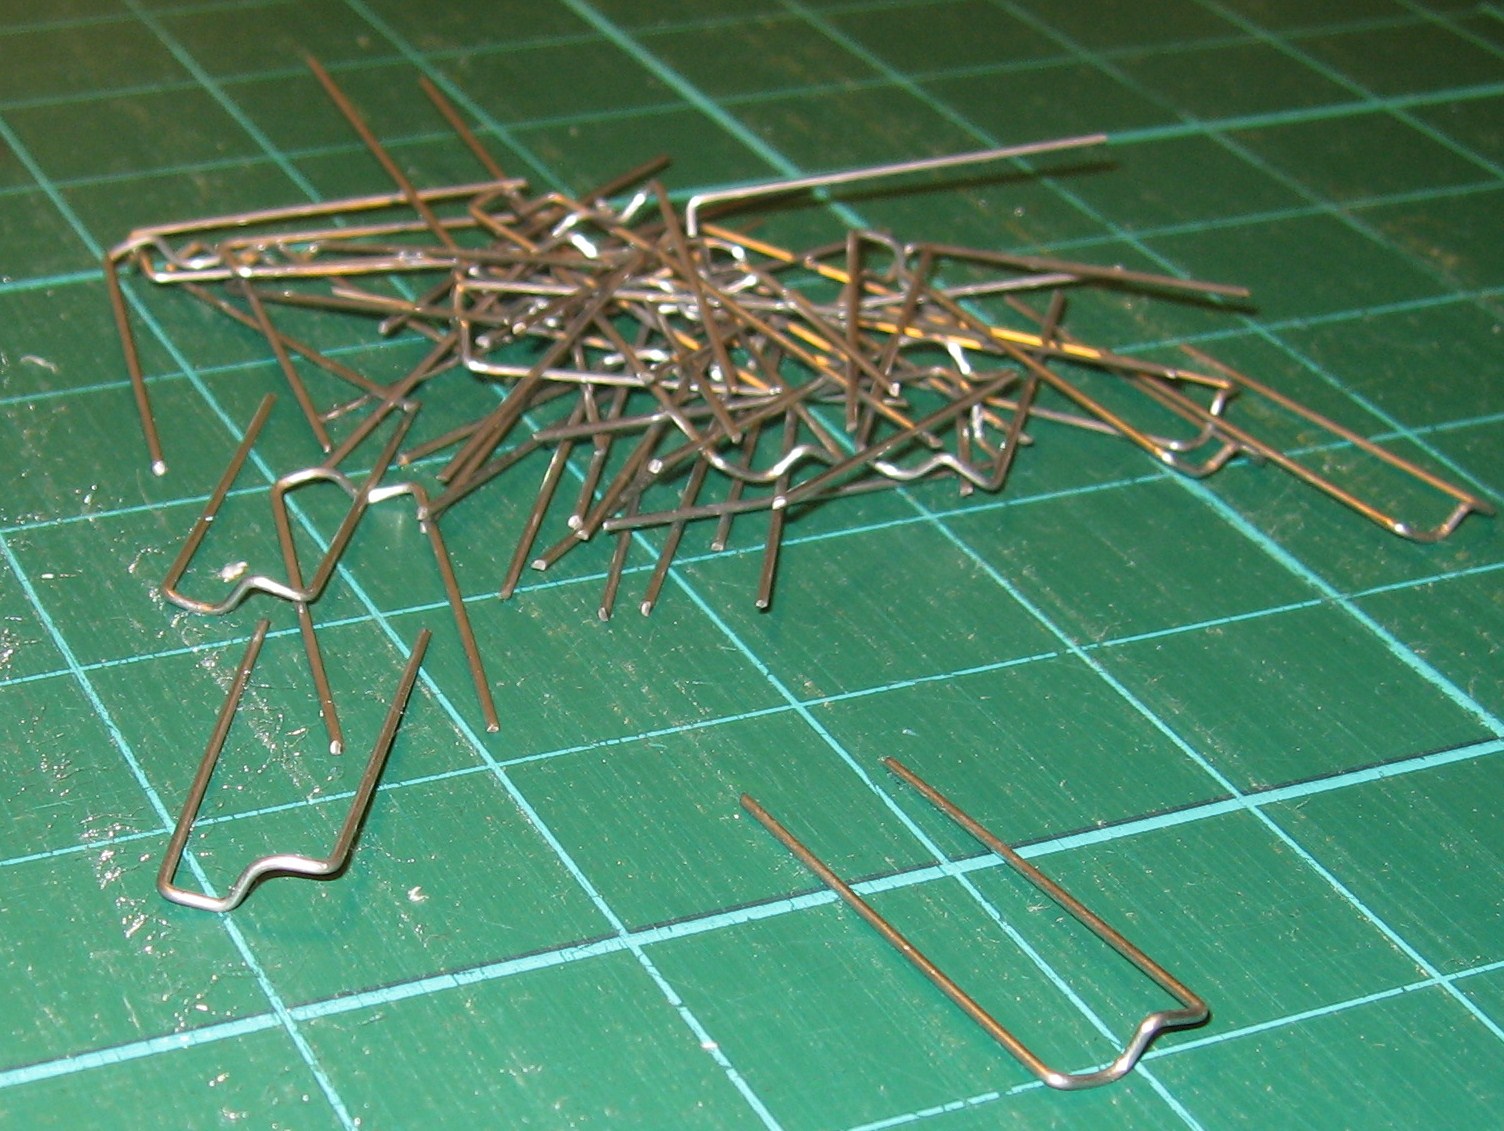
Greening Pins (also available at the hobby store with the floral accessories)
Ribbon
Cellophane
Push the bamboo skewer into the Styrofoam ball, all the way through the top. Put it in the glass to and push down until the ball is snug in the glass.
Snip off the excess skewer with your scissors. You can also use large fingernail clippers, a utility knife, or pruning shears.
With the skewer still in the glass, fill the bottom with candy. Ideas are like M&Ms, Hershey’s Kisses, or Peppermints (though you could really use any candy). Another option is shredded paper, but the candy on the ball will make the cup top-heavy, so having a heavier filler keeps it from tipping over and gives the gifted a sweet bonus.
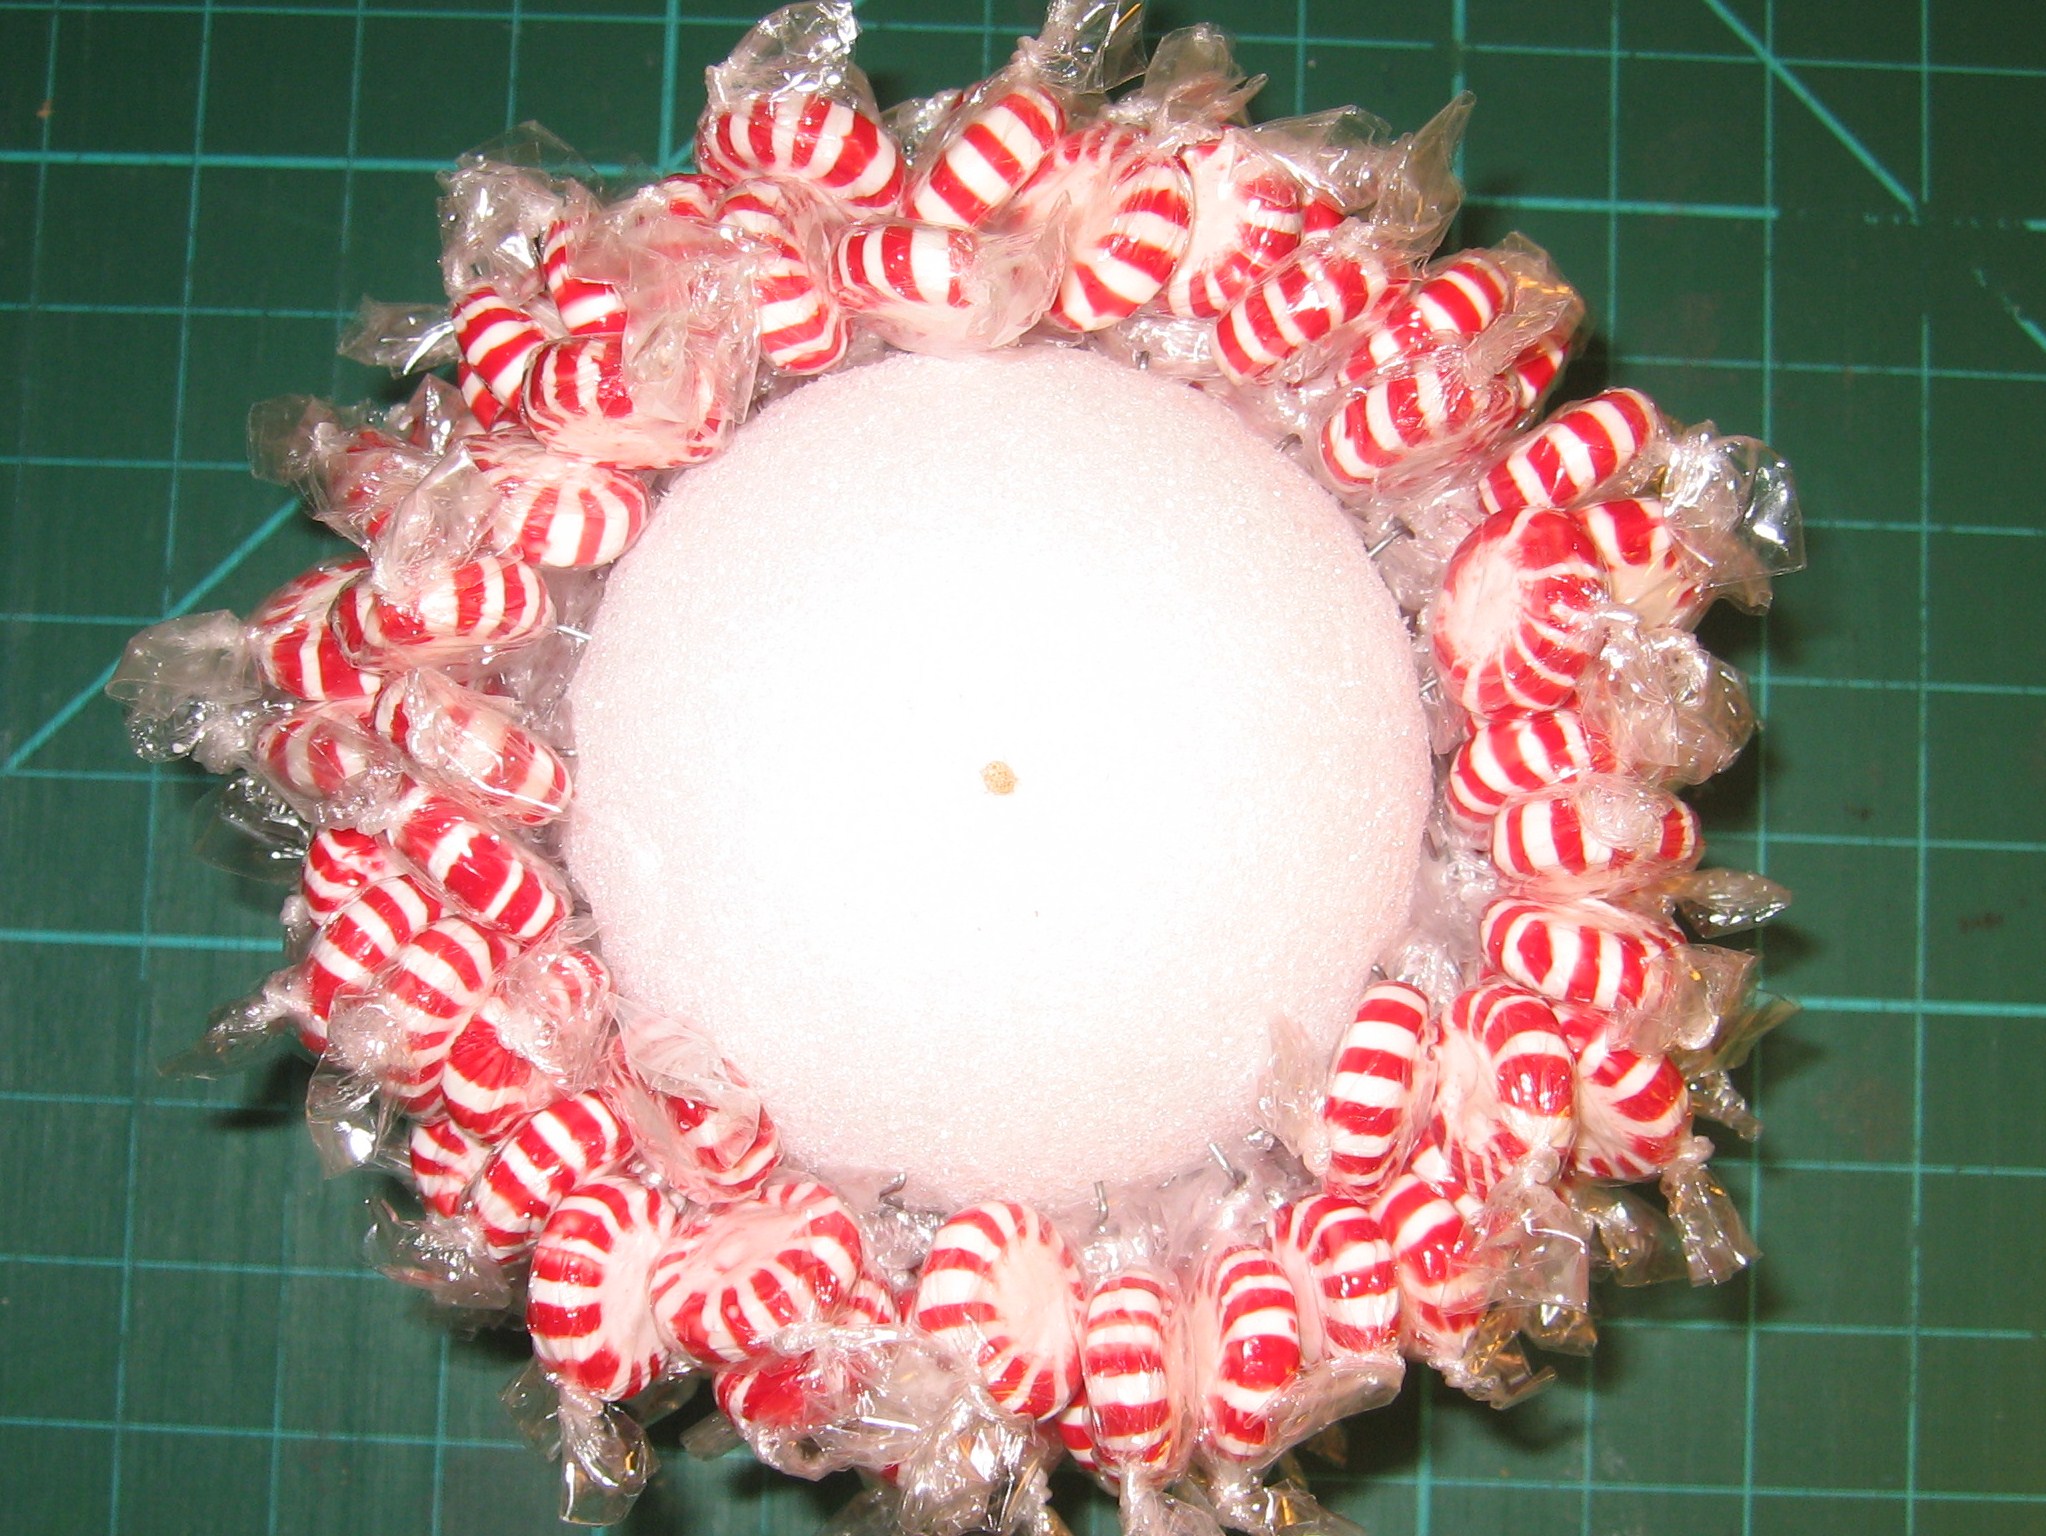
Place a small dot of hot melt glue on either side of the rim of the cup. Gently press the styrofoam ball onto glue, holding in place until it sets. You don’t need much, just a touch for stability.
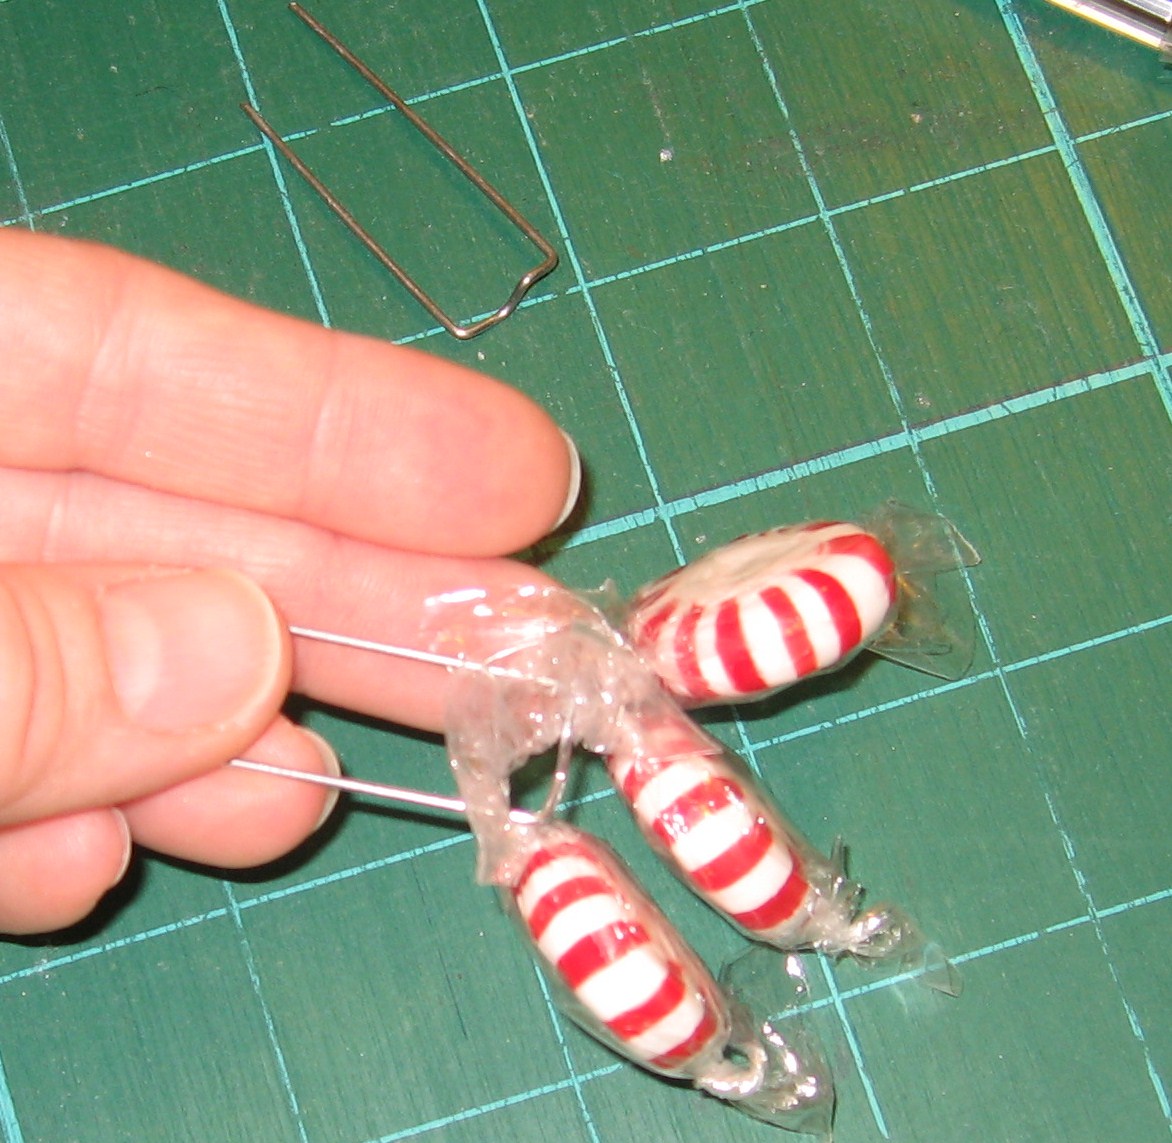
candies in twisted wrappers
greening pins
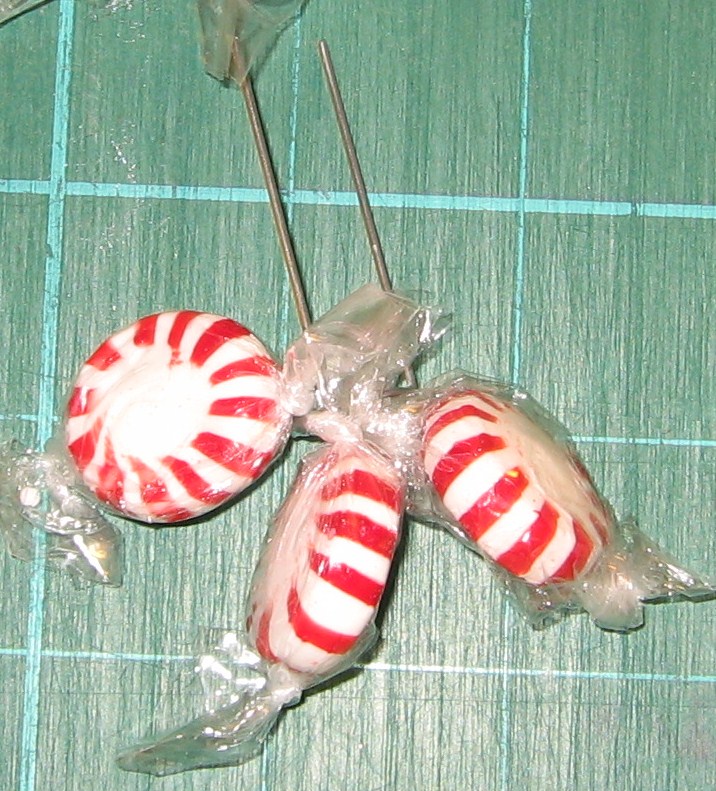
Use greening pins to add candy to ball by poking pins through the loose end near the twist of the candy wrapper. Depending on the candy, you can get two or three on each pin.
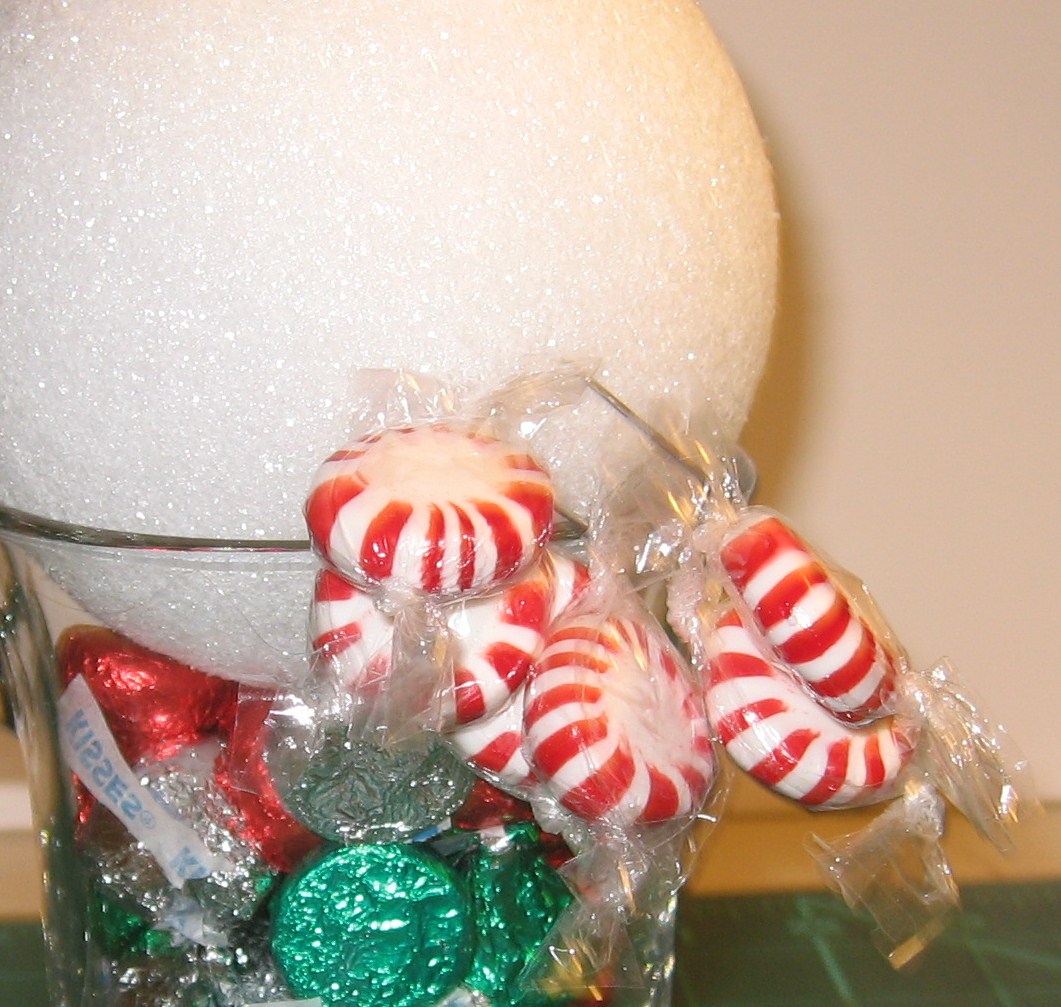
Start at the bottom and work your way up to the top, moving in a circular pattern.
First Round complete.
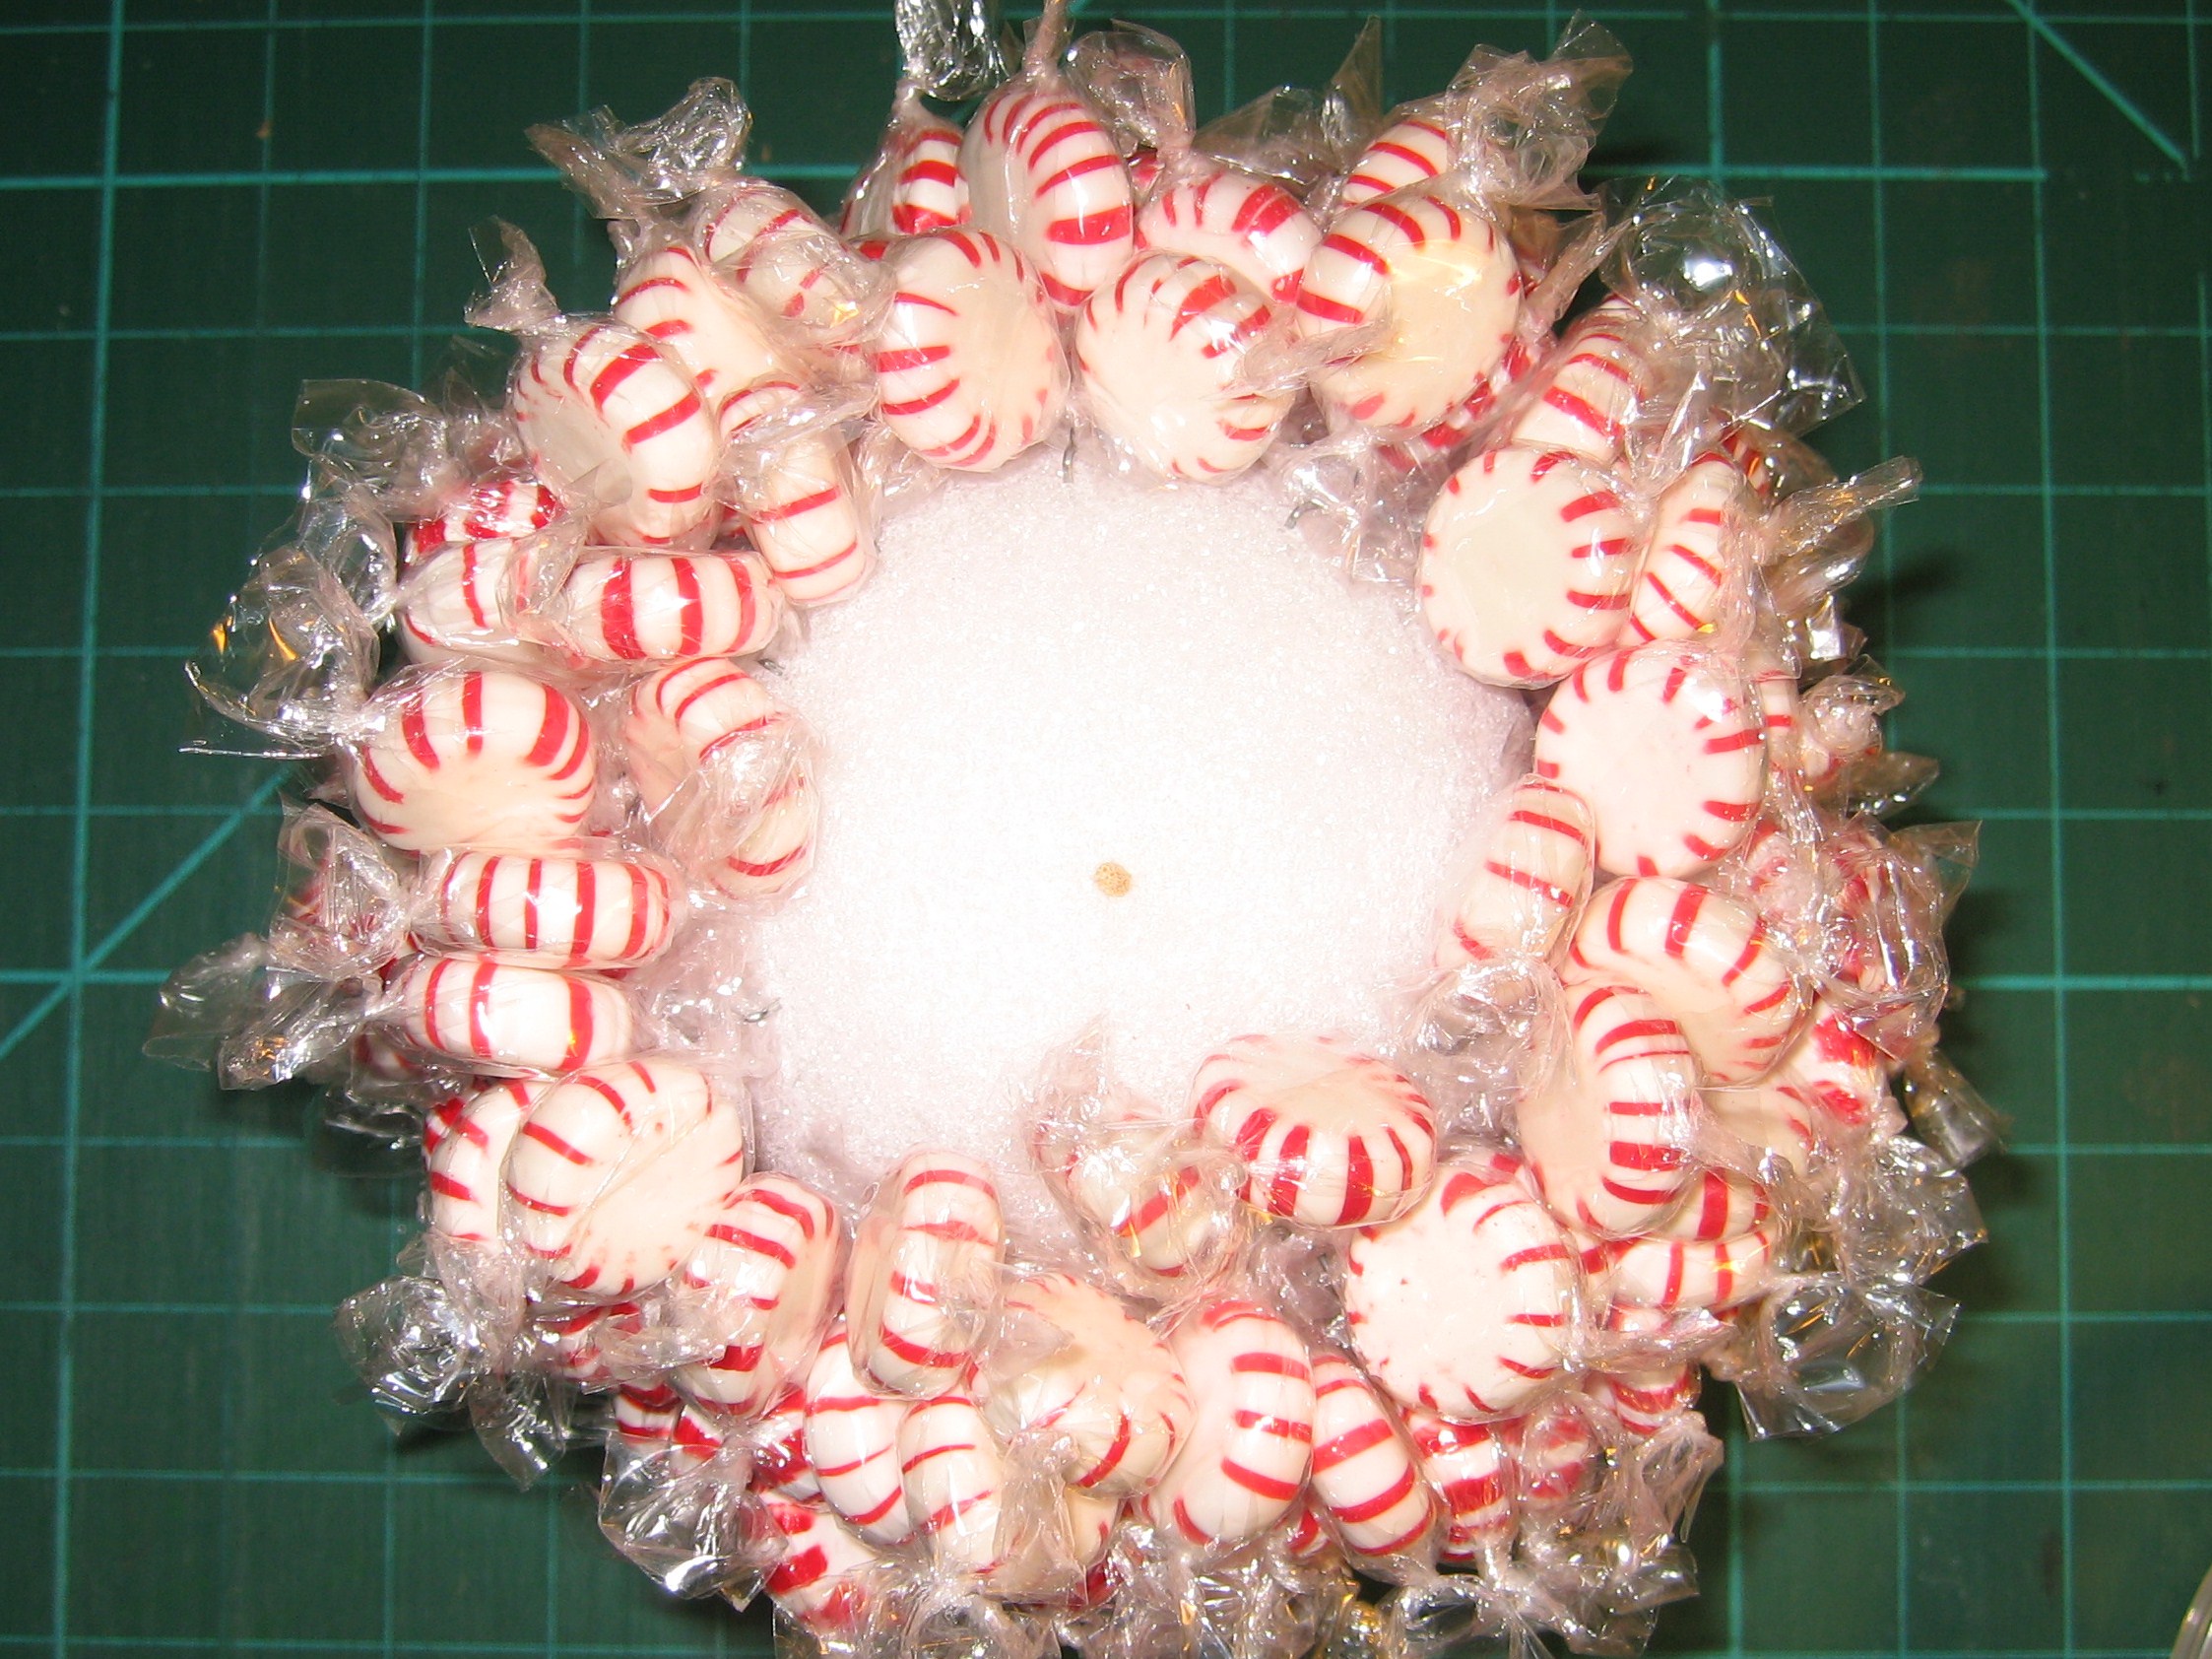
Second Round.
Third Round.
Fill in any holes with more candy & greening pins.
Final round complete, all the holes filled in.
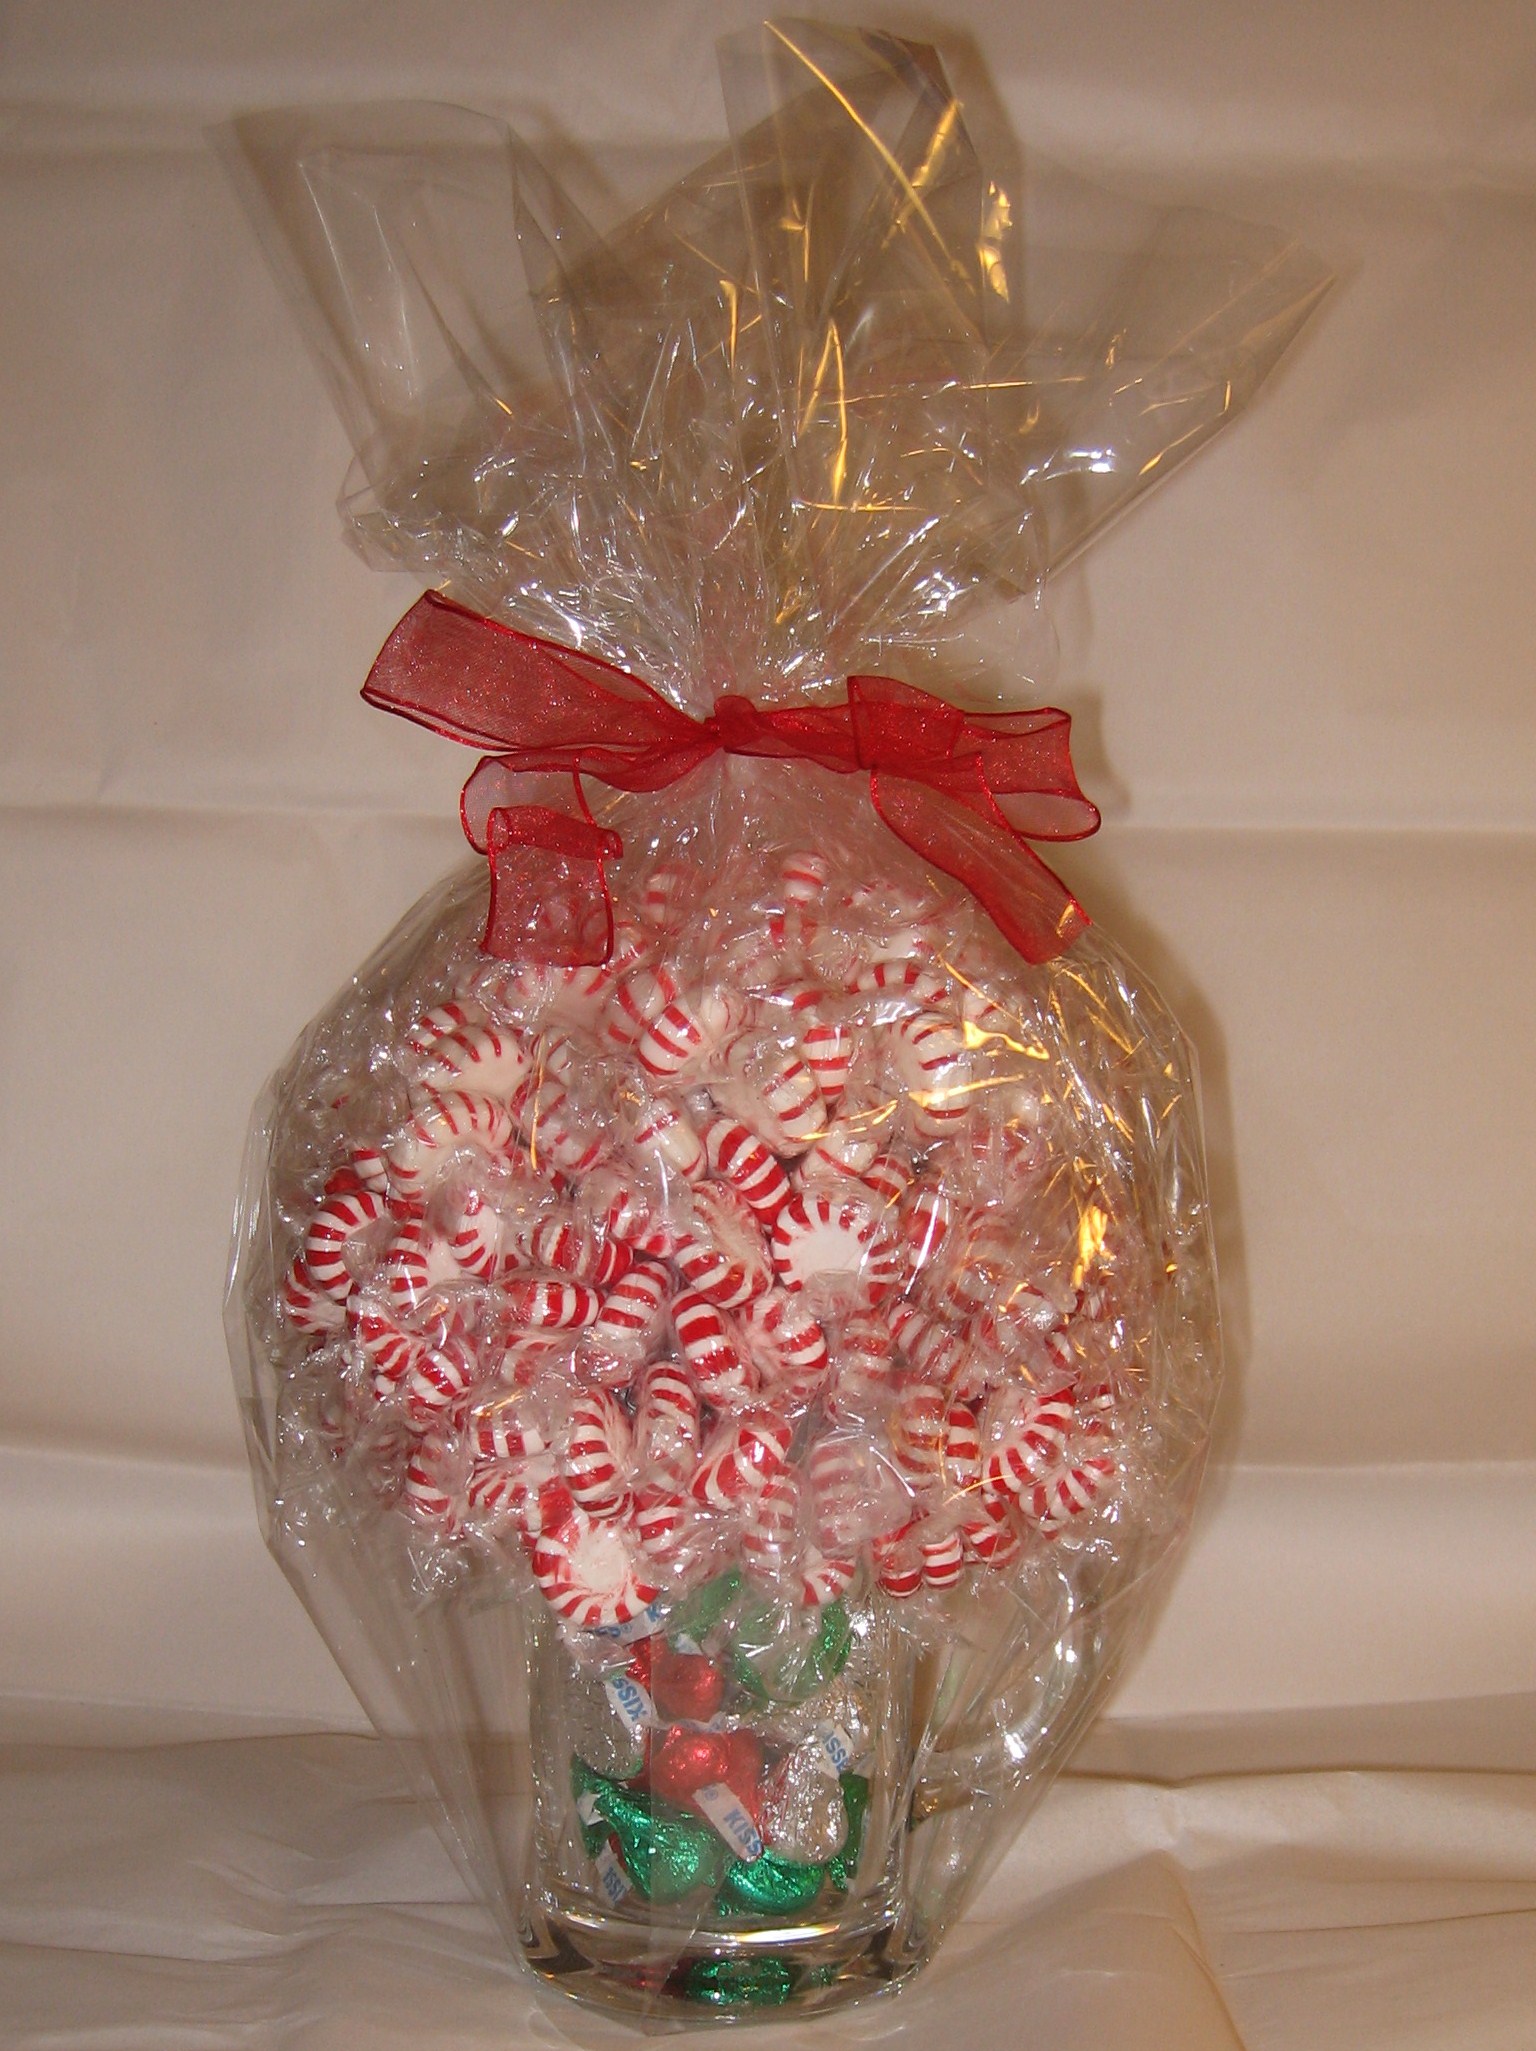
Wrap in cellophane and embellish with a bow or ribbon. The cellophane is optional, but it provides insurance that your candy will get from point “A” to point “B” intact.
Gift it!
Variation with M&Ms and Coca-Cola glasses
Variations by Amy Maxey – toffee coffee & bubble gum soda glass.