
The Recycled Sweater Bag isn’t quite old enough to be considered a Way Back Craft. I first started making this bag last year. It works great with a felted thrift store sweater, but you can also make this bag out of denim, upholstery fabric, or just about any other heavy duty material.
The bag size will vary based on the size of your sweater.
Do I need a reason to make a new bag? Not really, but recycling is a darn good incentive!
Use the written instructions below or watch the video. (Please note this video tutorial was posted in 2008, and the quality reflects that).

You will need:
- 1 old (or thrift store) 100% wool sweater – felted
- fabric for lining & pockets
- magnet purse snap
- 2 buttons
- sewing machine
- thread
- scissors
- chalk
- pins
- rotary cutter (optional)
- walking foot (optional)
I used a 1/2″ seam allowance throughout. If your sweater is bulkier, go a little wider or use what works for you.
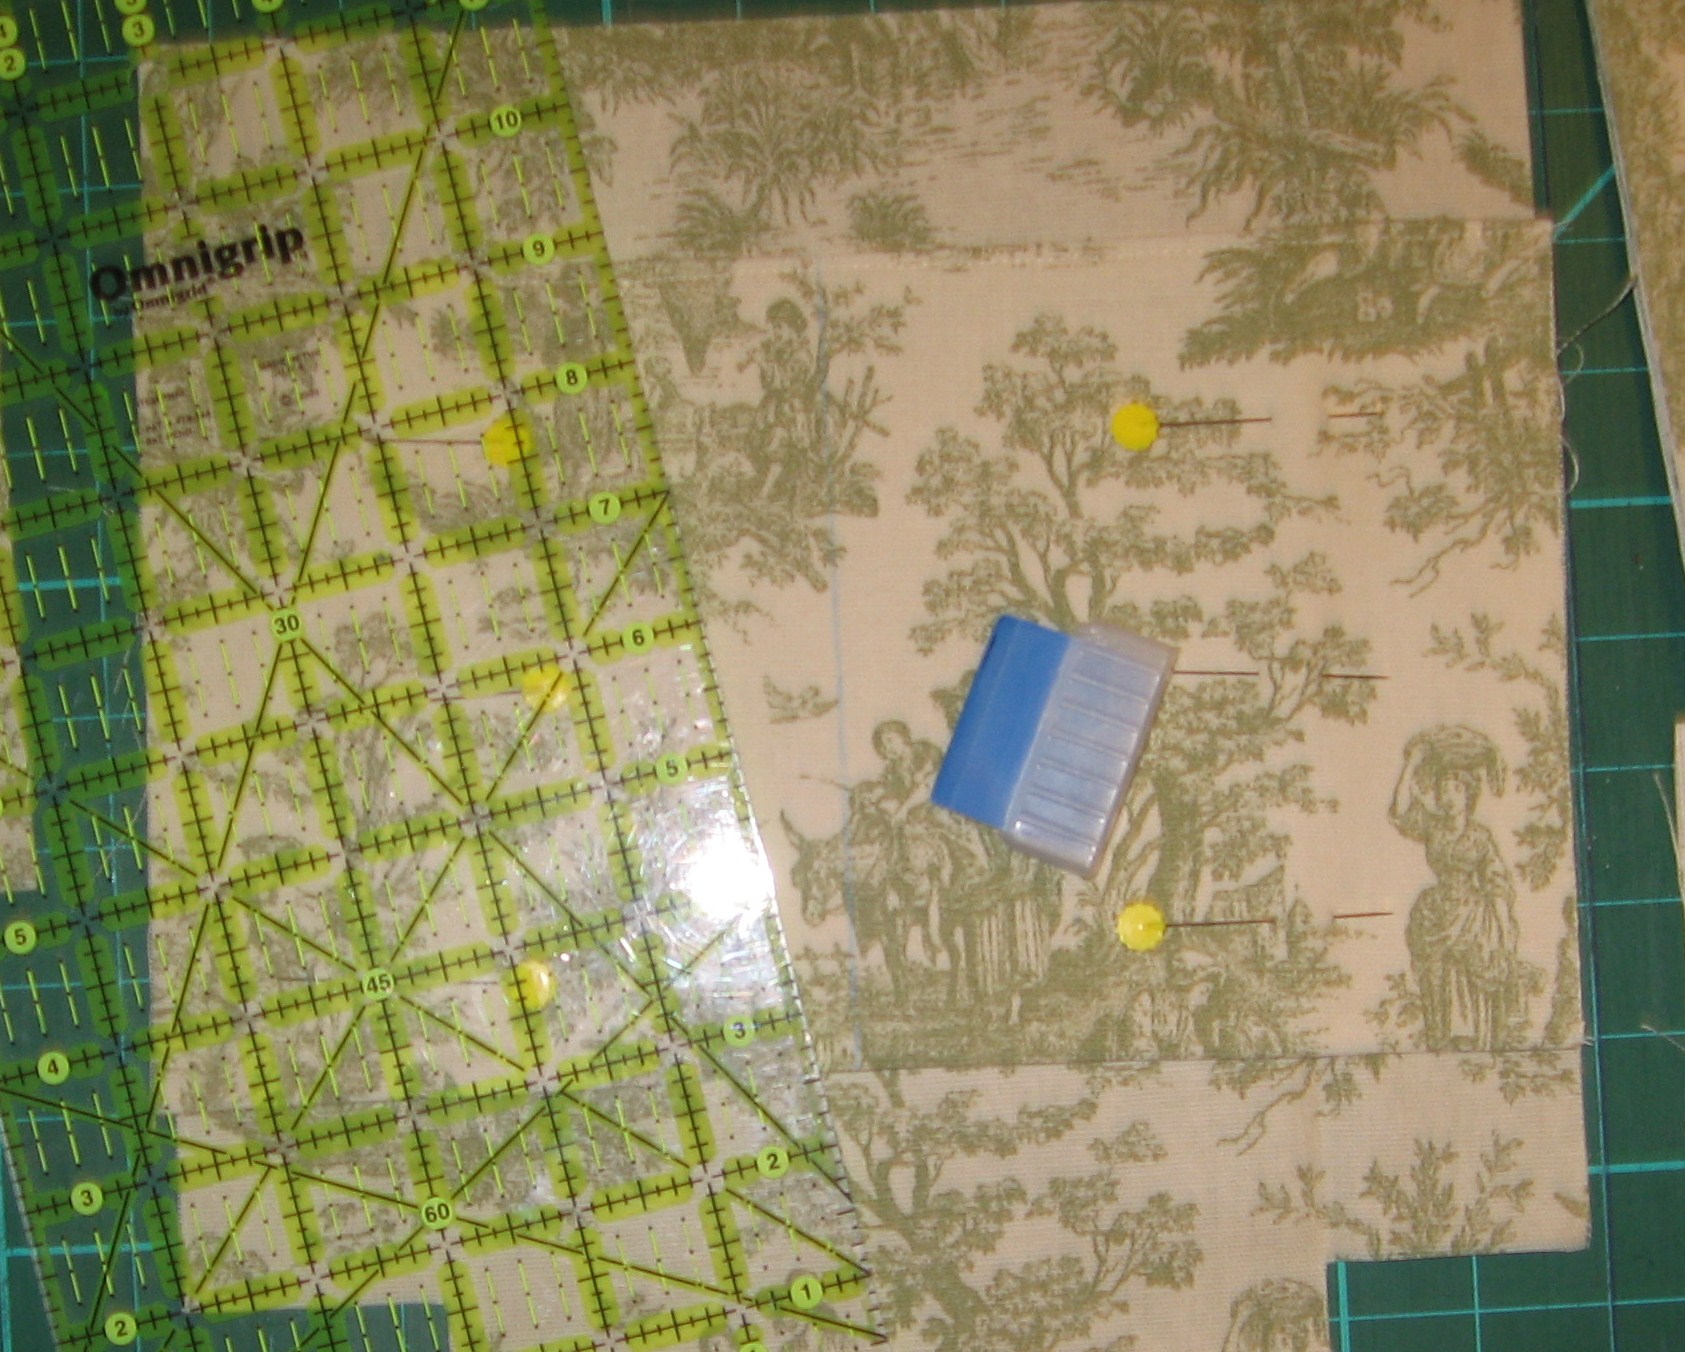
First up – let’s prep our fabrics!
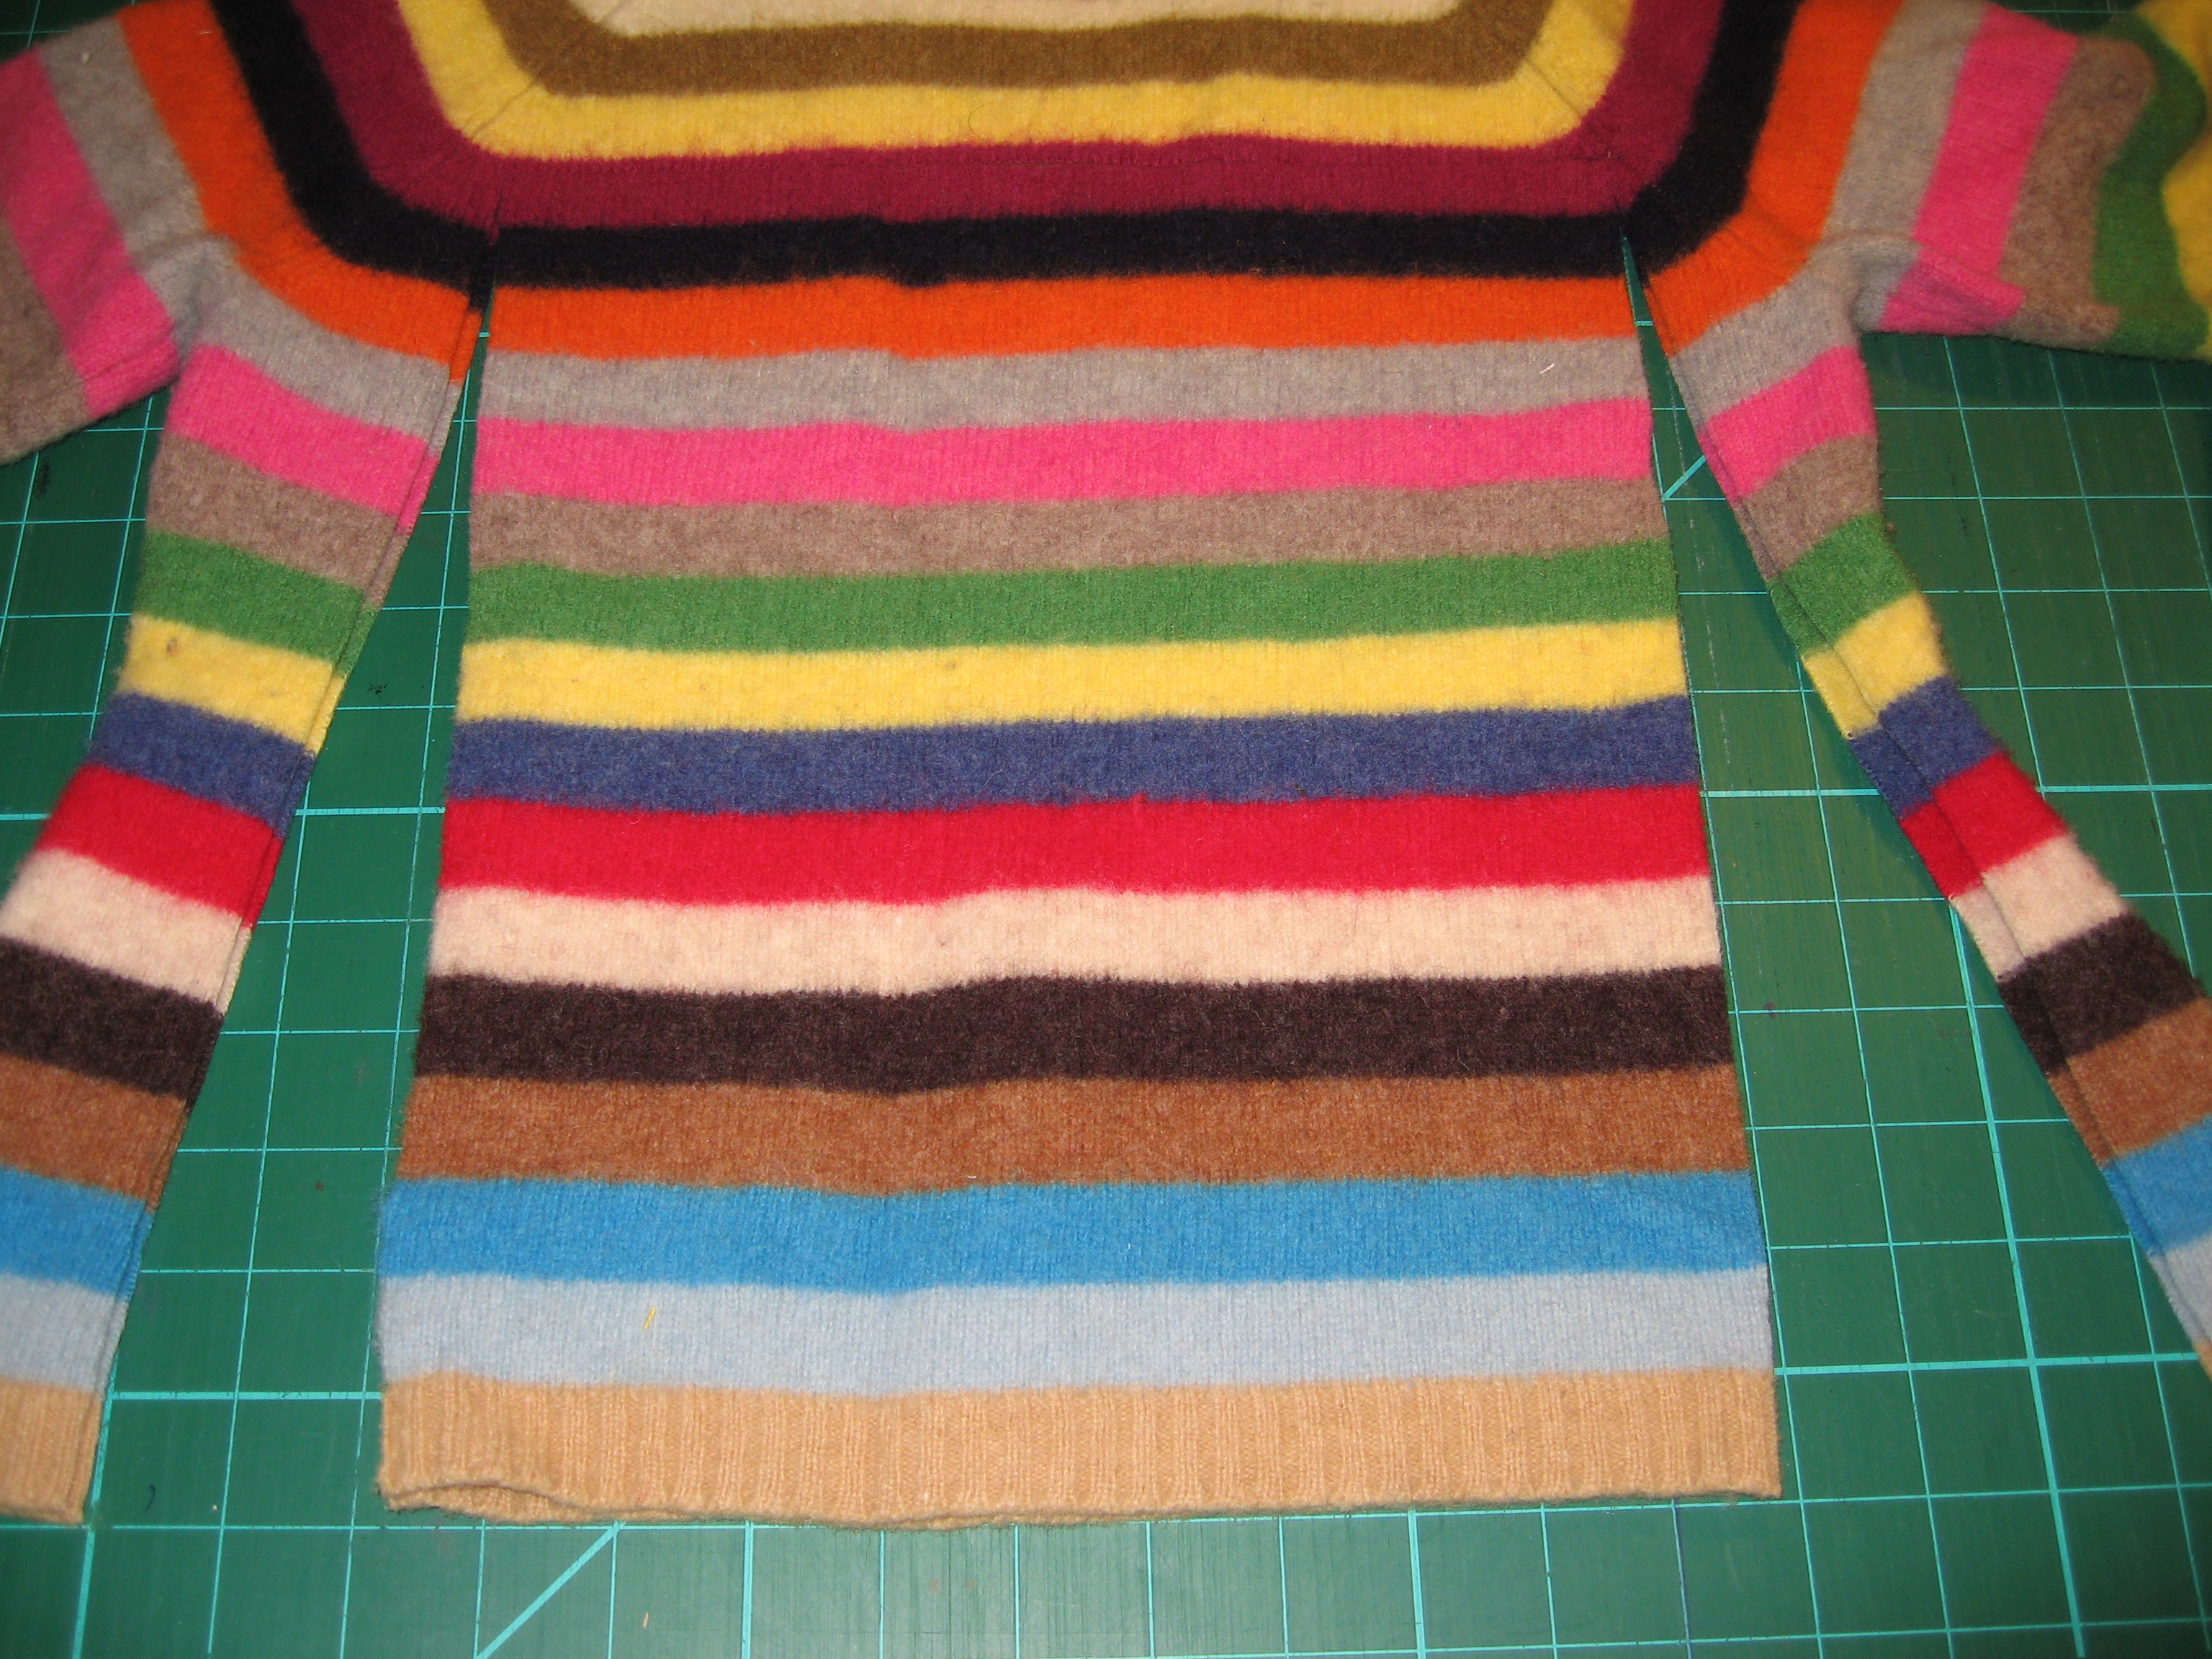

Cut a square or rectangle out of the body of the sweater, cut the same dimensions from lining fabric, remove sweater arms.
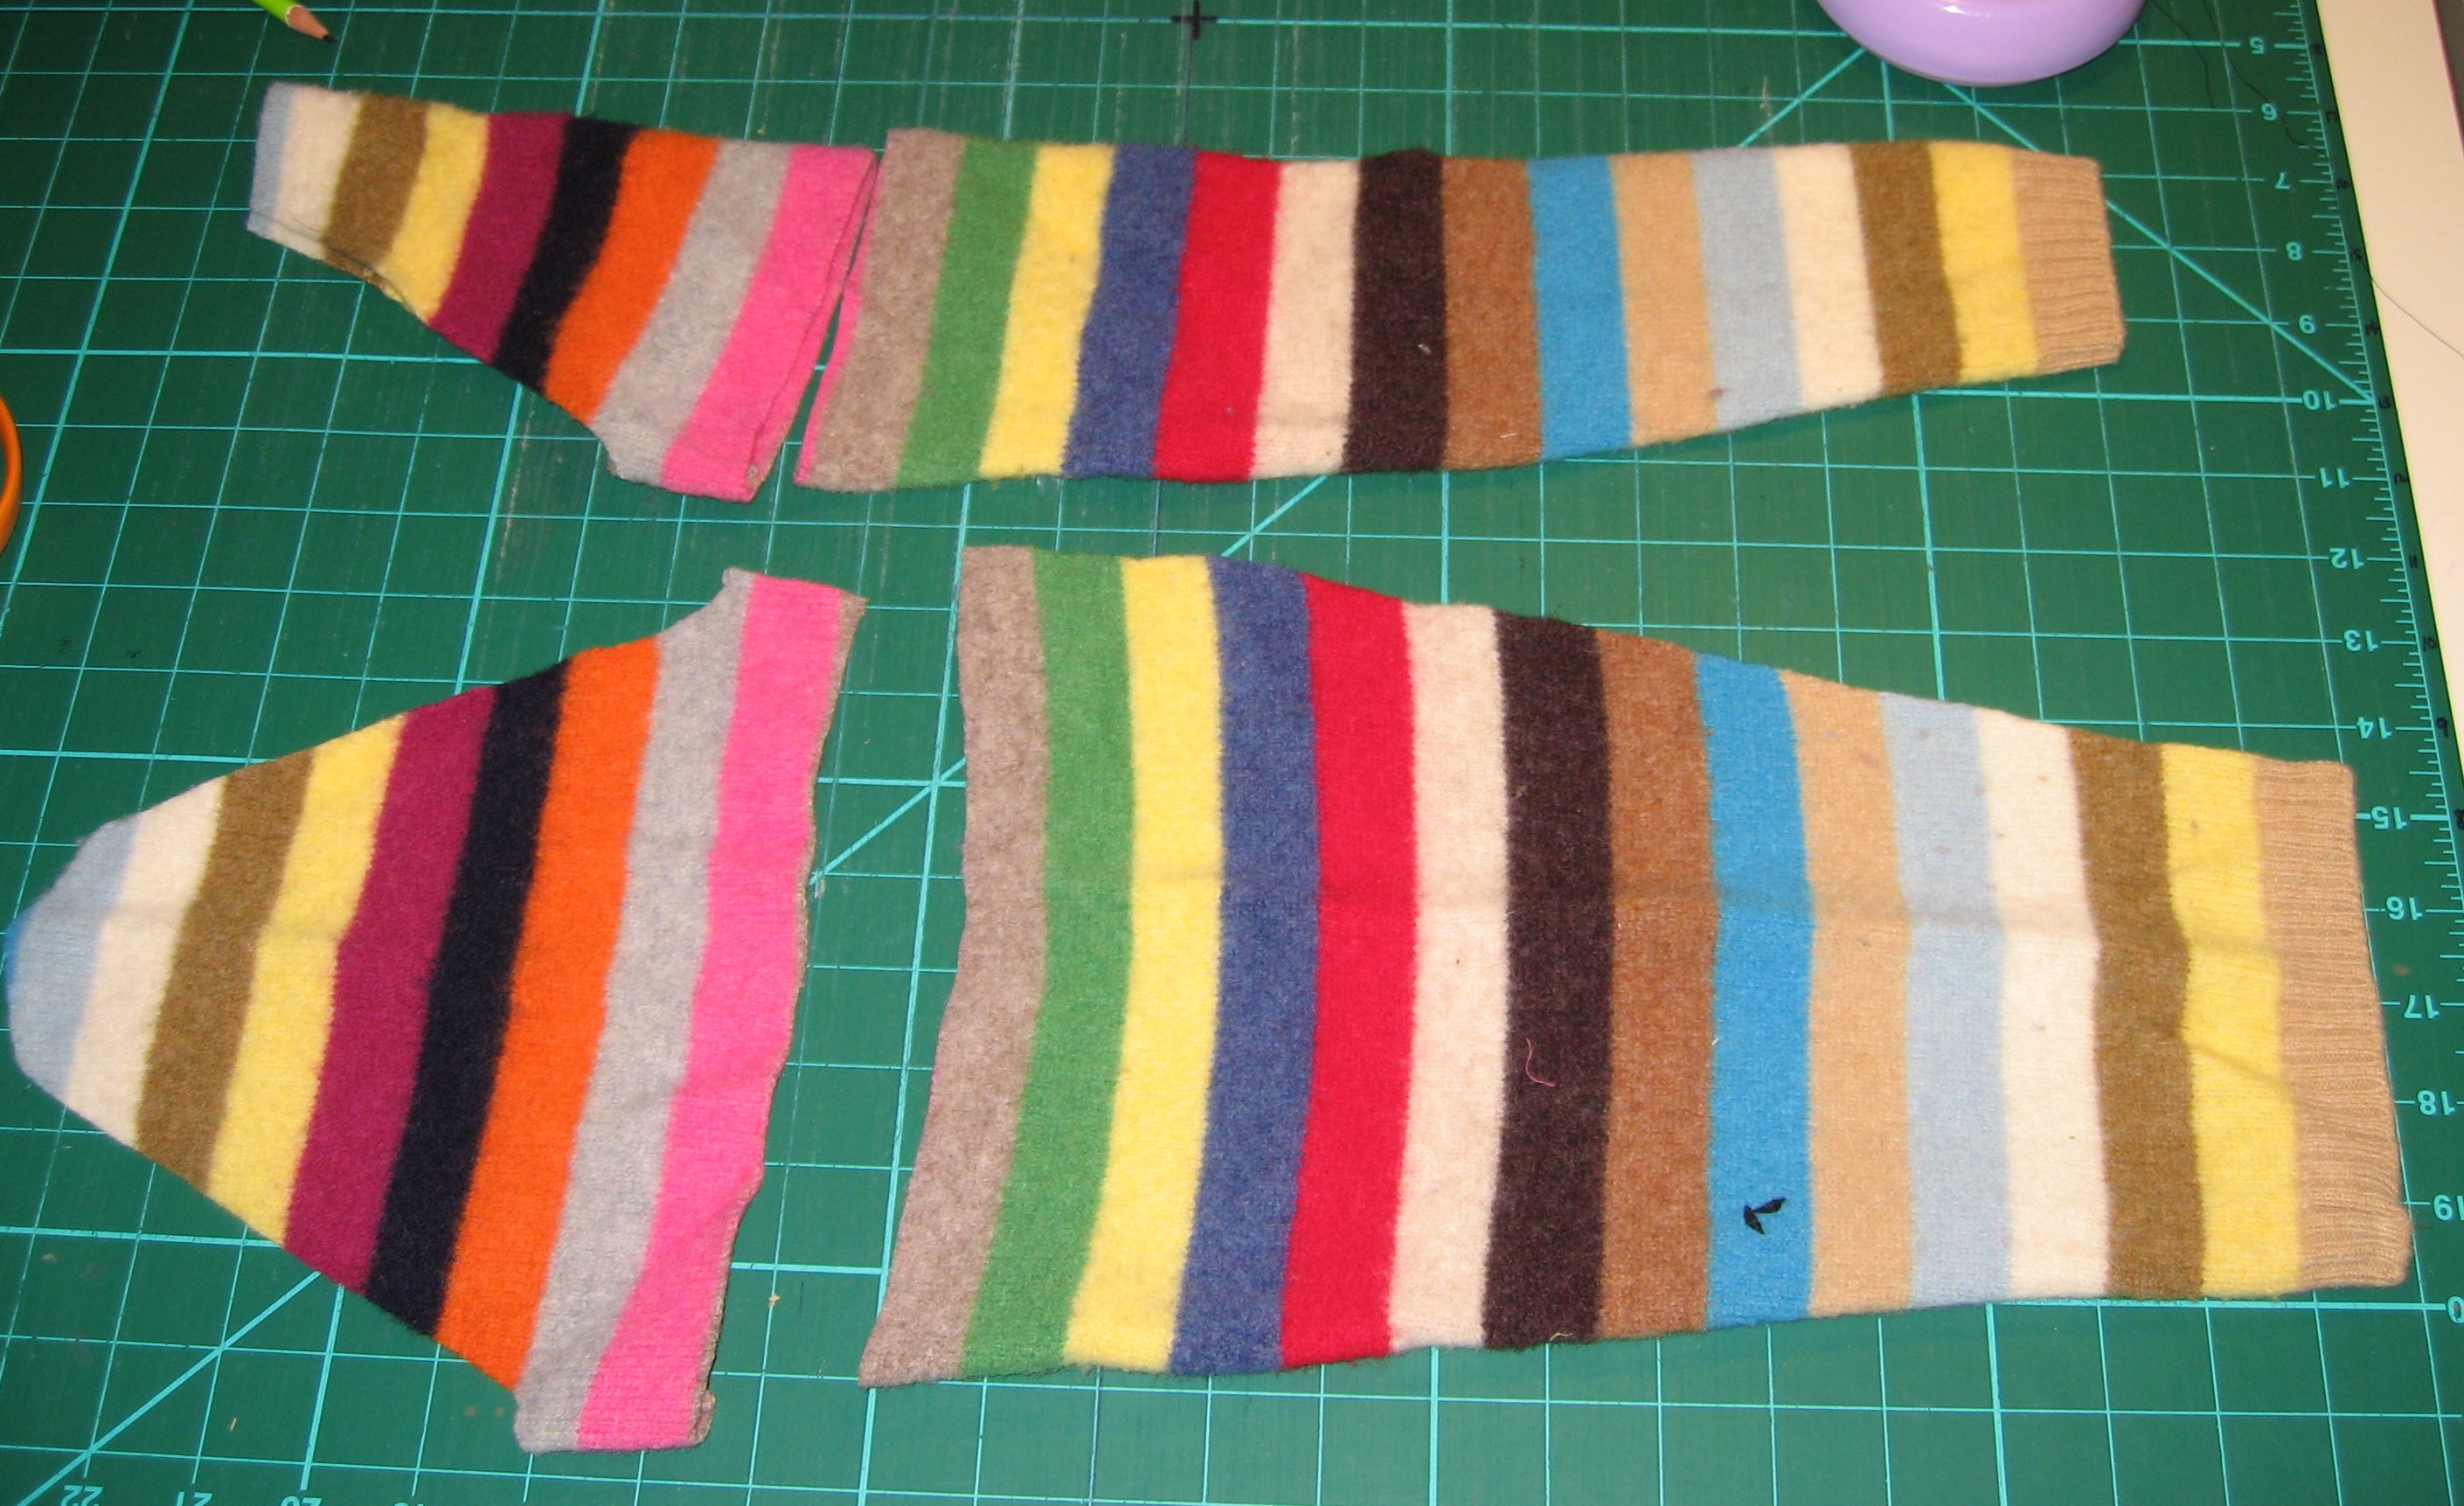
Split sleeves up seam and cut off the tops for pockets.

Cut rectangles out of the sleeve tops, cut same dimensions +1.5″ in length for lining.


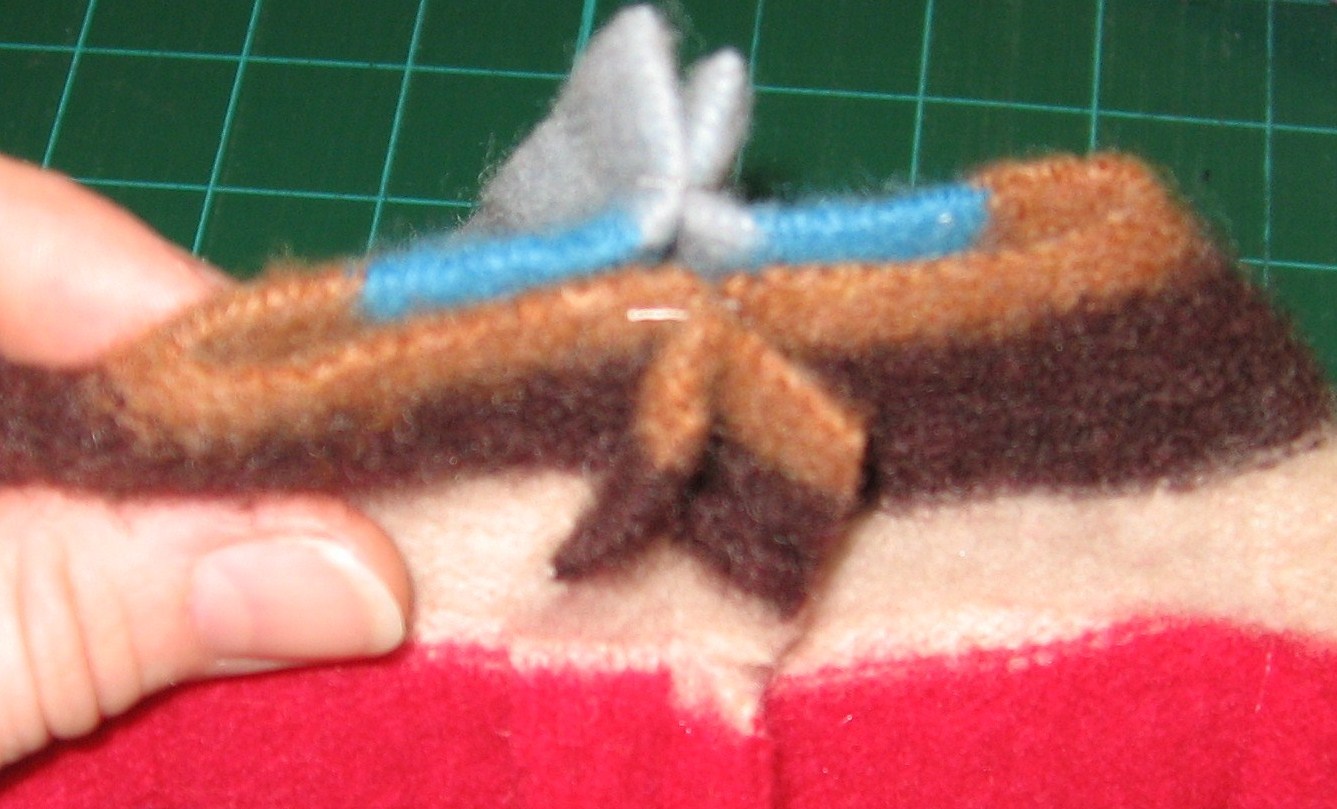
Using the remaining scraps, cut out 2 circles and trim the circles into free-form flowers.


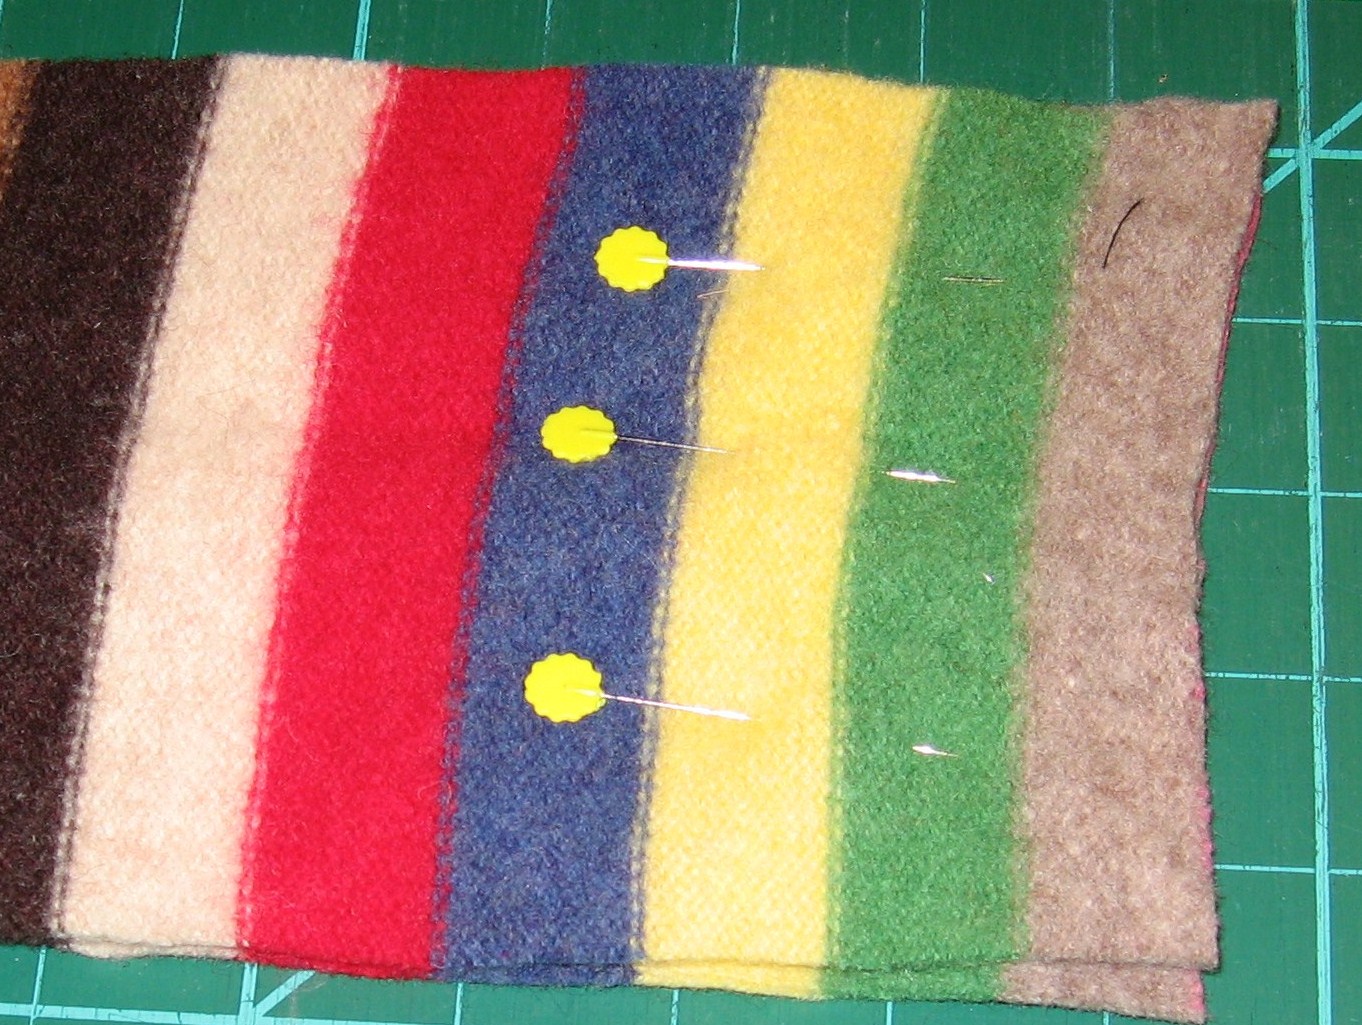
Cut 2″ squares out of the bottom left and right, repeat for lining fabric.
Now, let’s make the lining!

 Cut a square the same width and length from lining fabric for inside pockets. Fold in half and stitch along the fold.
Pin pocket to inside and mark center with chalk for stitching line.

Pin sides and bottom of lining, stitch, leave 2″ corners open, leave opening in the side or bottom for turning.

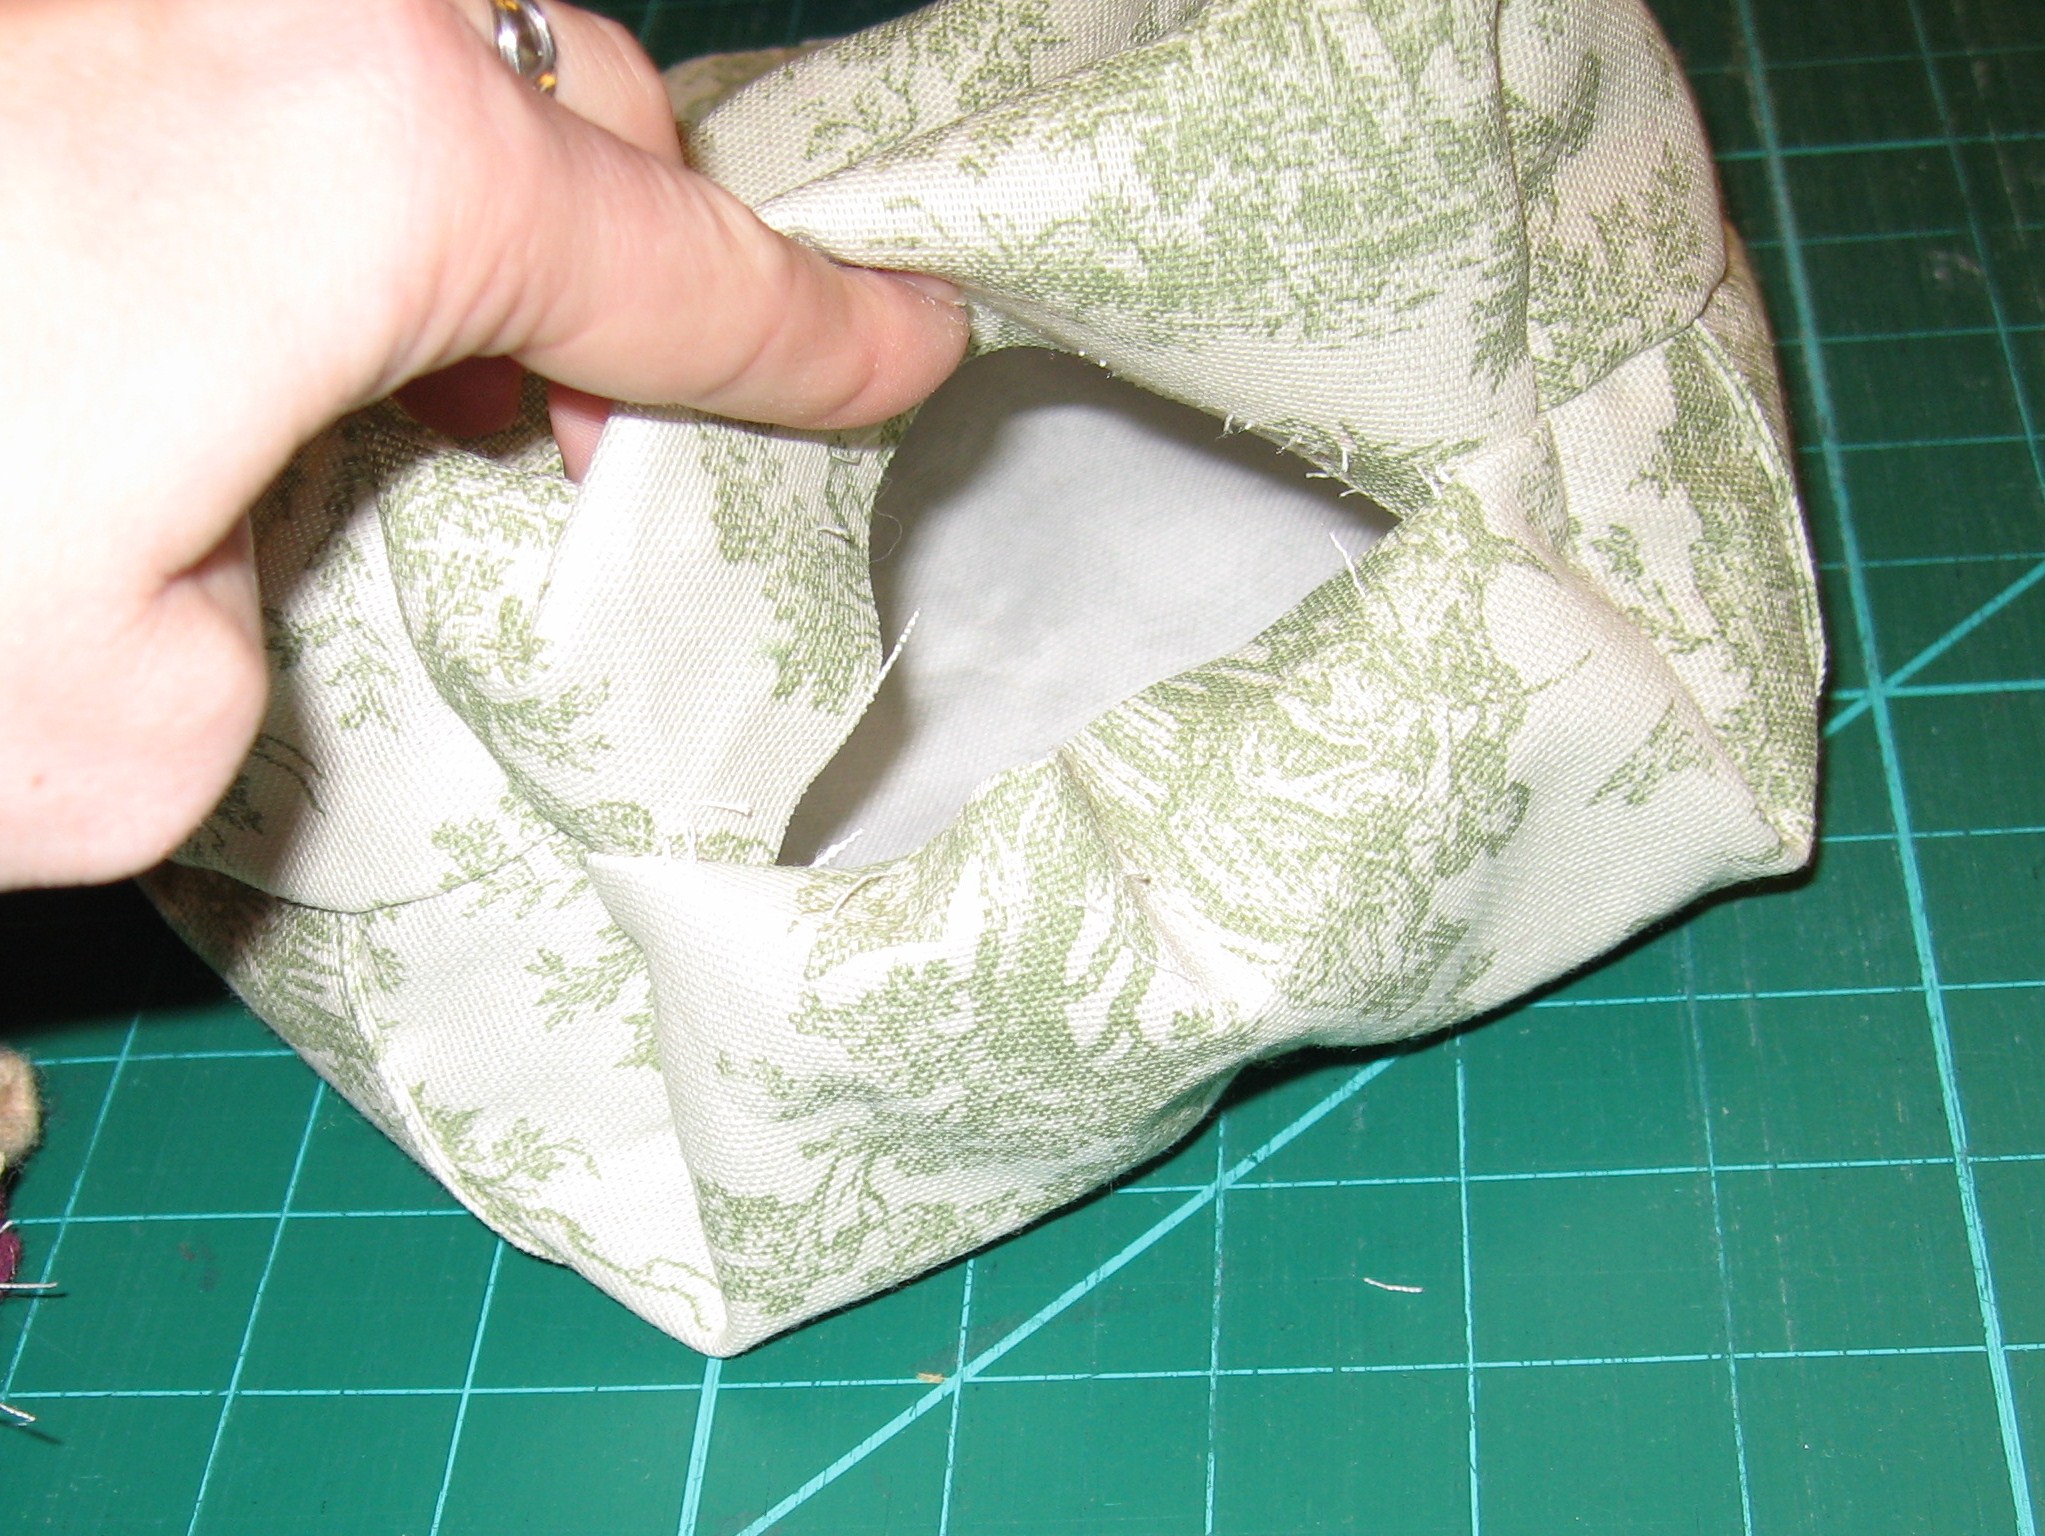
Match boxed corners (the notches in the bottom of the bag), pin & stitch.


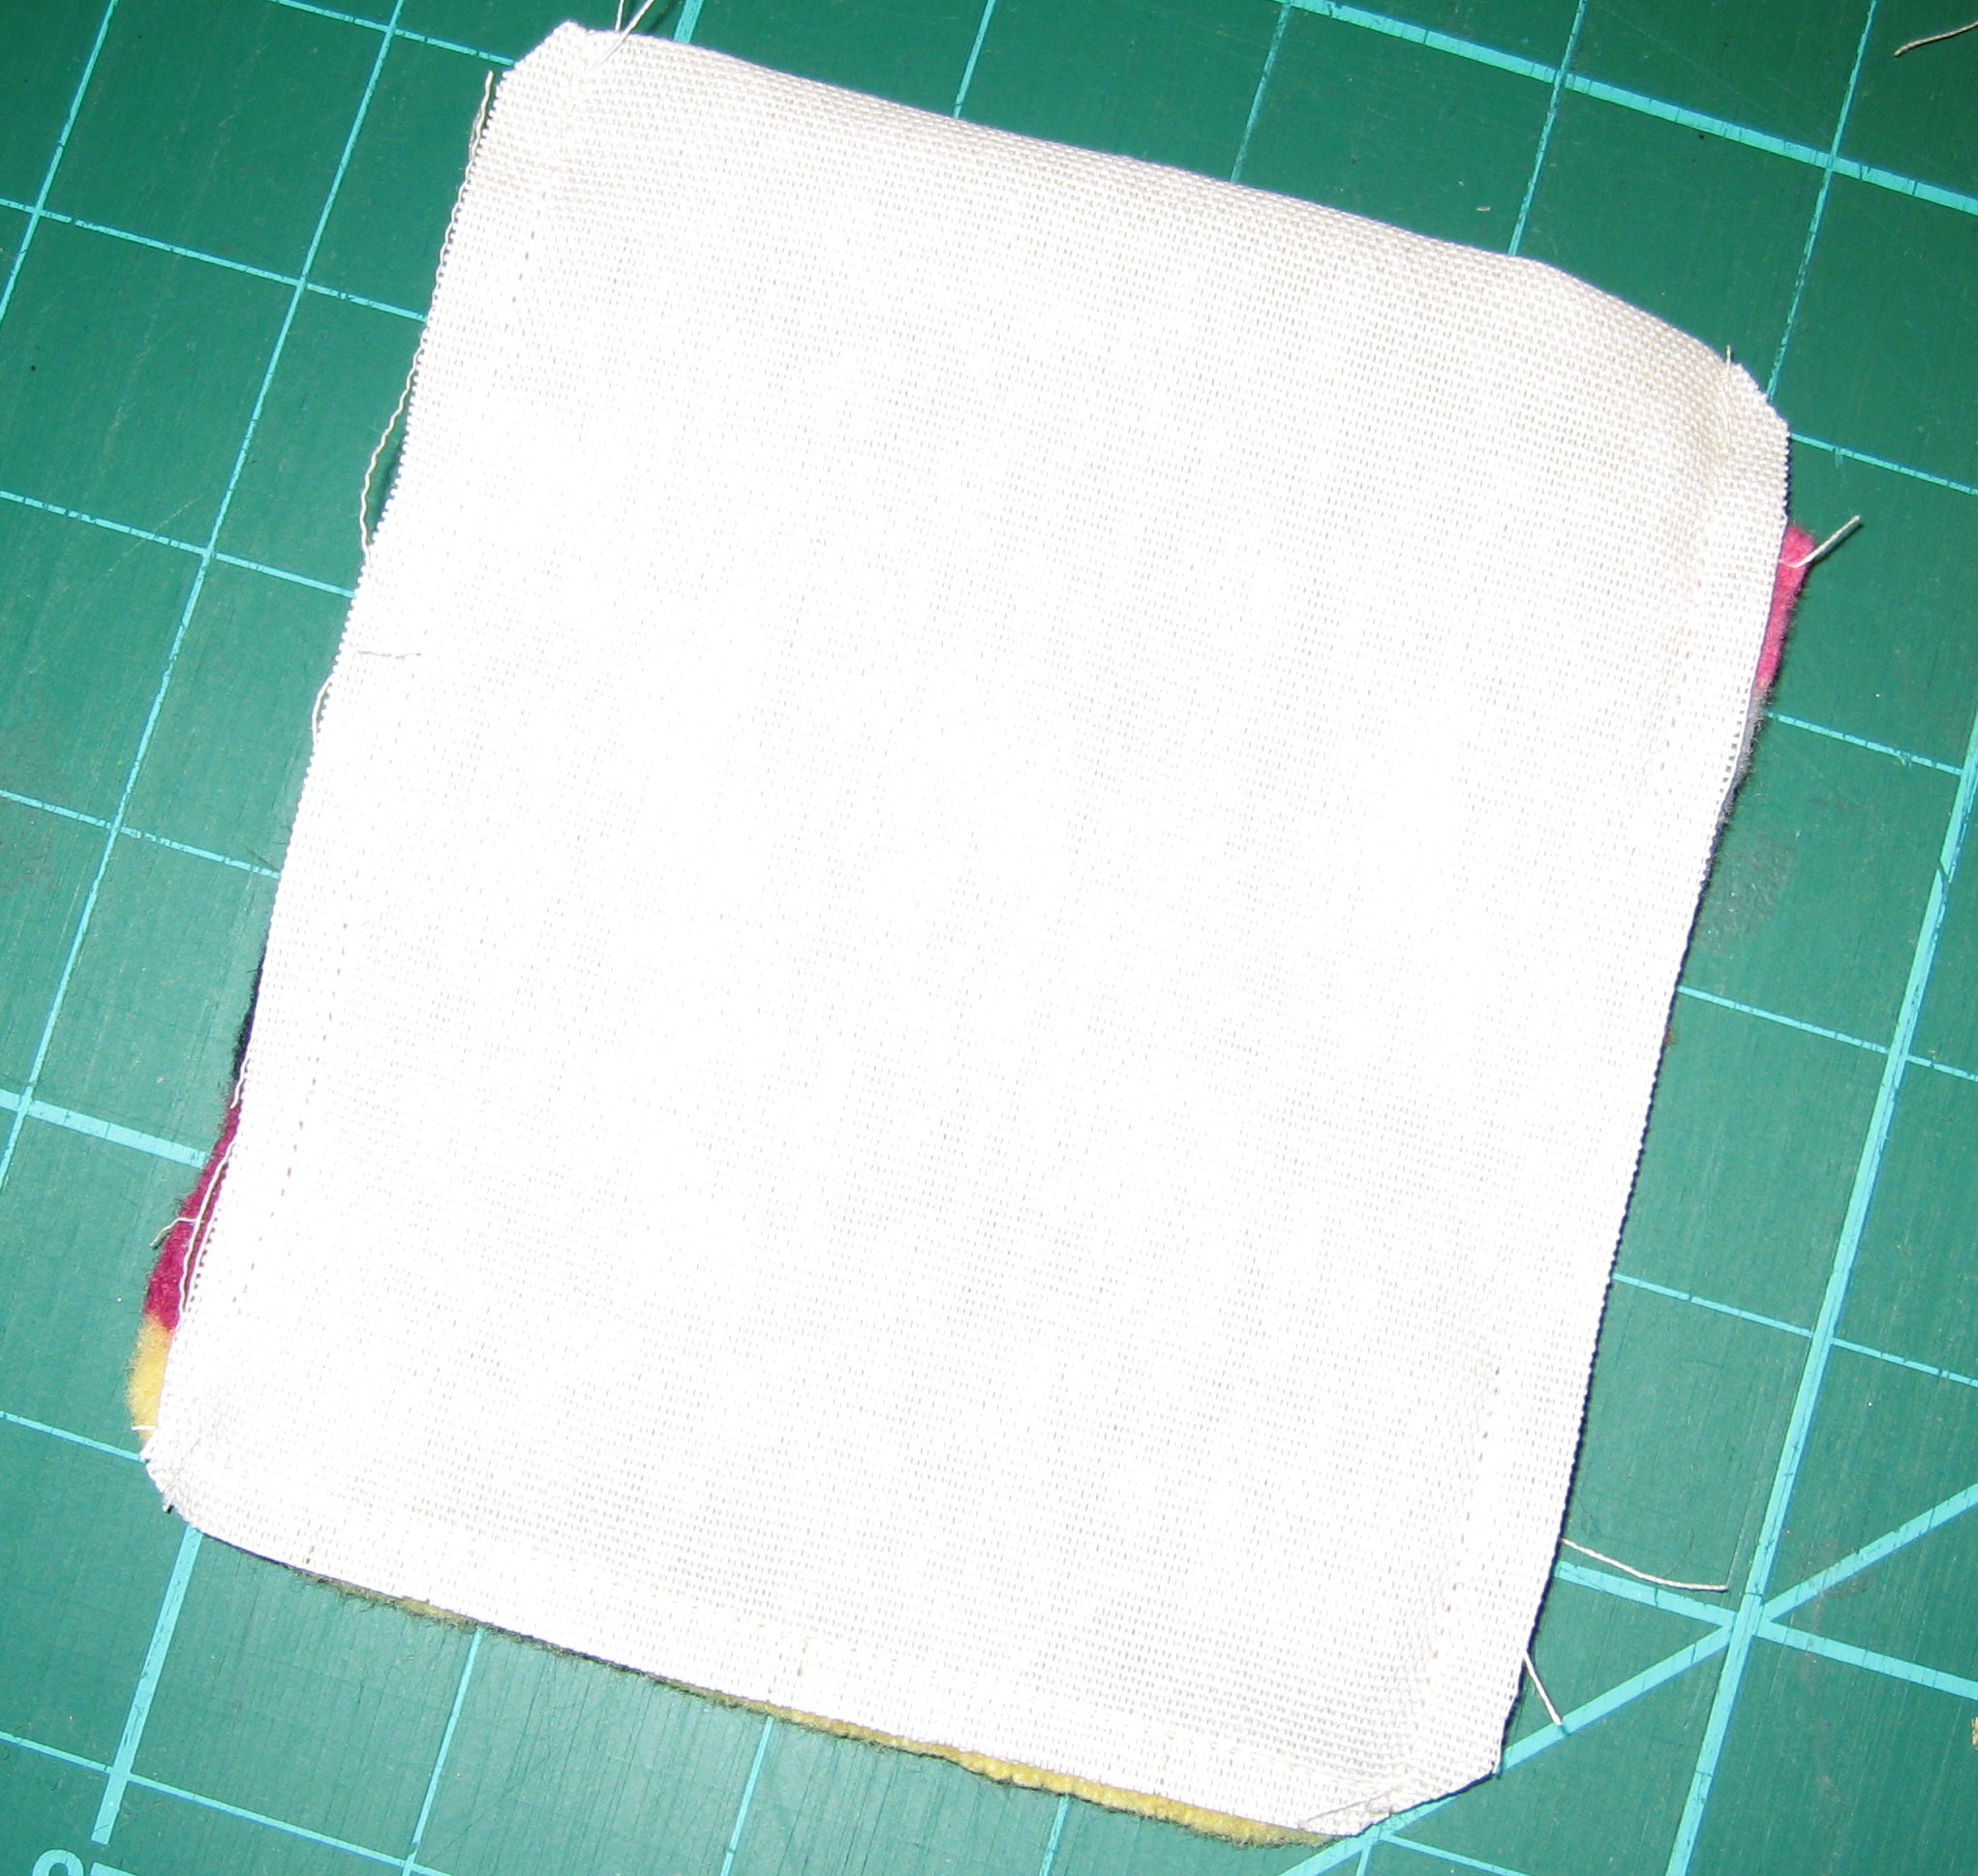
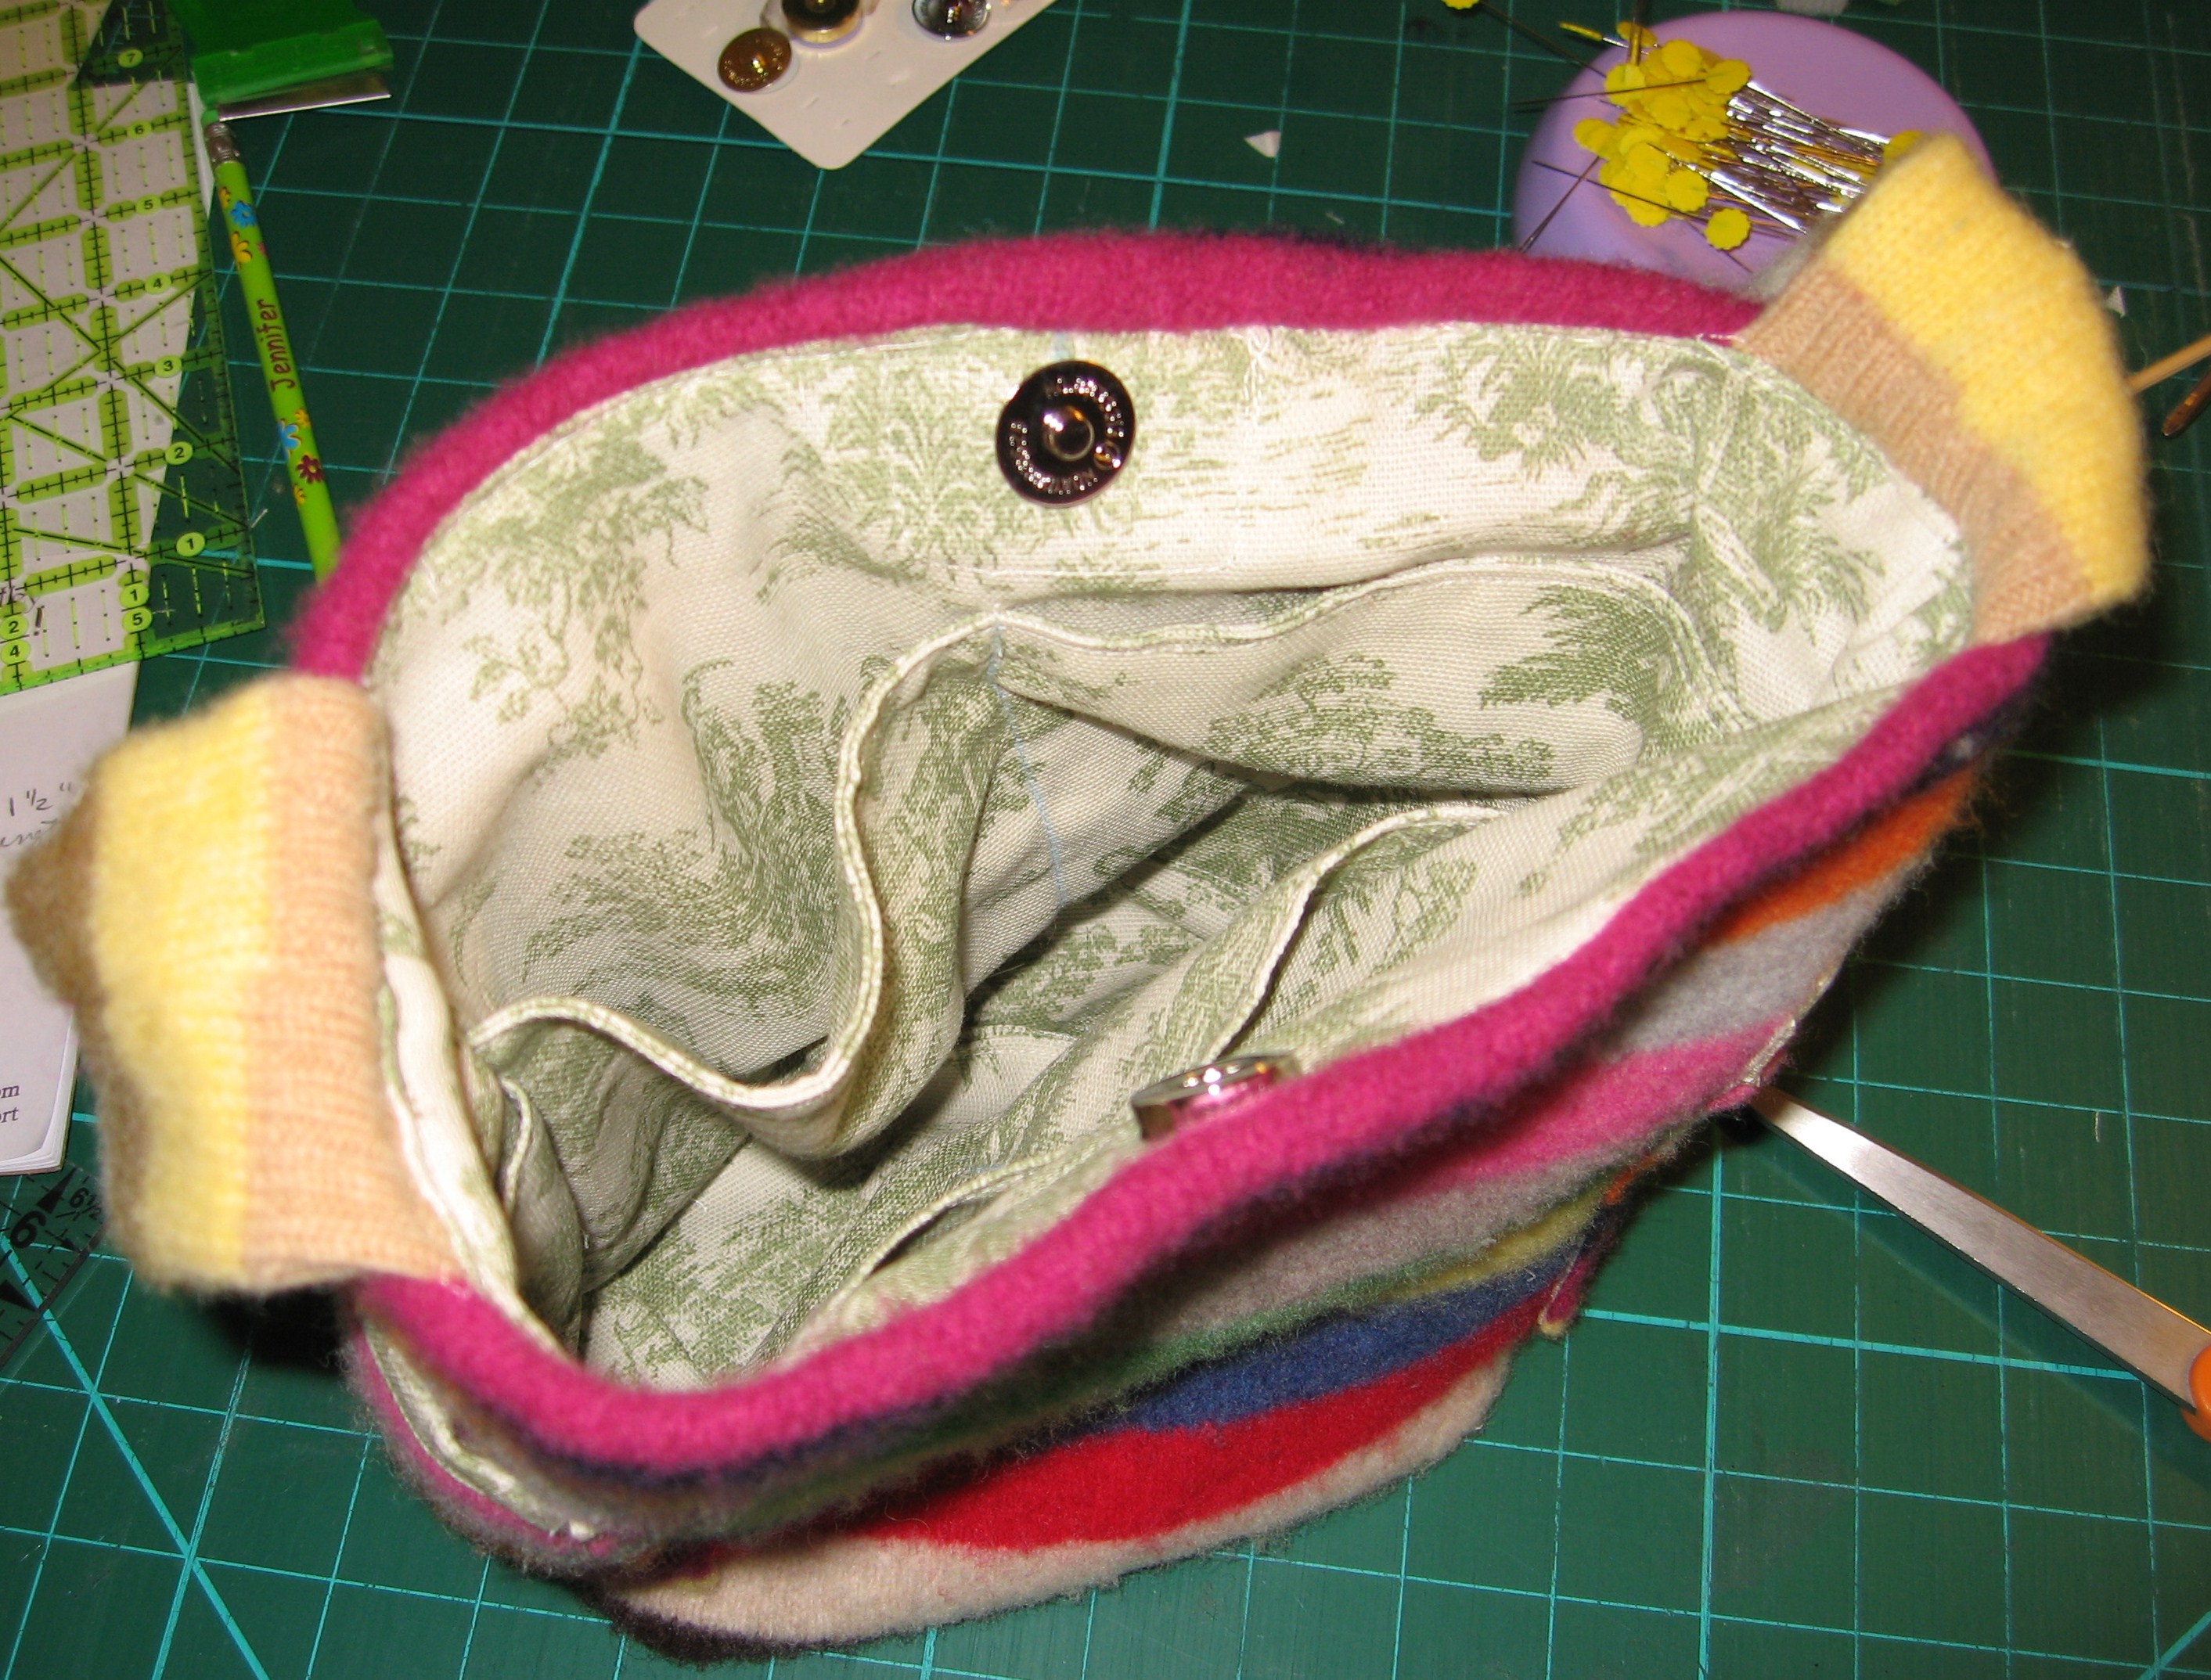
Press seams then turn right side out. The bottom and pockets of your lining should now look like this.


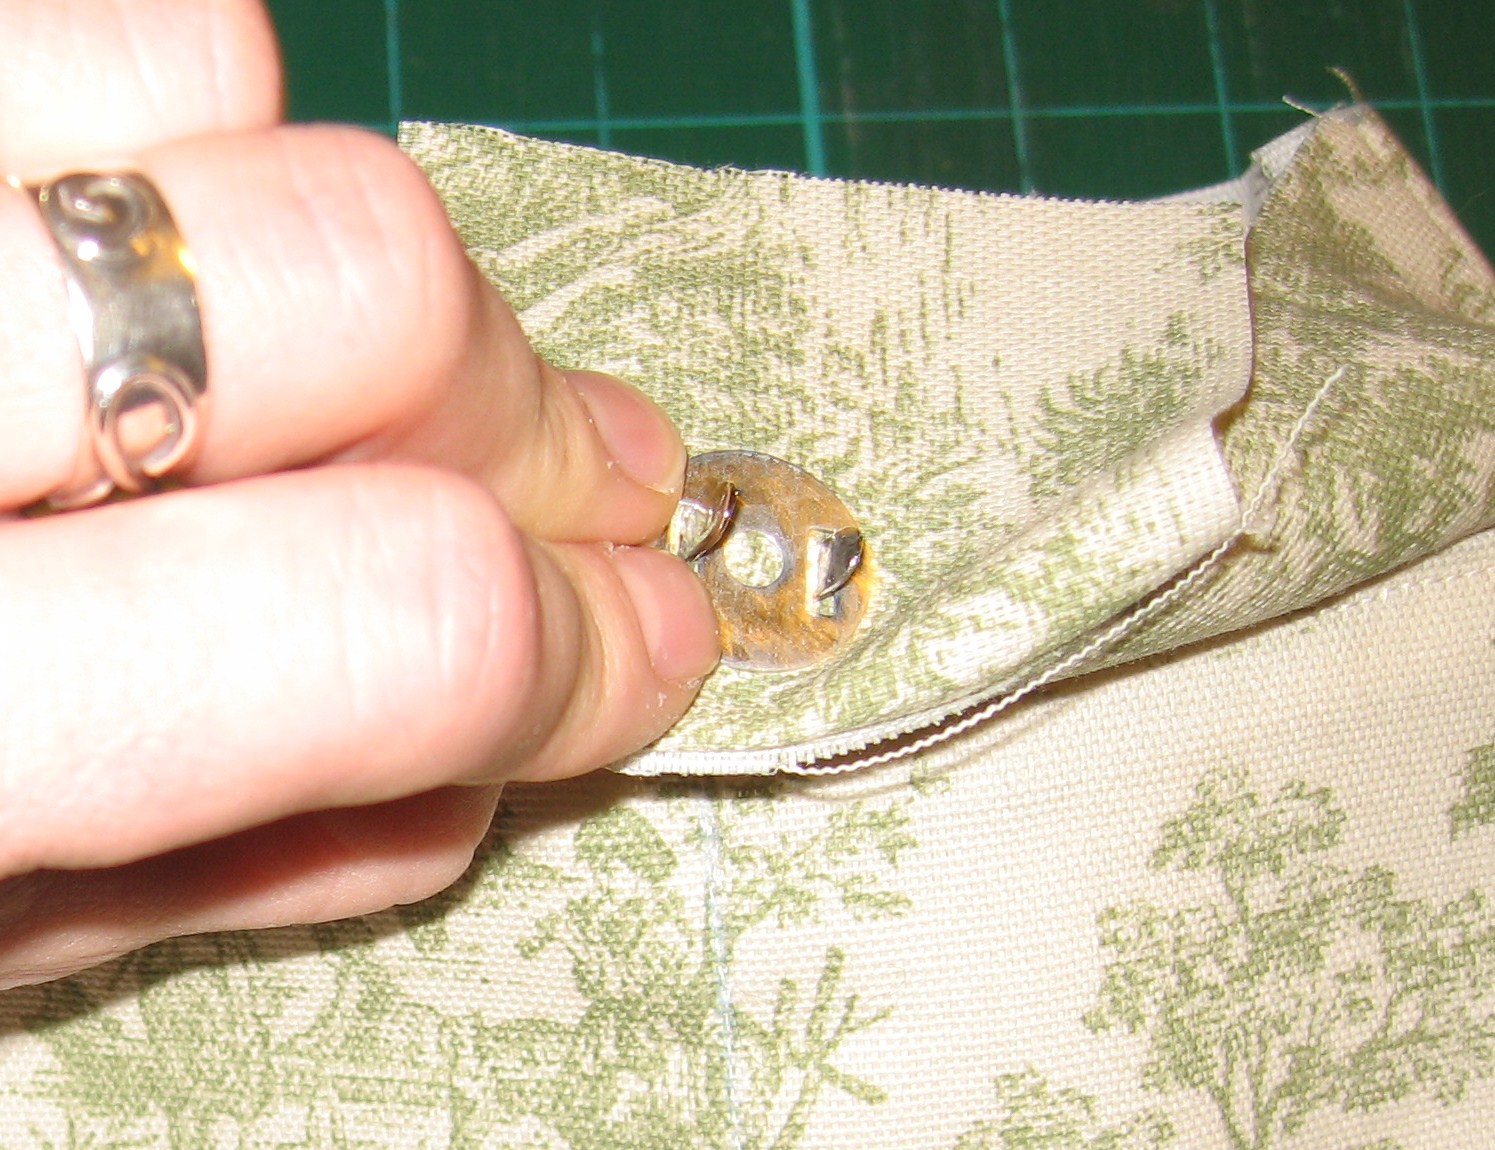


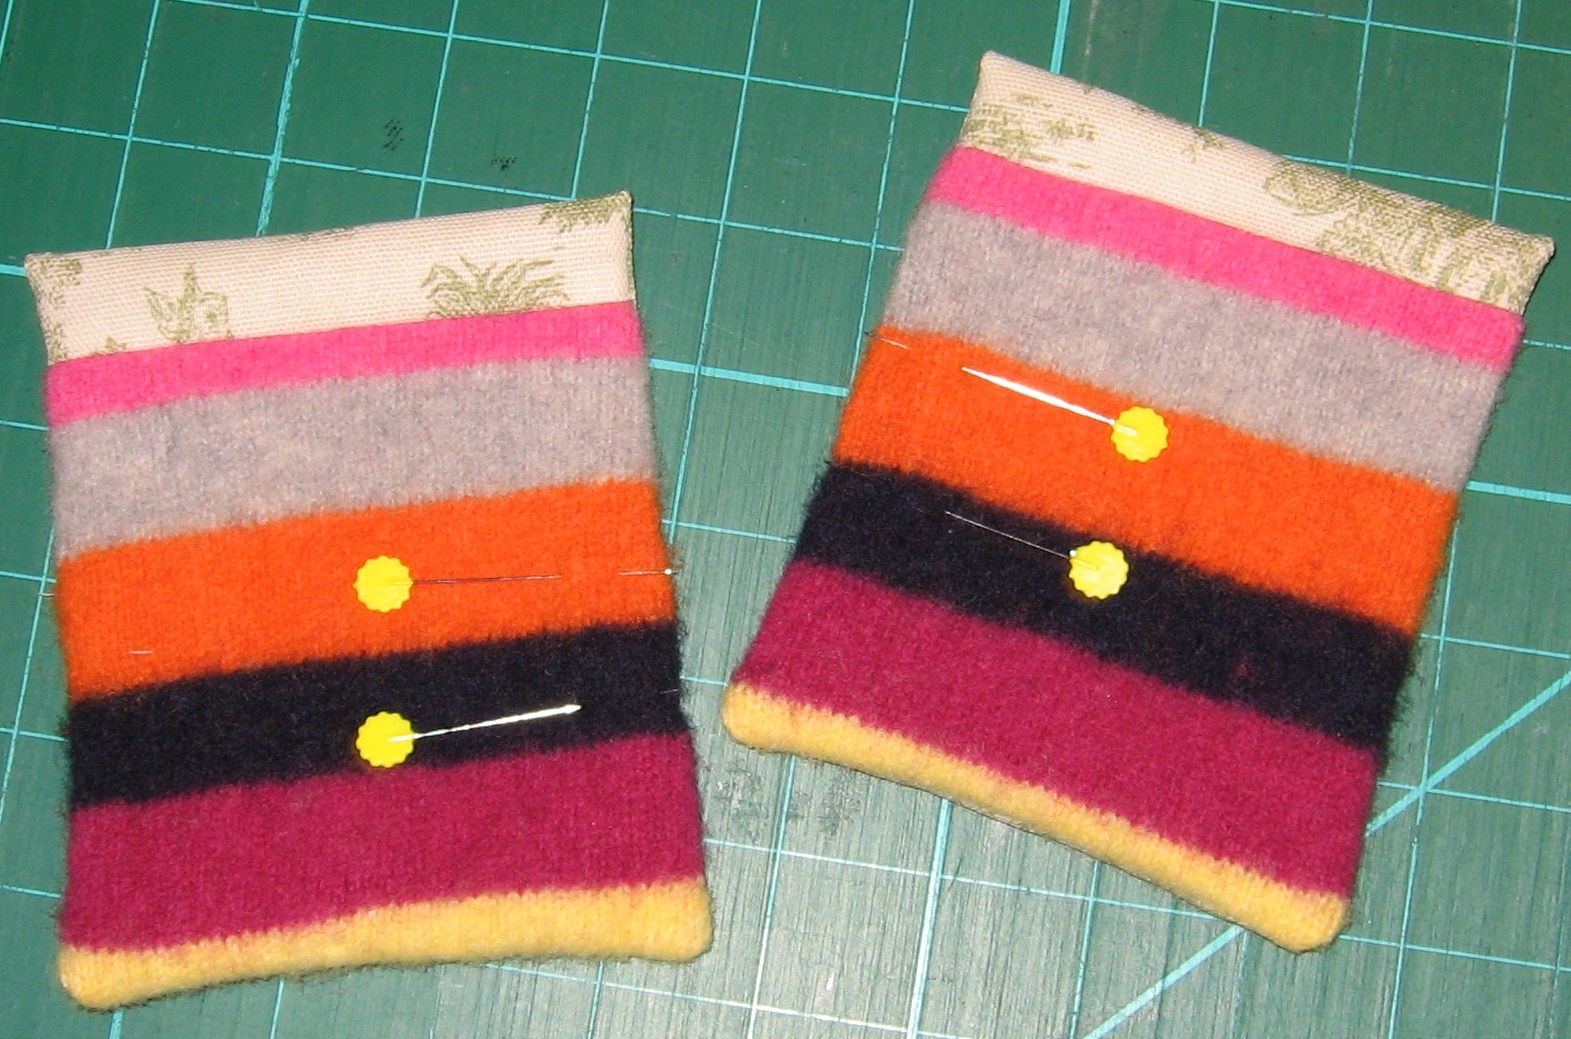
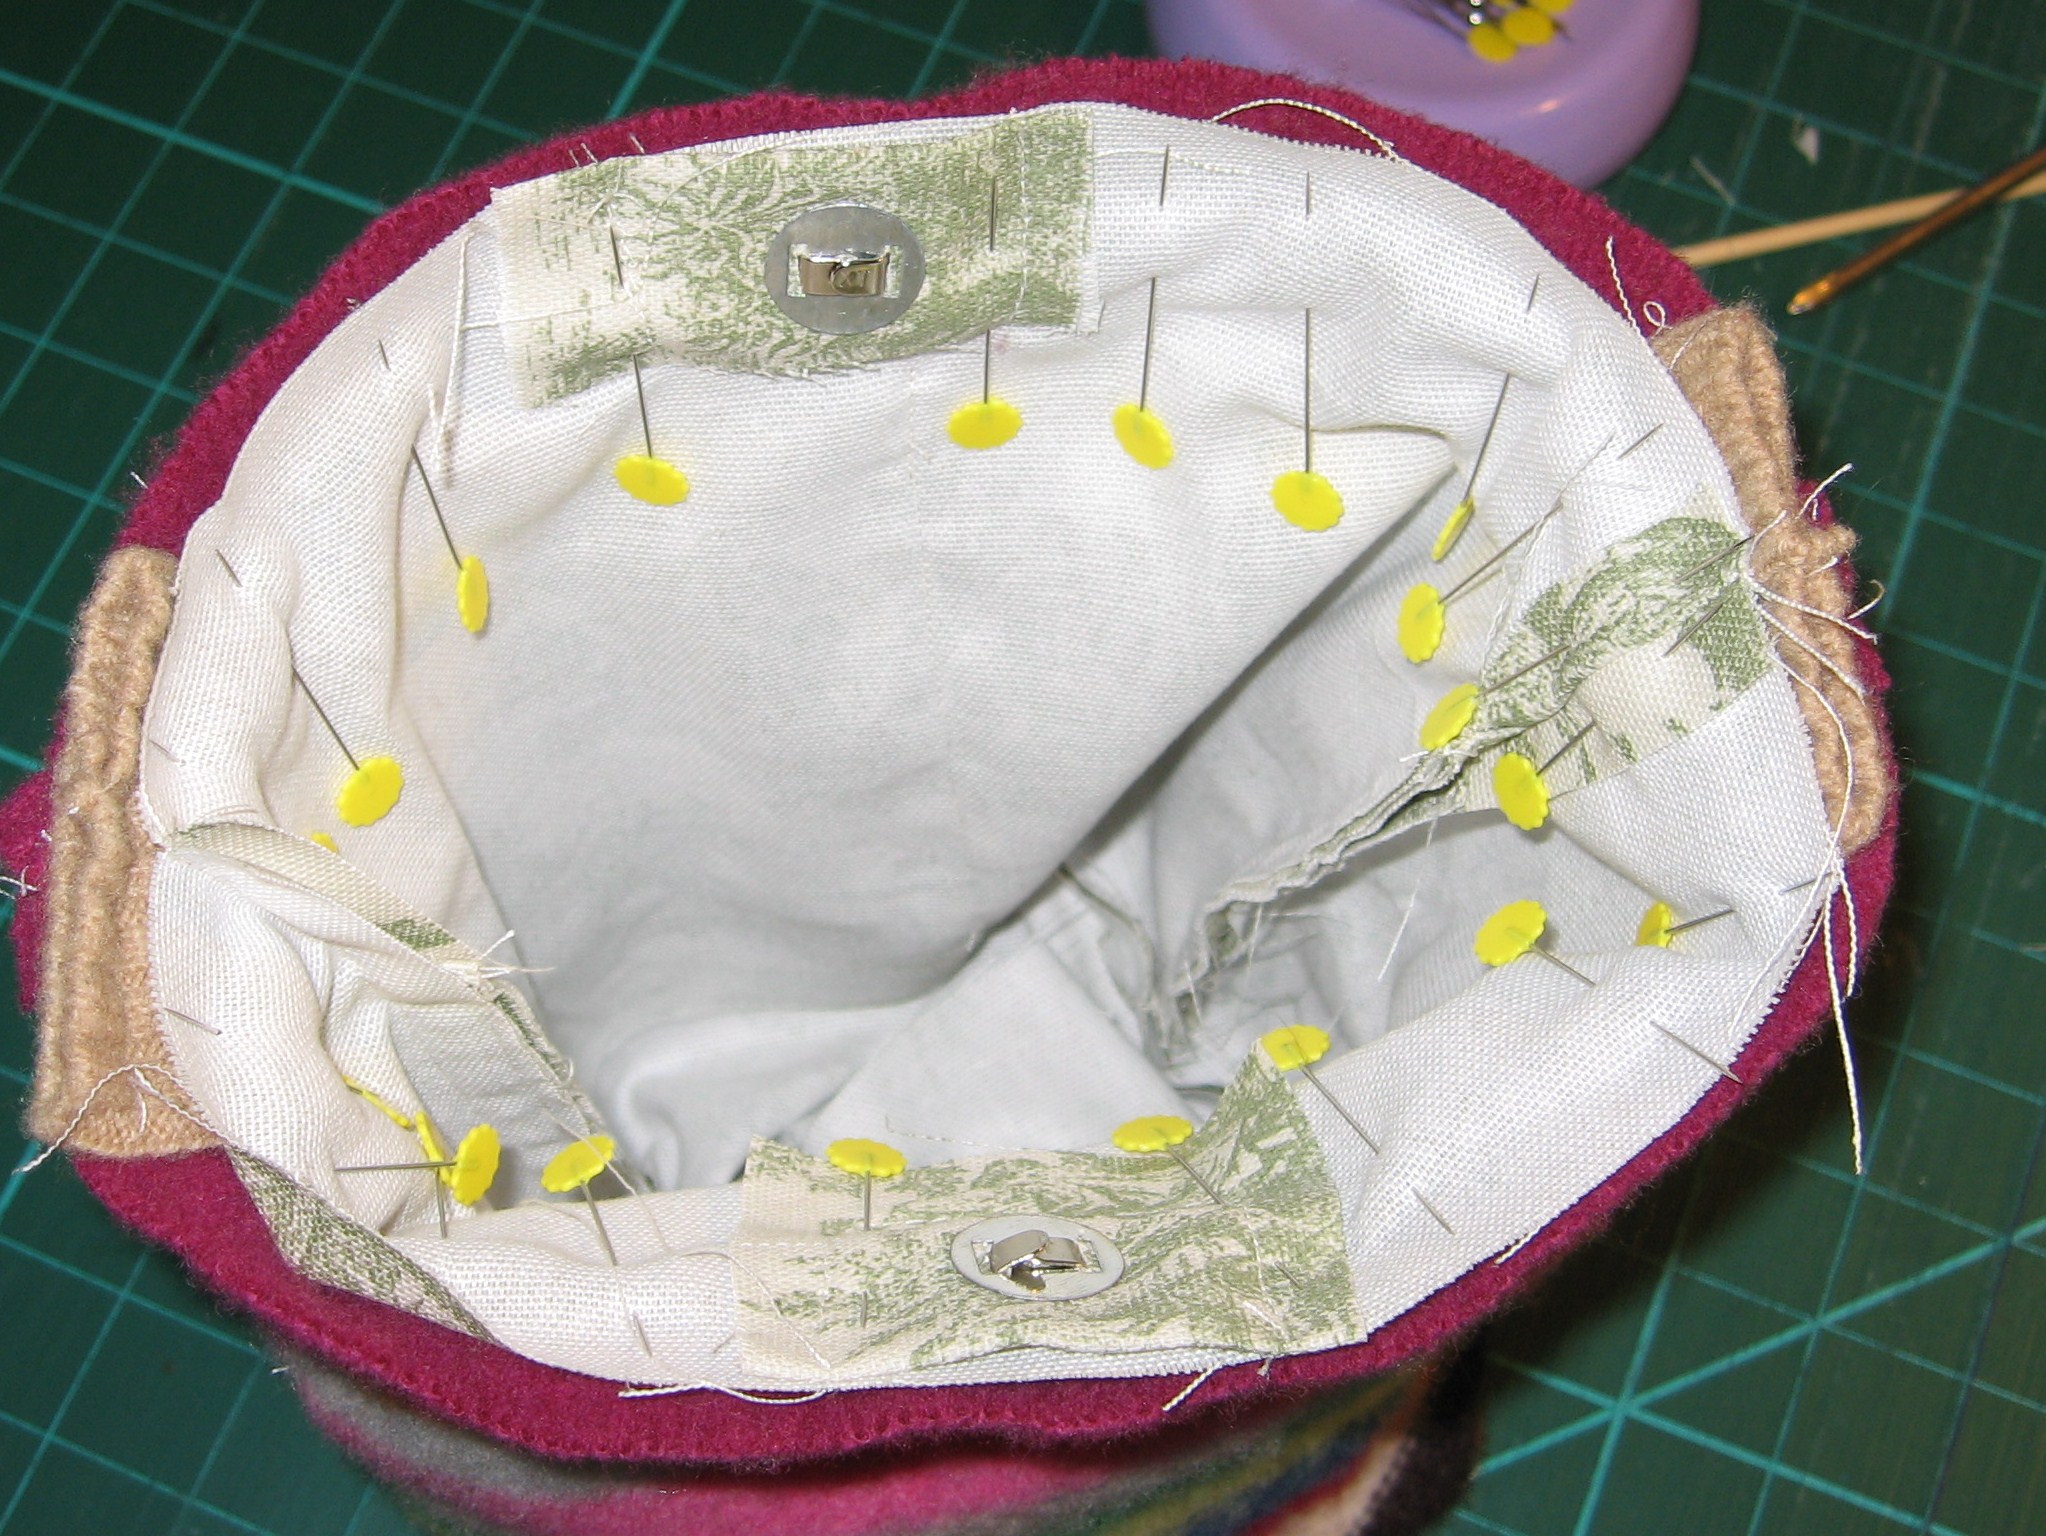
Add magnetic snaps to your lining following the manufacturer’s directions. Leave enough seam allowance at the top for stitching around. I recommend 1″ or more of space. Add a folded piece of scrap fabric to the back to reinforce the snap. Stitch around the snap to reinforce extra fabric.
Time to work on the outside sweater pieces!

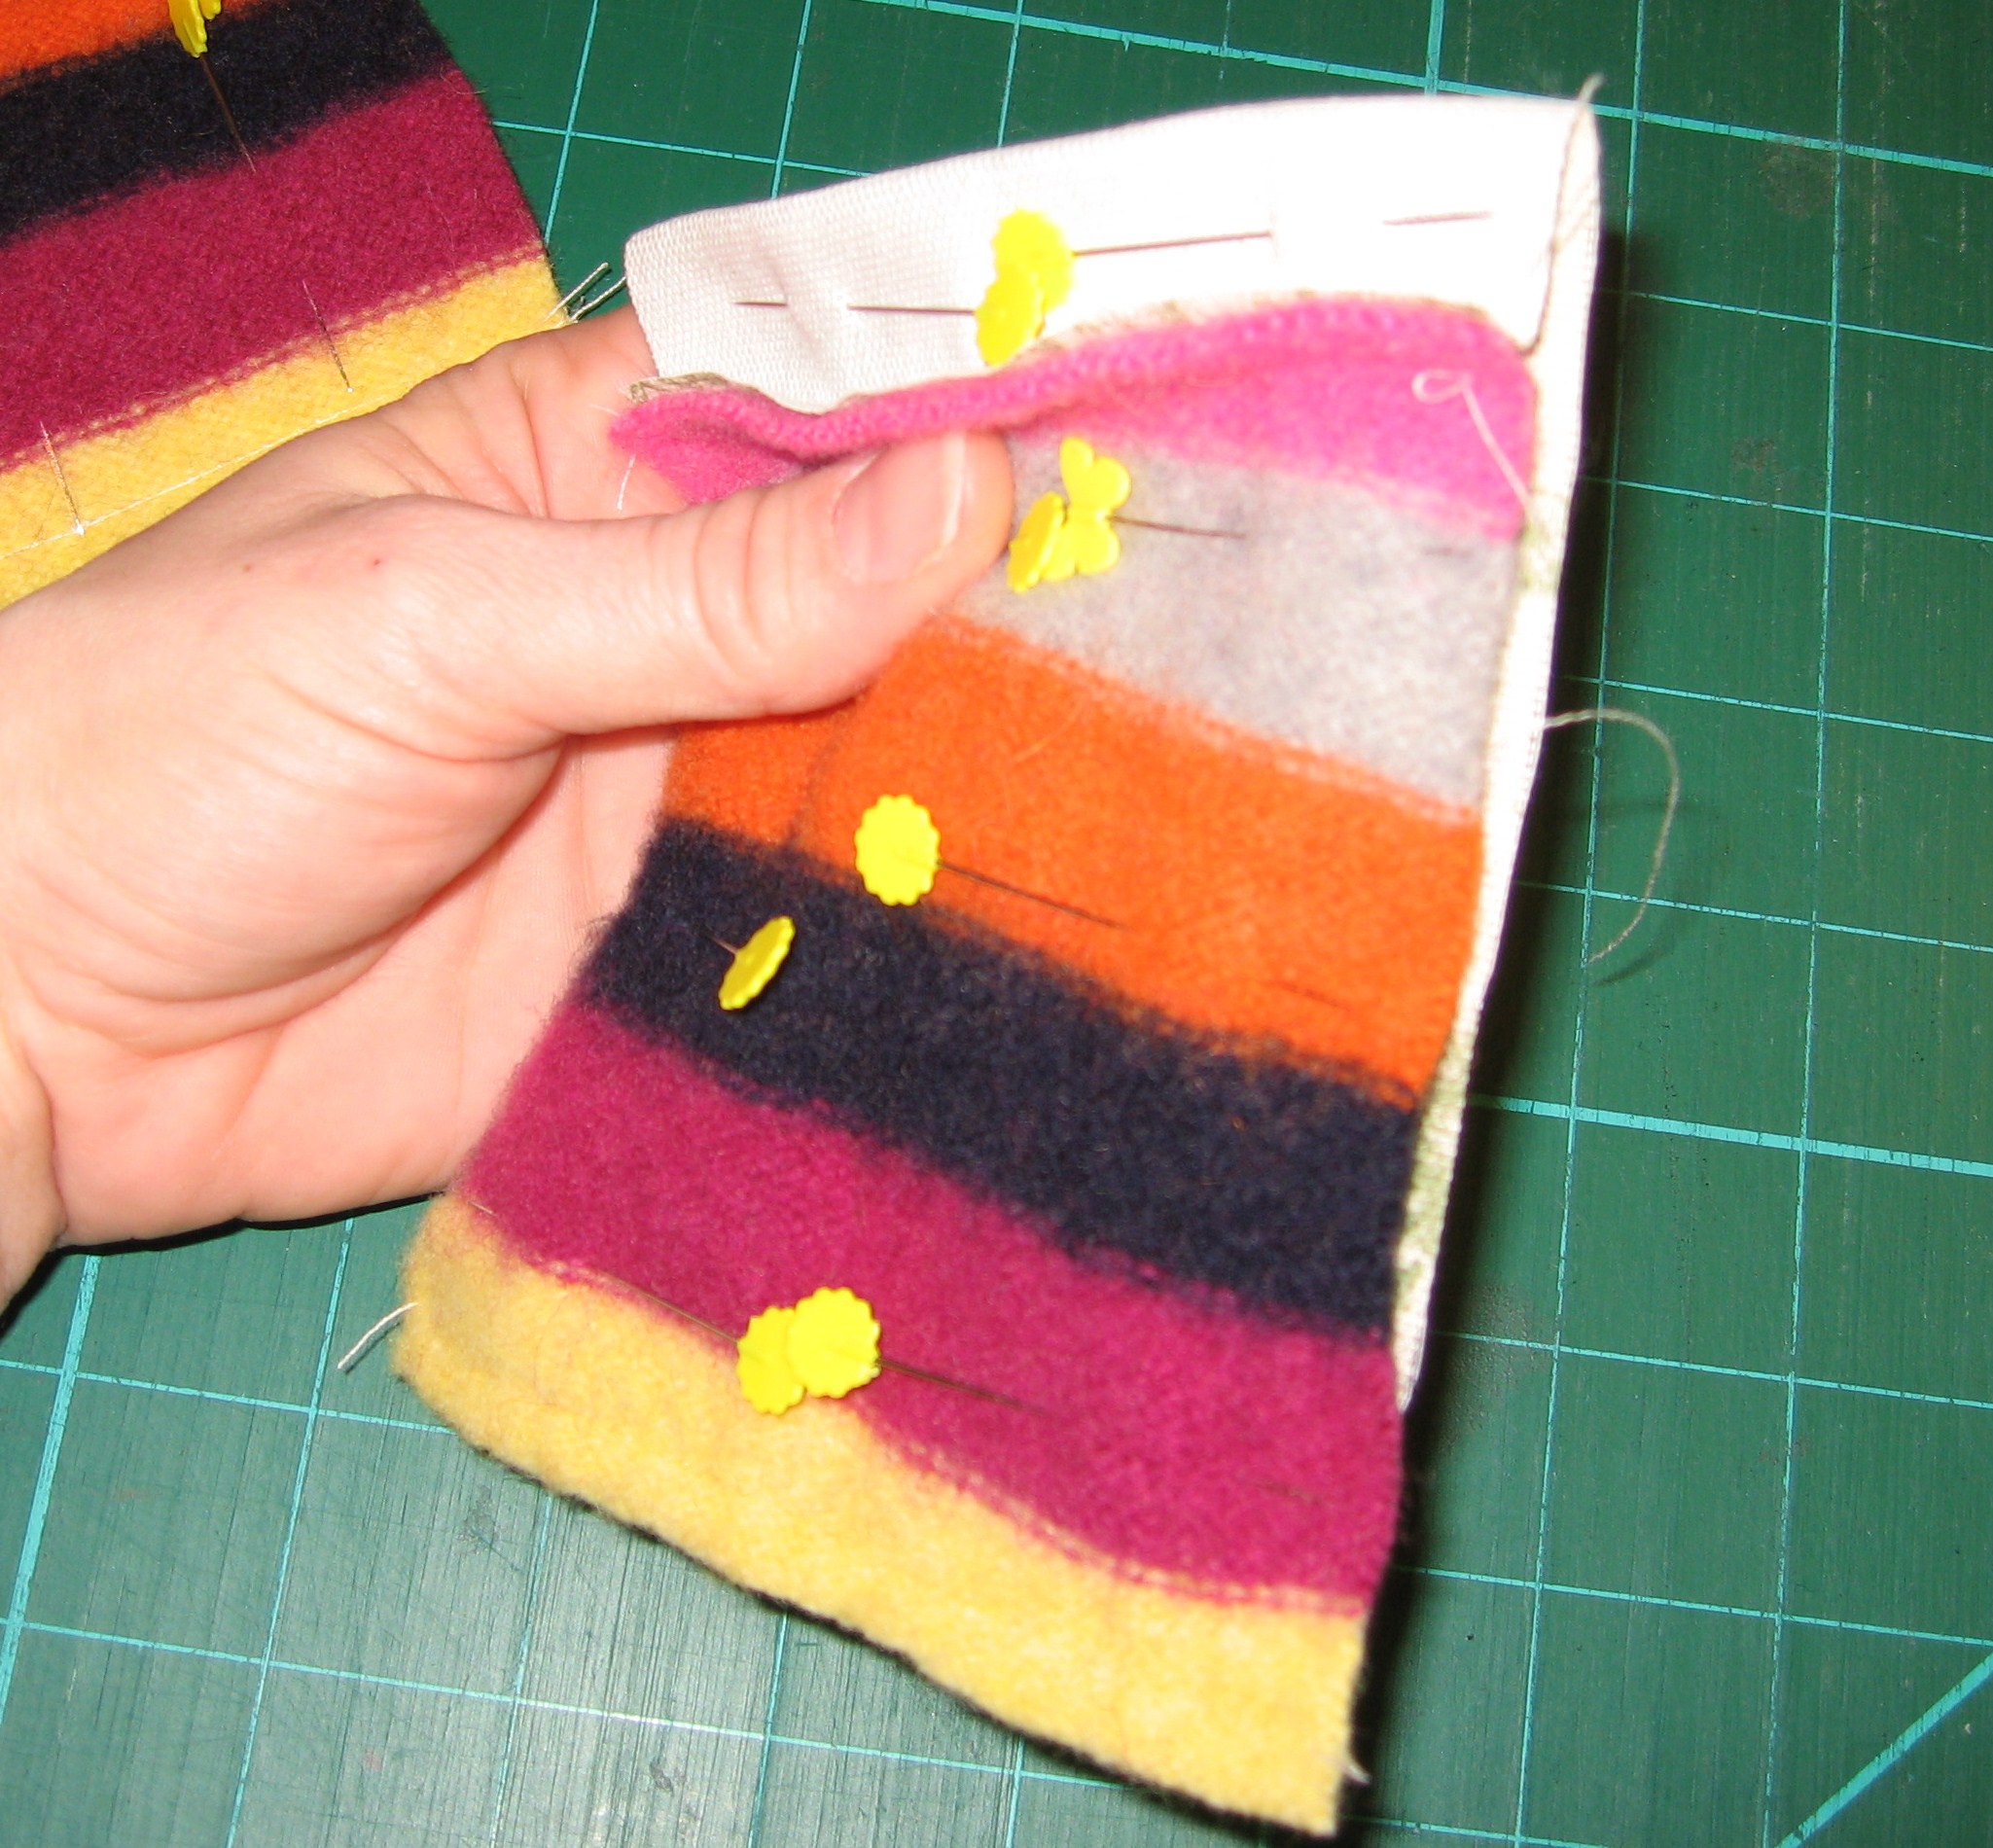
Pin sweater pocket piece to lining pocket piece, right sides together (lining should be 1.5″ longer), stitch ends.
Line up bottom of pocket, pin, then stitch sides. Leave an opening for turning.

Trim corners, turn pocket and pin openings.
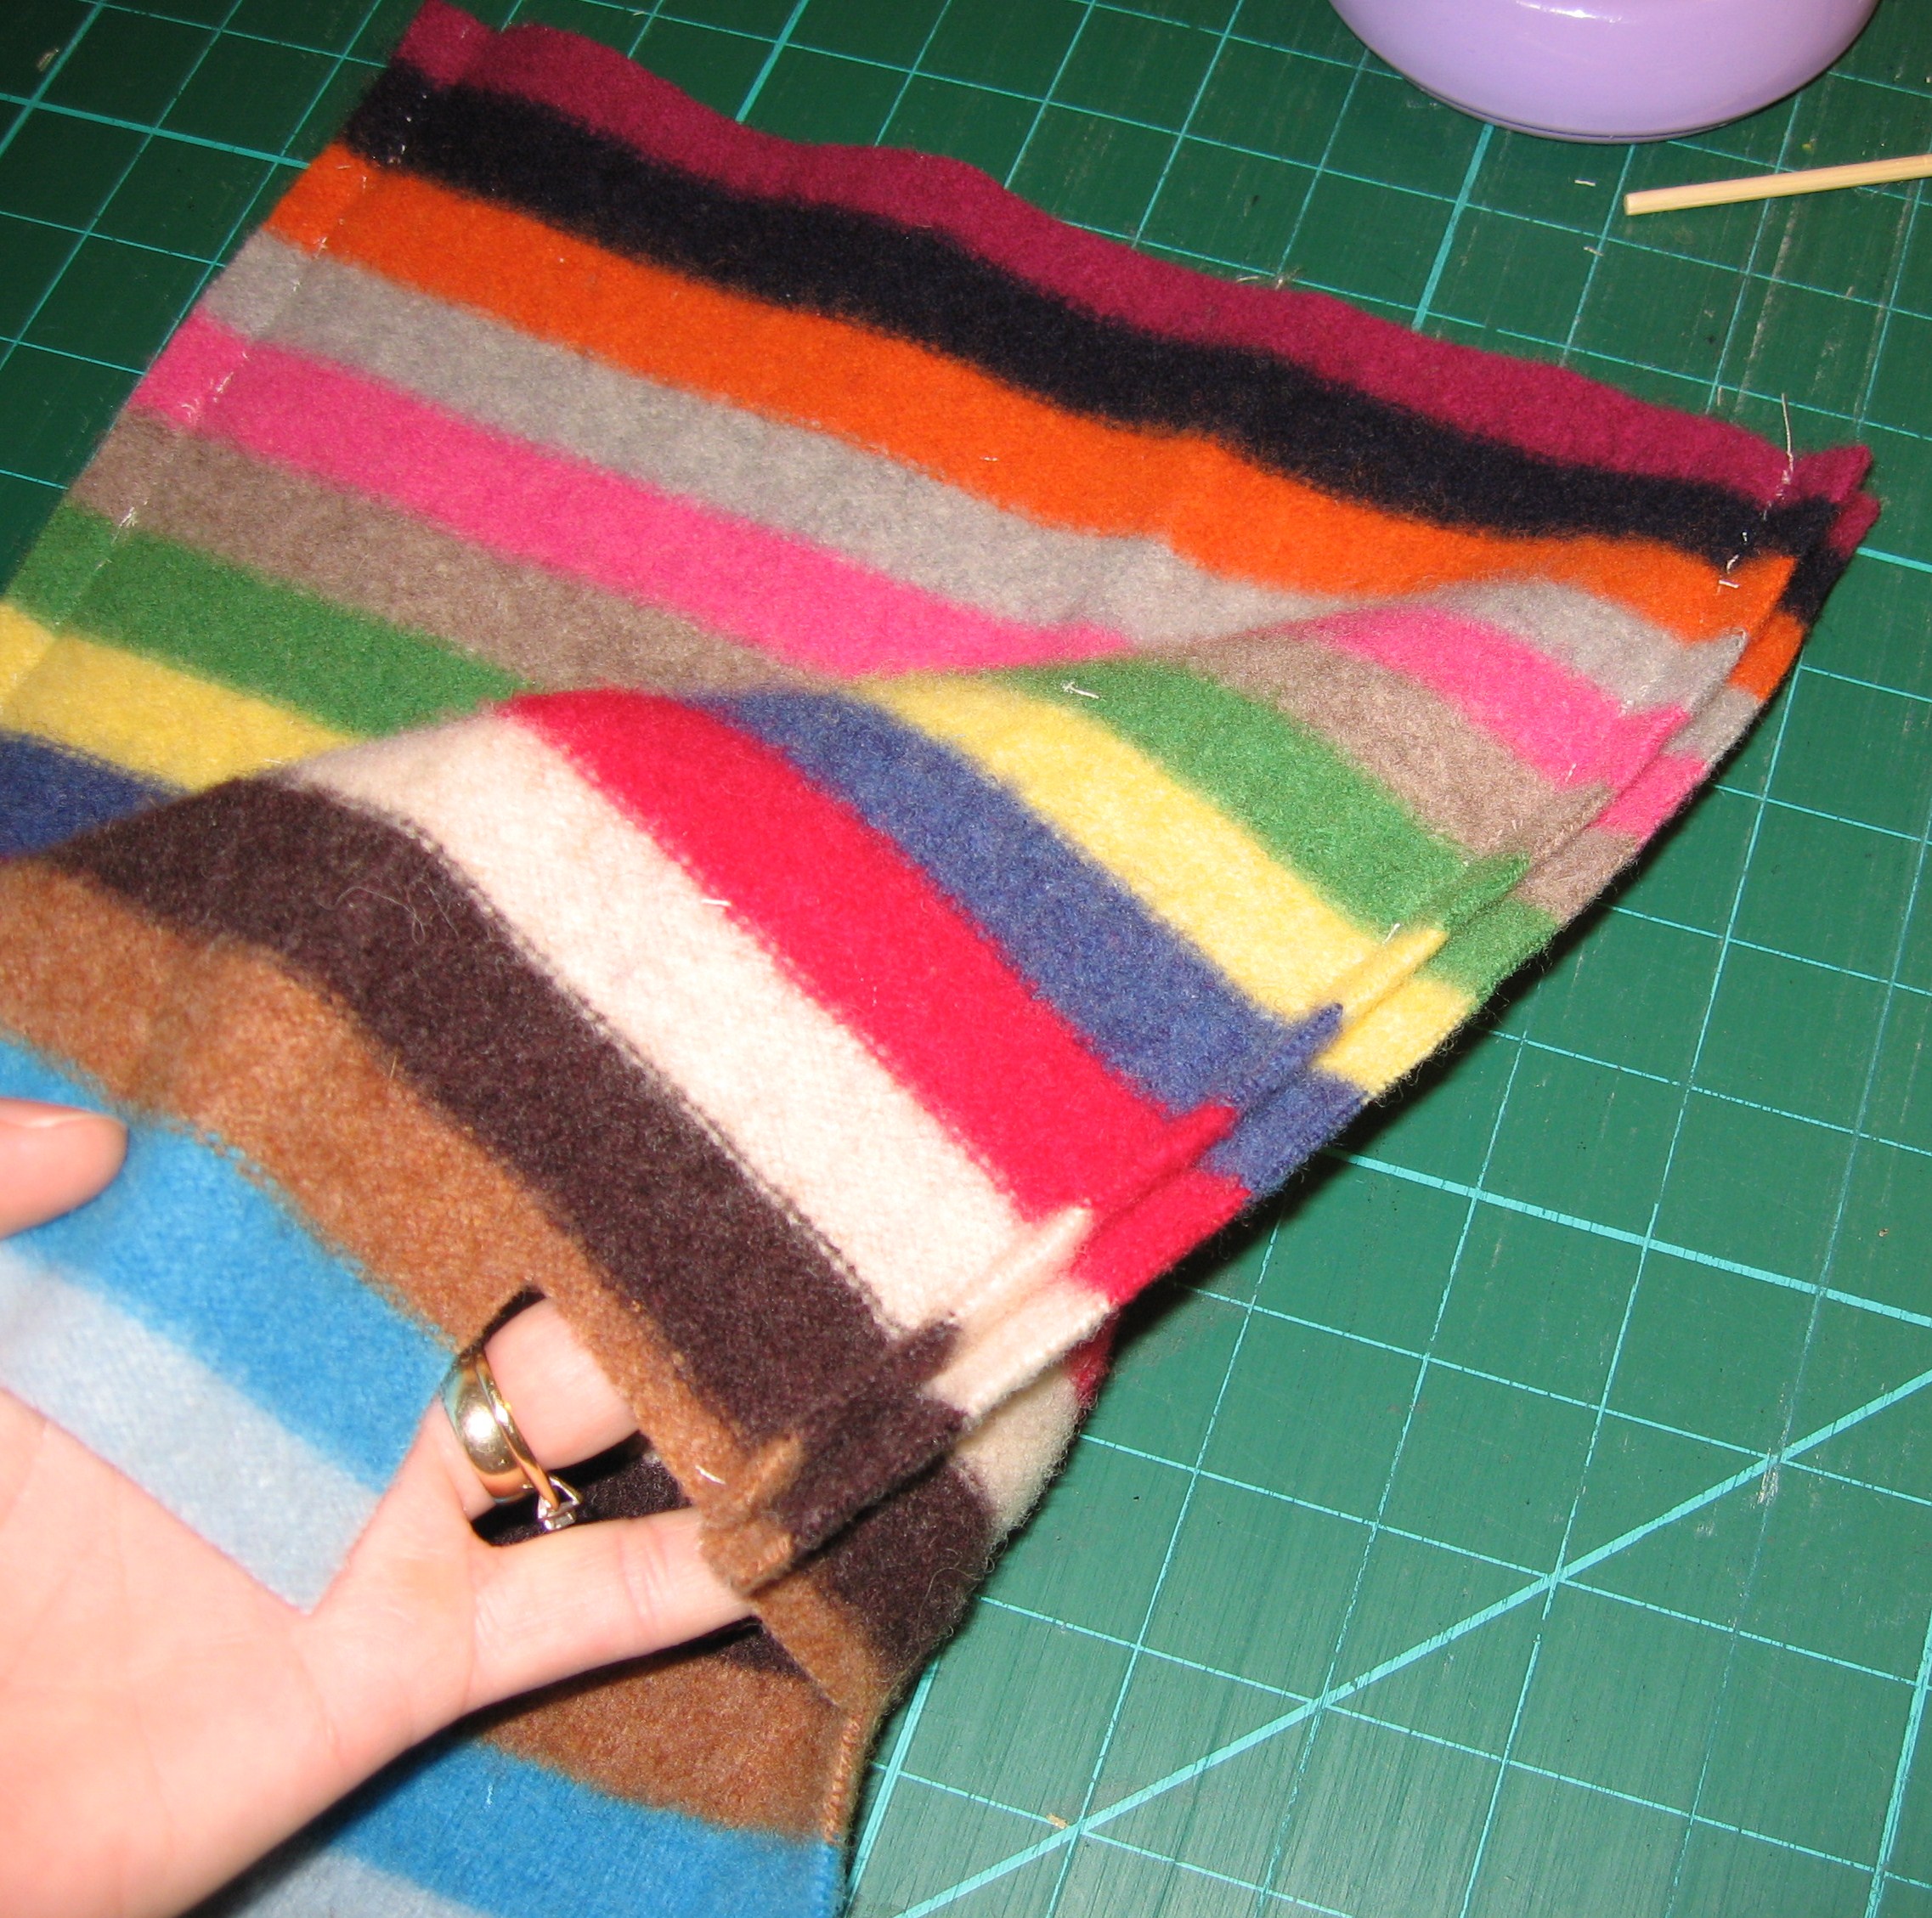
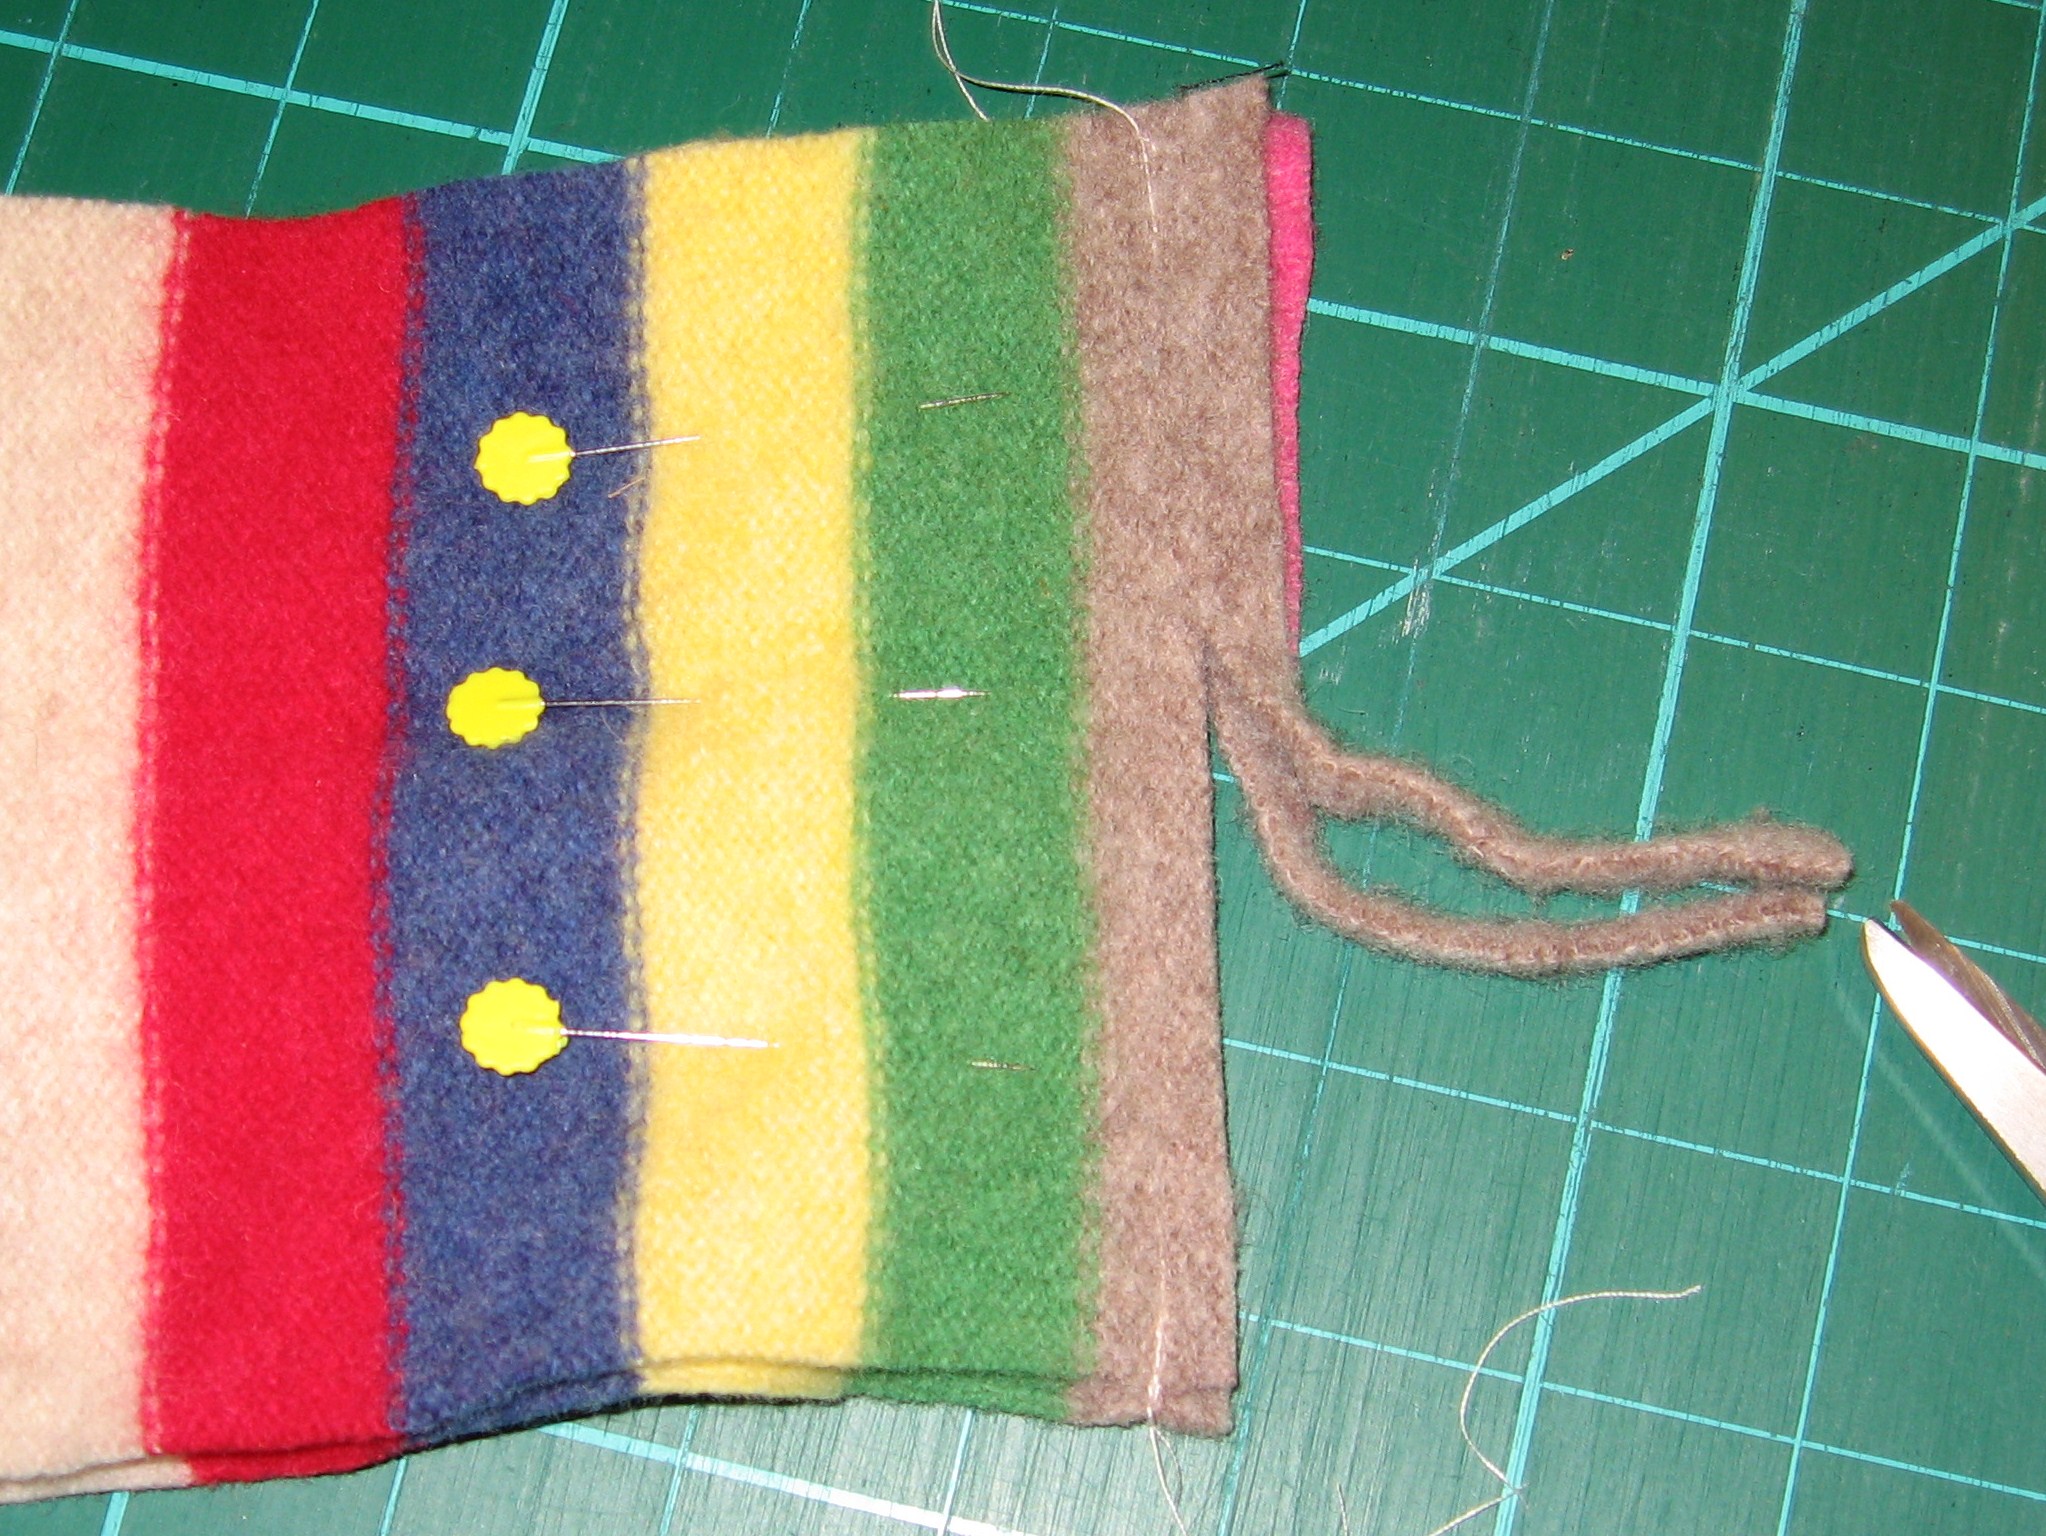
Stitch side seams of bag, leaving bottom open.


Turn the sweater bag body right side out, matching seams. Pin pockets over the side seams, then stitch to attach.

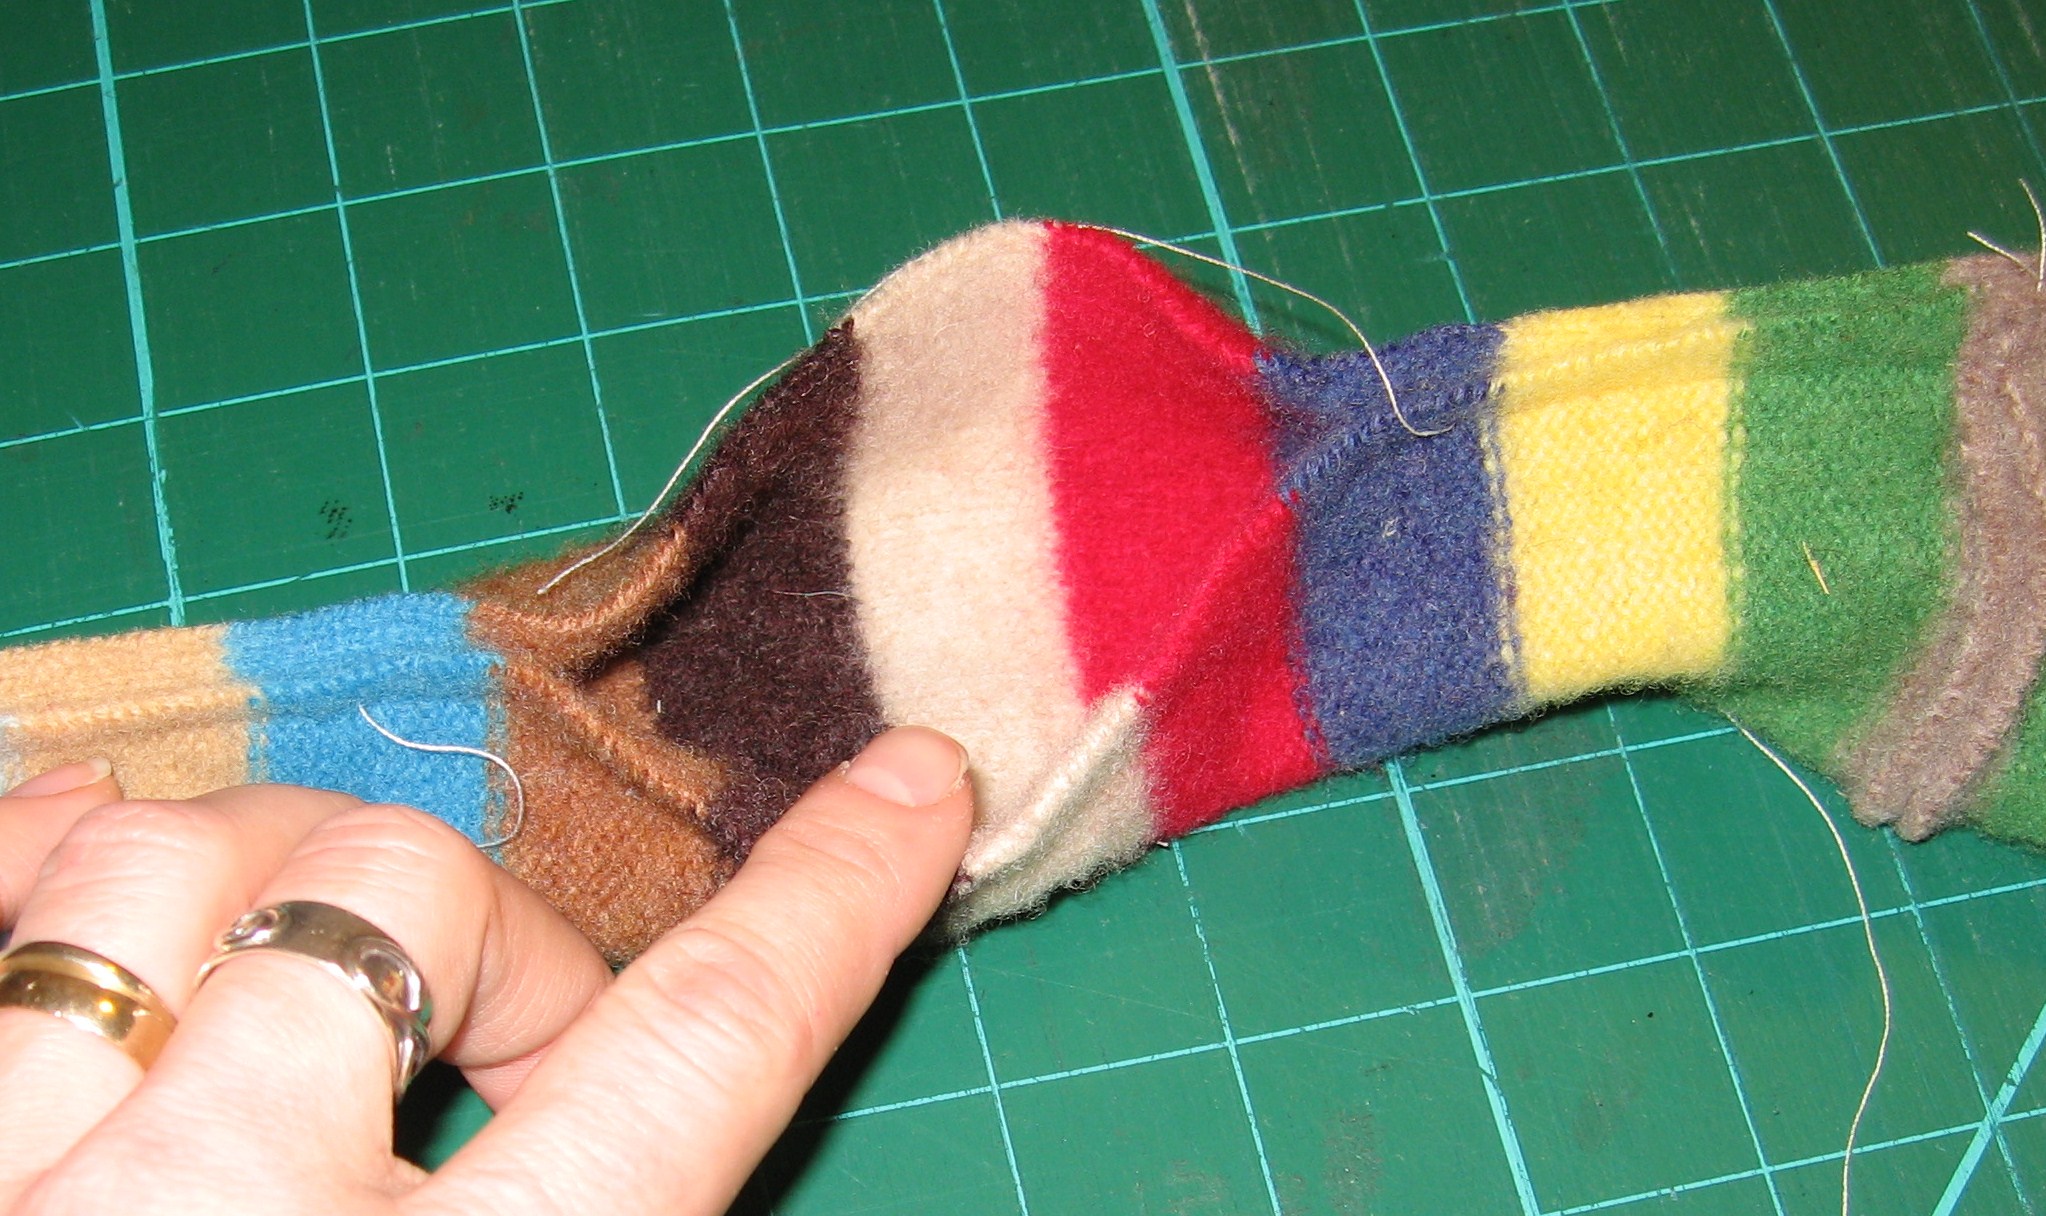
With right sides together, stitch across sweater bag bottom.
Fold in boxed corners, matching side & bottom seams, pin & stitch.

The inside bottom should look like this.
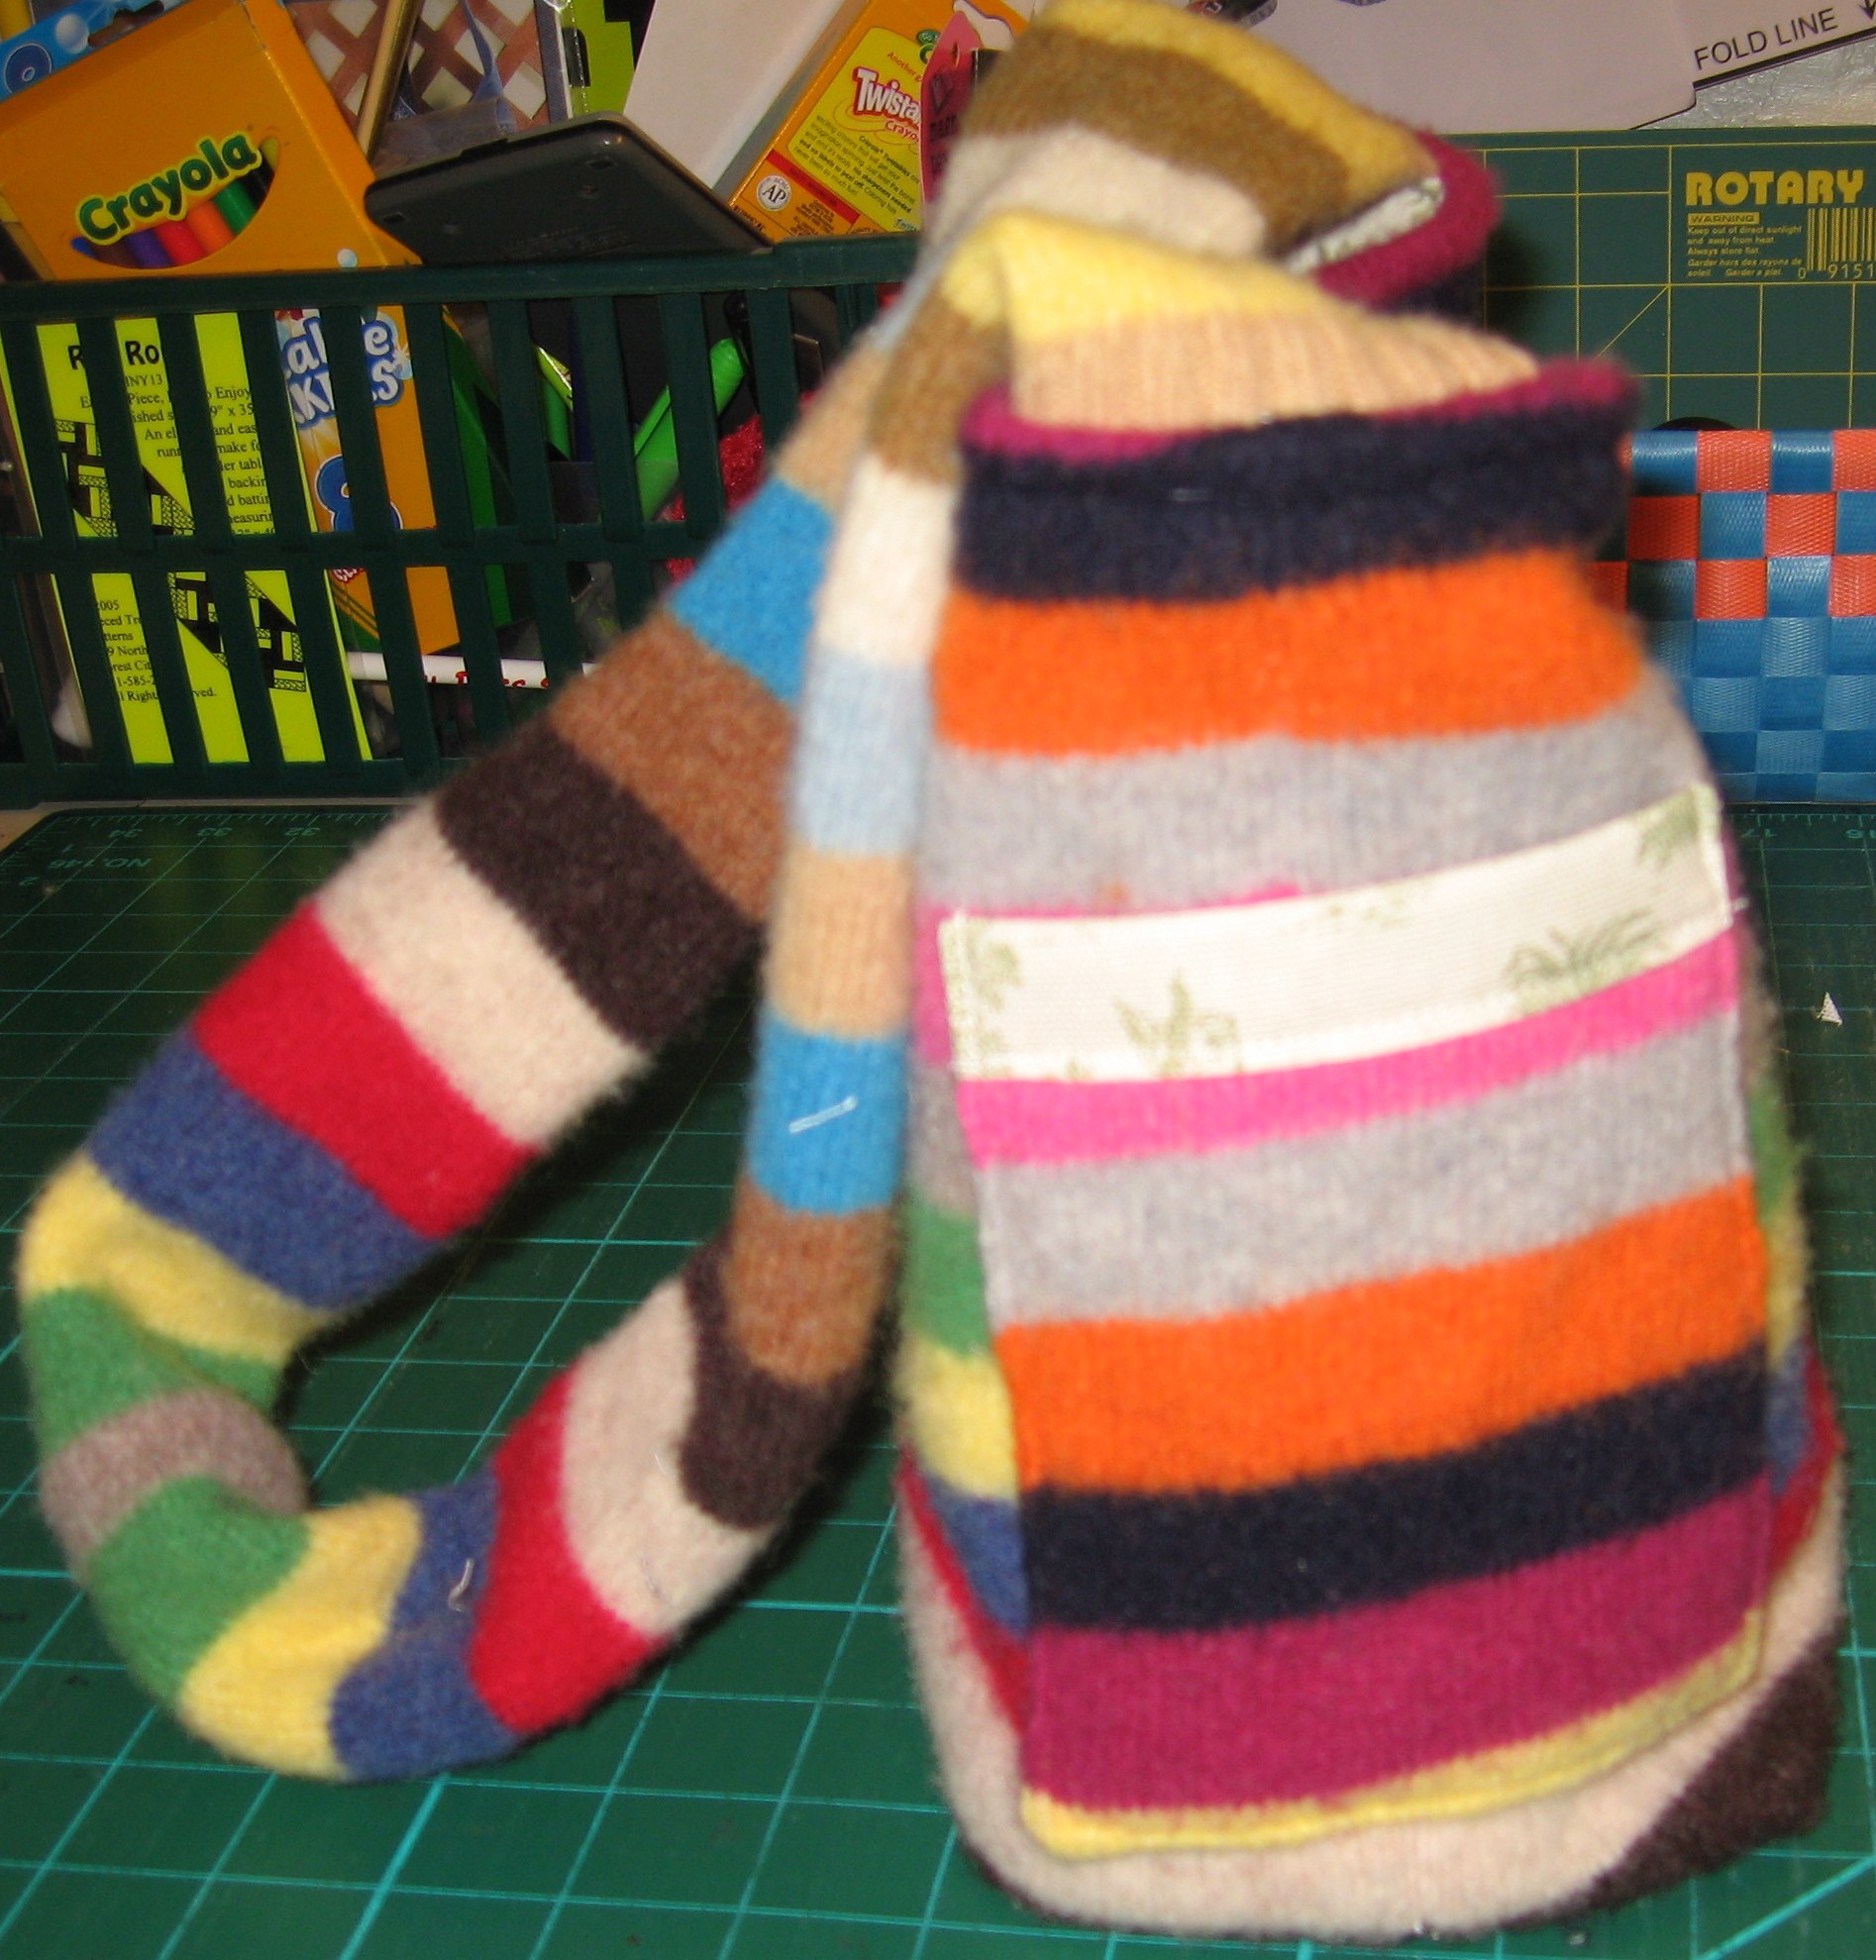
Time for Sleeves!

Trim sleeves to desired width for strap, I like a wider strip so tend to cut about 5″. This includes seam allowance. Remember, this is your bag, and this width will vary based on your sweater, so the dimensions are all yours!
Pin ends of two sleeves together, stitch and trim seam.
Fold lengthwise, stitch, leaving approx. 6″ open for turning


Turn right side out and smooth opening.

Stitch closed with a tight whip stitch.
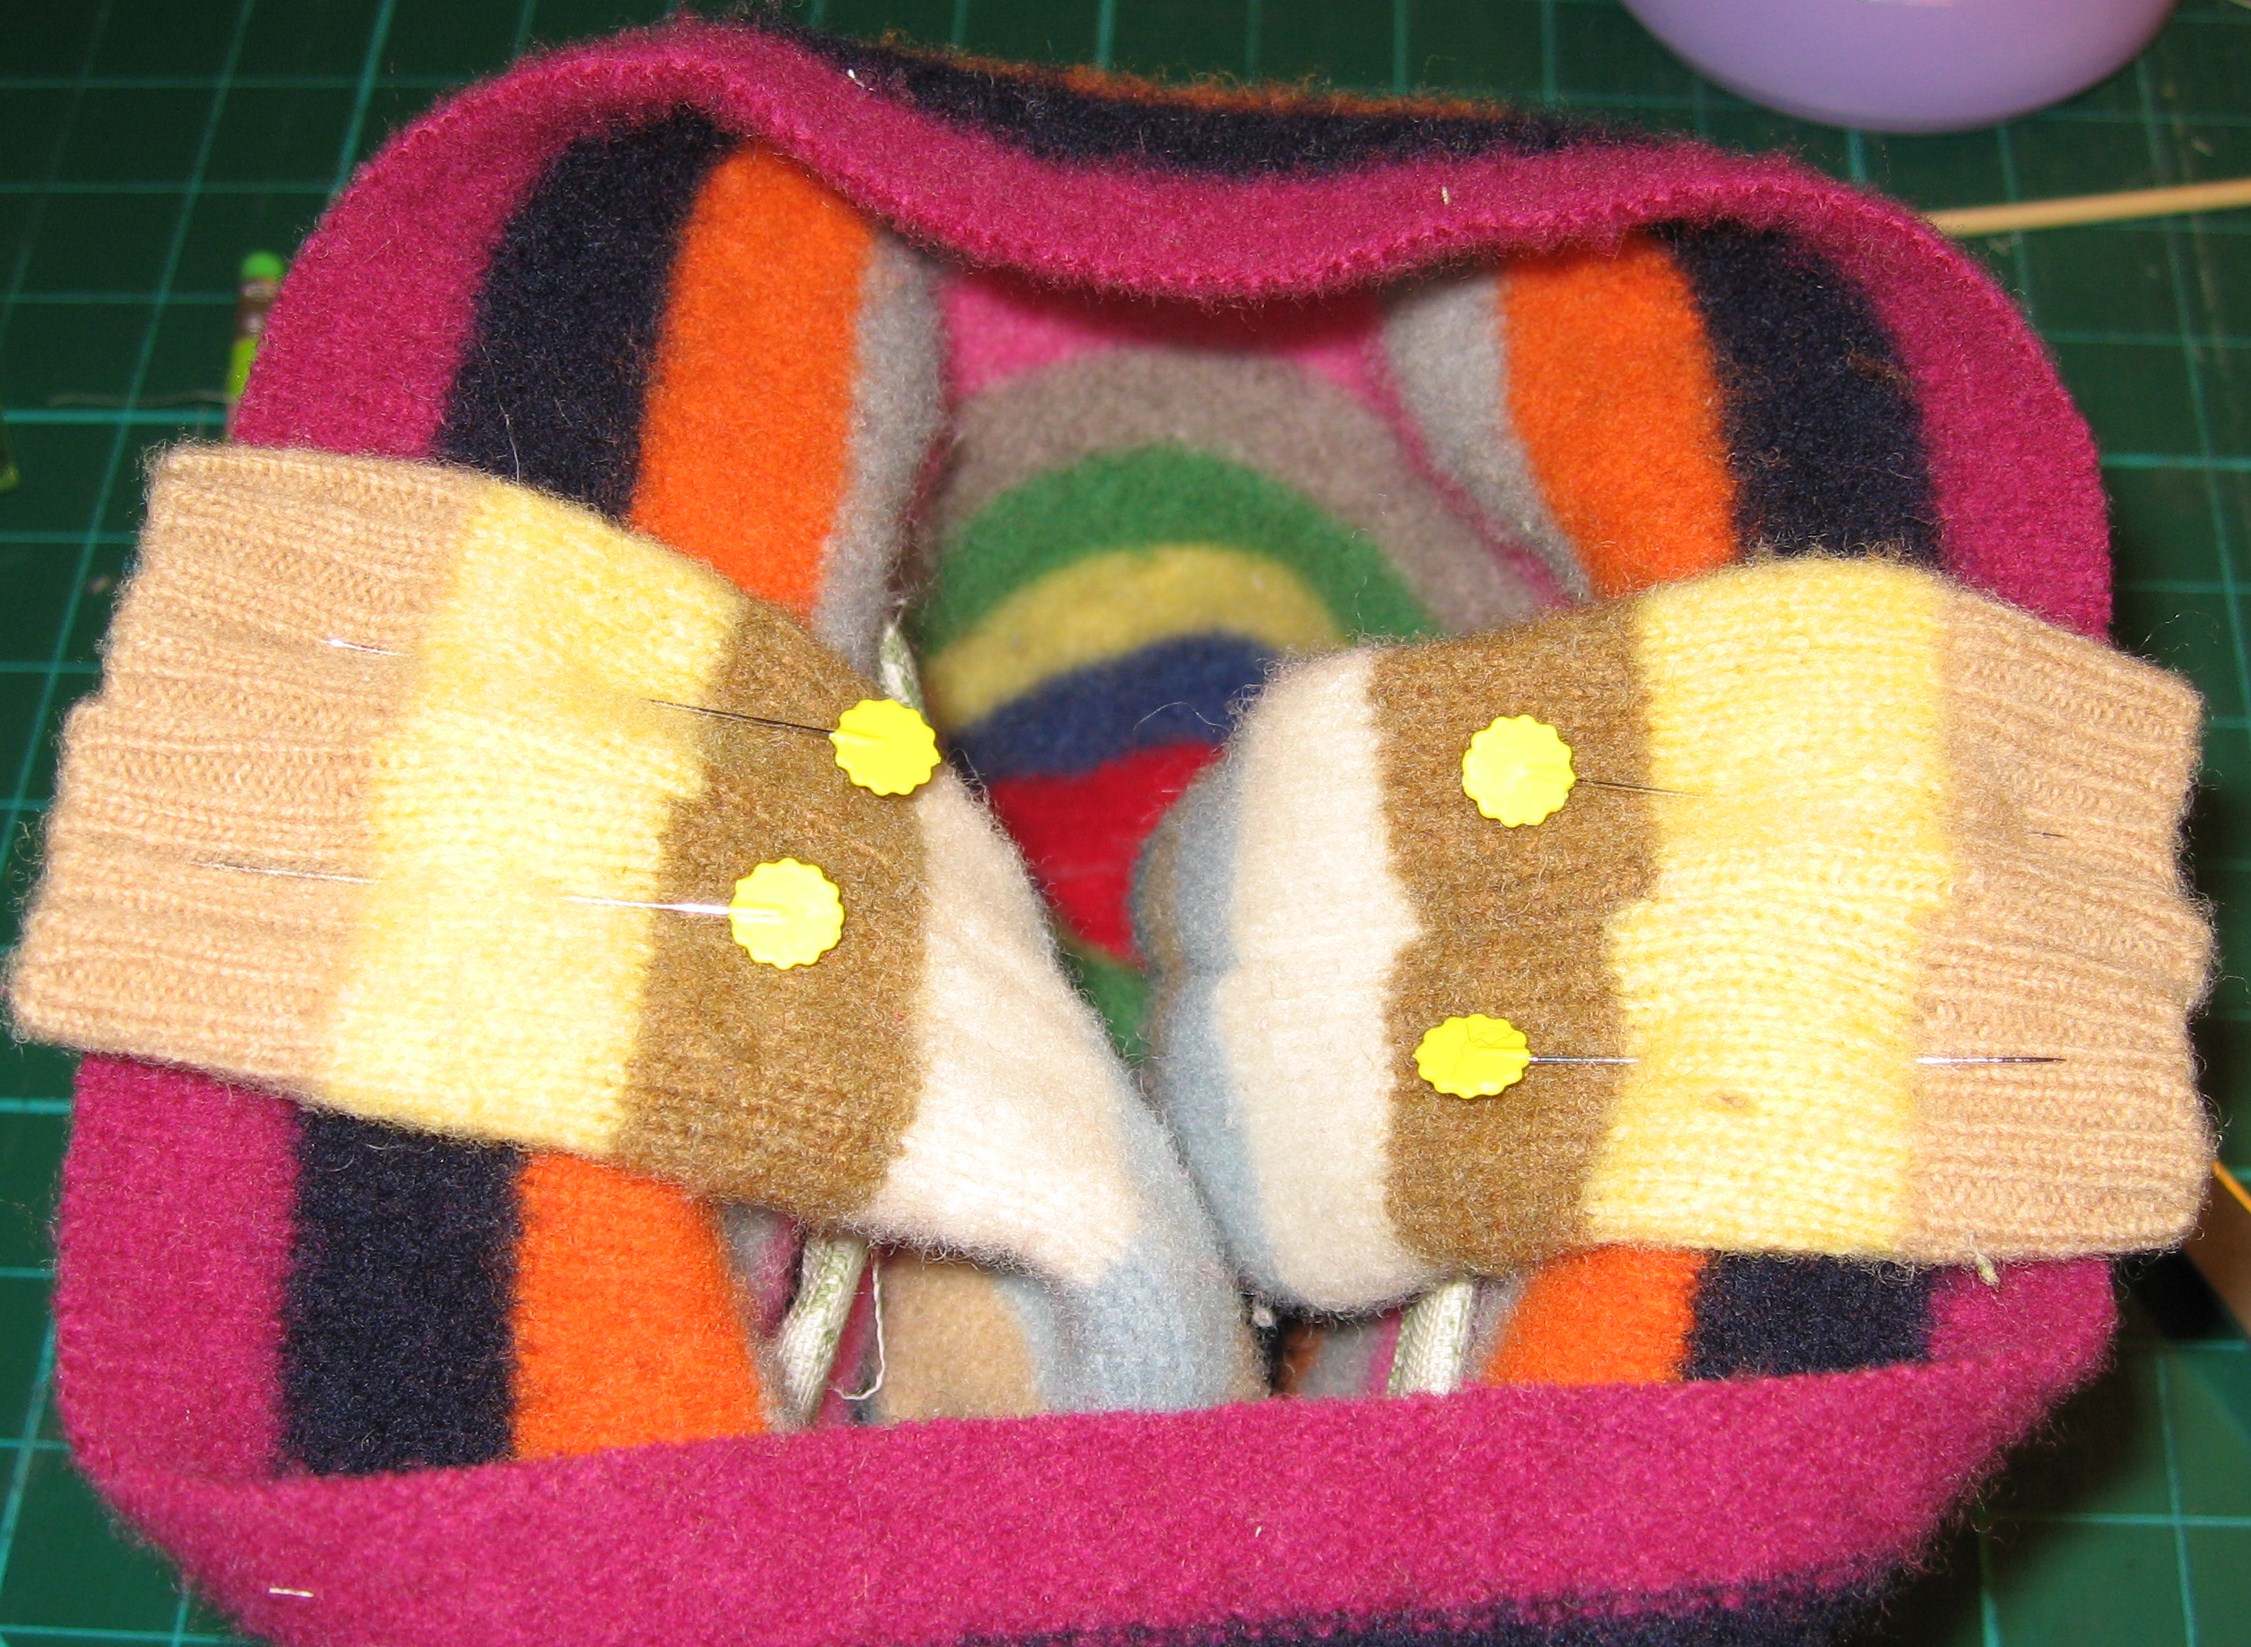

Center and pin straps to side seams, being sure to match right sides. Stitch in place.

Ensure the straps are inside and pin the lining to the sweater (outside of the bag), right sides together. Stitch around the top.


Turn the bag right side out through the opening in the lining.

Pin opening in lining. Stitch closed.


Turn lining inside, smooth and pin. Top stitch.

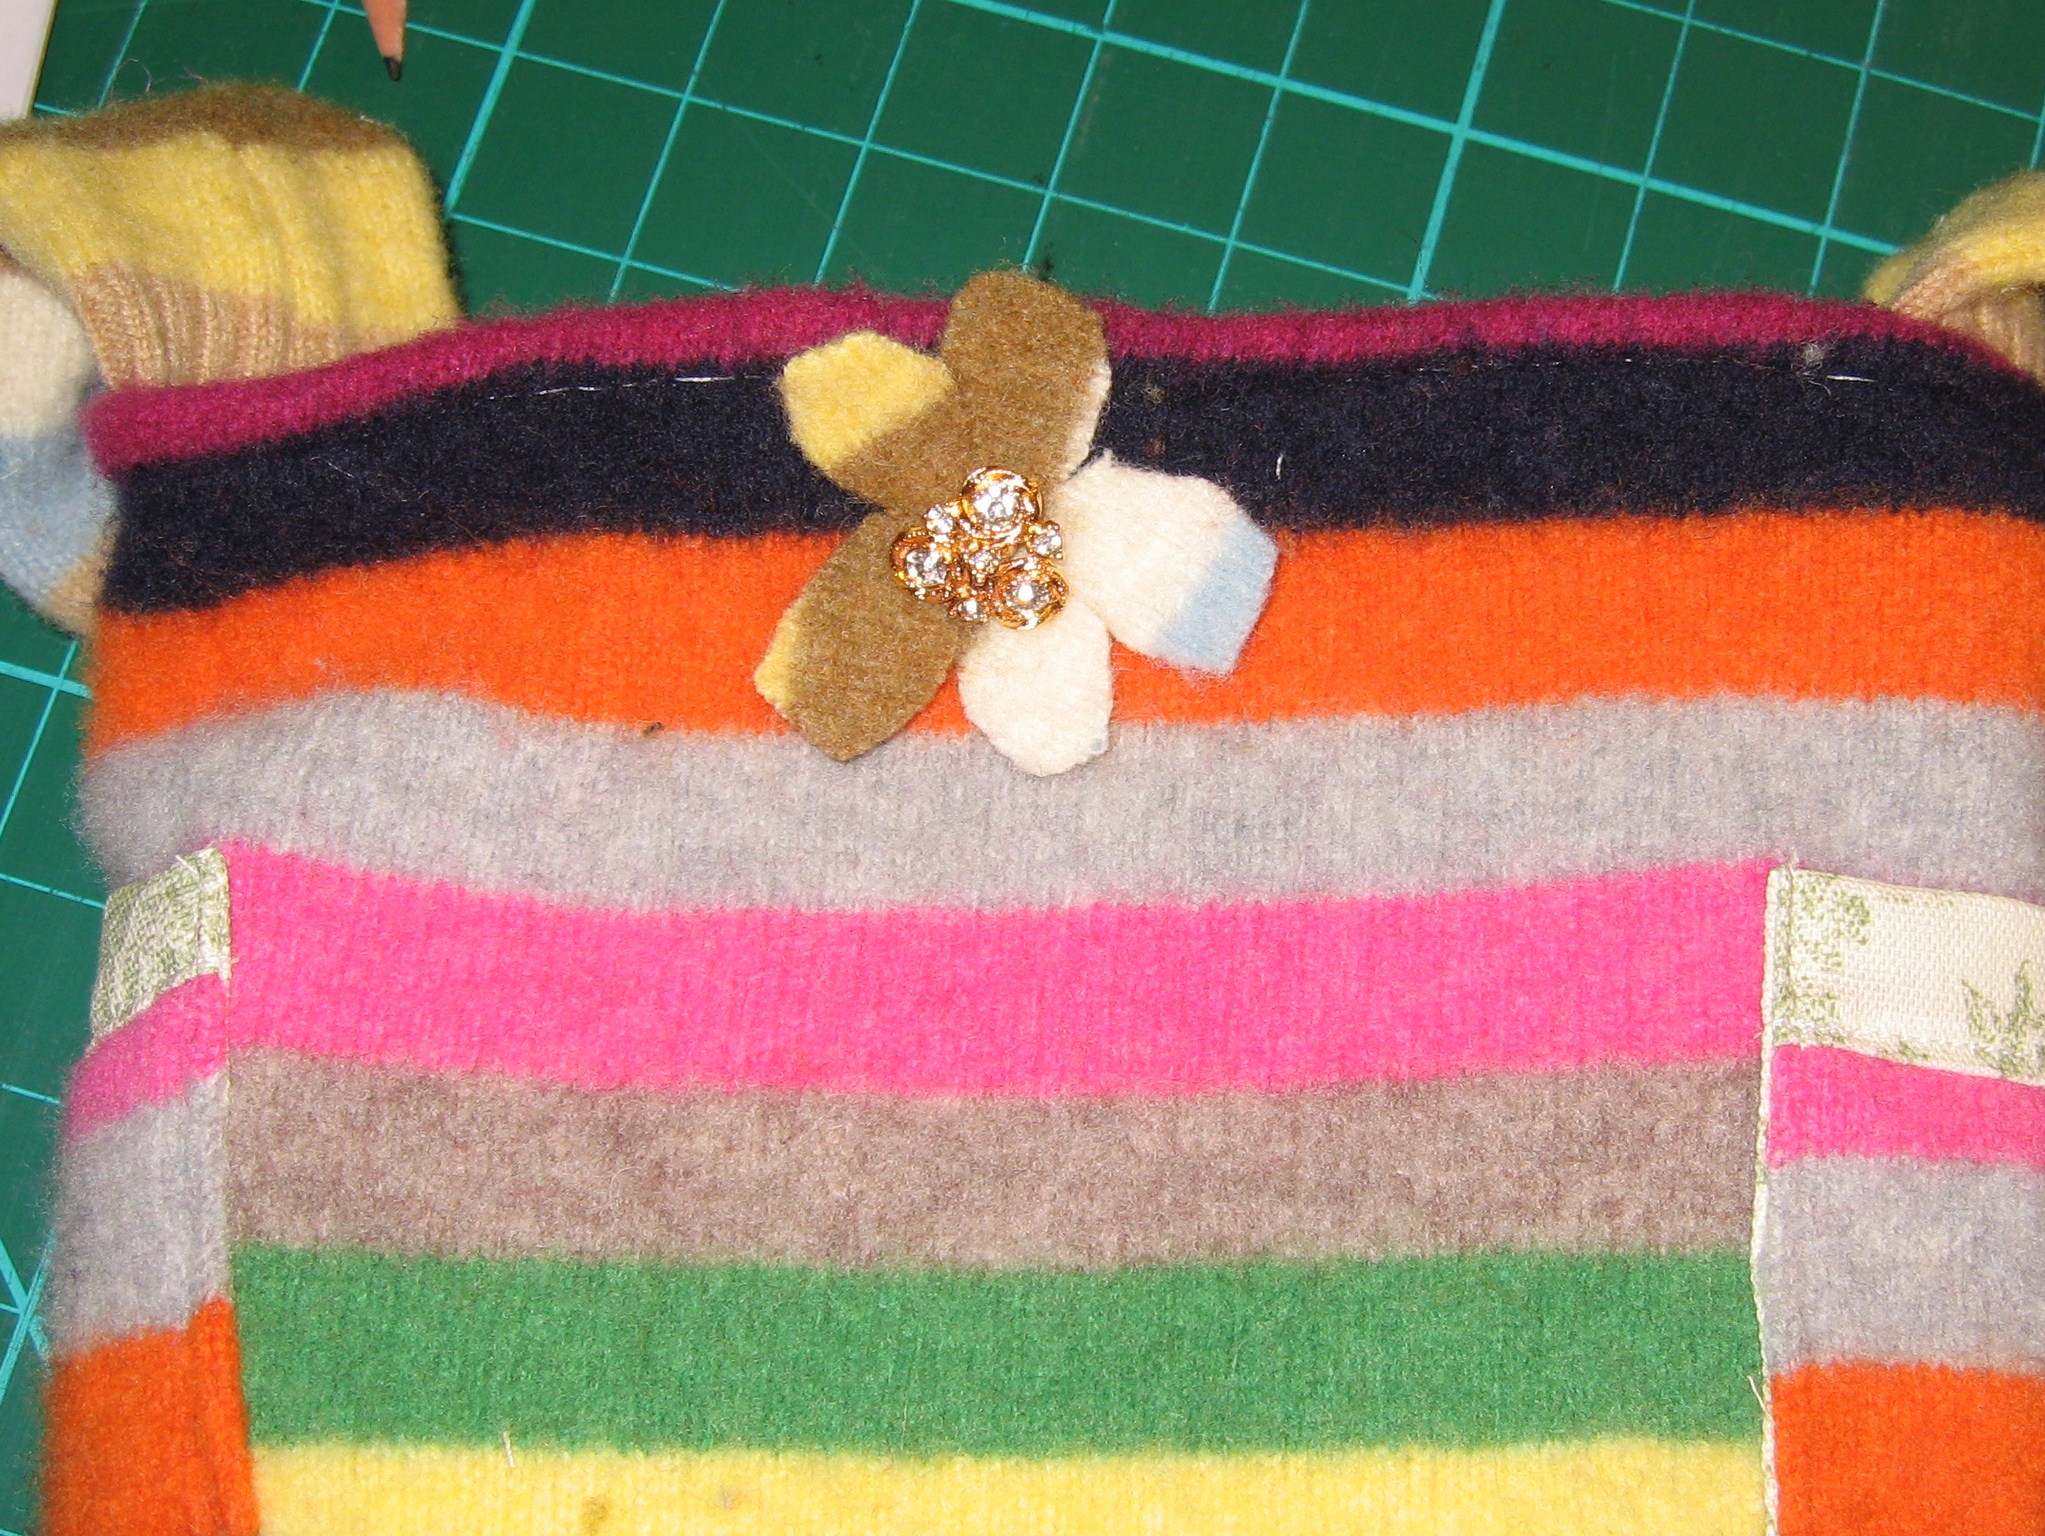
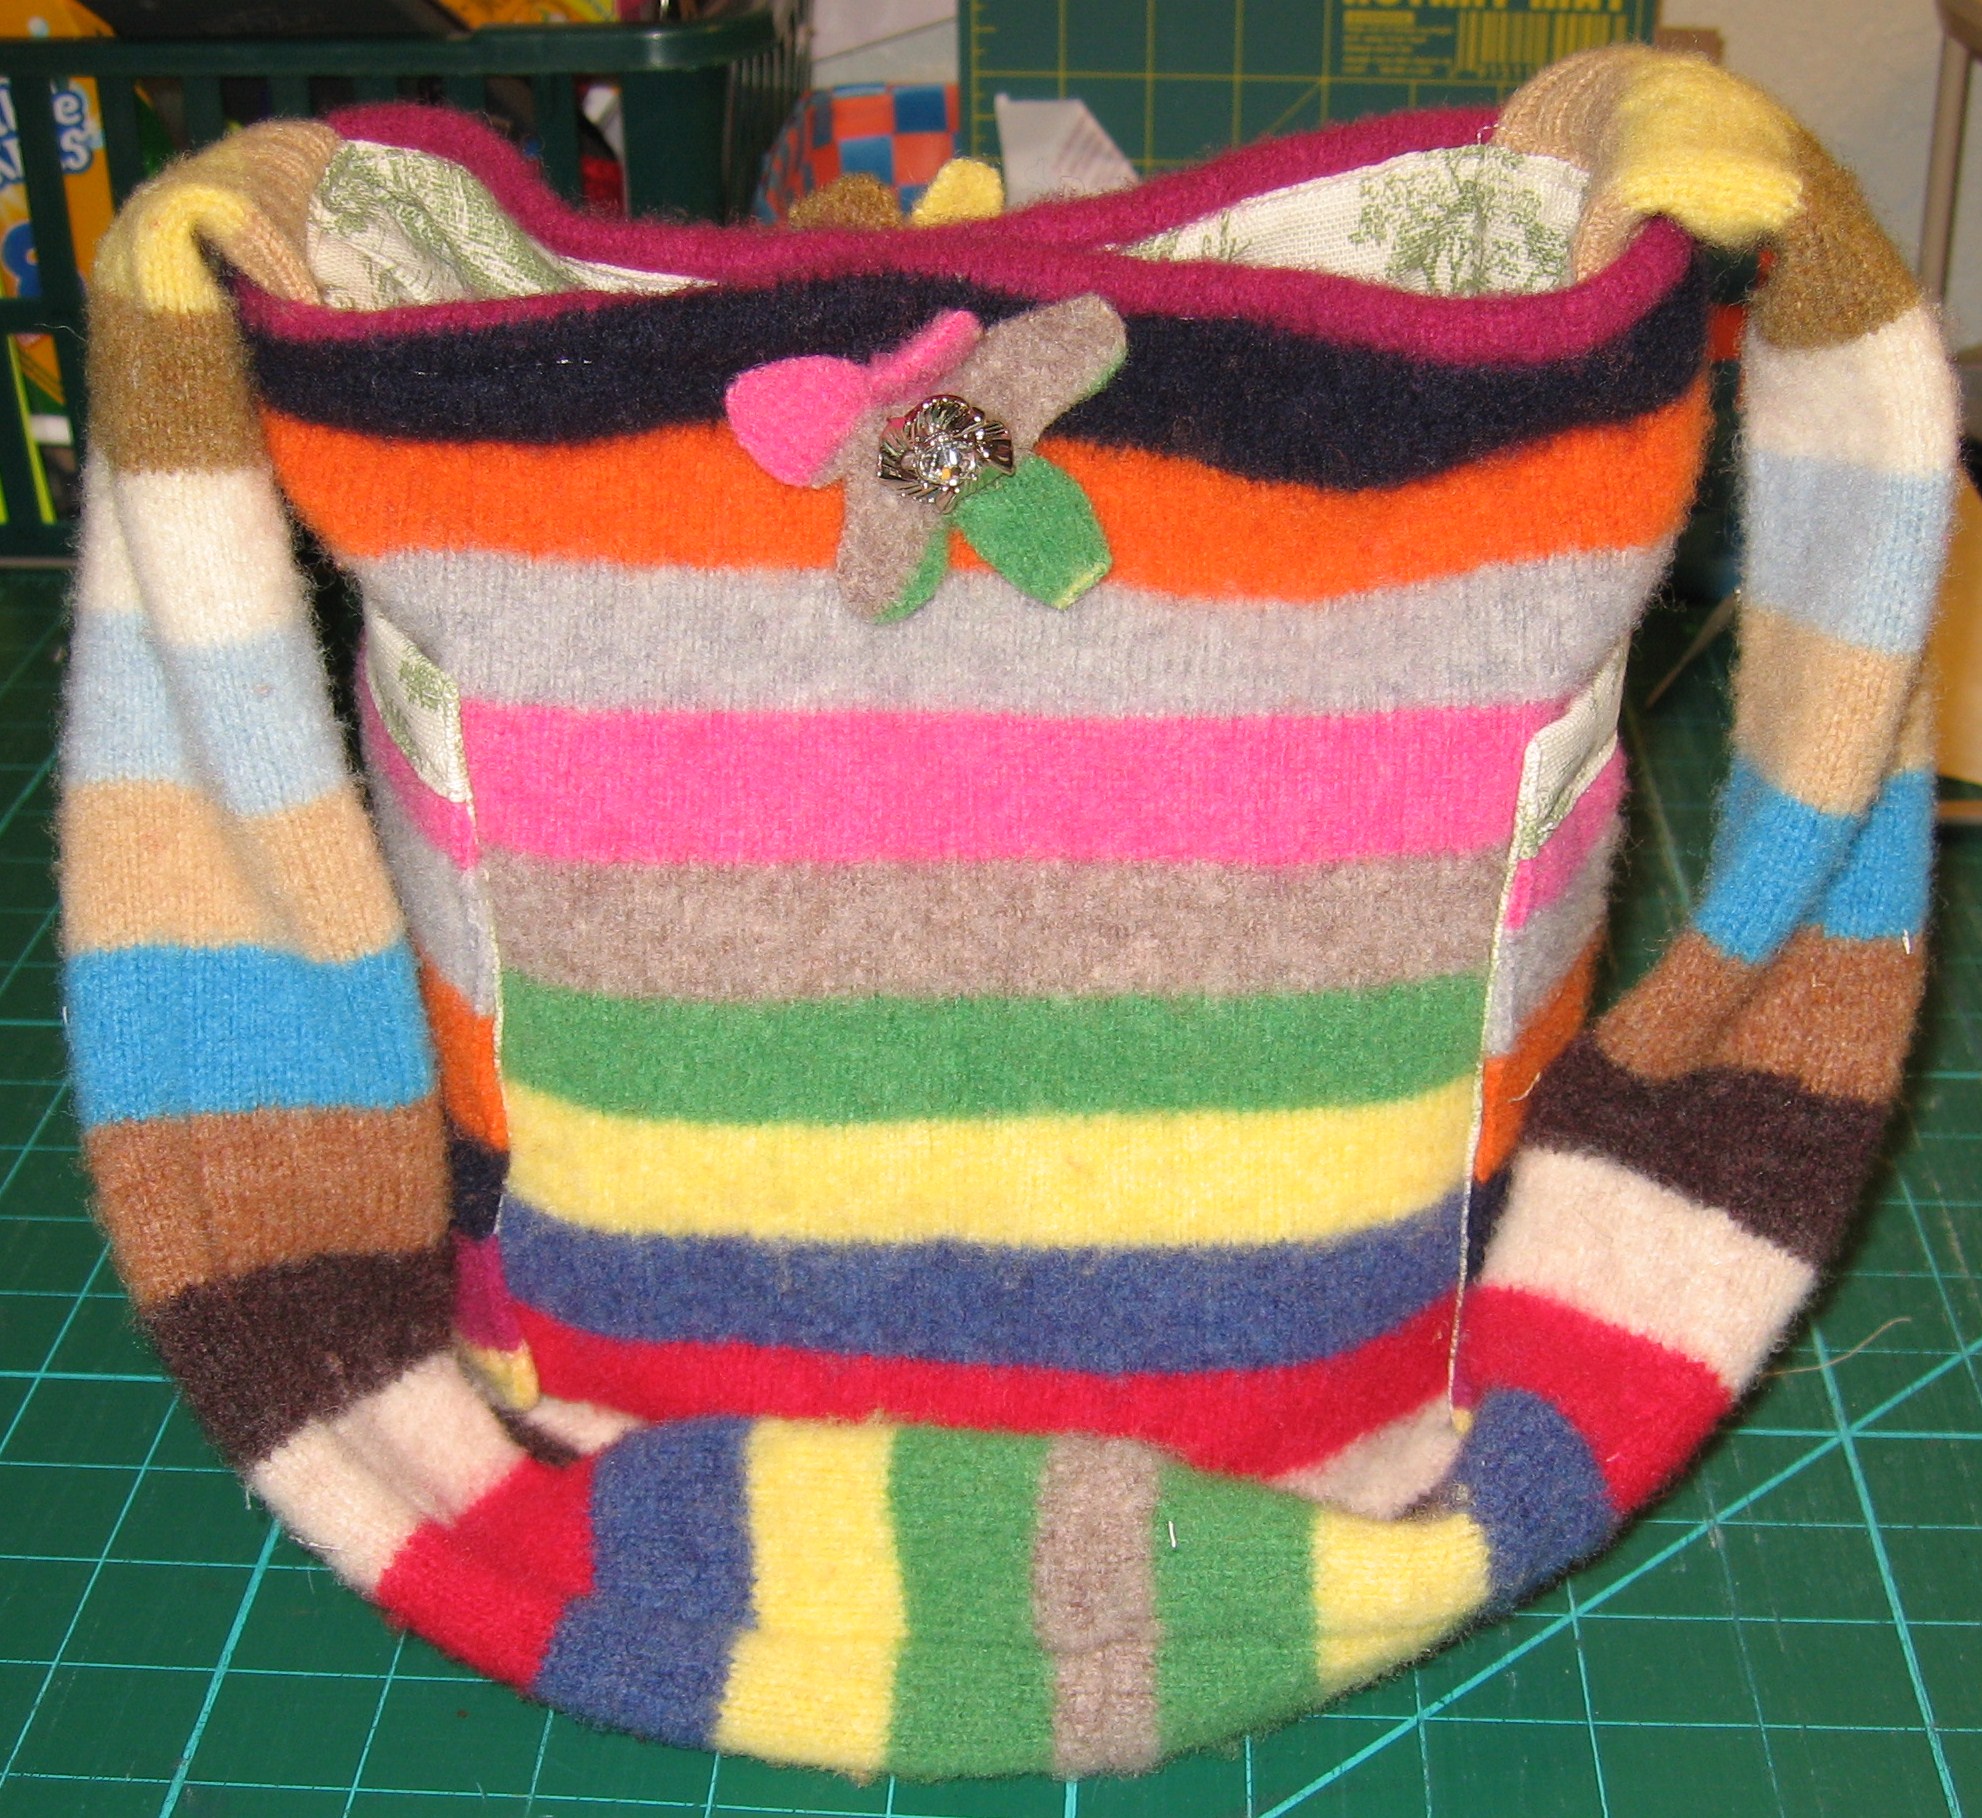
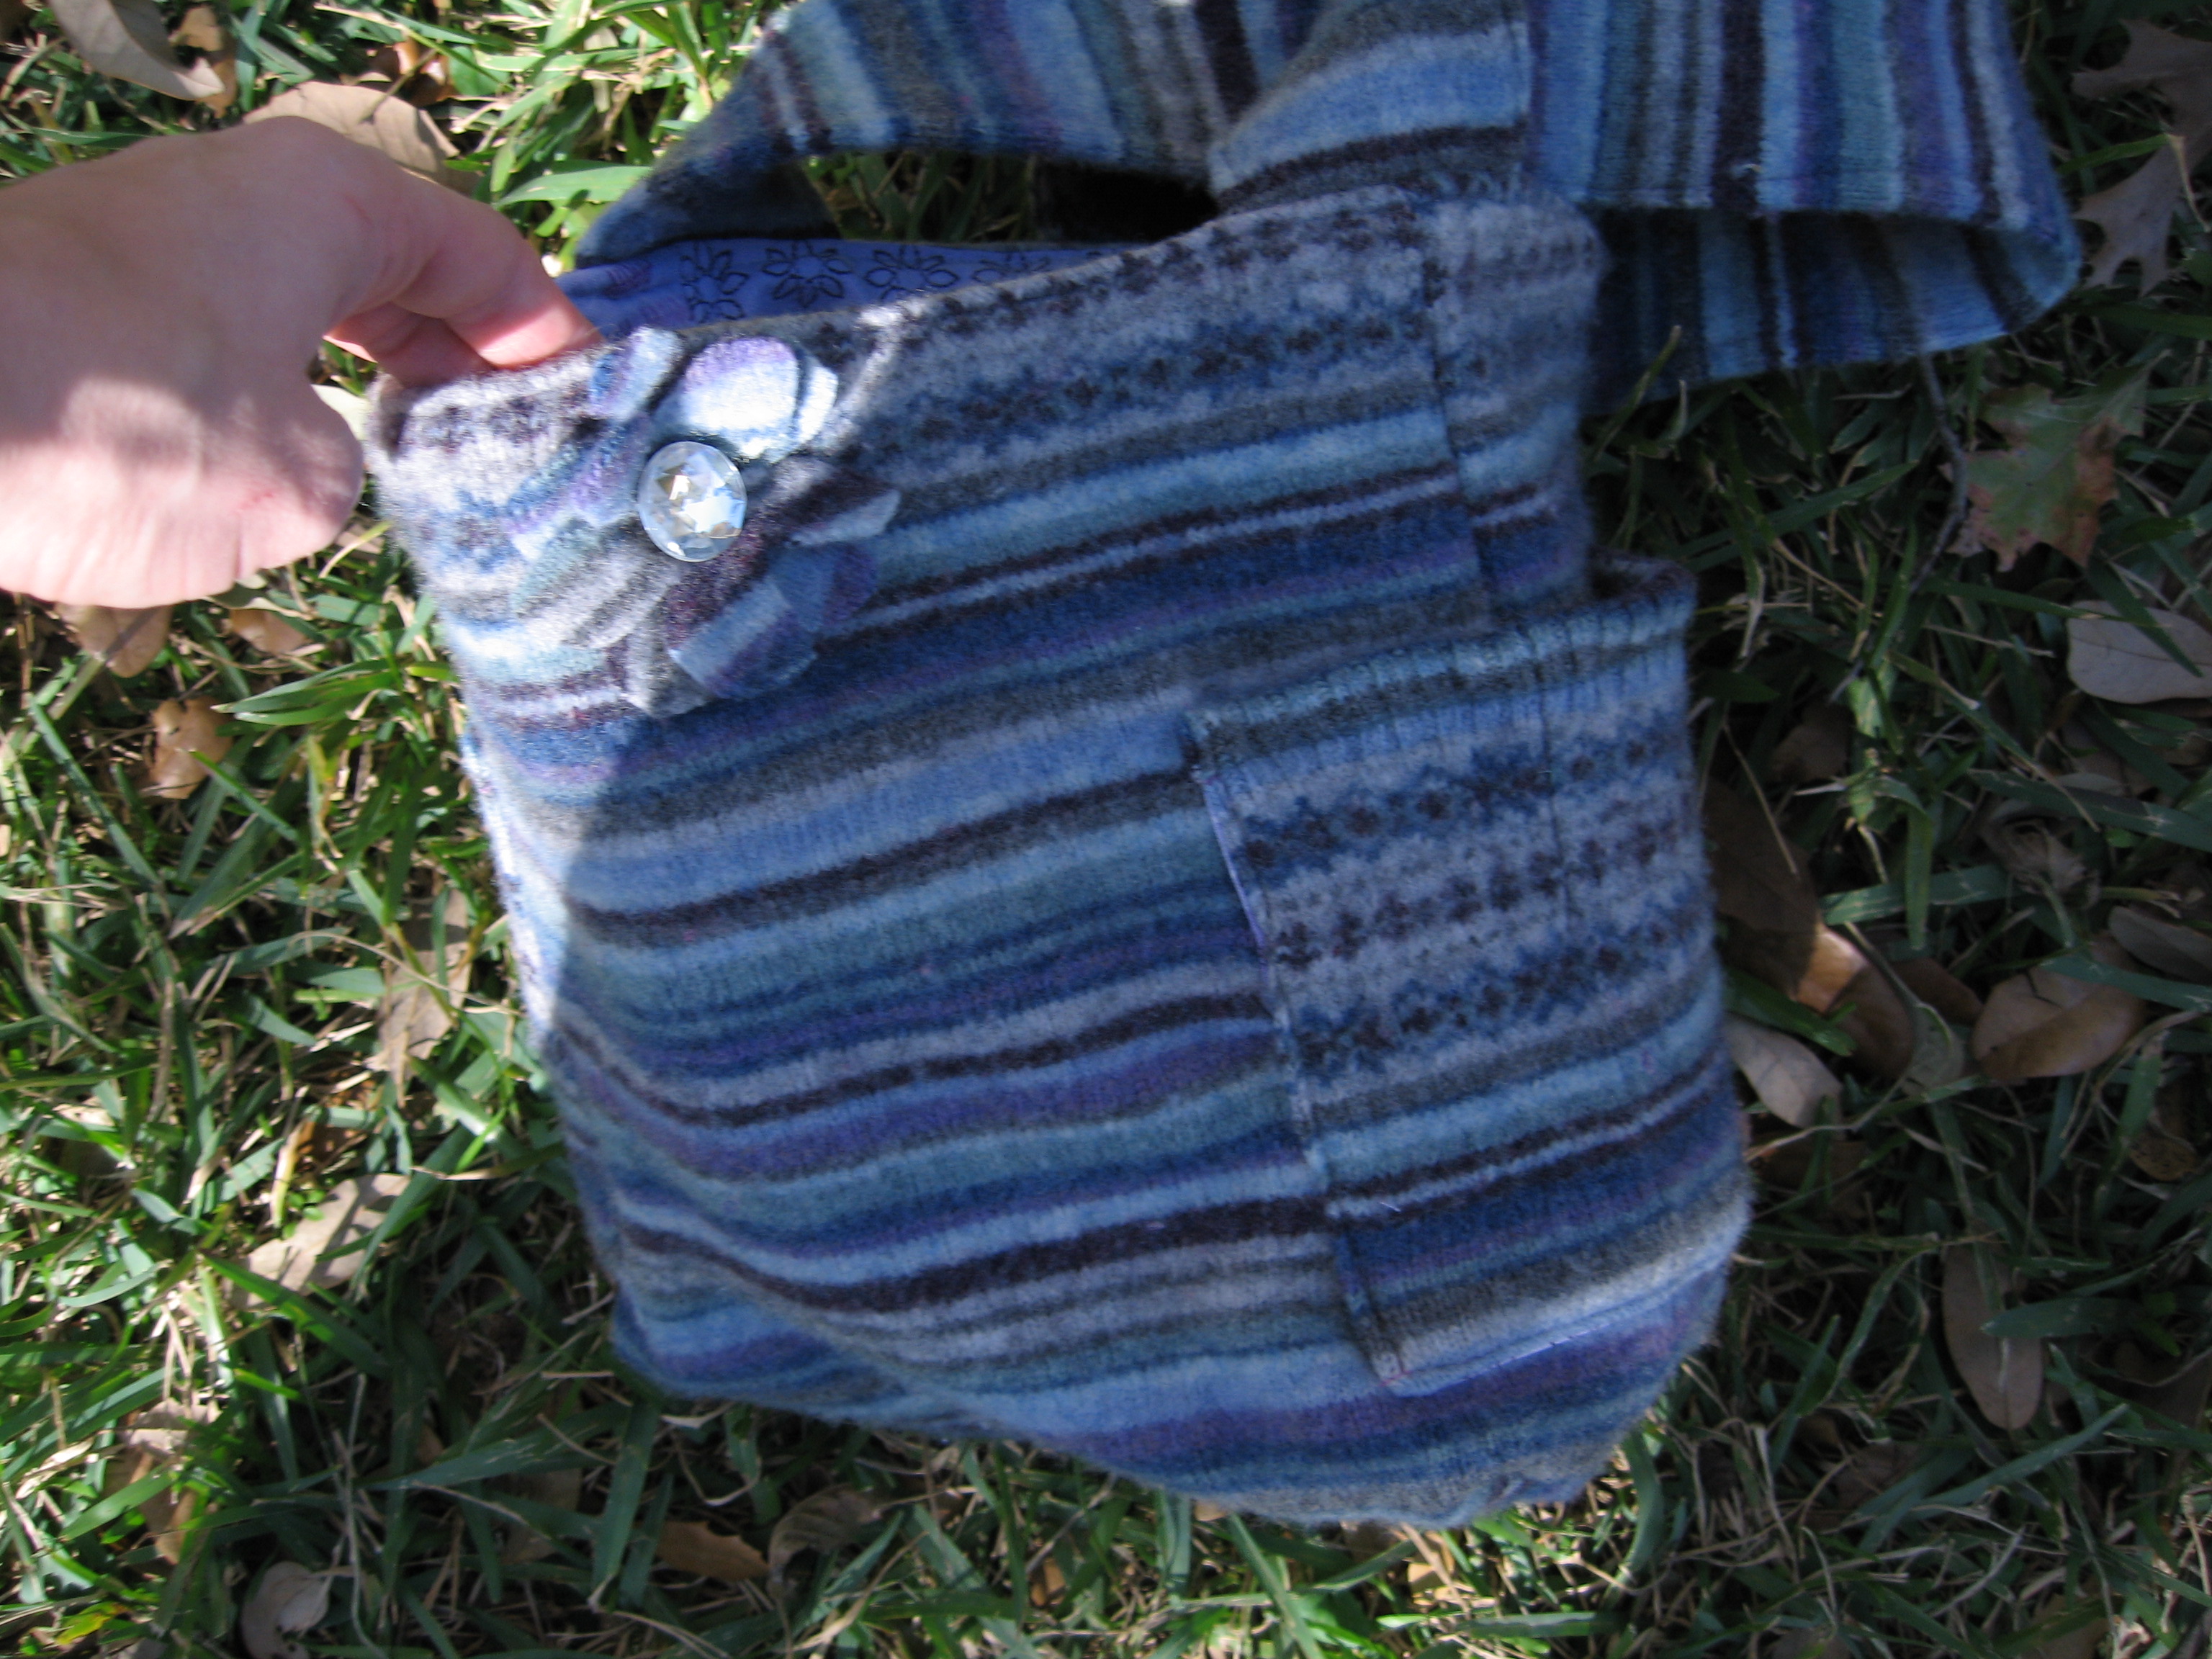
Stitch flower to center of each side over snap, stitch button on top. We are DONE!


What a fun way to recycle an old sweater!
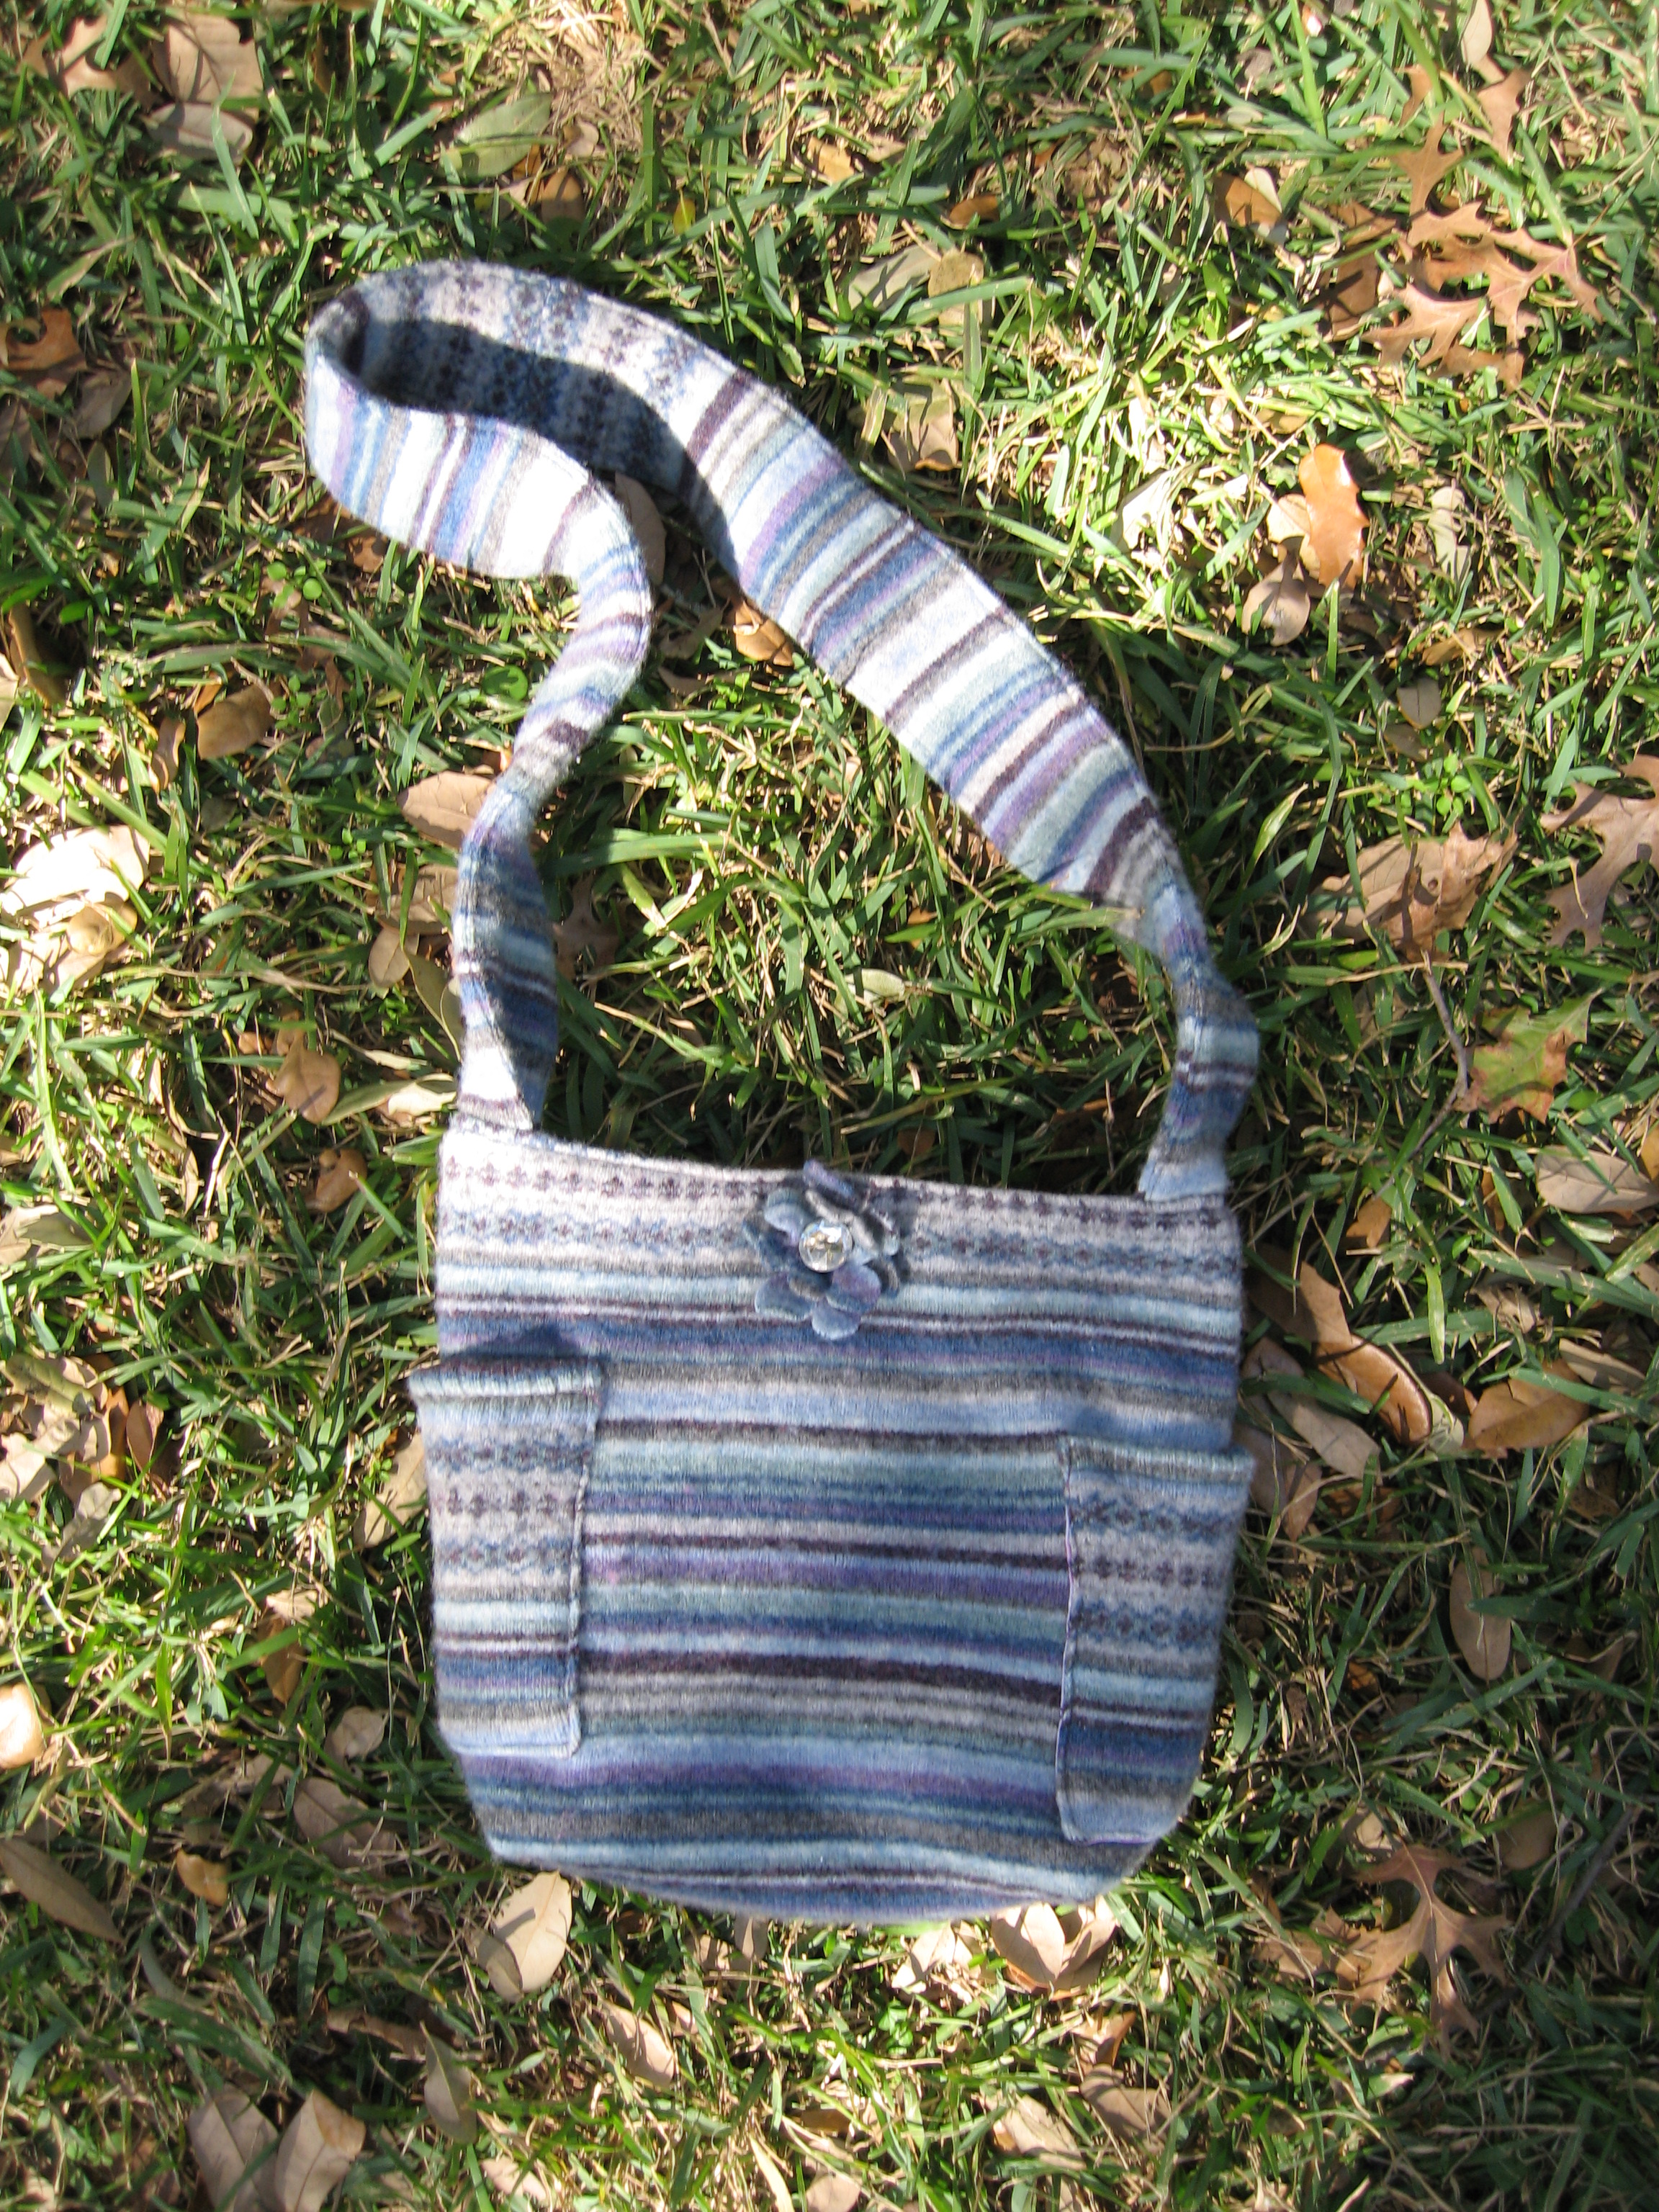


Here’s a fun one I made with a cute purple sweater!
Happy Crafting!
Find my free patterns on Sewhooked & Fandom in Stitches.
♥ Jennifer O
Posts on this blog may contain affiliate links to help cover the cost of my website. I thank you for your generous support. ♥


