Tag Archives: holiday

Handmade for the Holidays

I Took The Handmade Pledge! BuyHandmade.org

A lot of my friends make and sell beautiful handmade items. Support handmade and order now for holiday delivery!

Photobucket

ShaeWow, Shae’s etsy shop, is full of unique (and sometimes naughty!) cross-stitch and fun buttons.

Photobucket
Check out Shae’s mom’s awesome shop, Sea Gypsy Jewelry for lovely hand crafted, sea-inspired jewelry.

Photobucket
Laci and Mom Merritt’s etsy shop, Orange Blossom Boutique for beautiful hand-beaded jewelry.

Photobucket
thatwitchyplace is the talented MK’s online shop. She makes beautiful and unique stitched and machine embroidered items.

Photobucket
Phoenix Fire Designs, a friend of a friend, makes all kinds of gorgeous goodies.


hewtab has a t-shirt shop with her awesome original designs!

Wingless Wyrm - original paper pieced design
My shop*, which is currently stocked with buttons and paper pieced patterns and a couple of other random things.

*There is someone else out there selling as SewHooked. Remember, if my name is not attached to it, you are not buying it from me!

I will continue to add to this list as I receive more updates from my crafty friends.

Happy shopping!

Smiling Santa Gift Bag

I’ve been making these Santa bags for a lot of years now, but this is the first time I’ve ever shared a how-to for it.

Other similar bags I’ve made include Rudolph, Christmas kitties and Christmas trees.  Change the basic bag to any color and add polka dots or stars for an easy birthday bag!

Smiling Santa is reusable, giftable, and darn cute.  He’s fast to make with simple embroidered stitches and a button nose.    If hand stitching isn’t your thing, fabric paint will work in a pinch!

You’ll need:

  • Smiling Santa reference
  • 9″ x 12″ acrylic felt – 2 white, 1 red, 1 flesh
  • scissors
  • large needle
  • embroidery floss:  white, red, blue & green
  • red button
  • ruler
  • optional:  sewing machine
  • optional:  rotary cutter

supplies


I use eco-friendly acrylic felt.  It’s easy to find, cheap (20 cents a sheet) and sturdy.

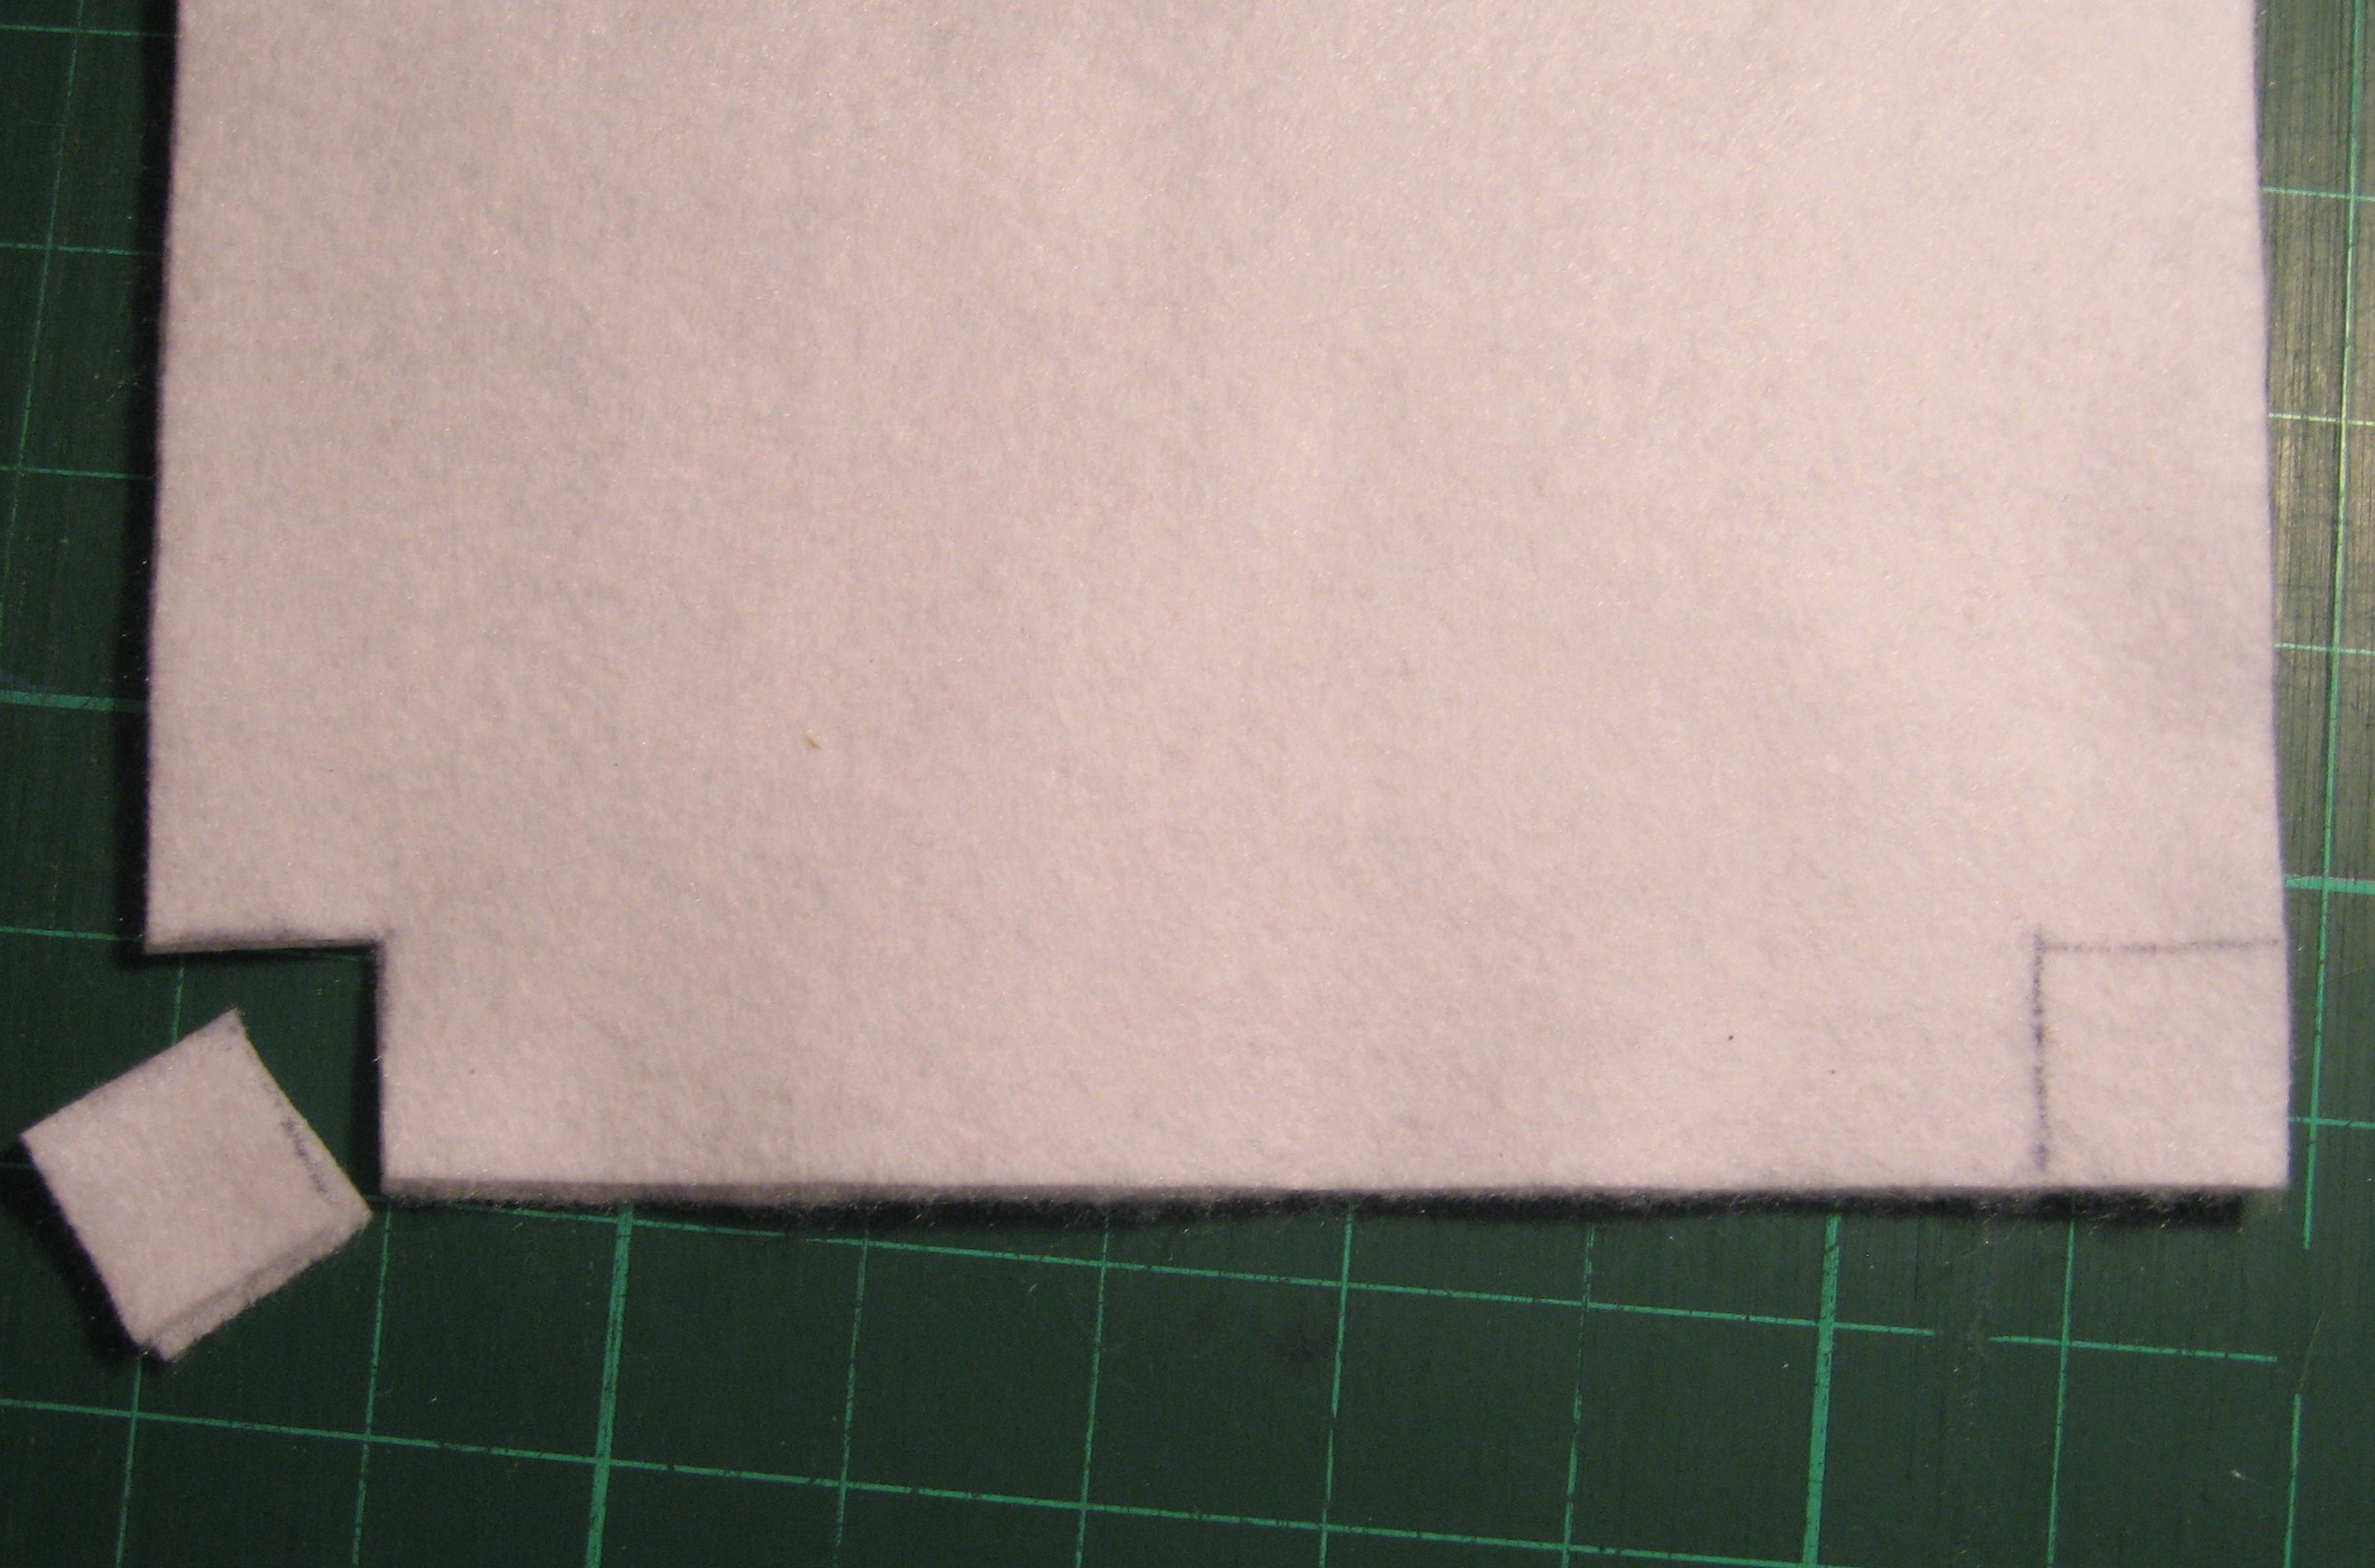
Find the bottom of your bag and cut 1″ squares out of the opposite corners for each white sheet. This will create a faux gusset and allow your gift bag to stand up.

Cut the flesh-colored felt sheet down to 8″ x 5 1/2″.  Fold in half and cut a gentle curve.

Open flesh-colored felt.  Align 1″ from top of bag, centering so that each side has approximately 1/2″ of white felt showing.

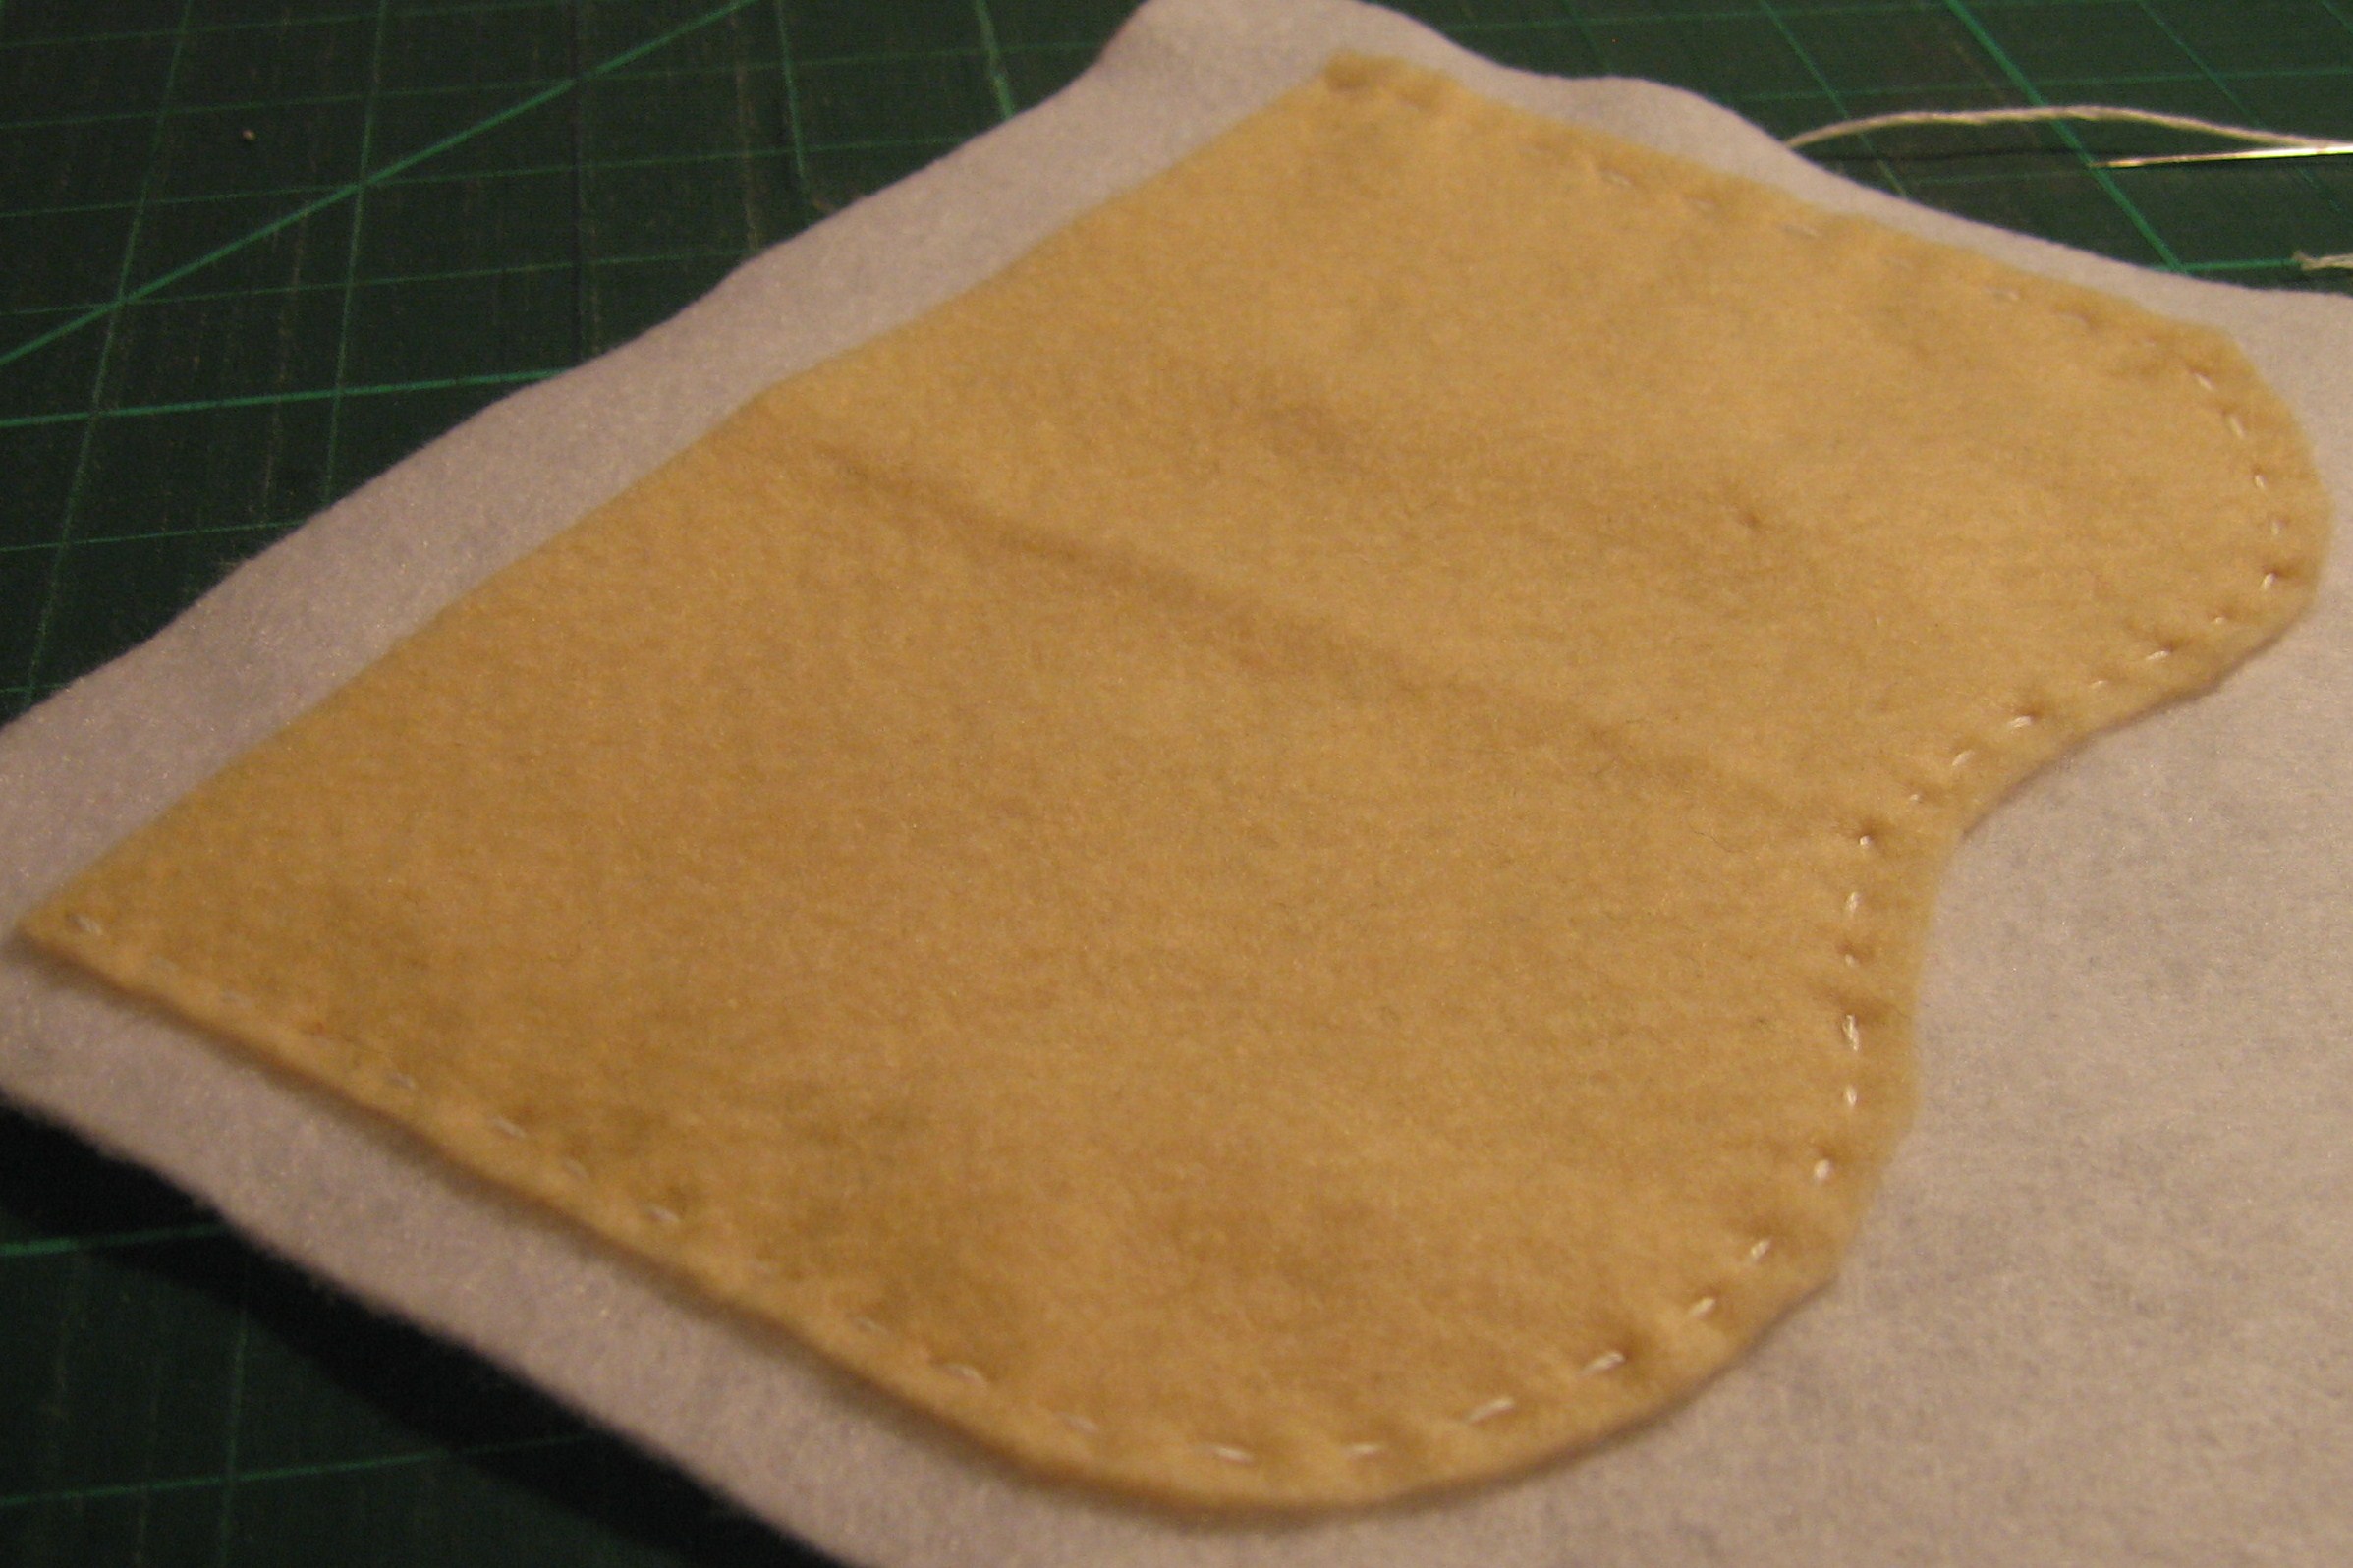
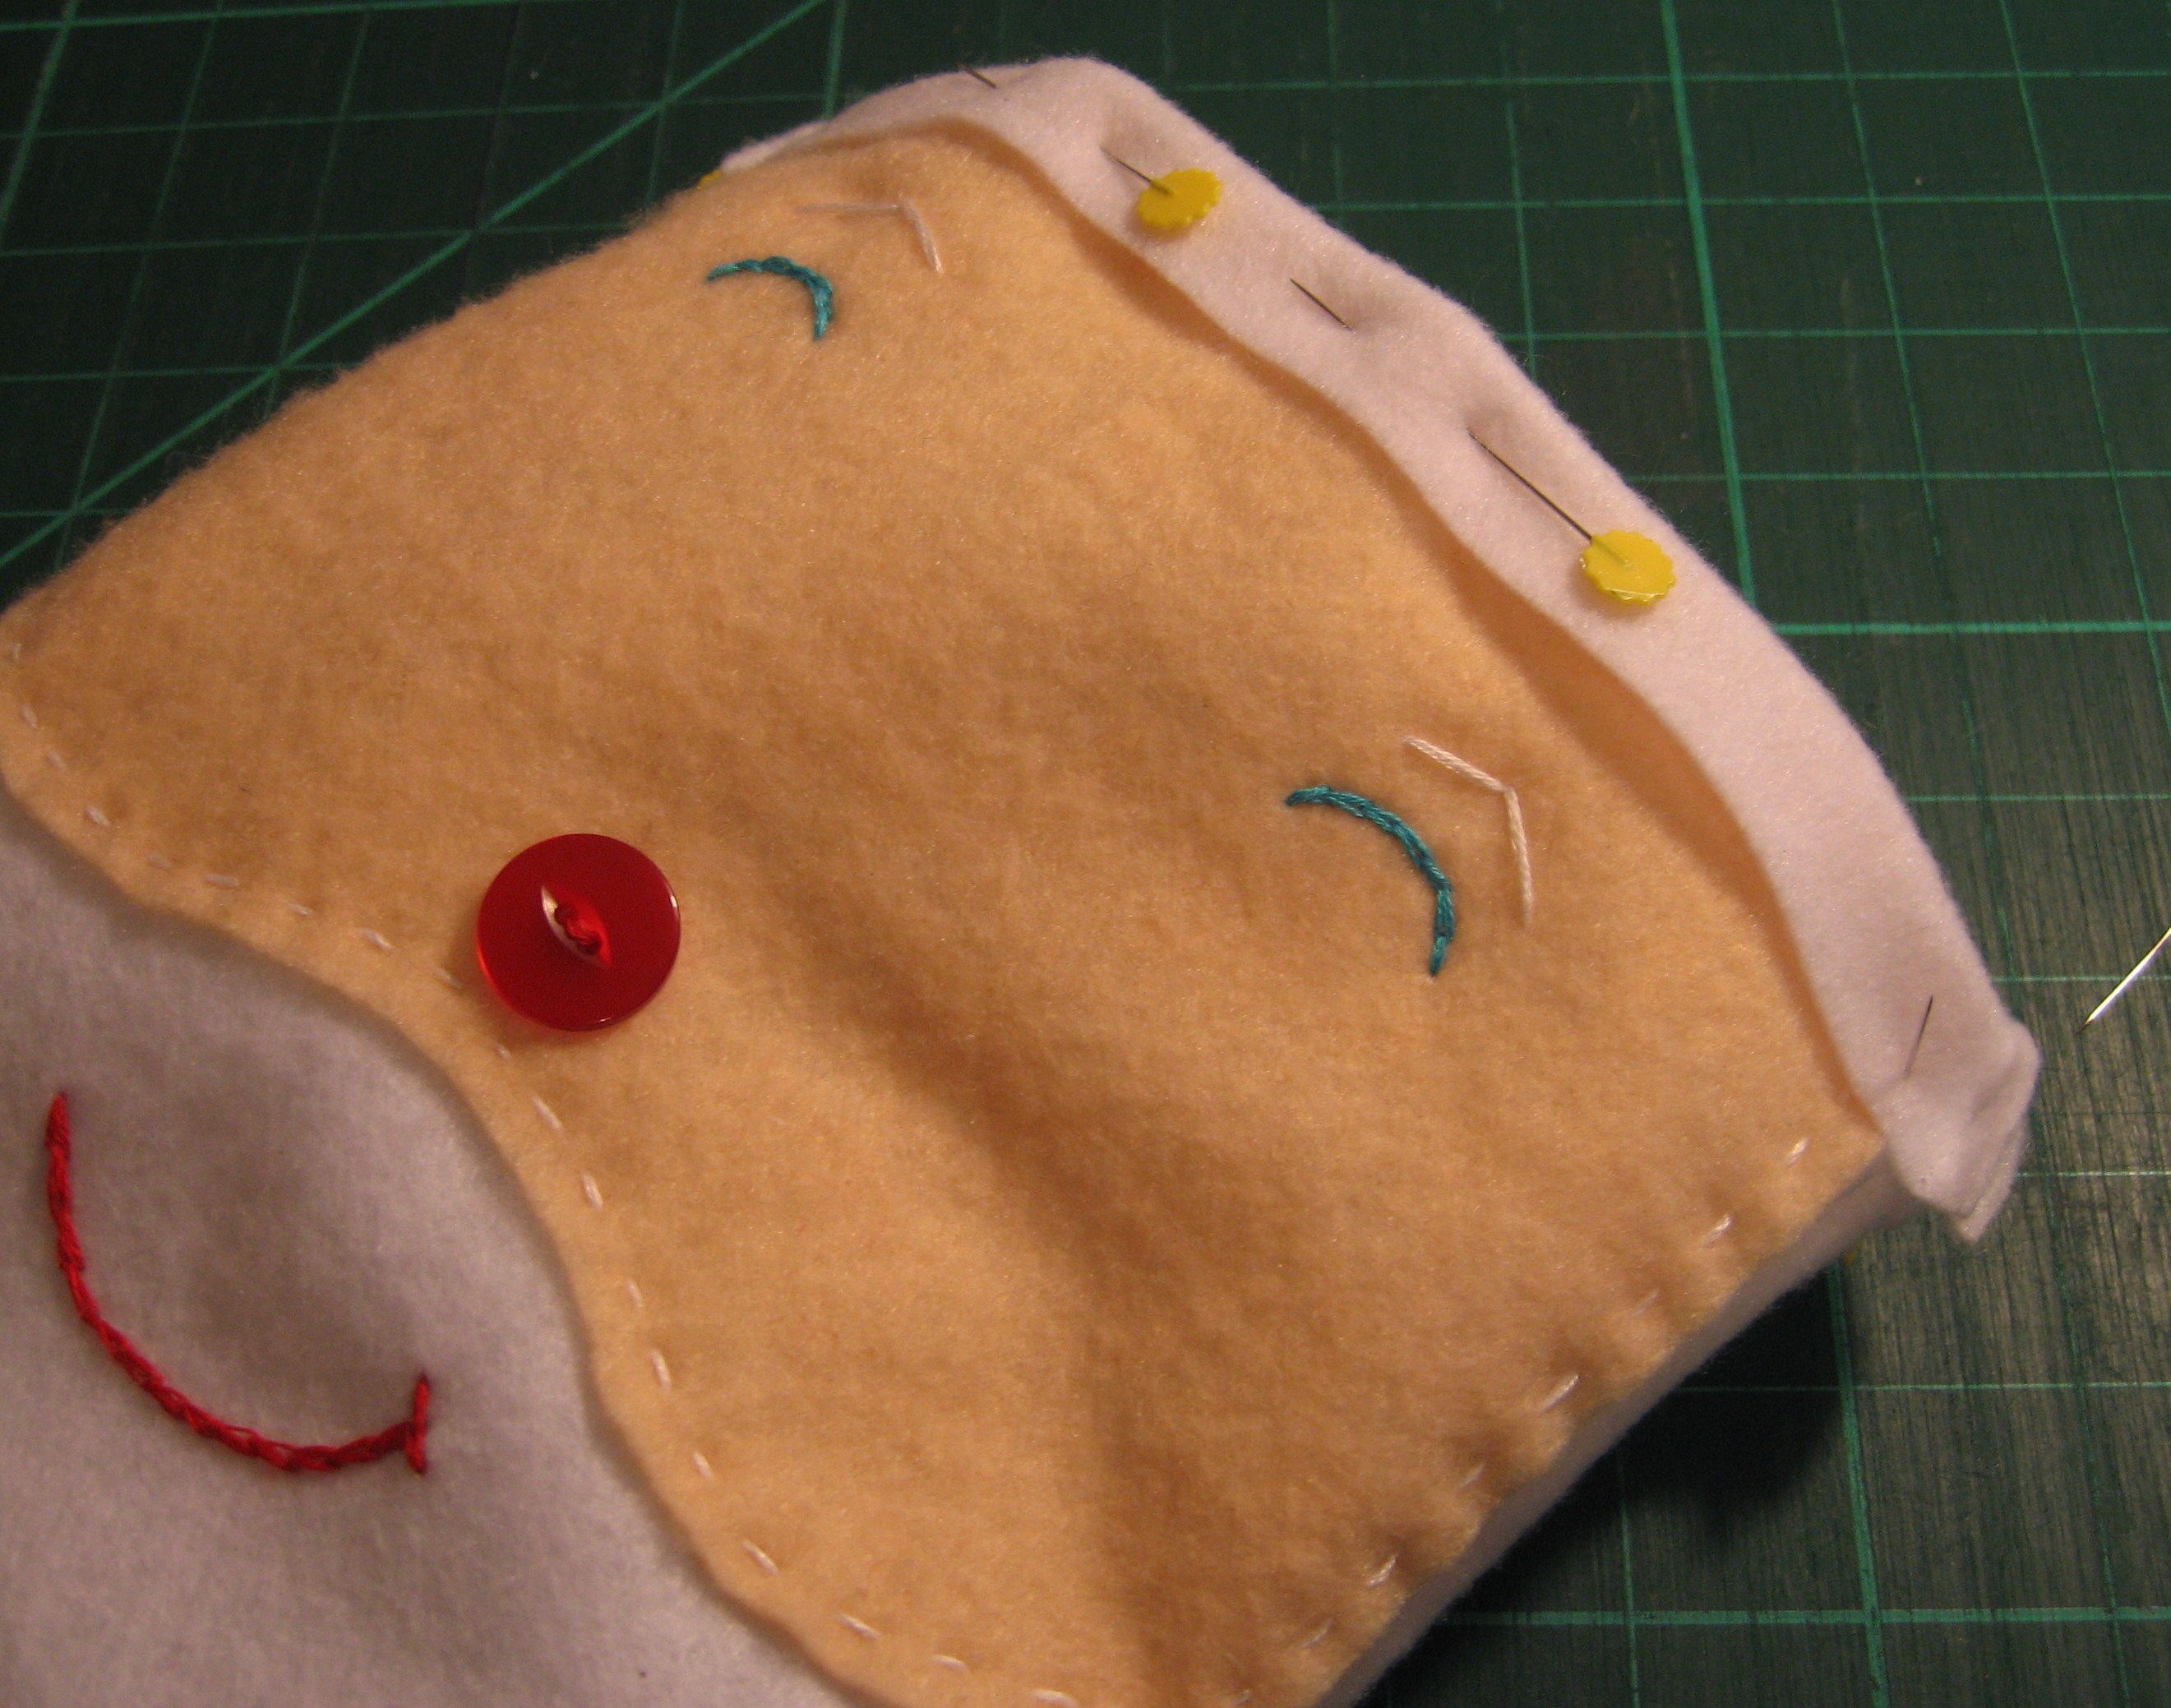
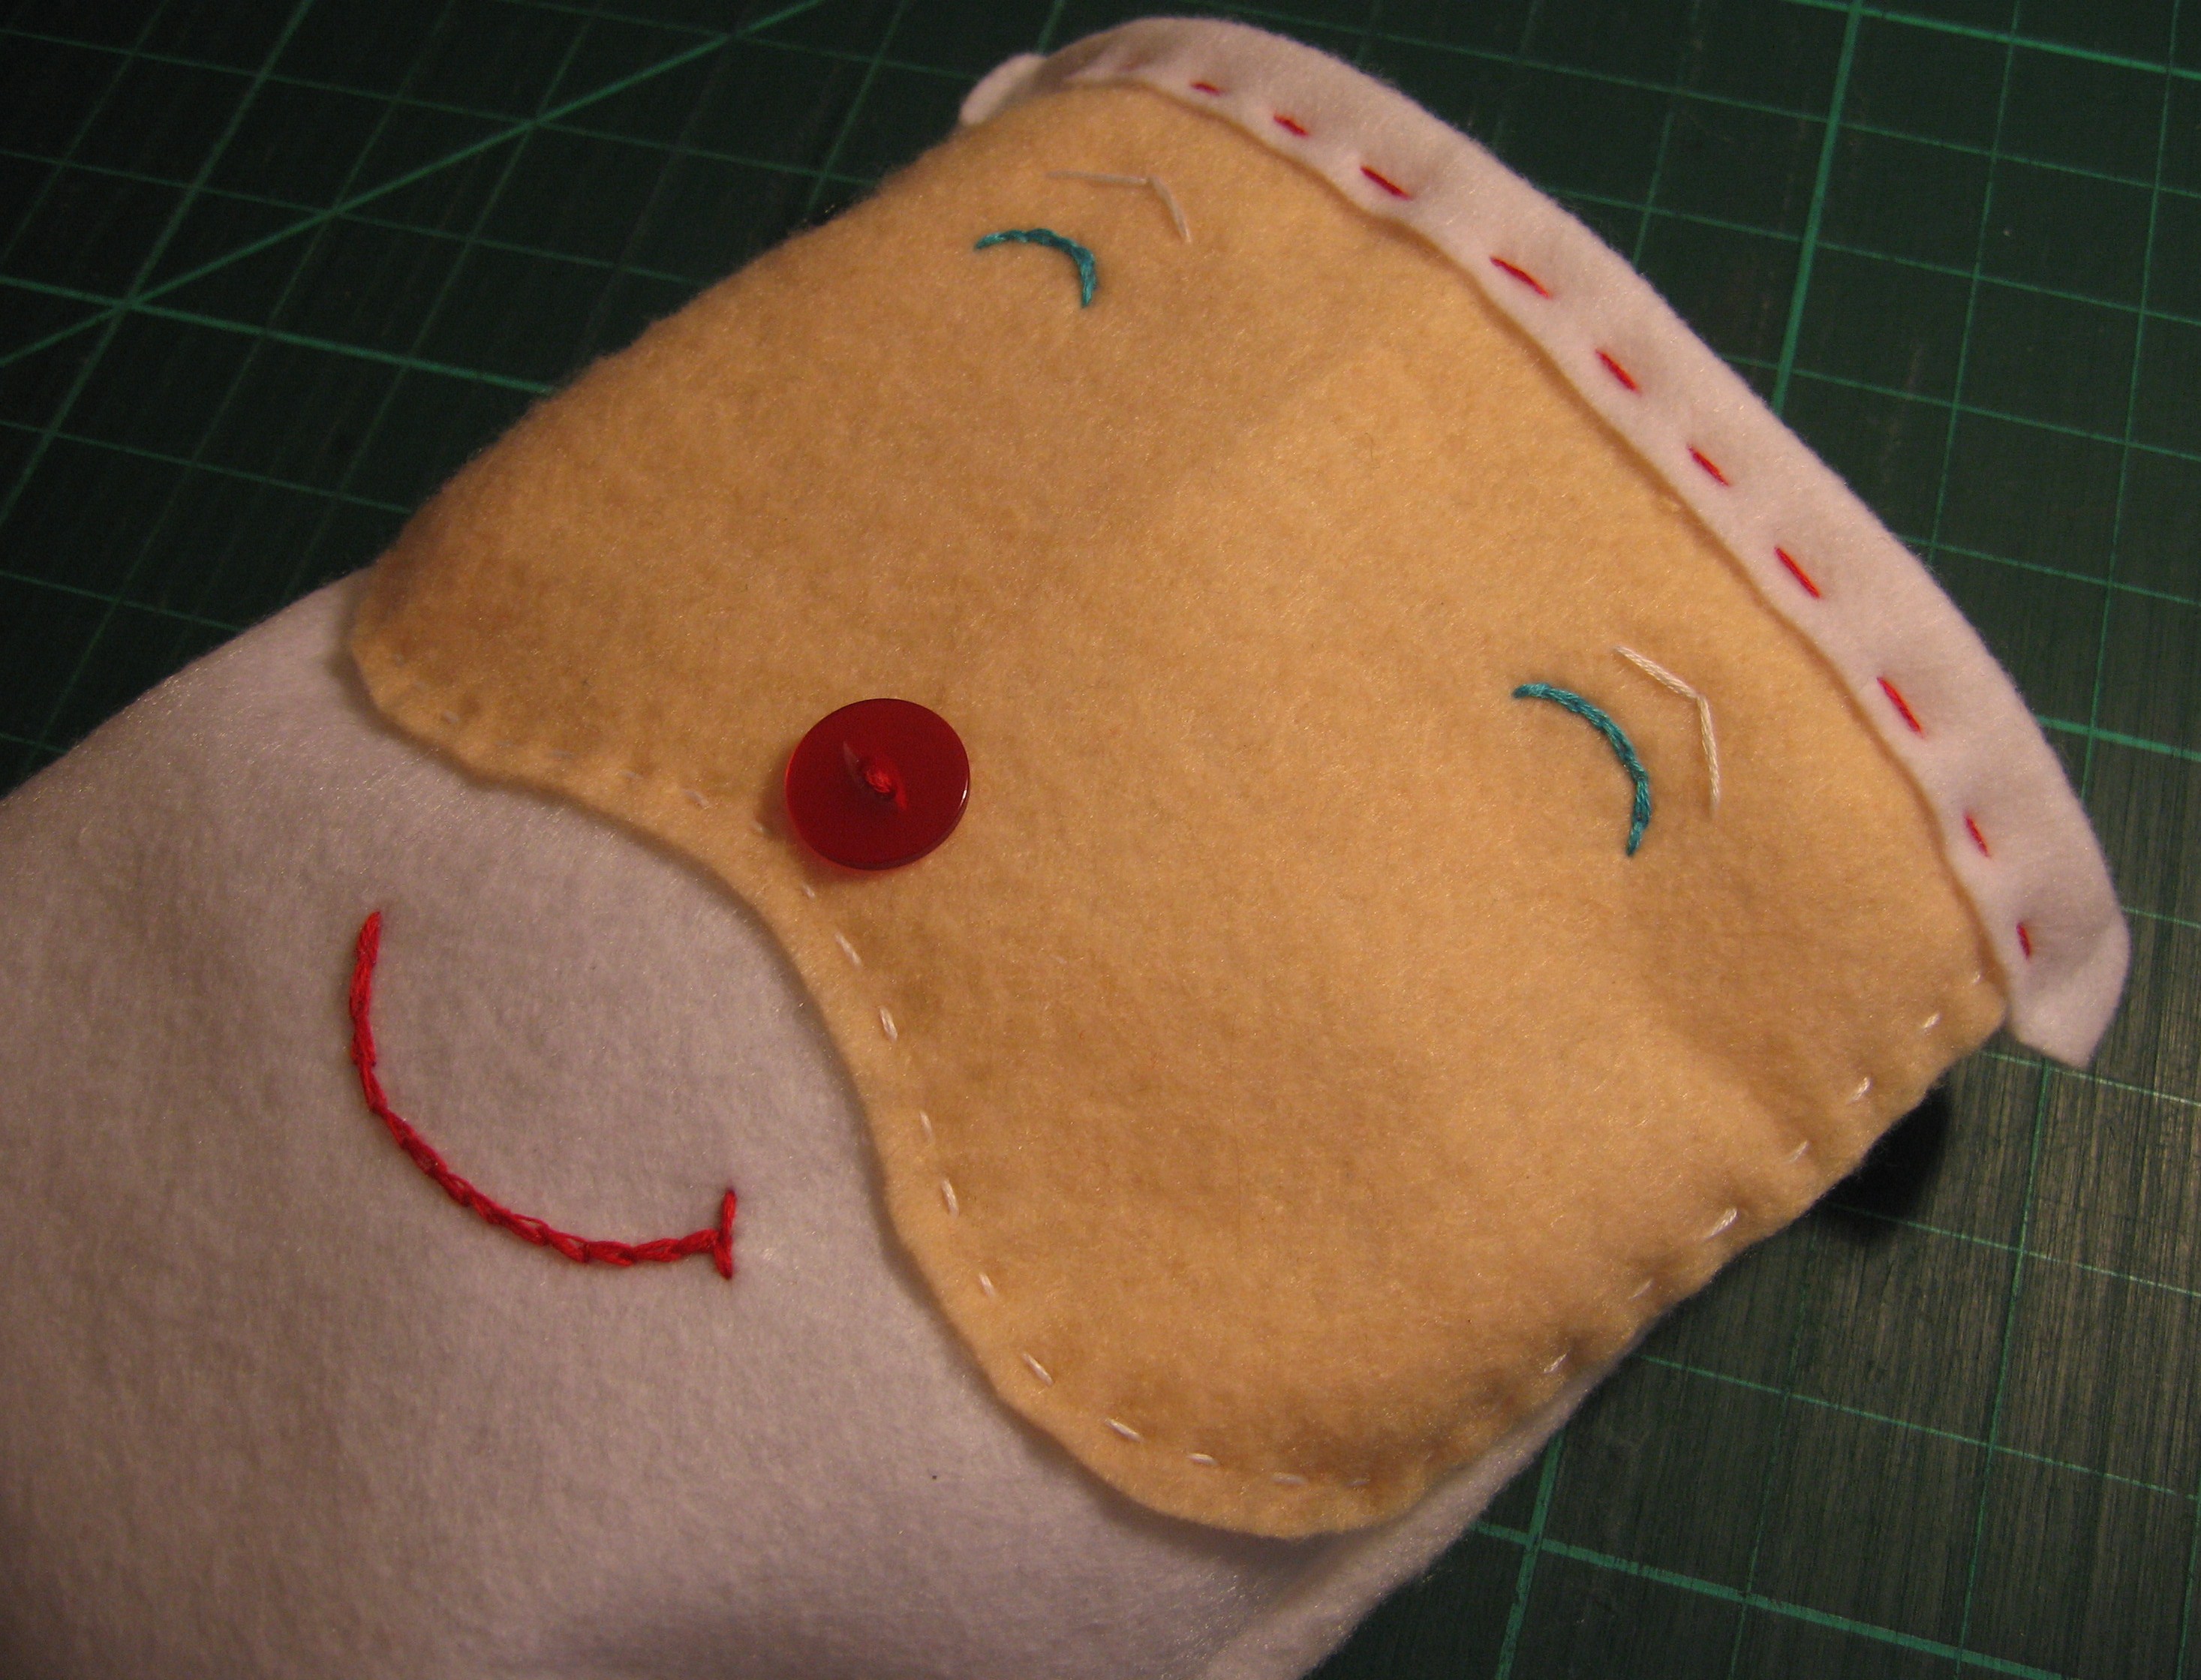
Using the white embroidery floss, hand stitch a running stitch around the two sides and bottom of the face.

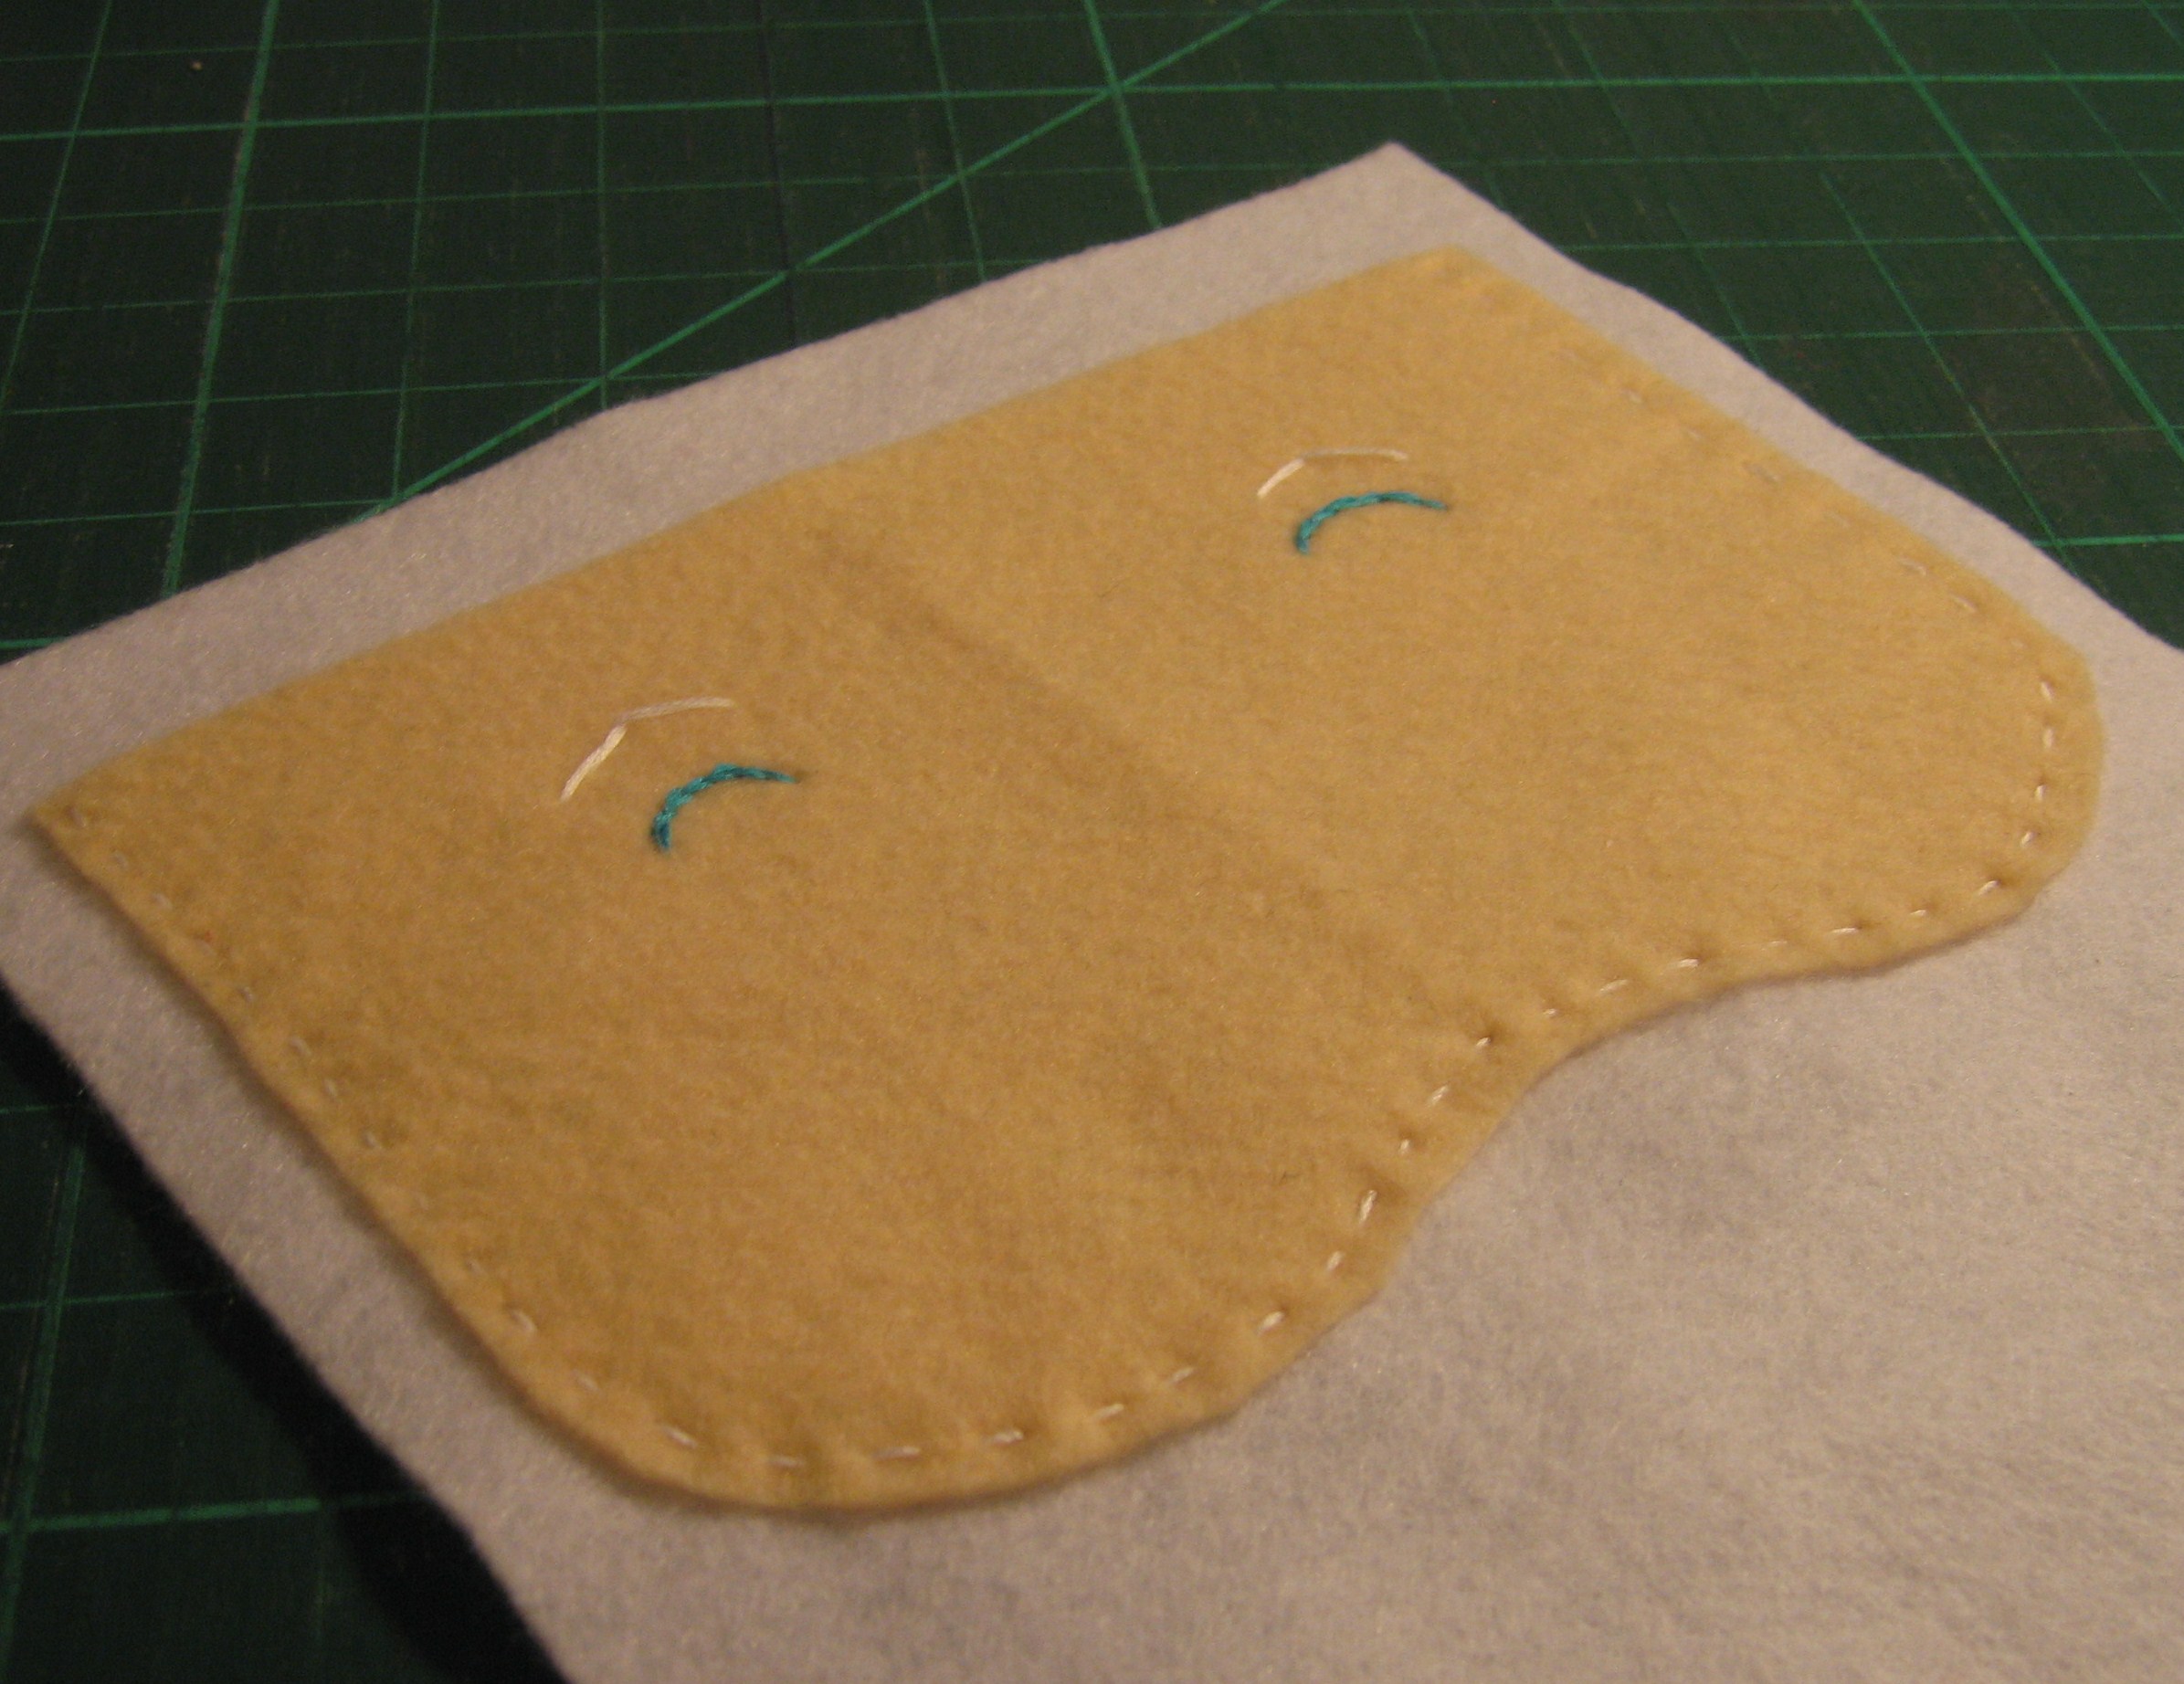
Add eye details with a straight stitch (eyebrows) and chain stitch (eyes).

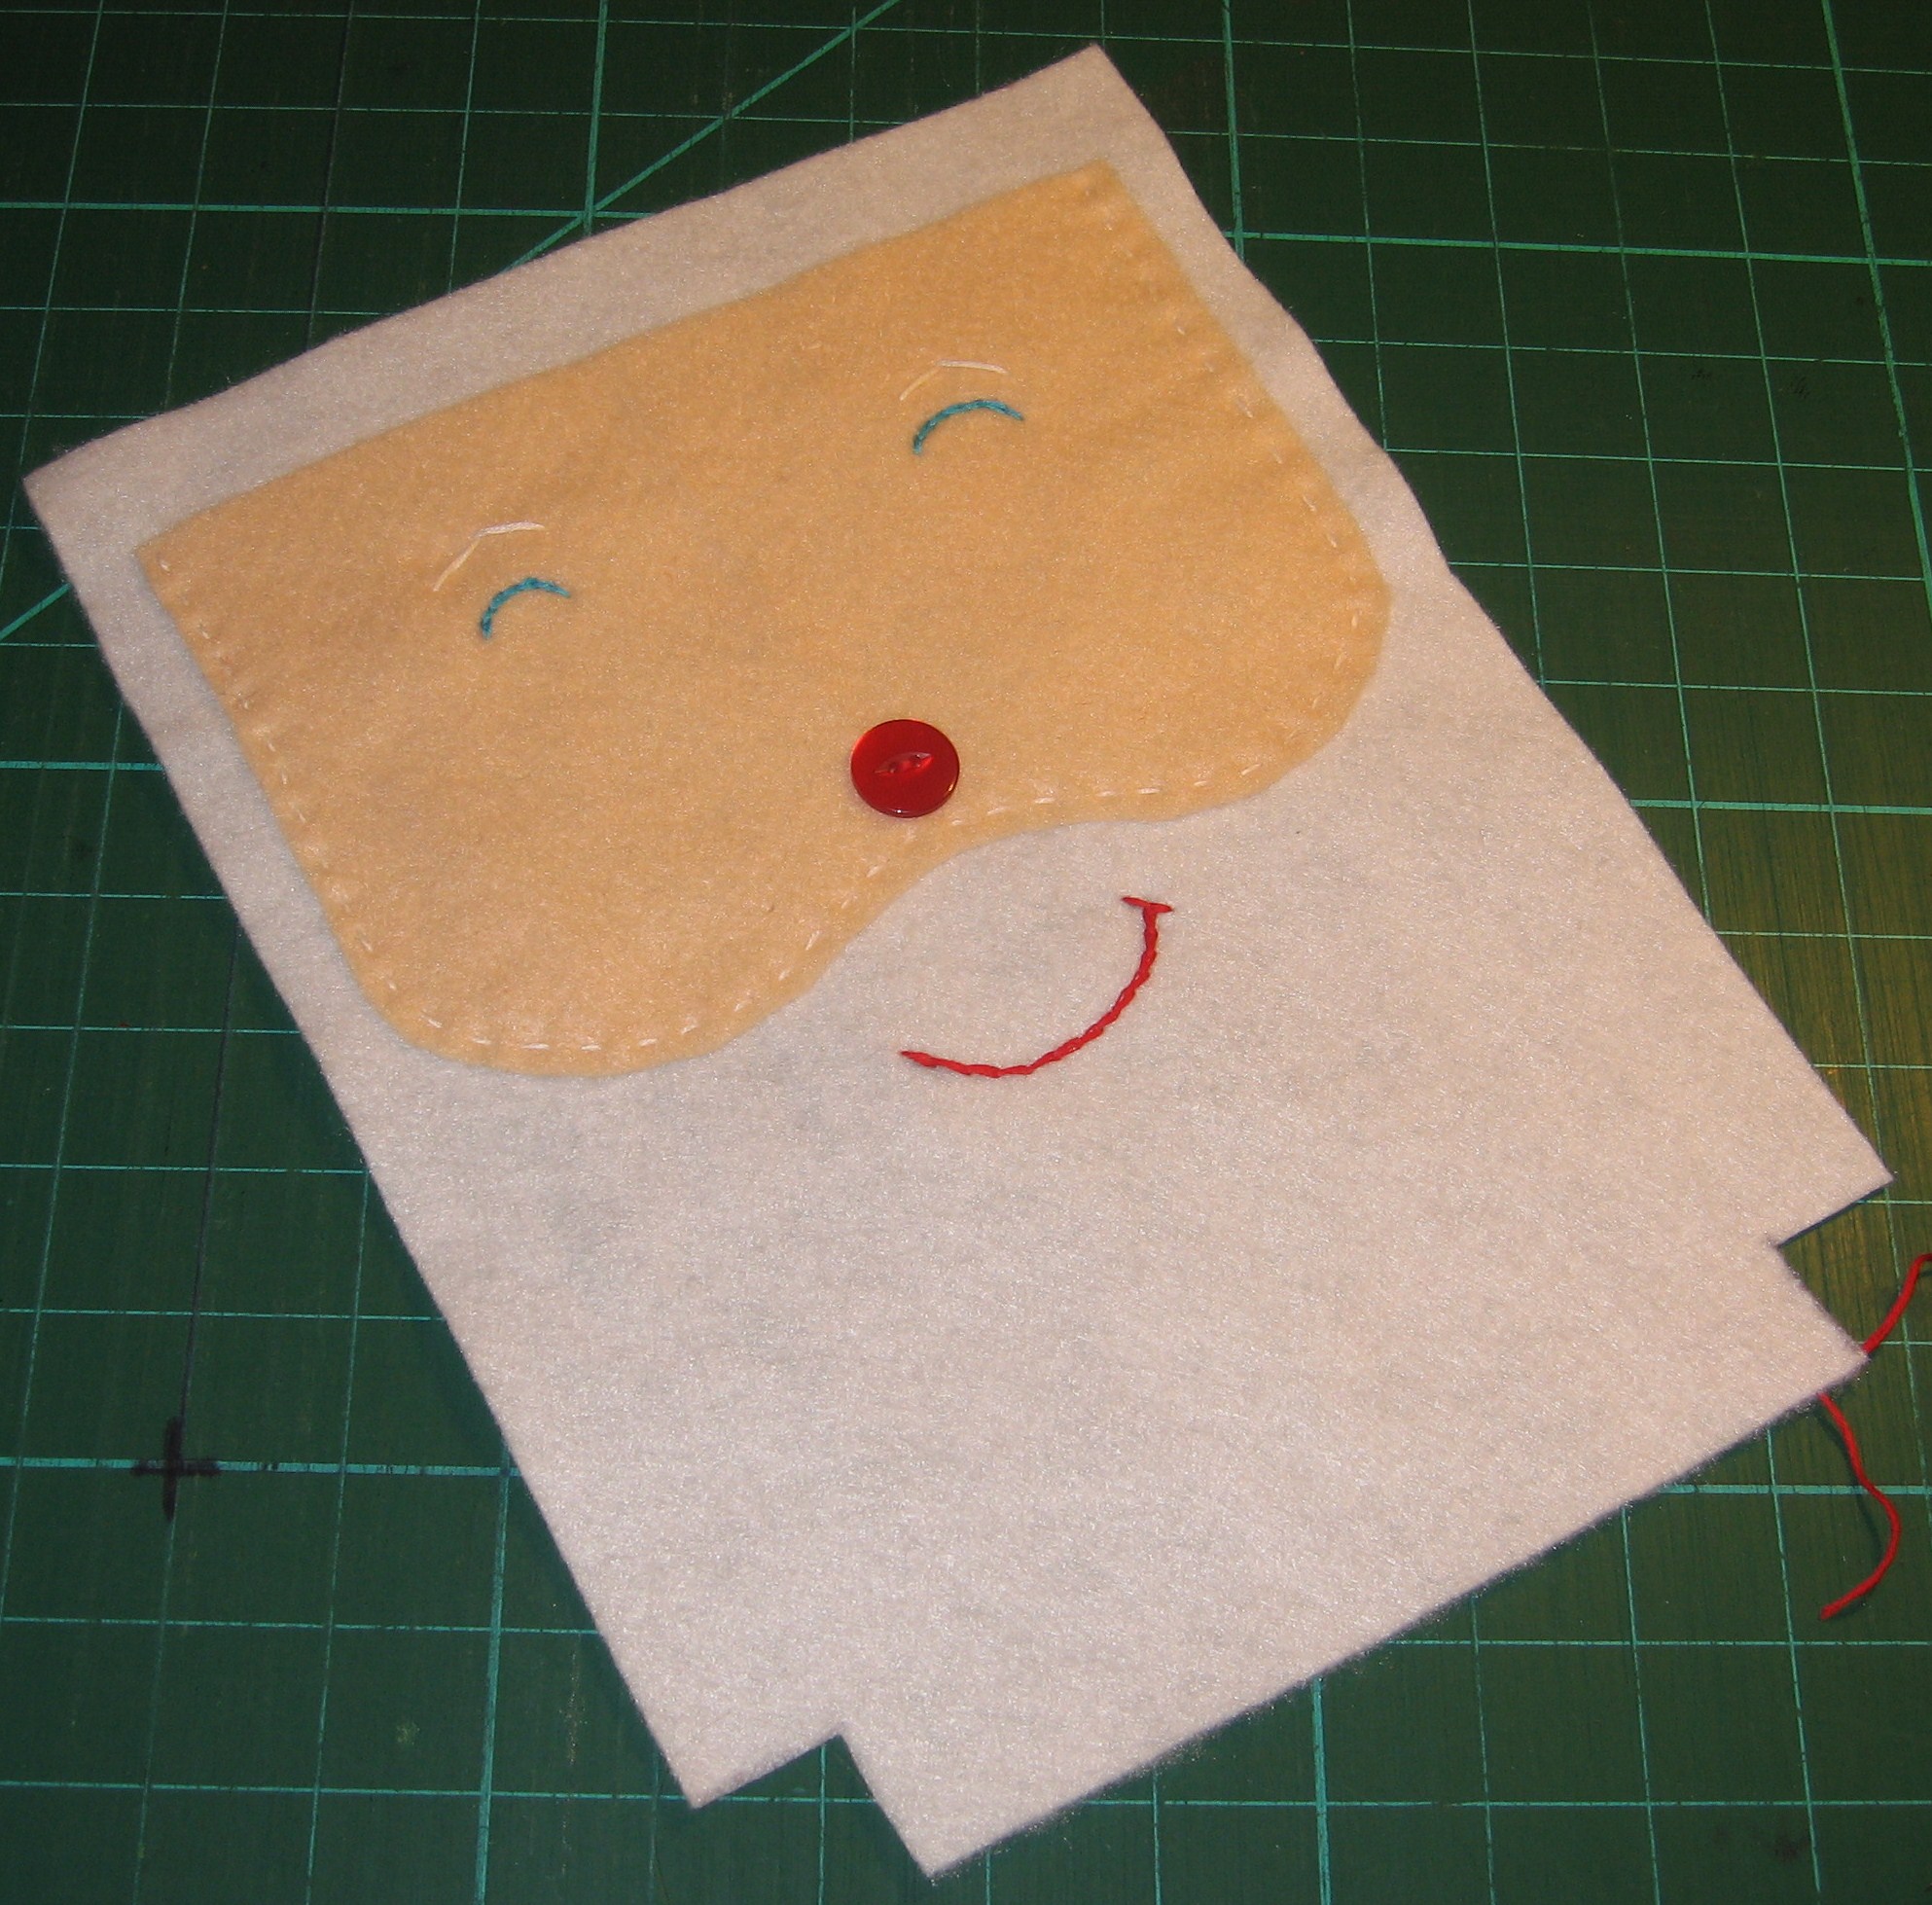
Add button nose with red embroidery floss.  Add mouth, also with red embroidery floss, using the chain stitch.

Pin two pieces of white felt together, face inside.  Machine stitch 1/4″ seam on two sides and across the bottom.

Optional:  hand stitch on the inside OR hand stitch on the outside using red embroidery floss.


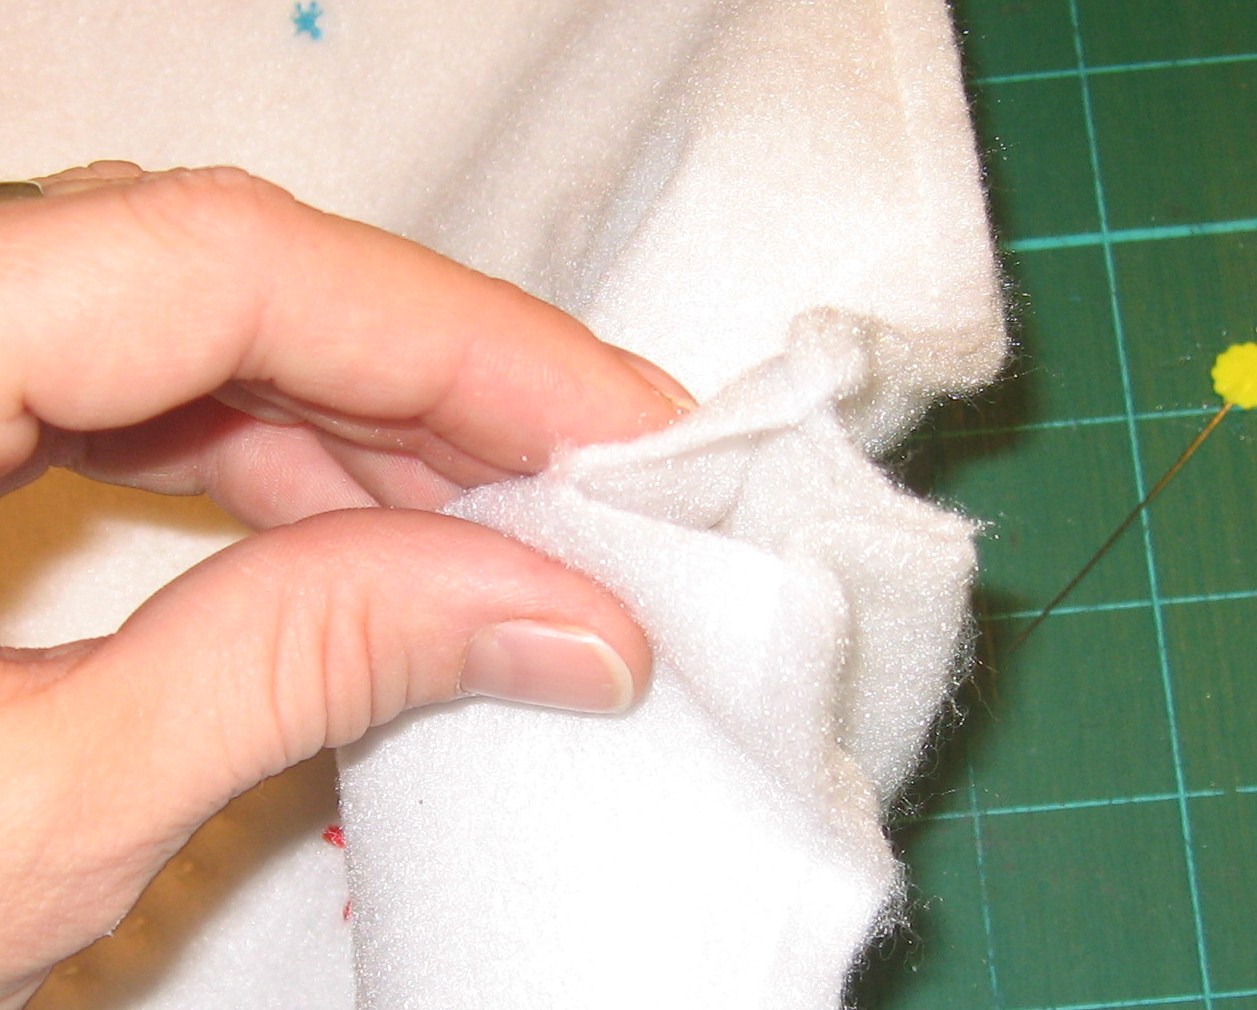
Fold the open corners on the bottom together, matching outside seams.  Fold seams in opposite directions to reduce bulk.  Pin in place.

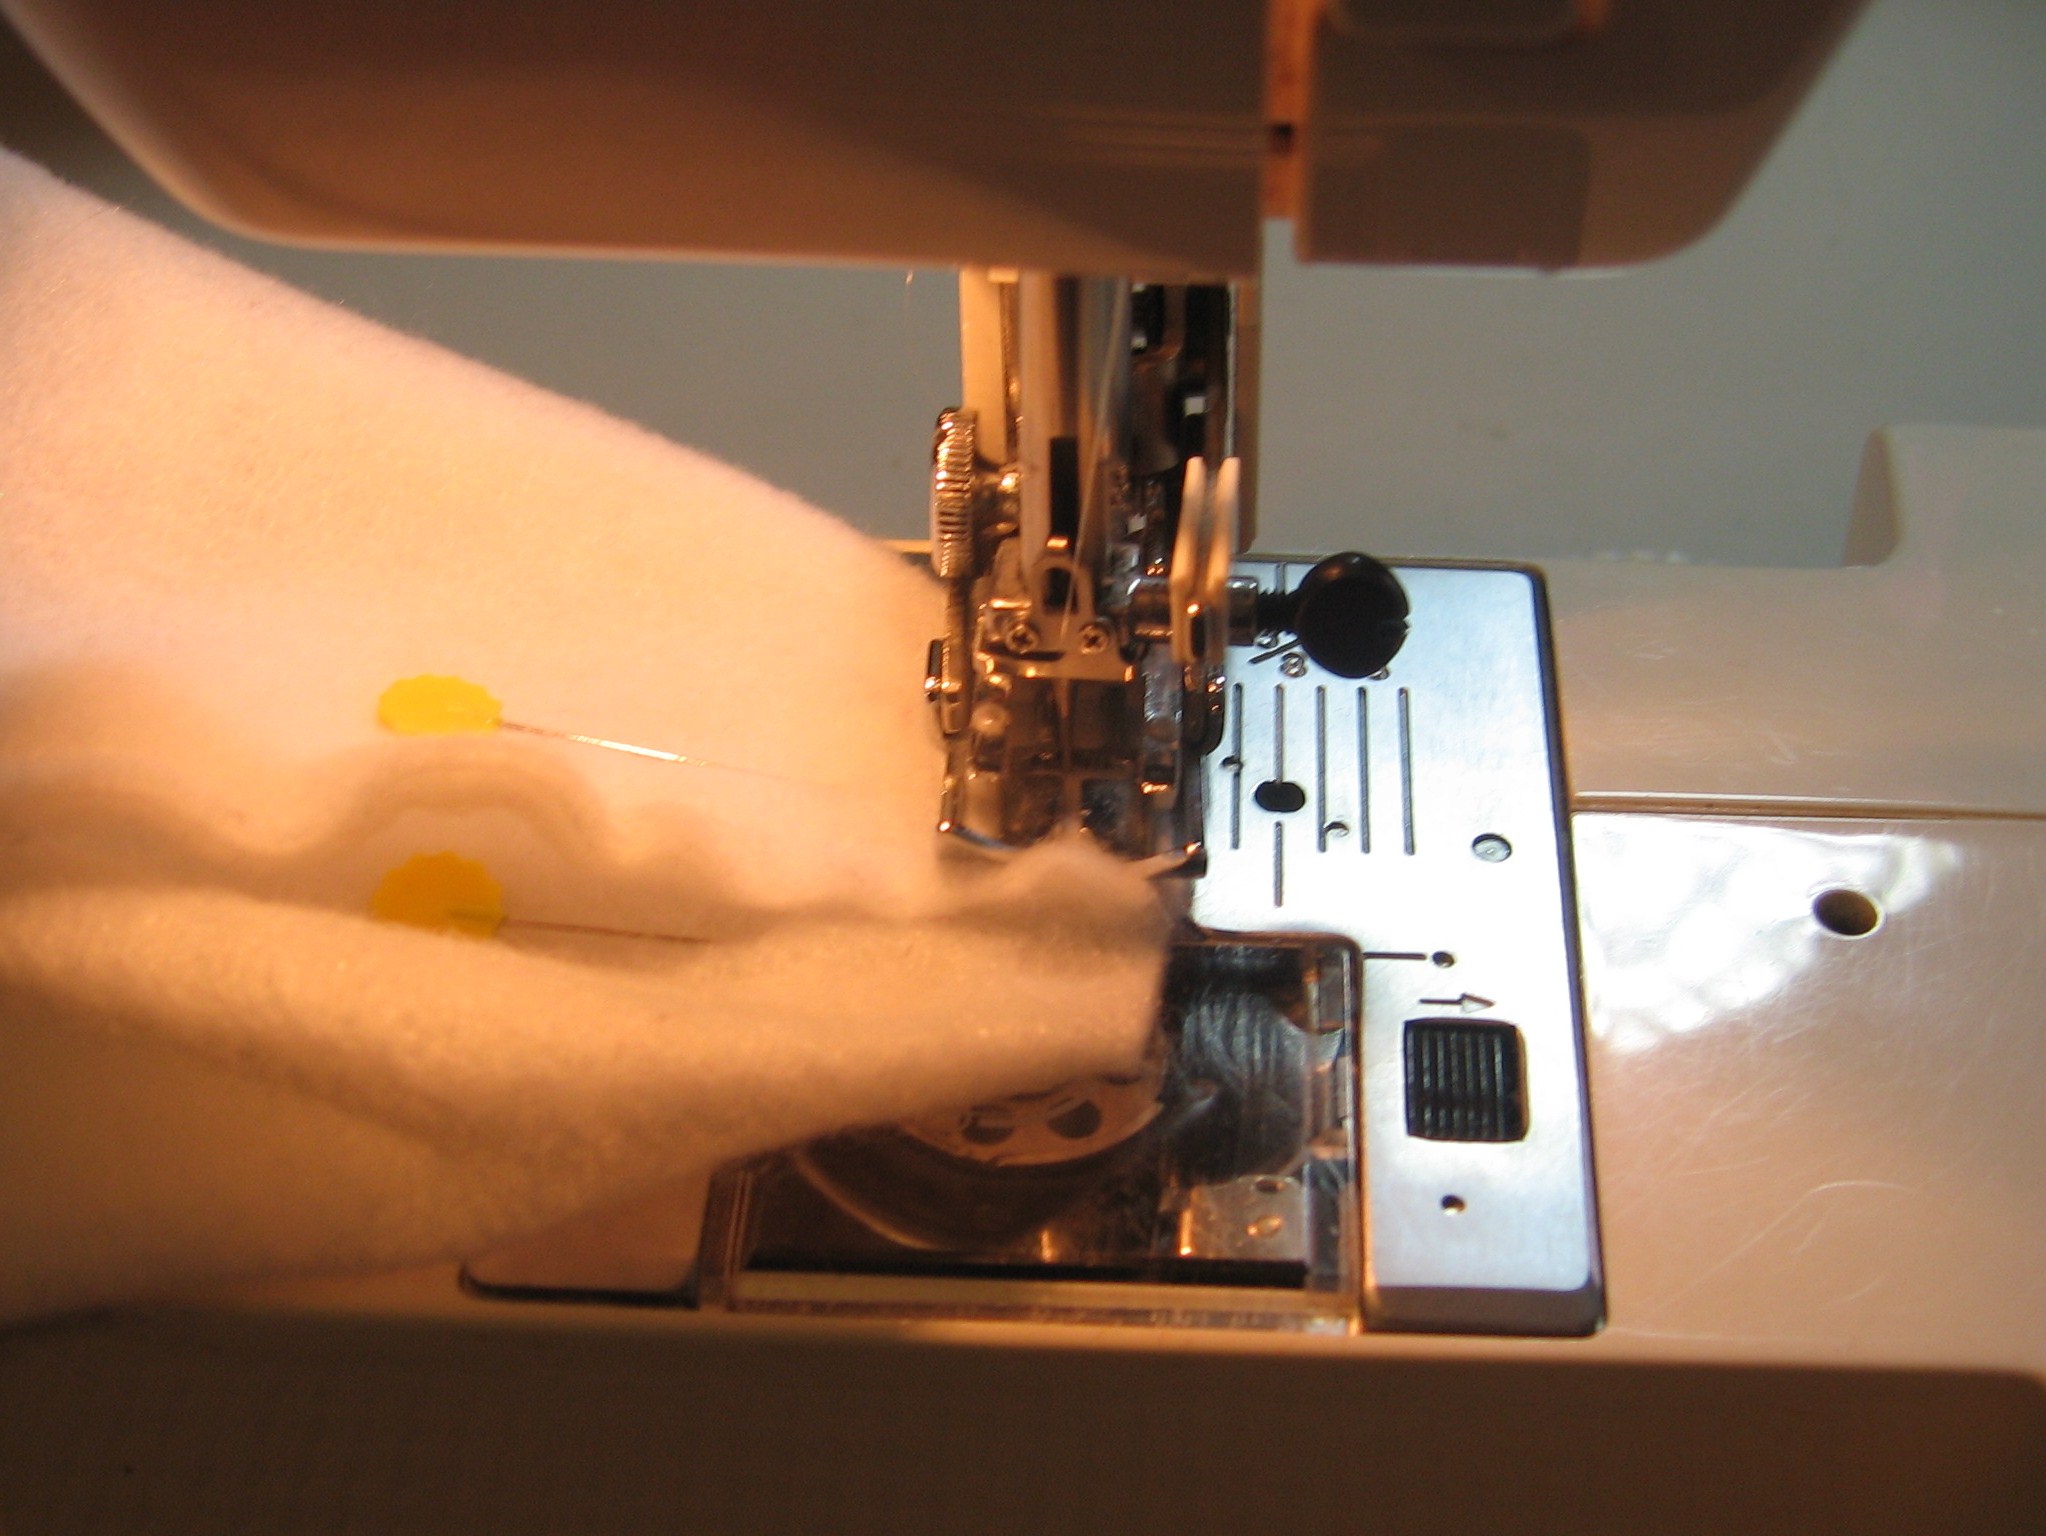
Machine stitch bag corners.

Turn bag right side out.

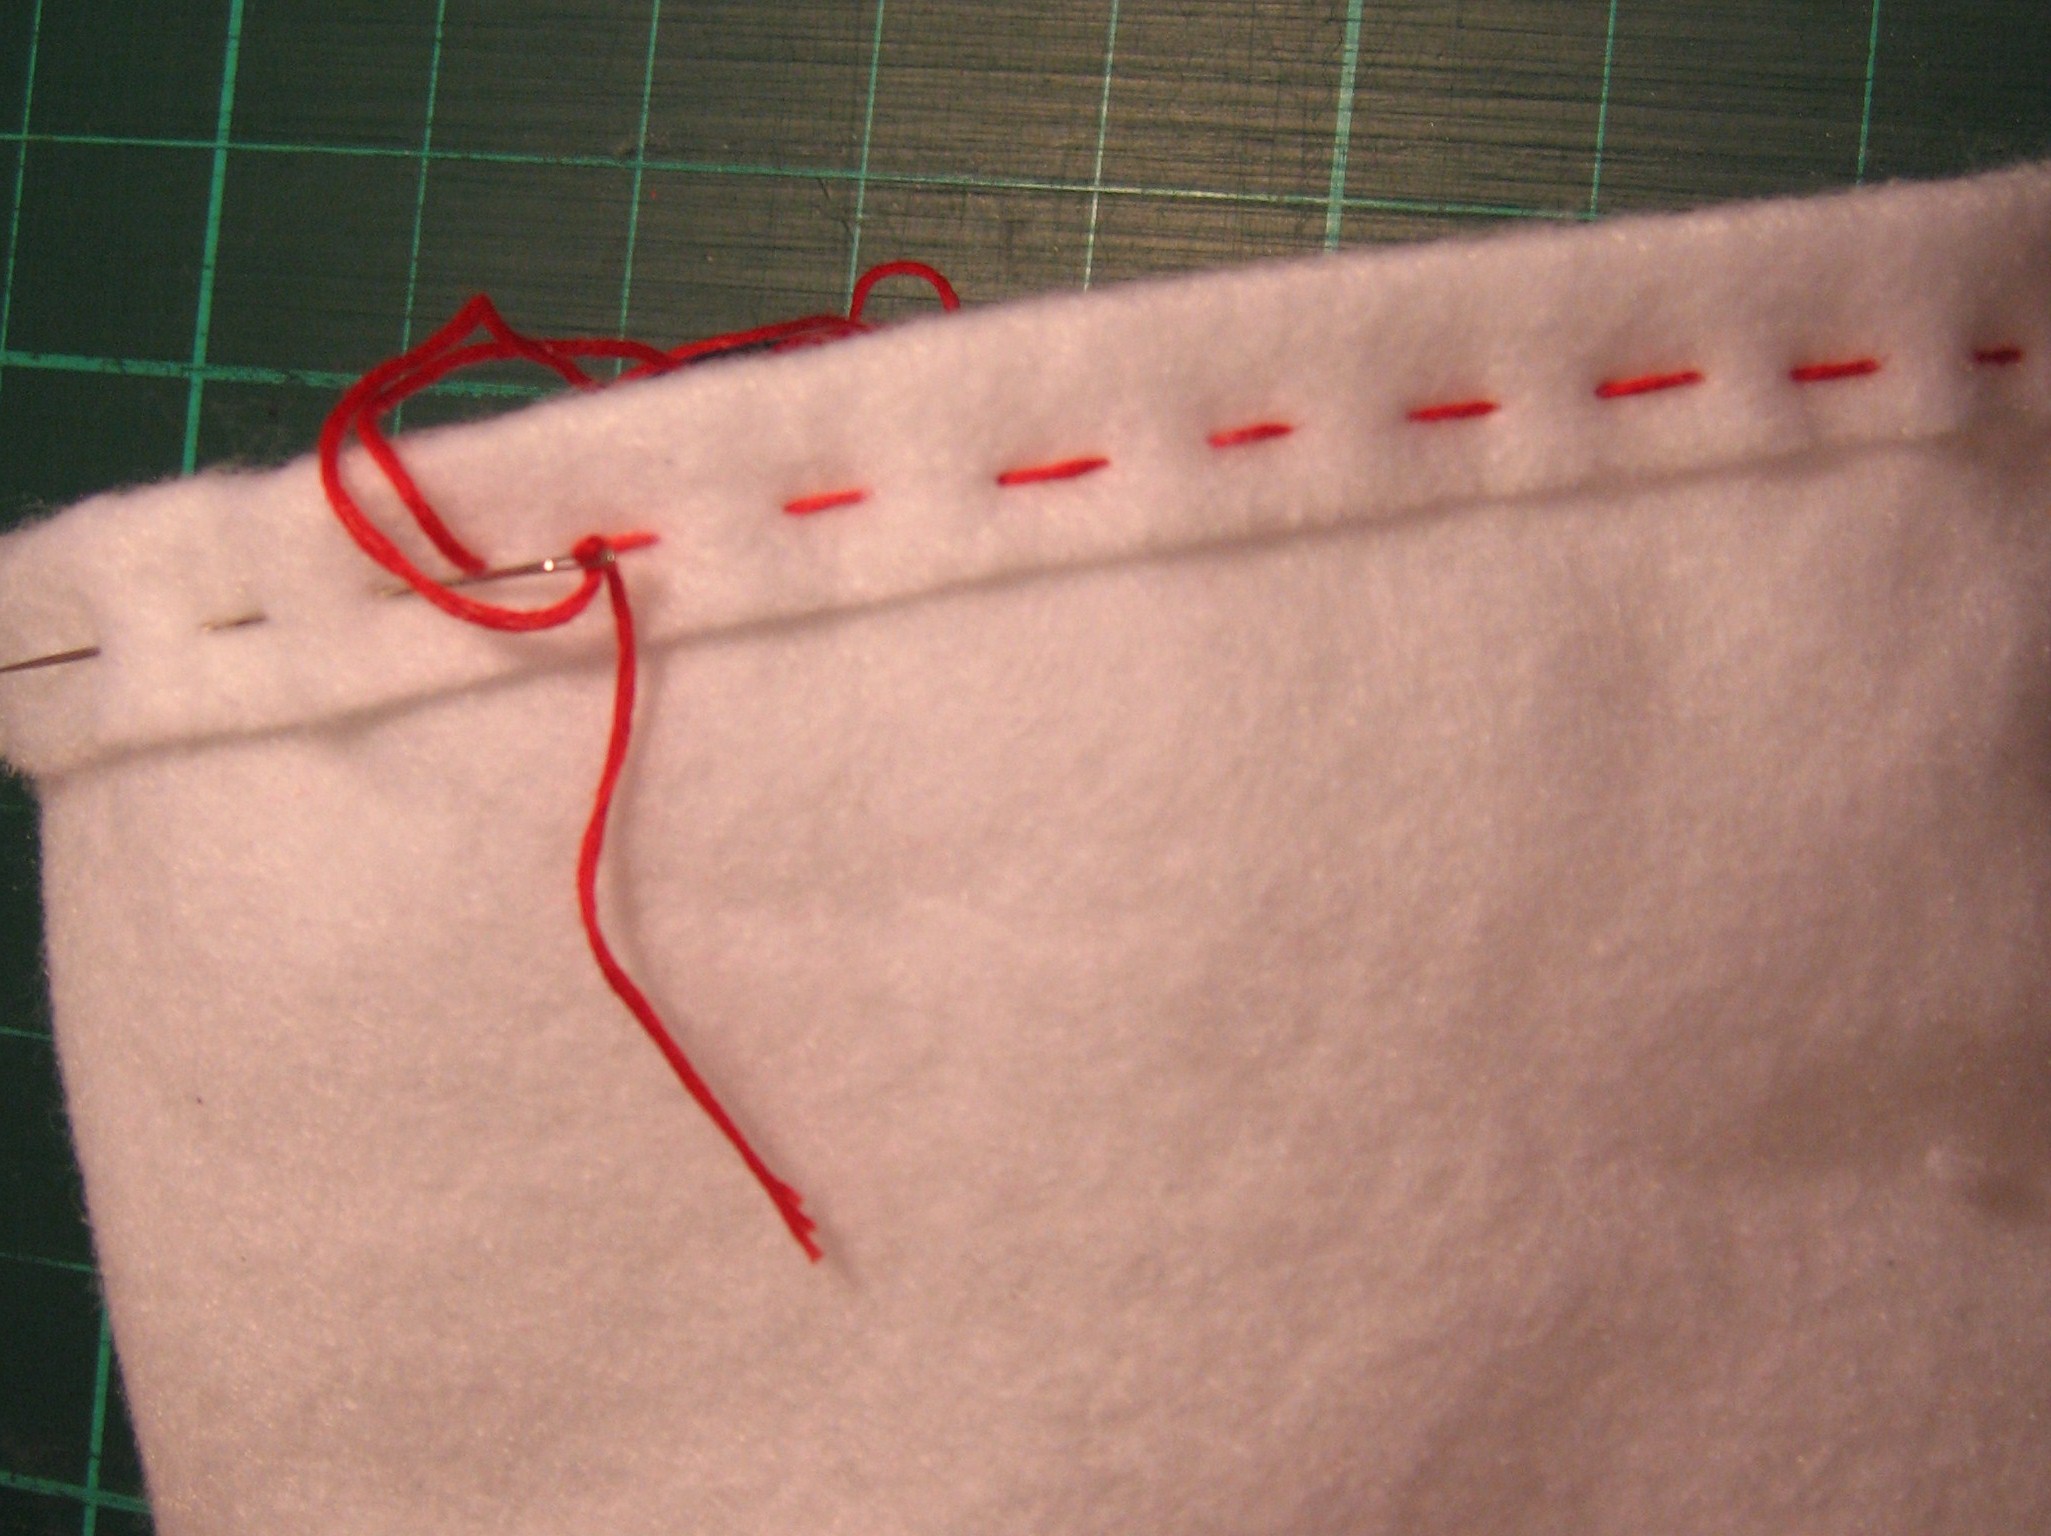
Fold 1″ down on top of bag, overlapping face.  Pin, then straight stitch around.  Stitch under side seam.

Finished stitching on the top of bag.

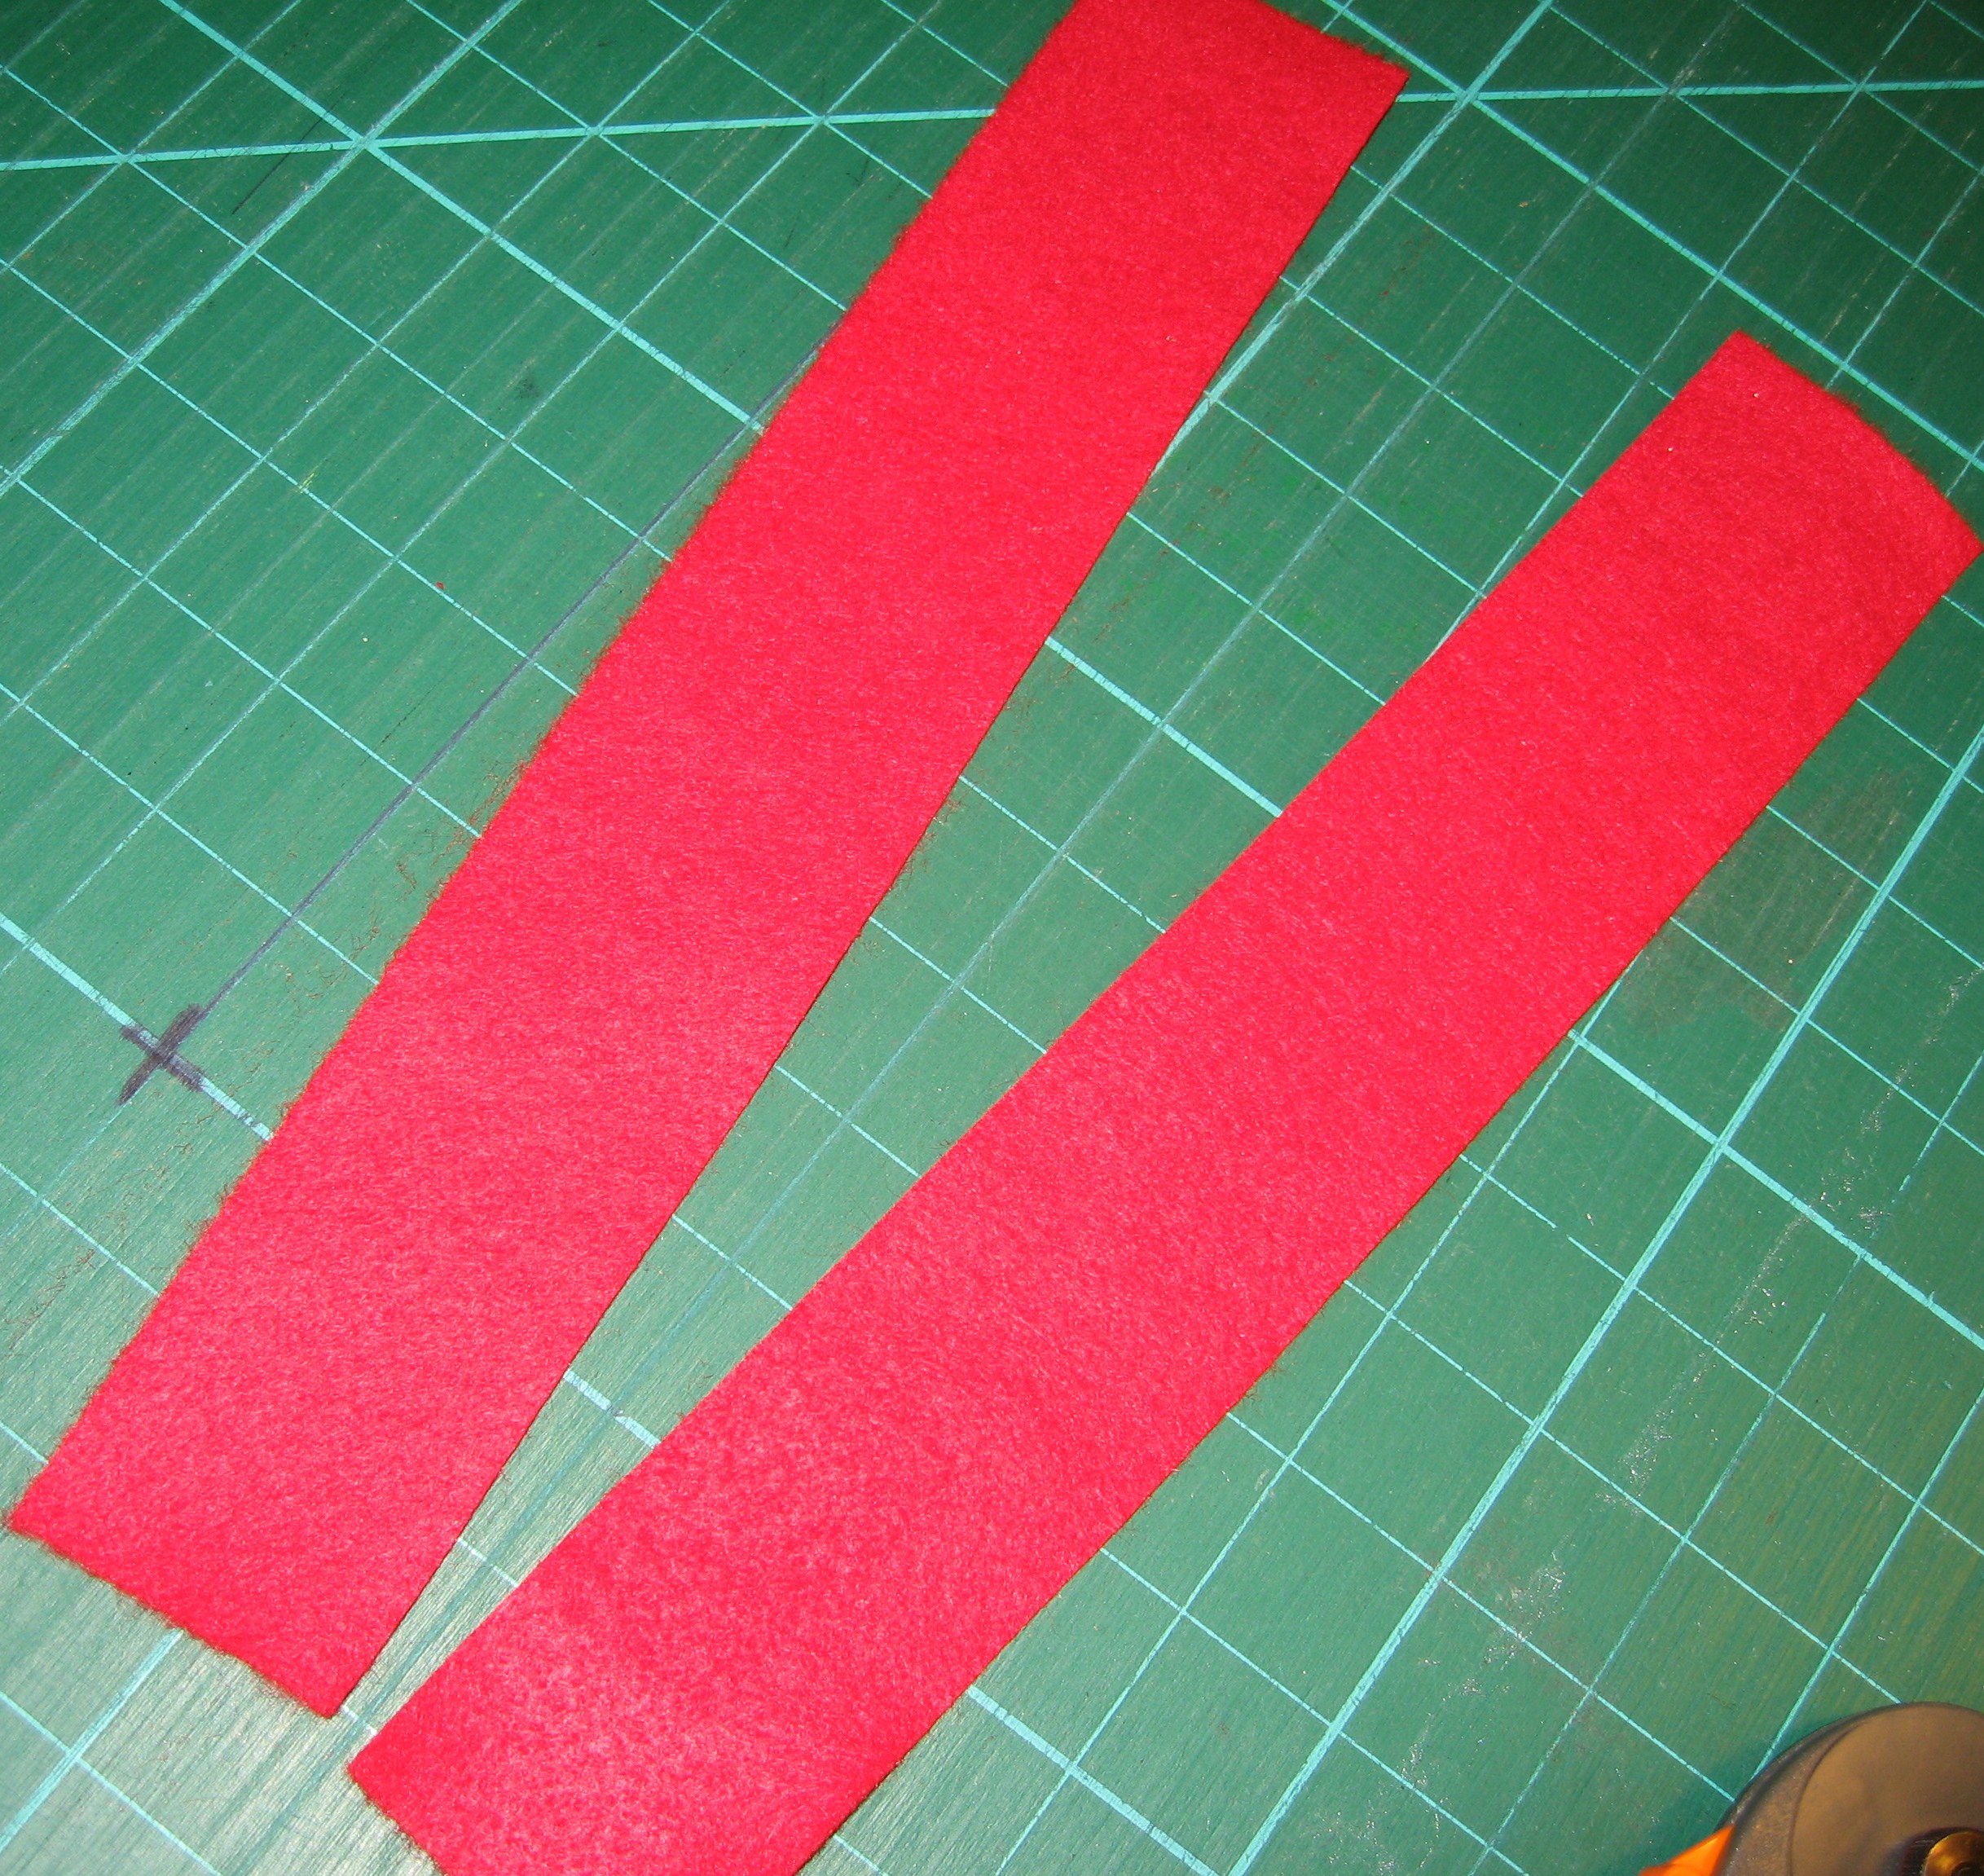
Cut two 12″ x 2″ strips from red felt.

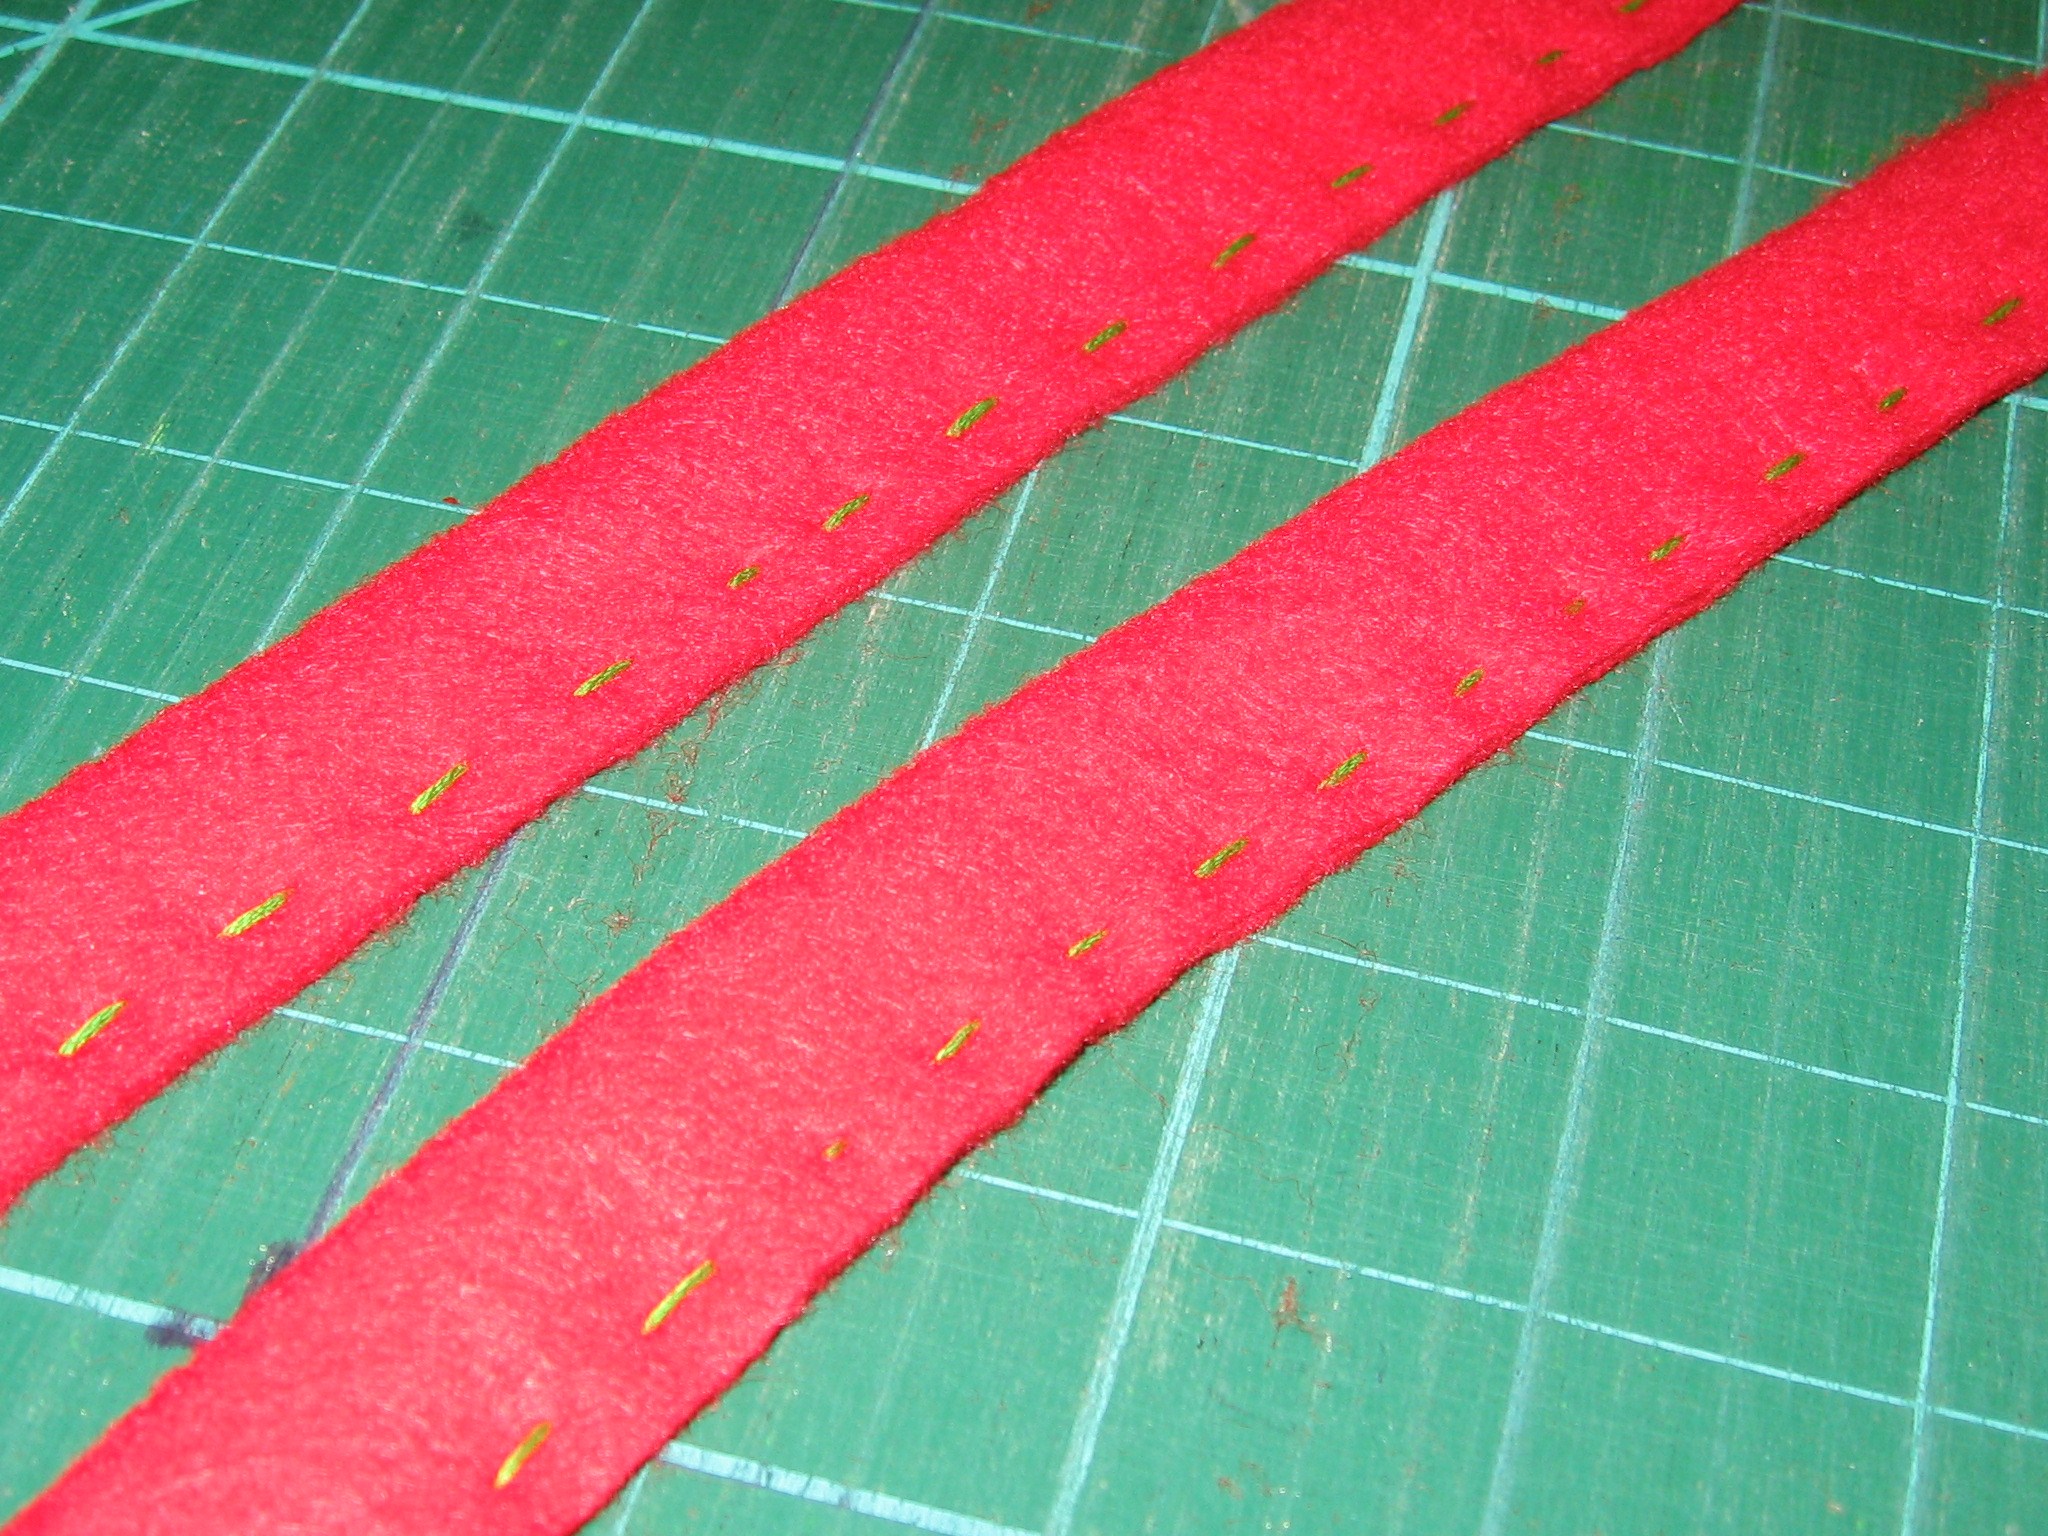
Fold straps lengthwise.  Straight stitch along the length with green embroidery floss.

Pin handle to outside of bag 2″ in from the sides.

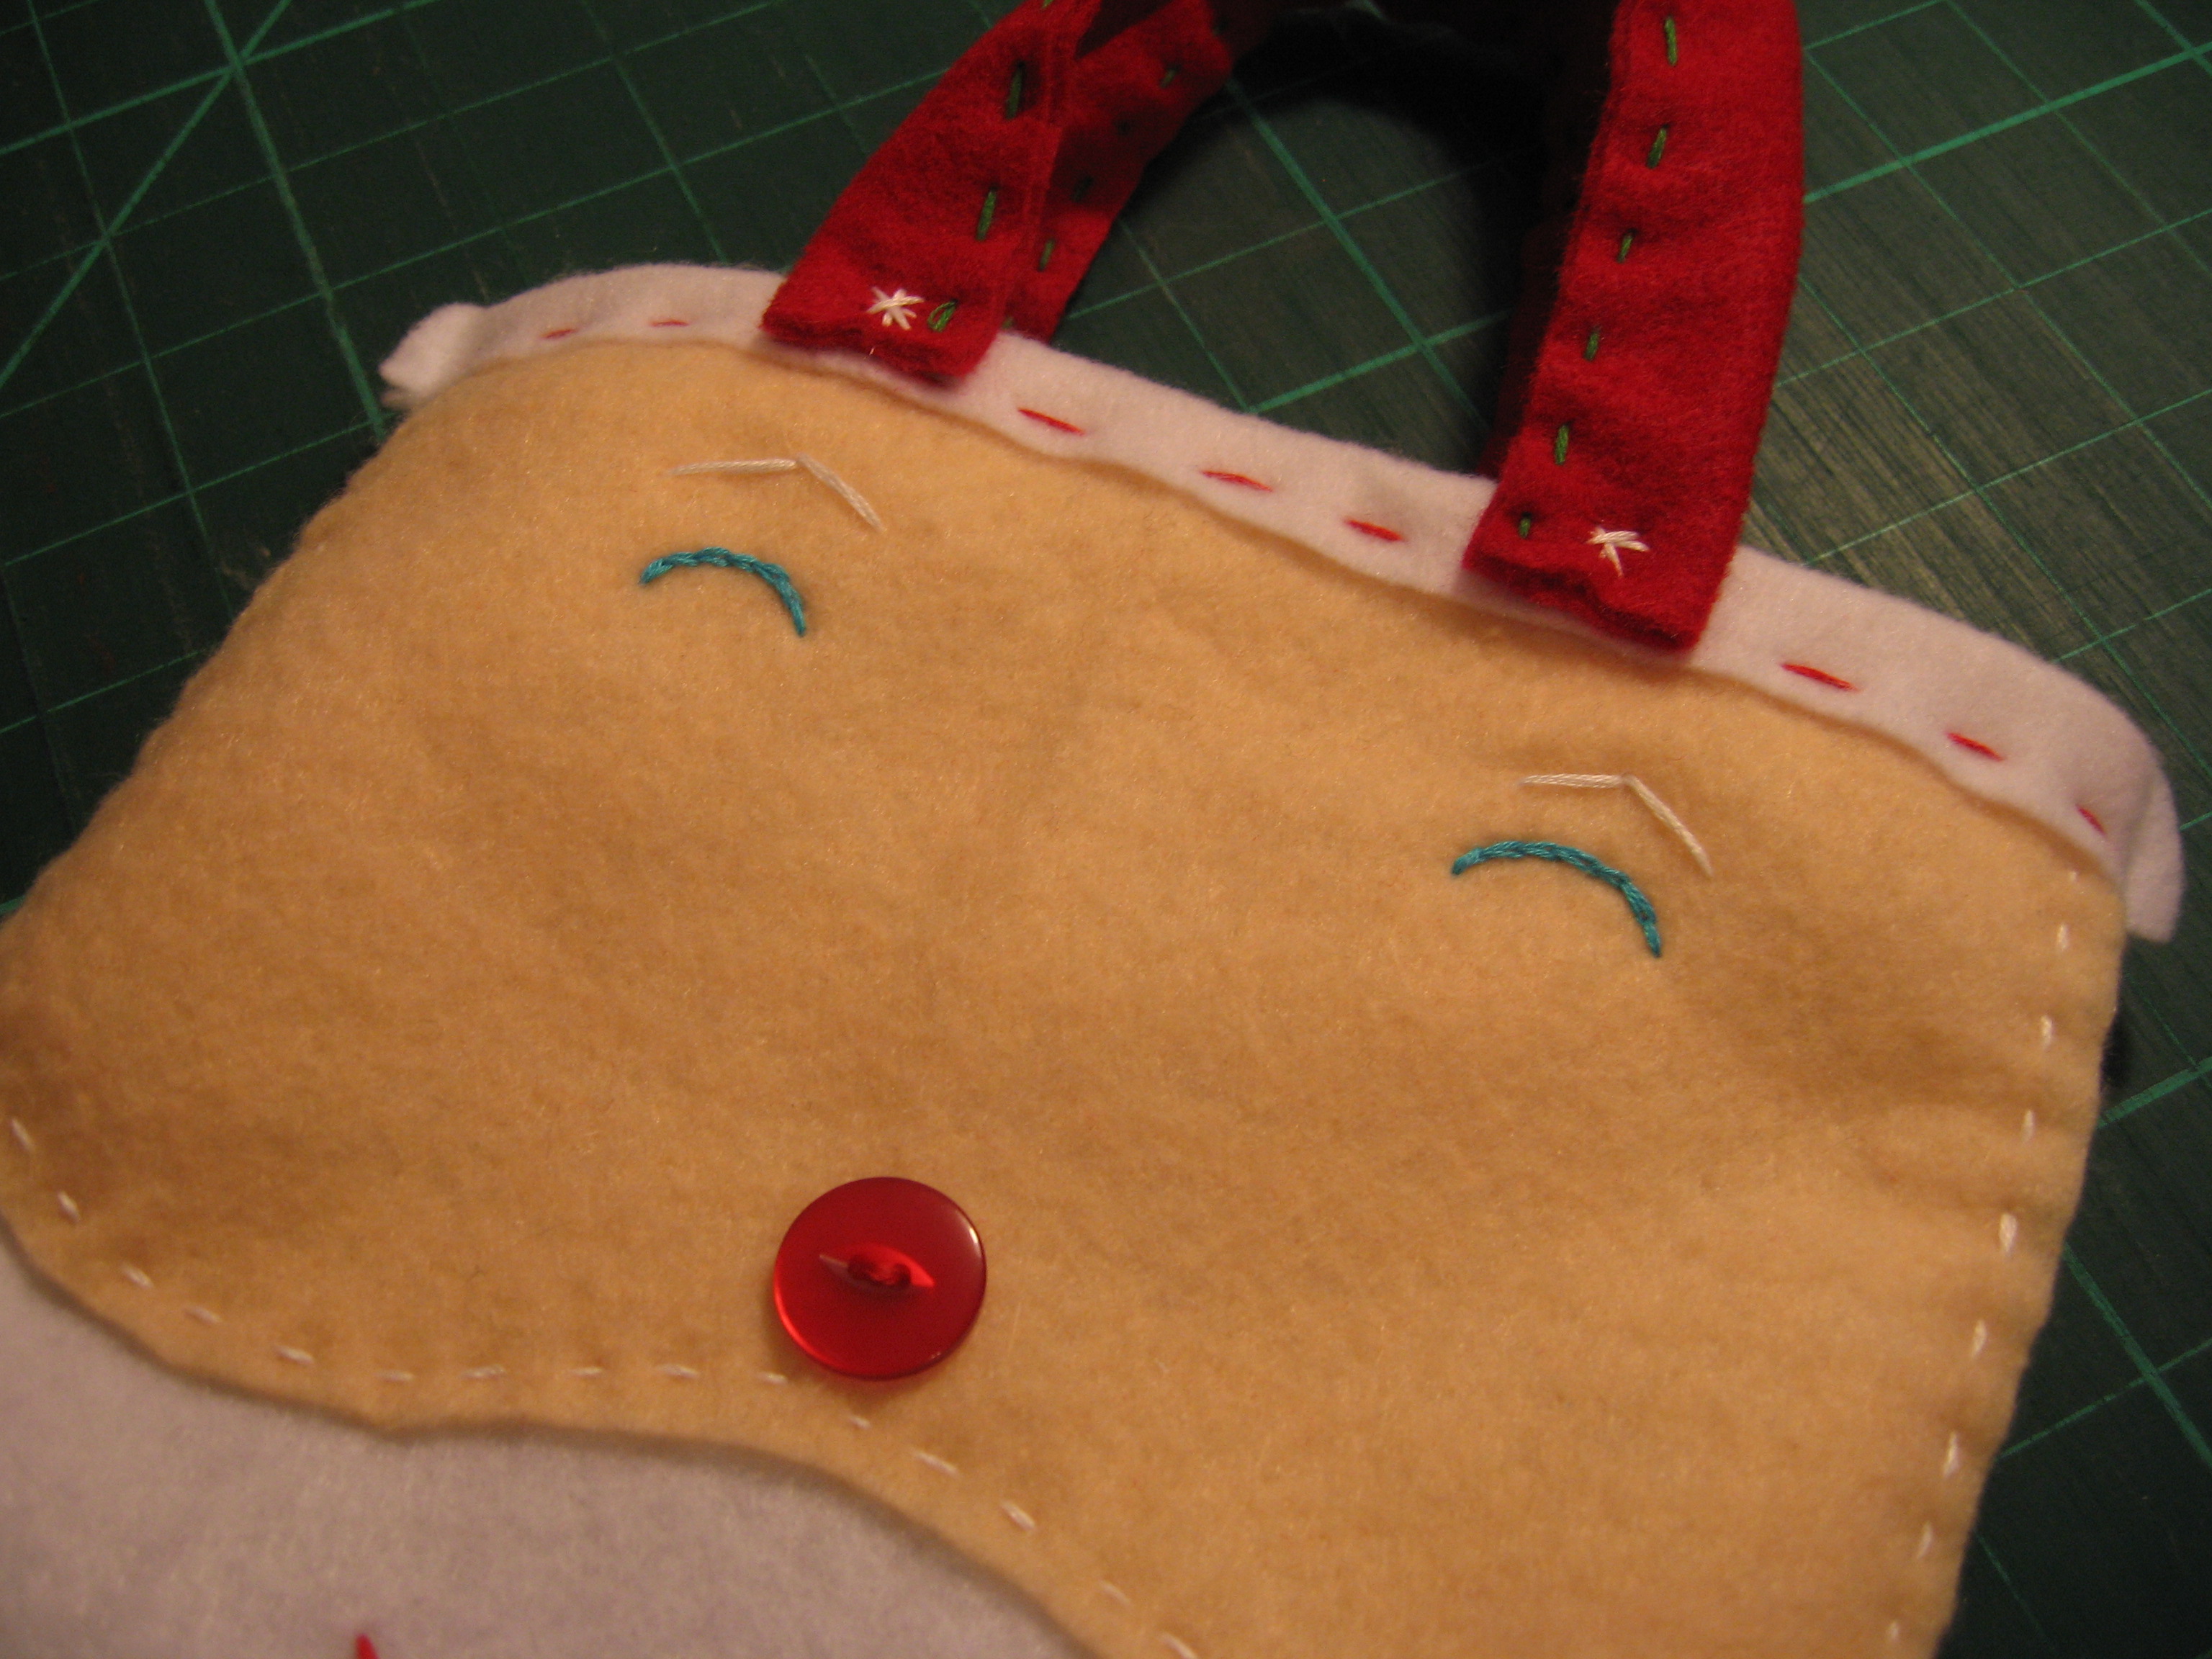
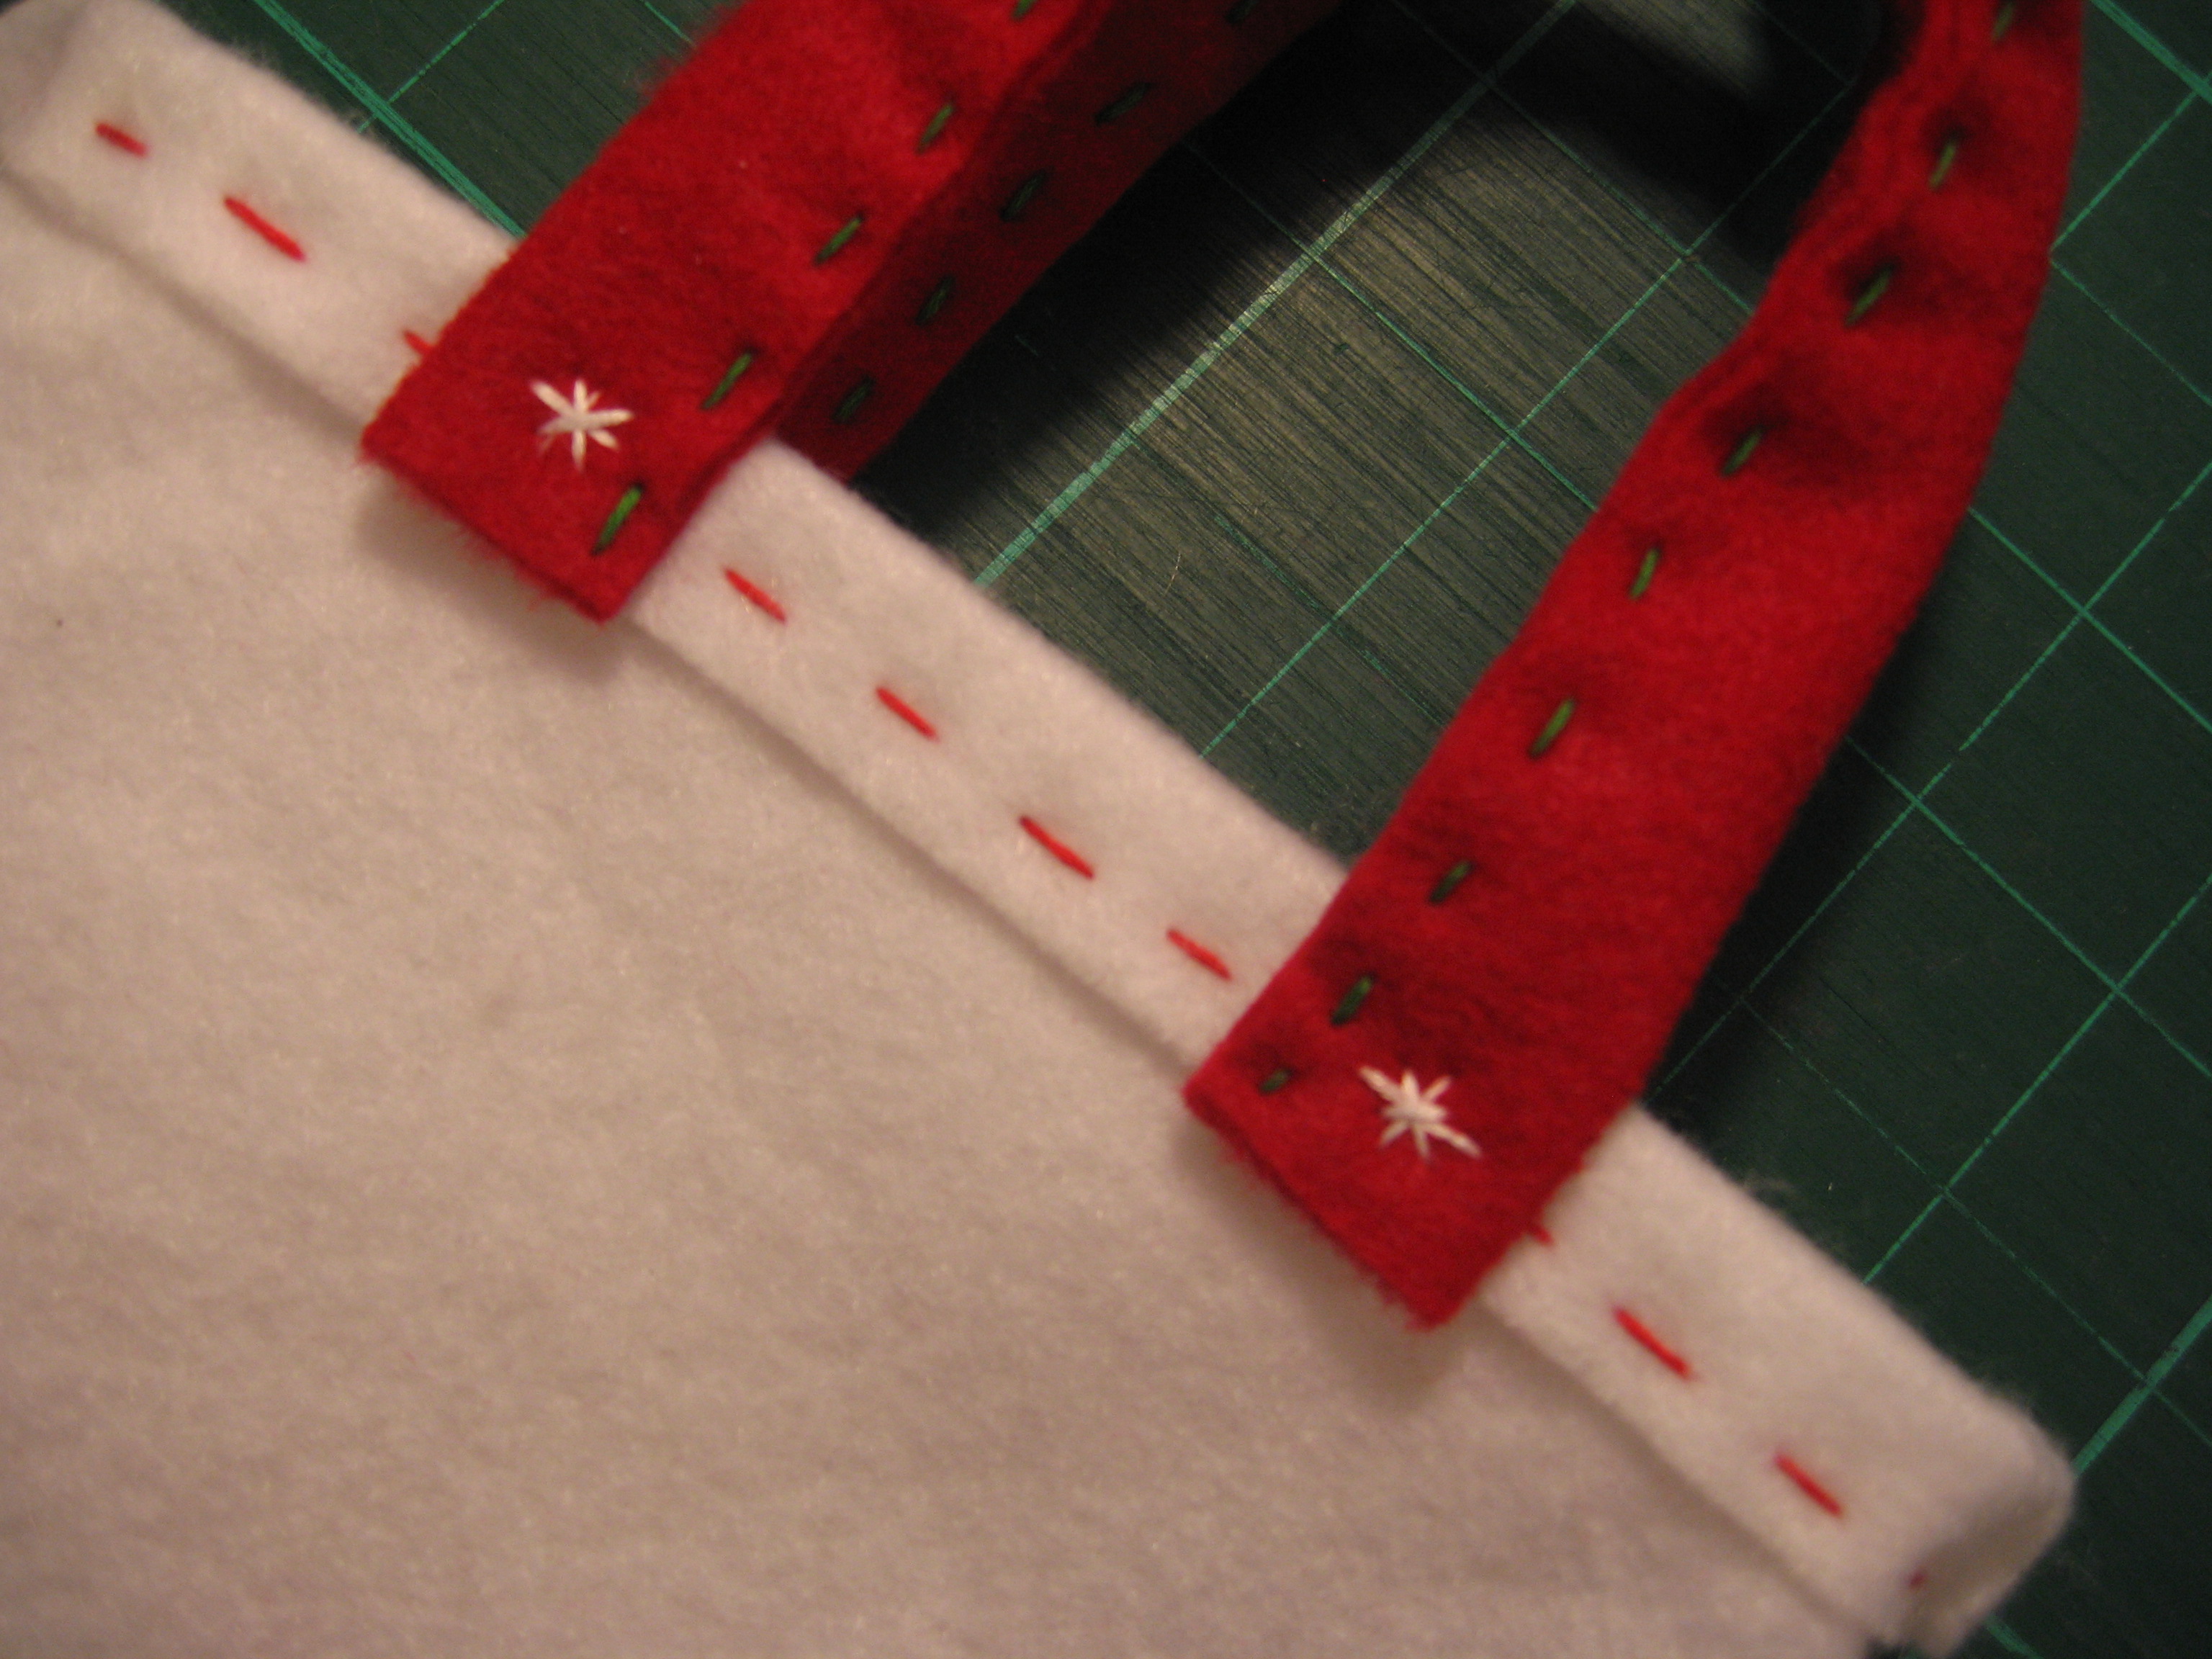
Straight stitch snowflake or asterisk to hold handles in place.  Repeat for the back of bag.

Stuff with goodies and gift it!

Feeling creative? Try your hand at a Christmas Tree!

Find my free patterns on Sewhooked & Fandom in Stitches.

♥ Jennifer O

Posts on this blog may contain affiliate links to help cover the cost of my website. I thank you for your generous support. ♥

Jennifer’s Best Peanut Brittle

Jennifer's Best Peanut Brittle

If I could make one candy to give away every year, it would be peanut brittle.

This is probably my most miraculous of recipes due to it’s ability to cause sheer happiness in it’s recipients.  I’ve actually made friends by sharing this at parties and functions.

Every year someone tells me that this is their favorite peanut brittle recipe, which of course gives me a reason to keep making it for them!

You’ll need a good, heavy saucepan and a candy thermometer for this.  If you’ve never owned a candy thermometer, it’s really worth having.   I recommend investing a few dollars (a very few, really!) in a good quality thermometer.  Glass thermometers are cheap, but they tend to break easily.  I have a professional metal candy thermometer that I picked up at a local restaurant supply store, but they’re easy to find online and at other stores with cooking supplies, too.

Peanut Brittle

  • 2 cups sugar
  • 1 cup light corn syrup (Golden Syrup works if you don’t have access to corn syrup)
  • 1/2 cup water
  • 2 cups raw peanuts (I like Spanish peanuts)
  • 1 teaspoon salt
  • 1 teaspoon vanilla
  • 1 tablespoon baking soda
  • real butter for greasing pan

Grease a 10″x15″ baking sheet thoroughly with butter.

Combine first five ingredients (sugar, corn syrup, water, peanuts and salt)  in heavy saucepan.  Stir using a long-handled wooden spoon.

Boil until candy thermometer reaches 293 degrees F.

Peanut Brittle in the pot

Remove from heat and cool for a couple of minutes.  Add vanilla and beat.   Sprinkle baking soda into the mixture and beat will.  It will foam and change colors, which is just what you want it to do!

Immediately pour into baking sheet.   Be very, very careful because liquid candy at high temperatures is like lava!   Make sure the baking sheet is on a towel or cooling rack because it will be extremely hot.

Allow to cool completely (time will vary, usually an hour or so)  then flip over and give it a whack!   Break the pieces up however you like, then store in an airtight container at room temperature.

Do not store peanut brittle with other candies because it will absorb moisture and become sticky, sticky, sticky.

For best results, share with friends!

more of my recipes

Photobucket

 
Sewhooked Shop | FB | SHFB | Flickr | Twitter | Bloglovin

Paper Piecing: Lil’ St. Nick

Lil' St. Nick

Lil’ St. Nick

5″ paper pieced pattern
©Jennifer Ofenstein
http://www.sewhooked.org

This adorable wee Santa jumped right out of my head today.  I carried him all through the supermarket, telling him to hush, we’d go home soon.  The moment the last grocery was put away, my laptop was out, Photoshop fired up, and Lil’ St. Nick was having his say.

I love the way he turned out and I hope he puts you in the holiday spirit!

As always, if you make any pattern or craft from sewhooked,  I’d love to see a photo. Email me or add it to the Friends of Sewhooked flickr group.

Happy crafting

also posted on craftster