Category Archives: Holidays

Blanket Stitched Christmas Stocking Ornament

December is almost here and that means a couple of things for my family. 

We eat too much, get to see family we haven’t seen for ages, and we craft.  While crafting in itself is a daily thing for us, December crafting is different.  We make ornaments for friends, family and ourselves.  Just something about the cold weather, hot chocolate and waiting for Santa makes the crafting a little bit more special.

On that note, today’s craft is an old favorite of mine.  It was originally designed to be an easy ornament to make during my kiddos’ elementary school days.  I wanted something that was inexpensive, took few materials and would be easy to teach kids how to do.

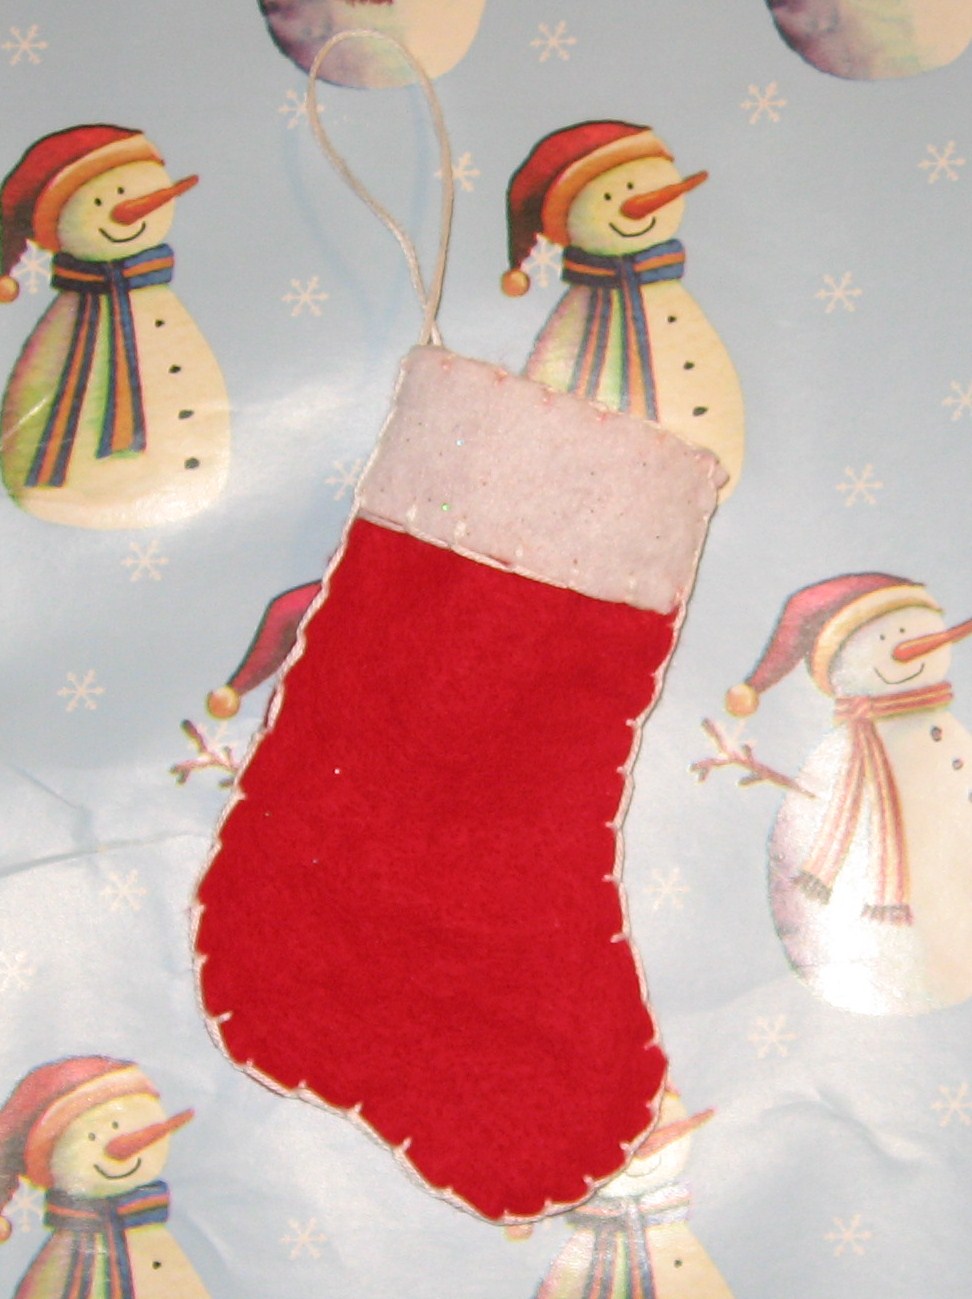
This simple blanket stitched Christmas Stocking is all of these things.  The knots might take a little adult assistance, but other than that, it’s a craft easy enough for anyone old enough to thread a needle!

Make it as is and you’ll have a 4″ stocking ornament.  Enlarge for a larger stocking; personalize, decorate or embellish!

Supplies:

  • felt stocking pattern (free to print or save)
  • felt in two colors (I used red and sparkly white)
  • scissors
  • pattern
  • embroidery floss
  • needle with a large eye
  • ruler or ruler and rotary cutter

Cut pattern on the fold of red felt.
Cut a strip of white felt 1 ” wide by long enough to go across both sides of stocking (4″ shown).

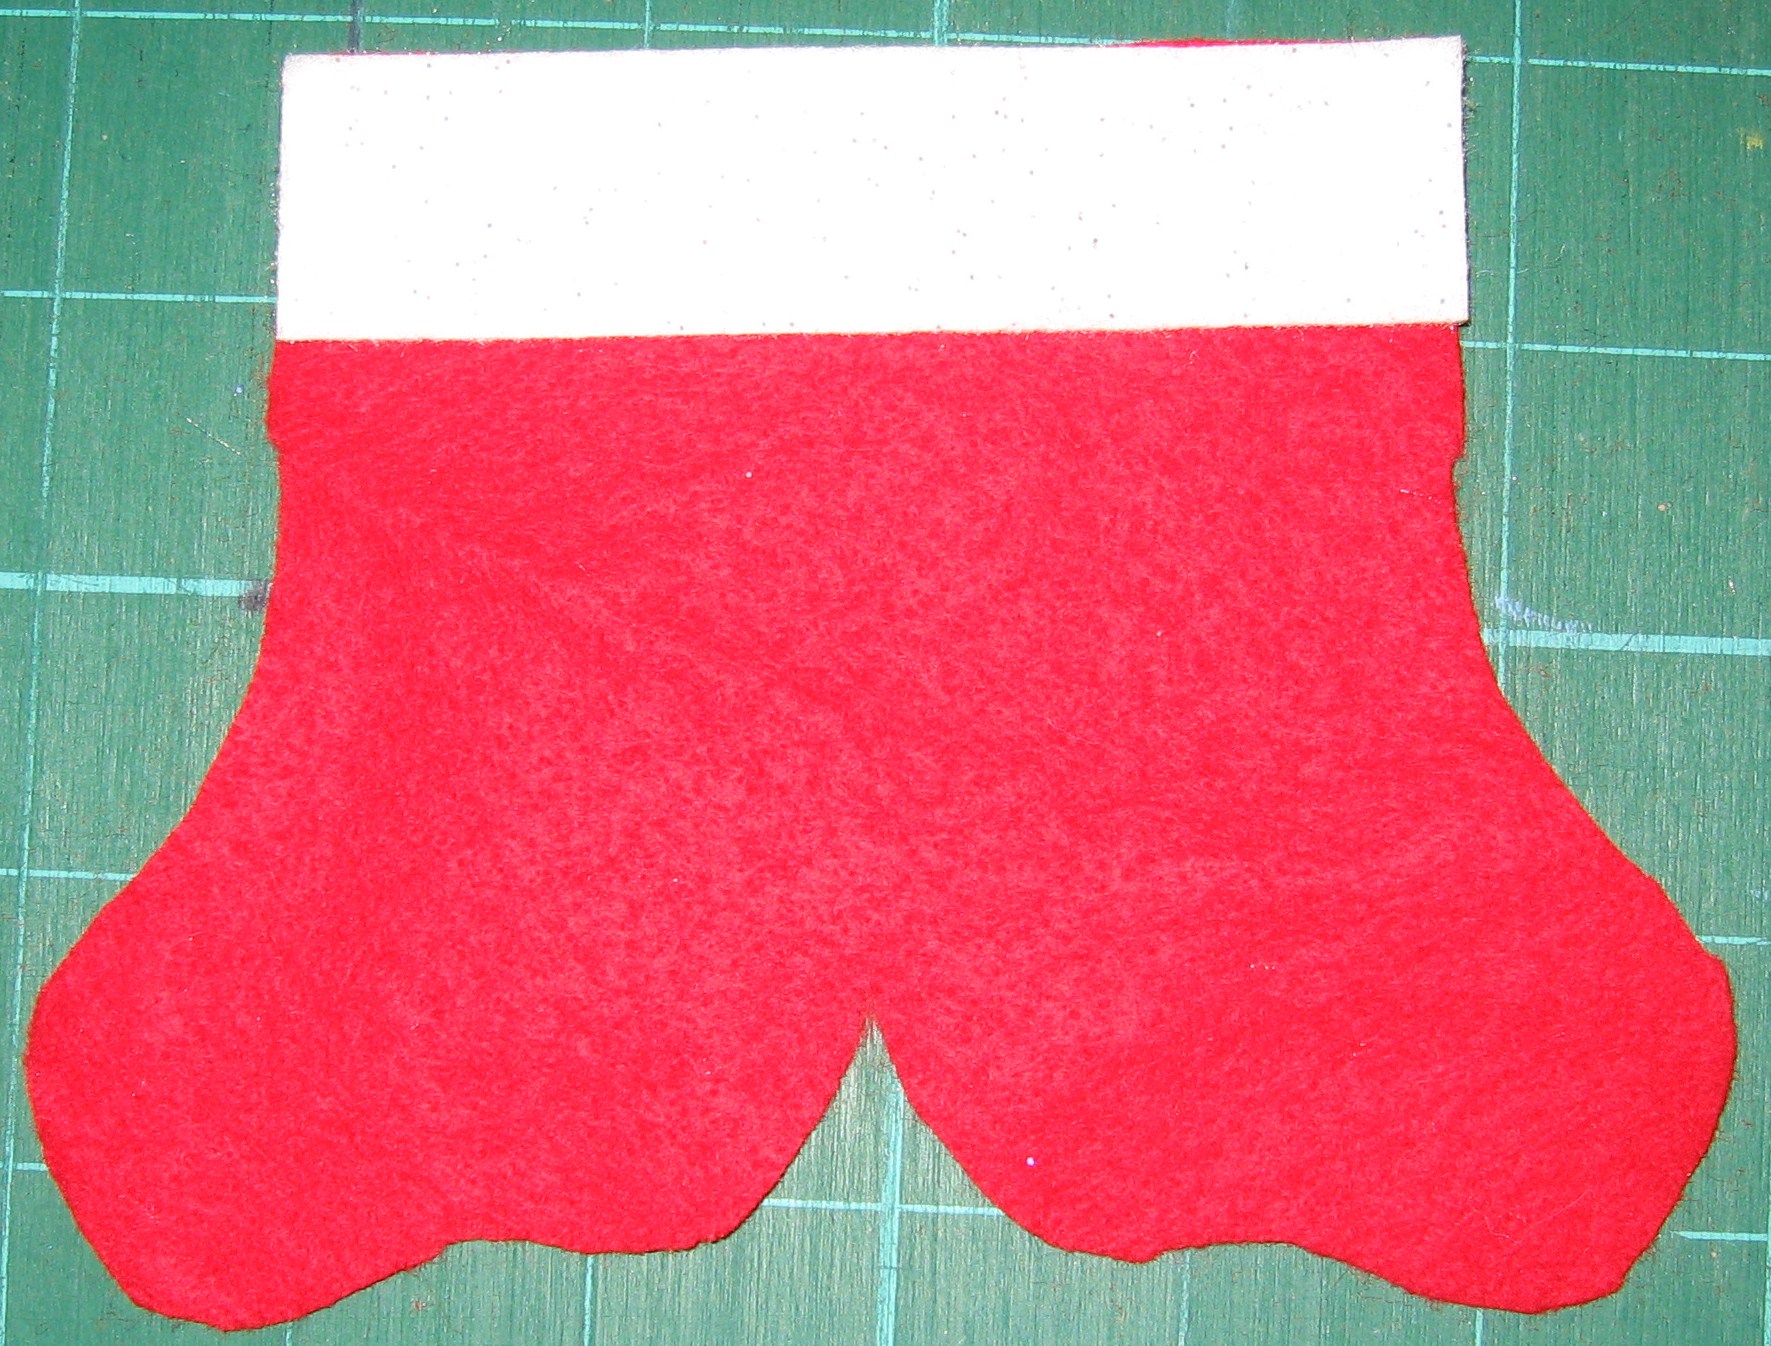
Align white felt across top of red so that the tops are flush.

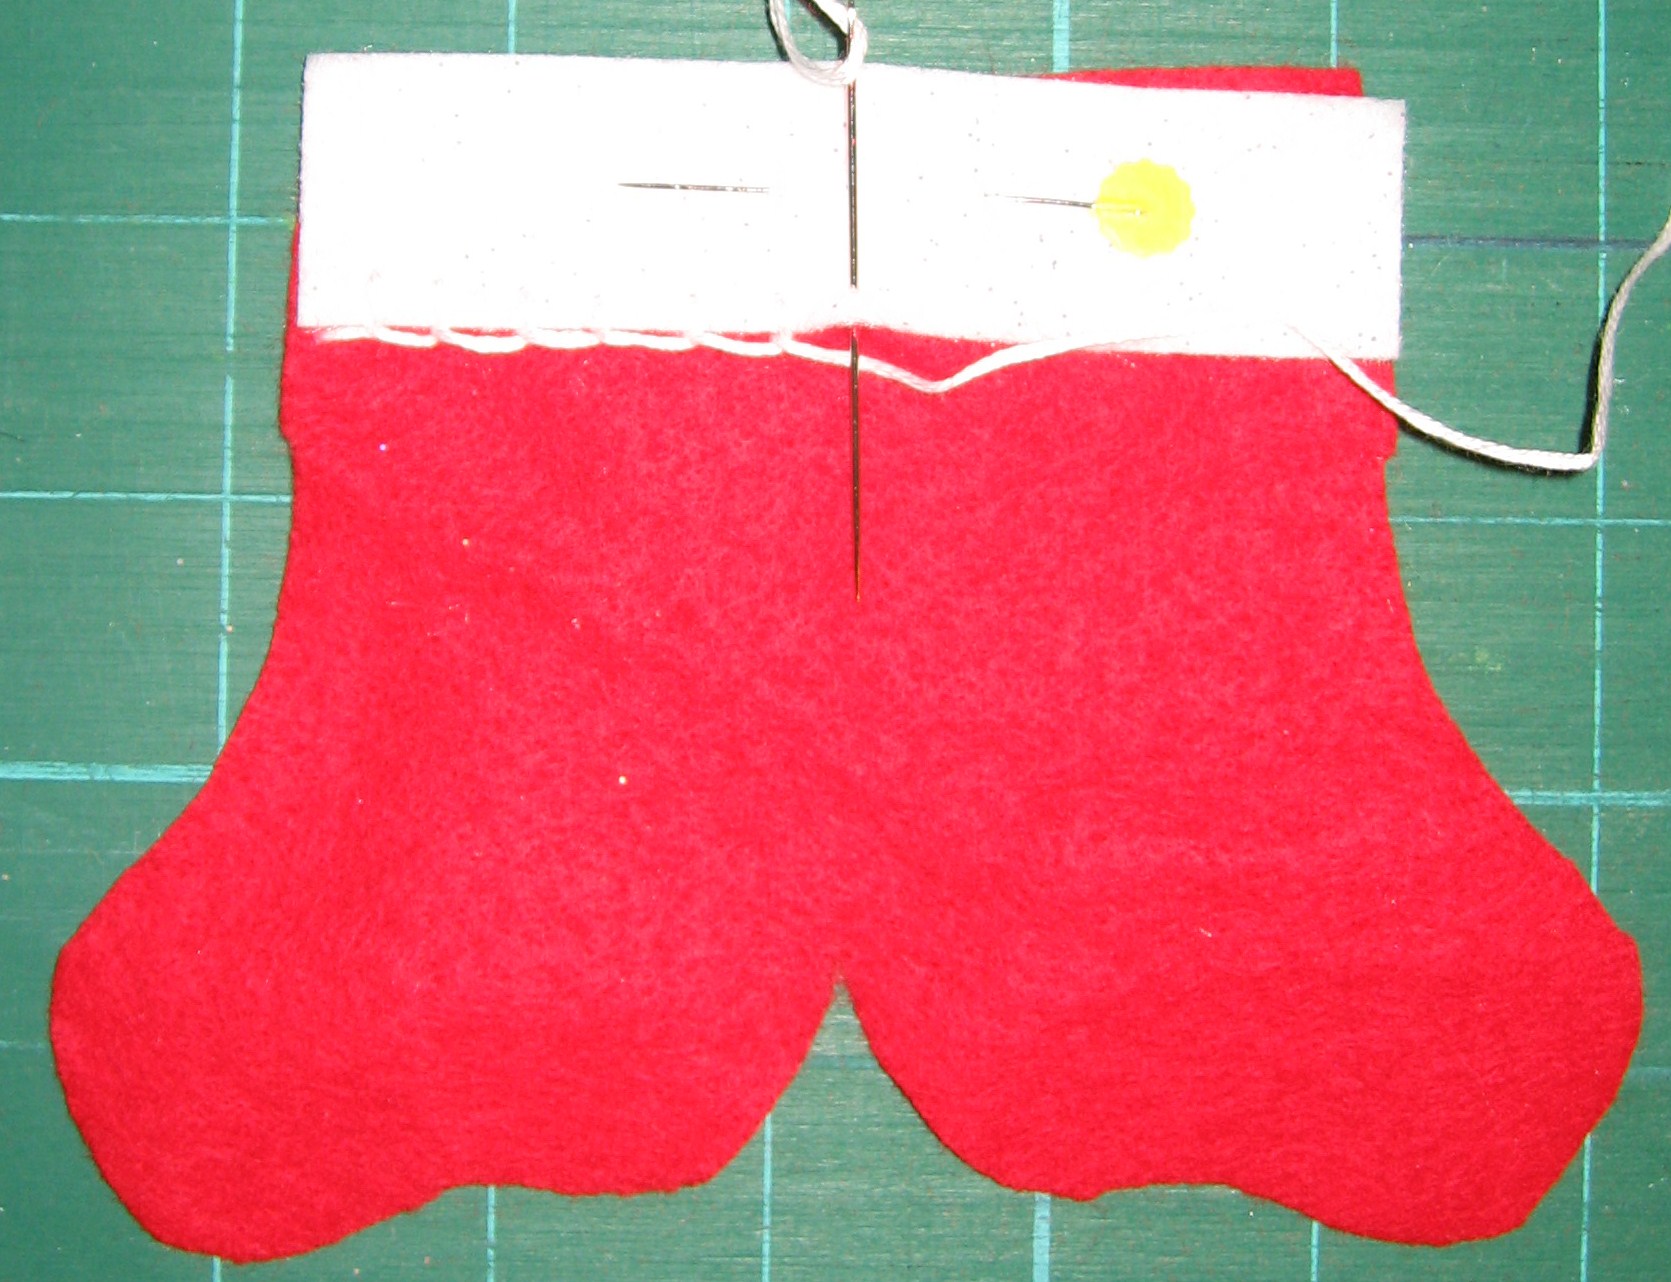
Attach the white felt by stitching across the bottom with a blanket stitch.
(How to blanket stitch from futuregirl.com)

Optional – personalize or decorate while the stocking is still open.  I’ve left this one plain.

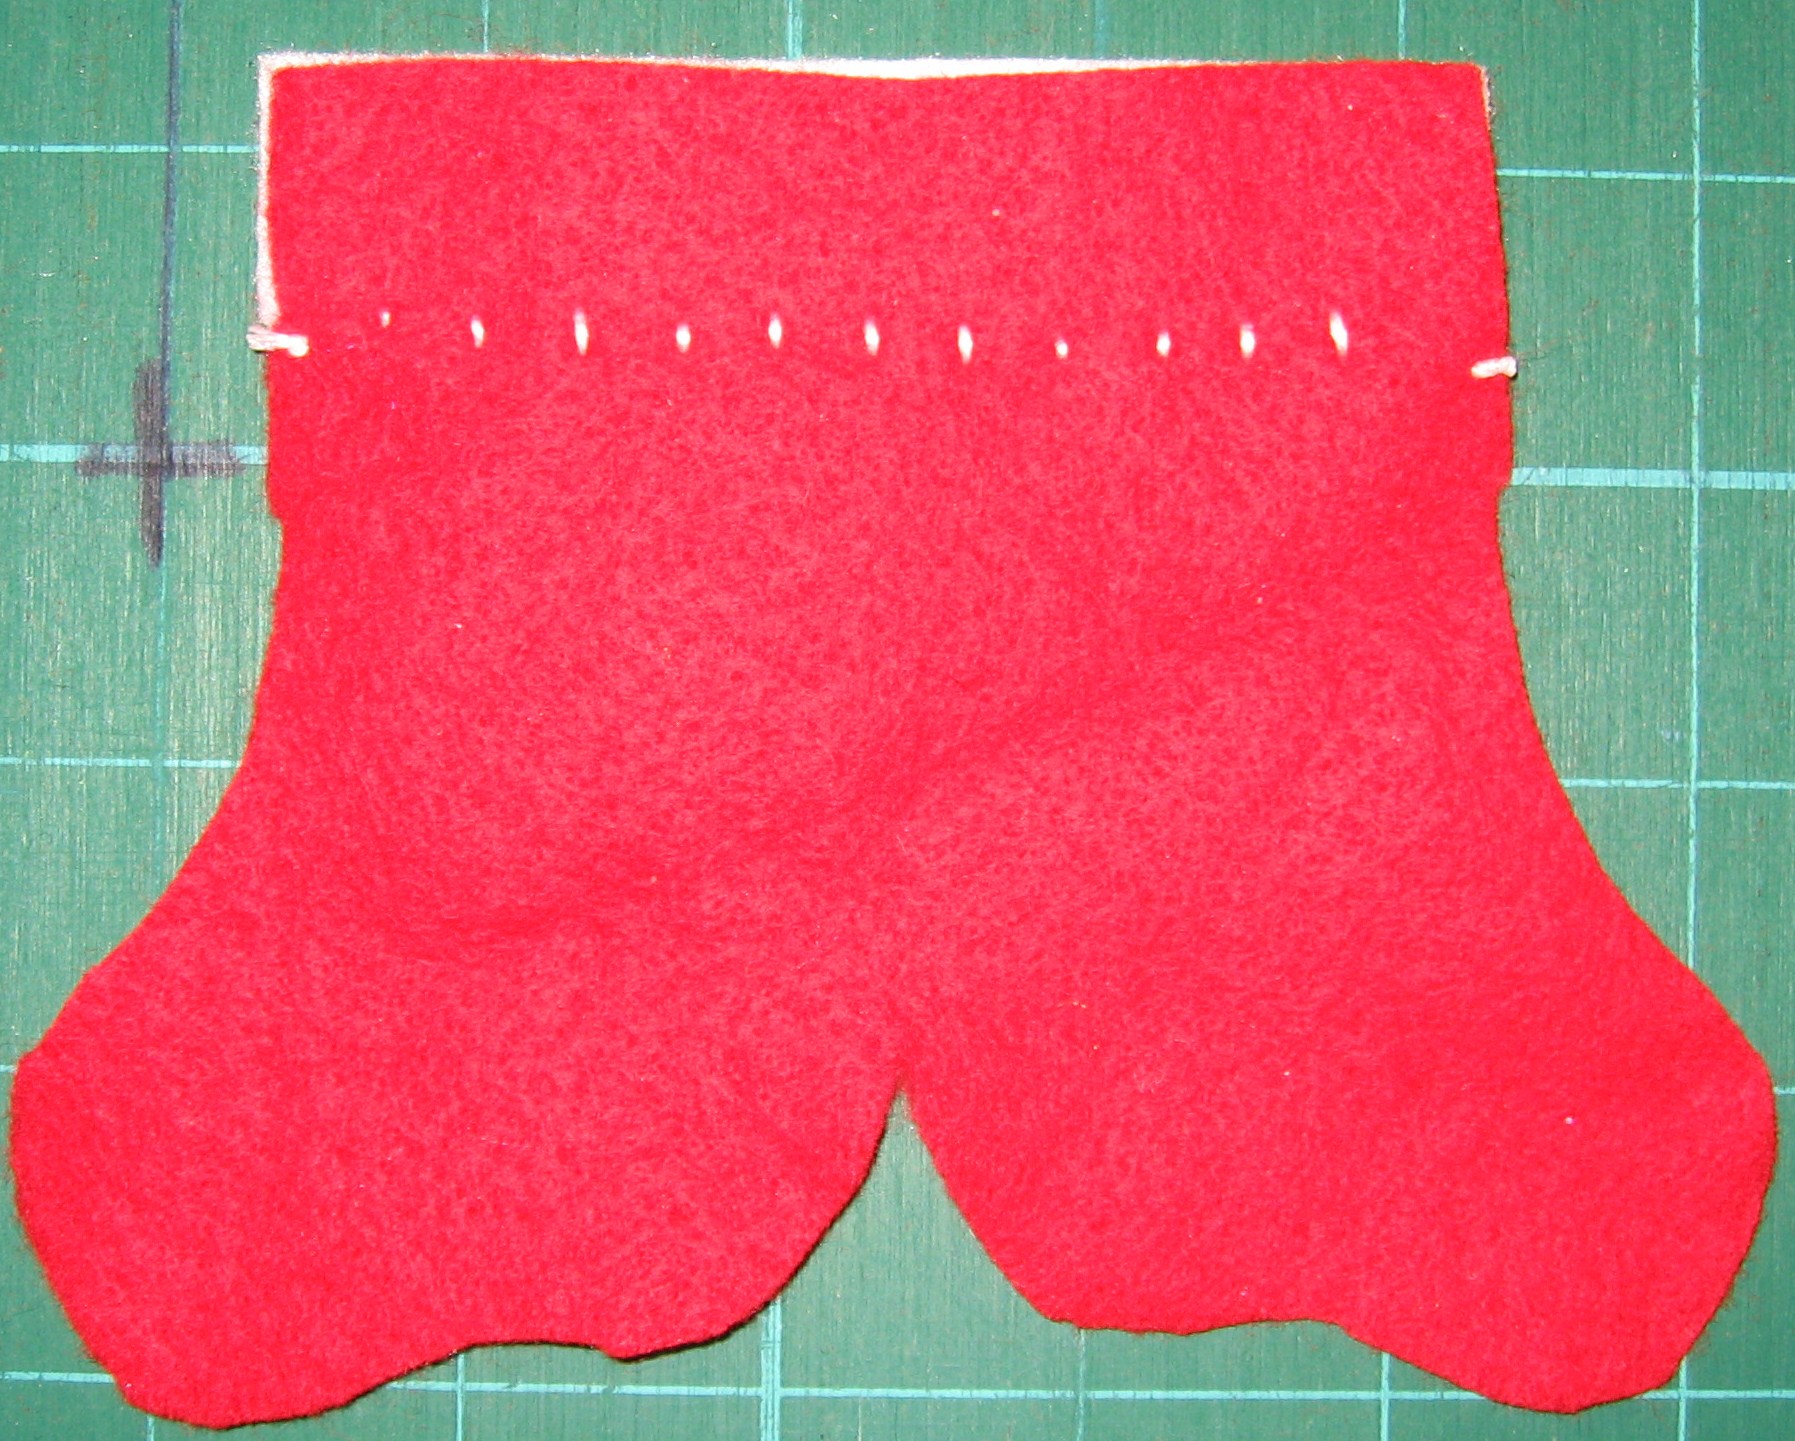
The back should look like this.

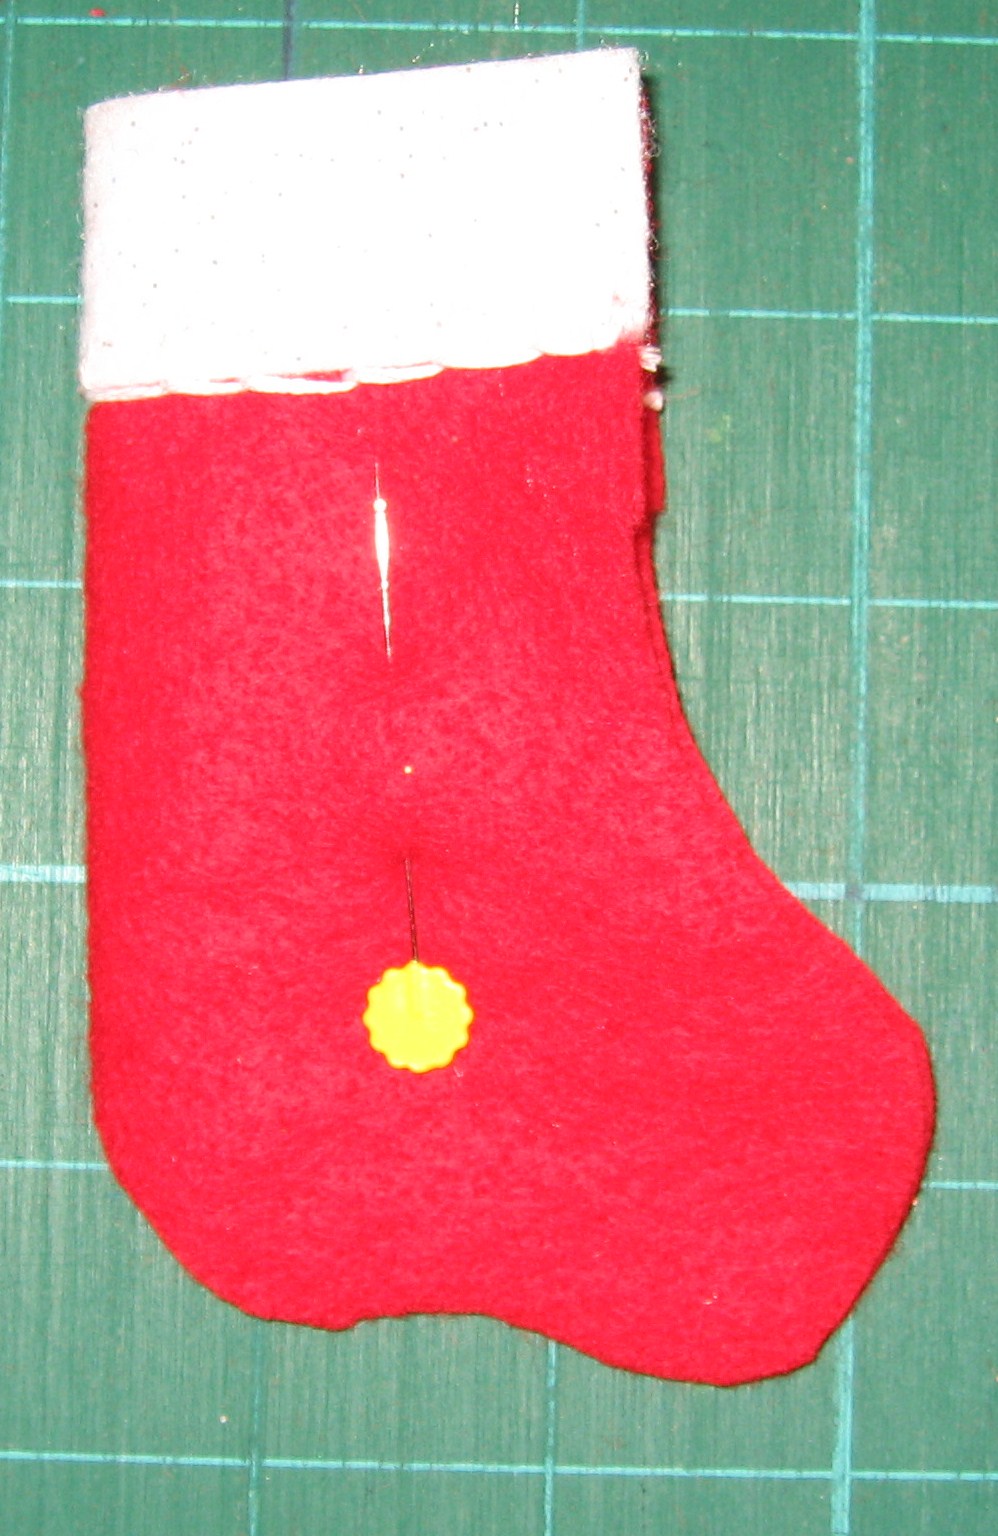
Fold stocking so white felt is outside.  Pin in place.

Starting on the open side of stocking, stitch using a blanket stitch.  You can hide the knot by starting under the white felt.  Push the needle through the three layers of felt and then take another stitch through all four layers before beginning the blanket stitch.

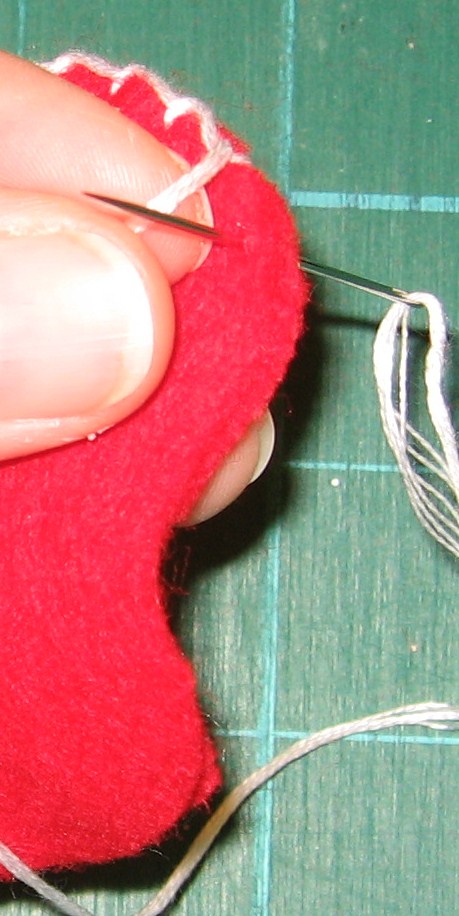
Continue around all the way around.

This is what we have so far!

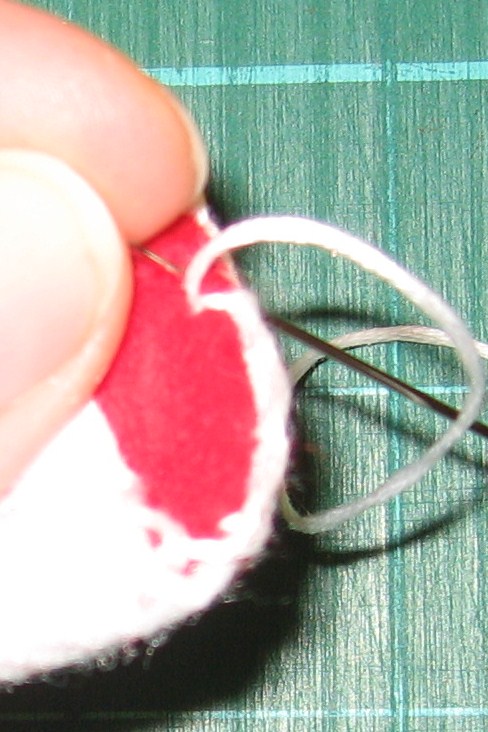
Continue blanket stitching around the top of the stocking, catching both the inside and outside layer in the stitch.  Make sure to leave the stocking itself open.

Once you’ve made it all the way around, knot off the embroidery floss then make a loop about 1 1/2″ – 2″ long.   Make a knot inside the stocking.  Take a stitch and knot again.

The pattern is for a 3″ stocking, but it can easily be sized up or down depending on your needs.

Ta-Da!

Happy crafting!

Find my free patterns on Sewhooked & Fandom in Stitches.

♥ Jennifer O

Posts on this blog may contain affiliate links to help cover the cost of my website. I thank you for your generous support. ♥


Crafty Goodness for the Holidays

x-posted from my personal journal…these are stores that belong to my friends and my friends’ friends!

Please comment on this post if you’d like your online shop listed. Please remember that I want your shop. Referrals are great, but please have the person that owns the shop comment. This makes it easier for me to know who to contact if a question arises.

Thanks! and Happy Shopping!

Marissa Charlotte Creations
Photobucket
Sells: Embellished Envelopes, Upcycled Bulleting Boards
Price Range: $8 – $25 for current listings

Witch & Wizard Quilt Patterns by Cat Magraith
Photobucket
Sells: Original Paper Pieced Patterns
Price Range: $3 each

Caitirin Critters
Photobucket
Sells: Custom Ordered Crochet Critters
Price Range: Varies by order

Handcrafts & Original Designs by ofenjen
Recycled Yarn Caddy
Sells: Hand Crafted Odds & Ends as well as custom buttons
Price Range: $1.50+

kristen paulsen photography
Sells: photographs, prints, calendars, mugs, mousepads, cards, etc
Price range: $5-$50

Crafts: Buy handmade for the holidays

I Took The Handmade Pledge! BuyHandmade.org

Shopping for handmade items can be daunting and if you’ve been to etsy recently, you know there are about a zillion people selling there, which can make it very hard to know where to start.

In a continuing effort to make, buy and give handmade, I’m collecting a list of my friends that sell handcrafted items.

In a few days, I will take all the collected names and post a big ole list of online shops with the hopes that my all friends will benefit.

If you make items to sell and would like to be in the “My Friends Sell Handmade Stuff” post, please comment with the following information:

  • Link to where items are for sale
  • Example List of items available
  • Price range (example $5 – $50)
  • Sample Photo, optional (just one please)
  • Other pertinent information

Please only share links to your own handmade items for sale. If you have friend that also sell their own handmade items and you think they’d like to participate, please direct them to this post so they can add their own information.

Happy Crafting!

also posted on my personal blog

Crochet Turkey

Crochet Turkey

Printable Pattern

Download it from Craftsy!

The date I wrote on the original copy of the pattern for this cute turkey is November 1999.  The creation of the turkey came right on the heels of the Jack-O-Lantern Finger Puppet.  I still think this little guy is too cute to be allowed.  His appearance can vary based on what color of yarn you choose for his feathers and body.

I made the one in the photo in a little under 10 minutes.  Make one or a lot and share with your friends!

Crochet Turkey

Makes a Fridgie, Pin, Finger Puppet or Pencil Topper

This is a very versatile pattern for a Thanksgiving Turkey. It works up very quickly and is cute, cute, cute!

  • worsted weight yarn – small amounts of tan, red, yellow, orange, dark orange (or seasonal colors of your choice)
  • H hook
  • pin back or magnet (optional)
  • 2 small google eyes

crochet turkey 001

Body – with tan, ch 4, 11 dc in 3rd ch from hook. Join with sl st. Finish Off

Back Feathers – with rust and orange together, join with sl st to back loop only of any dc, (ch 6, sl st in same st, sl st to next dc) rep until six feathers are made. On last feather, do not sl st to next dc. Finish off, 6 back feathers
made.

crochet turkey 002

Front Feathers – with orange, sl st in front loop opposite back feathers, (ch 4, sl st in same st, sl st to next front loop) repeat to last feather, do not sl st in next loop. 6 front feathers made. Finish off.

Head – with tan, ch 2, 6 sc in second ch from hook, sl st in first sc. Leave several inches of yarn for sewing to body.

crochet turkey 004

Wattle – join red to head with a sl st in back loop of any sc, ch 4, sl st in same loop, finish off.

Beak – using yarn needle, sew yellow directly above wattle in a “T” shape, leaving top half of head free for eyes.  Finish off.

crochet turkey 008

Assembly – placing head on top center of body, sew using yarn left on head. Finish off. Using low melt glue or Tacky Glue, attach 2 small google eyes.

For Fridgie or Pin – glue magnet or pin on the back after eyes have dried.

For Finger Puppet or pencil topper – crochet another body and attach to back of completed turkey by stitching around. Leave four dc open at the bottom for finger or pencil. Finish off.

Visit the Turkey Craft Round Up and the Turkey Craft Round Up flickr group for more fun Turkey crafts.

Happy crafting!

This is part of my “Way Back Craft” series; patterns, crafts, tutorials and general crafty memories before the days of the blog.

“Mellocreme” Pumpkin Earrings

Mmmmm, mellowcreme pumpkins, the yummy little sugar bombs that are really just candy corn kicked up a notch!  In homage to these tasty Halloween treats, how about a fun, easy craft that is cheap and makes enough to share with your friends?

I made the cute pumpkin earrings for a Halloween swap I was recently participated in.  You can make one pair or several!

makes 10 -12 pair

  • 1 block orange polymer clay
  • small amount green polymer clay
  • toothpick or skewer
  • hook ear wires (aka French hooks) (2 for each pair)
  • eyepins (2 for each pair)
  • jump rings (size of your choice)
  • jewelry pliers (I used one round nose and one chain nose)
  • Sculpey Glaze (gloss)
  • small, soft paint brush
  • parchment paper
  • baking sheet
  • optional: business cards and decorative bags for gift giving
Pumpkin Earrings

Separate the orange clay into enough pieces for 10 – 12 pairs of earrings.  Roll each piece into a rough ball shape.

Pumpkin Earrings

Using the round nose pliers, twist the eye pins into a curly shape, making sure each is approximately the same length.  Make the same amount as the orange balls in the last step.

Pumpkin Earrings

Squish the curly part of the eye pin into the orange ball.  Cover wire completely with clay, rounding with your fingers as you go.

Pumpkin Earrings

Add a small amount of green clay, gently pressing it around the wire into a stem shape.  Make sure to leave the “eye” in the pin visible.  If necessary, use a toothpick or skewer to clean out the hole.

Pumpkin Earrings

Use the toothpick to gently roll creases into the orange ball.

Pumpkin Earrings

Wallah!  A tiny pumpkin!  Repeat steps for each earring.

Pumpkin Earrings

Place earrings on parchment paper lined tray and bake according to manufacturer’s instructions.

Pumpkin Earrings

Pumpkin charms, all baked.  They look a little dull, so…

Pumpkin Earrings

Place earrings eye pin side down in Styrofoam.  Gently brush on Sculpey Glaze.  Allow to dry upside down.   Once they’re turned over, add a little more Glaze around the top if needed.

Pumpkin Earrings

Attach the ear wire (French hook) with a jump ring and pliers.  (how to open and close a jump ring)

Repeat for each pumpkin charm.

If making enough to share with your friends, poke holes in a business card with a pin, then slide the ear wire through.  Fold the top end of the business card down and place in a cute little bag.

Happy Crafting!

♥ Jennifer O

Posts on this blog may contain affiliate links to help cover the cost of my website. I thank you for your generous support. ♥

Halloween Bats Tutorial

Easy Felt Bats

Every year, my family and I break out our big orange and black box full of Halloween decorations, cauldrons and punched aluminum candle holders. Folded and tucked into the side of the box are these sweet bats we made years and years ago. They’ve adorned several front doors, including our current home of almost ten years.


Halloween Bat Door Decoration

Super easy and adorable to boot, these anything-but-scary Halloween bats take about five minutes to whip up.

Supplies:

  • Felt Bat Template
  • 1 piece of black acrylic felt for each bat
  • scissors
  • pin
  • hot melt glue gun & glue
  • google eyes
  • round magnets


Gather your supplies


Fold the acrylic felt lengthwise in half. Pin the Bat pattern on the fold.


Cut around the bat shaped pattern, leaving the fold intact. Fold fabric out.


Use hot melt glue to attach google eyes, being careful to use only a dot of glue. Use pattern placement as a guide.


Use the same method to add the magnets to the back of the bat, using the placement shown on the pattern.


Two sizes of eyes.


Looking great!

Once the glue has dried, your batty friends are ready to display!

This is part of my “Way Back Craft” series’; patterns, crafts, tutorials and general crafty memories before the days of this craft blog.

Happy Crafting!

Photobucket

FB | SHFB | Flickr | Twitter | PinterestBloglovin

this tutorial also available on cut out + keep

Get Back Jack!


Once upon a time, I had a kindergartner. That kiddo was five years old, and my oldest child. Halloween was, and had always been, our favorite holiday. When it rolled around, I wanted to make something to share with the class. It needed to be easy, child-friendly, and cute.

Jack was born, as were about 20 of his brothers.

It was eight years ago now and my then five-year-old is thirteen and about to start eighth grade. Times have changed, but Jack is still easy, child-friendly…and cute!

also makes a great magnet or pencil topper!

  • Small amount worsted weight yarn: Orange, black, green
  • H hook
  • tapestry/yarn needle

Pumpkin Body:

With orange, make 2 (for fridgie, make 1):

Ch 4, dc in 4th ch from hook 11 times. Join with sl st in top of ch 3. Leave a tail about 8″ long for stitching later.

Jack-o-lantern face:

Using black yarn with yarn needle, make Jack-O-Lantern face on one circle. Finish off.

Joining the the halves:

Using tail, and a yarn needle, join two circles by whipstitching through both sc. Leave an opening at the bottom large enough to put your finger or a pencil inside the pumpkin. Finish off.

Stem:

With pumpkin facing you, sl st in sc one st to the right of center. Sc in next st, sl st in next. Turn. (Do not ch 1) Sl st in next two st. Ch 5, sl st in 2nd ch from hook. Sl st in next 3 ch, sl st again in base sc. Finish off.

If making a magnet or fridgie, only make one circle before adding the stem and then glue a magnet to the back.

Happy Crafting!


signature-2016

Posts on this blog may contain affiliate links. Thank you for your support. ♥