
Wordless Wednesday: Dreaming of Spring
Leave a reply


If you make a Sew Awesome Craft or any pattern, craft or recipe from sewhooked, I’d love to see a photo. Email me or add it to the sewhooked flickr group.


I’ve decided 2010 will be the year I finish some long-standing UFOs. I’ve made a list and added to the dry erase board I keep in my sewing & craft room. Here’s a more visual version to keep me inspired!
To Be Quilted:


Tops to Finish:


Sewing:
Crochet


Do you have a list of UFOs to finish in 2010? I’d love to see!

In an effort to feel healthier and happier, I started following the South Beach Diet. It’s been about a month now, and I feel better than I have in a good long while. The only thing I really missed was pizza on Friday nights with my family. My family and I have homemade pizza every Friday, along with a movie marathon. I experimented a bit with recipes I found online and just wasn’t satisfied. This is my own personal South Beach-friendly pizza, using a portabella mushroom as the crust. You need a fork to eat it, but other than that, it really hits the “need pizza” button!
Makes 2 servings.
Portabella Crust Pizza
Preheat oven or toaster oven to 400°F. Line a baking sheet with aluminum foil and coat with a small amount of olive oil. Set aside.
Heat a large skillet or griddle (cast iron, if you’ve got it!) over medium-high heat. Add just enough olive oil to lubricate the surface. Place mushroom caps bottoms down on cooking surface. They’ll lose a lot of water as they cook, and that’s what you want. Leave for about five minutes and then flip the caps. When you can see moisture collecting inside the cap, flip it again, pressing with a spatula to flatten. Cook for approximately 15-20 minutes. Time can vary depending on the size of the caps, you want the caps to be about 2/3 their original size and to have released quite a bit of moisture.
Remove the caps to the prepared baking sheet, bottoms up. Add sauce, cheese and toppings. Bake for 15-20 minutes or until cheese is melted and slightly toasted.
Add your Sewhooked-related photos to my flickr group and you might be featured in a future post.


In which I talk about Christmas crafties given and received, think about 2010 and have a hatterific slideshow.
If you make a Sew Awesome Craft or any pattern, craft or recipe from sewhooked, I’d love to see a photo. Email me or add it to the sewhooked flickr group.

To all my readers, the very happiest of Christmas days!
I’m with my three favorite people hanging out in our pjs waiting for breakfast to finish baking, our favorite way to spend this day!
I hope Santa was good to you this year!
love,
A little Christmas Cheer from the sewhooked flickr group!

by sewtobed on flickr

by ramblequeen on flickr

by Jennifer T.


by liljabs on flickr
Lots more great quilts in the flickr Christmas quilts group!

More Christmas cheer from sewhooked:


If you make a Sew Awesome Craft or any pattern, craft or recipe from sewhooked, I’d love to see a photo. Email me or add it to the sewhooked flickr group.
If you make a Sew Awesome Craft or any pattern, craft or recipe from sewhooked, I’d love to see a photo. Email me or add it to the sewhooked flickr group.
The holiday head cold has grabbed me with both hands! Fortunately, I finished my gift making and wrapping before I could spread cooties along with my Christmas cheer.
I did something I almost never do and *gasp* bought pre-made gift bags for holiday treats. When I opened the packages, they all had a bottle neck. After I forced my eyebrows down out of my scalp, I realized the cute little bags were practically useless unless the entirety of my holiday giving included M&Ms.
Without any time to spare, I started digging around in my “keep just in case” drawer and came up with a stack of paper wine bags that I’ve been holding on to forever. Jackpot!
To make your own holiday gift bags/wrap from recycled wine bags, you’ll need:
If your bags are like mine, they’re likely to be in all different states of crumpled-ness. So, first things, first, iron those bags if needed. Medium heat works. Ironing on a paper bag will also clean your iron, so you might want to start with a sacrificial bag, just in case your iron has any Ghosts of Craft Projects Past lurking around.

Much better!

I happen to have a snazzy wavy blade for my rotary cutter. Try scissors, decorative or plain, or fun rotary blades.

Each wine bag will make 2 gift bags. Determine how big you want each side to be, leaving about 1″ for folding for each bag.
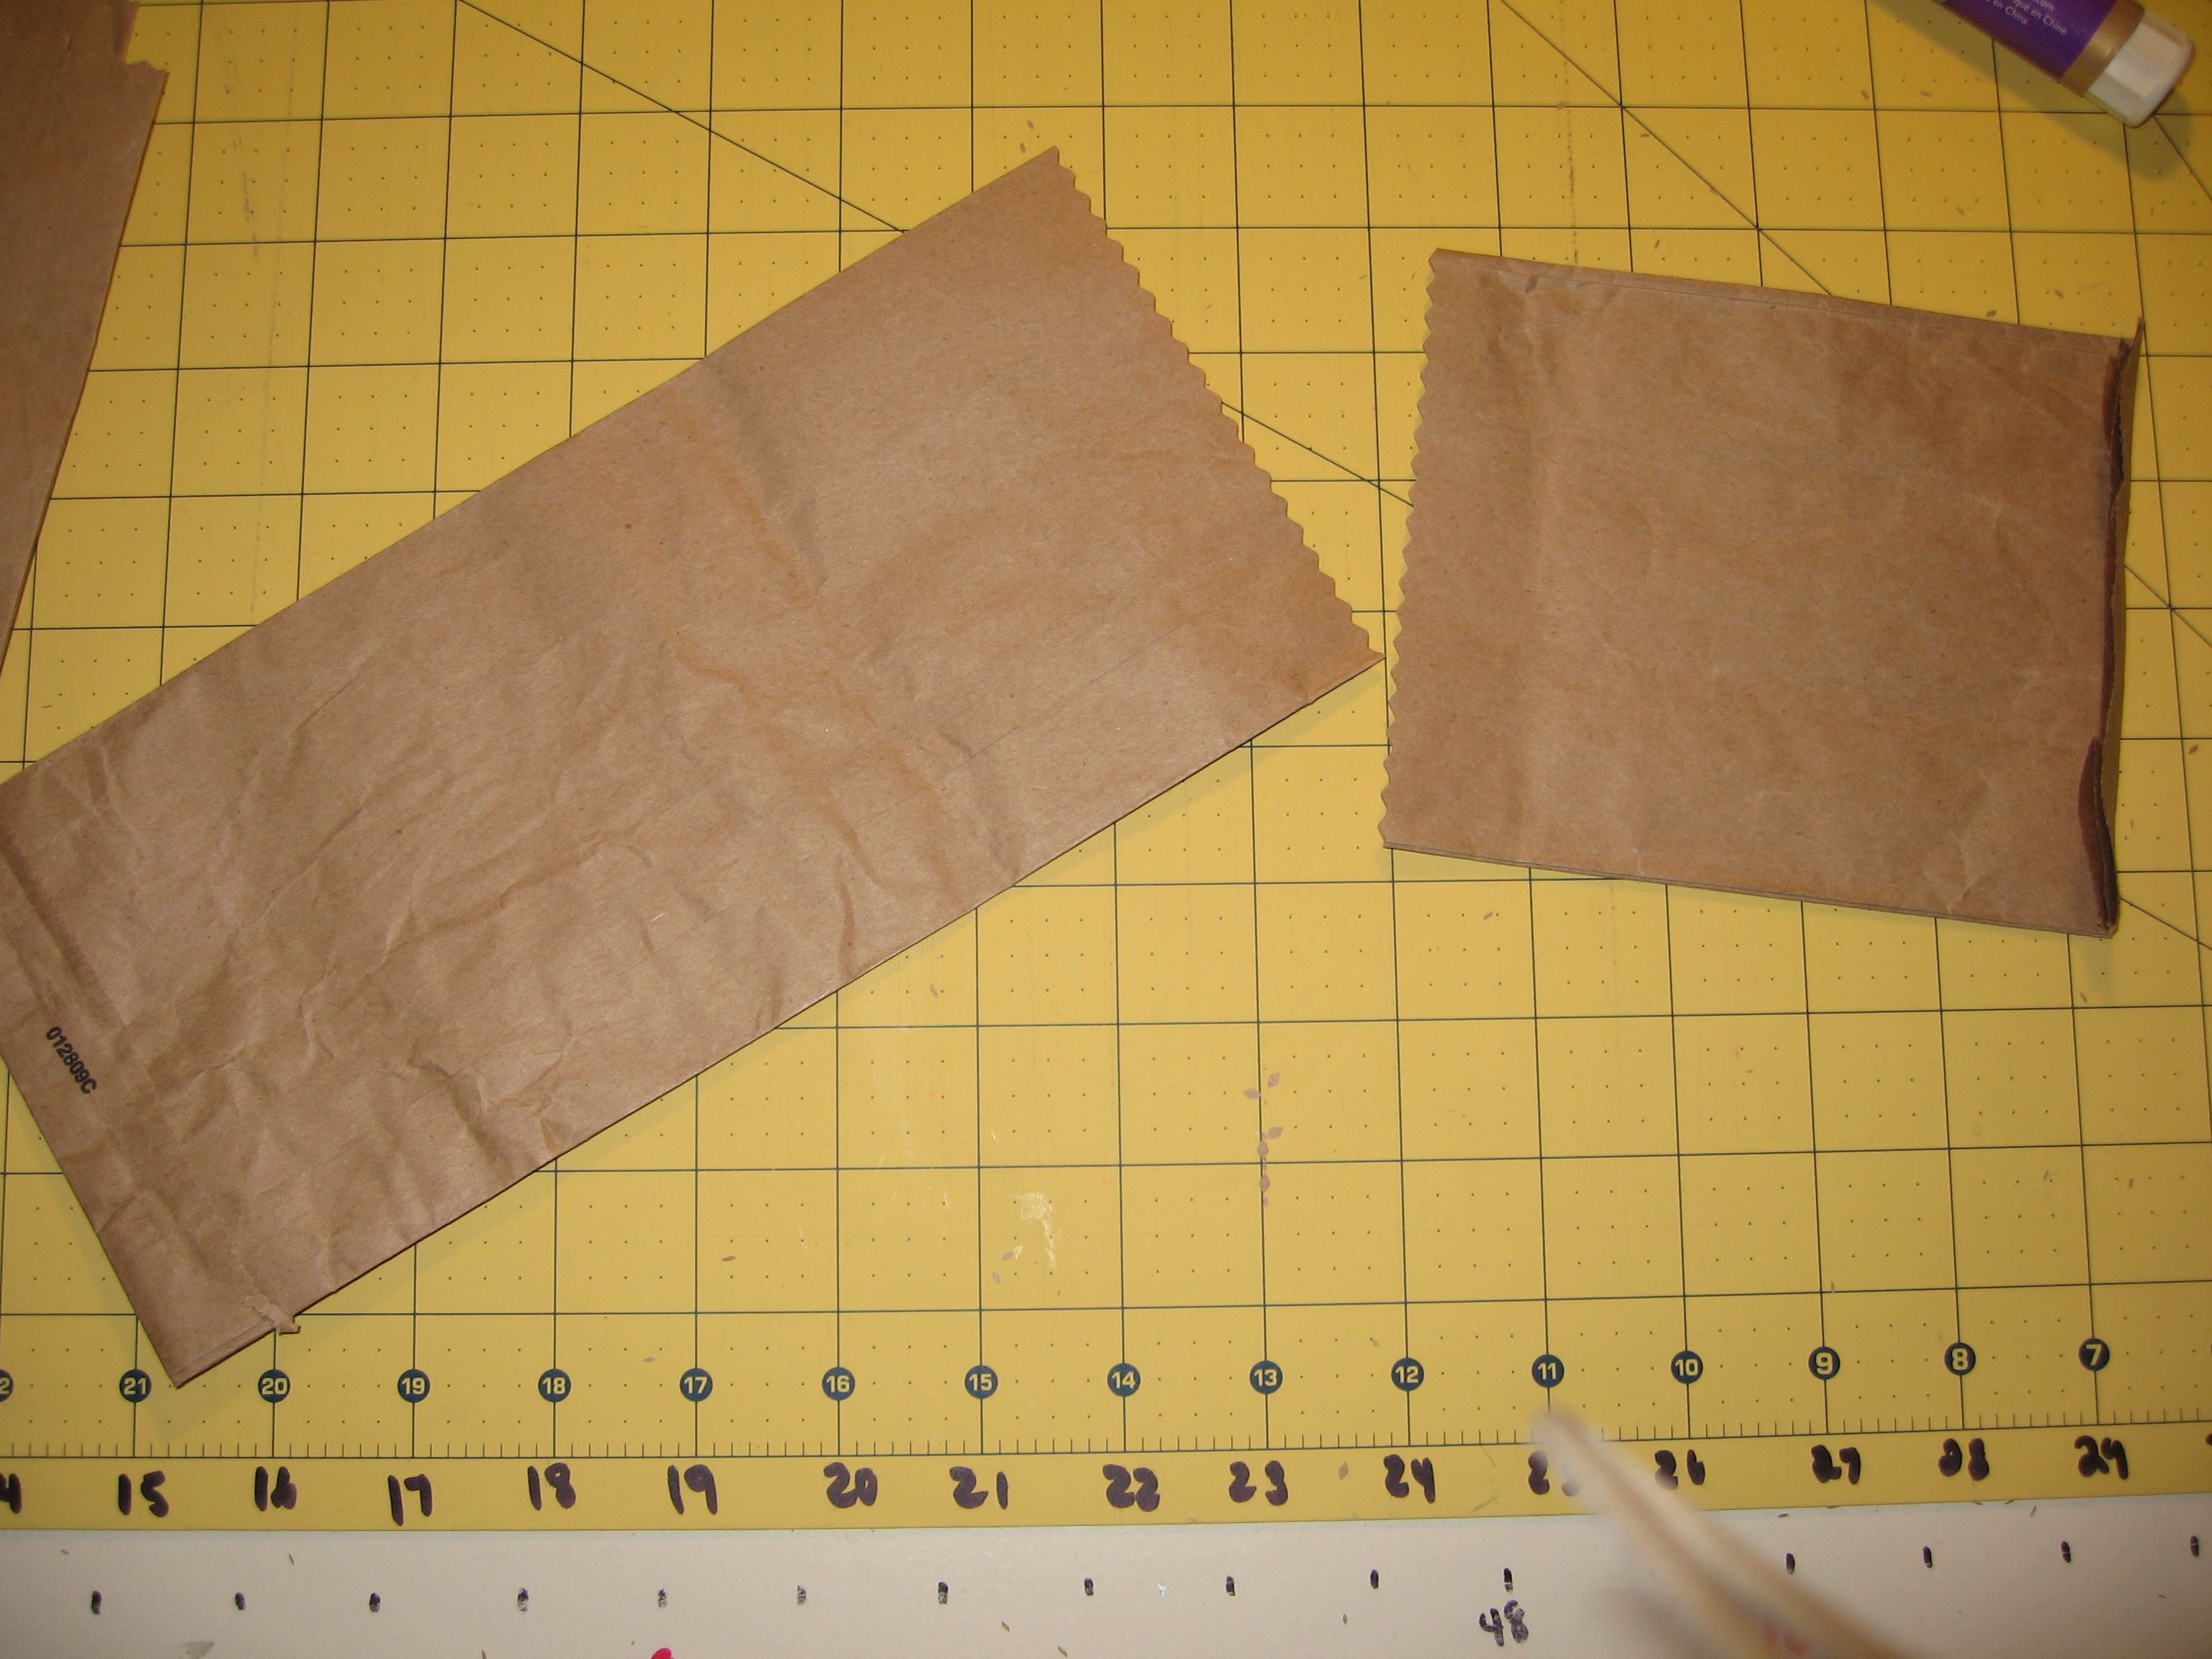
Bottom and top (L-R)
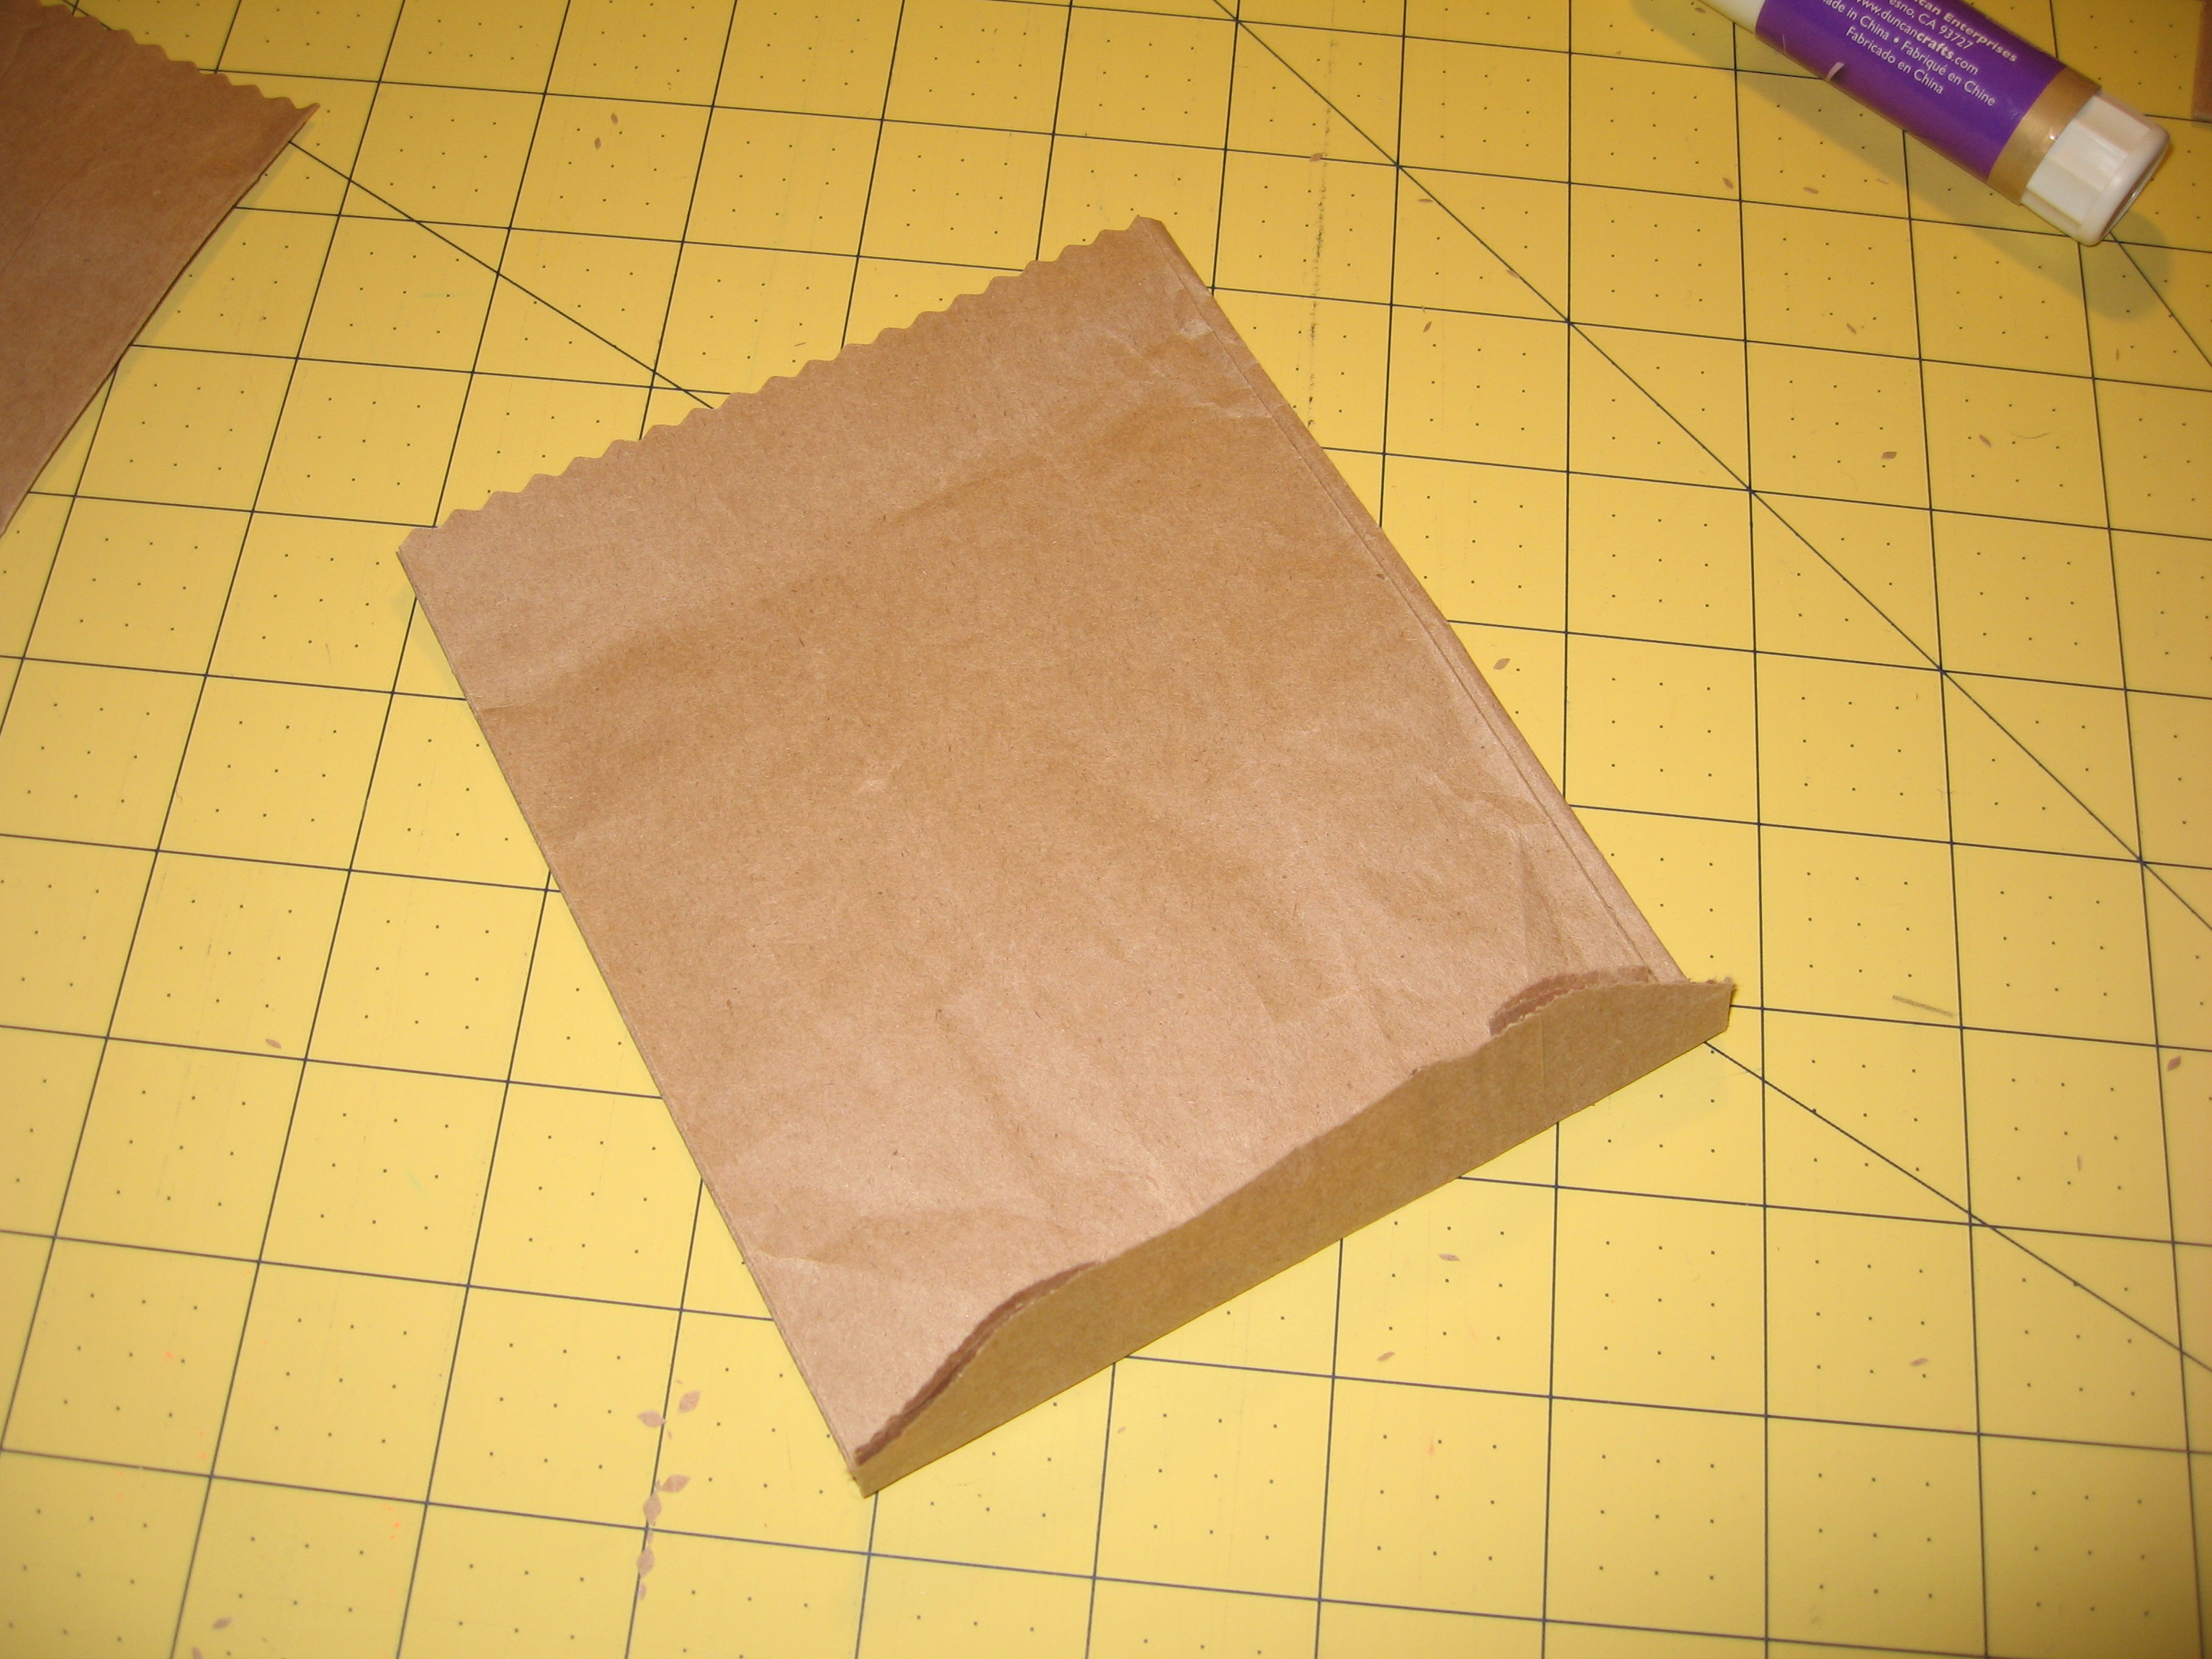
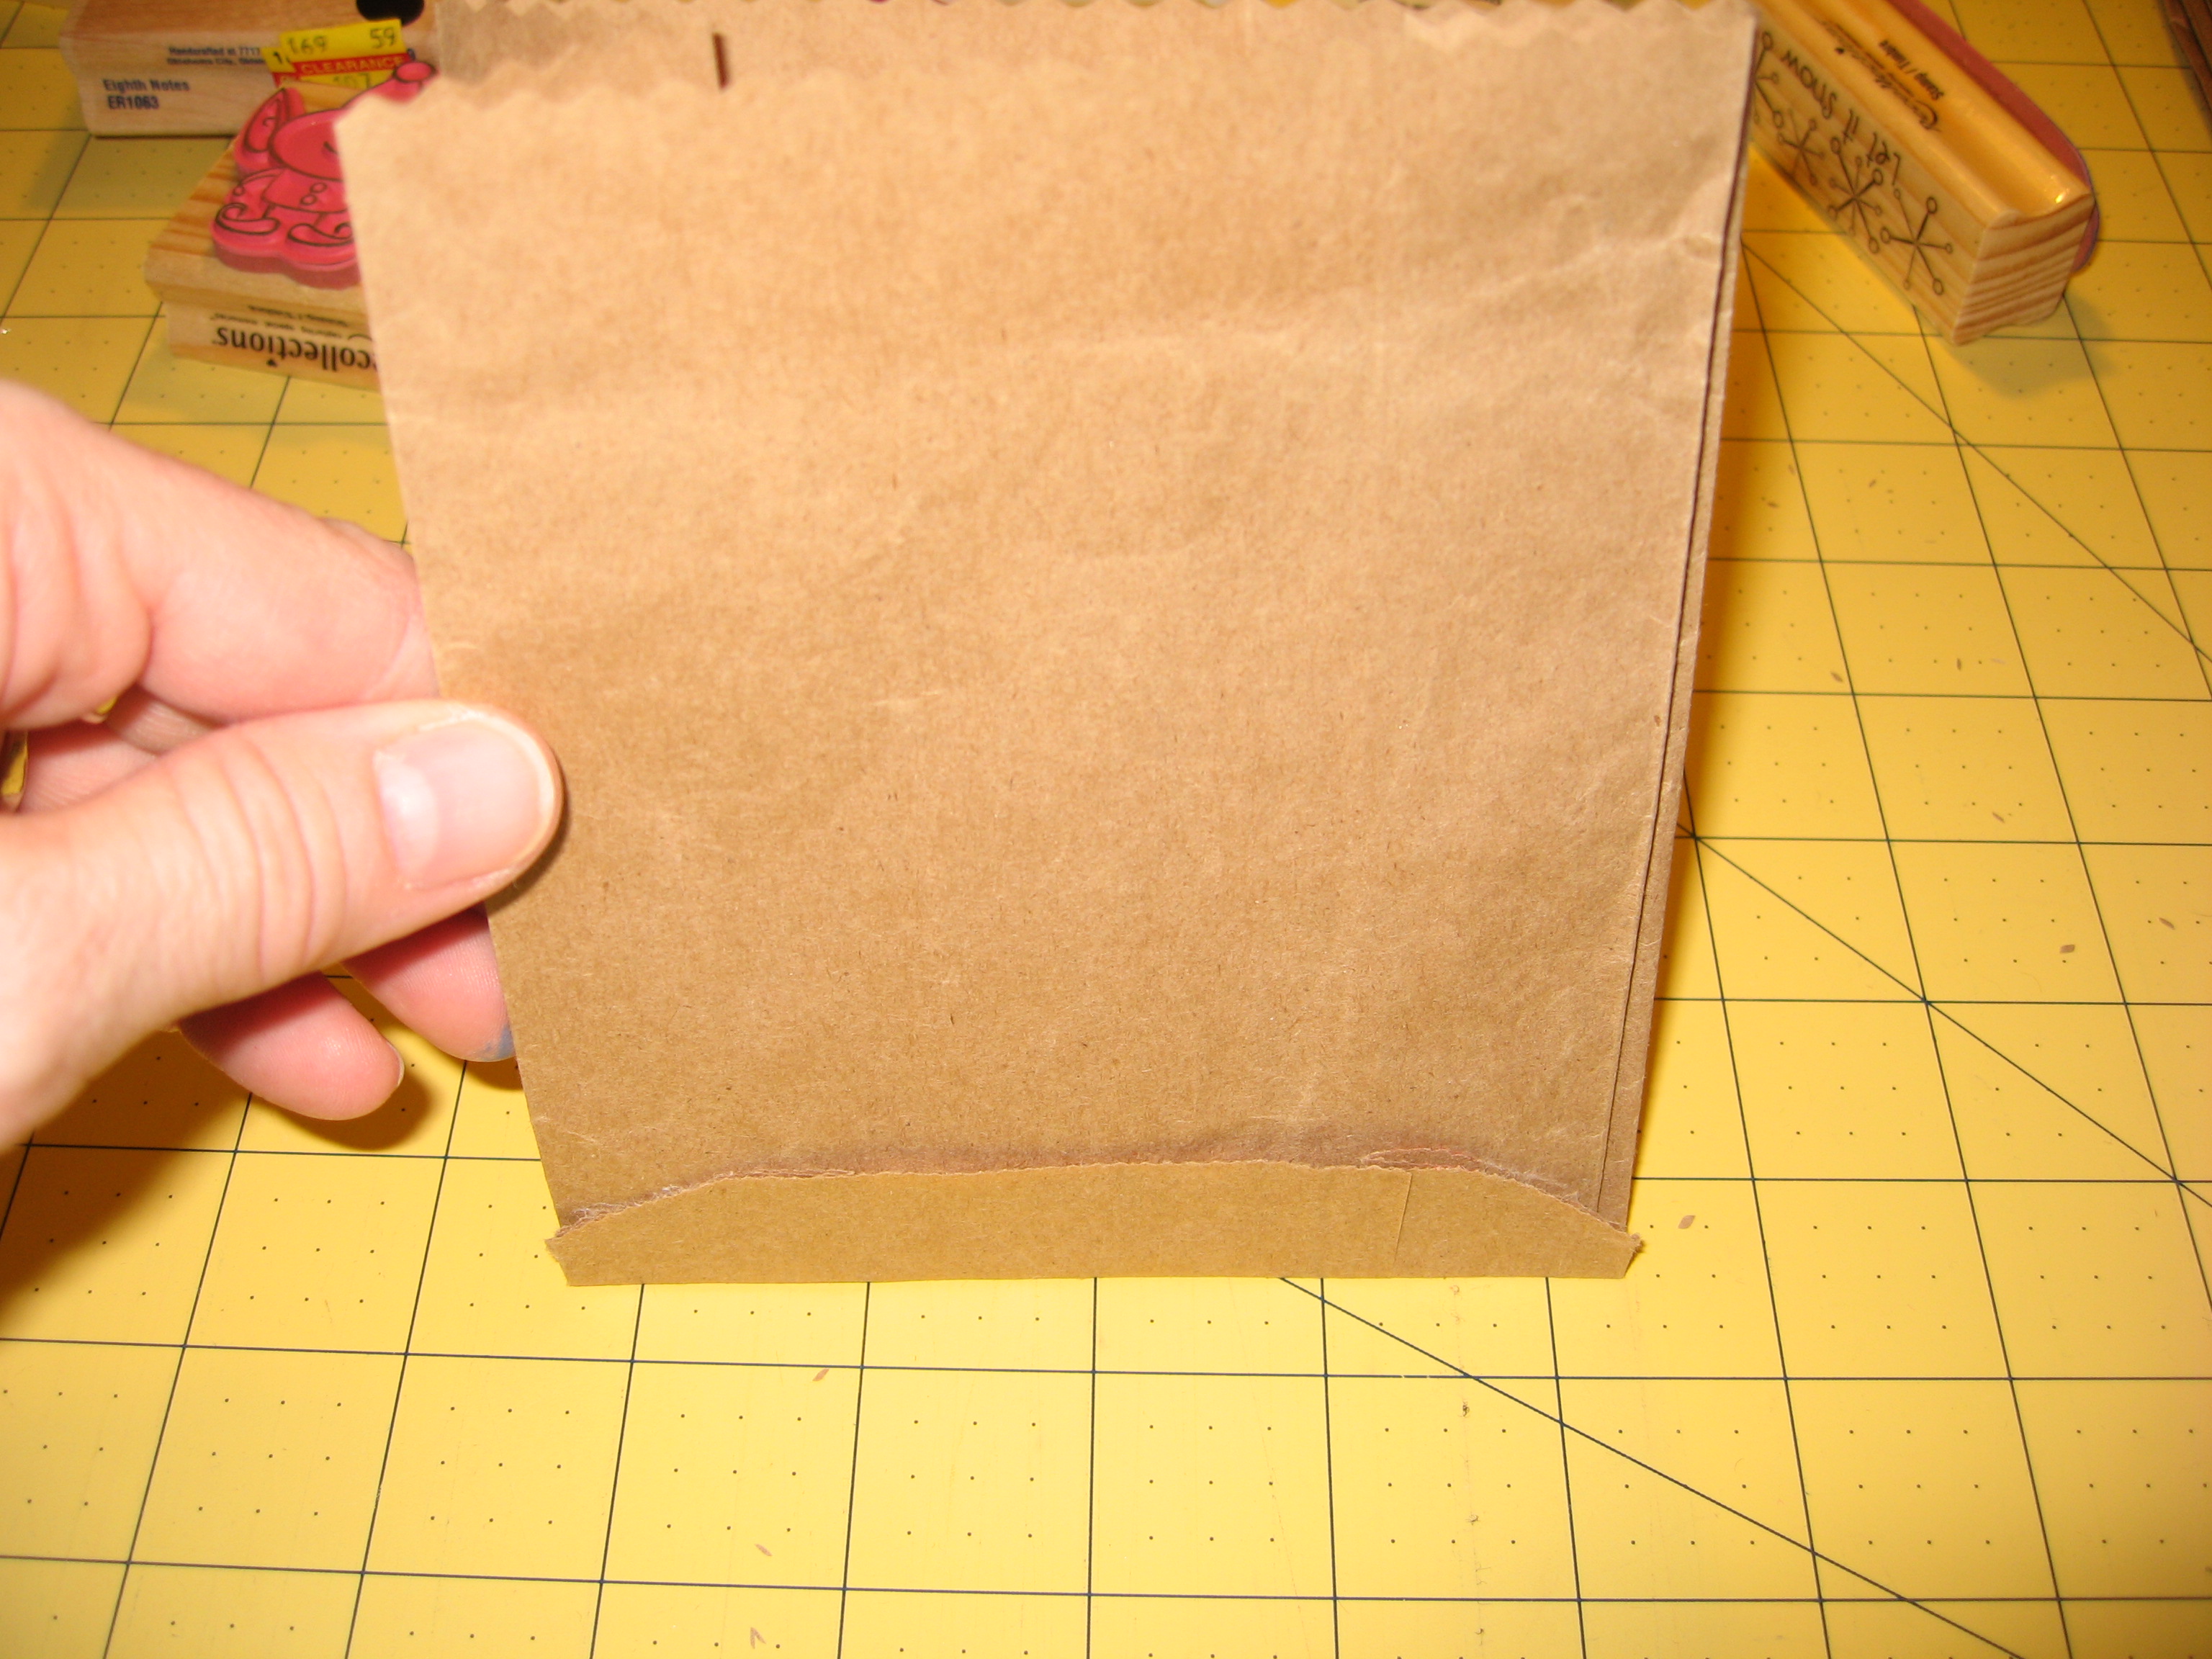
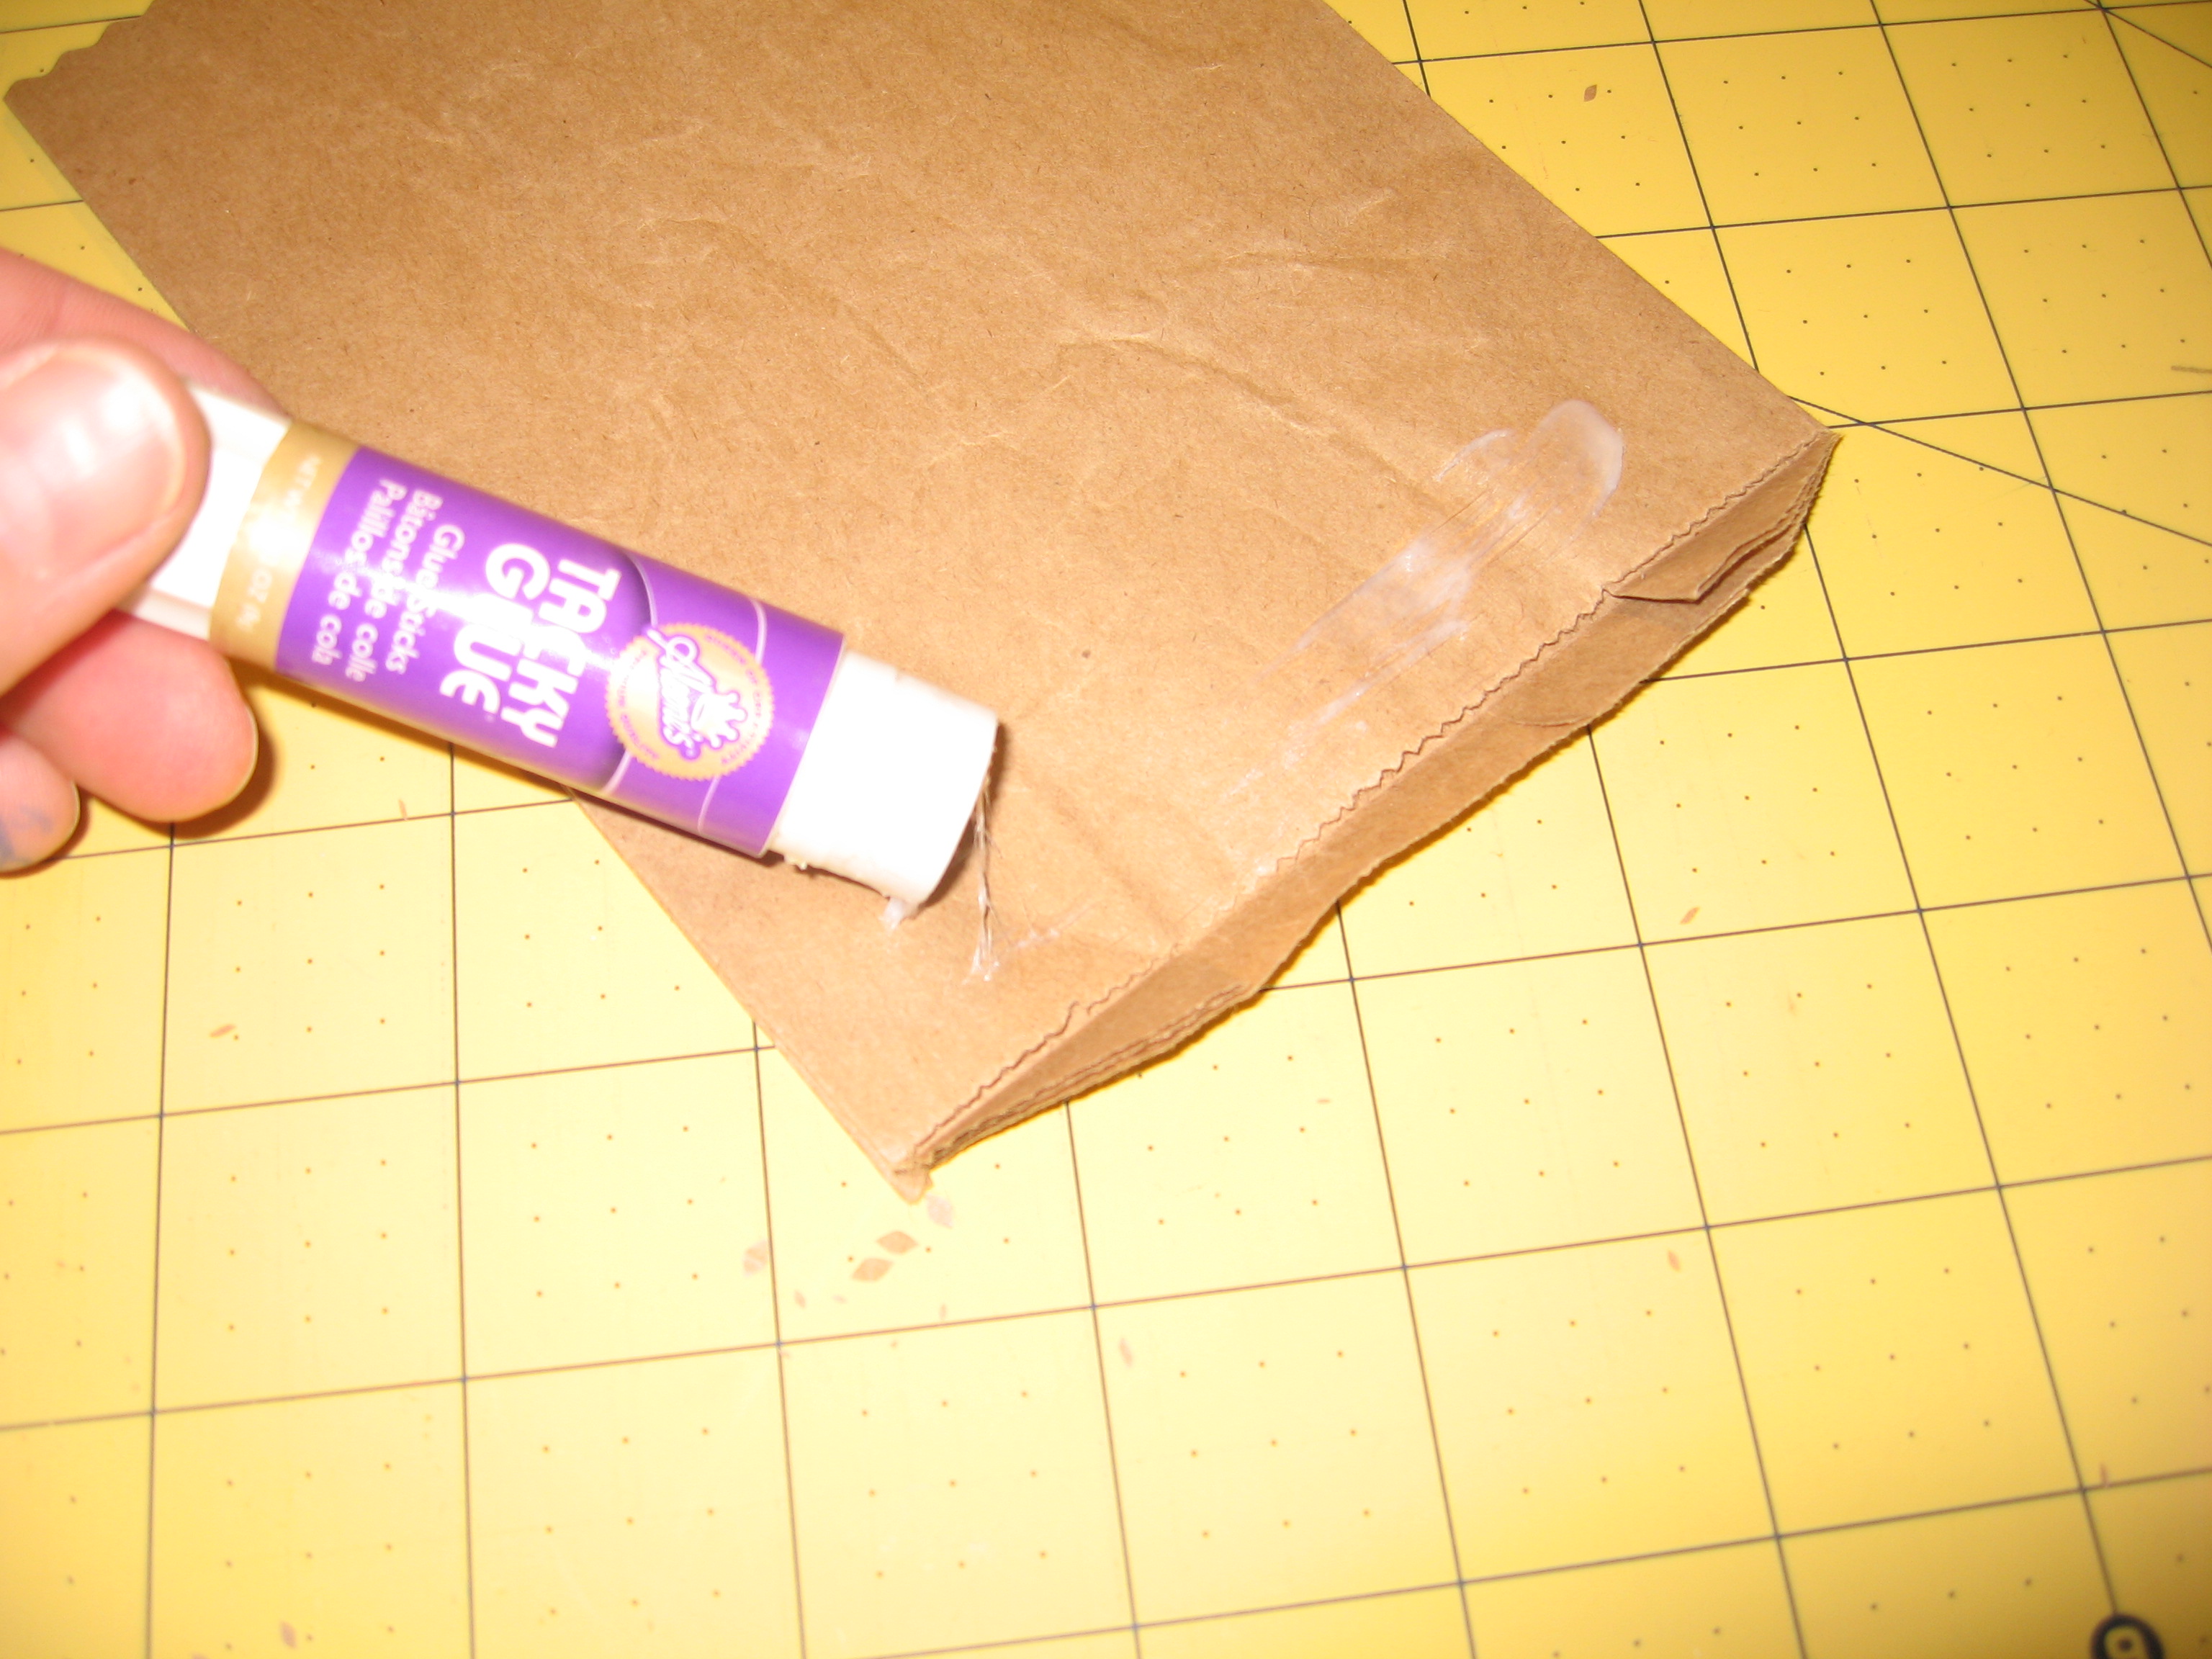
If you’re making more than one gift bag out of your original bag, you may need to seal the bottom. Glue works for this, but so does tape or a cute sticker.
This is also a good time to embellish your gift bag with stickers, stamps, or doodles.

Top finish off, fold the top down and punch two holes through all layers. Insert your gift and tie a ribbon through to close.
Repeat the steps for all bags. The bottom half of your recycled gift wrap will only need the tops folded and punched since the bottom is already sealed. I stamped mine, but you can embellish your bags any way you like. Now, fill with holiday goodness and gift it! If you’re stuffing your gift bags with edible homemade goodness, I suggest wrapping it in plastic or wax paper before placing it in the bag.
Find my free patterns on Sewhooked & Fandom in Stitches.
Posts on this blog may contain affiliate links to help cover the cost of my website. I thank you for your generous support. ♥


