Welcome back for another update in the 31 Days of Halloween!
It’s hard to believe we’ve reached the final week of sharing my favorite Halloween crafts, recipes and patterns. I hope you’ve enjoyed everything I’ve shared so far.
Today, we’re revising a fun craft that I shared right here on Sewhooked some years ago.

I originally came up with these fun pumpkin earrings for a swap I participated in some years ago. I still have my pair and wear them during October every year!
makes 10 -12 pair
You’ll need:
- 1 block orange polymer clay
- small amount green polymer clay
- toothpick or skewer
- hook ear wires (aka French hooks) (2 for each pair)
- eyepins (2 for each pair)
- jump rings (size of your choice)
- jewelry pliers (I used one round nose and one chain nose)
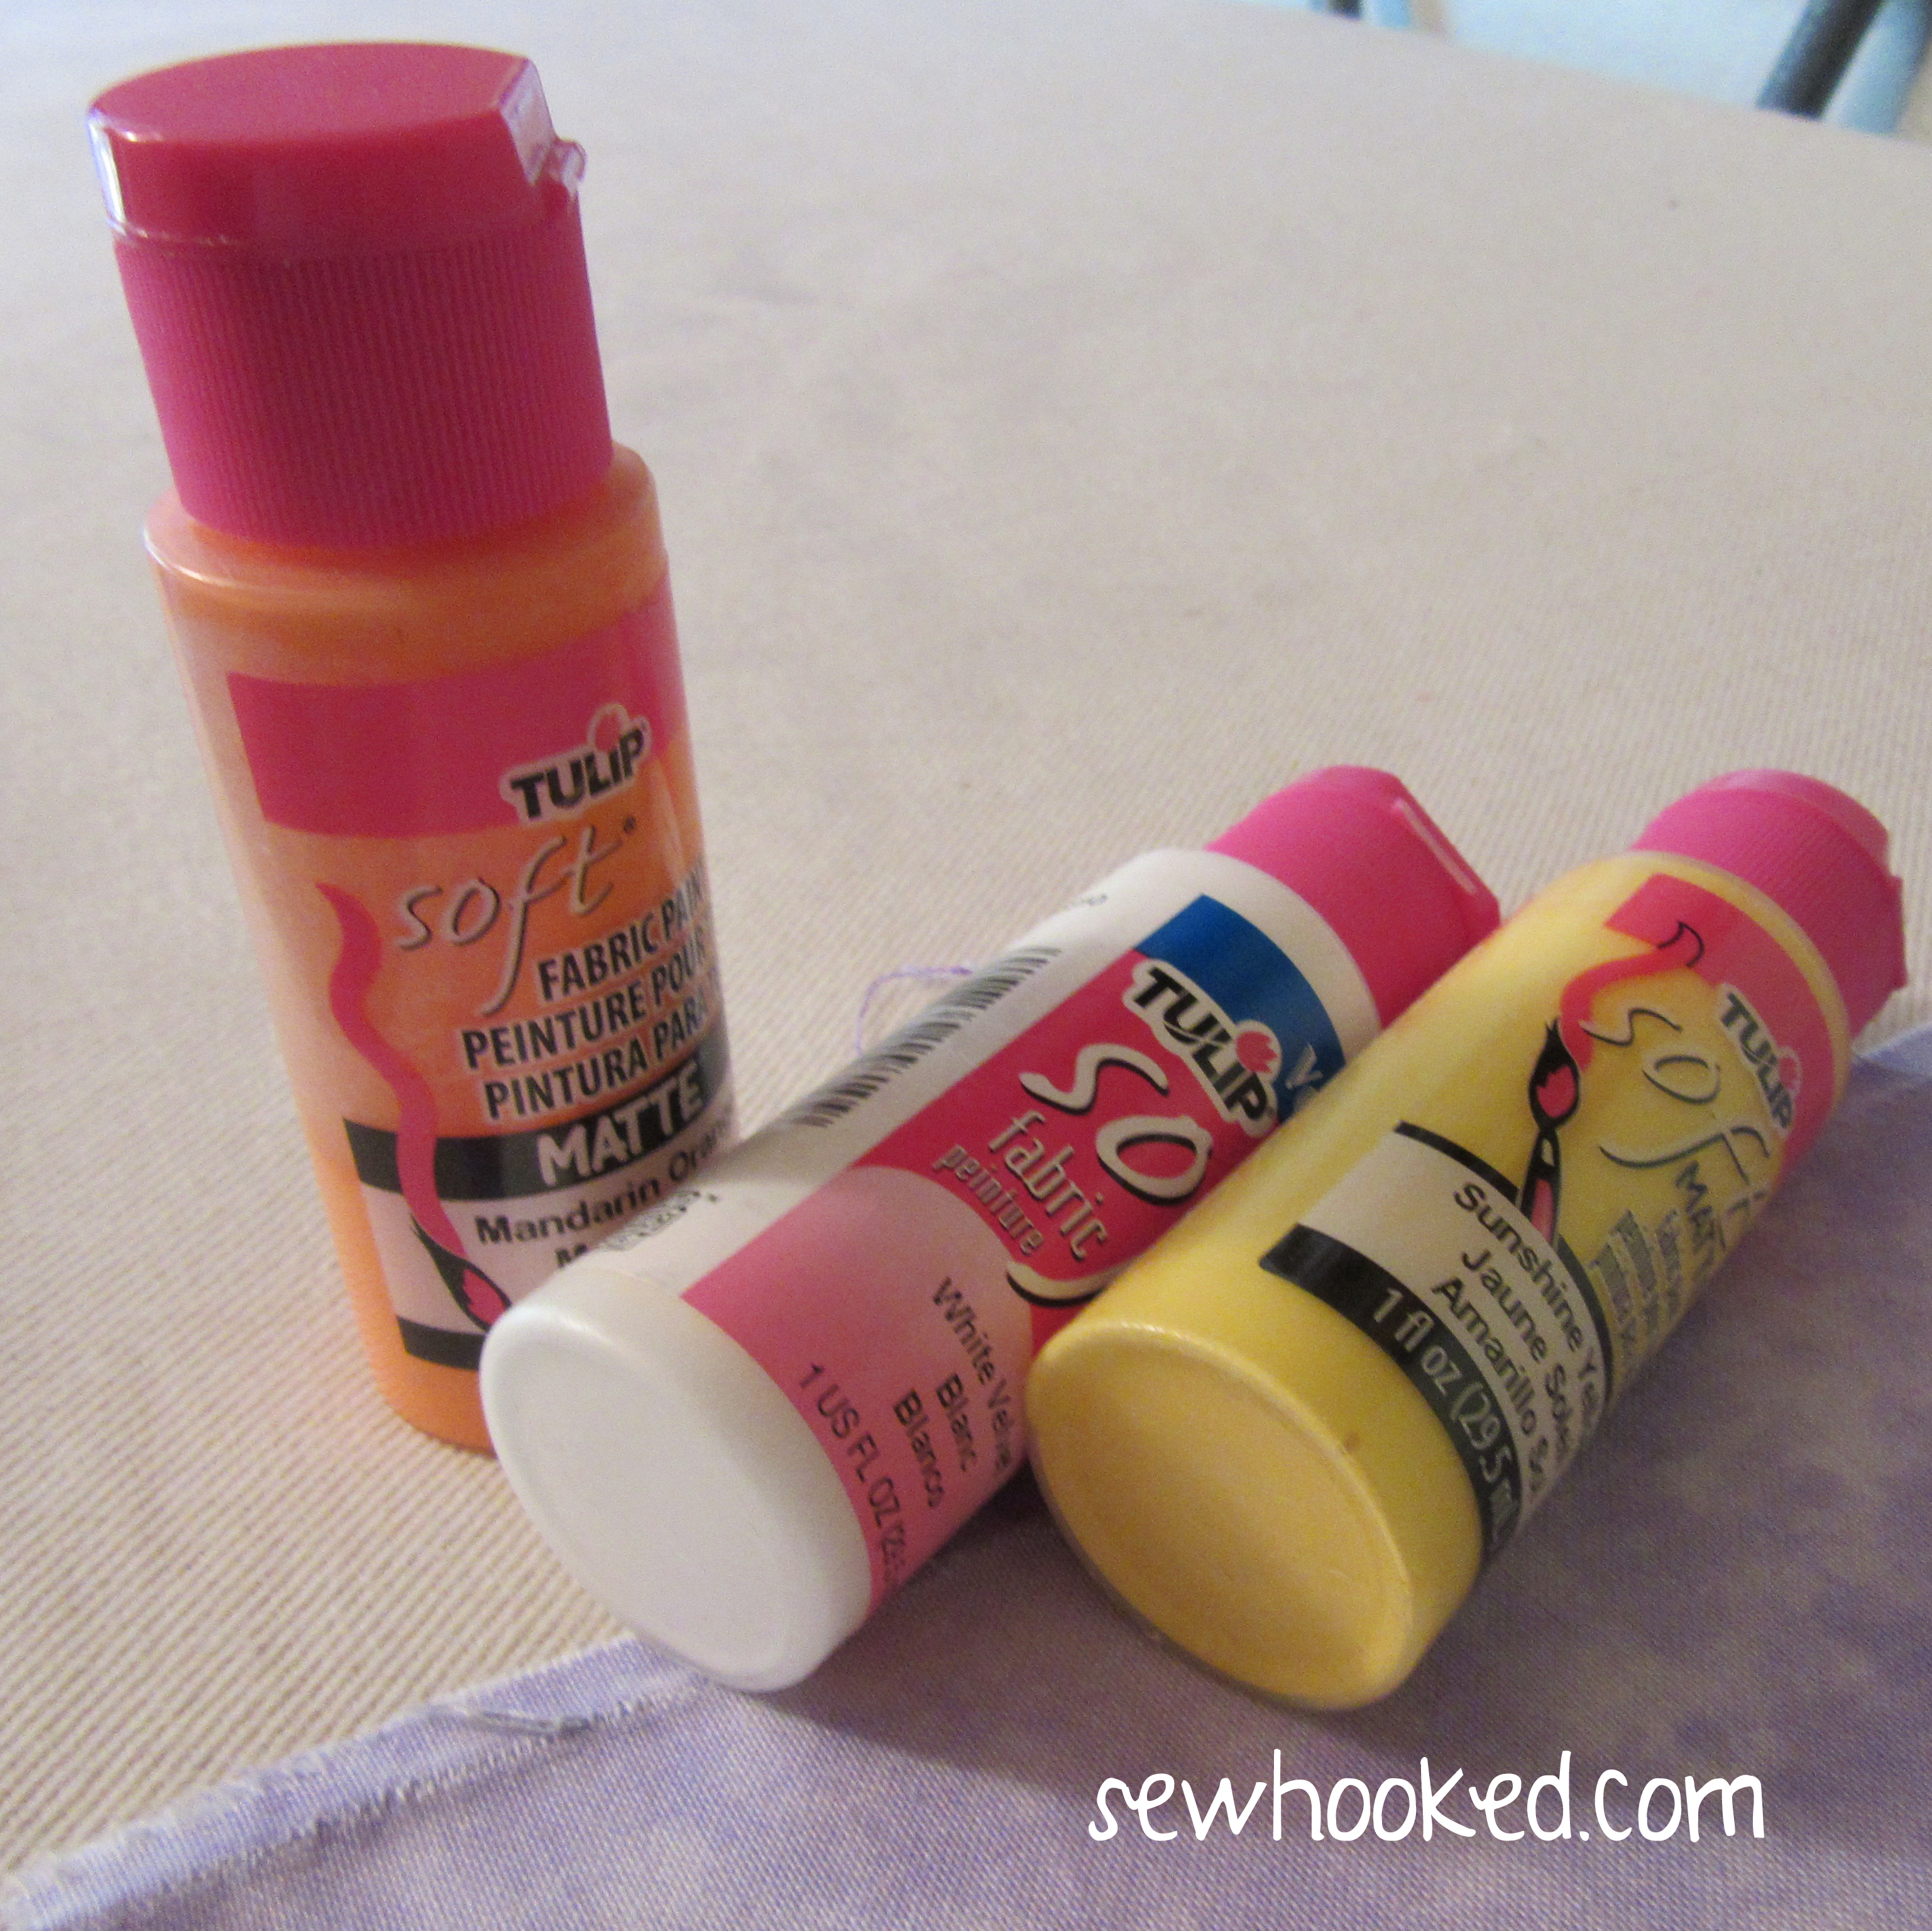
- Sculpey Glaze (gloss)
- small, soft paint brush
- parchment paper
- baking sheet
- optional: business cards and decorative bags for gift giving

Separate the orange clay into enough pieces for 10 – 12 pairs of earrings. Roll each piece into a rough ball shape.

Using the round nose pliers, twist the eye pins into a curly shape, making sure each is approximately the same length. Make the same amount as the orange balls in the last step.

Squish the curly part of the eye pin into the orange ball. Cover wire completely with clay, rounding with your fingers as you go.

Add a small amount of green clay, gently pressing it around the wire into a stem shape. Make sure to leave the “eye” in the pin visible. If necessary, use a toothpick or skewer to clean out the hole.

Use the toothpick to gently roll creases into the orange ball.

Wallah! A tiny pumpkin! Repeat steps for each earring.

Place earrings on parchment lined tray and bake according to manufacturer’s instructions.

Pumpkin charms, all baked. They look a little dull, so…

Place earrings eye pin side down in Styrofoam. Gently brush on Sculpey Glaze. Allow to dry upside down. Once they’re turned over, add a little more Glaze around the top if needed.

Attach the ear wire (French hook) with a jump ring and pliers. (how to open and close a jump ring)
Repeat for each pumpkin charm.

If making enough to share with your friends, poke holes in a business card with a pin, then slide the ear wire through. Fold the top end of the business card down and place in a cute little bag.
Are you making projects from 31 Days of Halloween? Share your photos with my flickr group! There will be a fun surprise after Halloween for one lucky winner!
- Find my free patterns on Sewhooked: Free Patterns, Free Fandom Patterns, Free Harry Potter Patterns.
- Follow me on Instagram: @sewhookedjen
- The Linus Connection is the local blanket-making charity I volunteer for.
- Quilt along with us on Fandom in Stitches

Posts on this blog may contain affiliate links to help cover the cost of my website. I thank you for your generous support. ♥