In which I talk about swaps, gum, paper piecing classes, Batiks on Black and crocheting for The Linus Connection!
Honey Bee Quilt Store
The Linus Connection
Twilight Crafts


In which I talk about swaps, gum, paper piecing classes, Batiks on Black and crocheting for The Linus Connection!
Honey Bee Quilt Store
The Linus Connection
Twilight Crafts

“Holly Jolly Christmas”
12″x13″ – 2008
Do you remember this little beauty?
It was a gift that I made for our friends Eric & Dominae. One of my favorite quilty sites, The Quilting Gallery, is having a contest called Holiday Traditions. There’s a small category and I decided that “Holly Jolly” would be the perfect quilt to enter.
The contest is open to small and large quilts and to any winter holiday and there are loads of fantastic prizes. Go see and enter your own holiday quilt!

If you make a Sew Awesome Craft or any pattern, craft or recipe from sewhooked, I’d love to see a photo. Email me or add it to the sewhooked flickr group.
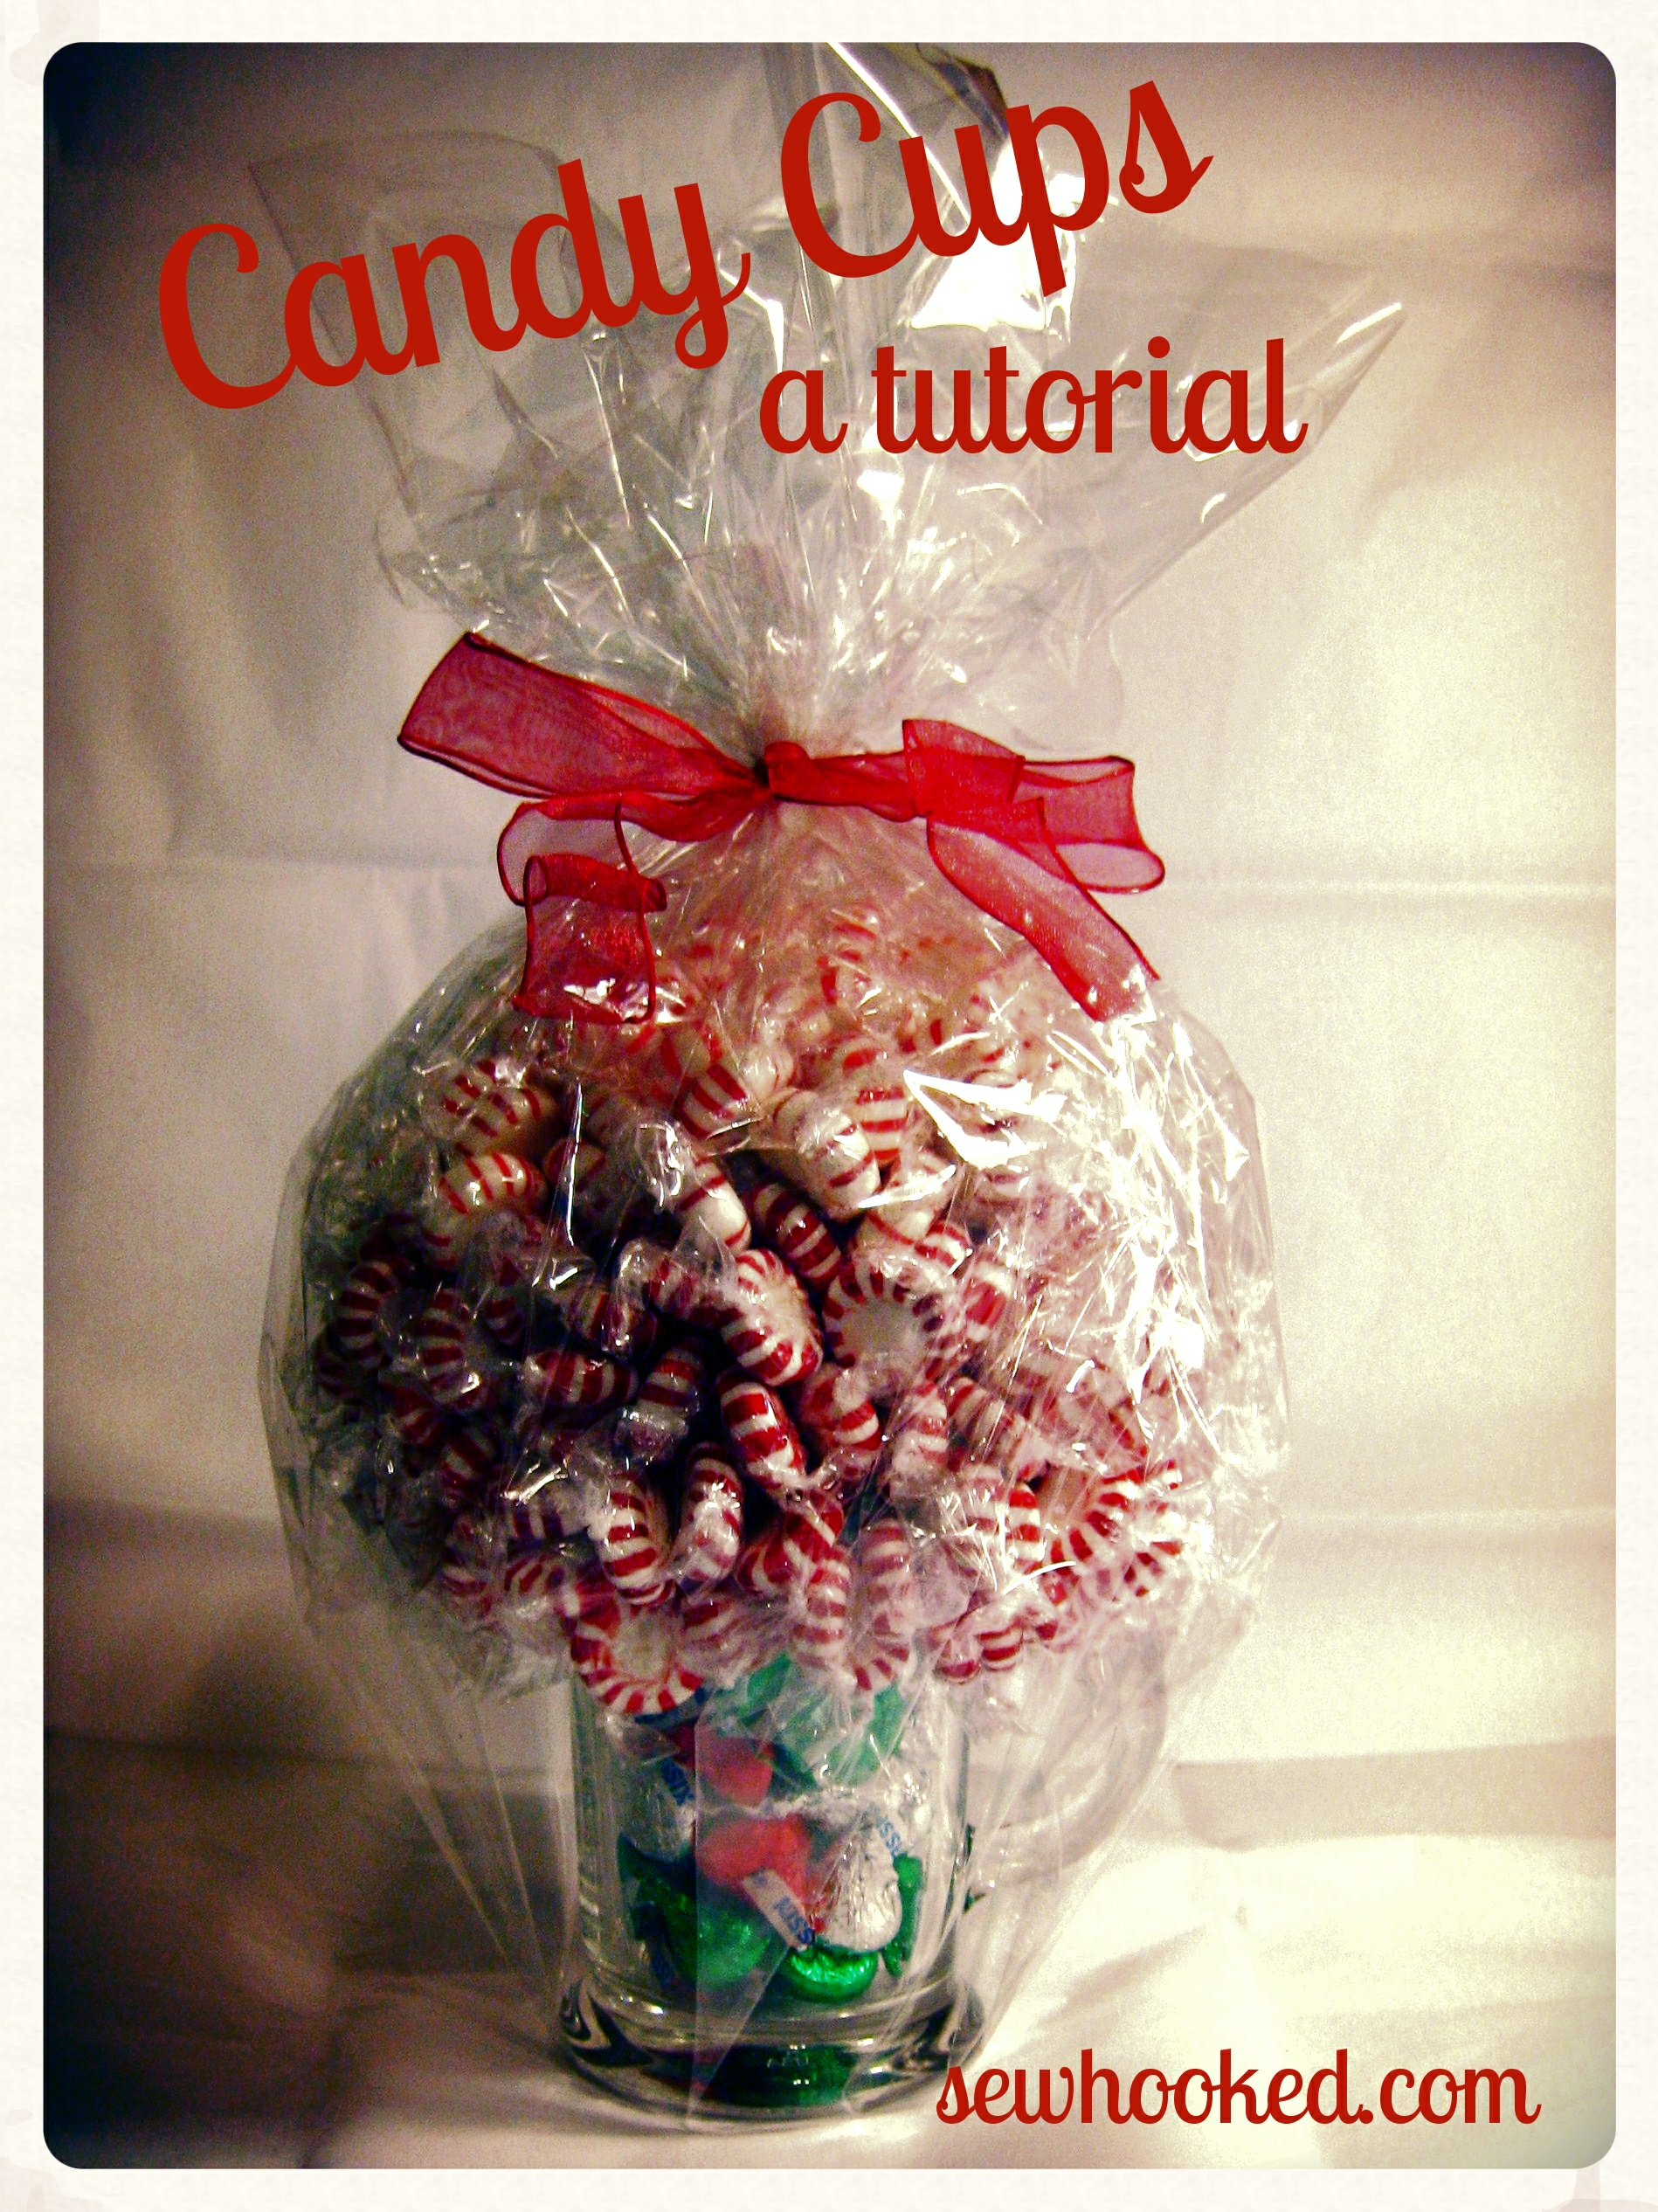
Shared by my aunt, Amy, several years ago, Candy Cups have become a gift-giving standard for me. I’ve made them for Christmas and birthdays and with all sorts of candy.
They’re easy, inexpensive, and make gorgeous gifts for the hard-to-shop for. Think teachers, friend,s and anyone who likes candy. Sugar-free candy works, too!

Once all your supplies are gathered, it’ll take you about an hour to make one candy cup.
You’ll need:

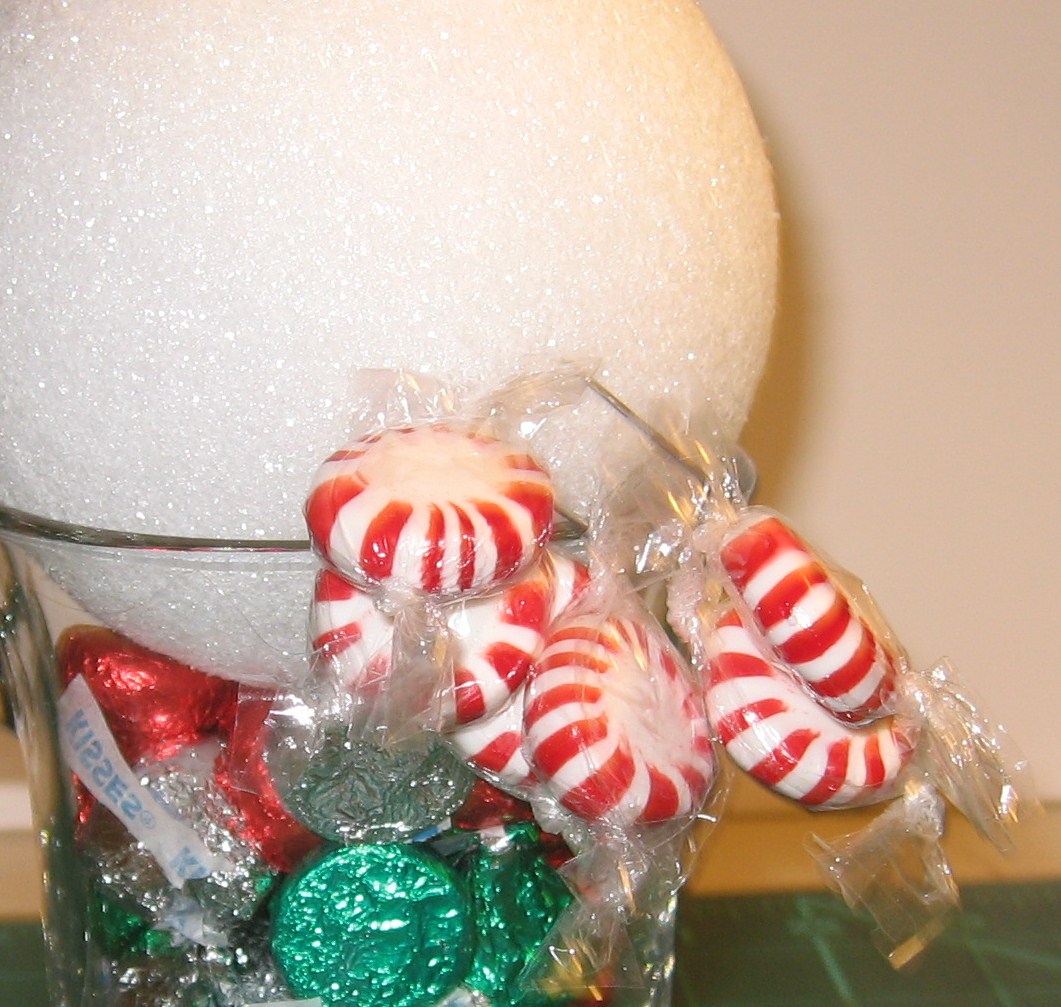
Push the bamboo skewer into the Styrofoam ball, all the way through the top. Put it in the glass to and push down until the ball is snug in the glass.

Snip off the excess skewer with your scissors. You can also use large fingernail clippers, a utility knife, or pruning shears.


With the skewer still in the glass, fill the bottom with candy. Ideas are like M&Ms, Hershey’s Kisses, or Peppermints (though you could really use any candy). Another option is shredded paper, but the candy on the ball will make the cup top-heavy, so having a heavier filler keeps it from tipping over and gives the gifted a sweet bonus.

Place a small dot of hot melt glue on either side of the rim of the cup. Gently press the styrofoam ball onto glue, holding in place until it sets. You don’t need much, just a touch for stability.

candies in twisted wrappers
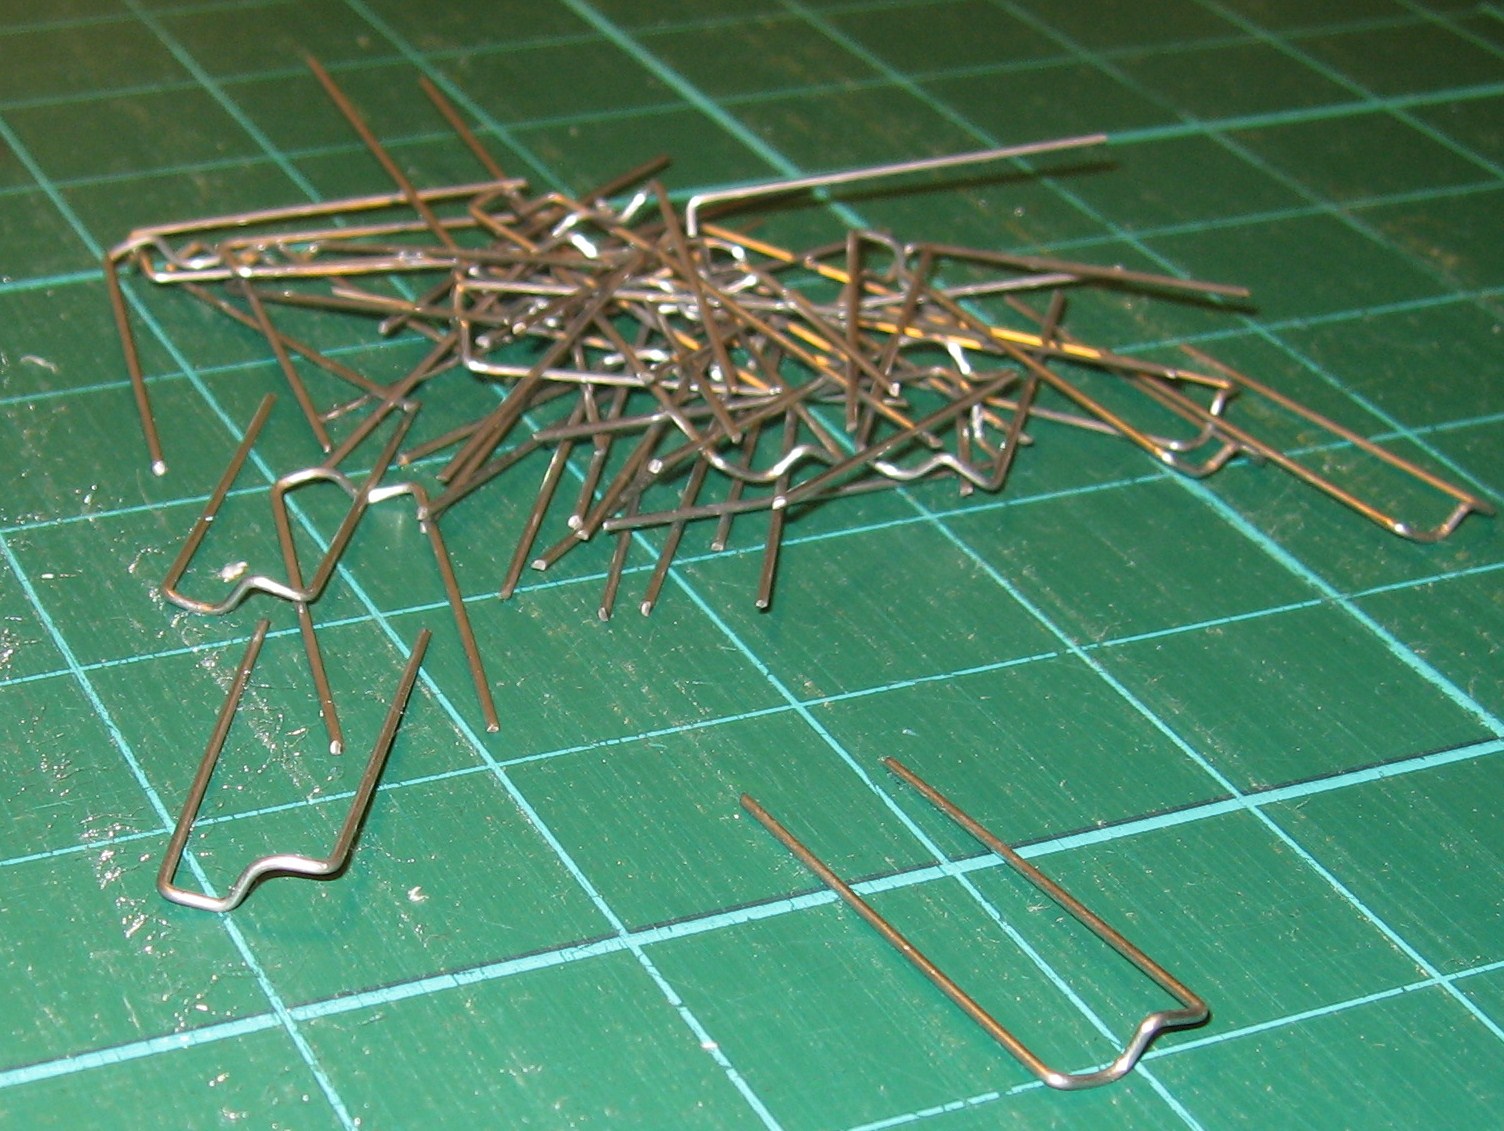
greening pins
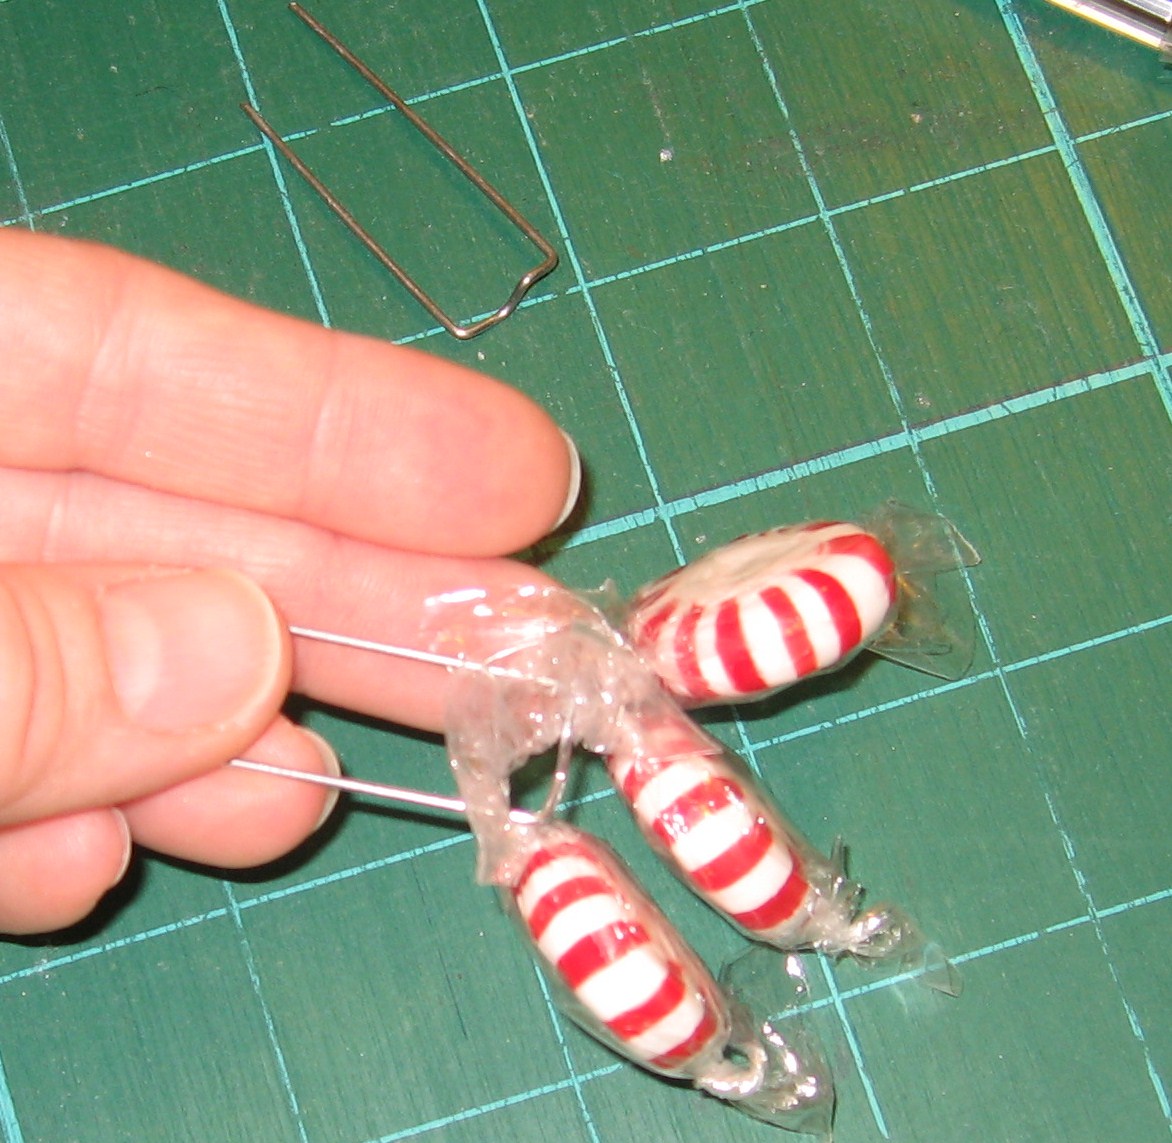
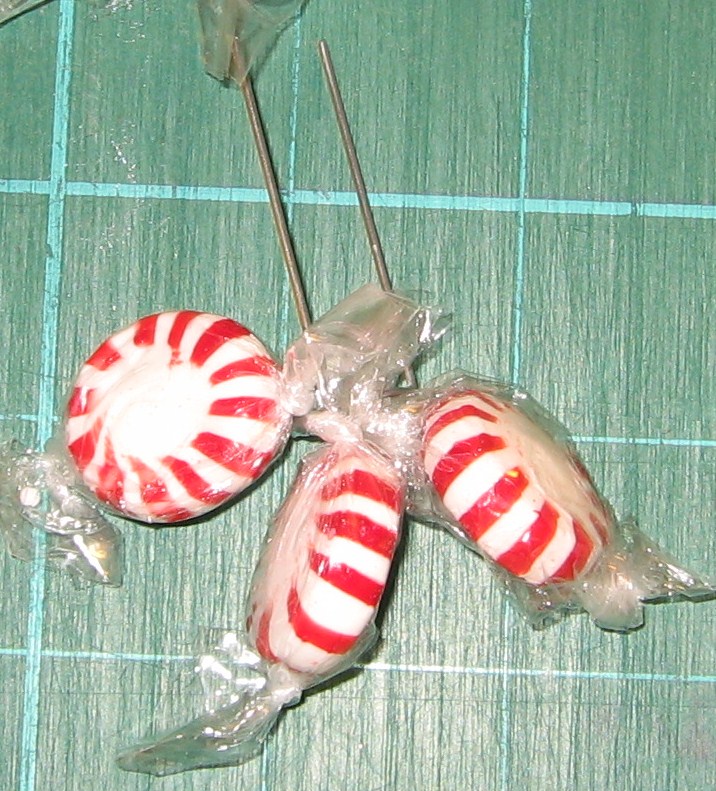

Use greening pins to add candy to ball by poking pins through the loose end near the twist of the candy wrapper. Depending on the candy, you can get two or three on each pin.


Start at the bottom and work your way up to the top, moving in a circular pattern.

First Round complete.
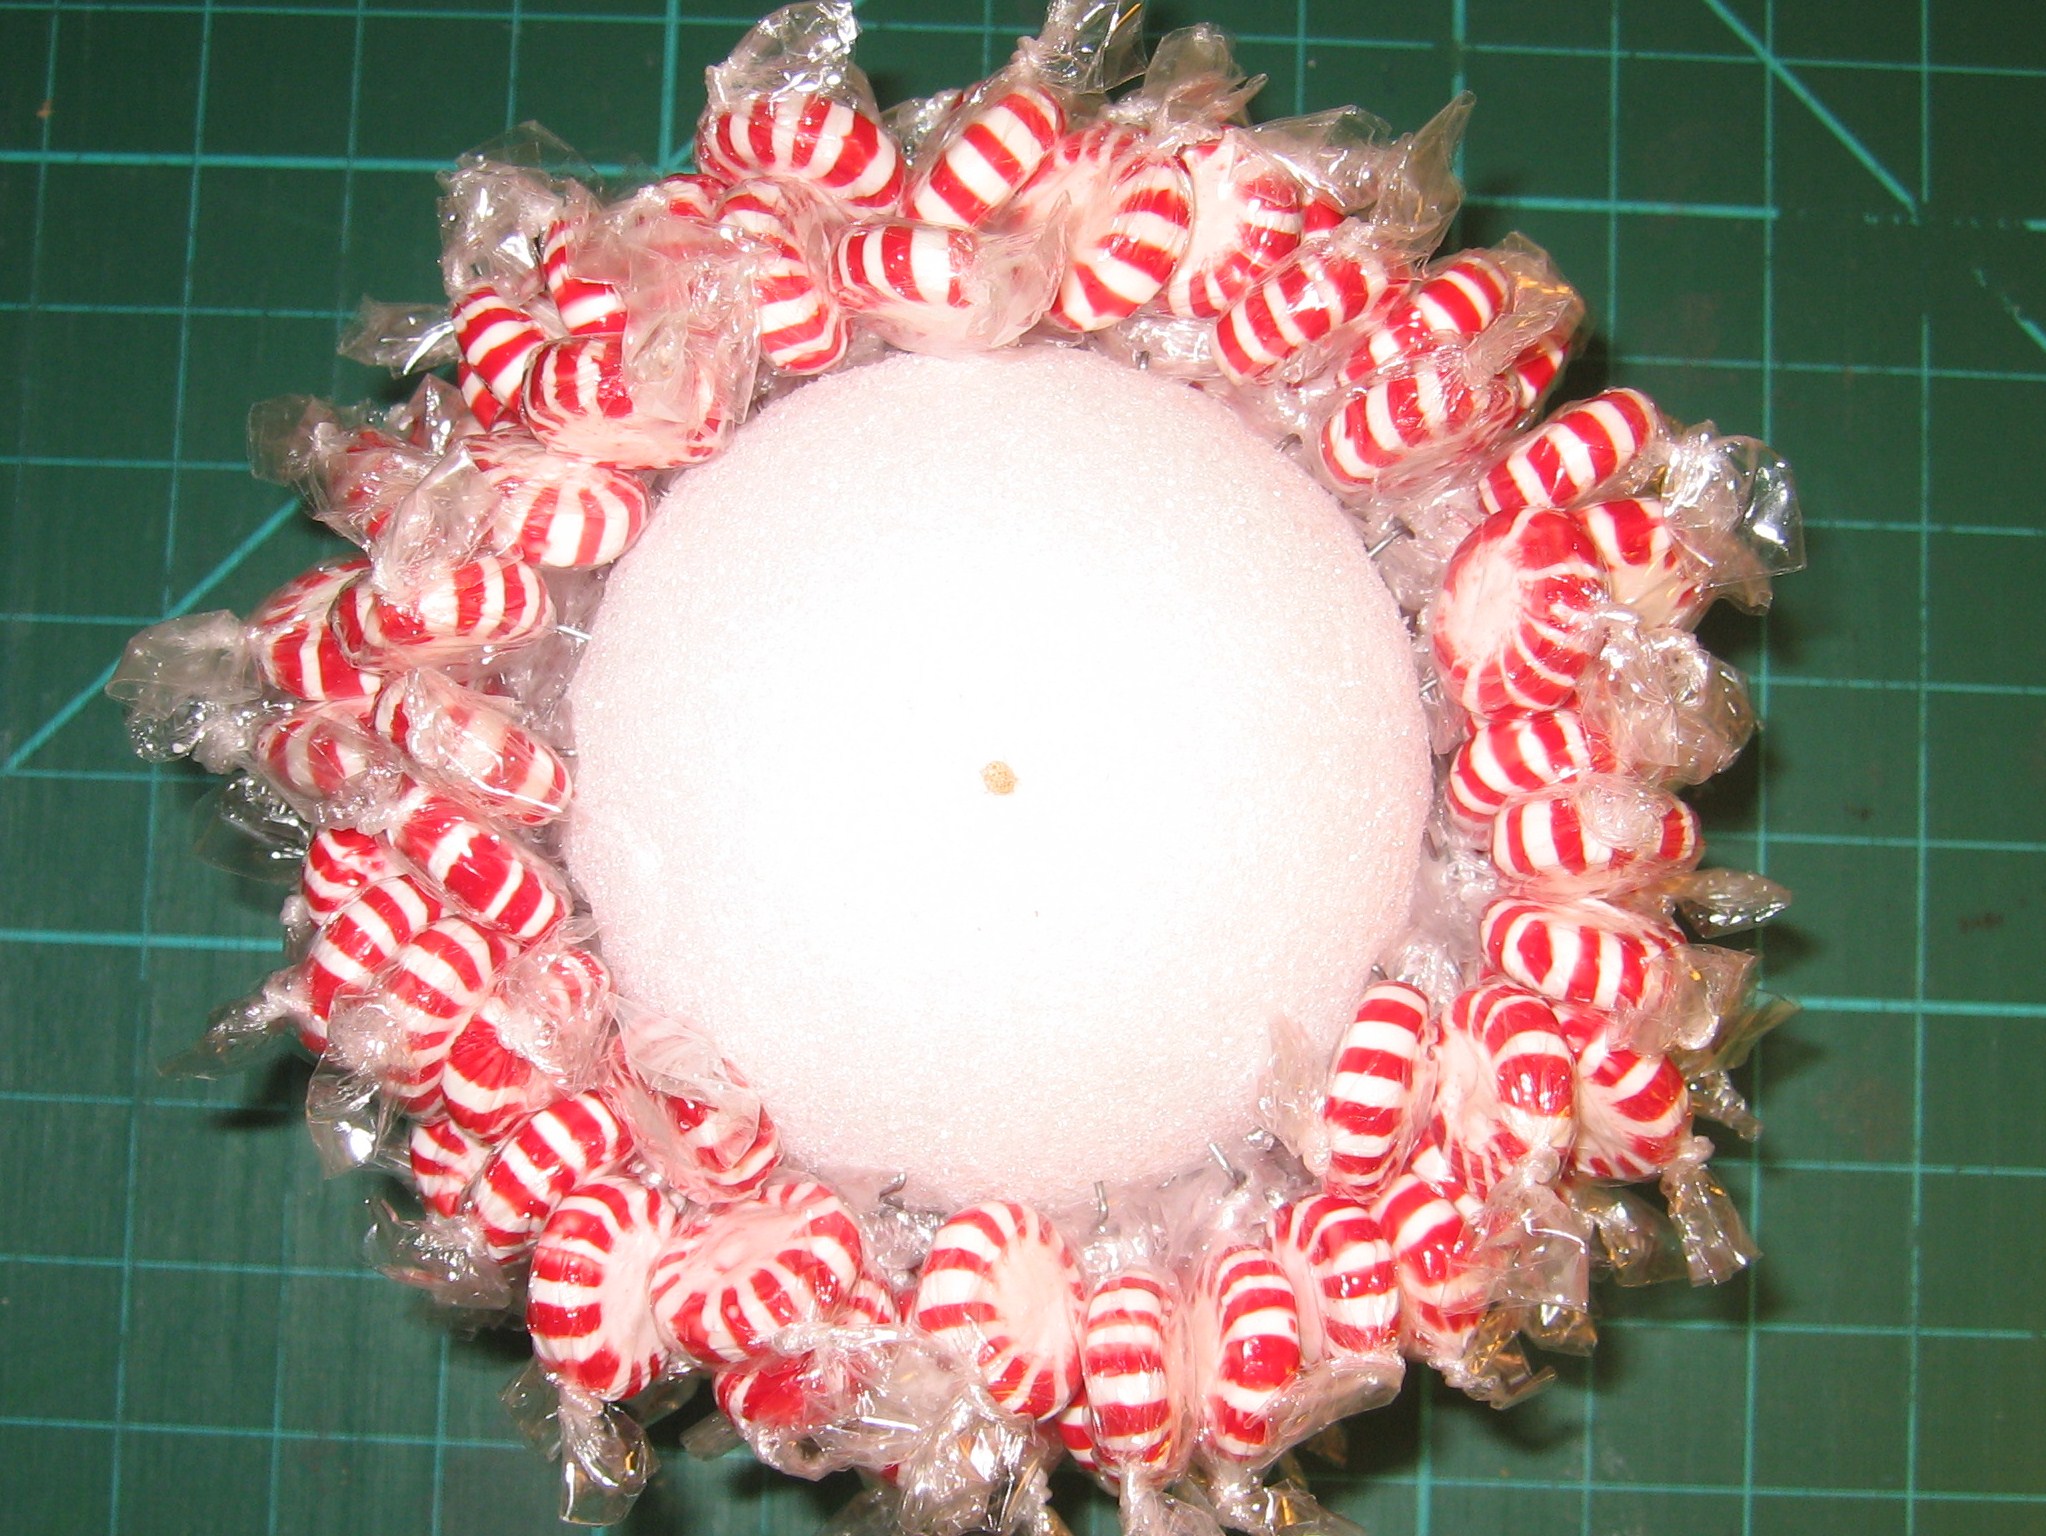

Second Round.

Third Round.

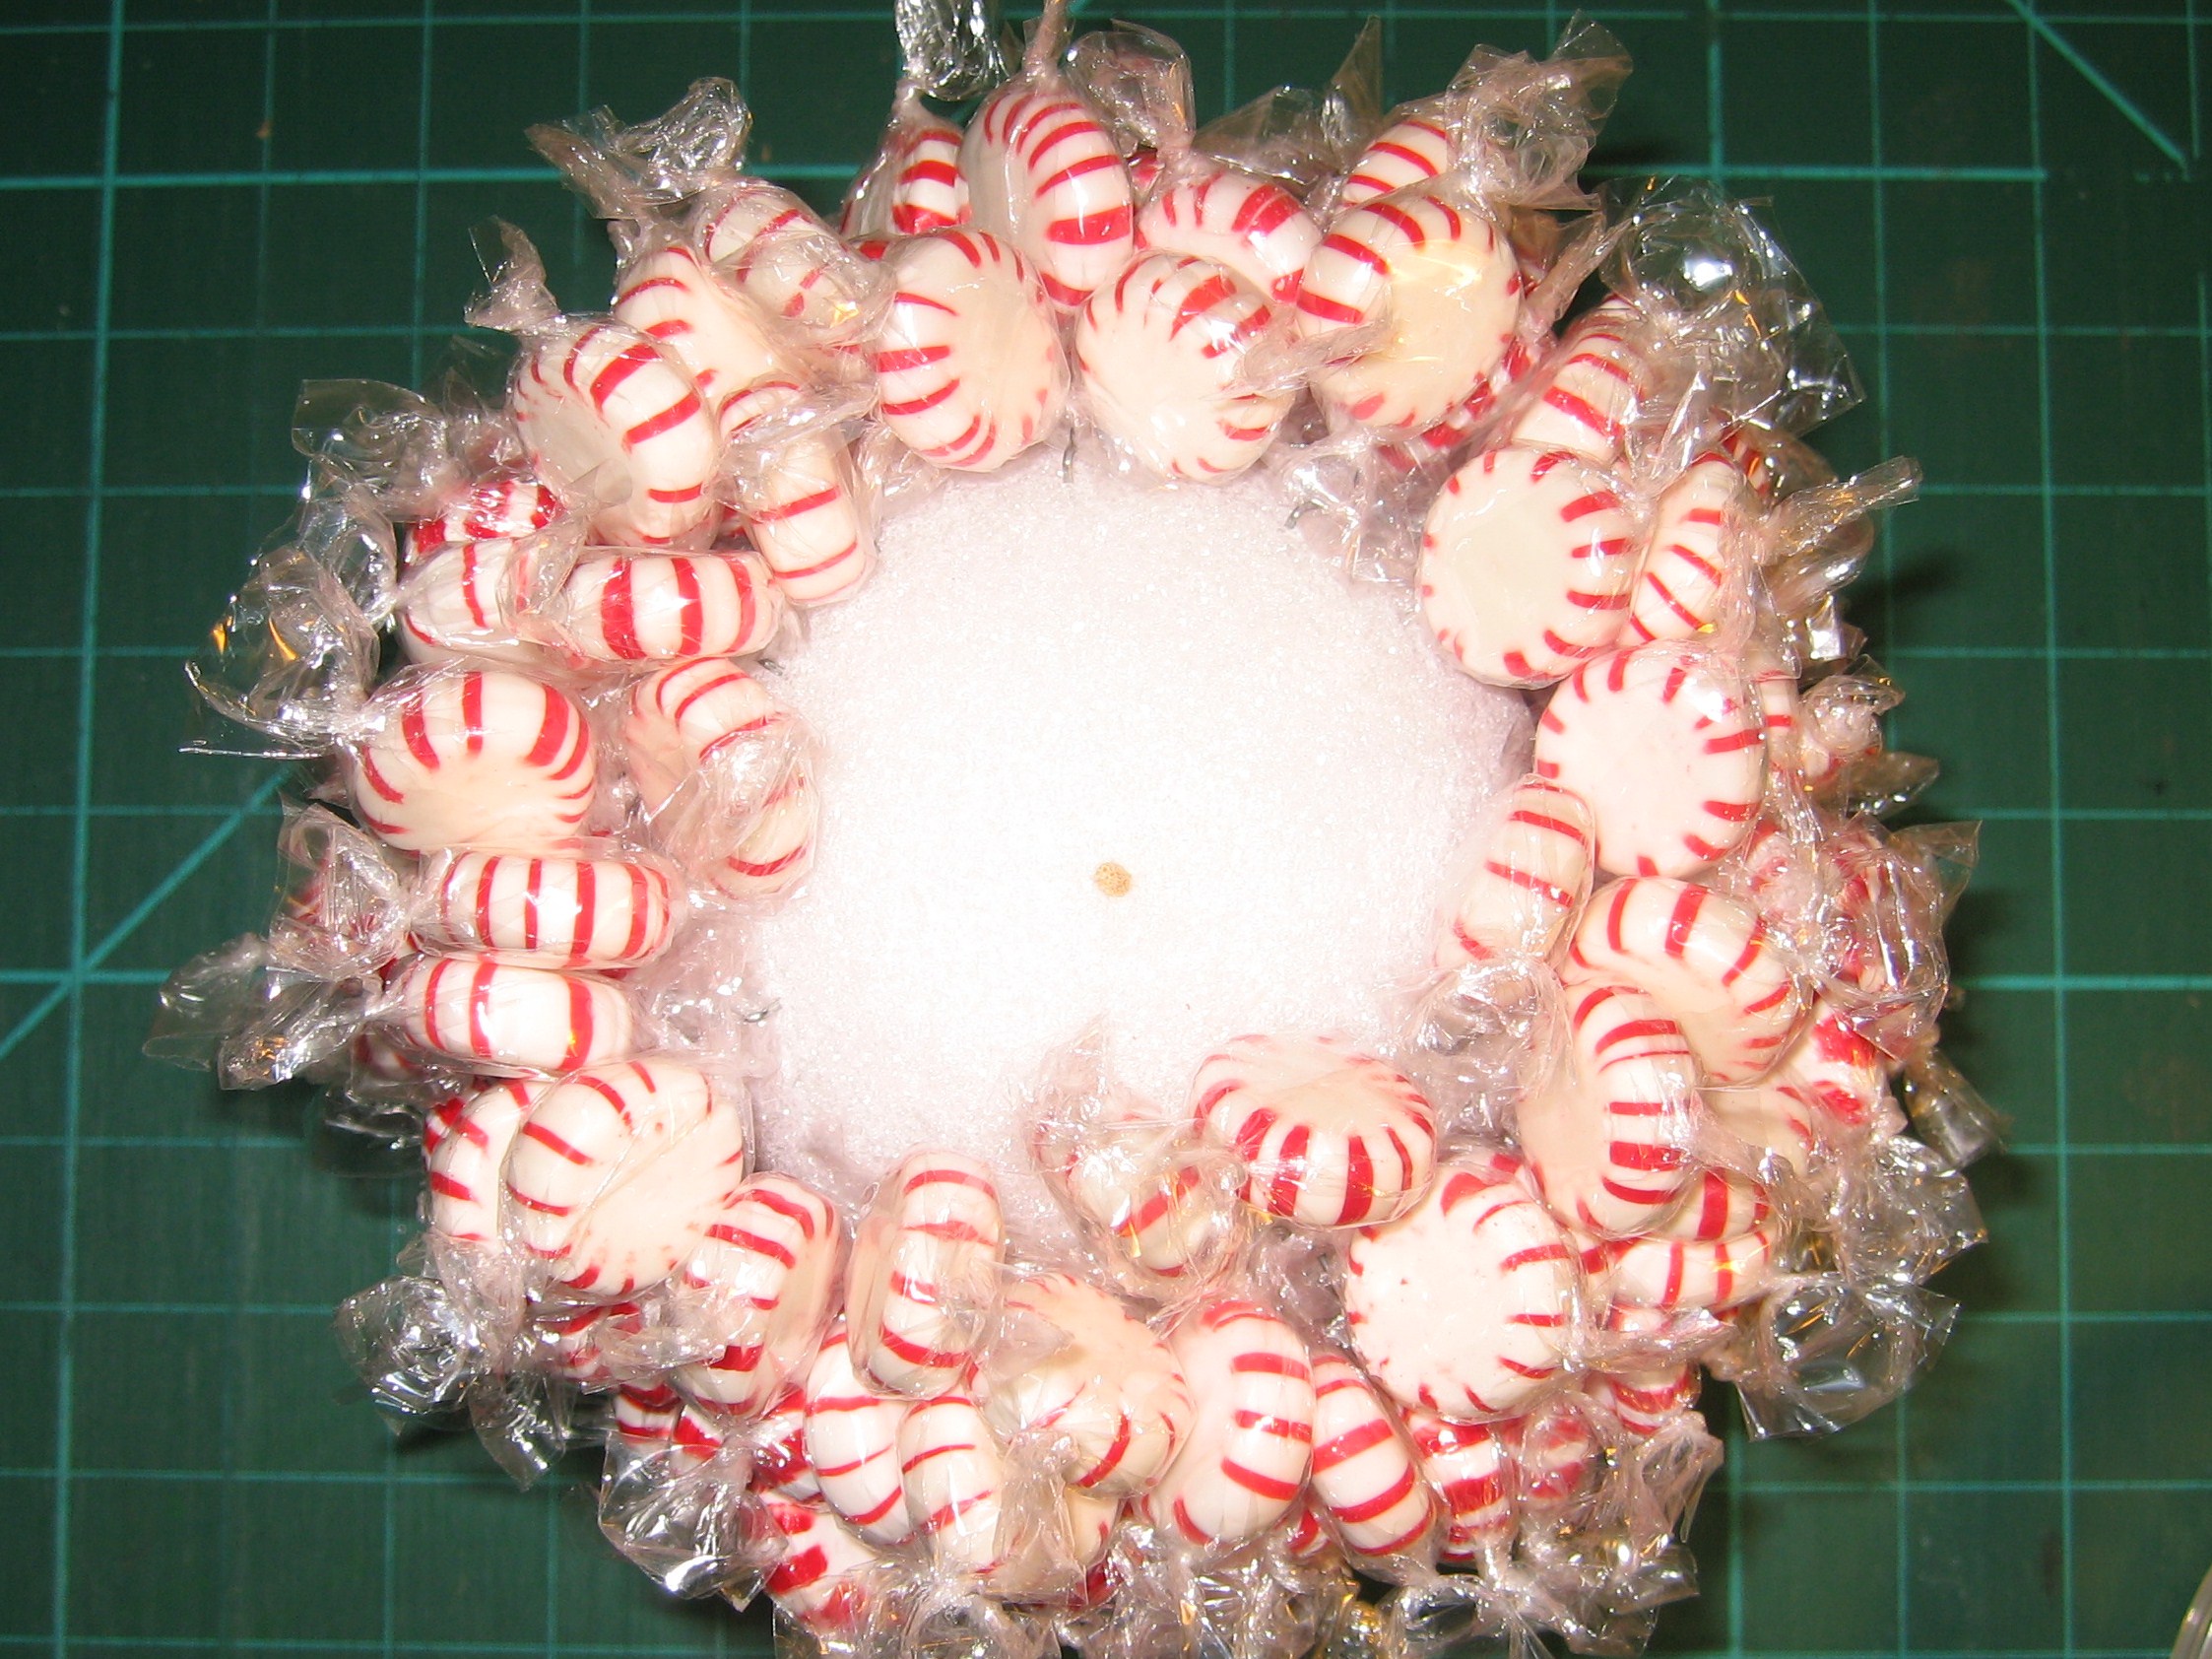
Fill in any holes with more candy & greening pins.


Final round complete, all the holes filled in.
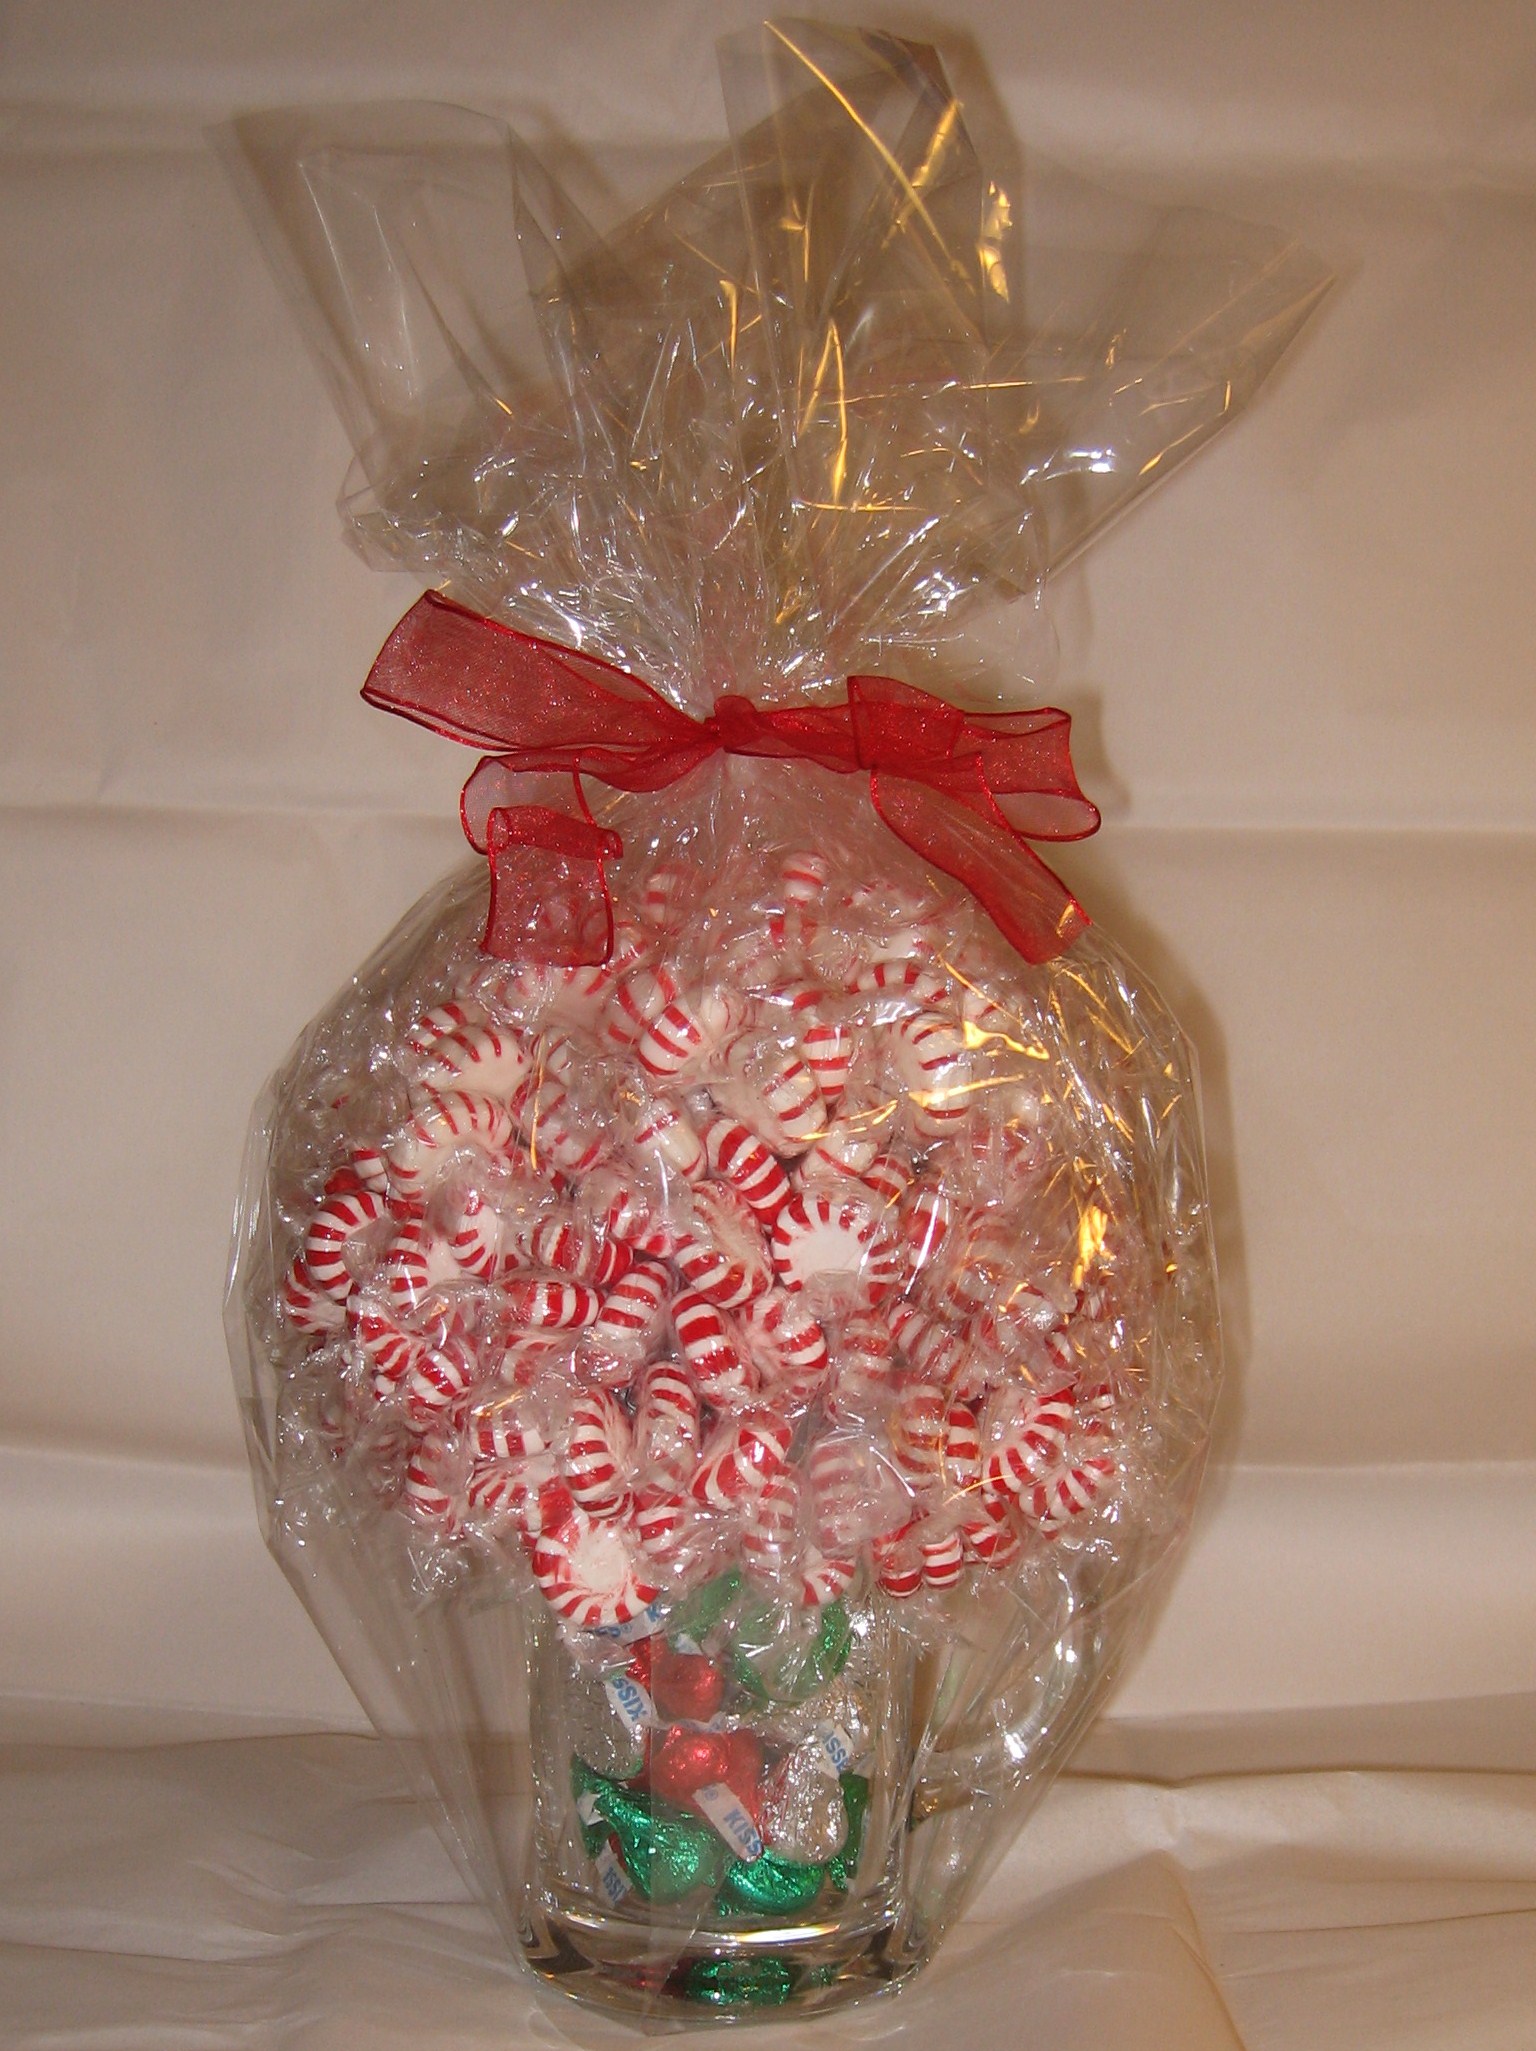
Wrap in cellophane and embellish with a bow or ribbon. The cellophane is optional, but it provides insurance that your candy will get from point “A” to point “B” intact.
Gift it!

Variation with M&Ms and Coca-Cola glasses

Variations by Amy Maxey – toffee coffee & bubble gum soda glass.
Find my free patterns on Sewhooked & Fandom in Stitches.
Posts on this blog may contain affiliate links to help cover the cost of my website. I thank you for your generous support. ♥

If I could make one candy to give away every year, it would be peanut brittle.
This is probably my most miraculous of recipes due to it’s ability to cause sheer happiness in it’s recipients. I’ve actually made friends by sharing this at parties and functions.
Every year someone tells me that this is their favorite peanut brittle recipe, which of course gives me a reason to keep making it for them!
You’ll need a good, heavy saucepan and a candy thermometer for this. If you’ve never owned a candy thermometer, it’s really worth having. I recommend investing a few dollars (a very few, really!) in a good quality thermometer. Glass thermometers are cheap, but they tend to break easily. I have a professional metal candy thermometer that I picked up at a local restaurant supply store, but they’re easy to find online and at other stores with cooking supplies, too.
Peanut Brittle
Grease a 10″x15″ baking sheet thoroughly with butter.
Combine first five ingredients (sugar, corn syrup, water, peanuts and salt) in heavy saucepan. Stir using a long-handled wooden spoon.
Boil until candy thermometer reaches 293 degrees F.

Remove from heat and cool for a couple of minutes. Add vanilla and beat. Sprinkle baking soda into the mixture and beat will. It will foam and change colors, which is just what you want it to do!
Immediately pour into baking sheet. Be very, very careful because liquid candy at high temperatures is like lava! Make sure the baking sheet is on a towel or cooling rack because it will be extremely hot.
Allow to cool completely (time will vary, usually an hour or so) then flip over and give it a whack! Break the pieces up however you like, then store in an airtight container at room temperature.
Do not store peanut brittle with other candies because it will absorb moisture and become sticky, sticky, sticky.
For best results, share with friends!


Last week, I shared three paper pieced patterns for Lil’ St. Nick, Mrs. Claus and Santa’s Elf.
ETA July 12, 2010 – These patterns will be available again November 2010 through the Sewhooked Shop.
Over the weekend, those three patterns were combined with a new pattern, Little Wonky Christmas Tree to give you the wall hanging shown, made for our friends, Eric & Dominae.

Little Wonky Christmas Tree
5″ paper pieced pattern
©Jennifer Ofenstein
http://www.sewhooked.org


The wall hanging was created by sewing the blocks two by two with a 1.5″ strip of fabric in between the two rows.
The border is also 1.5″, in the background fabric.
Echo quilted by machine.
The star on top of the tree (which was received as part of a craftster swap!) is attached with fabric glue.
Hand stamped label on the back and large jump rings for hanging.
find more paper pieced patterns on sewhooked
As always, if you make any pattern or craft from sewhooked, I’d love to see a photo. Email me or add it to the Friends of sewhooked flickr group.
Happy crafting
also posted on craftster, cut out + keep and deviant art

O! Christmas Candy! My house smells like chocolate…and peanut butter…and coconut…and sugar and and… Christmas!
I grew up with my mom making Coconut Bon Bons (which we called Bon Bons) every Christmas. My mom still makes them and it’s one of the candies I make that my friends start asking about in mid-November.
Peanut Butter Bon Bons are a more recent family favorite. My hubby calls them Peanut Butter Cups on Steroids. It’s a fairly apt description of spherical pb and chocolate goodness!
Coconut Bon Bon Filling:
Chocolate Coating:
12 oz of semi-sweet chocolate chips
1/4 pound of food grade paraffin (optional – but the chocolate will look nicer and hold together better if you use it)

Mix all ingredients thoroughly. The mixture should be firm and hold together. If not, add a little more powdered sugar.

Using a cookie dough scoop, scoop out balls. Round them with your hands and place on a cookie sheet lined with parchment paper. Refrigerate for about an hour.
Melt the chocolate chips and paraffin in a double boiler over low heat. Using a toothpick or skewer, dip each of the coconut balls into the chocolate and place back on the parchment paper. Let stand to room temperature and store in an airtight container (unless you eat them all first!).

PB Bon Bons Filling:
Chocolate Coating:

Mix peanut butter, butter and sugar. It will look crumbly, but it’ll hold together.

Roll into balls place on parchment paper. Refrigerate until firm, about 1 hour. Melt the chocolate chips and paraffin in a double boiler over low heat. Using a toothpick or skewer, dip each of the coconut balls into the chocolate and place back on the parchment paper. Let stand to room temperature and store in an airtight container.
Look for more holiday recipes later in the month!
Add your Sewhooked-related photos to my flickr group and you might be featured in a future post.

Lil’ St. Nick was such a hit that I had to give him some friends! I hope you like Mrs. Claus and Santa’s Elf just as much.
While I’m here, I’ll let you in on a little secret. I rarely design a pattern with a final project in mind. I draw whatever makes me happy and it ends up being wherever it needs to be.
Today, it’s Christmas!
5″ paper pieced patterns
©Jennifer Ofenstein
http://www.sewhooked.com

Santa’s Elf

Mrs. Claus
ETA July 12, 2010 – These patterns will be available through the Sewhooked Shop November 2010..
For more paper pieced patterns, be sure to visit sewhooked.
Just for fun, I created a Christmas Quilts group over on flickr. Post yours and oogle, too!
As always, if you make any pattern or craft from sewhooked, I’d love to see a photo. Email me or add it to the Friends of Sewhooked flickr group.
Happy crafting
also posted on craftster

Lil’ St. Nick
5″ paper pieced pattern
©Jennifer Ofenstein
http://www.sewhooked.org
This adorable wee Santa jumped right out of my head today. I carried him all through the supermarket, telling him to hush, we’d go home soon. The moment the last grocery was put away, my laptop was out, Photoshop fired up, and Lil’ St. Nick was having his say.
I love the way he turned out and I hope he puts you in the holiday spirit!
As always, if you make any pattern or craft from sewhooked, I’d love to see a photo. Email me or add it to the Friends of Sewhooked flickr group.
Happy crafting
also posted on craftster
December is almost here and that means a couple of things for my family.
We eat too much, get to see family we haven’t seen for ages, and we craft. While crafting in itself is a daily thing for us, December crafting is different. We make ornaments for friends, family and ourselves. Just something about the cold weather, hot chocolate and waiting for Santa makes the crafting a little bit more special.
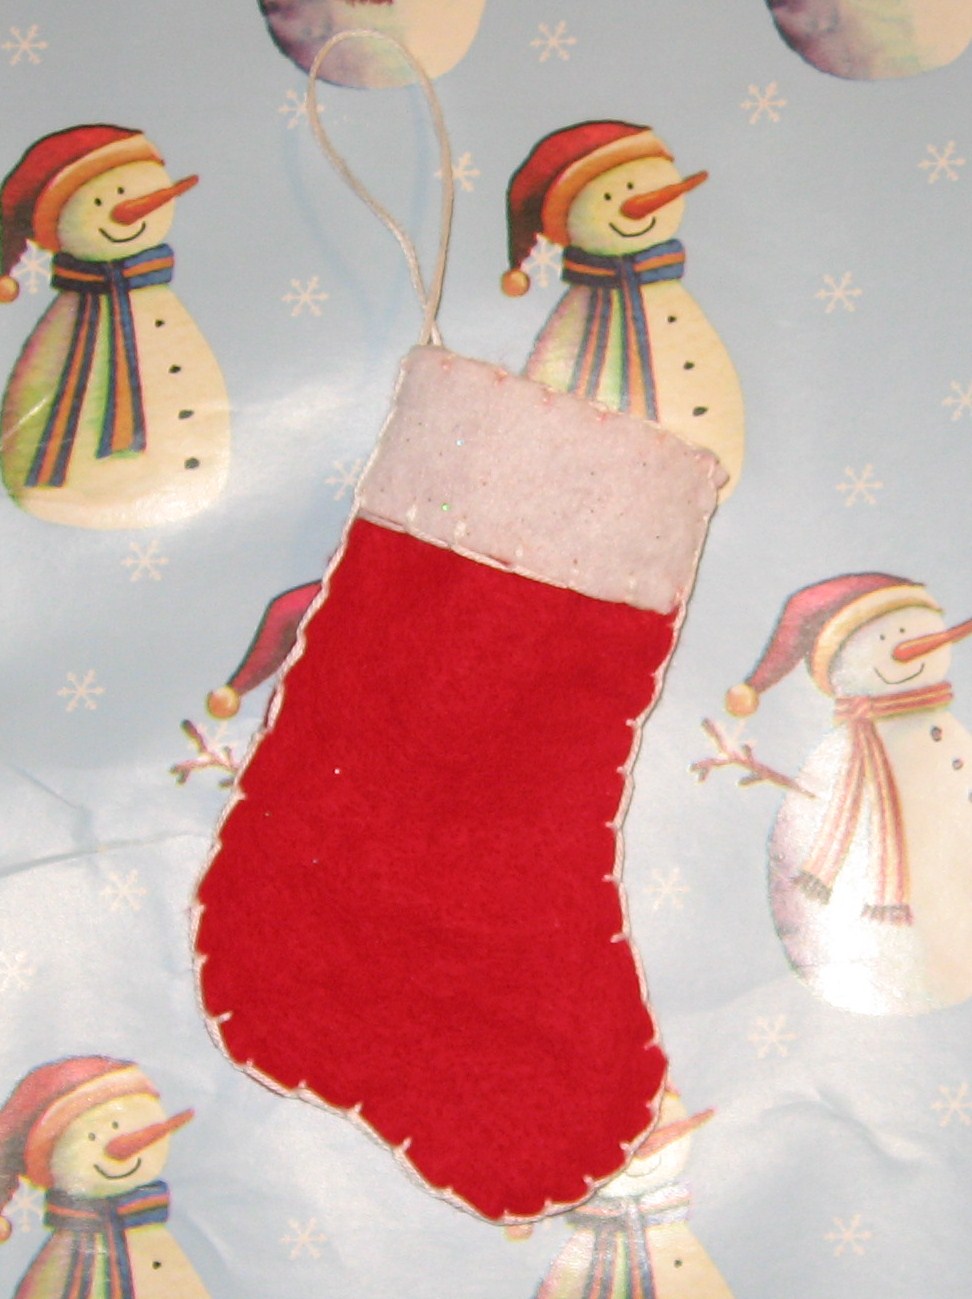
On that note, today’s craft is an old favorite of mine. It was originally designed to be an easy ornament to make during my kiddos’ elementary school days. I wanted something that was inexpensive, took few materials and would be easy to teach kids how to do.
This simple blanket stitched Christmas Stocking is all of these things. The knots might take a little adult assistance, but other than that, it’s a craft easy enough for anyone old enough to thread a needle!
Make it as is and you’ll have a 4″ stocking ornament. Enlarge for a larger stocking; personalize, decorate or embellish!
Supplies:

Cut pattern on the fold of red felt.
Cut a strip of white felt 1 ” wide by long enough to go across both sides of stocking (4″ shown).
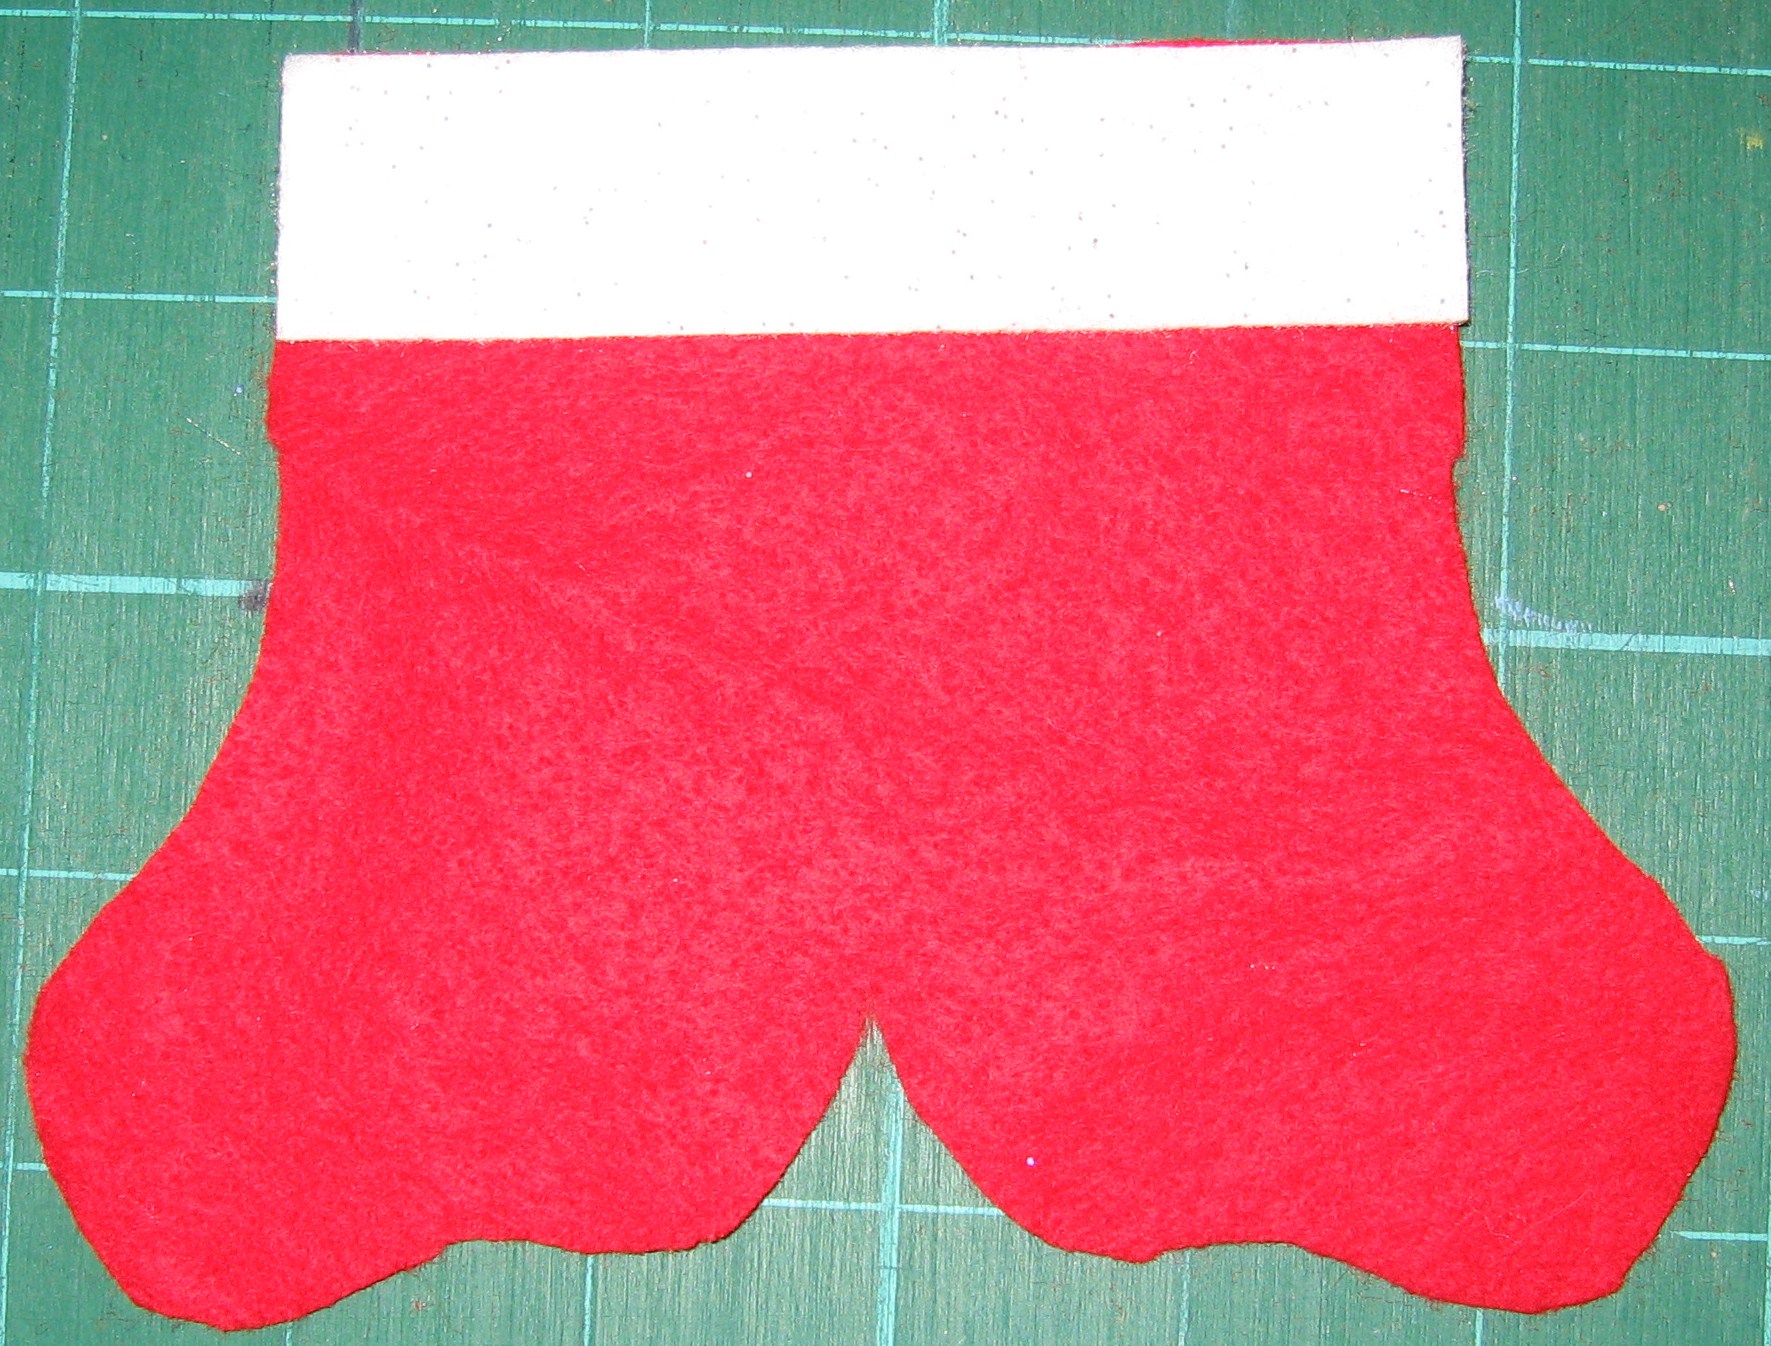
Align white felt across top of red so that the tops are flush.
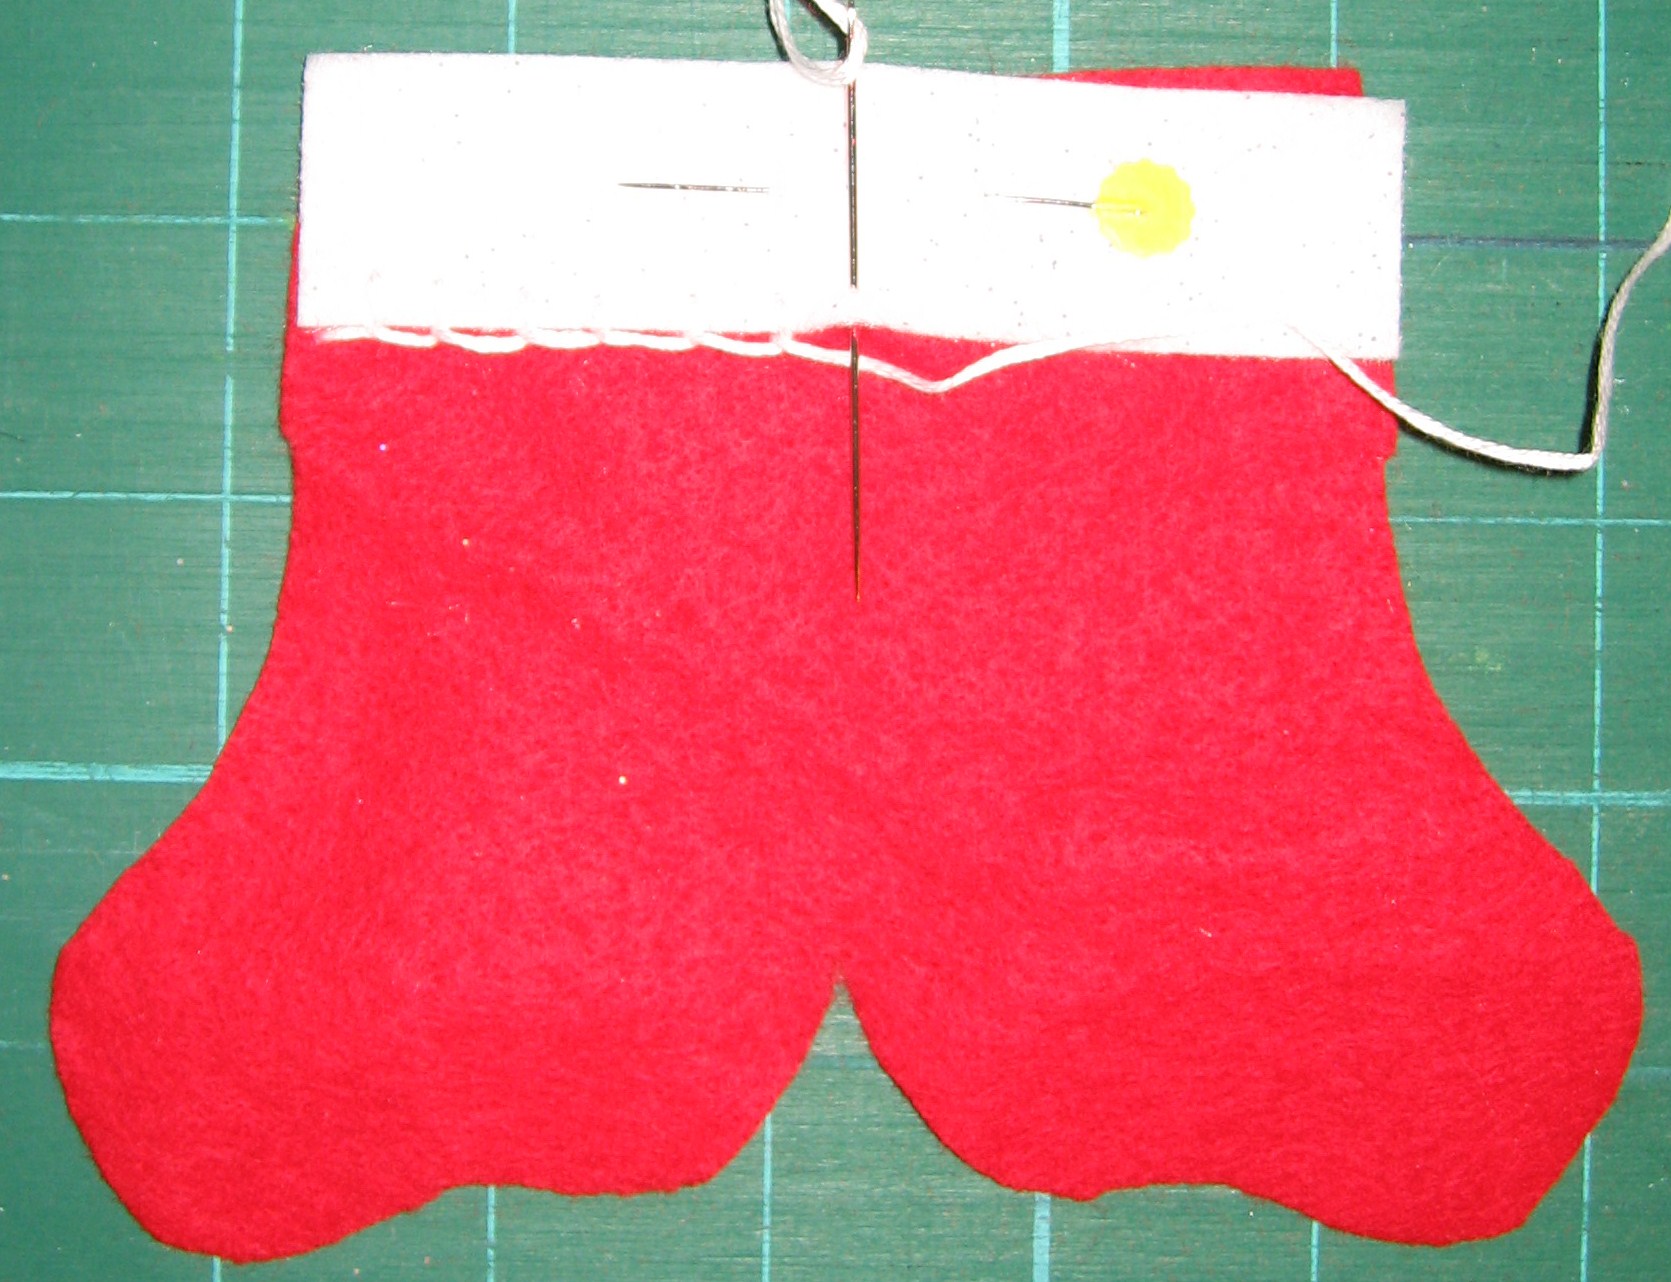
Attach the white felt by stitching across the bottom with a blanket stitch.
(How to blanket stitch from futuregirl.com)

Optional – personalize or decorate while the stocking is still open. I’ve left this one plain.
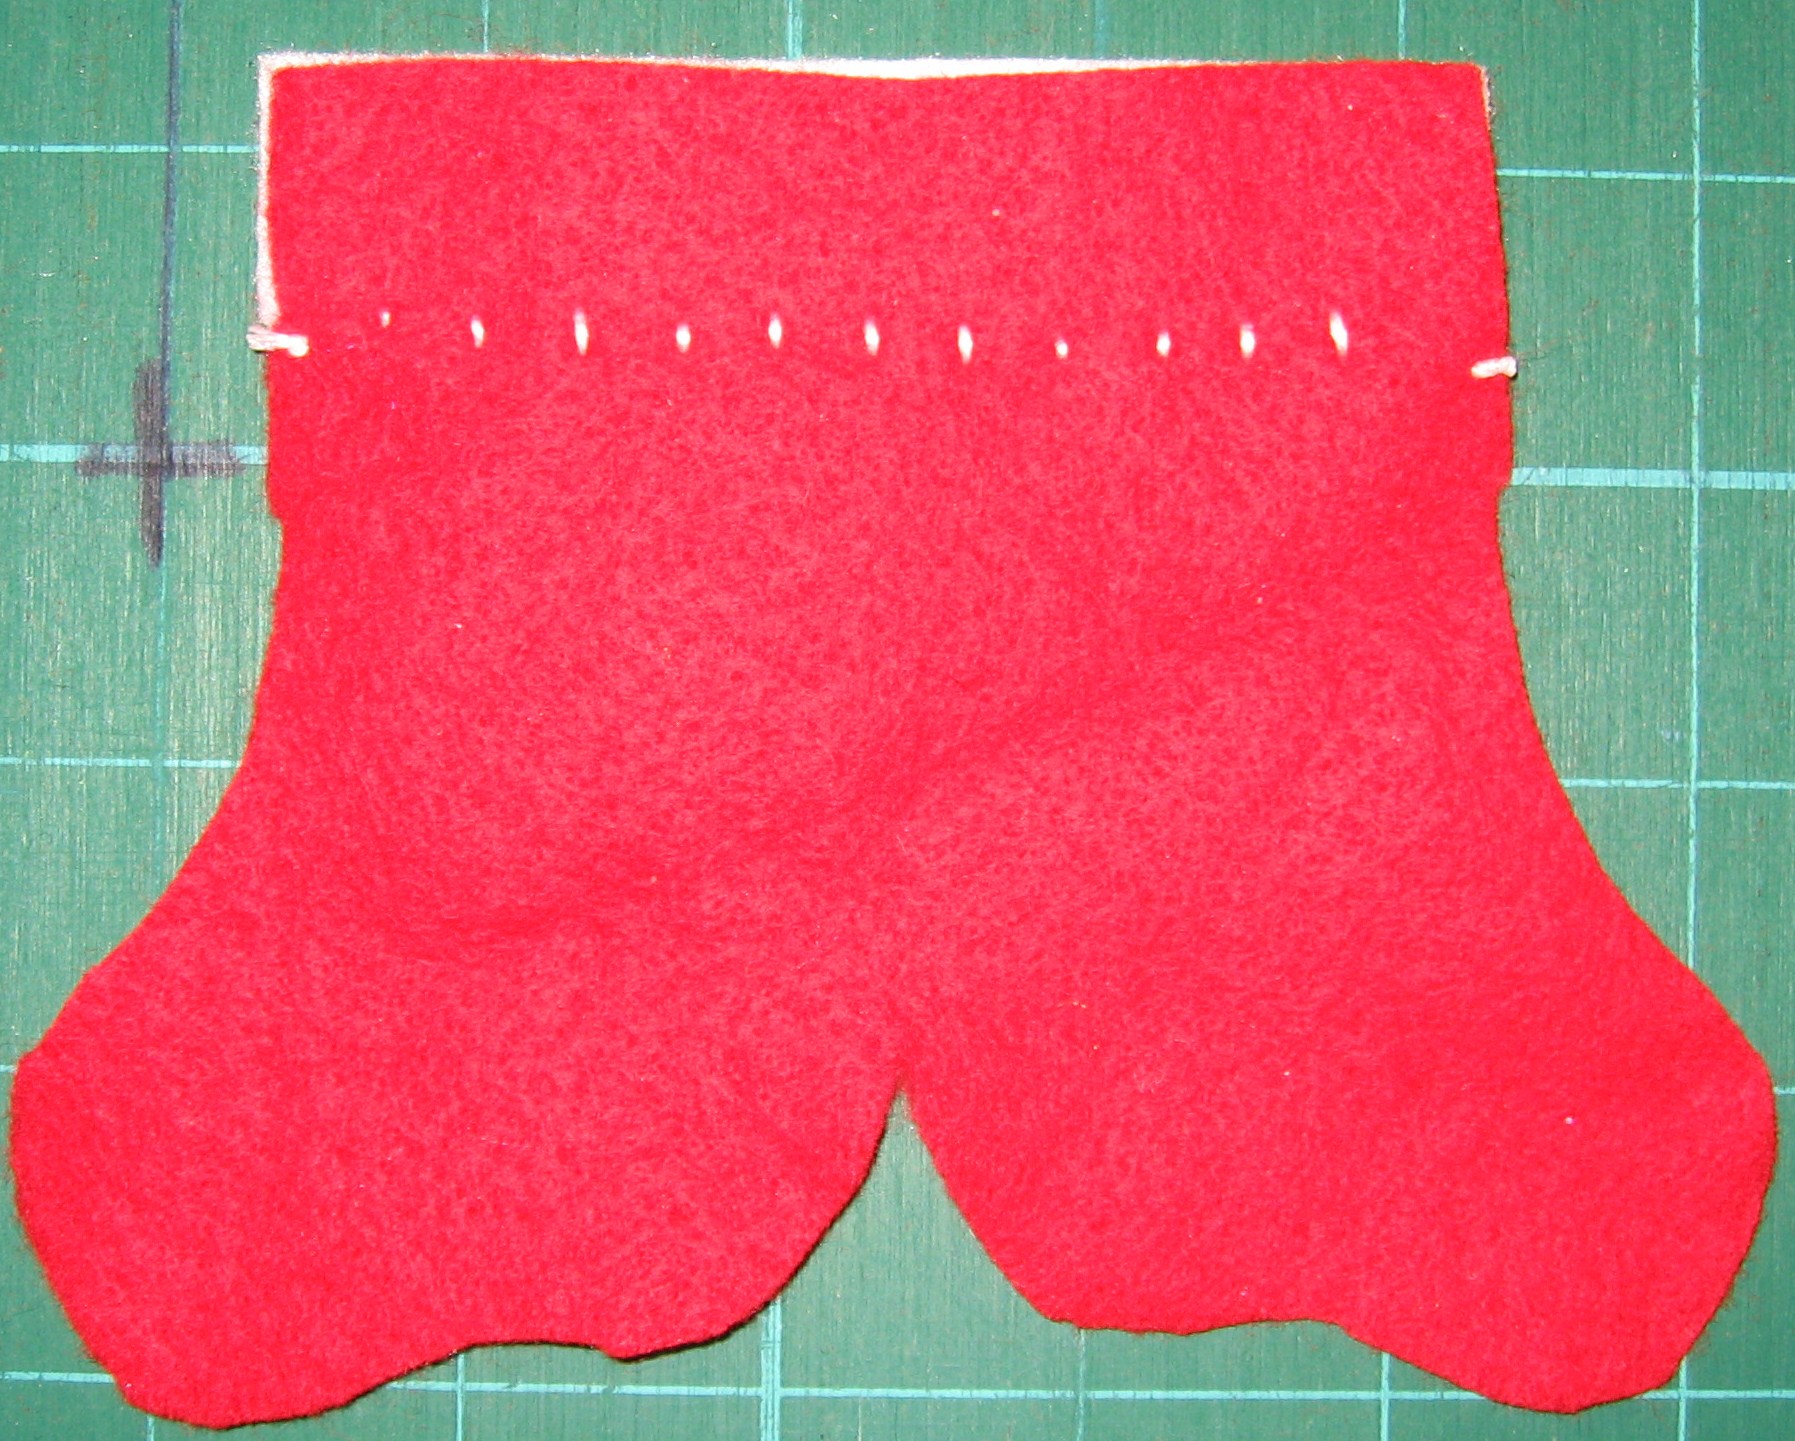
The back should look like this.
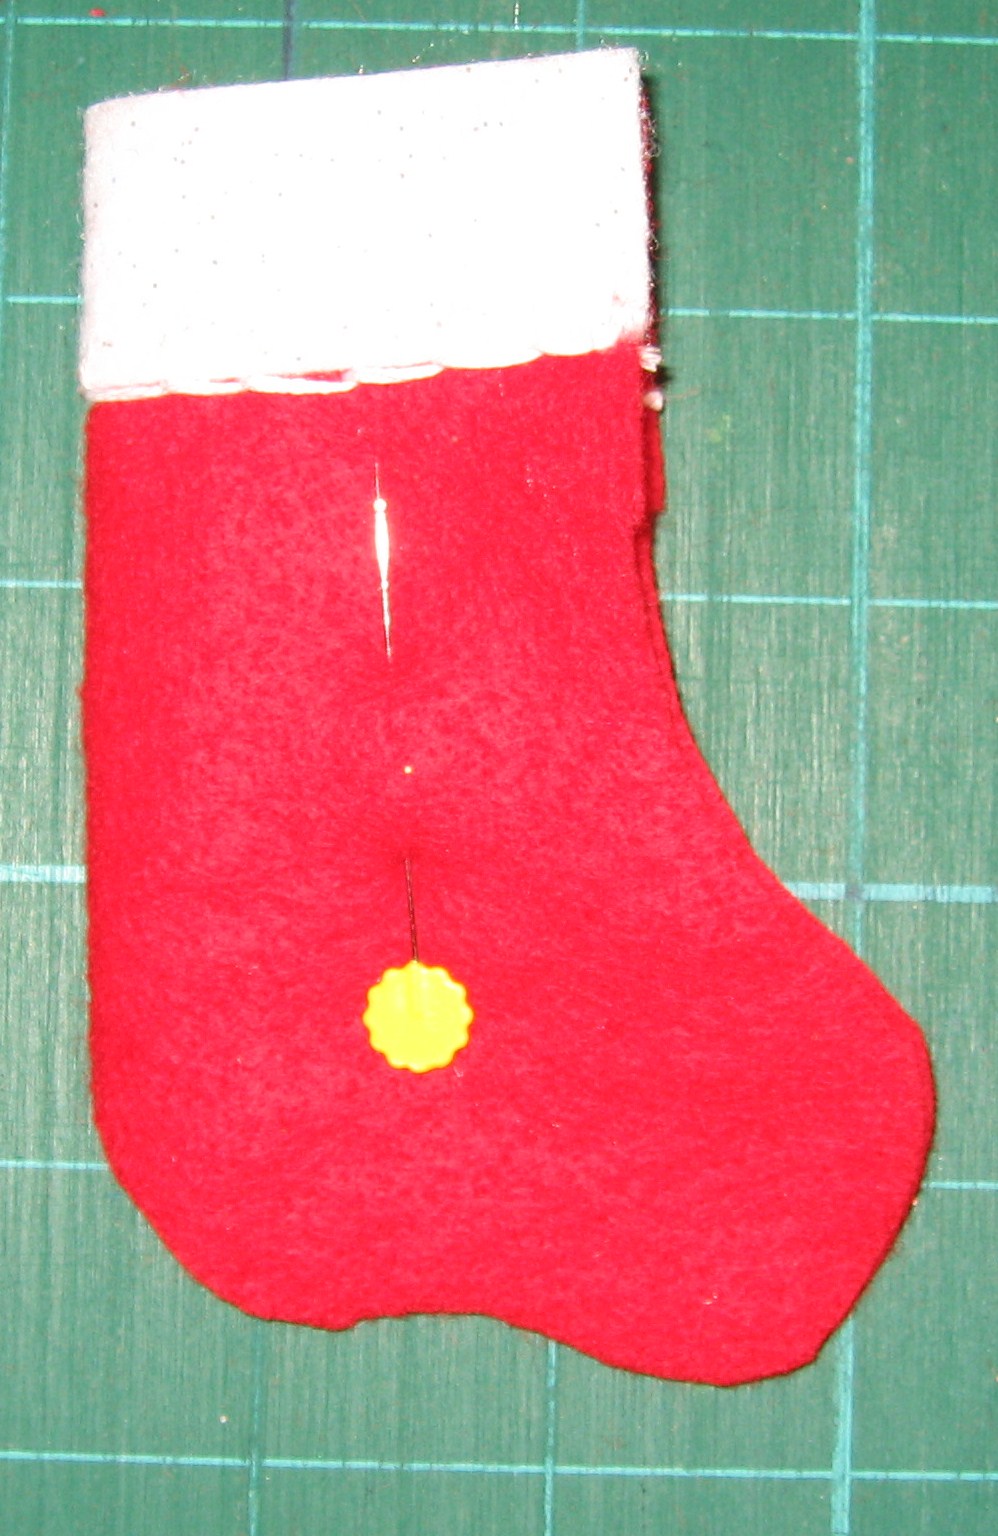
Fold stocking so white felt is outside. Pin in place.

Starting on the open side of stocking, stitch using a blanket stitch. You can hide the knot by starting under the white felt. Push the needle through the three layers of felt and then take another stitch through all four layers before beginning the blanket stitch.

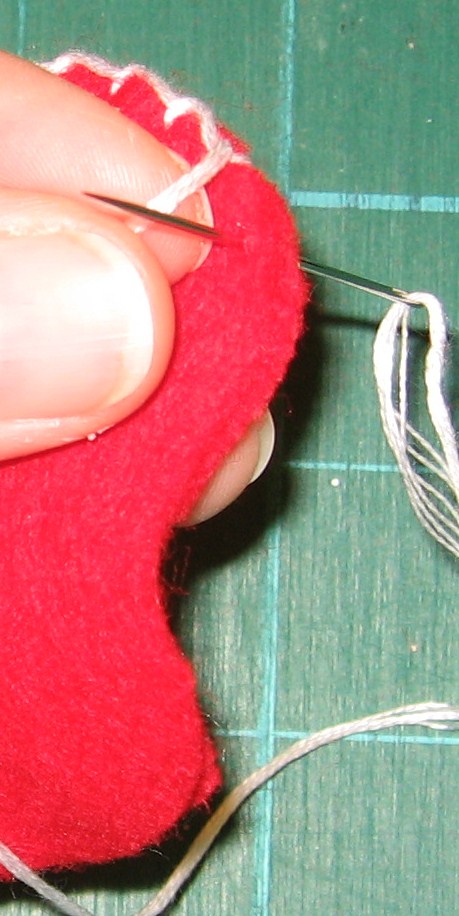
Continue around all the way around.

This is what we have so far!
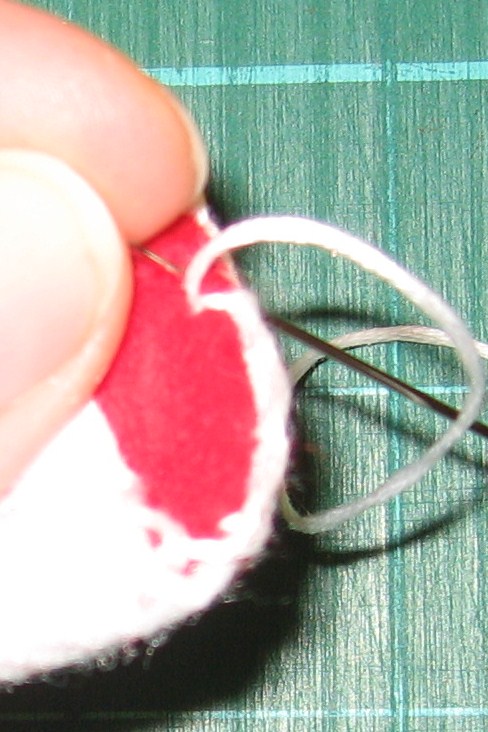
Continue blanket stitching around the top of the stocking, catching both the inside and outside layer in the stitch. Make sure to leave the stocking itself open.

Once you’ve made it all the way around, knot off the embroidery floss then make a loop about 1 1/2″ – 2″ long. Make a knot inside the stocking. Take a stitch and knot again.
The pattern is for a 3″ stocking, but it can easily be sized up or down depending on your needs.

Ta-Da!
Happy crafting!
Find my free patterns on Sewhooked & Fandom in Stitches.
Posts on this blog may contain affiliate links to help cover the cost of my website. I thank you for your generous support. ♥