Tag Archives: t-shirt

Counting Down To Harry, Tuesday

Counting Down to Harry, Tuesday

Save Ginny, purchased at a live H&tP show during Lumos, Las Vegas, 2006

I’m not sure when I first discovered Wizard Rock, but it was probably some time in 2005.

I had heard a whisper, a whisper about Harry & the Potters. Back in 2005, Facebook wasn’t the thing, MySpace was. So I went there, and I looked, and I found them.

They’re not the best vocalists in the world, but I love their lyrics and I love their heart. They’re fans and they get it.

The first opportunity I had to see Harry & the Potters perform was at Lumos in 2006. I bought this shirt without a second thought and I have worn it until the threads are starting to come out. It’s one of my favorite H&tP songs…and one of my favorite fandom tees.

We’ve got to save Ginny Weasley from the basilisk

We’ve got to save the school from that unseen horror

We’ve got to save Ginny Weasley from the basilisk

We’ve got to save the school again

Since the early days of Wizard Rock, about a million other bands have come on the fandom scene. My heart still belongs to Harry & the Potters…and I admit it, a little of it belongs to Draco and the Malfoys.

What?! Every girl has a little touch of poison. Click for a listen. 😉

Countdown To Harry, Monday

Countdown To Harry, Sunday

Countdown To Harry, Saturday

Countdown To Harry, Friday

Add your Sewhooked photos to my flickr group and you might be featured in a future post!

Photobucket


Shop | FB | SHFB

Flickr | Twitter

Counting Down To Harry, Monday

Counting Down To Harry, Monday

Leaky Cauldron tee, purchased  2006

Today is a super special day for me. Not only am I counting down to Deathly Hallows on Friday, but today just happens to be my 17th wedding anniversary! Seventeen amazing years with my soul mate, Eli.  For almost two decades, he has loved me, supported me, and most of all, put up with me and all my craziness. Quite obviously, he’s a keeper!

Eli & Jen 1994
Eli & Jen, 1994, hiking in Big Bend, Texas 

White Sands
Eli & Jen, 2008, White Sands, New Mexico

So…The Leaky Cauldron (representing the website, not the pub!)….

This is one of two t-shirts I purchased to wear at Lumos in 2006. My order did not make it to my house before the conference, so the t-shirts never made it to Vegas.

I’ve had a love/hate relationship with this shirt for years. I love the design. I love the color. When I got it, late (grrr!), it was too big for me, huge, in fact.

I immediately reconstructed it to size it down. I don’t usually mess with the length of the tee when I she-shirt them, but this one was so long, that I did.  Unfortunately, I messed up and ended up with a shirt that was shorter than I wanted .

So, I tried again. This time, I added insets in the sides and extended the length with some white fabric from another tee. That worked for a while…and then I lost weight, and it was once again too big. SO, I resized it a third (and final!) time, making the side insets a bit smaller and, finally, have the shirt you see here.

This tee has also been retired to my some-day-when-I-can-bear-to-cut-them-up-quilt pile.

Countdown To Harry, Sunday

Countdown To Harry, Saturday

Countdown To Harry, Friday

Add your Sewhooked photos to my flickr group and you might be featured in a future post!

Photobucket


Shop | FB | SHFB

Flickr | Twitter

Counting Down To Harry, Sunday

Counting Down To Harry, Sunday

Honeydukes tee, painted, stenciled and reconstructed, 2006

This lovely (hot!!) summer Sunday, I continue my personal countdown to the release of Harry Potter and the Deathly Hallows part 2 by wearing a different HP tee leading up to the movie release. I counted this morning, I found 19…and I think there are more floating around somewhere. And those are just the shirts that I can claim as my own…

Once upon a time, I went to Las Vegas. The year was 2006. Harry Potter canon was a year away from being closed. It was my first con. I was a fairly new moderator over at Harry Potter Crafts on Yahoo!. I did not yet volunteer for the Leaky Cauldron (2006-2007). My Harry Potter quilt was started, but not complete. There was no Harry Potter paper piecing and I had very few fandom friends.

Lumos was the con that changed all that. I met tons of new friends, both crafty and those that worked for The Leaky Cauldron. I realized fully how many crafters, costumes and creative people were part of  our fandom. My fandom.

In the build up to Lumos, I created t-shirts for every day of the conference. I wore this one to the opening feast.  Honeydukes has always been one of my favorite places in my mind. Magical candy, what more could you want in a shop? This tee was reconstructed using directions from Generation T, a combination of “Outer Lace” (tee 16) and “Ties to Die For” (tee 18). The stars (left shoulder) were stenciled. I wanted the Honeydukes name to look like a sign, so it was created by taping off a rectangle, stenciling that in and then free-hand writing on top of that with fabric paint.

This shirt feels a bit, hmmm, young, for me now, but it brings back memories and reminds me of online friends that I haven’t seen with my own eyes in many years.  I brought Honeydukes out of retirement just for today.

And yeah, that’s a white streak in my hair. It’s au naturale.

Countdown To Harry, Saturday

Countdown To Harry, Friday

Add your Sewhooked photos to my flickr group and you might be featured in a future post!

Photobucket


Shop | FB | SHFB

Flickr | Twitter

Counting Down To Harry, Saturday

HP T-Shirt Countdown

It’s Saturday and it’s day two of my Harry Potter t-shirt wearing marathon as I count down to the release of Deathly Hallows, part 2.

Today, I wore my Ravenclaw tee. This is a stenciled tee made from a stencil I created and cut from freezer paper . Good Ravenclaw tees are hard to come by and I wanted to represent my house! See those spiffy earrings? Gifts from hp5freak!

Not only did I get to wear my Ravenclaw t-shirt today, but I wore it to Anime Overload here in Austin, a local anime and pop culture convention. I did not run into any HP characters, but we did see the 11th Doctor, Agent Washington and a number of other favorite characters.

Free stencils on the craft page.

How long do we have to wait until the movie is released? Click to find out

Me with my quilt


Wearing my tee at Phoenix Rising, New Orleans, Louisiana, May 2007

Add your Sewhooked photos to my flickr group and you might be featured in a future post! (See, I said it again!)

Photobucket


Shop | FB | SHFB

Flickr | Twitter

Counting Down To Harry

Counting Down to Harry Potter DH2

I’m wearing an HP shirt every day leading up to the release of the last Harry Potter movie, Harry Potter & the Deathly Hallows part 2.

Why yes, I am that big of a dork fangirl.

How long do we have to wait until the movie is released? Click to find out

Today’s shirt is a Hogwarts Crest tee that I got from Hot Topic ages ago. It’s one of three (or is it four?!) crest tees that I own. You can’t really see  it, but I’m also wearing owl earrings, too.

I always count down to Harry, whether online or in real life. For my Half-Blood Prince count down, I talked about (free!) stencils!

Tomorrow, I’ll be sporting one of my own stenciled tees. In all honesty, I could probably have worn HP tees for a month without repeating, but some of my old favorites have been retired and are being saved for a some-day-when-I-can-bear-to-cut-them-up-quilt.

Add your Sewhooked photos to my flickr group and you might be featured in a future post! (See, I said it again!)

Photobucket


Shop | FB | SHFB

Flickr | Twitter

Way Back Craft: Name Tees

name t-shirts

Talk about Way Back…I’m slightly embarrassed to say that it’s been almost a year since I posted a Way Back Craft!

Way Back Crafts are crafts I made ages and ages ago.  Usually, they were posted on my very first craft site, Jen’s Crochet and Crafts (1998 – 2006), but they have not been posted to the sewhooked blog or were only posted to sewhooked in a very basic way.

Today’s craft comes to you from around 2001 or 2002.  I made these cute t-shirts for holiday gifts for my nieces, daughter, and several children of my friends (that’s an original, old school pre-digital photo there!).  These were made around the same time t-shirts embellished with “Princess” were really popular.  The shirts were a huge hit with the bonus of being easy and inexpensive to make!

Supplies

  • light colored t-shirt
  • Fabric Paint (Tulip Slick Glitter used in picture)
  • safety pins
  • masking tape
  • polyester glitter (optional)
  • well-lit window or light box
  1. Prepare your t-shirt by washing and drying without fabric softener.
  2. Using your word processing software, print the name you want to paint in a large, bold font. This paper will go inside the shirt as a guideline.
  3. Position the name you printed inside the shirt where you want to paint, securing with a couple of safety pins or masking tape.
  4. Using masking tape, tape the t-shirt to a clean, dry window.  If you are lucky enough to have a light box, use that instead.
  5. Trace the letters with chalk or pencil.
  6. Place a t-shirt form or box (Priority shipping box works well) inside the t-shirt to make it easier to paint.
  7. Trace the text again with the fabric paint. It is important not to touch the tip of the paint to the shirt, which can drag the paint and make it smear. Take your time, as it this can be tedious, but it’s worth it!
  8. When you’re done, find a safe place for your shirt to dry flat 24 hours.
  9. For an iridescent effect, sprinkle iridescent polyester glitter on wet paint before allowing to dry.
  10. Wait 24 hours, then shake off excess glitter.
  11. Wash & dry inside out.

If you make a Sew Awesome Craft or any pattern, craft or recipe from sewhooked,  I’d love to see a photo.  Email me or add it to the sewhooked flickr group.

Happy crafting!

Photobucket

FACEBOOK | TWITTER

Photobucket

freezer paper stencil: Torchwood Me

Torchwood Stencil How To

Fandom is not just a noun, it’s a verb.  To be a part of fandom is to participate, geek out and show your love by wearing your fandom literally on your sleeve, or in this case, on your chest.

Oh Torchwood, how do I love thee?  Let me count the ways…

22 hexagons worth, that’s apparently how much!

The amazing calypsobard shared her Torchwood stencil with me, which I photoshopped up to make it more user friendly.  This one is easy to cut out, but, in calypsobard’s words is “a bit hinky,” so I’ve added directions to the stencil itself that will hopefully make it more user friendly.

You’ll need:

  • Torchwood stencil, printed on the matte side of freezer paper
  • X-acto Knife or other stencil cutting tool
  • cutting board or other safe cutting surface
  • fabric paint, I recommend Lumiere by Jacquard, available online and at craft stores
  • sponge brush
  • iron
  • cardboard or newspaper for inside the shirt

Pre-wash t-shirt without fabric softener.

Torchwood Stencil How To

Carefully cut pieces out with an exact-o knife.  Start with the hexagons first, keeping them in order.  Then cut and discard the gray area.  (Or, if you’re my teenage daughter, pinch it from the trash and put it in the clear pocket of your binder.)

Set a dry iron to medium.

Place cardboard or newspaper inside t-shirt to help prevent bleed through.

Torchwood Stencil How To

Place stencil on t-shirt, aligning the hexagons until they are even.  Carefully press in place with the iron.

Torchwood Stencil How To
Use the foam brush to gently paint on the fabric paint, being careful to not push it under the edges of the stencil.

Torchwood Stencil How To
Allow a few minutes to dry, then carefully remove the outside of the stencil.

Torchwood Stencil How To

If the stencil is still wet, use a straight pin to remove the hexagons.  Otherwise, just gently peel away each one, setting them aside as you go.

Torchwood Stencil How To
Finish drying according to manufacturer’s directions.

Torchwood Tee

Final product.

Freezer paper stenciling is my favorite stenciling technique and can be used for any of my stencils and for most stenciling on fabric.

More Free Stencils on the Craft Page!

Add your Sewhooked-related photos to my flickr group and you might be featured in a future post!


Photobucket

Sewhooked Shop | FB | SHFB | Flickr | Twitter


stencils & stamps: Saving My Shirts


I’m not exactly clumsy, but I am a really busy girl with a tendency to not be careful.

Messy, clumsy, stuff on my shirt…call it what you will!

My favorite shirts all seem to have taken the same abuse.  A paint stain, a bleach spot or an unfortunate tear.  The number of shirts in my closet that weren’t being worn because of one of the above was getting completely out of control.

So, time for some quick and dirty fixes…and to haul out the fabric paint!

Shirt fix #1 – stenciling stars

supplies:

  • sad damaged tee
  • freezer paper
  • marker or pen for drawing
  • Exact-o Knife
  • fabric paint
  • sponge brush
  • cardboard or t-shirt form


My poor Dumbledore’s Army shirt, with a bleach stain right on the tummy. What to do, what to do? I thank my sister for the idea for this fix: stencil some stars on!


Freehand stars on freezer paper, then cut out with the Exact-O Knife – instant stencil!


Iron the stencil on and insert a pieced of cardboard or shirt form inside the tee. Procure some paint and a sponge brush for instant repairs.


Sponge that paint on!


Peel off the stencil after a few minutes and….


Instant shirt fix!


My Evile Crafts tee, made by superfriend Kadi, had a big ole blotch of bleach, too, so it also received the star treatment, along with a little glitter spray paint.

Shirt fix #2 – stamp it!

This second shirt fix was inspired by Stampin’ On Stained Jeans.  Same problem:  A favorite tee gets hit by something that leaves a mark, bleach, paint, or something else that’s super-duper permanent.

You need:

  • oopsie tee
  • fabric paint
  • stamp(s) large enough to cover the spot(s)
  • foam brush
  • cardboard or t-shirt insert


Use the sponge brush to add paint to the stamp.  Don’t dip the stamp in the paint or you’ll end up with a blob of paint on the fabric.


Stamp on the spot that needs to be covered.  It looked awkward to me like that, so I just kept stamping until I felt like I had enough!


Another shirt, back in rotation!

Shirt Fix #3 = mask it!

This fix was a bit more complicated.  I had a cute girly shirt that got caught on something (no idea what) and I ended up with a hole right in the tummy.  After trying to stitch it and not liking the artificial belly button I received for my efforts, I decided to repair it with an iron on.  Great idea, until I realized I went from artificial belly button to giant round dot on my tummy.

For this fix you’ll need:

  • damaged tee (this works for spots, too!)
  • masking tape
  • cardboard or t-shirt form
  • fabric paint
  • foam brush or roller


Giant dot, as illlustrated by my left hand.


Mask out a large triangle with the apex at the top, with the damaged part of the shirt on the inside.  Make sure your cardboard or t-shirt form is inside the shirt.  Fill in the space with fabric paint.

Hint:  If you’re working on a stretchy fabric, iron freezer paper on the inside of the shirt for stability while painting.


Fill in the entire space.  Allow to dry a few minutes and the remove the tape.


And another dead shirt returns to ciruculation!  Pretty cool, too, if I do say so myself.


Allow all your awesomely repaired tees to dry per manufacturer’s instructions and then add them right back in to your wardrobe!

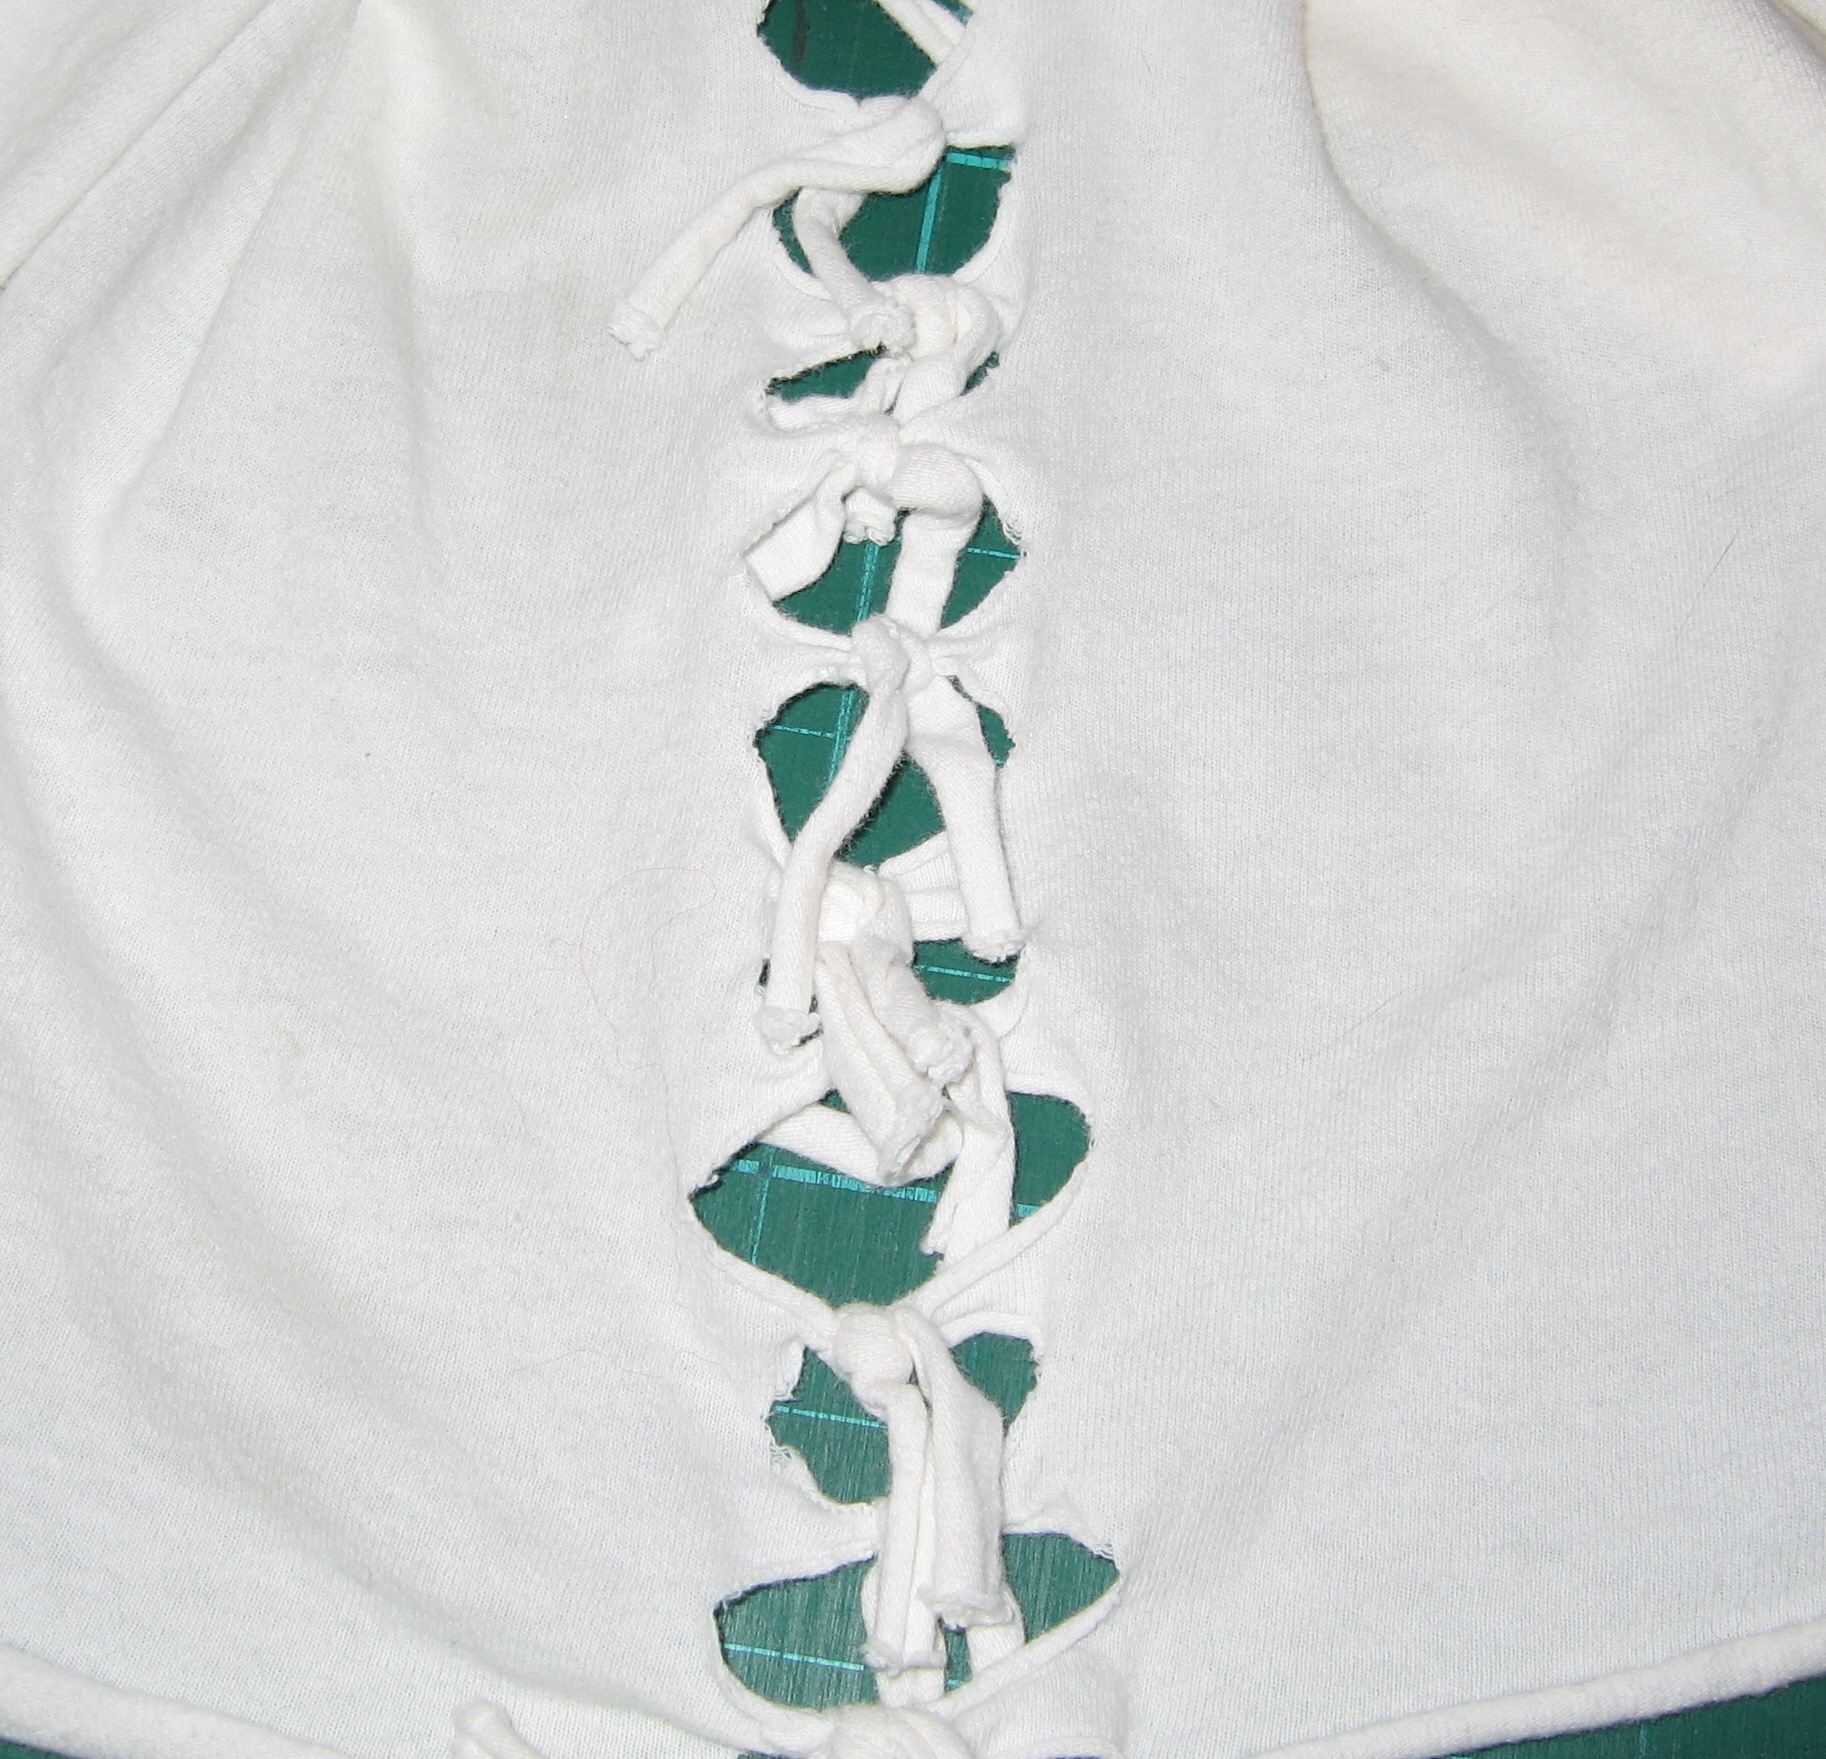
More t-shirty goodness:

If you make a Sew Awesome Craft or any pattern, craft or recipe from sewhooked,  I’d love to see a photo.  Email me or add it to the sewhooked flickr group.

Recon: No Sew Swim Shirt

No Sew Swim Shirt (80s style!)

My 14 year old heads off for a week of orchestra camp on Saturday. During the week, they get the chance of swimming in the river near the college where the camp takes place. My kiddo is pale and freckled, the worse kind of complexion to spend a day in the sun.

Well, what’s a Gen X mom to do? How about we rock this party 80s style?!

Enter the No Sew Swim Shirt.

This is the second version of this shirt I’ve made, the first having done it’s duty honorably for several summers now.  The sides are nice and open so the water will flow through your shirt and not weigh you down.  A must for any super-sun-sensitive human.

There really is no sewing and you only need a couple of supplies and you’ll have your own No Sew Swim Shirt in about 10 minutes!

You’ll need:

  • 1 t-shirt, at least 2 sizes too big, in a light color to reflect the sun
  • a pair of scissors
  • a large ruler OR yardstick
  • cutting mat OR masking tape with 1″ intervals marked to about 20″

spread the t-shirt out, making sure the top and bottom are nicely aligned

cut off sleeve just inside the seam line, save for another project

repeat for second sleeve

slice up sides of t-shirt

remove bottom hem

smooth out the side of the t-shirt, using either the cutting mat and a ruler (shown) OR a yardstick and masking tape, measure 3″ from the cut edge along the shirt sides, cutting up those 3″ at 1″ interval

repeat on both sides, stopping before the sleeve area

snip off the bottom curve of the sleeve

starting at the top of one side, tie together front and back 3″ pieces

repeat for all 3″ pieces

repeat on the second side of the shirt

Finished side

And Done!


Because this was a blank shirt, I added an iron-on dragon to jazz it up a bit.

side close up

And older tee that was well-loved before being retired! This one was stenciled using acrylic paint and a pirate stencil I made myself.

Find my free patterns on Sewhooked & Fandom in Stitches.

♥ Jennifer O

Posts on this blog may contain affiliate links to help cover the cost of my website. I thank you for your generous support. ♥