This project is months in the making and has been created for all my fellow crafty HP fans as a spanking big THANK YOU for all the support I’ve received since I started designing and sharing patterns online over five years ago.
It’s also the last HP paper piecing project I plan to do. I’ve put everything I have into making this project truly awesome and I hope it will be fun, fun, fun both for me to present and for you to play along.
I’ve been teasing about this for weeks in my Talk To Me Tuesdayvideos and have even shown off my background fabric on Fabric Friday. I’ve been stitching up a storm and I cannot express how EXCITED I am about this quilt!
If you love, or even just like Harry Potter, if you paper piece or you want to learn, this is the time and the project for you! There will be lots of us playing along and at the end we will have a completed quilt top. Not just a stack of blocks, but an entire quilt. I’ve designed the layout as well as the blocks and will give instruction on how to complete the top once all the blocks are made. A whole, complete Harry Potter quilt!
Are you excited yet?
If you are, visit hp_paperpiecing on Livejournal. That’s where all the fun will be taking place! If you’re not a member of the community yet, it’s easy to sign up for a free Livejournal account and then join the community. All Project of Doom (POD) patterns will be posted there first, so be sure to sign up!
If you’re part of the hp_paperpiecing community and you share your photos with me either via email or through our flickr group, you will be eligible for the monthly prize drawing for participating members! The prizes are fantastic this year and have been donated by a variety of community members. I’m waiting for a last couple of prizes to arrive in the mail and then I’ll post a photo of the awesomeness.
Chances are pretty good that, if you follow my blog, you like Harry Potter. Why? It could be because of my Harry Potter quilt, or maybe the Hogwarts-themed birthday party, my daughter’s Harry Potter bedroom or maybe the costumes or buttons, or scarves or crafts or….you get the idea.
I love Harry Potter and I love to create.
In 2011, as a Thank You to all of those members of the HP fandom that have been my cheerleaders and my friends over the years, I will be hosting The Project of Doom over on my quilting community on Livejournal, hp_paperpiecing.
The Project of Doom is a Block of the Week (BOW) Mystery Quilt to create an entire Harry Potter-themed quilt top.
I am embarrassed at how neglectful I’ve been of my poor, dusty crafty blog! Can it really be a whole week since I posted here? What possible reason, you ask, could I have for such blatant neglect of my online crafty home?
At the end of October, in a moment of insanity, I signed up for NaNoWriMo.
Yeah, I know, because I don’t have enough to do, right?
The awesome and amazing thing is, I did it! I wrote a 50,000+ word novel in a month, about 1/3 of which was written just this past weekend. So, I procrastinated… a little. It’s done now and I’m proud of my work!
Today’s video is dedicated to Deb, who sent me the best early Christmas gift I could have possibly dreamed of! You’re right Deb, there really is magic in surprises.
Being the Doctor Who obsessed family that we have become, I suppose it’s no surprise that one of my kids is going as The Doctor for Halloween. My eldest has their Ten costume all ready to go, courtesy of a day of thrifting. Because I can’t not be involved in costume making, I asked if there was anything I could do.
“Mum, can you can you make a TARDIS bag for my treats?”
You better believe I can!
Despite it’s awesomeness, the TARDIS Treat Bag is super simple.
You need:
9″ x 12″ acrylic felt sheets – 5 dark blue, 1 white and 1 glitter black
scissors
thread (I used navy blue)
ruler (rotary, if you’ve got one)
rotary cutter (optional)
sewing machine (optional)
You can definitely do this project without a rotary cutter and ruler and even without a sewing machine, so those items are optional. If you do hand stitch, make sure you make tight, even stitches and use heavy-duty knots so you don’t lose your candy!
Cutting Instructions:
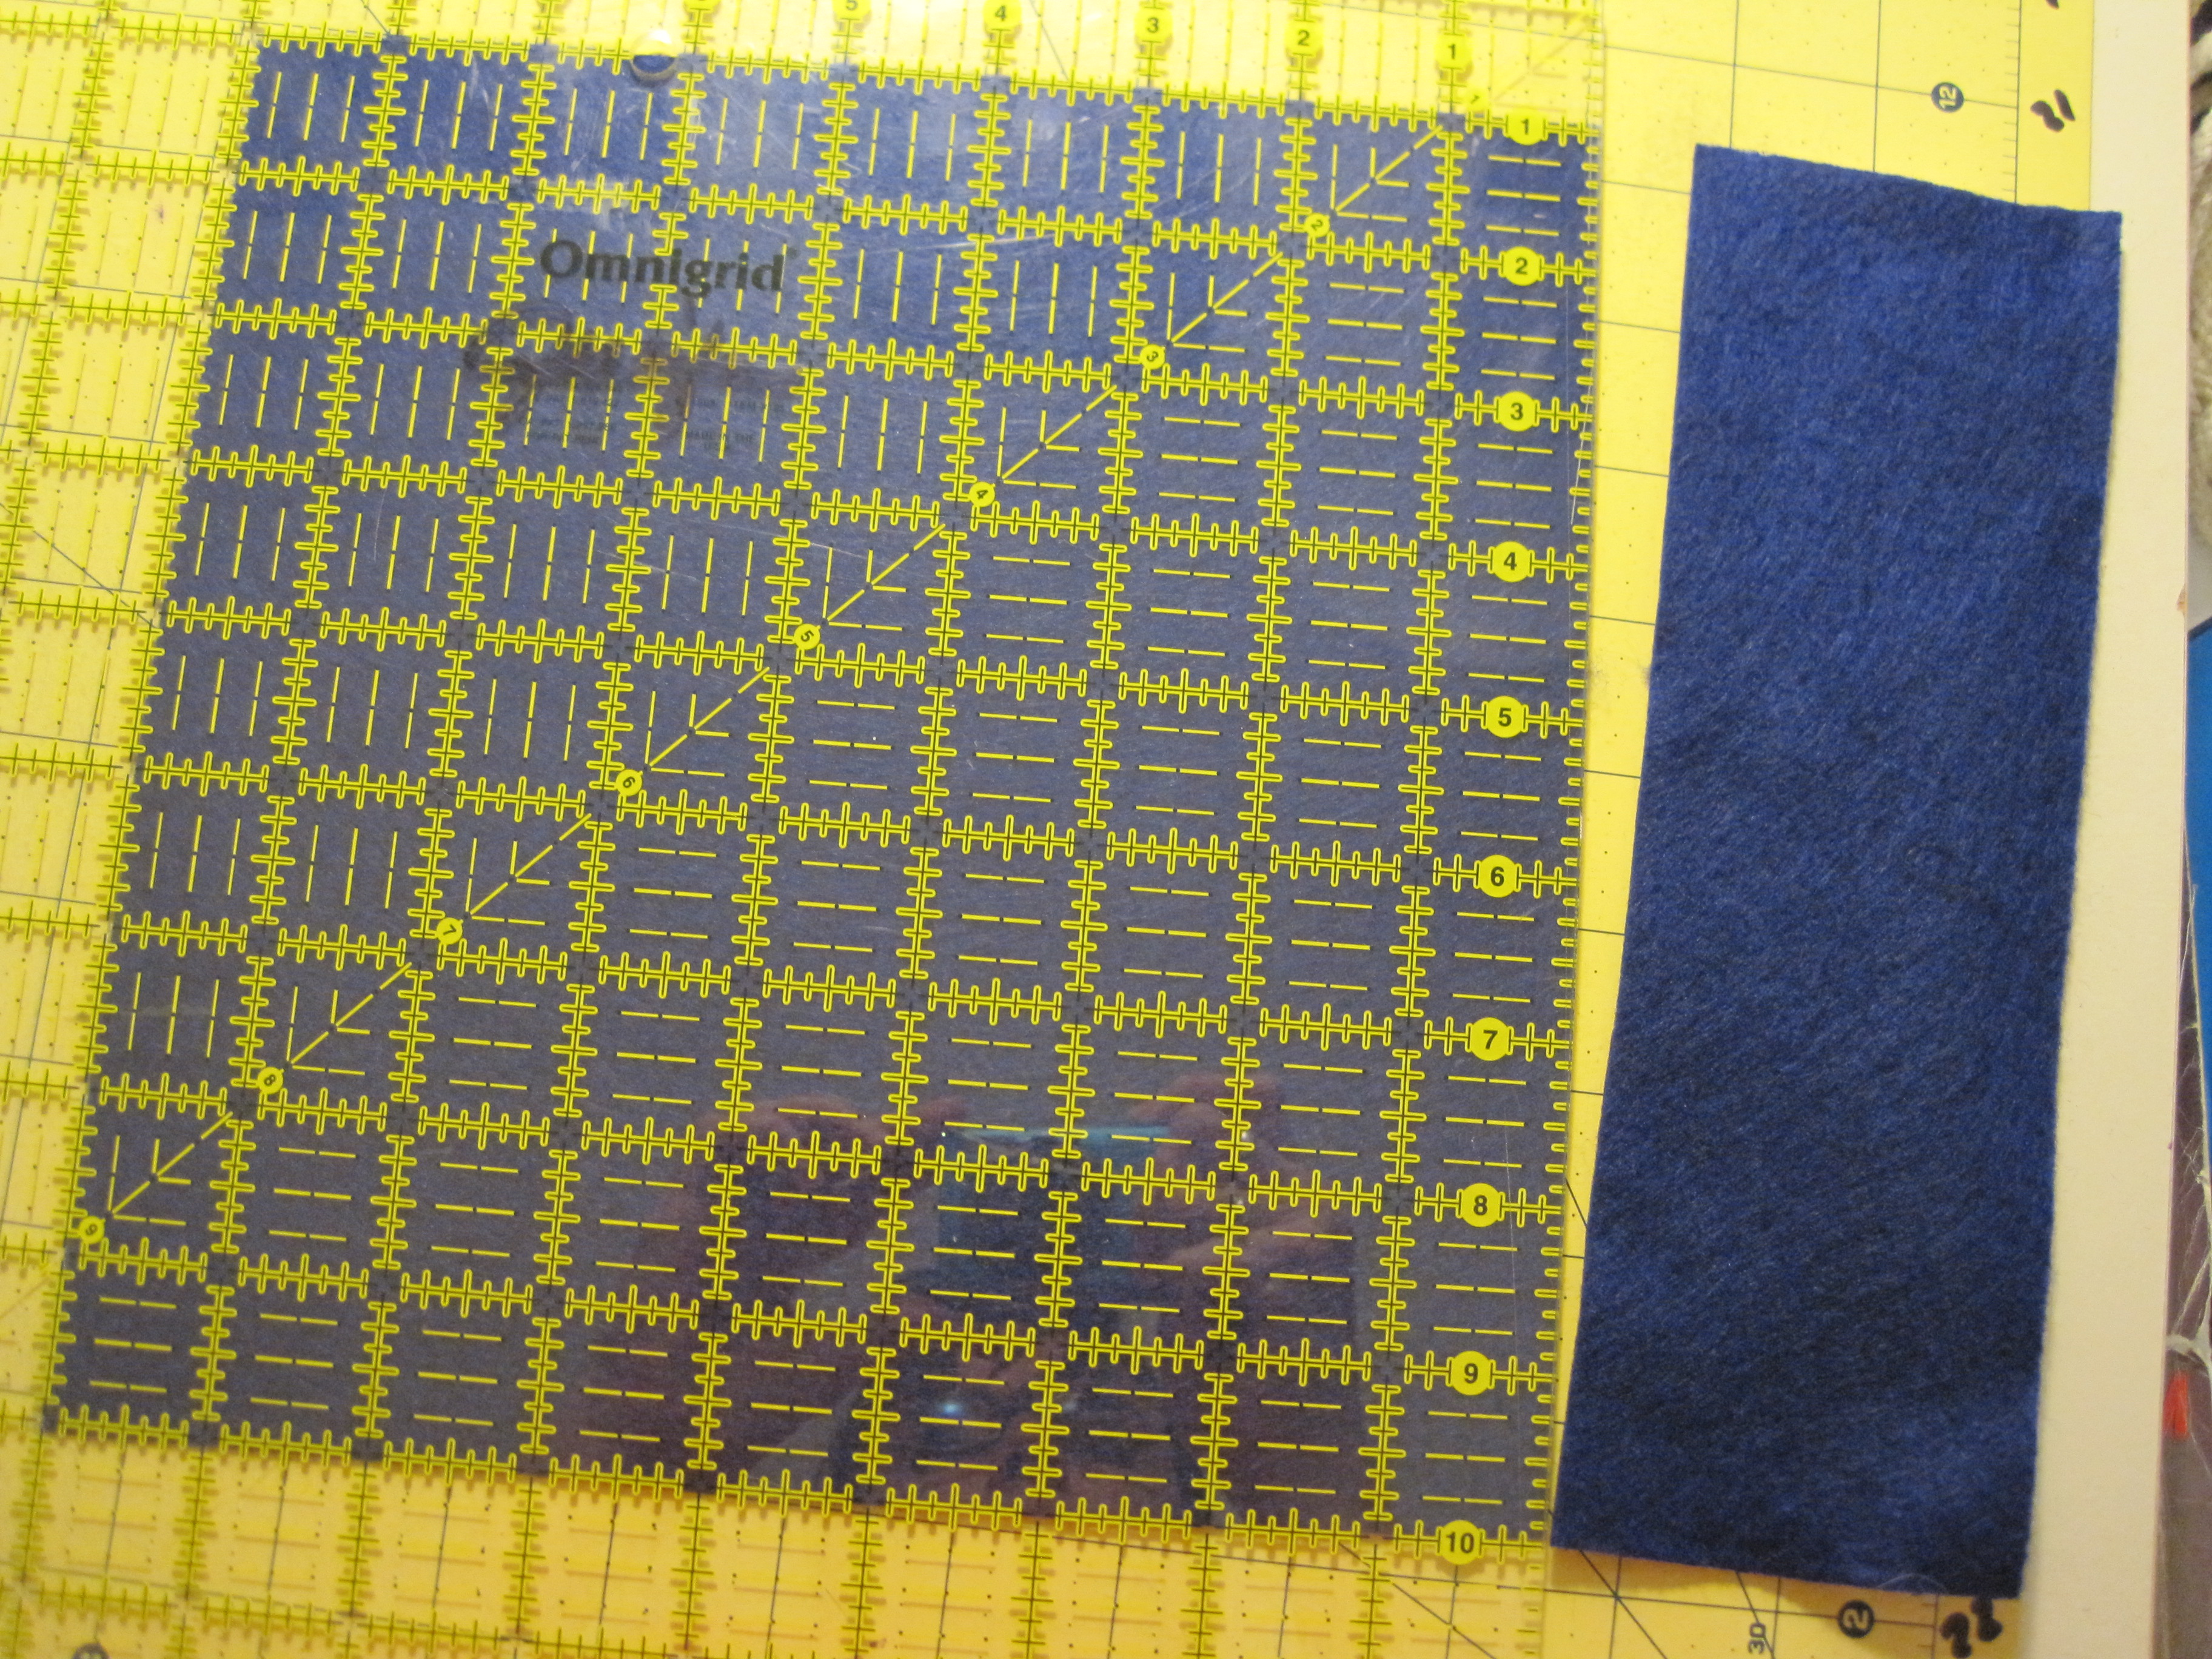
from 1 sheet of blue felt (the other 4 sheets of felt stay 9″ x 12″), cut:
9″ x 9″ square -bag bottom
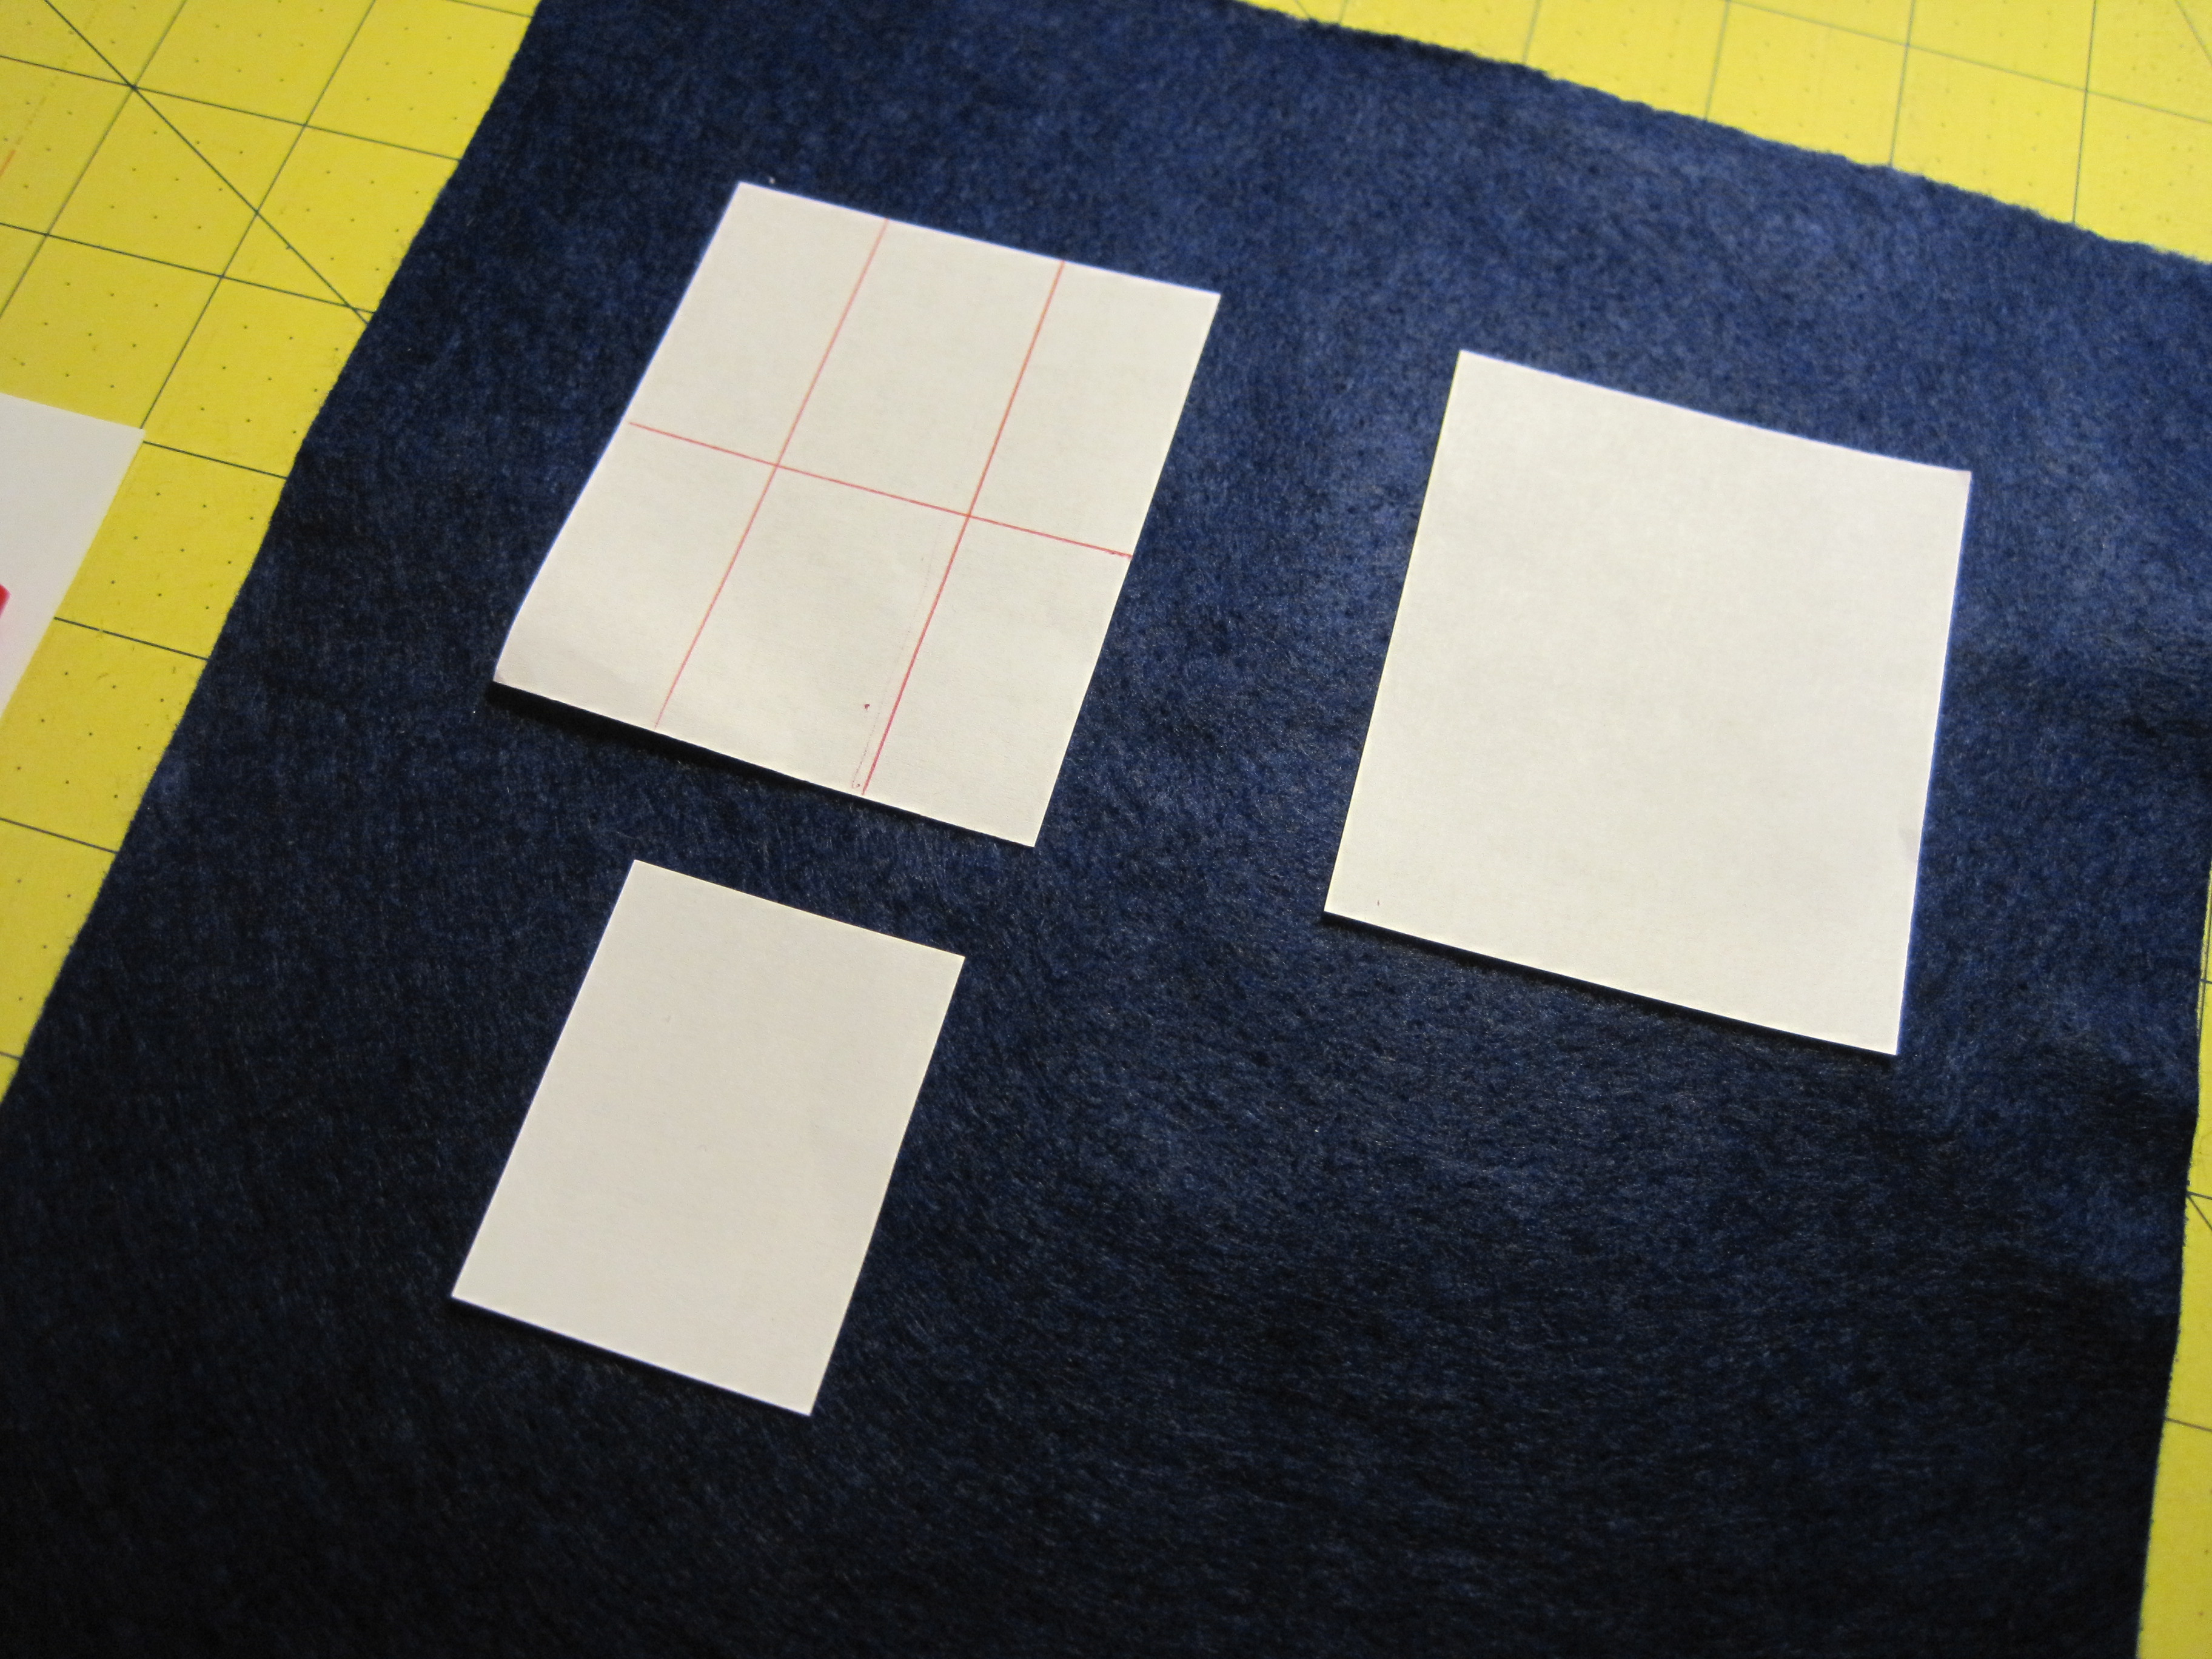
from 1 sheet of white felt, cut:
8 – 2 1/2″ x 3″ – Windows
1 – 1/2 x 2″ – Notice
(optional) 4″ x 5″ – cell phone pocket
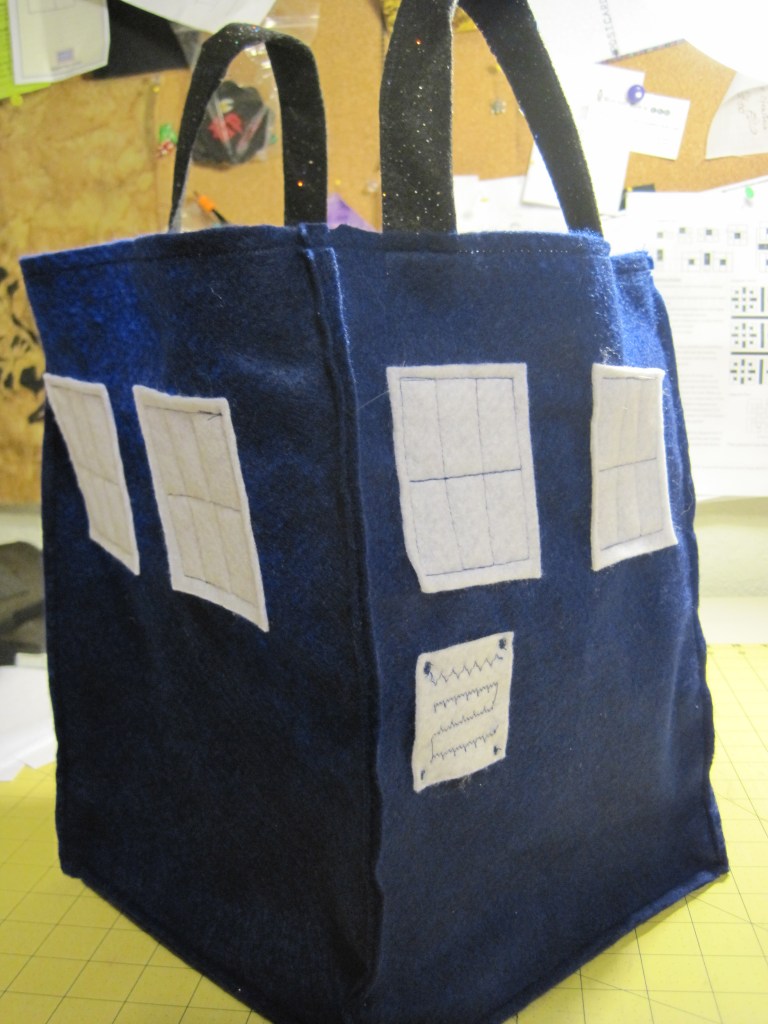
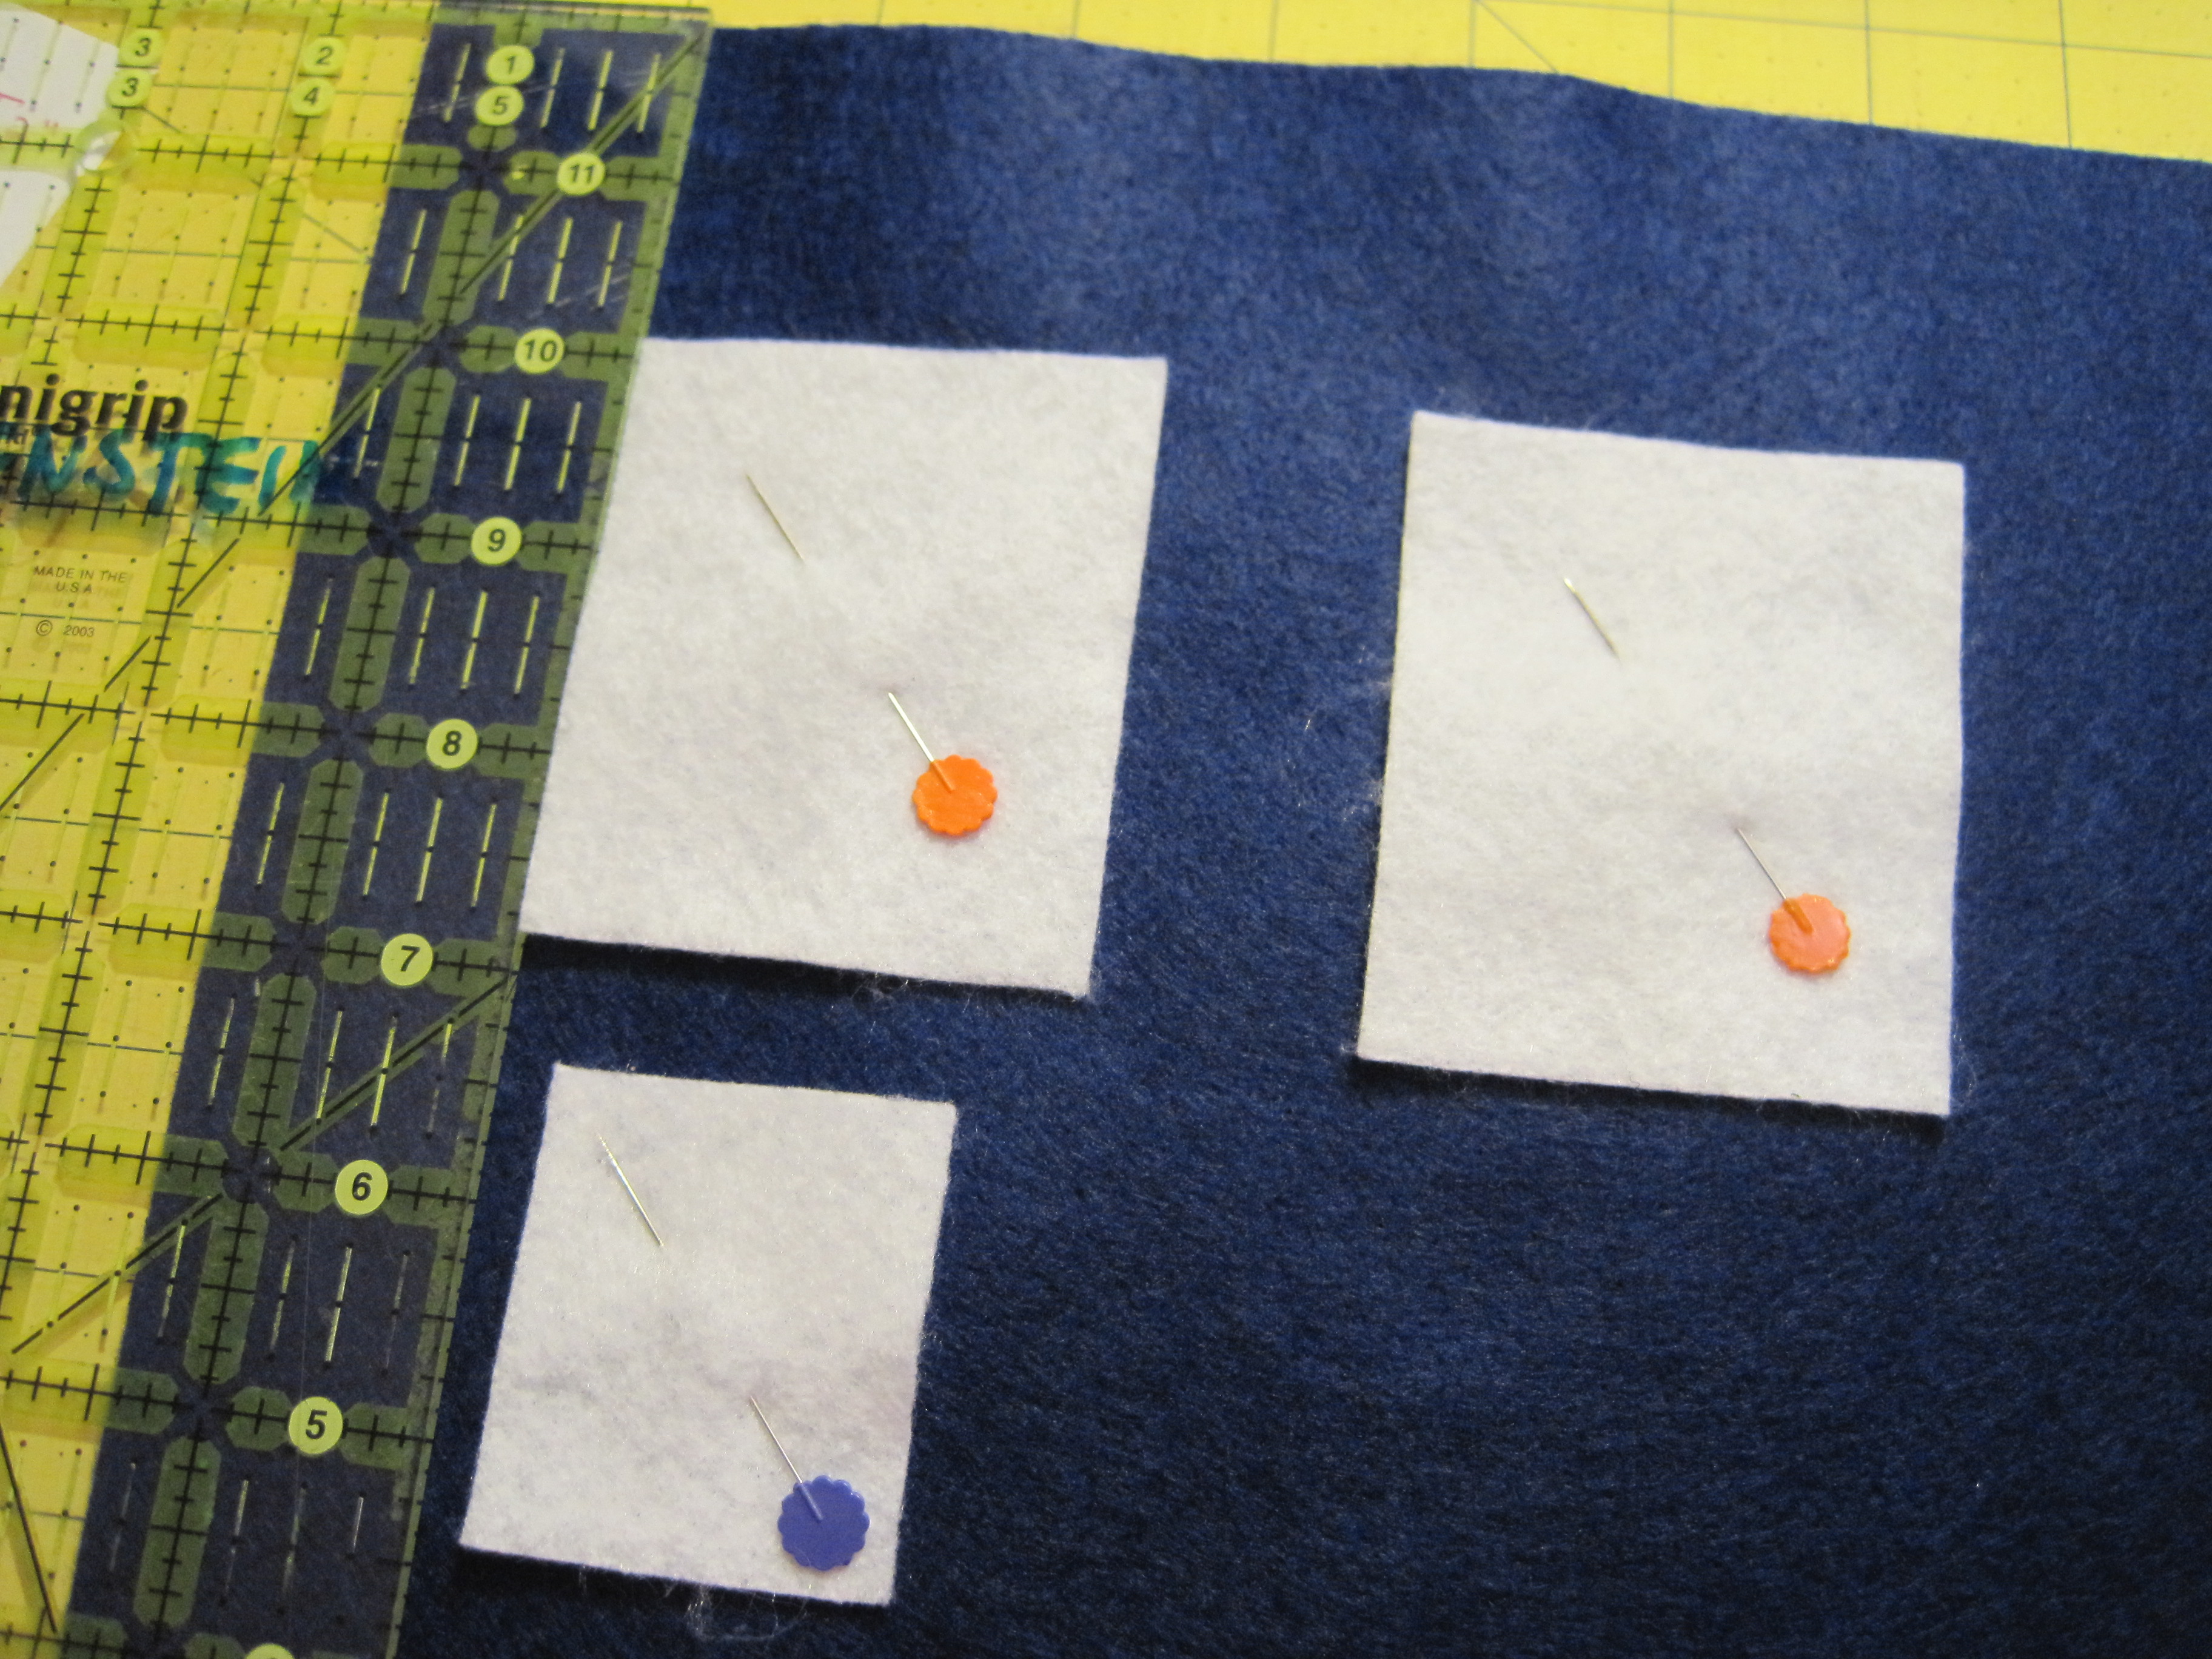
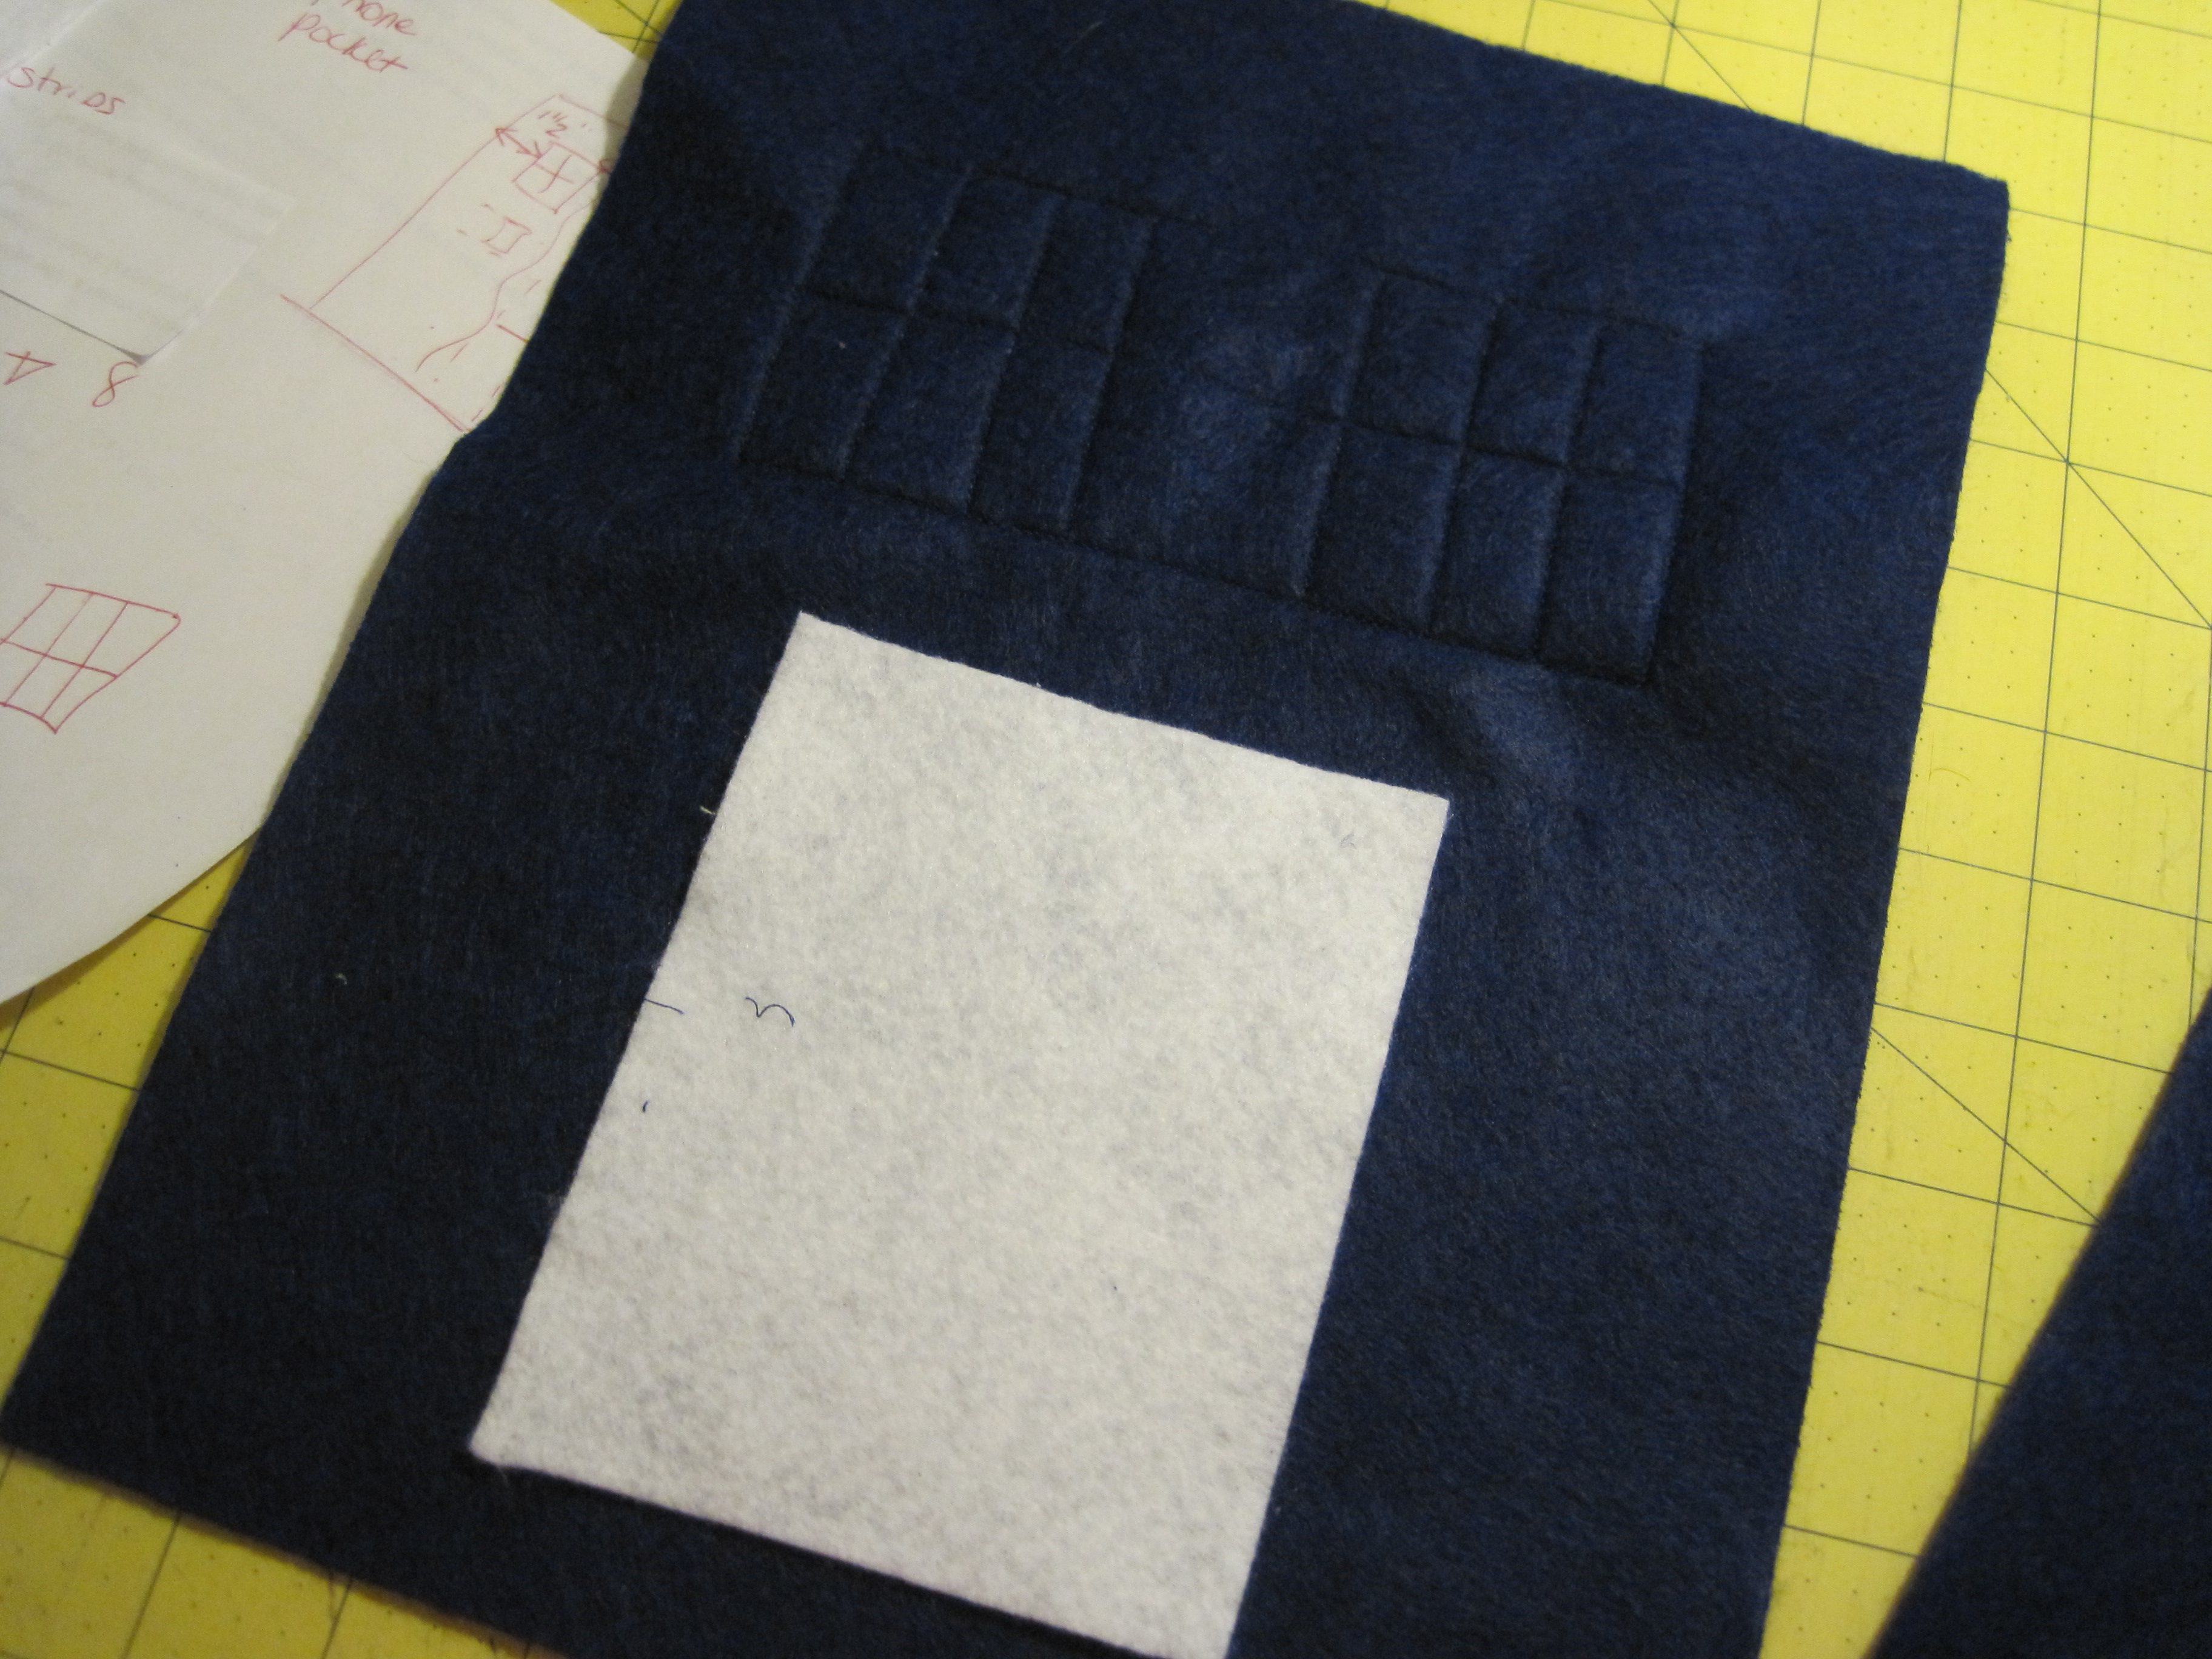
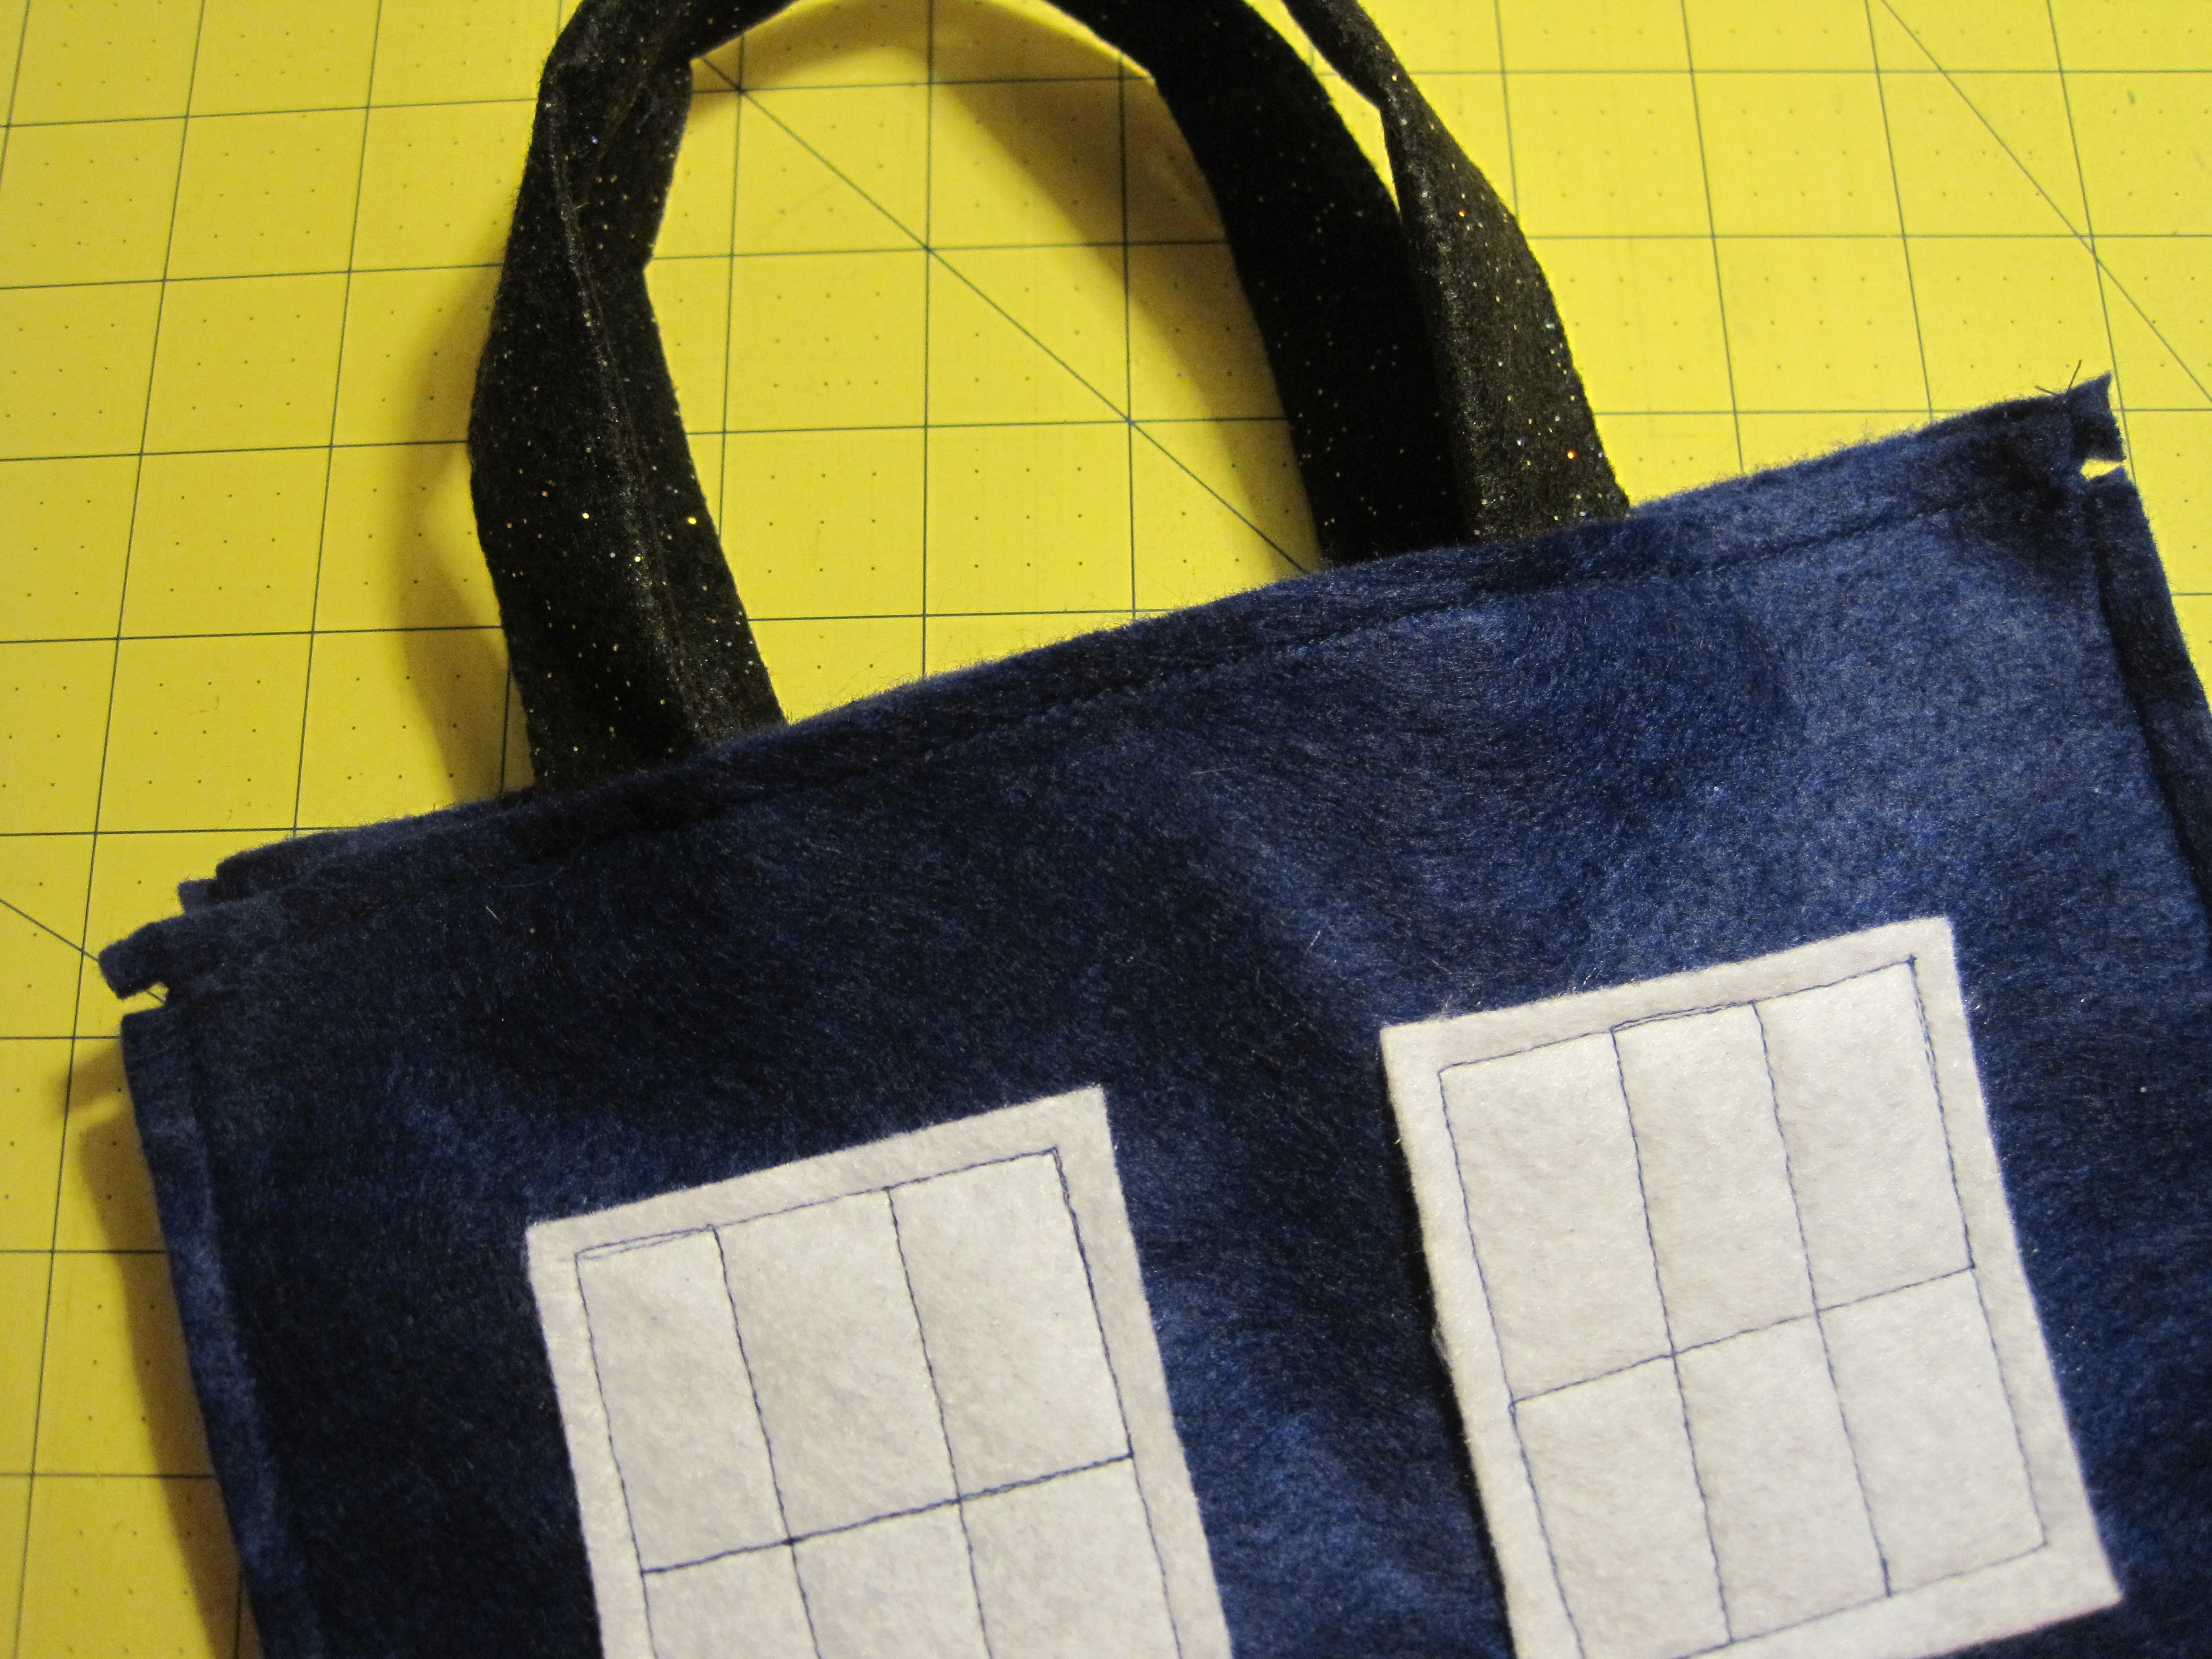
Using your ruler, arrange the window pieces on the 9″ x 12″ sheets of felt so that they are 1 1/2″ in from the sides and 2″ down from the top. For the TARDIS front, center the notice under the left window, leaving about 1/2″ in between.
Arrange window pieces on remaining three 9″ x 12″ blue felt.
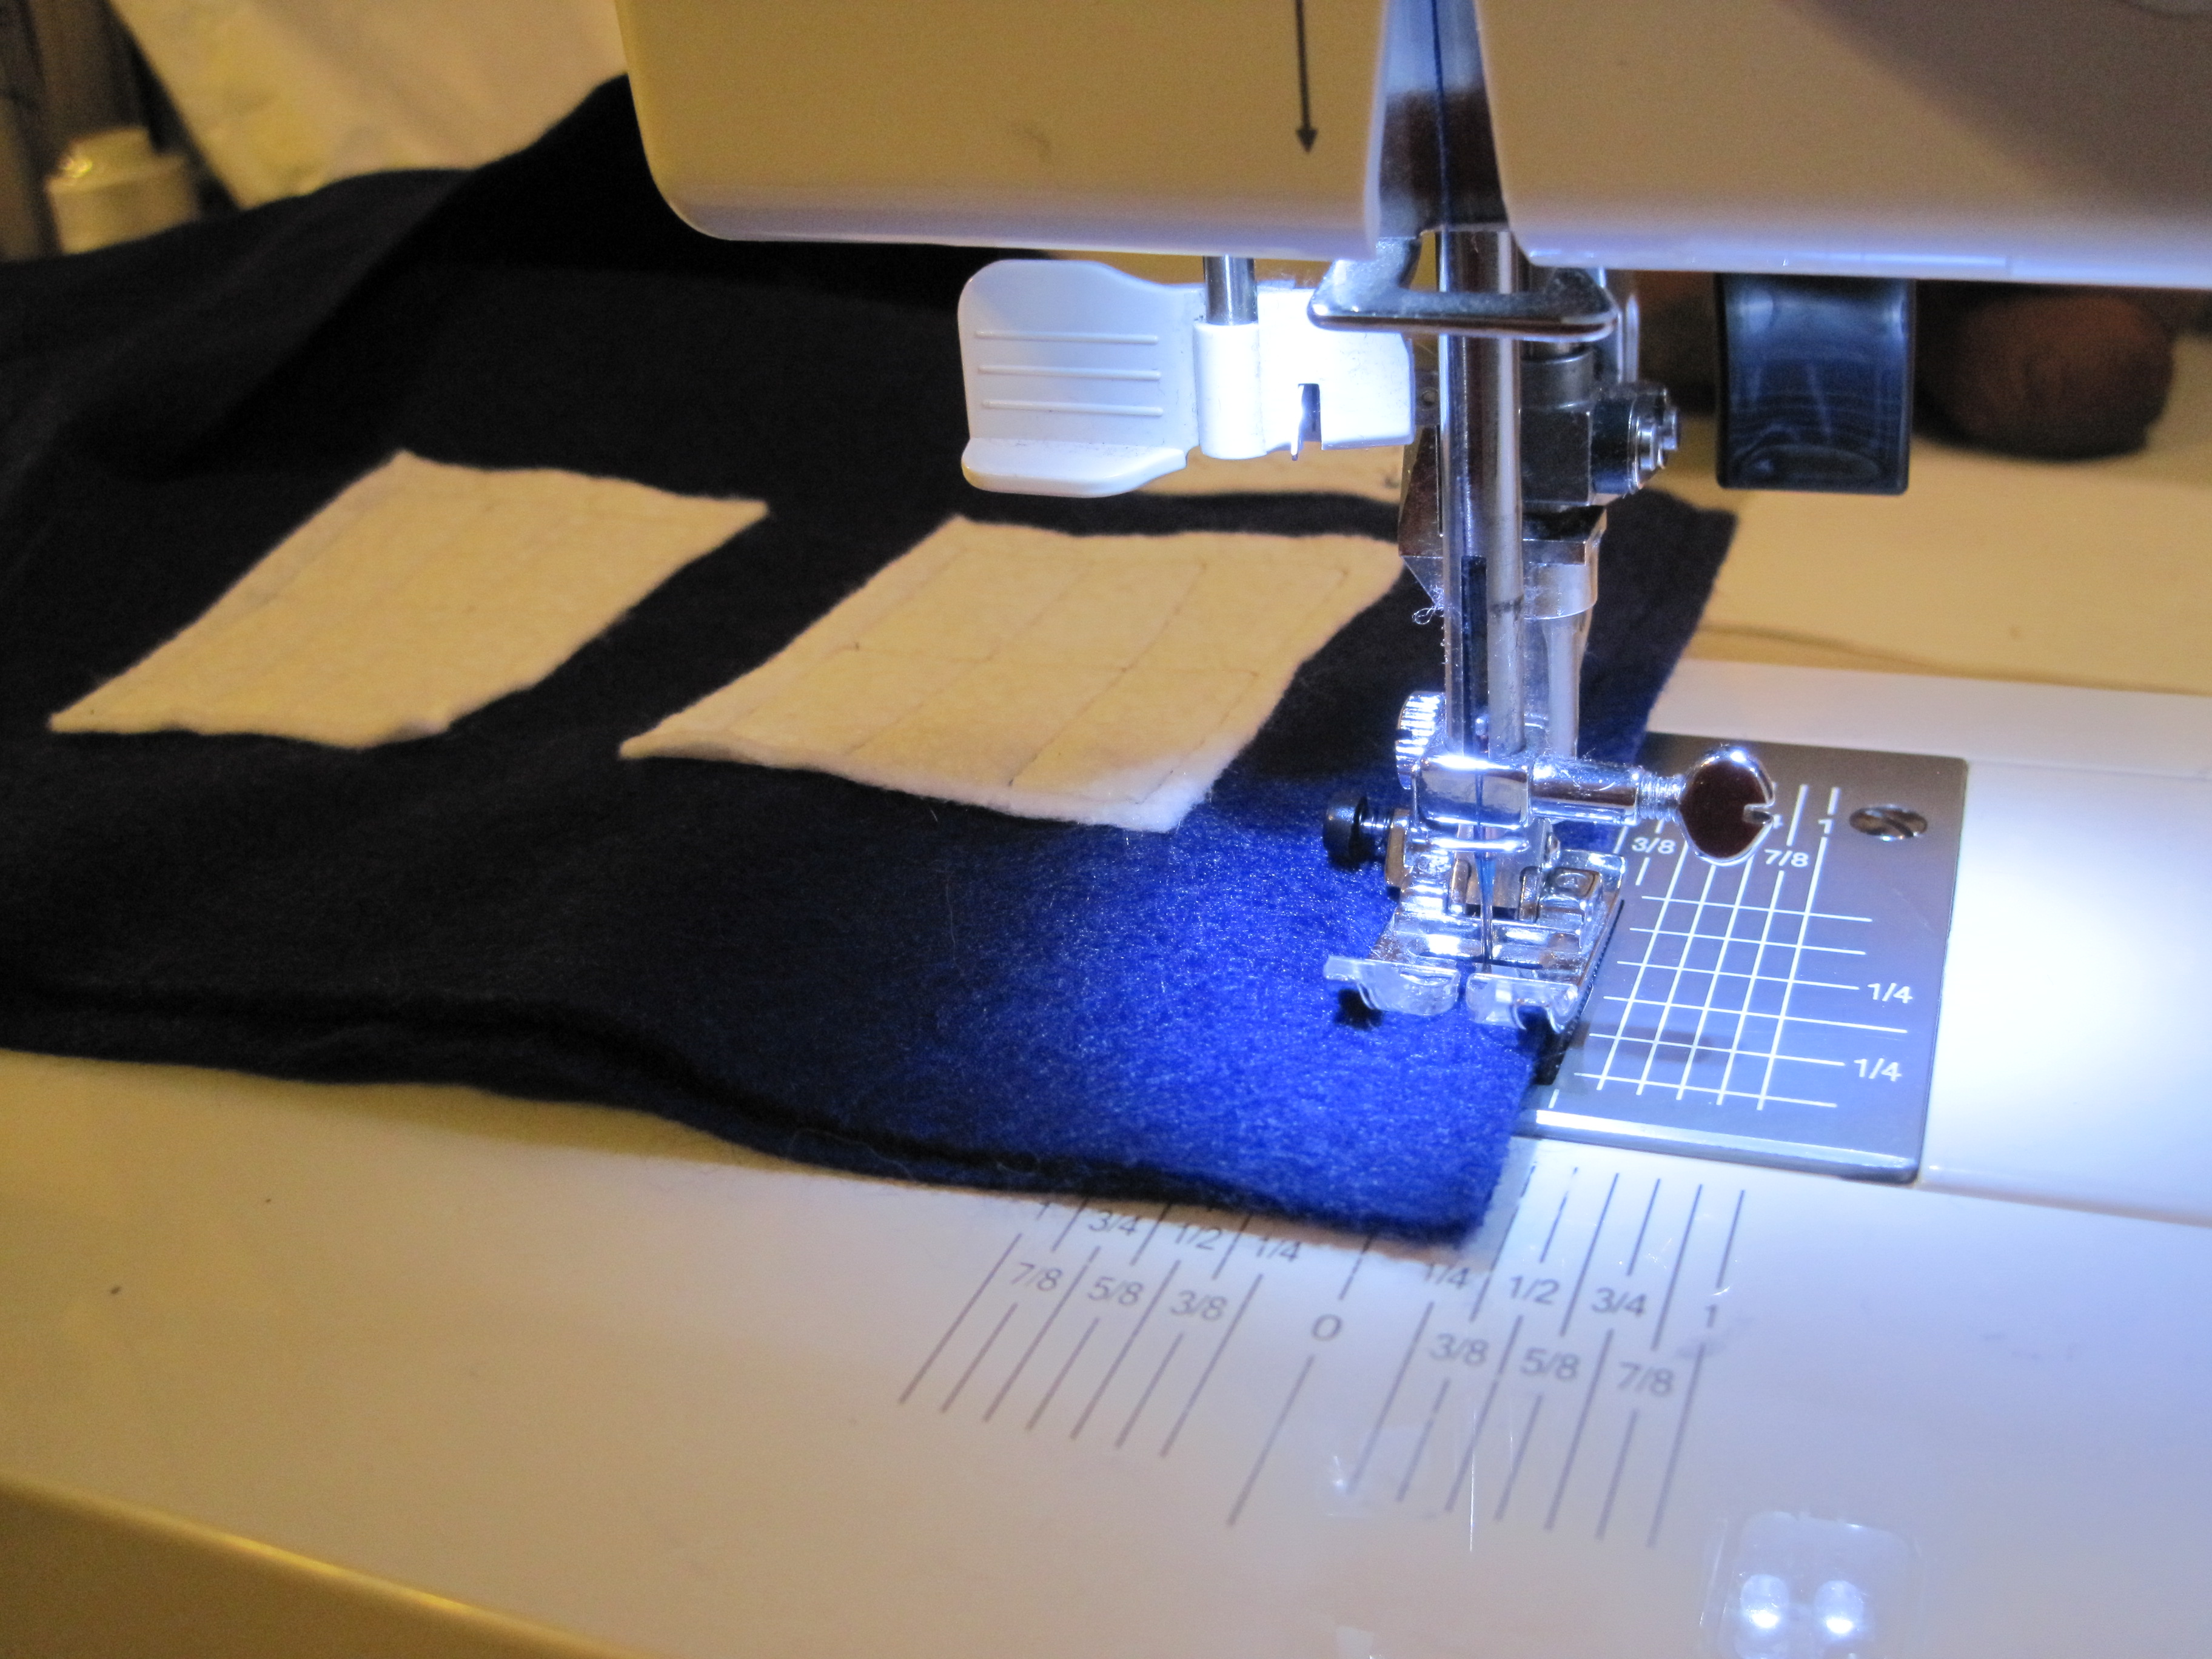
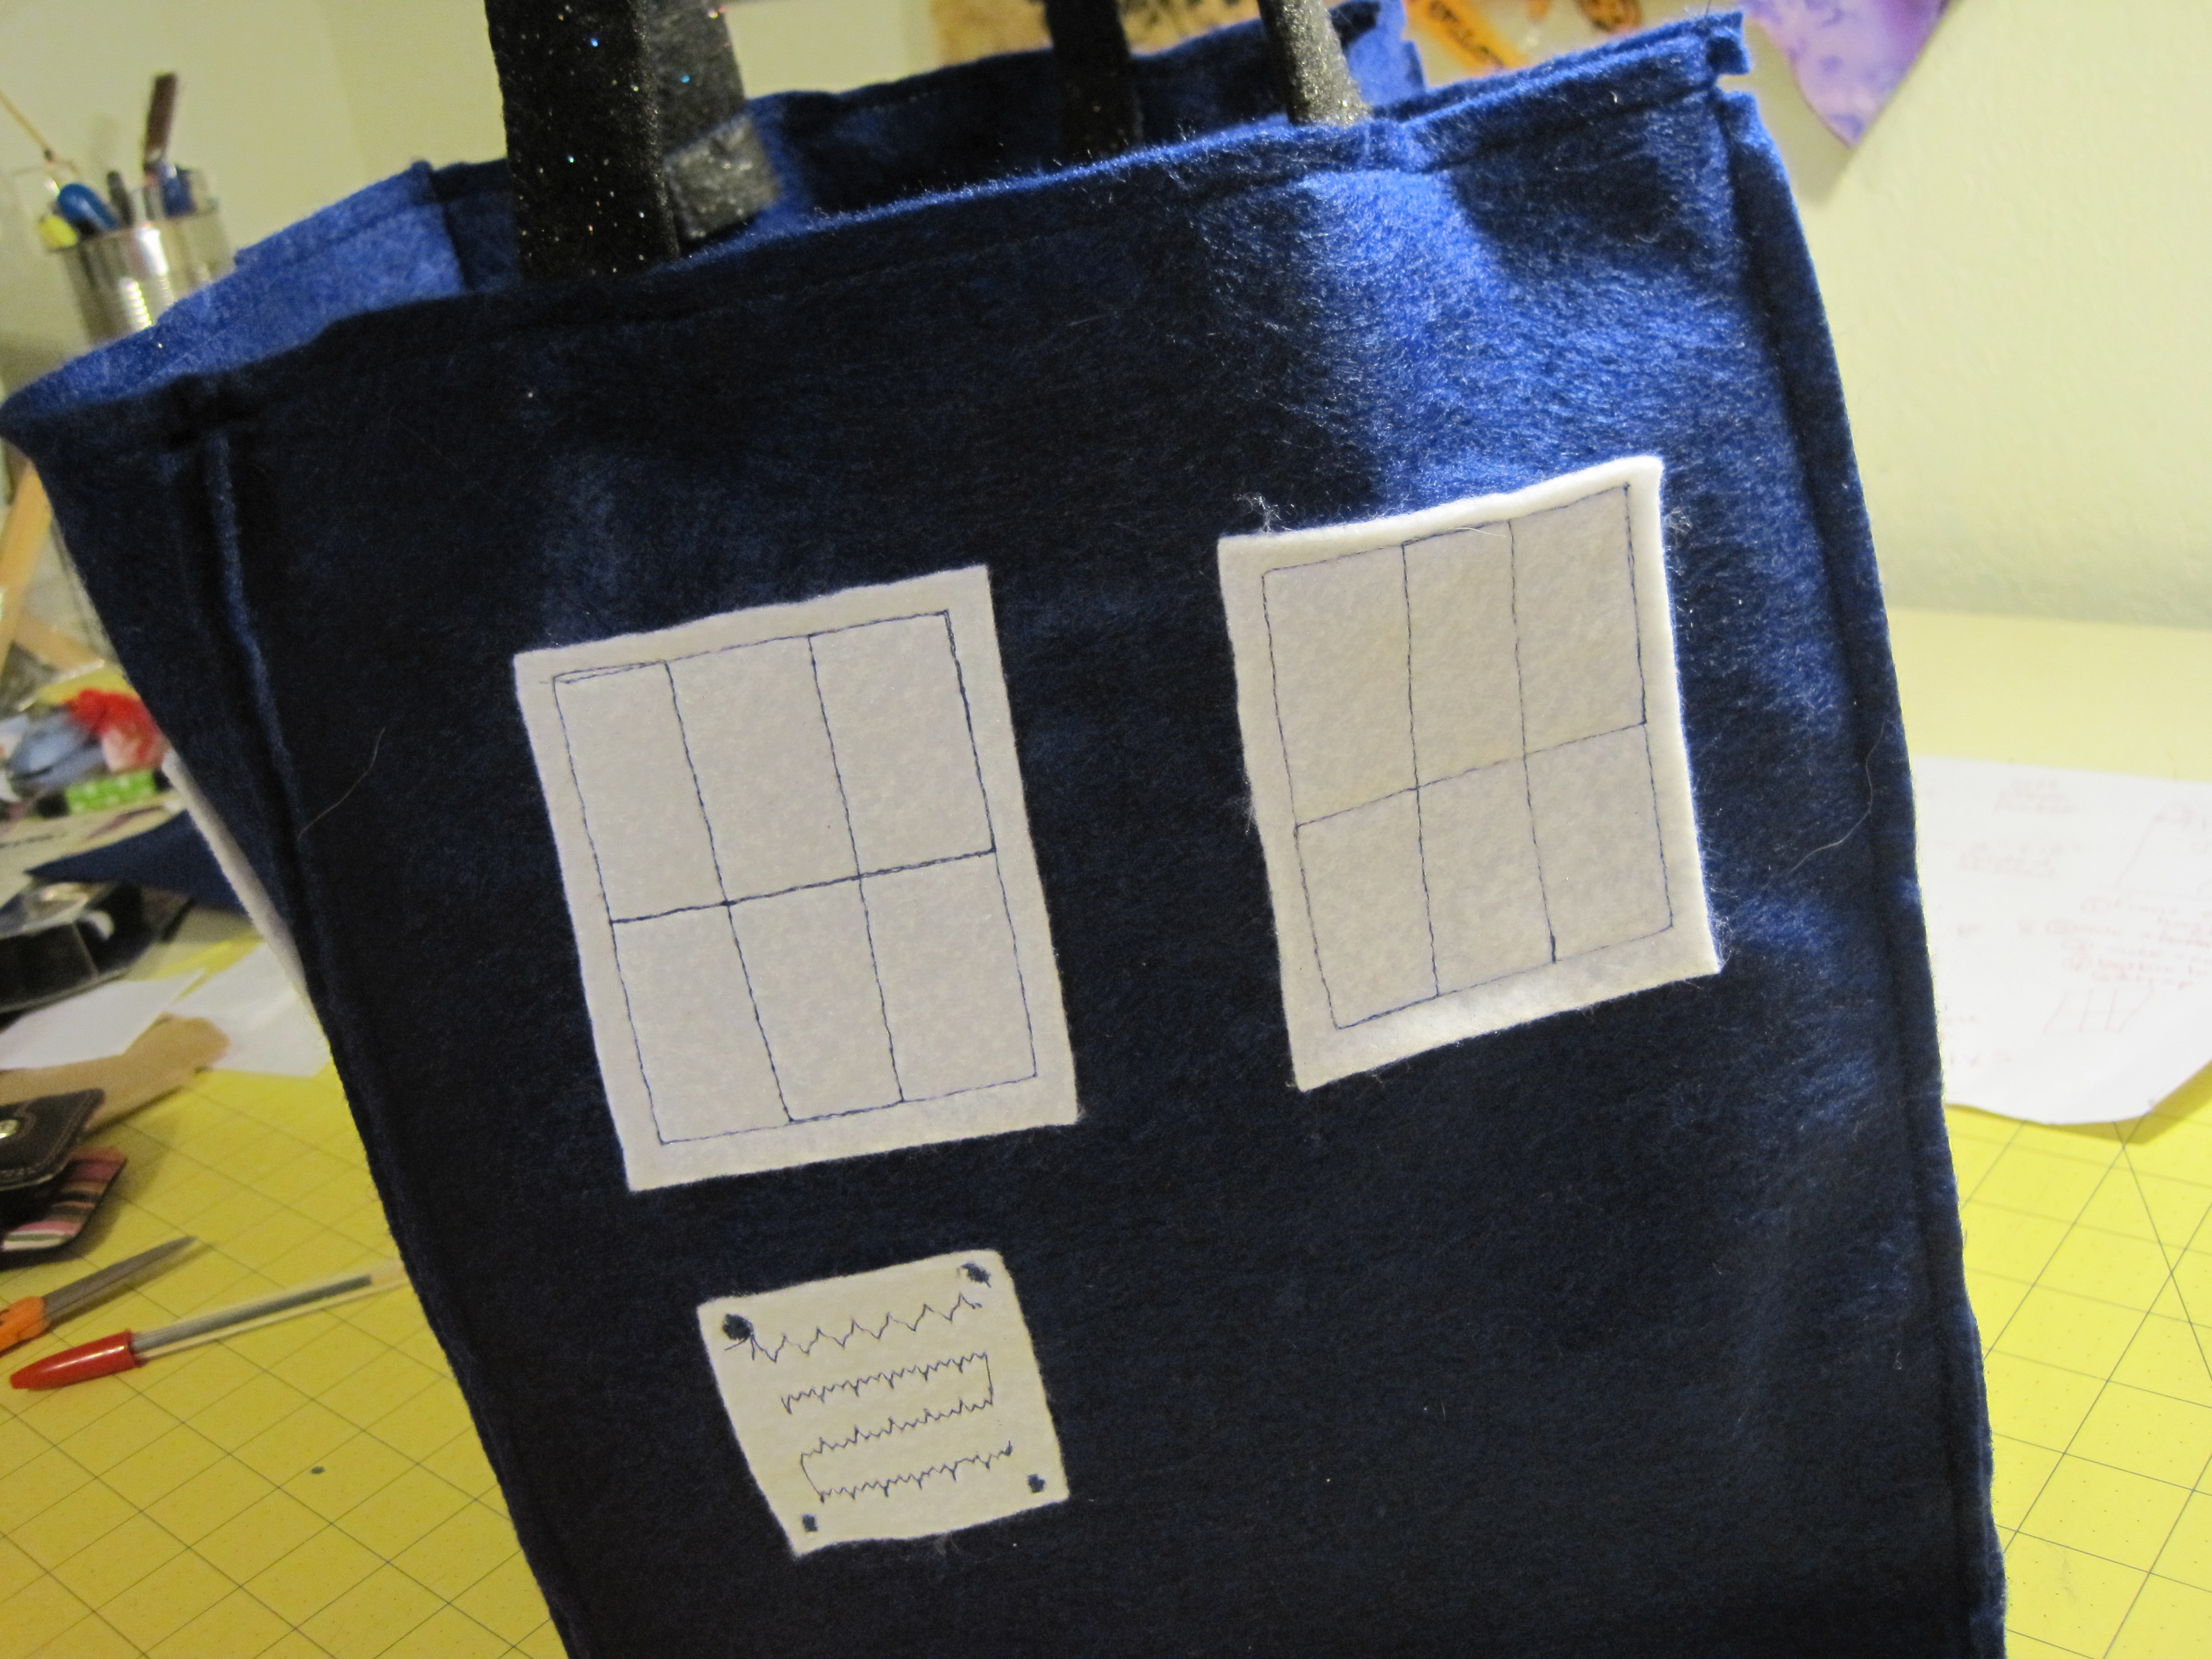
Stitch windows in place, 1/4″ in from outside of white felt. The TARDIS windows have six panes. My windows are estimated, but you can measure and divide your stitching if you choose. Repeat for the two sides that are NOT the front of the TARDIS.
For the Notice on the front, sew some random stitching onto the 1 1/2″ x 2″ piece of felt (as shown). This gives the illusion of writing from a distance. Stitch on each of the four sides with a short zig-zag stitch in each corner (forgot to take a close up…look about three photos down and you can see what I mean!).
Cell Phone Pocket
OPTIONAL – After stitching all the windows on, choose a blue side that is NOT the TARDIS front. Align the 4″ x 5″ piece of felt under the window stitching. Straight stitch on the two long sides and across the bottom, making sure to backstitch at the start and stop. This is your cell phone pocket.
For handles – Fold in half lengthwise and zig-zag down the open side.
Your TARDIS is now ready for assembly!
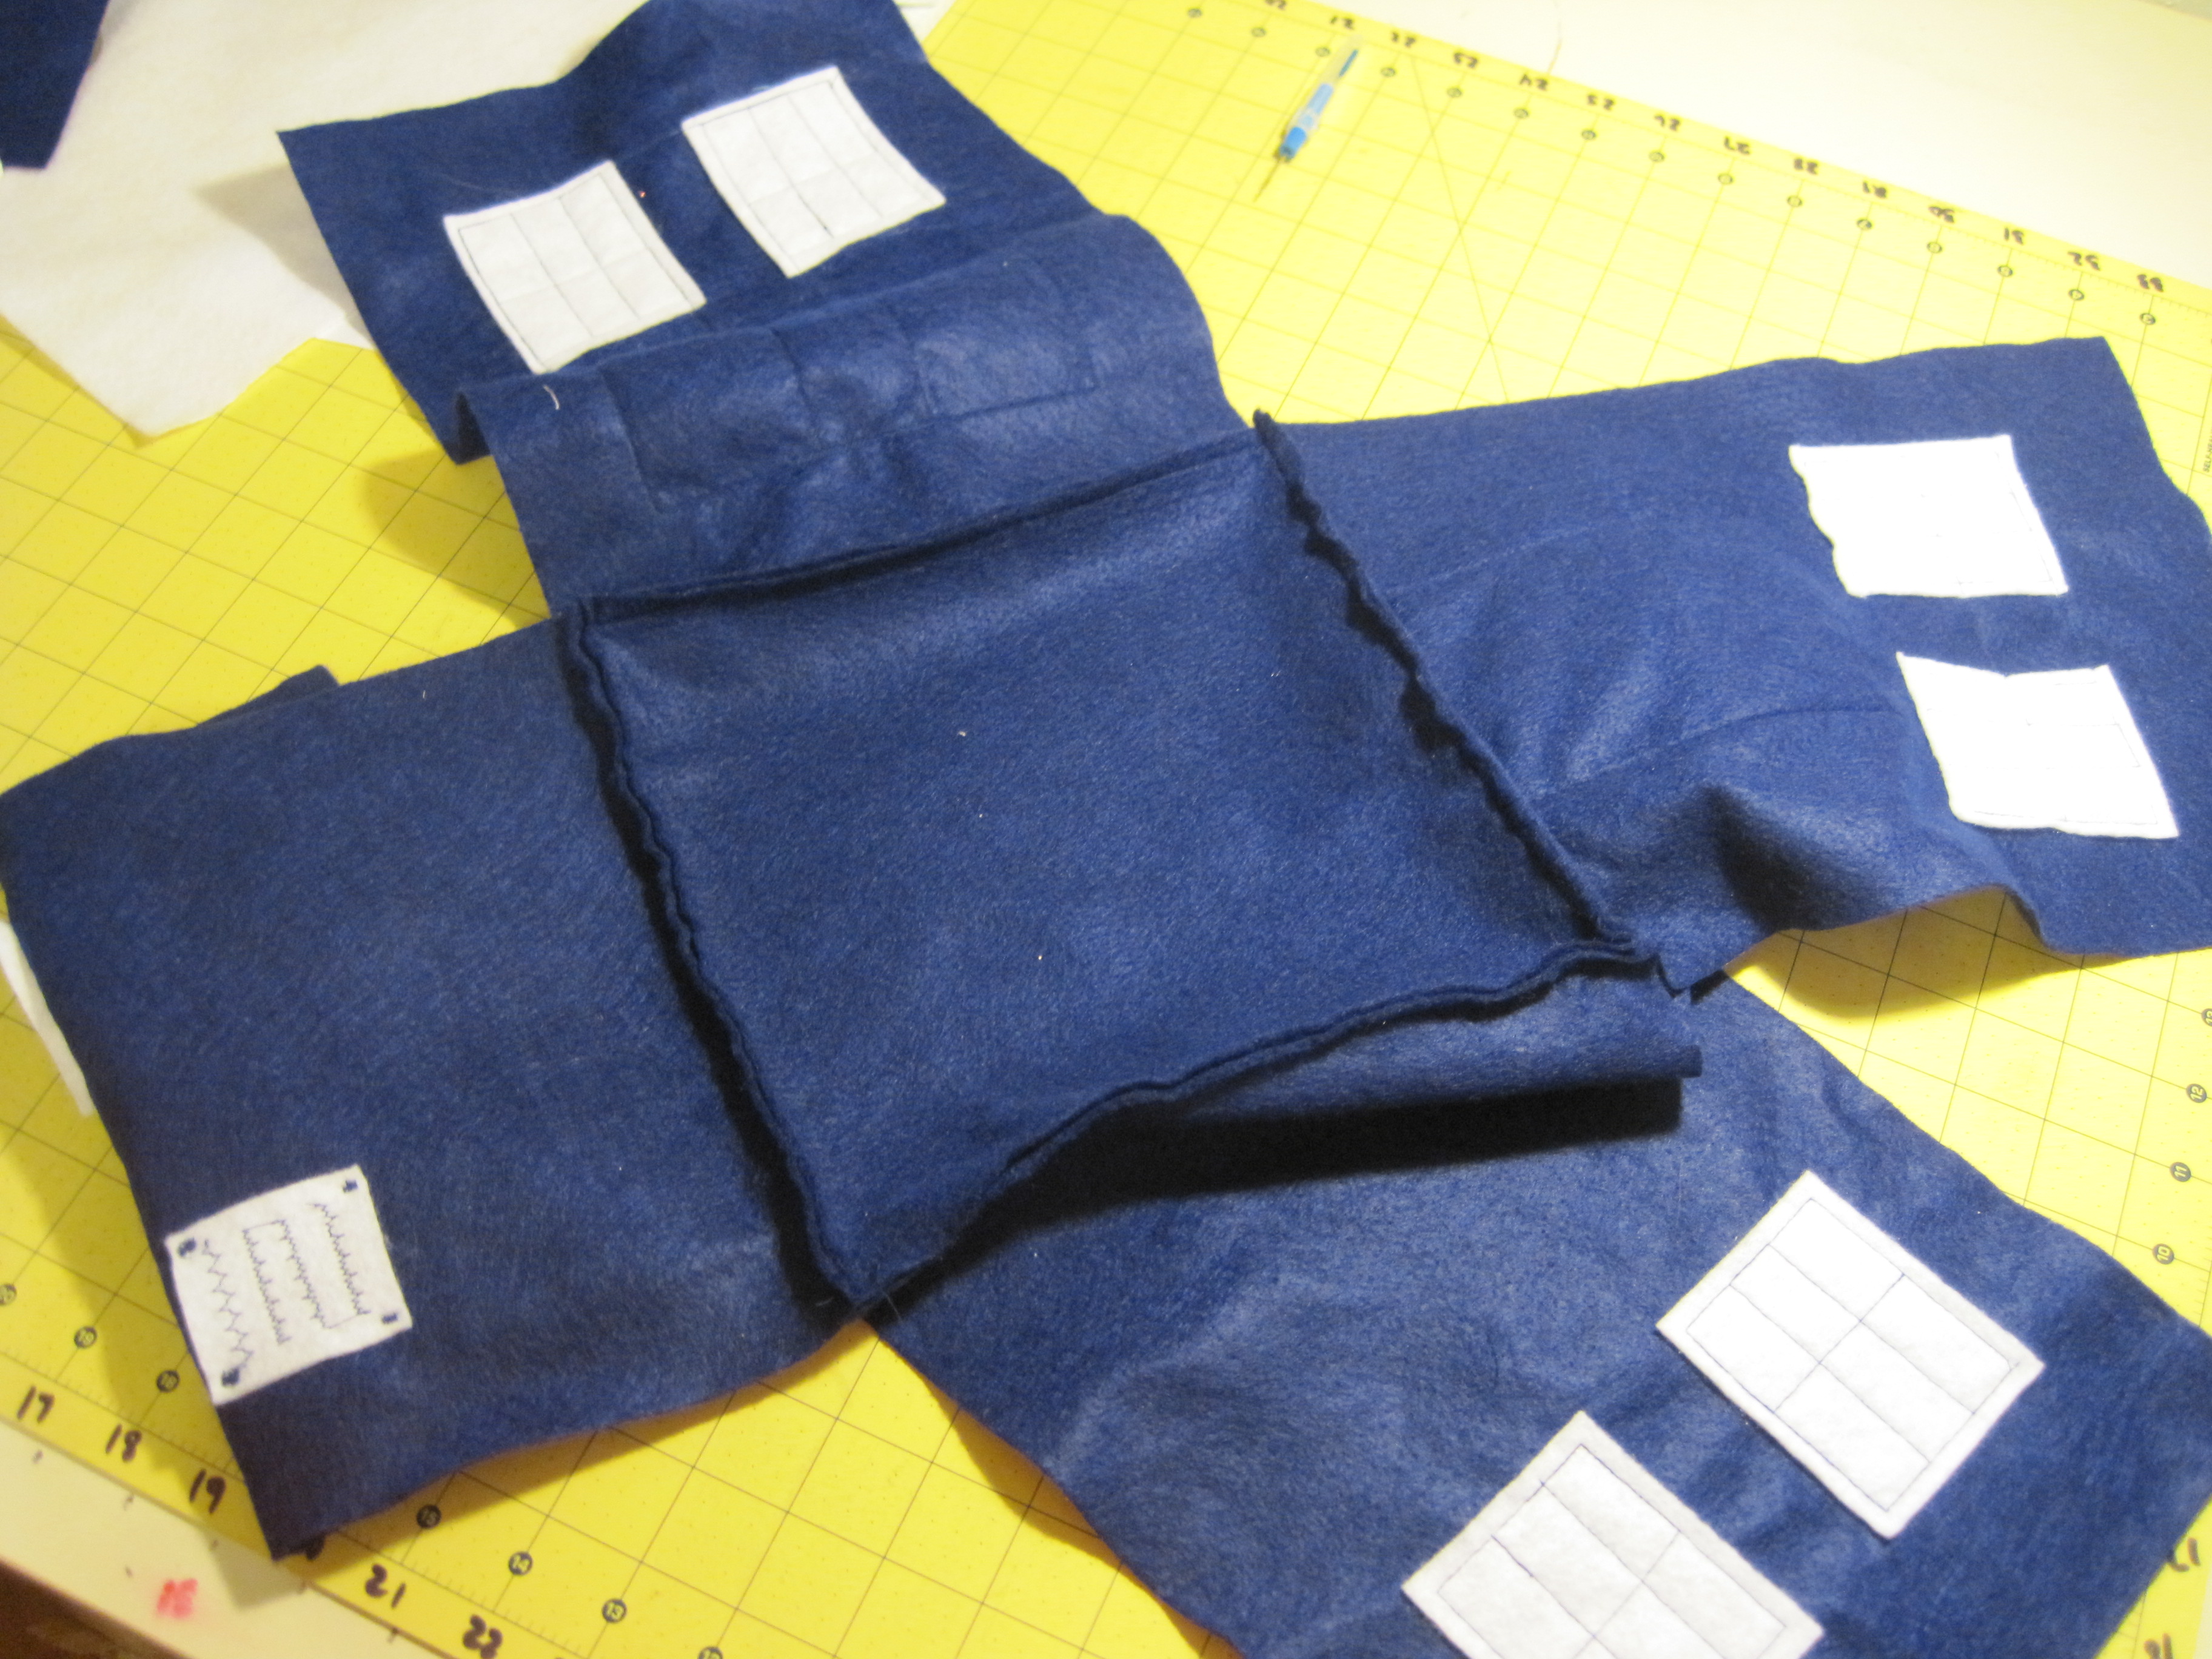
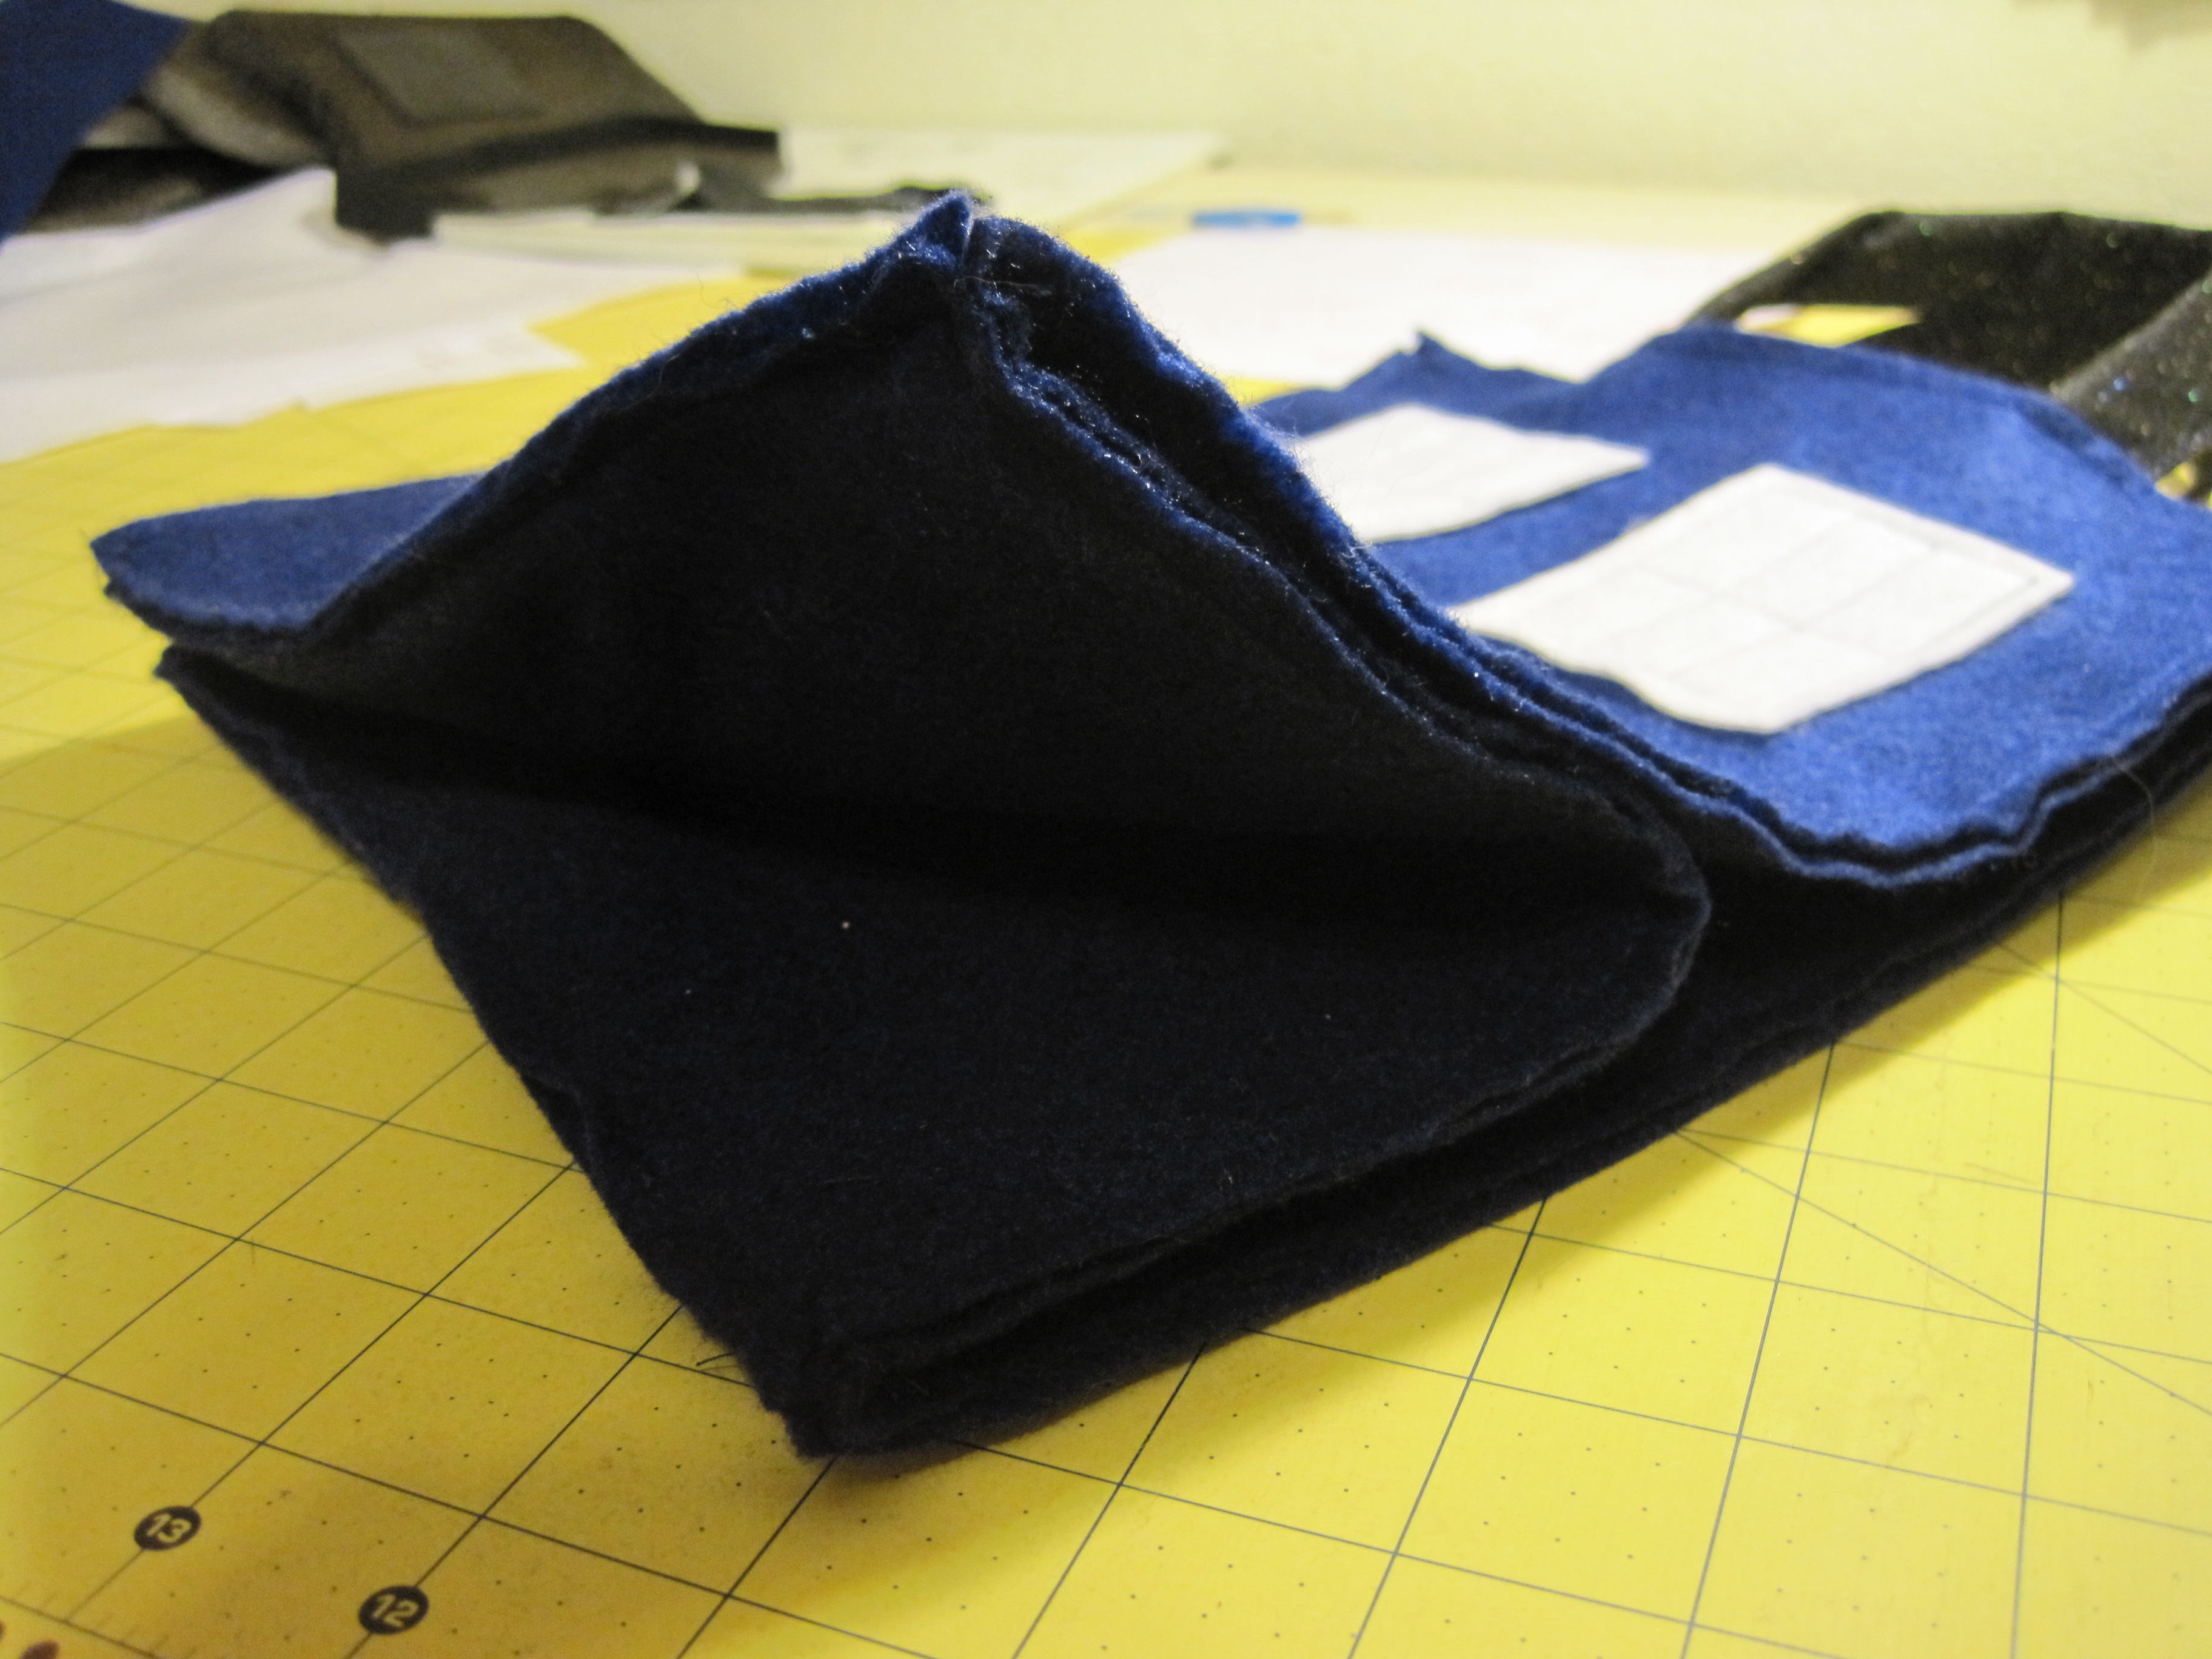
Find the front (windows with notice) and back (cell phone pocket – or without if you didn’t make one) and bag bottom. With the insides facing/right side out, place the bottom of the front piece along one side of the 9″ x 9″ bottom piece. Stitch across, leaving 1/4″ at the beginning and end of the seam unstitched (see below).
Seam allowance will be on the outside of the bag.
1/4″ unstitched on the end of the seam (both ends).
Repeat stitching for the back side, making sure the bottom of that side meets the bottom of the bag.
Sew the remaining two pieces on opposite sides, continuing to leave 1/4″ open at each end of the seam.
Find the front and the piece immediately to the left. Bring the two long sides (wrong side) together, right side out.
Stitch from corner to corner.
Repeat for the remaining three corners.
You now have a TARDIS with no handles. That’s the last bit and then you’re done!
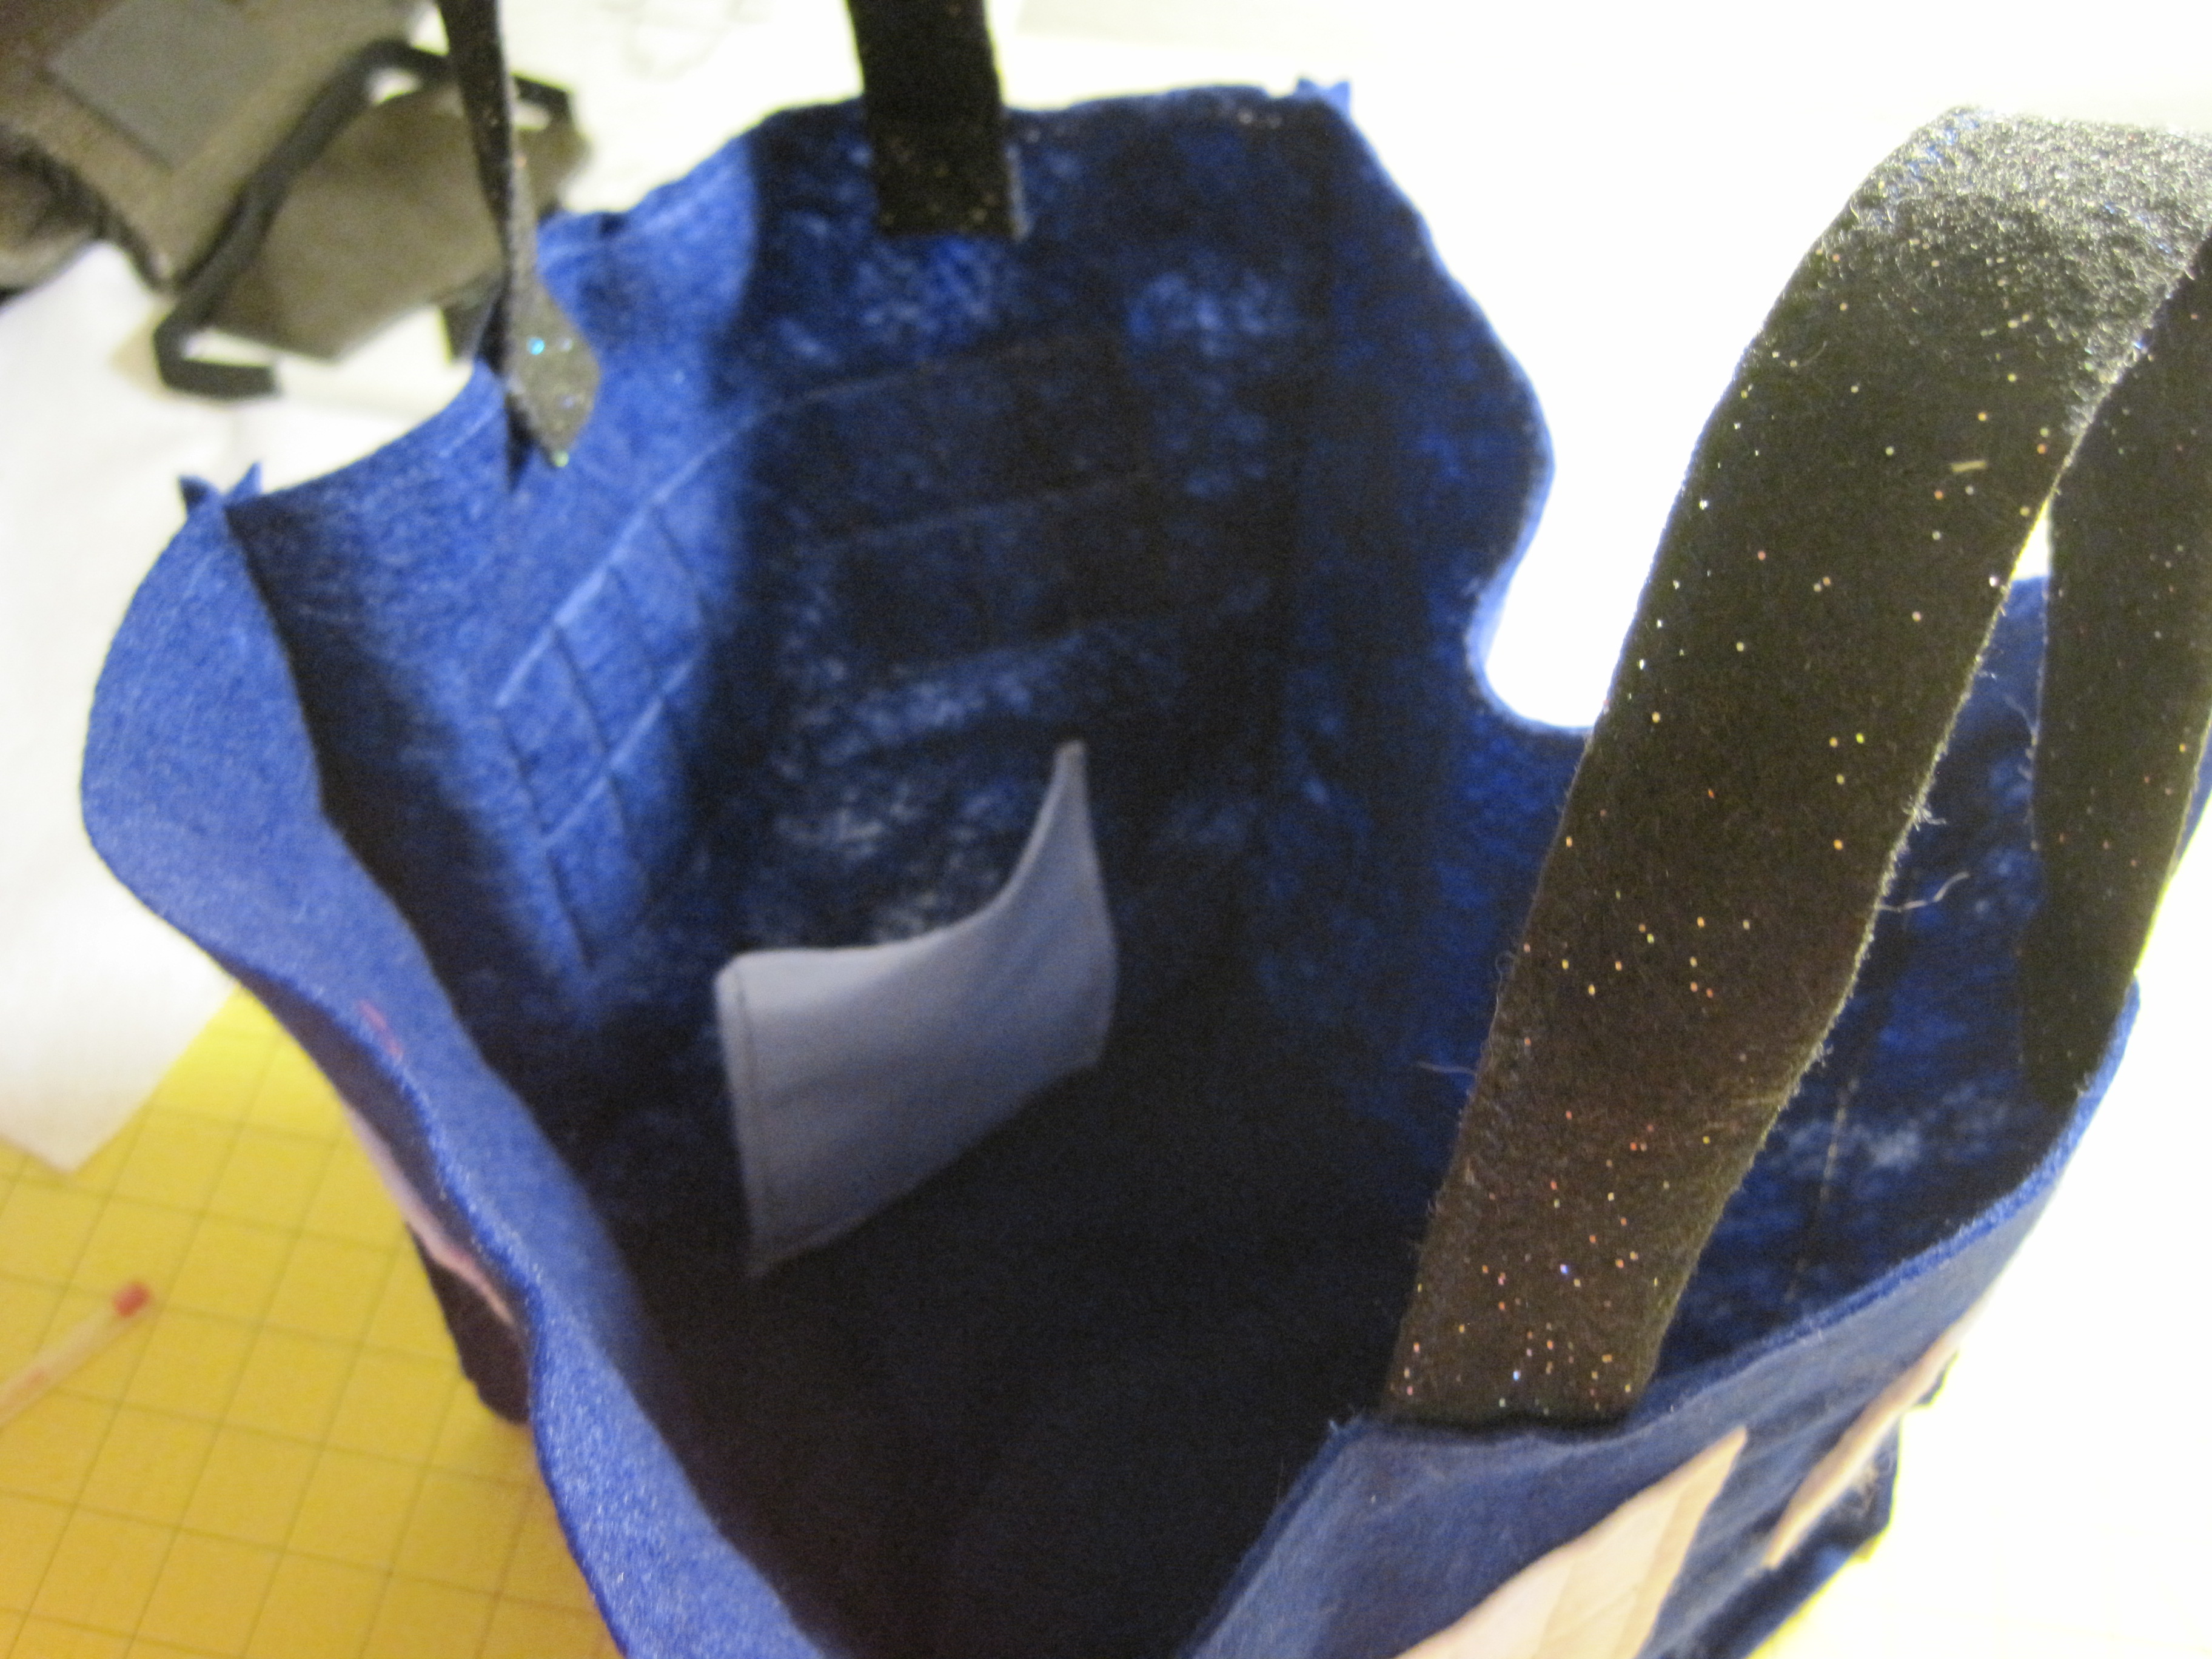
The handles attach to the front (windows + notice) and back of the bag. Use a ruler to line up the handles 2 1/2″ in from each side of the bag, with about 2/3″ inside. Pin in place.
Starting at a corner seam, stitch all the way across the top of the bag, backstitching when you get to the handles. For added strength, continue stitching all the way around the bag, flattening out the seam allowance with your fingers before you stitch across it.
Handles…and you can see the cell phone pocket, too!
Snip above and below the top stitching to make the little notches (optional).
The TARDIS Treat Bag is easy to fold, just fold in the bottom and it will fold in on itself.
Free TARDIS paper pieced pattern, designed by me
and tested (as shown) by the ever awesome Shae.
Oh, fandom quilting, how do I love thee?
Bigger on the inside, that’s how!
In a fit of I Am A Fan, I made this a highly detailed TARDIS. I designed this pattern to be a 6″ block, but I would recommend enlarging it even bigger to work on, just for sanity’s sake. Shae made her’s 6″ and it worked out beautifully.
Why is the pattern purple? No idea. I drafted it back in May of 2009 and then it got lost amongst my files. When I unearthed it a couple of weeks ago, I realized it just needed numbering and separating. My guess is I had some really good wine and thought the purple was blue…
If you’re not familiar with Dammit Dolls, the idea is this: a basic soft doll with long legs to hold on to, usually accompanied by a poem that goes something like this:
When you want to kick the desk or throw the phone and shout,
Here’s a little dammit doll you cannot do without,
Just grasp it firmly by the legs, and find a place to slam it,
And as you whack it’s stuffing out, yell,
dammit, dammit, dammit!
What? Sometimes a girl has to vent her frustration! Of course, I can’t do that in an ordinary way, it has to have a fandom twist to it.
I’ve been feeling a bit… erm, craftipated, and decided on a simple & fun project that might help me get back on the crafty track.
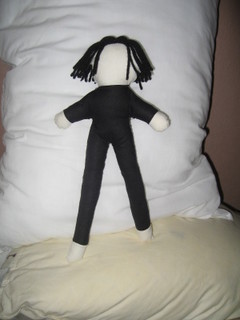
I’ve seen Snape as a dammit doll before and decided to do one of my own. I’ve left him with a, shall we say “blank” expression? (Read: I suck at faces.)
One of my friends has suggested Voldie, Umbridge & the Malfoys as possible future candidates to be dammit dolled.
Now I need a Snaperific poem to go along with him.
For the pattern, I drew out the shape I wanted then cut the hands, feet & head away from the body, cut those out of muslin and the body out of black adding seam allowance to all the pieces. I then attached hands, feet & head, then sewed front to back. I stuffed it & stitched up the hole I’d left for stuffing. For the hair… I wrapped black yarn around a 6″ ruler, then stitched it down the middle, hand-stitched it to his head then gave it a trim so to achieve those “greasy black curtains” of hair.
I had some issues with the corners (under the arms, neck, etc). I think it was more the fabric than the pattern. The black fabric was a little too loosely woven, so the stitching was pulling out. I think if I used a tighter fabric, I wouldn’t have the same problems.
I’m may make some shoes and a cloak for him, but I haven’t decided yet. I kind of like him just the way he is.
ETA: No cloak or shoes, or anything else for that matter, but Dammit Snape still lives in my sewing room. He still makes me smile, even without a Snapetastic Dammit Doll poem.
Happy crafting!
Posts on this blog may contain affiliate links. Thank you for your support. ♥
I had “sewing camp” with my kids over the summer and taught them both to use a sewing machine, how to hand stitch and some other basic stuff. After the basic lessons were over, the first thing they wanted to do was to make Potter Puppet Pals! We’re big fans of the videos and they thought it would be awesome to have versions of their own.
We’ve made Harry, Ron & Hermione so far. We’re hoping to make Snape, Dumbledore & Voldemort the next time they have a school holiday.
Made out of felt with recycled polyfil. Small amounts of fabric pain used for the faces. My 12 year old daughter made Hermione and my 9 year old son made Ron. I made Harry. I also painted all their faces.
Once Upon A Time, I entered a Challenge. It was called The Little Tiny Challenge. I was beaten soundly by a tiny fast food meal made of real food, though I did come in second (even though second was hundreds of votes from first!).