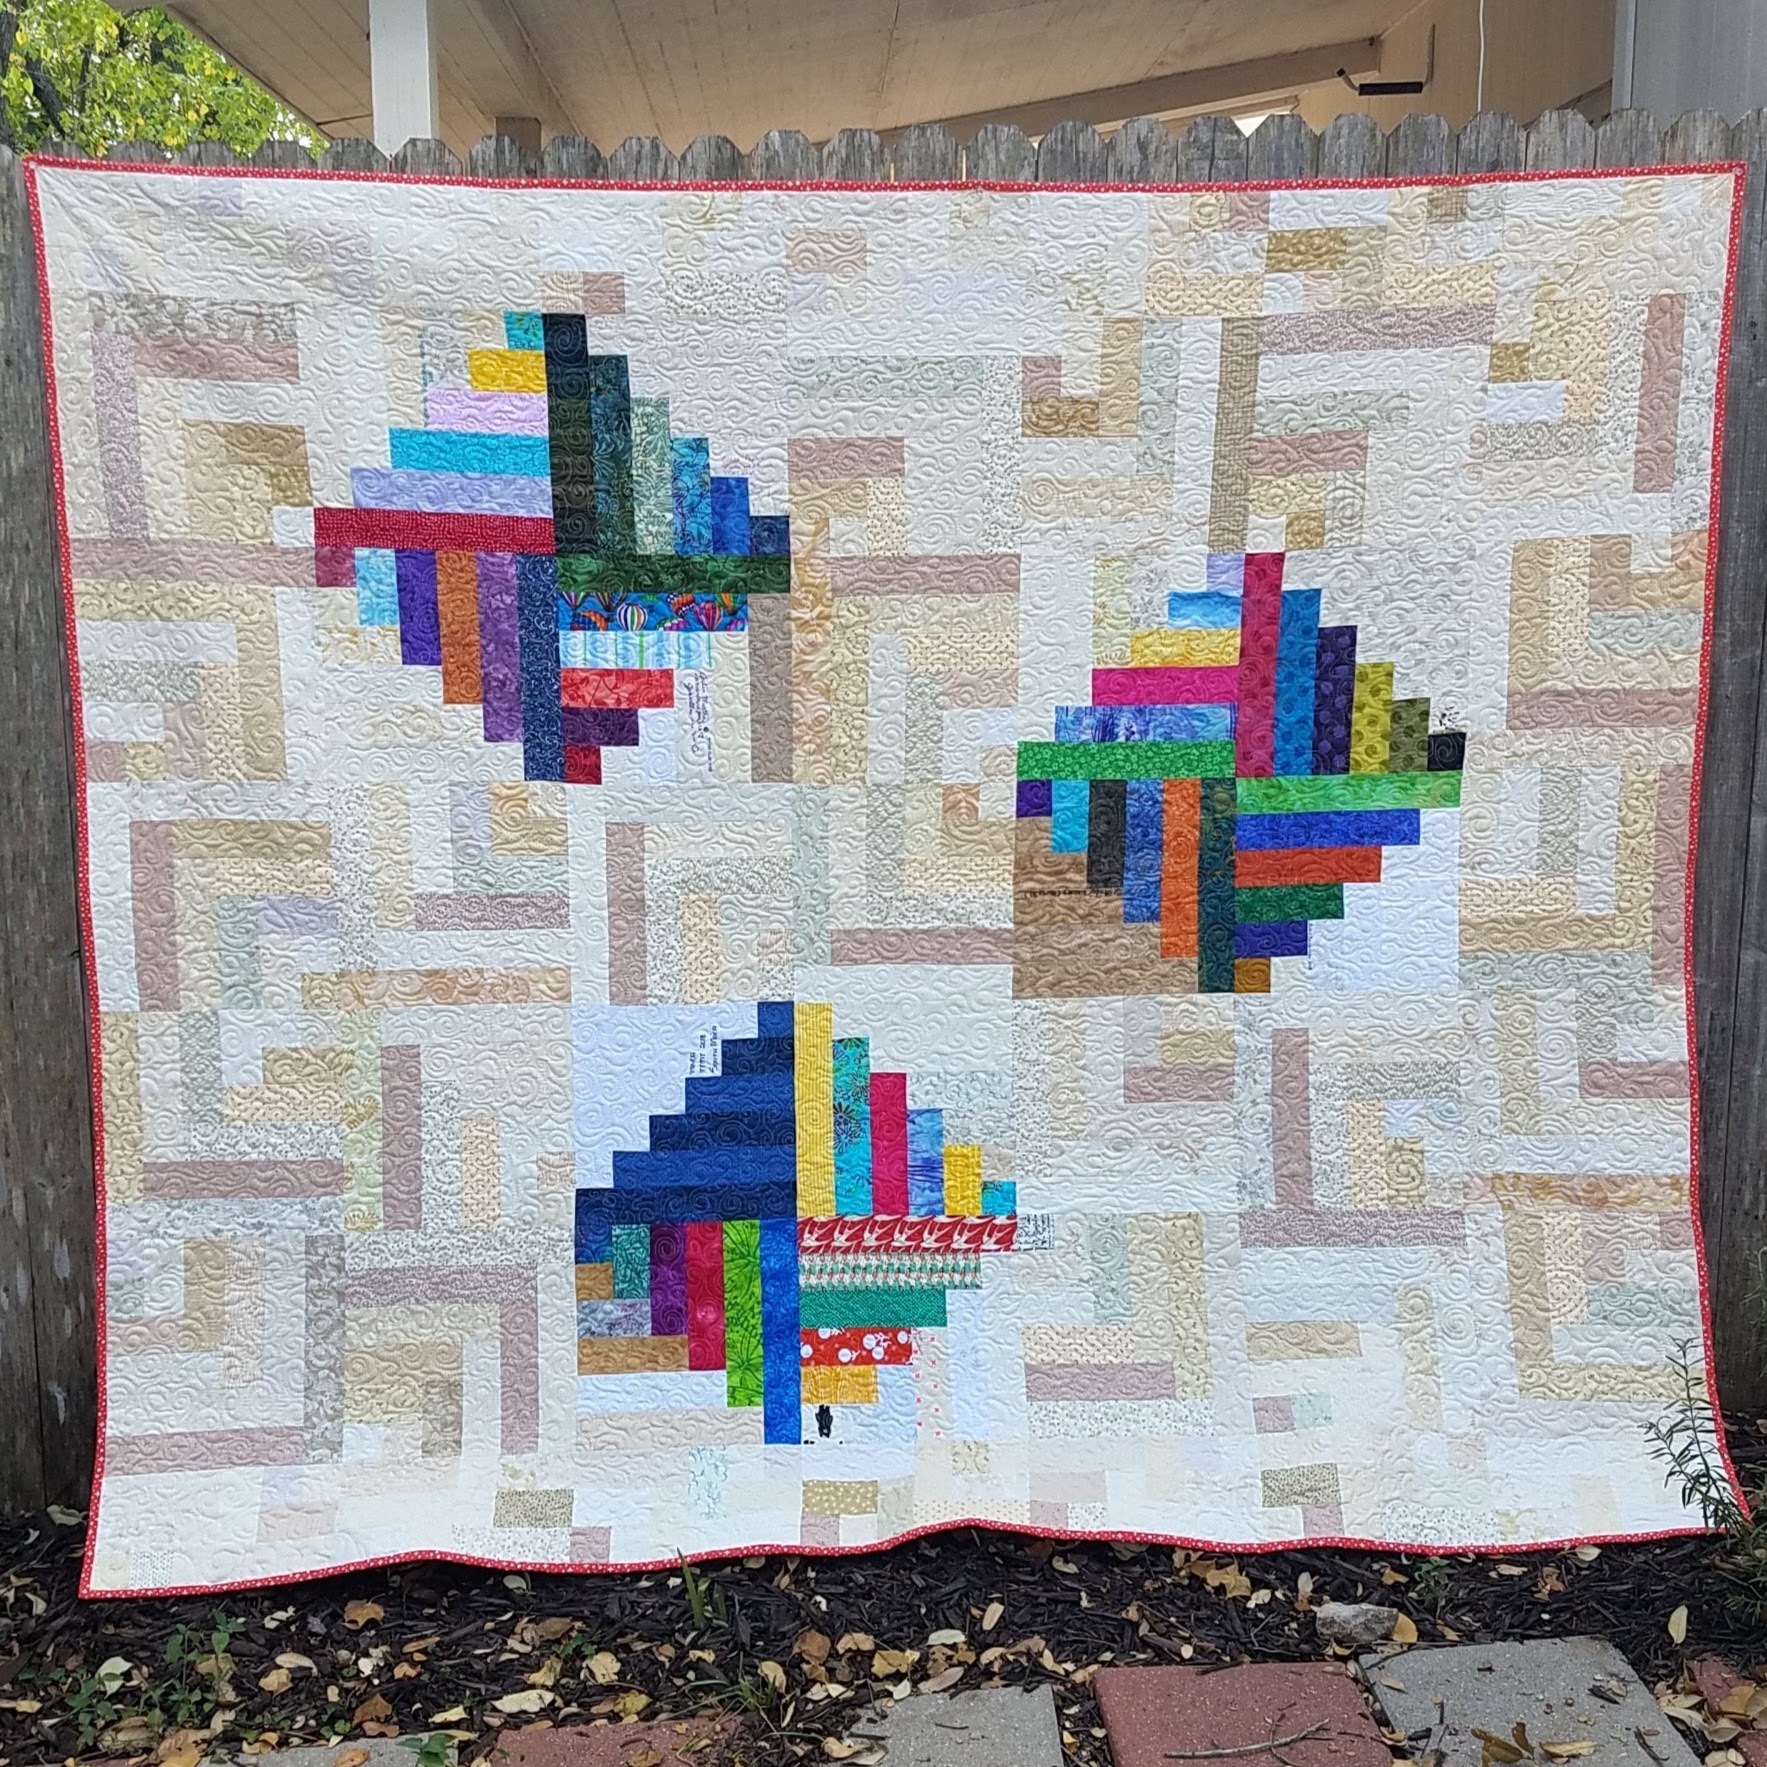
Today I’m delighted to share my most recent contribution to the TTMT BOM. This is a revisit of two old favorites, one never before shared here on my website.
Originally used for a 2018 Block Swap, the Log Cabin below is a classic. I don’t claim the creation of this block, but I did write the instructions and share a paper pieced version for those who aren’t big fans of traditional piecing. The quilt I made from those original swap blocks is one of my great treasures!
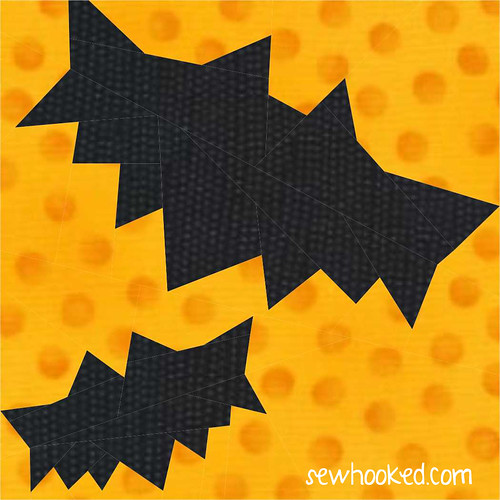
A Sewhooked staple for well over a decade, Perfect Nine Patch Wonky Stars is one of my most used patterns.
If you use any of my free patterns, I’d love to see what you do with them! Leave a link in the comments or tag me @sewhookedjen on IG.
The following patterns are designed by me, Jennifer Ofenstein, and are free for your personal use. Links go to Google Docs that you can save or print. ♥
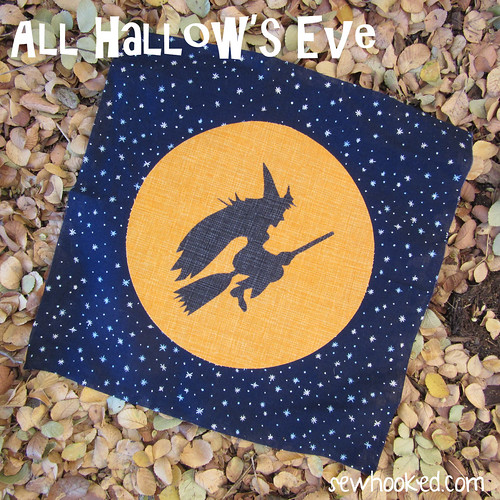
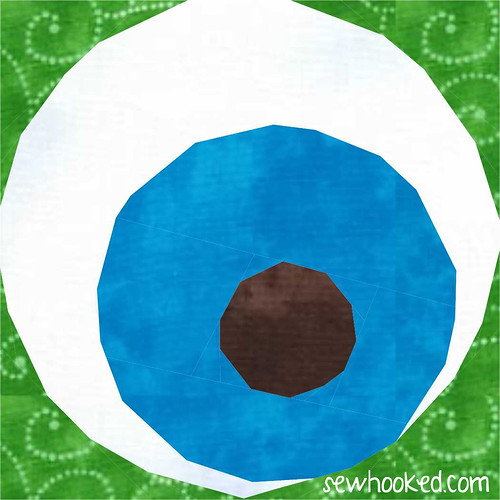
October is one of my favorite months, and Halloween is one of my favorite holidays! I’ve designed a lot of Halloween-inspired projects over the years, many of them for free.
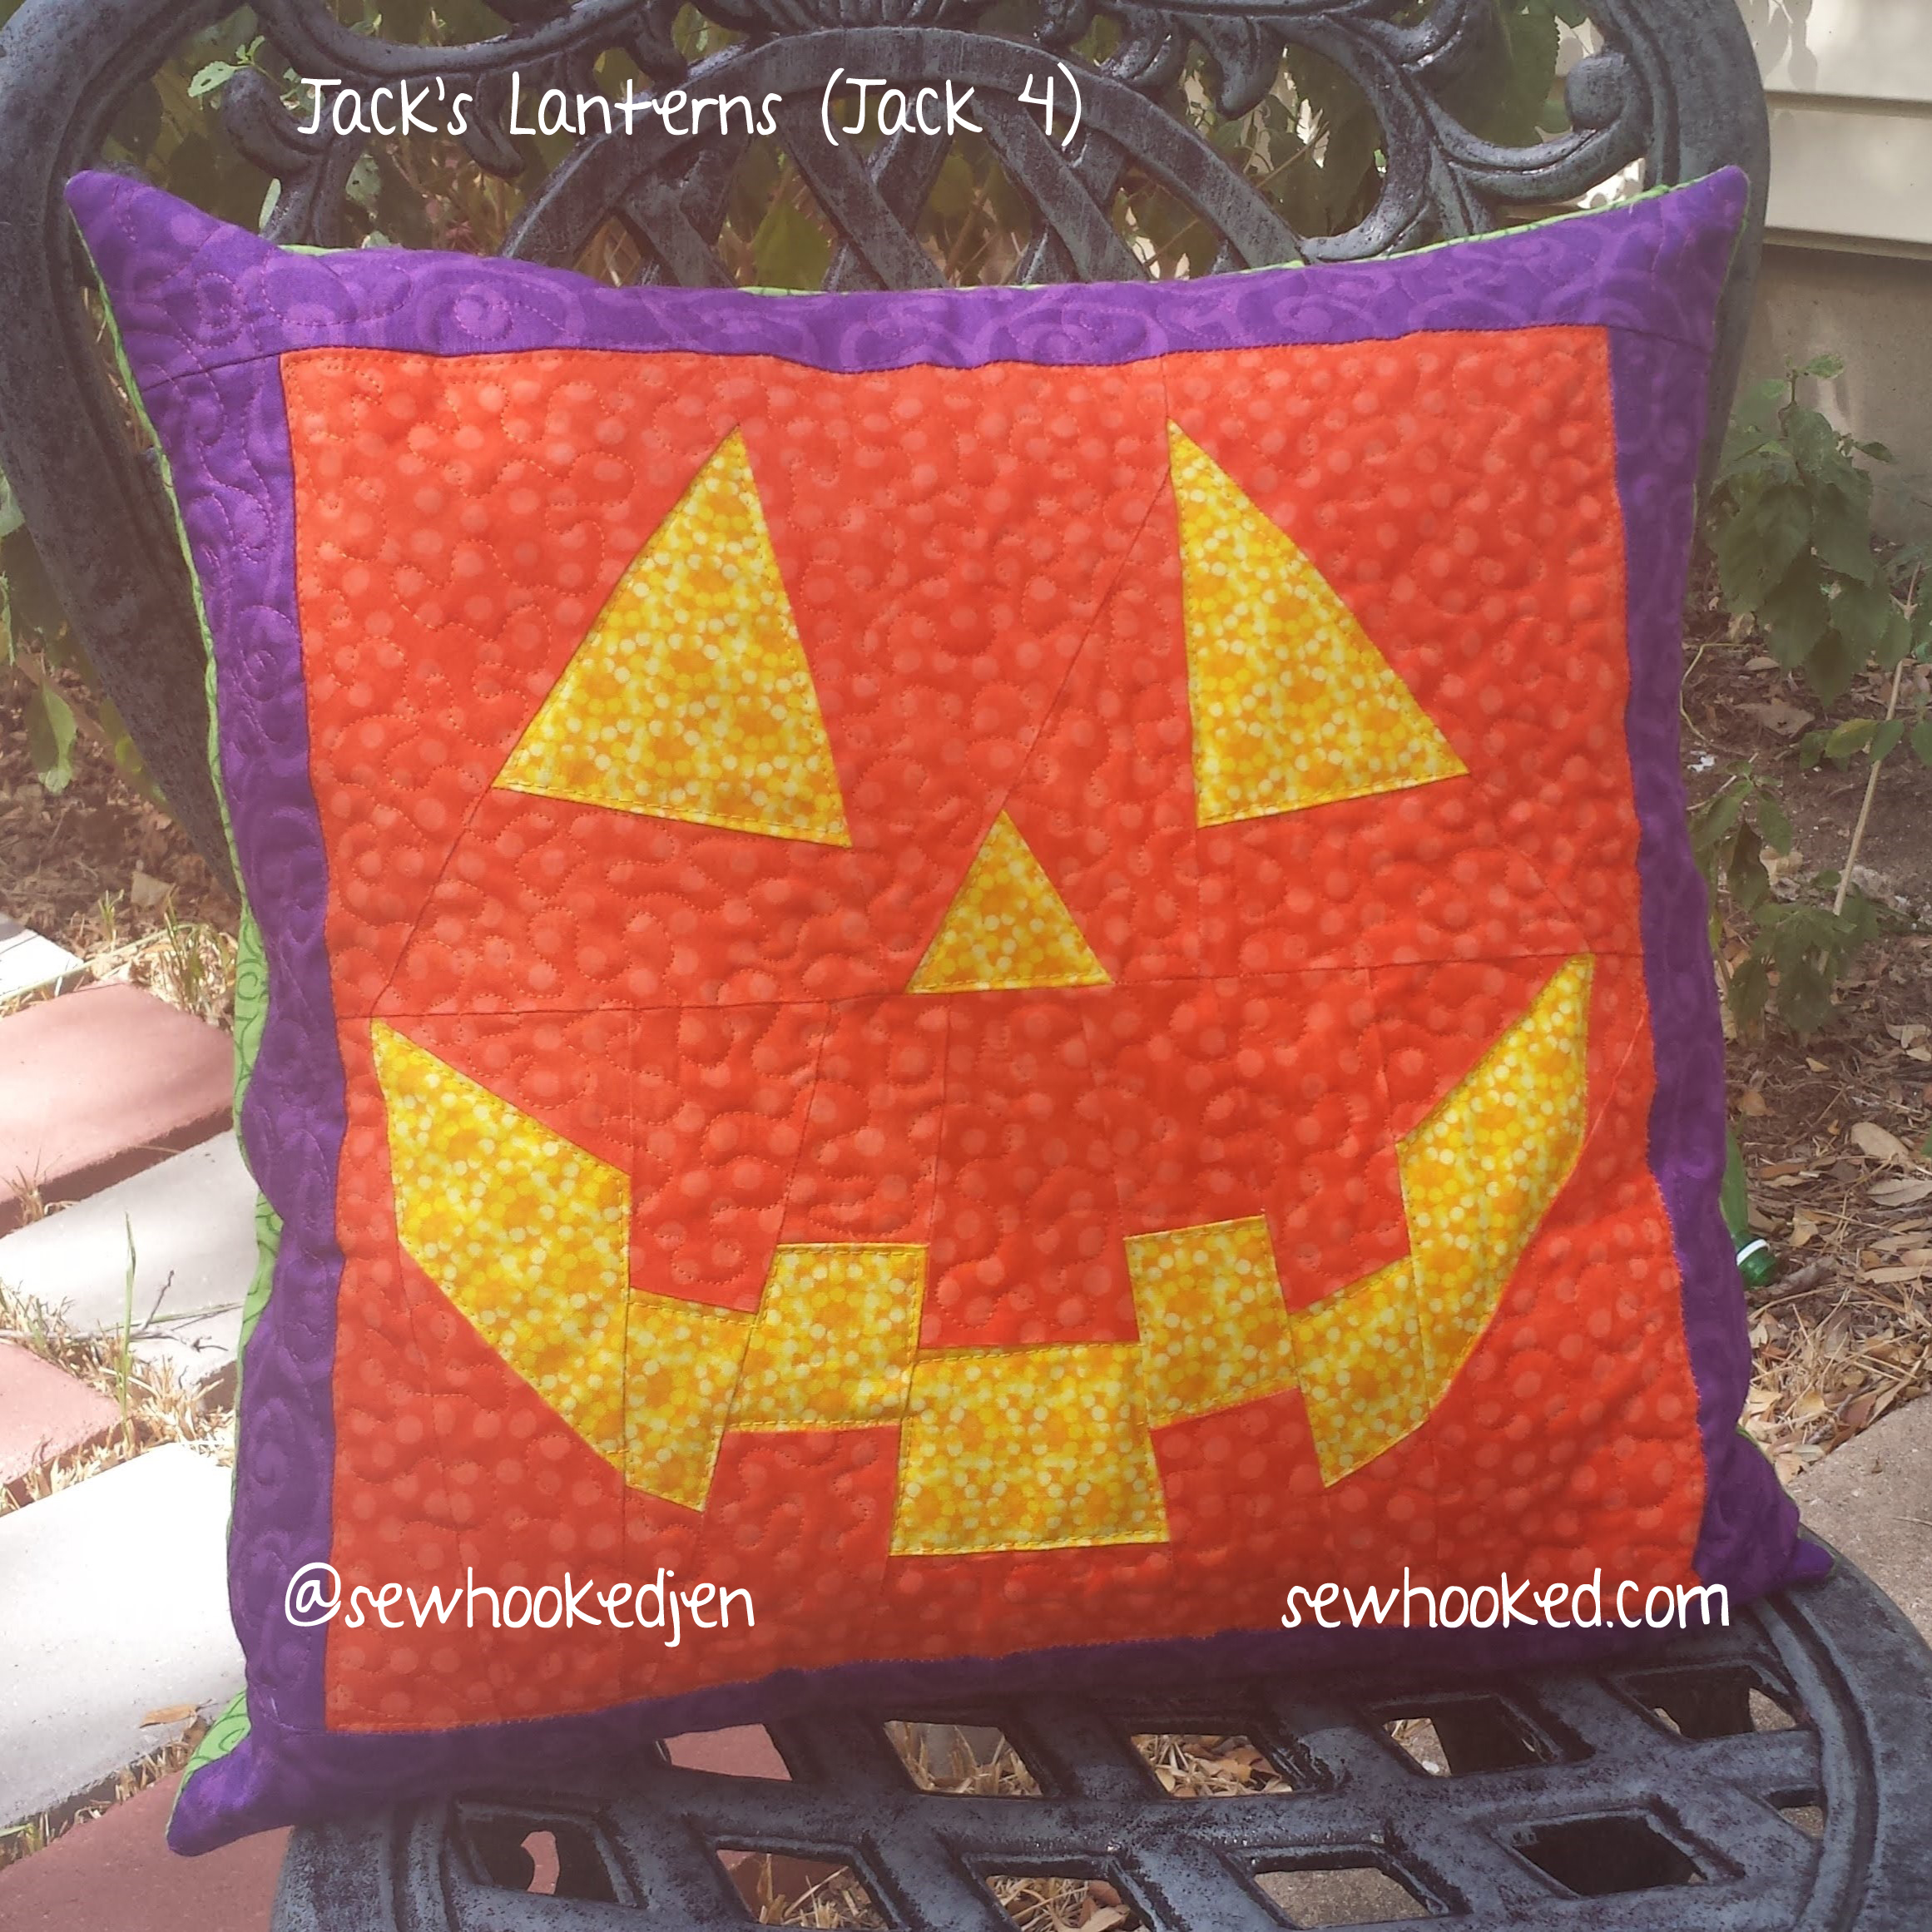
Today I’m pulling a Halloween pattern out of my retired pattern archive to share with you for free! As a bonus, I finished up an idea I’ve had bouncing around for years: a 10″ pumpkin frame to use with any 6″ pattern, including Jack’s Lanterns!
If you use any of my free patterns, I’d love to see what you do with them! Leave a link in the comments or tag me @sewhookedjen on IG.
The following patterns are designed by me, Jennifer Ofenstein, and are free for your personal use. Links go to Google Docs that you can save or print. ♥
I haven’t shared anything aside from Talk To Me Tuesday since having surgery, and since it is October, my favorite month, I couldn’t resist doing a roundup of my own Halloween and fall patterns and tutorials!
I’ve included both Free Patterns & Retired shop patterns below. As a compromise for those who want access to my previously for sale patterns, I will share the pattern of your choice for a small donation to a local-to-you non-profit. More info below with the Retired Patterns.
To date, wonderful quilters have donated over $300 to a wide variety of charities, donated food, clothing, and hundreds of masks to those who need them. Your charitable efforts make my heart swell with happiness and I thank you from the bottom of my heart!
What are your favorite things to make for Halloween? I’d love to see! Let me know in comments or share over in the Sewhooked Facebook Group!You can also tag me on Instagram – @sewhookedjen.
I retired my online quilt pattern shop December 31, 2019 but I still receive quite a few requests for retired patterns.I decided the best way to address that was to have those interested in a retired pattern make a small donation to a local-to-you non-profit of your choice. Email your receipt and I’ll be happy to send the pattern. Please, only one pattern per receipt.
If you’re unsure if a pattern is FREE (I have loads of those, check out the main menu on sewhooked.com), or RETIRED, just drop me an email or comment and I’ll let you know.
A Little Haunted – Retired Pattern
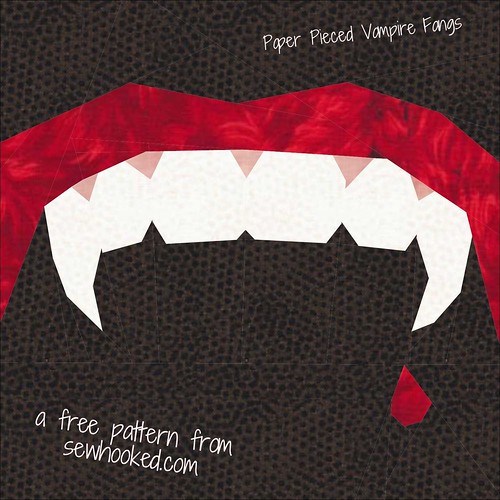
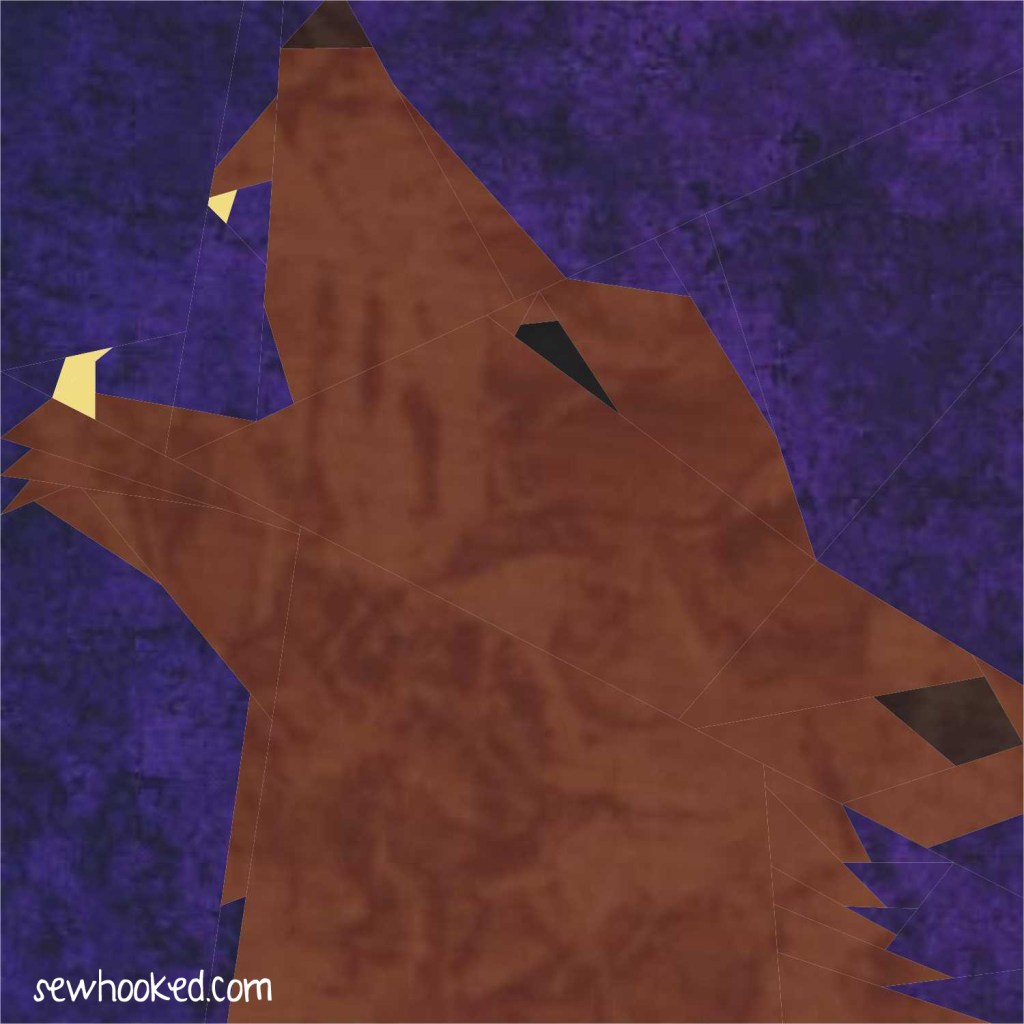
Monster Madness – Retired Pattern Set
I Want My Mummy – Retired Pattern (supplemental pattern to Monster Madness)
I often share optional quilt layouts and other suggestions with blocks for inspiration.
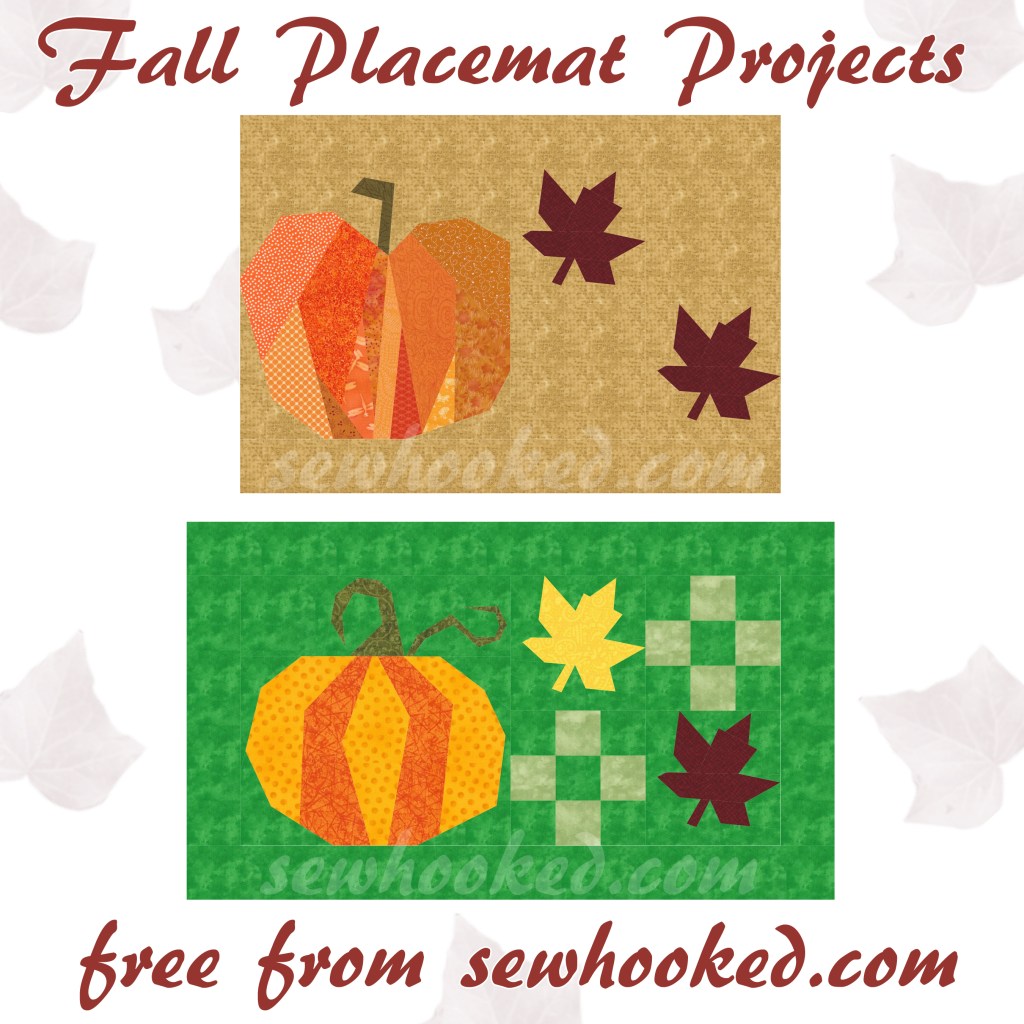
For this’s week’s freebie, I jumped in my TARDIS and I traveled in time to a few years ago when I shared the following ideas, as ideas only, for a blog hop.
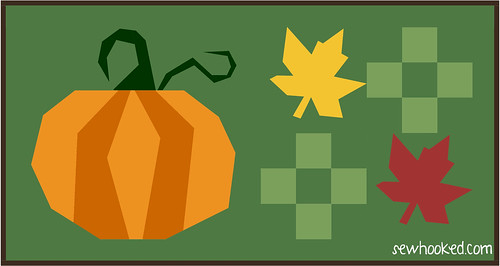
These fun fall themed placemats are now together in one complete pattern! Pattern document includes project instructions, 2 different pumpkin patterns, maple leaf pattern, paper pieced nine patch (because it’s way easier than cutting out 2 3/16″ squares!), and layout charts for both projects.
Like my free content? Consider being a Patron! Find out all you need to know on my Patreon page. $10 Patrons receive new paid patterns for free as they are released. Details on Patreon.
♥
Want to support my work but Patreon is not for you? You can still help support my free content and keep me creating by purchasing a pattern. Buying patterns gives you something tangible for your money and helps me keep doing what I do! However, you choose to support me, whether it’s Patron, purchases, or by sharing my work with your other quilty friends, I appreciate you. ♥
This is just one of the patterns available in my Craftsy shop!
It’s hard to believe we’ve reached the final week of sharing my favorite Halloween crafts, recipes and patterns. I hope you’ve enjoyed everything I’ve shared so far.
Today, we’re revising a fun craft that I shared right here on Sewhooked some years ago.
I originally came up with these fun pumpkin earrings for a swap I participated in some years ago. I still have my pair and wear them during October every year!
optional: business cards and decorative bags for gift giving
Separate the orange clay into enough pieces for 10 – 12 pairs of earrings. Roll each piece into a rough ball shape.
Using the round nose pliers, twist the eye pins into a curly shape, making sure each is approximately the same length. Make the same amount as the orange balls in the last step.
Squish the curly part of the eye pin into the orange ball. Cover wire completely with clay, rounding with your fingers as you go.
Add a small amount of green clay, gently pressing it around the wire into a stem shape. Make sure to leave the “eye” in the pin visible. If necessary, use a toothpick or skewer to clean out the hole.
Use the toothpick to gently roll creases into the orange ball.
Wallah! A tiny pumpkin! Repeat steps for each earring.
Place earrings on parchment lined tray and bake according to manufacturer’s instructions.
Pumpkin charms, all baked. They look a little dull, so…
Place earrings eye pin side down in Styrofoam. Gently brush on Sculpey Glaze. Allow to dry upside down. Once they’re turned over, add a little more Glaze around the top if needed.
If making enough to share with your friends, poke holes in a business card with a pin, then slide the ear wire through. Fold the top end of the business card down and place in a cute little bag.
Are you making projects from 31 Days of Halloween? Share your photos with my flickr group! There will be a fun surprise after Halloween for one lucky winner!
Feeling ambitious? Add some nine-patches or other 5″ blocks of your choice! This layout also includes a 1″ strip of background fabric between the pumpkin and other blocks.
For a slightly different look, try using the 10″ pumpkin pattern from Week 30 of the 2015 Project of Doom!
Are you making projects from 31 Days of Halloween? Share your photos with my flickr group! There will be a fun surprise after Halloween for one lucky winner!
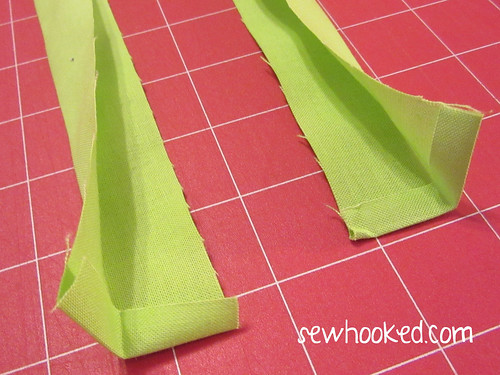
2 – 2″ x 22″ strips of green fabric (fat quarters work great or you can sub-cut a WOF)
fun thread color (optional)
pinking shears (optional)
sewing machine
iron
Press both 22″ strips in half, pressing one end of each strip under 1/4″. Press in half again.
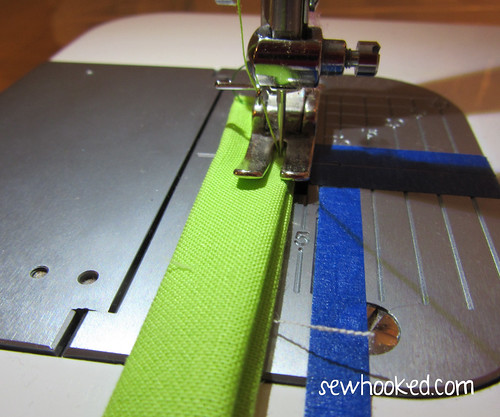
Stitch across the turned under end and down the length of each green strip.
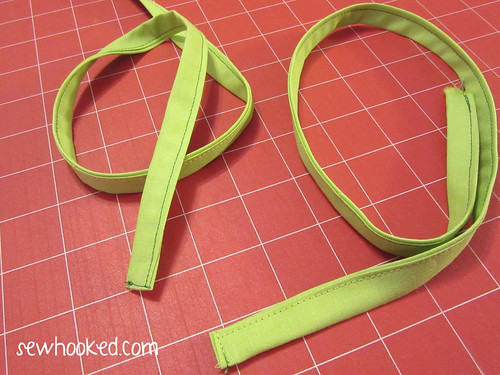
Now you’ll have this!
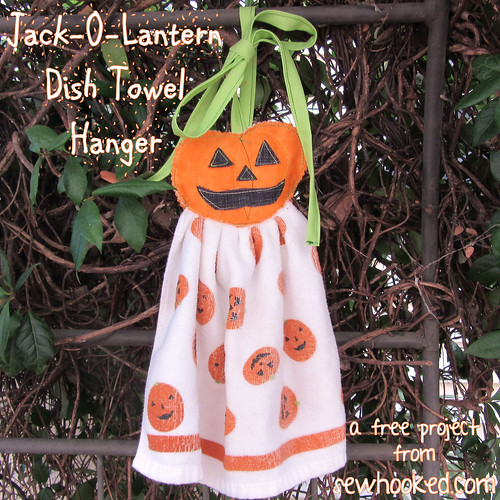
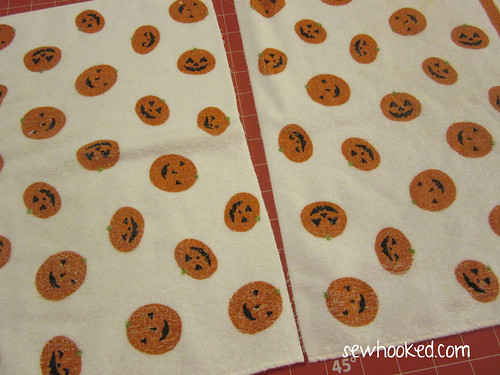
Depending on the size of your towel, you may need to cut it in half. My towel was 23″ long. If you don’t cut your towel in half, then cut the seam allowance off the top end.
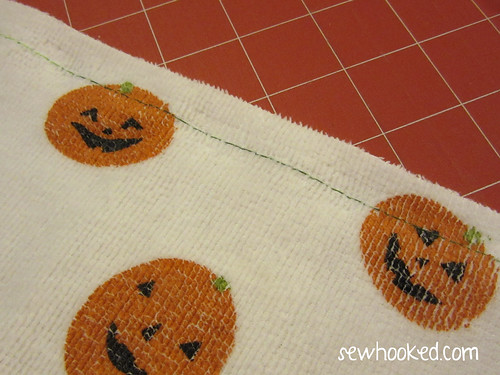
Run a long basting stitch along the raw edge, being sure to leave long tails on each end.
Use the basting to gather the towel. Now, set aside for the fun part!
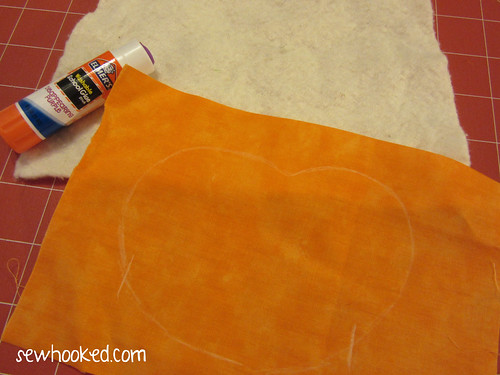
Cut your orange fabric into two pieces approximately 7″ square (mine was a little wider, so I just left it). Cut out and trace the Pumpkin Template onto the right side of one piece of orange fabric with an erasable fabric pencil. I used my white Sewline pencil.
I marked a four inch space to help with the opening later on. This is optional.
Baste the orange fabric you just traced on to the batting with a few dots of washable school glue.
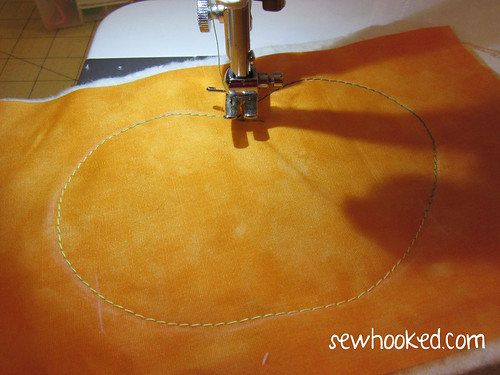
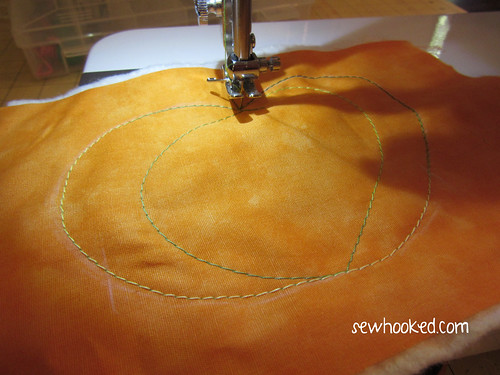
Using your fun thread and a wide stitch (I used a 3 on my Juki), trace the pumpkin line.
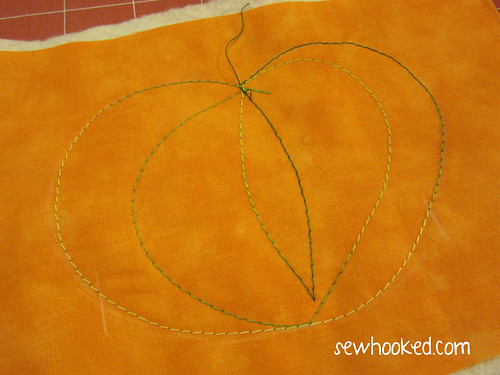
Starting at the top of the pumpkin, echo the shape an inch or so inside the line. You don’t have to be perfect here, every pumpkin is unique!
Mine looks like this.
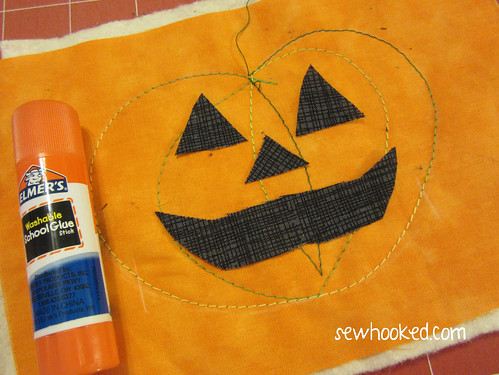
Using your black fabric scraps and a pair of scissors, cut out the face you’d like for your Jack-O-Lantern. I decided to go super simple, trimming as needed until it was just the way I wanted.
Baste these pieces on with the washable school glue. Hit it for a few seconds with your iron to dry the glue.
Using the same stitch as before, stitch around each facial feature, being sure to back stitch as needed.
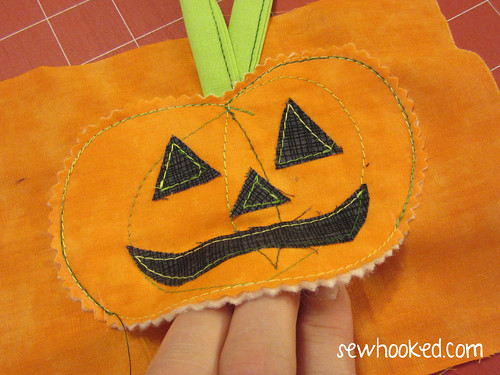
Trim the entire thing with pinking shears. The face is done, yay!
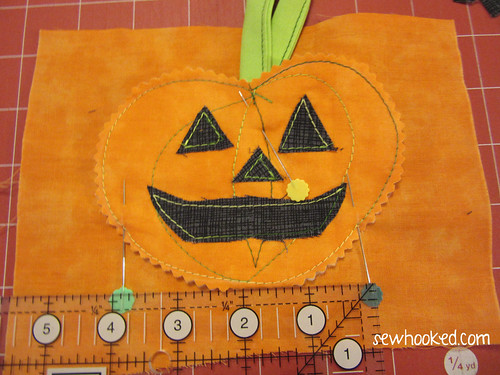
Place the completed face right side up on the remaining piece of orange fabric.
Slide the unstitched ends of the green ties into the top center and secure with a pin.
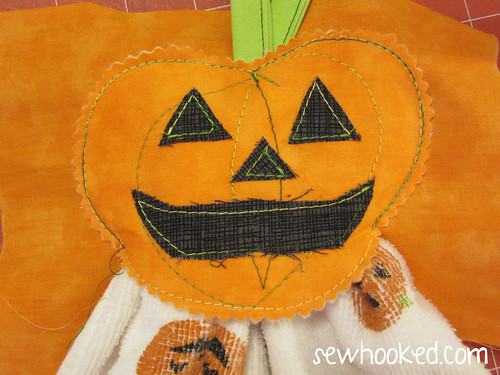
Measure a 4 inch opening at the bottom (this is what those marks were for back when I was tracing), Mark each side with a pen or erasable fabric pencil, marker, etc.
Sew around, on top of the original stitch, leaving the 4″ opening at the bottom. Back stitch at the beginning and end.
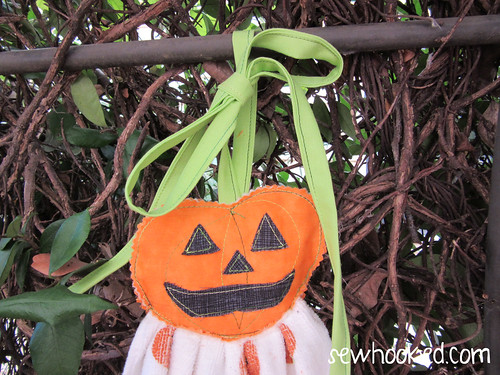
Insert the previously prepared towel in the opening (the back fabric is still untrimmed).
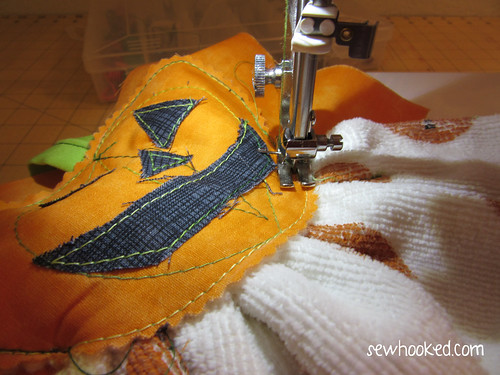
Adjust as needed until it is as even as possible.
Sew the opening closed. Depending on your machine, you may need to raise your presser foot or use a walking foot. You know your machine best, so do what works best for you.
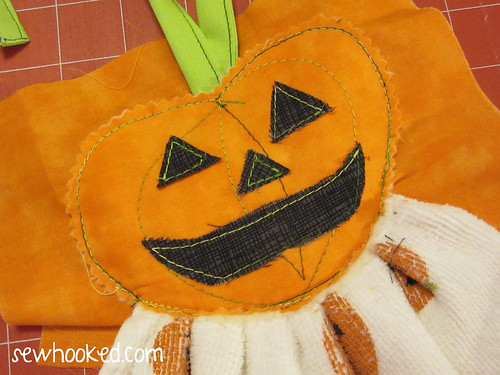
Now, it’s time to trim off the back! Use scissors or your pinking shears to trim close to the stitching, being sure not to cut the front fabric.
Let’s be honest, most of you are here because of the quilts.
I’m totally okay with that.
While I do have many for sale patterns, I have many, many free ones.
Whimsical, fun, happy patterns are my favorite to create. To be frank (or Jennifer, as the case may be!), I make what I like. It’s as plain and simple as that. Making what I like makes me happy, and hopefully, you will feel that when you’re working on a pattern that I designed. If not, then I’m clearly doing it wrong!
If you’re looking for even more quilty goodness for Halloween, try one of these blasts from the past, designed by me and available on the Harry Potter page over on my other site, Fandom In Stitches (click the image for the free pattern!):
Mmmmm, mellowcreme pumpkins, the yummy little sugar bombs that are really just candy corn kicked up a notch! In homage to these tasty Halloween treats, how about a fun, easy craft that is cheap and makes enough to share with your friends?
I made the cute pumpkin earrings for a Halloween swap I was recently participated in. You can make one pair or several!
optional: business cards and decorative bags for gift giving
Separate the orange clay into enough pieces for 10 – 12 pairs of earrings. Roll each piece into a rough ball shape.
Using the round nose pliers, twist the eye pins into a curly shape, making sure each is approximately the same length. Make the same amount as the orange balls in the last step.
Squish the curly part of the eye pin into the orange ball. Cover wire completely with clay, rounding with your fingers as you go.
Add a small amount of green clay, gently pressing it around the wire into a stem shape. Make sure to leave the “eye” in the pin visible. If necessary, use a toothpick or skewer to clean out the hole.
Use the toothpick to gently roll creases into the orange ball.
Wallah! A tiny pumpkin! Repeat steps for each earring.
Place earrings on parchment paper lined tray and bake according to manufacturer’s instructions.
Pumpkin charms, all baked. They look a little dull, so…
Place earrings eye pin side down in Styrofoam. Gently brush on Sculpey Glaze. Allow to dry upside down. Once they’re turned over, add a little more Glaze around the top if needed.
If making enough to share with your friends, poke holes in a business card with a pin, then slide the ear wire through. Fold the top end of the business card down and place in a cute little bag.
Happy Crafting!
♥ Jennifer O
Posts on this blog may contain affiliate links to help cover the cost of my website. I thank you for your generous support. ♥