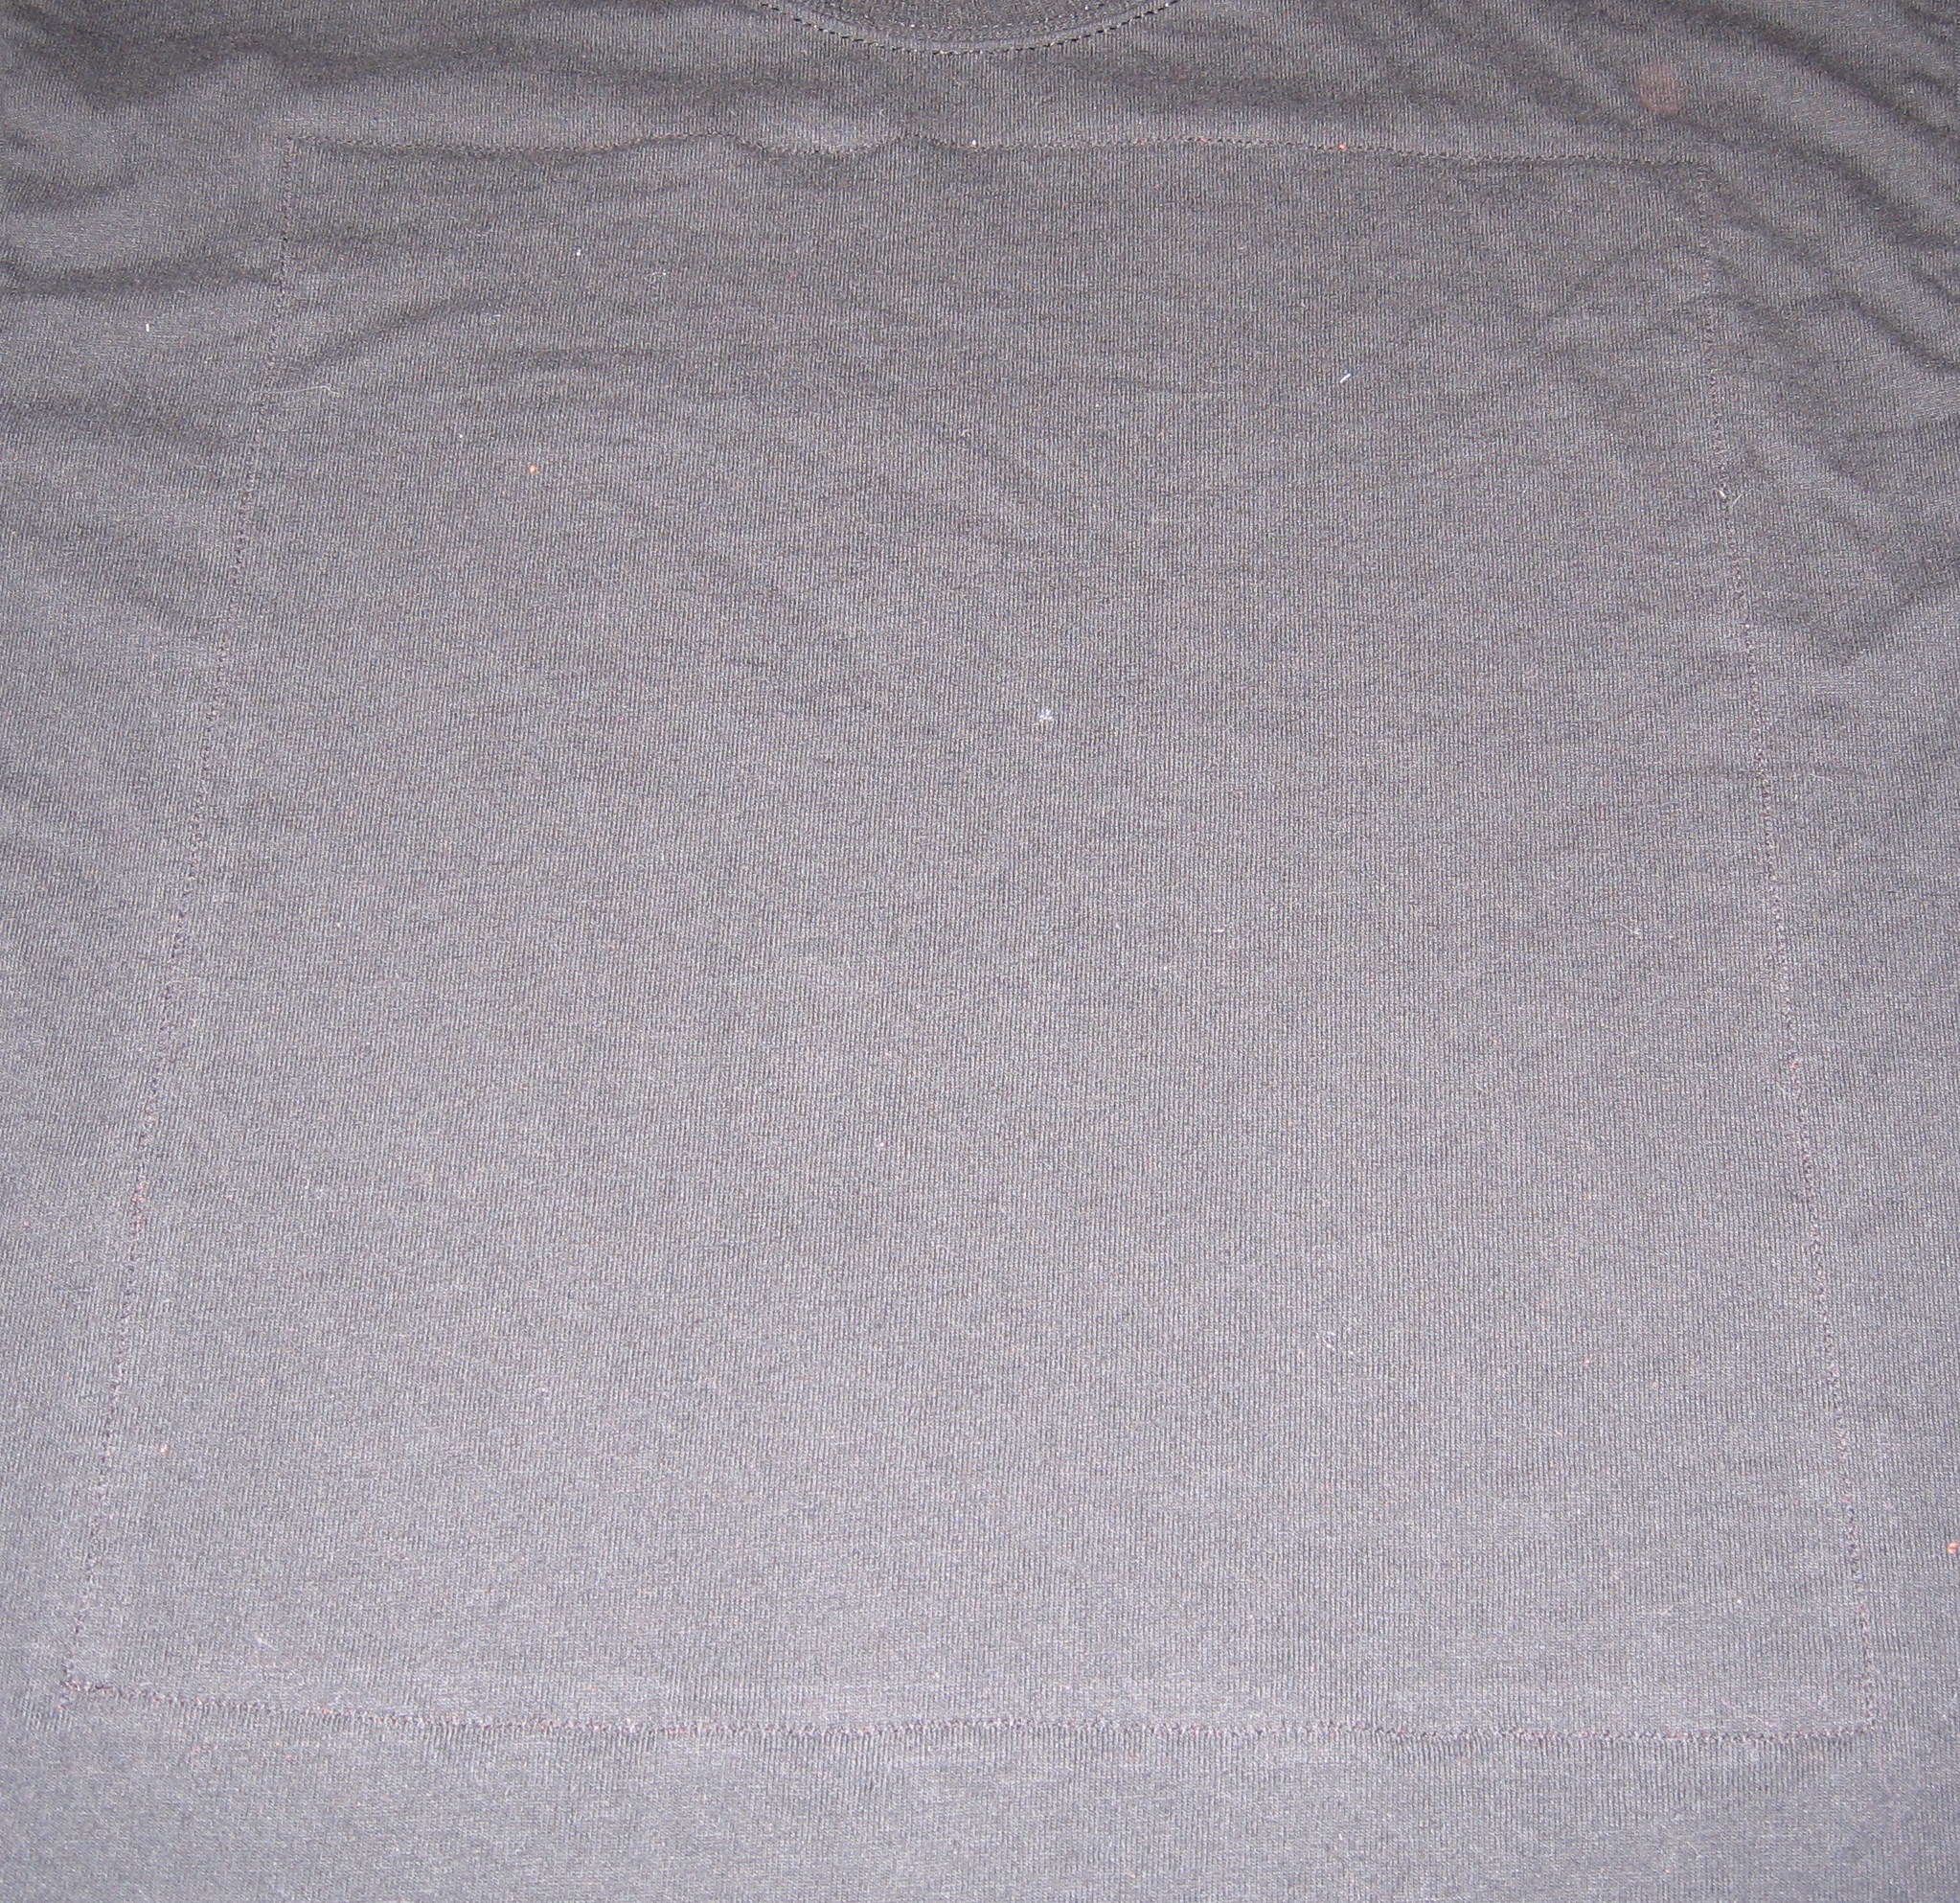
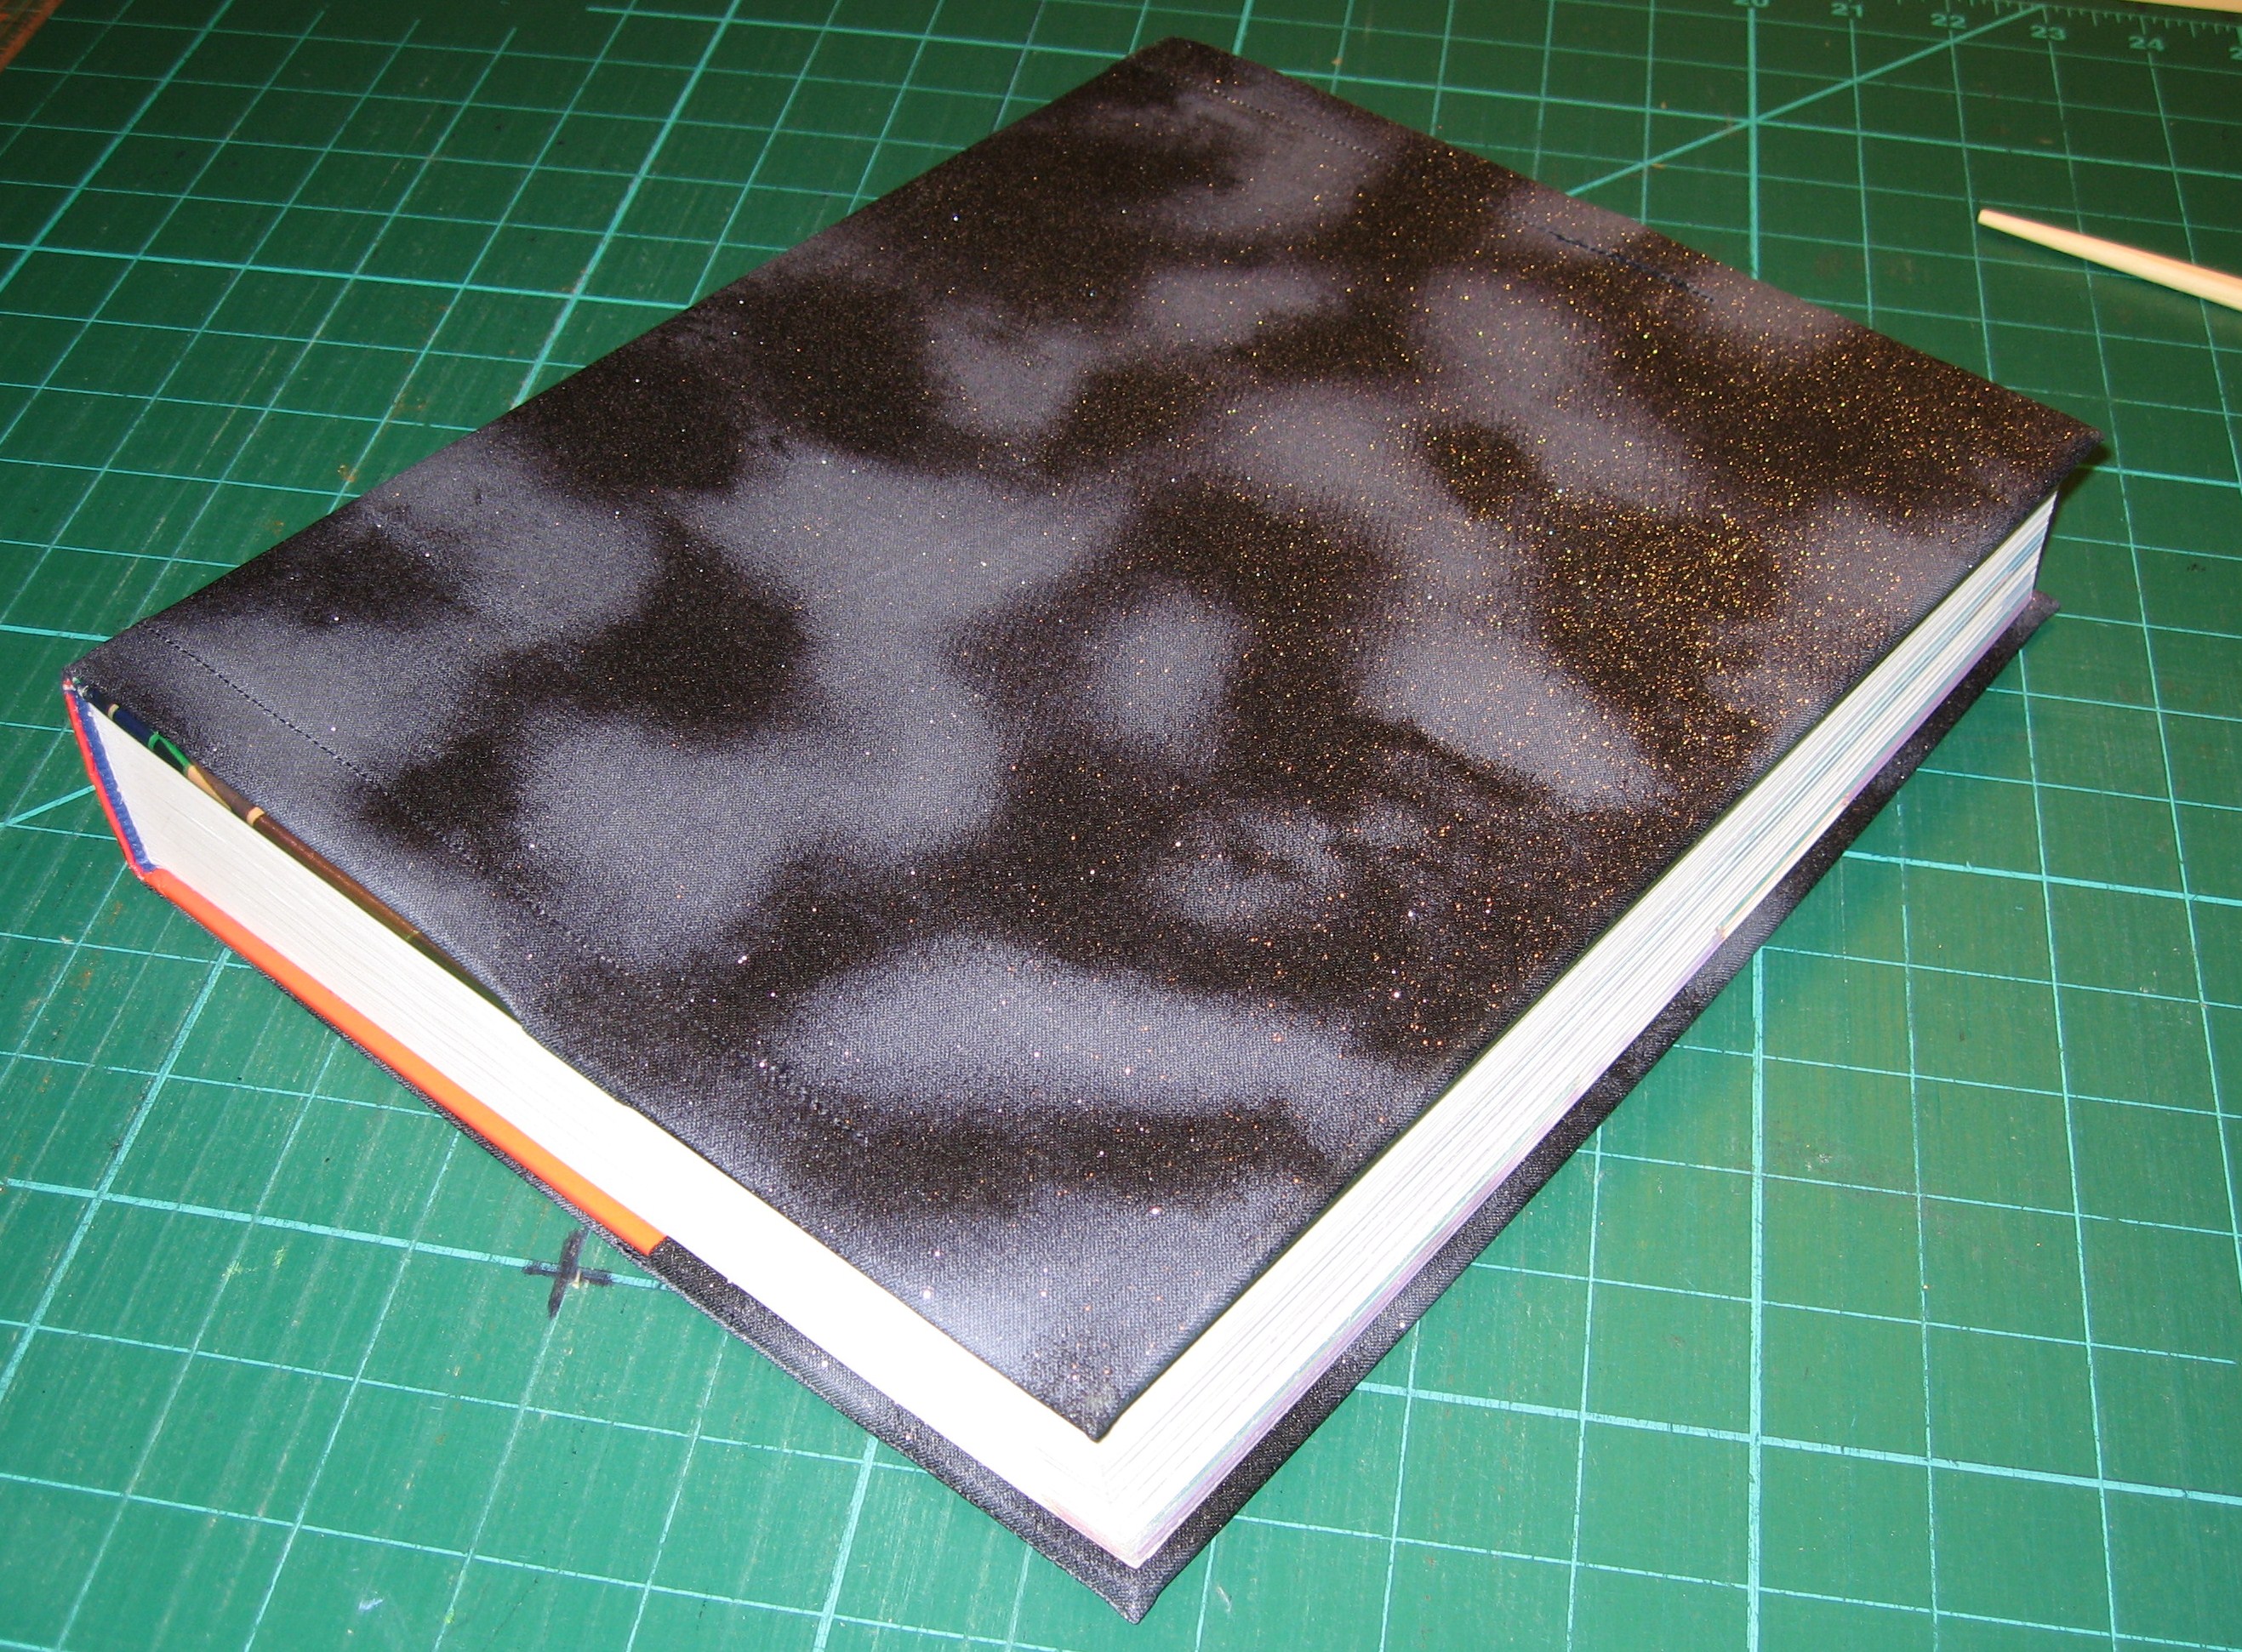
Tag Archives: sewing

Hot Dog, A Pillowcase!

HOT DOG PILLOWCASE TUTORIAL

Isn’t it a beauty?

Printable PDF Tutorial!

Now available as a free video tutorial!

This is the easiest, fastest, and cleanest-looking pillowcase method I’ve tried. So easy, so fun…and excellent for stash busting!

Honey Bee Quilt Store is participating in American Patchwork & Quilting’s 1 Million Pillowcase Challenge. The first batch of gorgeous handmade pillowcases that Honey Bee has collected is going to the Texas Baptist Children’s Home, located in Round Rock, Texas.

I knew as soon as I heard about it that I wanted to participate.

Read more on the Honey Bee Blog.

I was asked by the store owner to share instructions online so they could easily direct customers to them. This is my version.  I hope you enjoy the tutorial, make lots of pillowcases, and give them to friends or charity!  (Oh, okay, you can keep one or two for yourself!)

You’ll need:

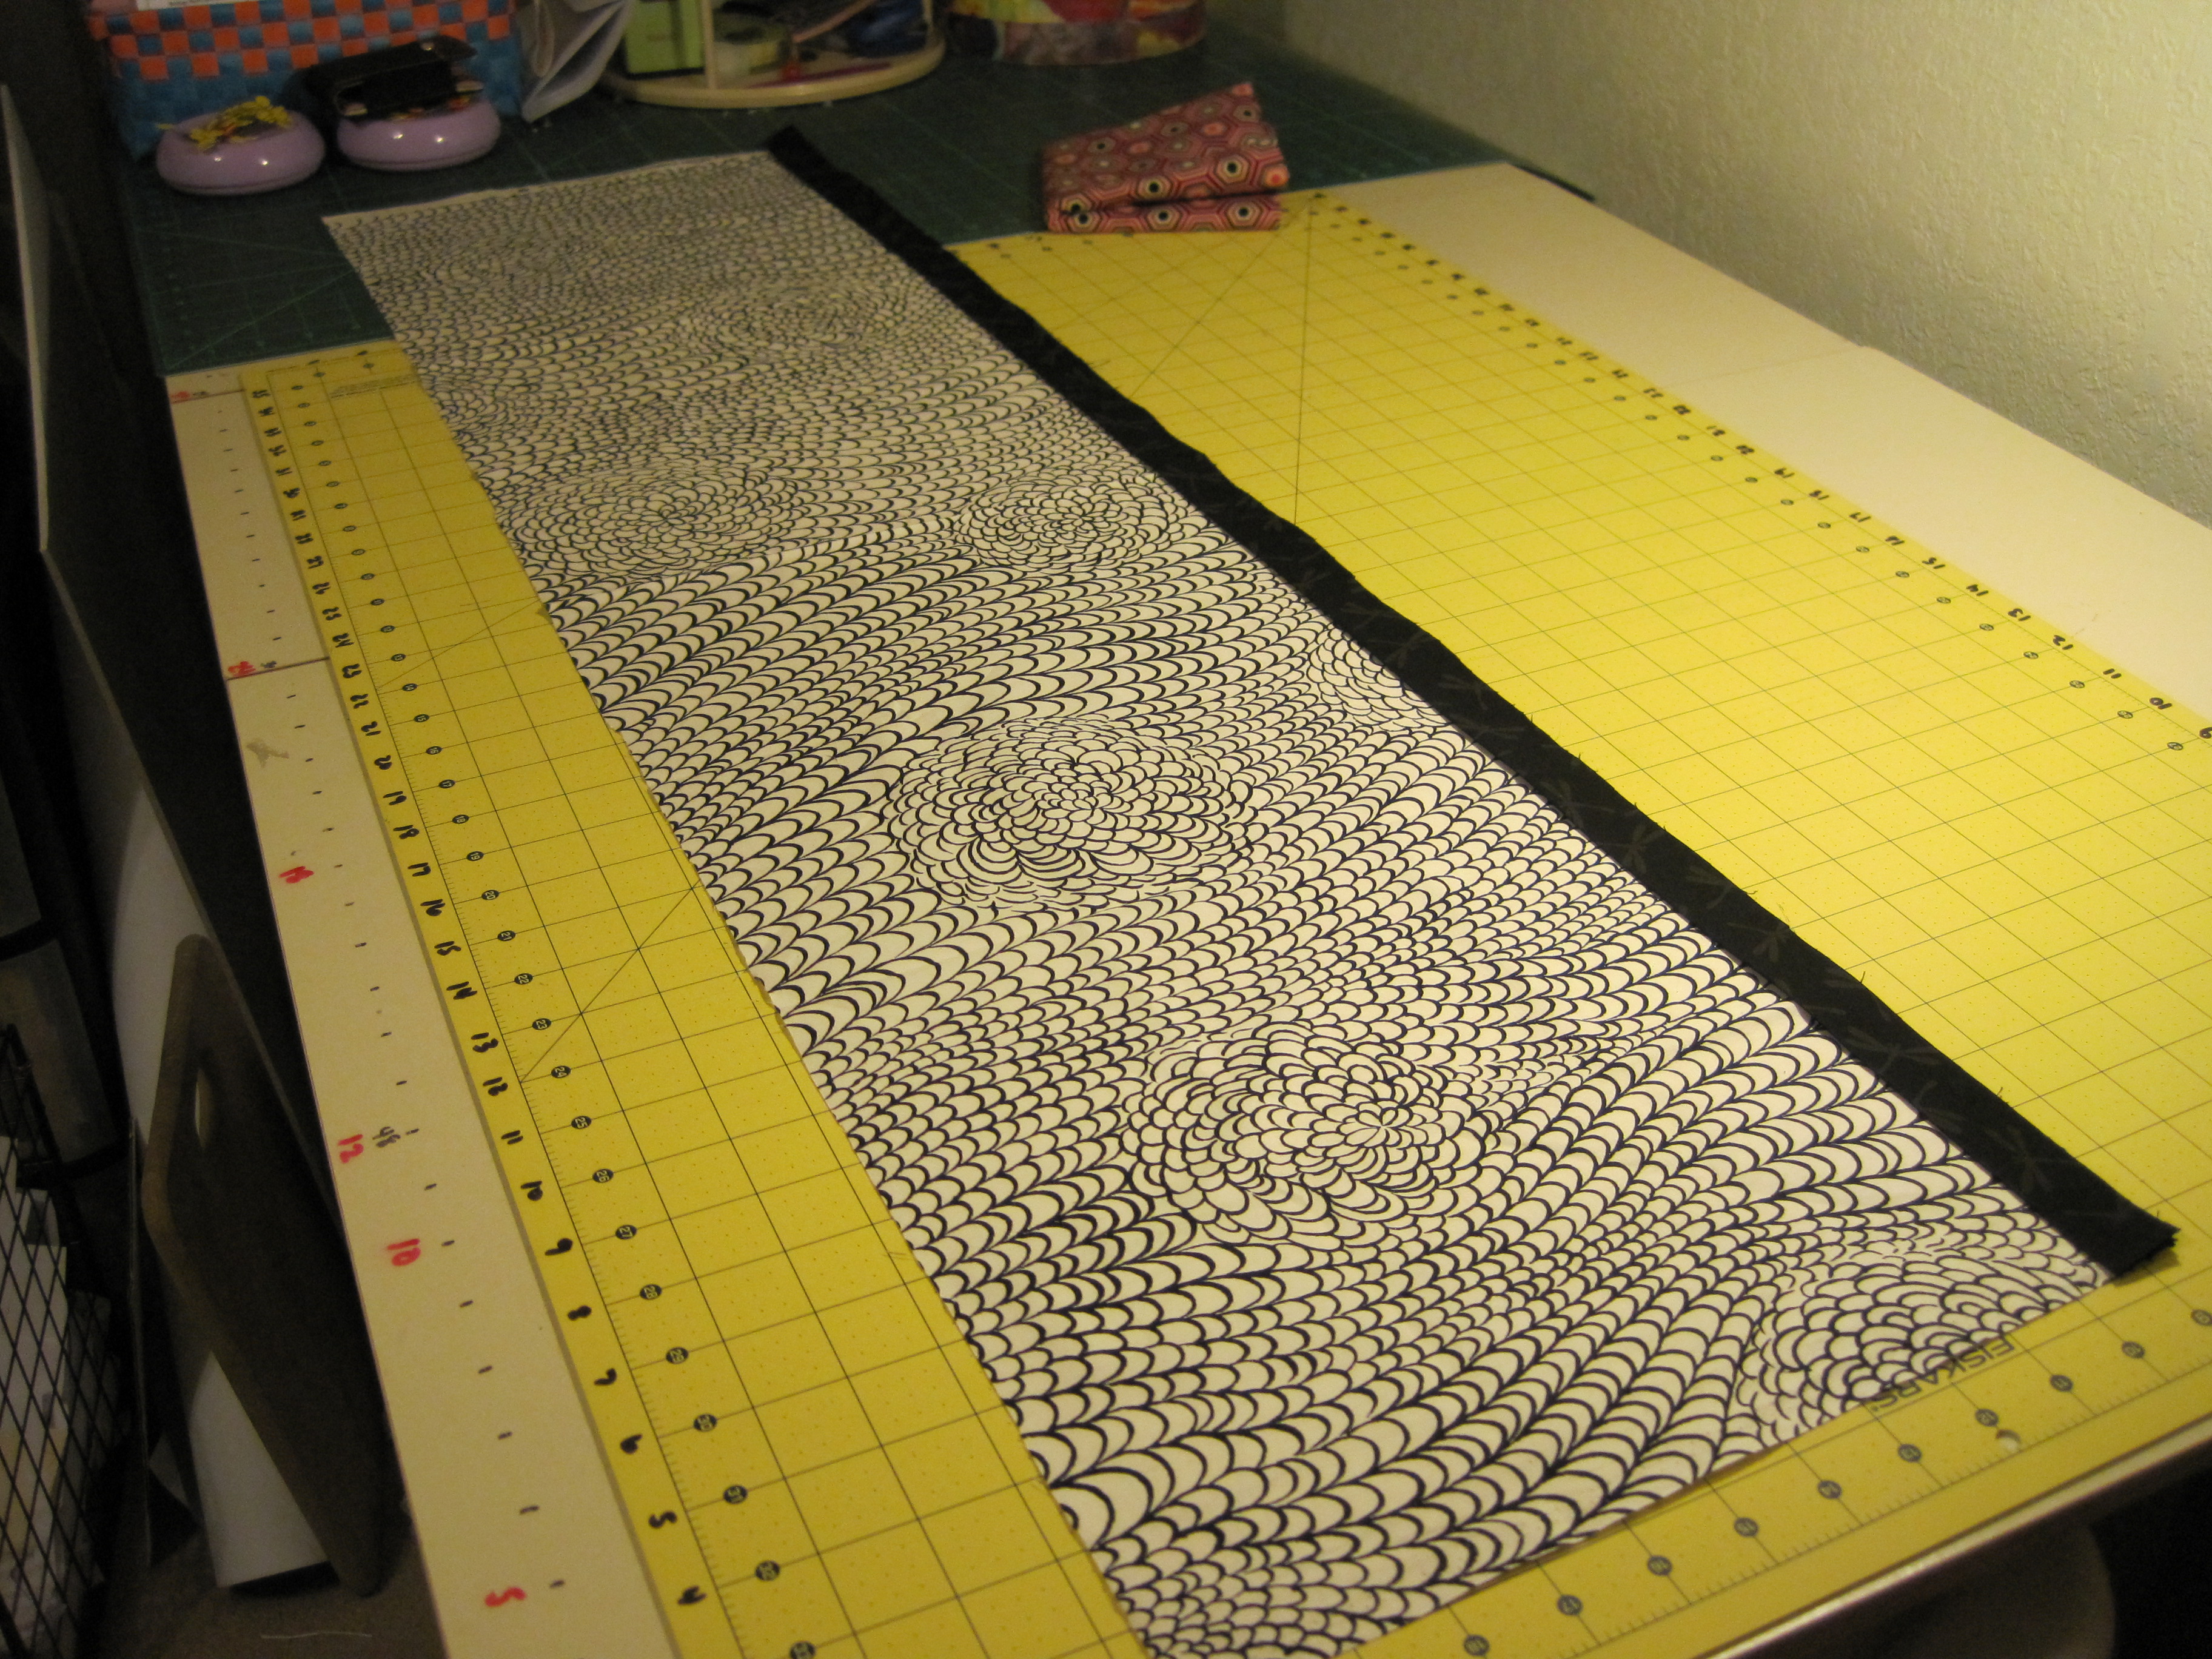
Three lengths of fabric in three coordinating colors.  Makes one standard-size pillowcase.

  • BUN (cuff) – 12″ x WOF (width of fabric ~ 44″)
  • MUSTARD (flange) – 2″ – 3″ x WOF (optional)
  • HOT DOG (body) 24″ – 26″ x WOF (for longer pillowcases, lengthen here)

You can vary the bun/hot dog size up or down, just make sure that the total yardage between those two is 36″ – 38″. 9 – 12″ for the bun is ideal.

If you use two yards of coordinating fabric, plus 6″ of a third, you can make two coordinating pillowcases with opposite colors!


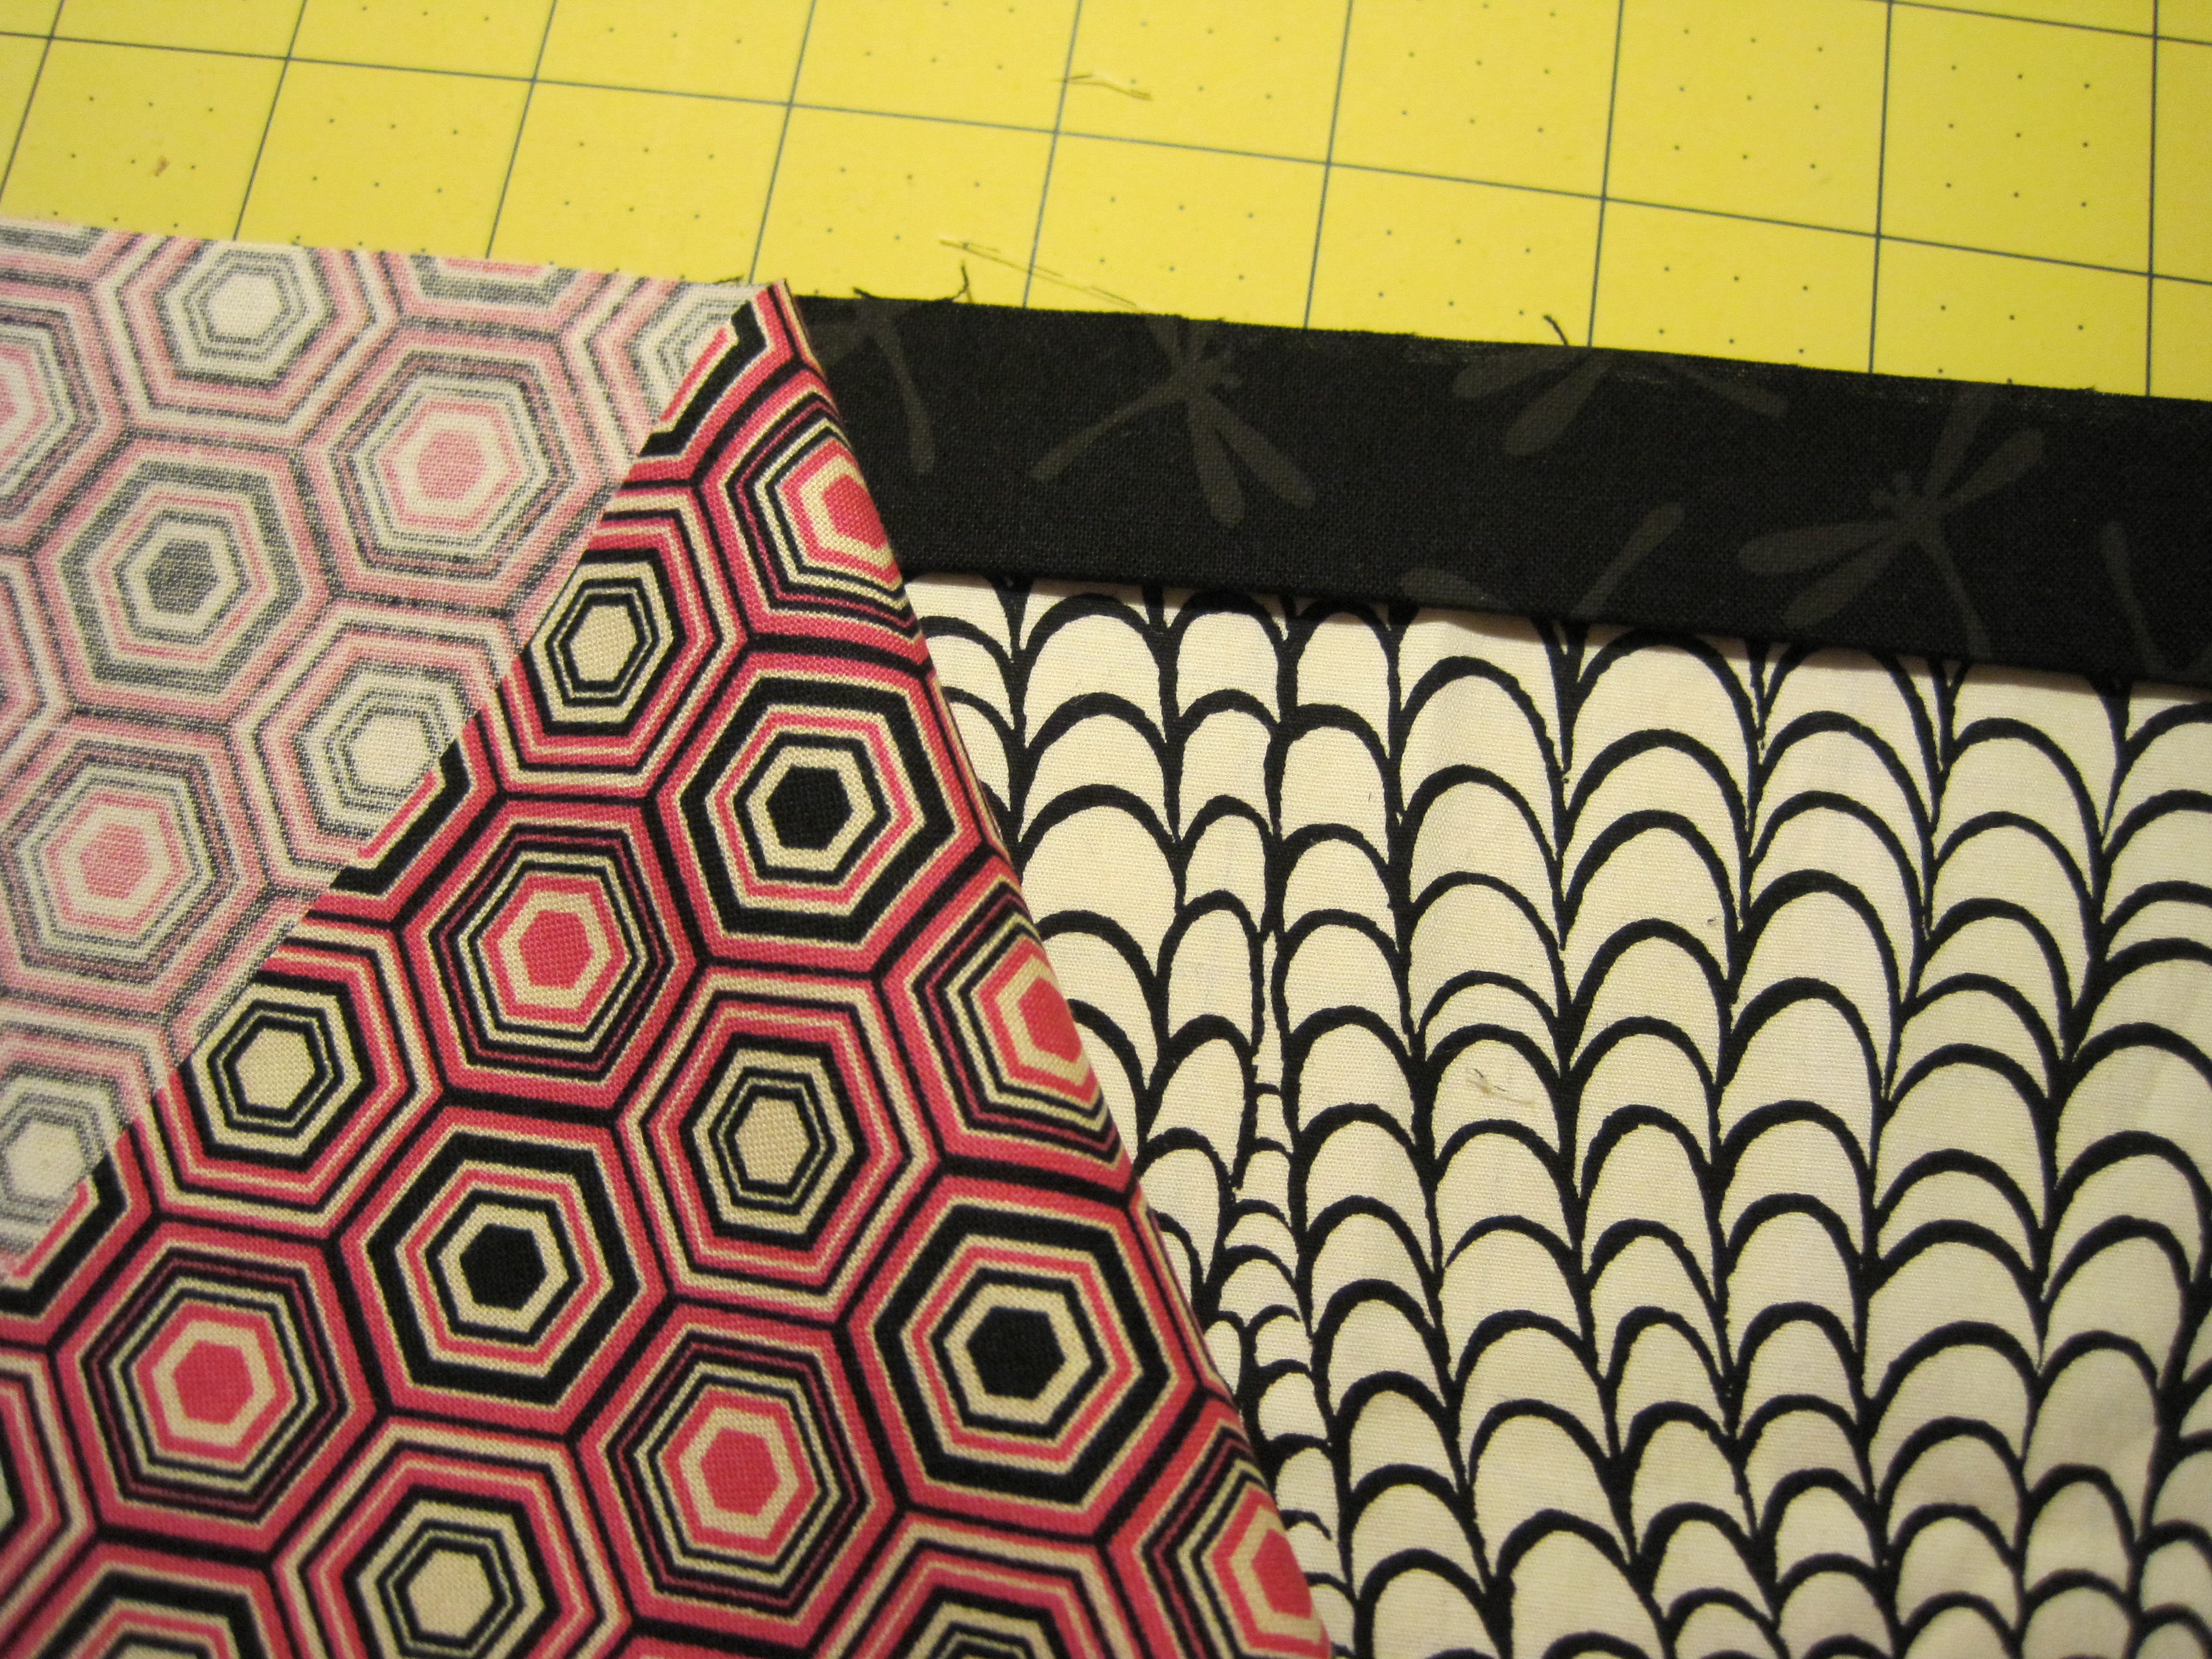
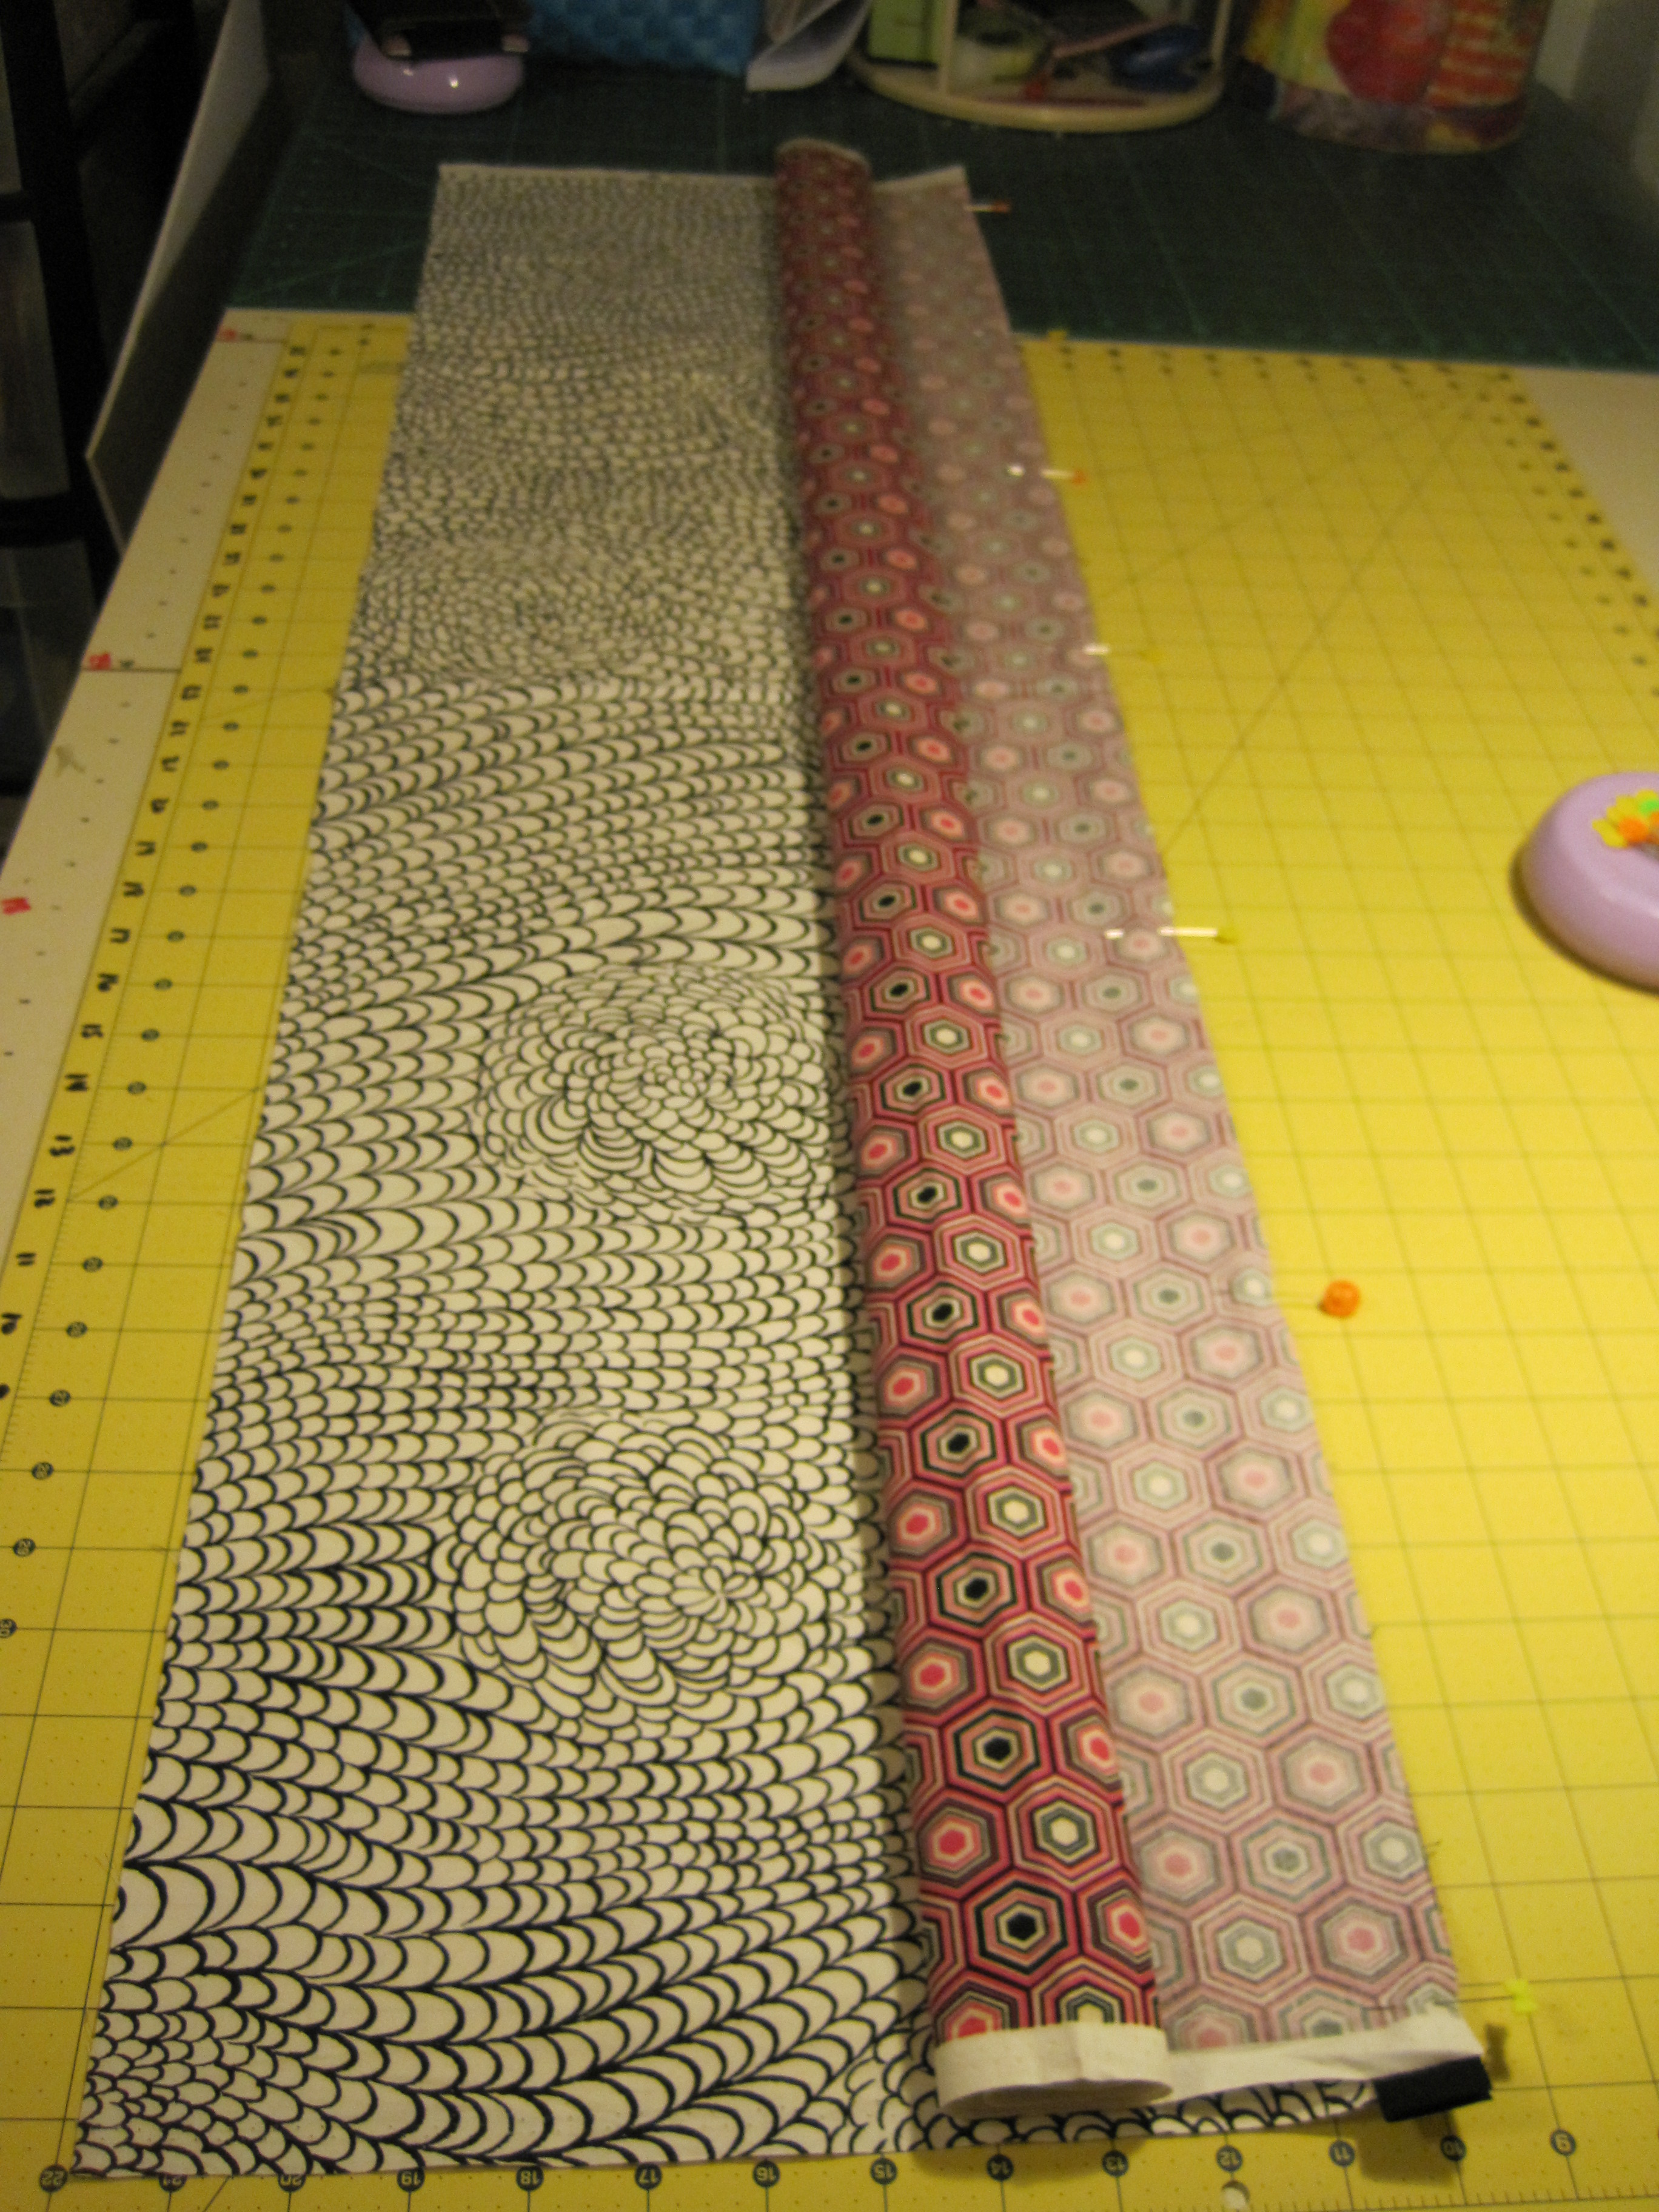
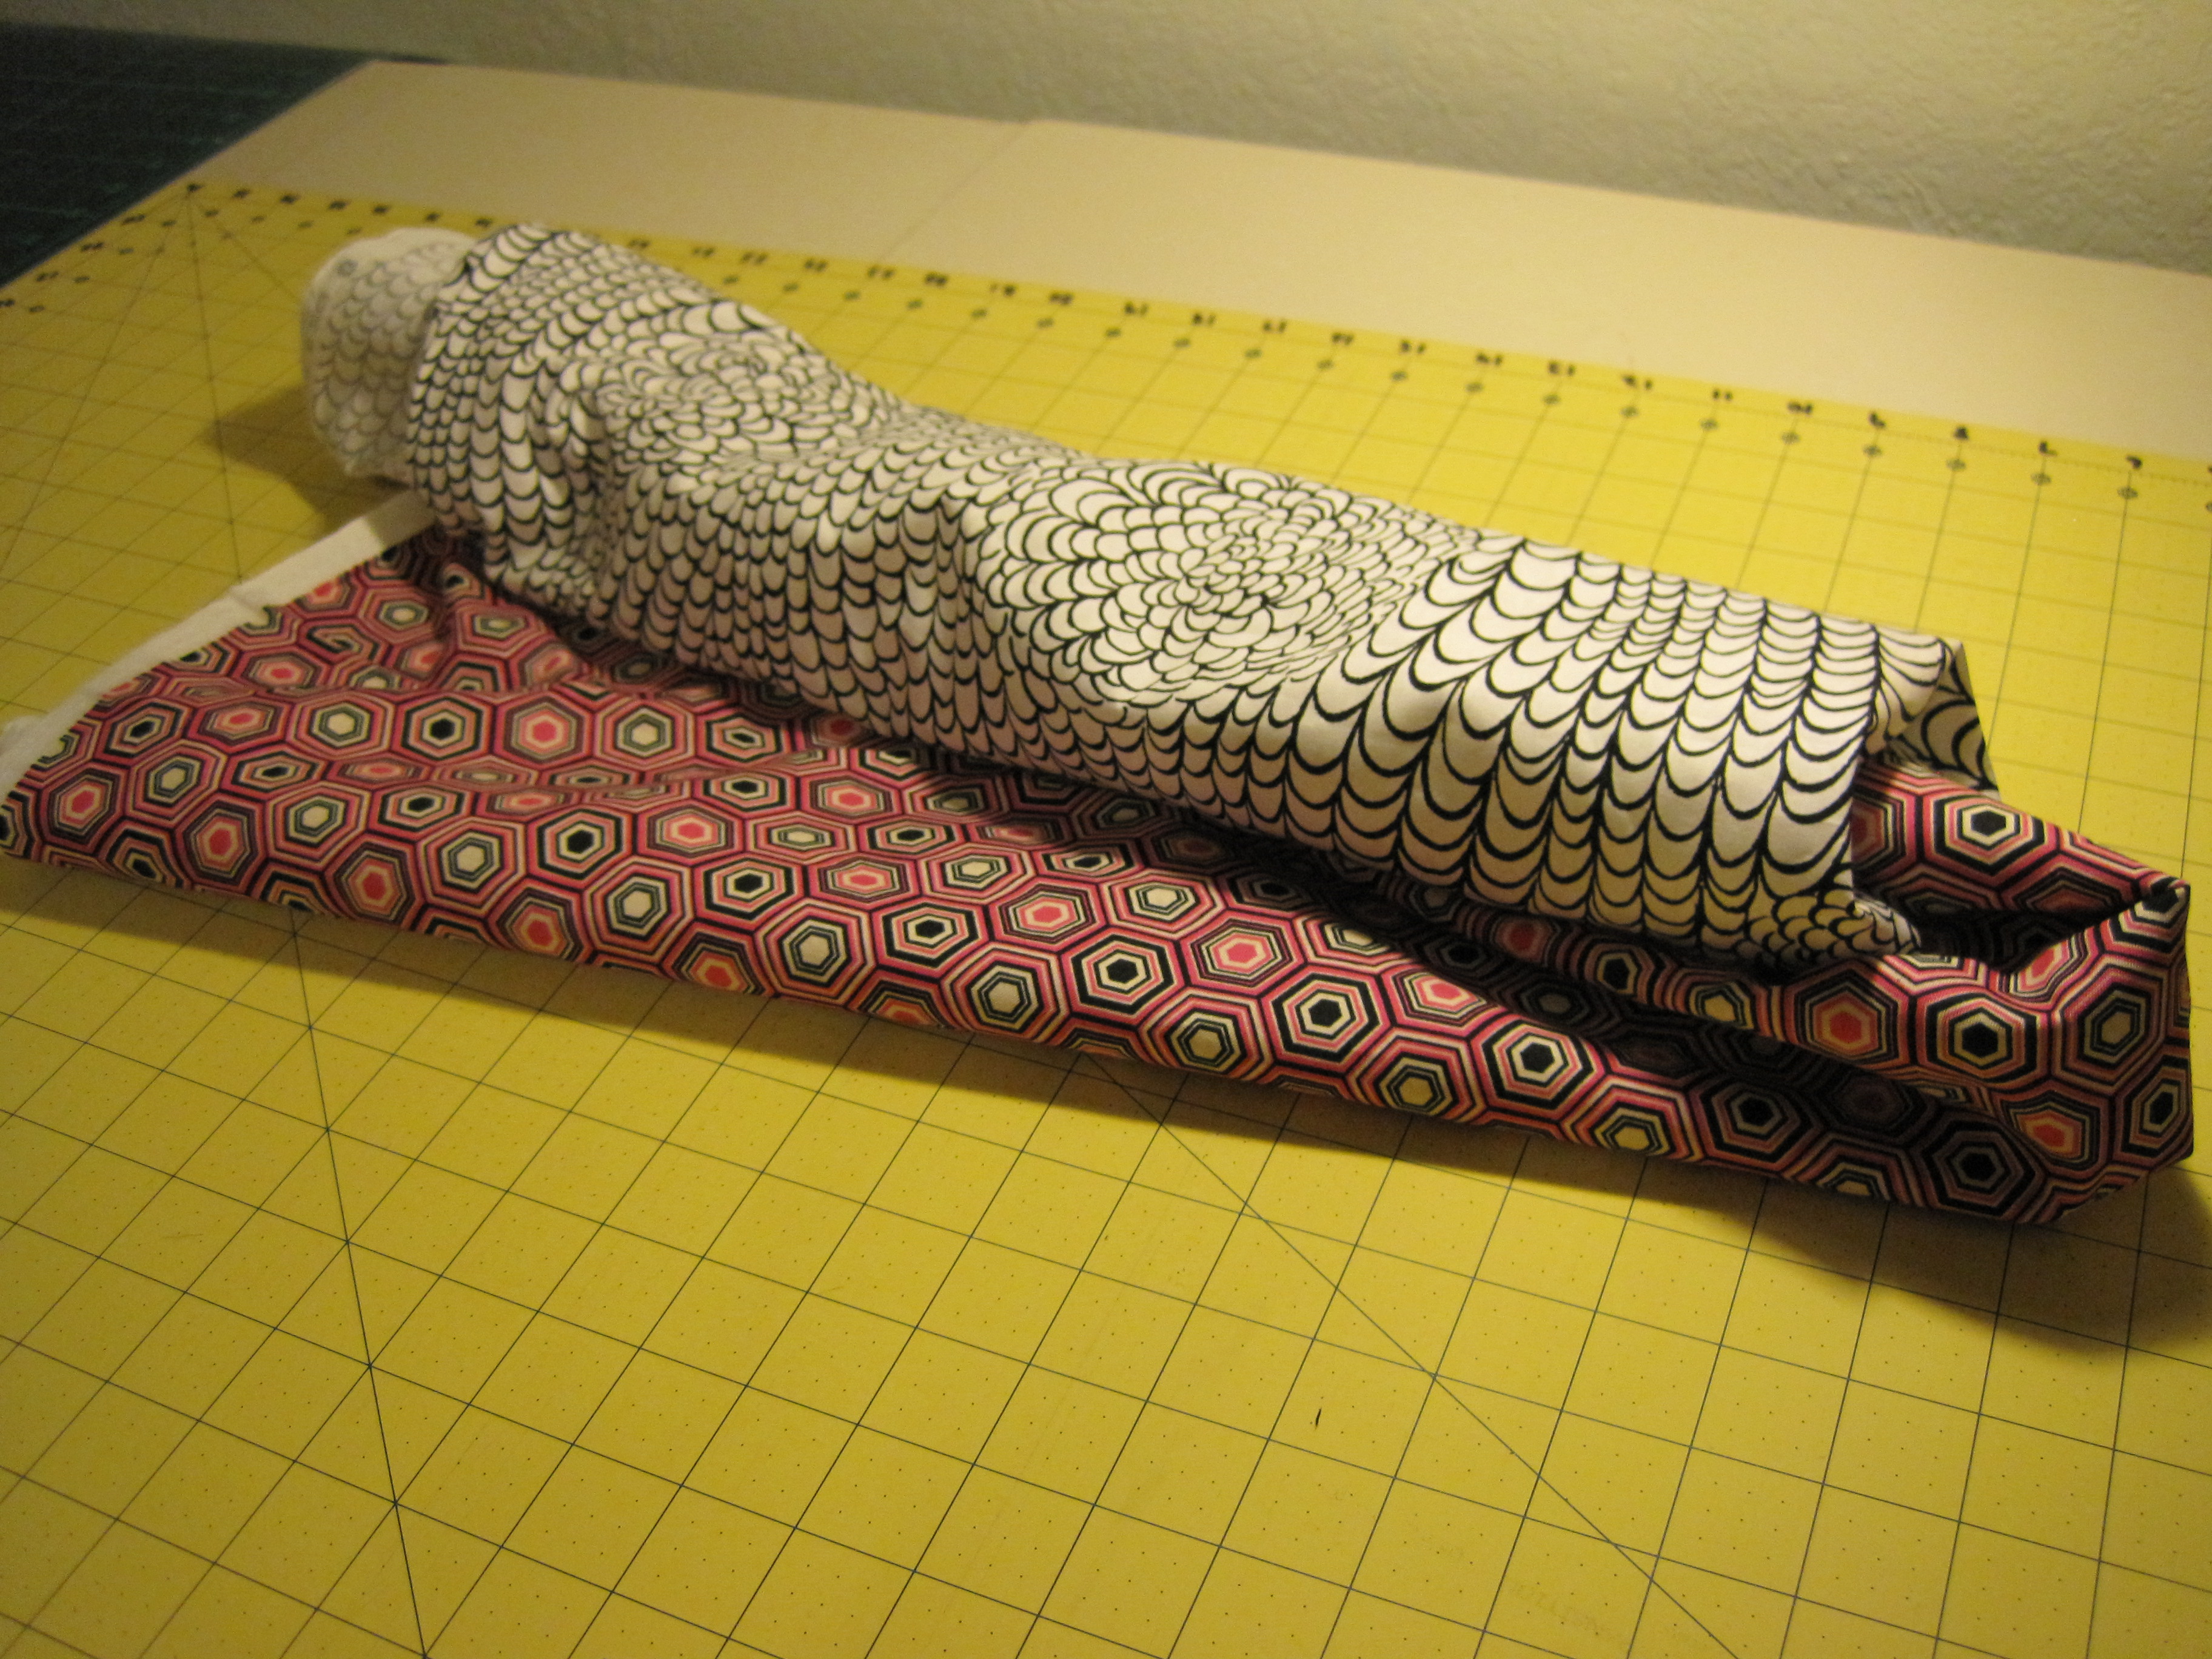
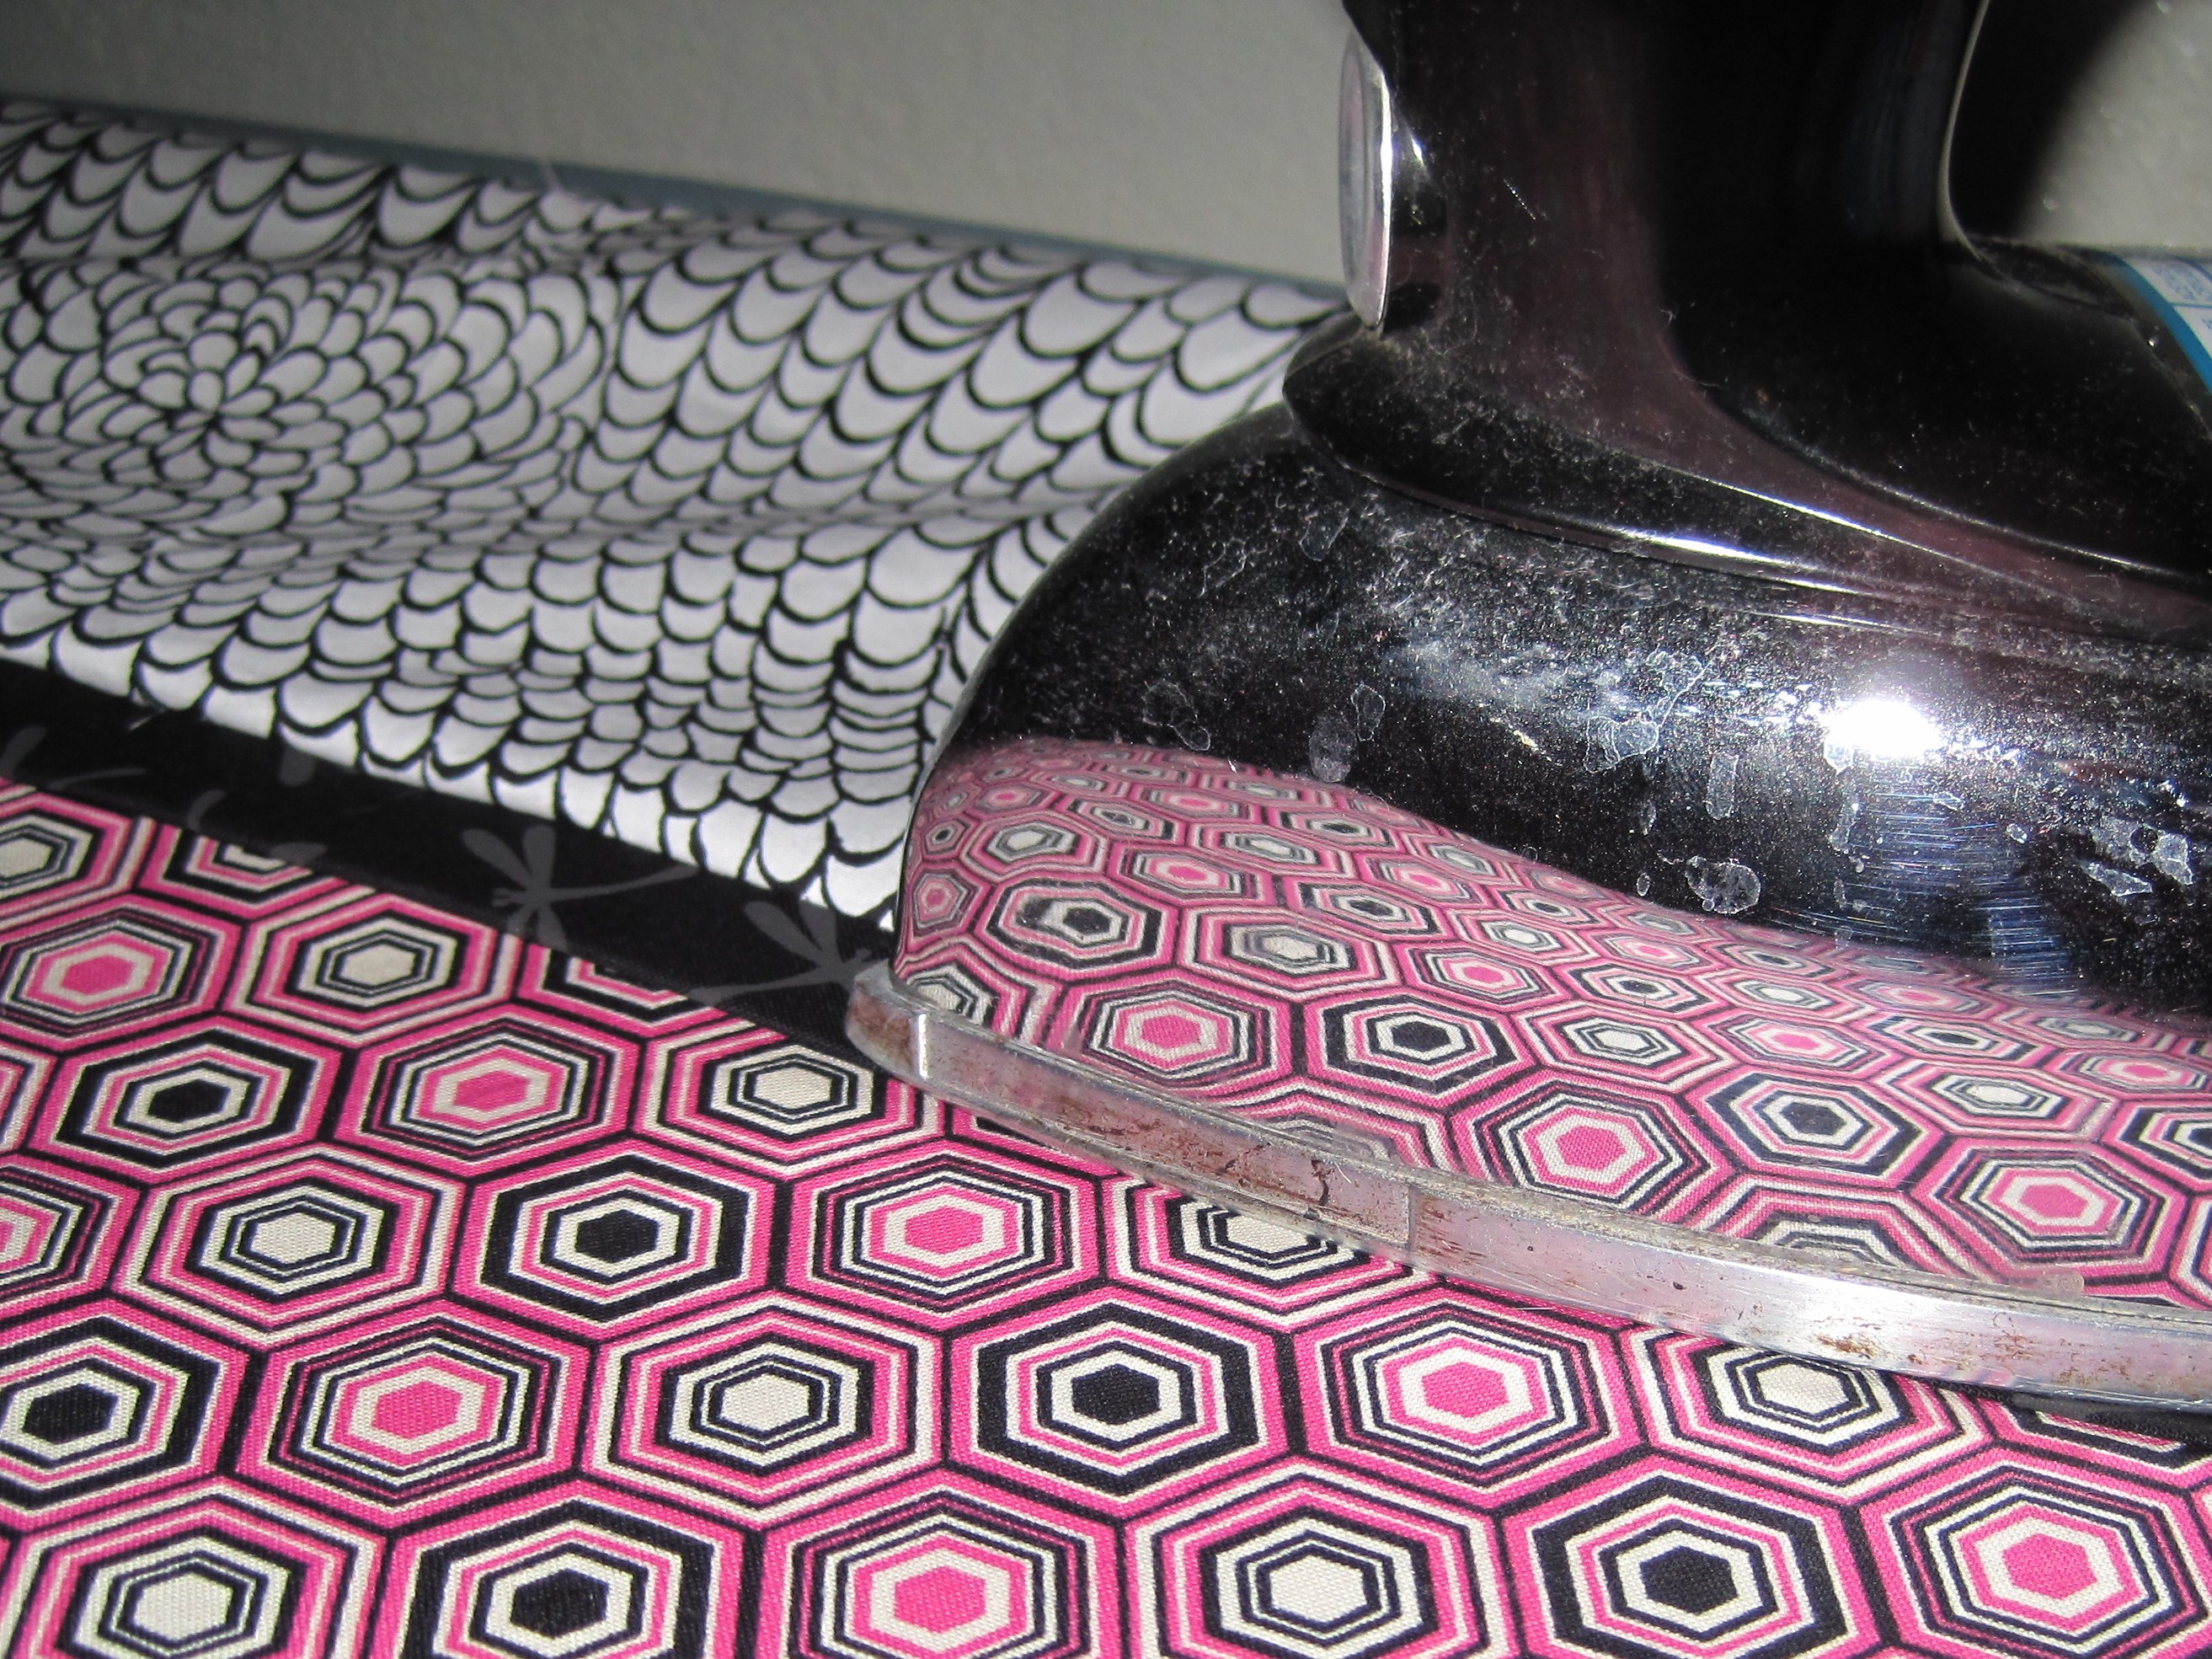
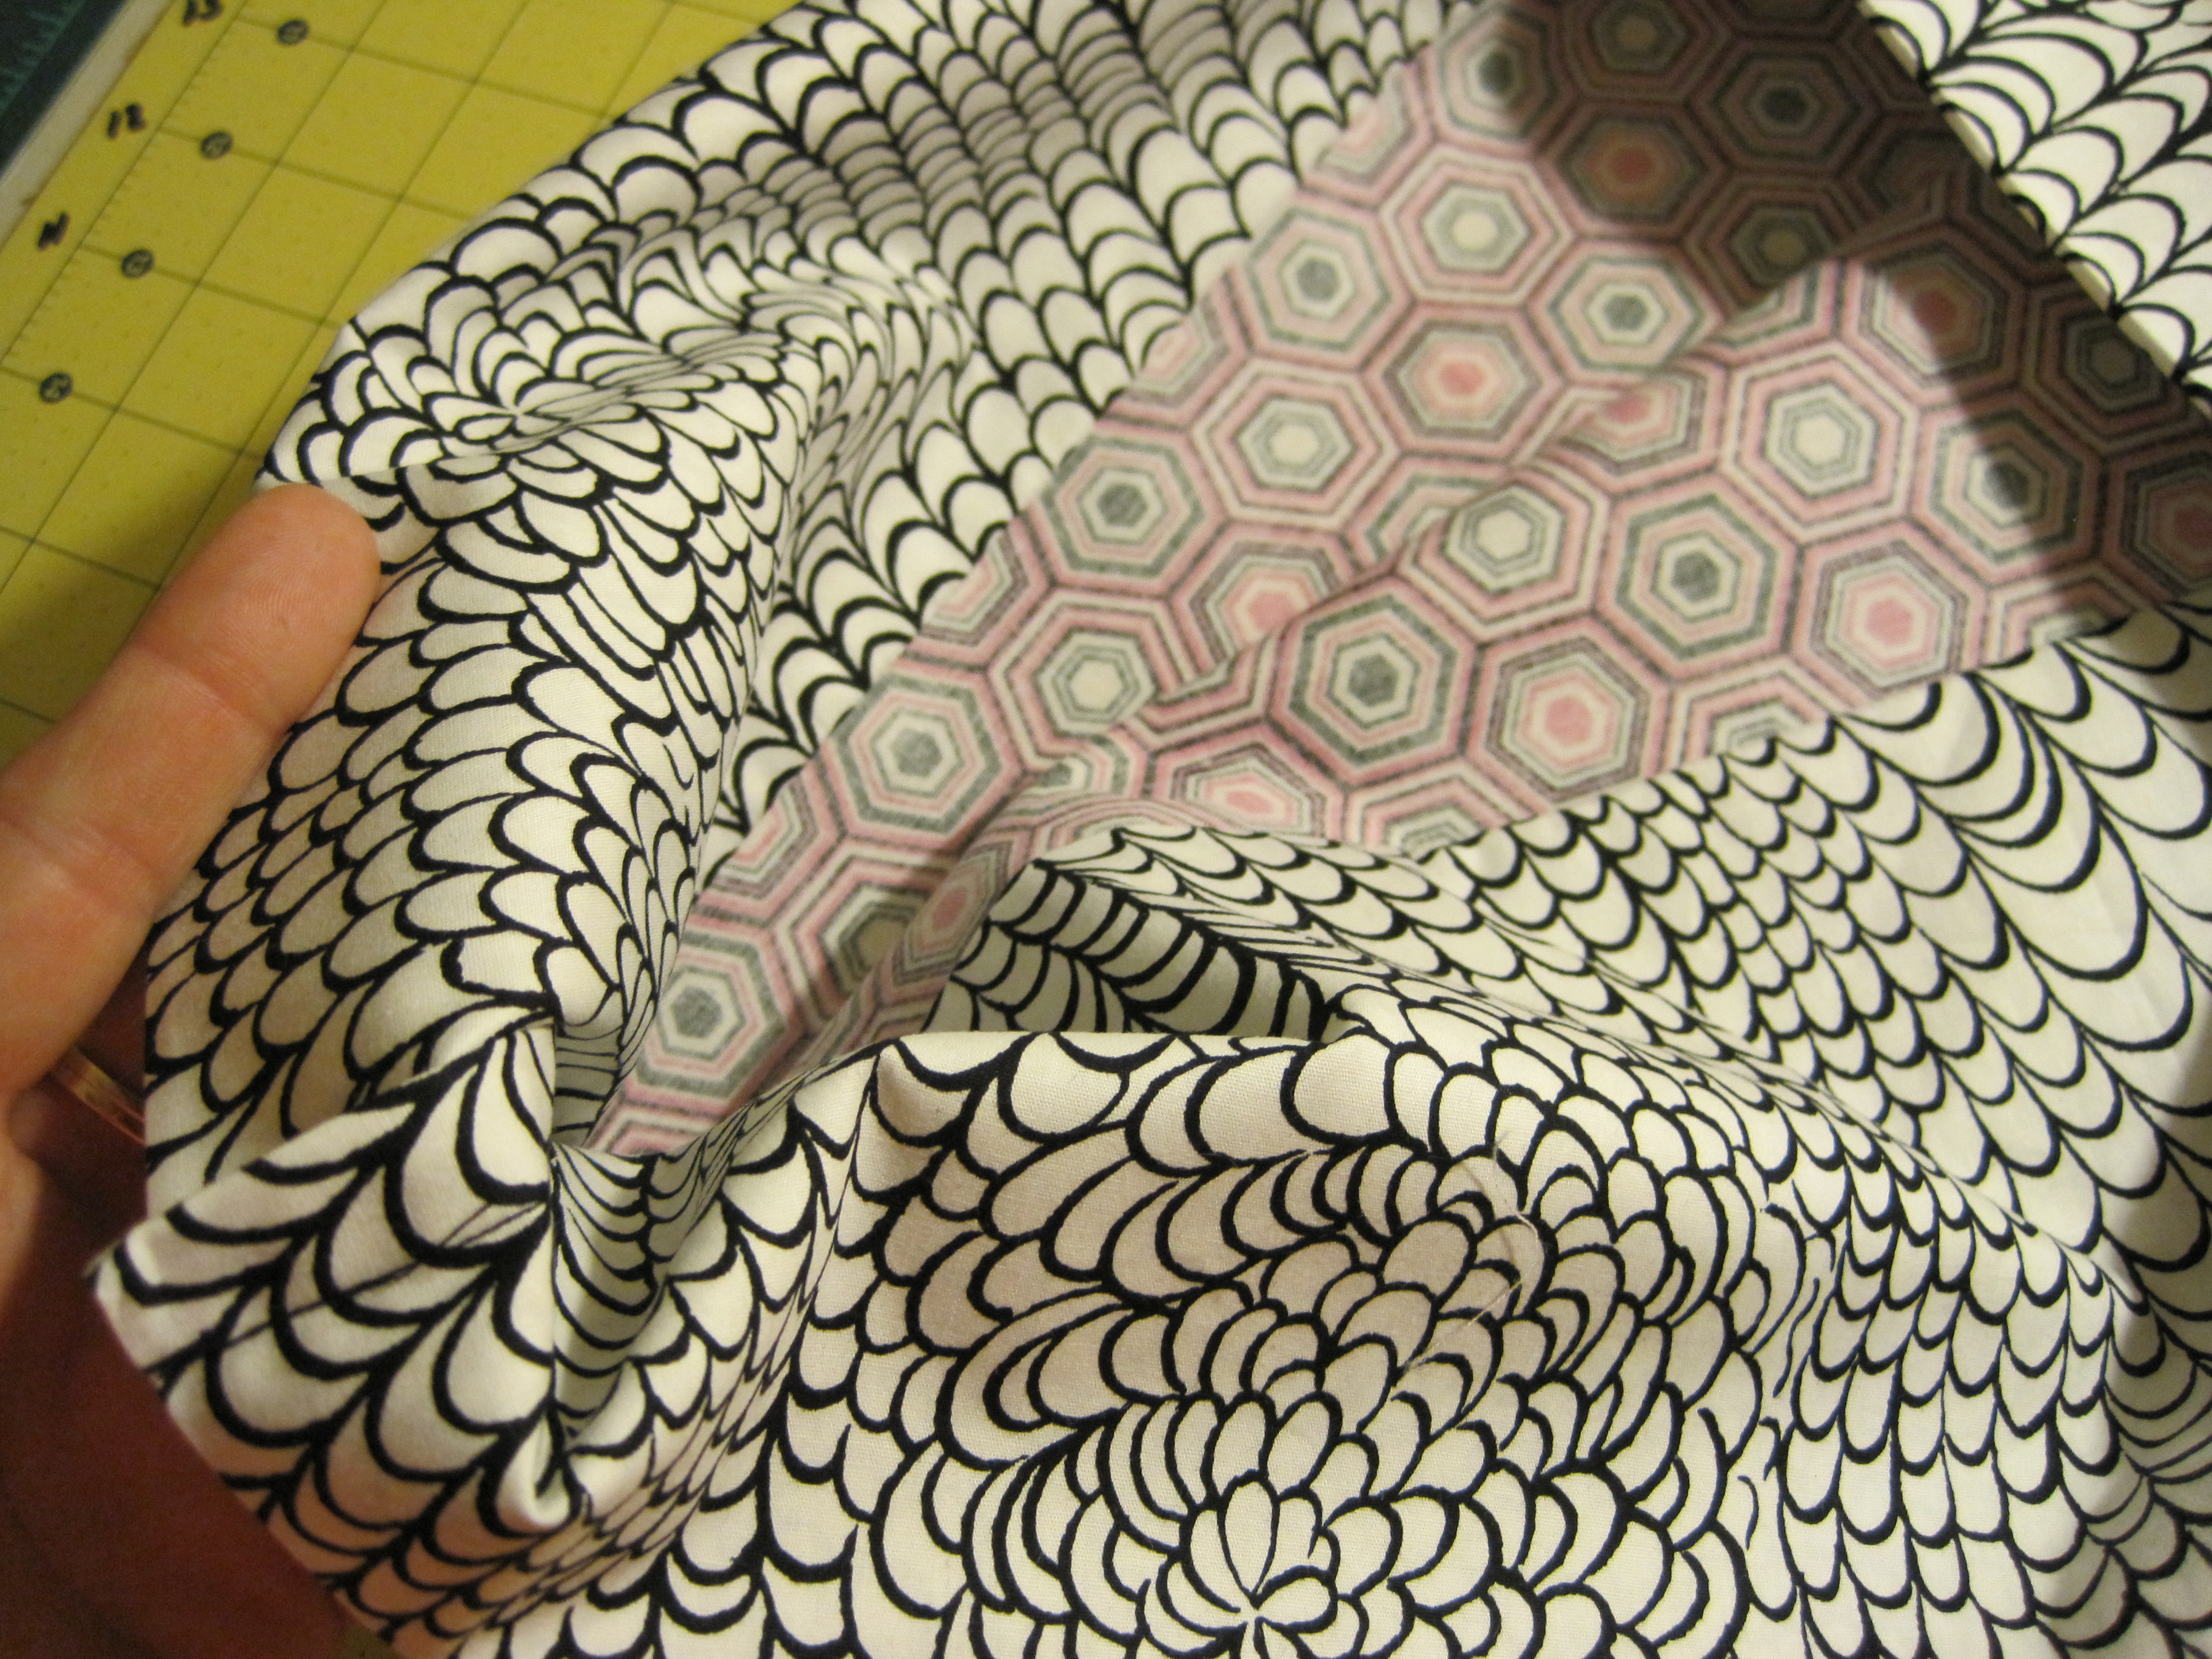
My colors for this tutorial – a pre-cut kit from Honey Bee.  Isn’t the fabric just delicious?


Hot Dog, Bun & Mustard!   Once your fabric is cut and pressed and you’re ready to go!

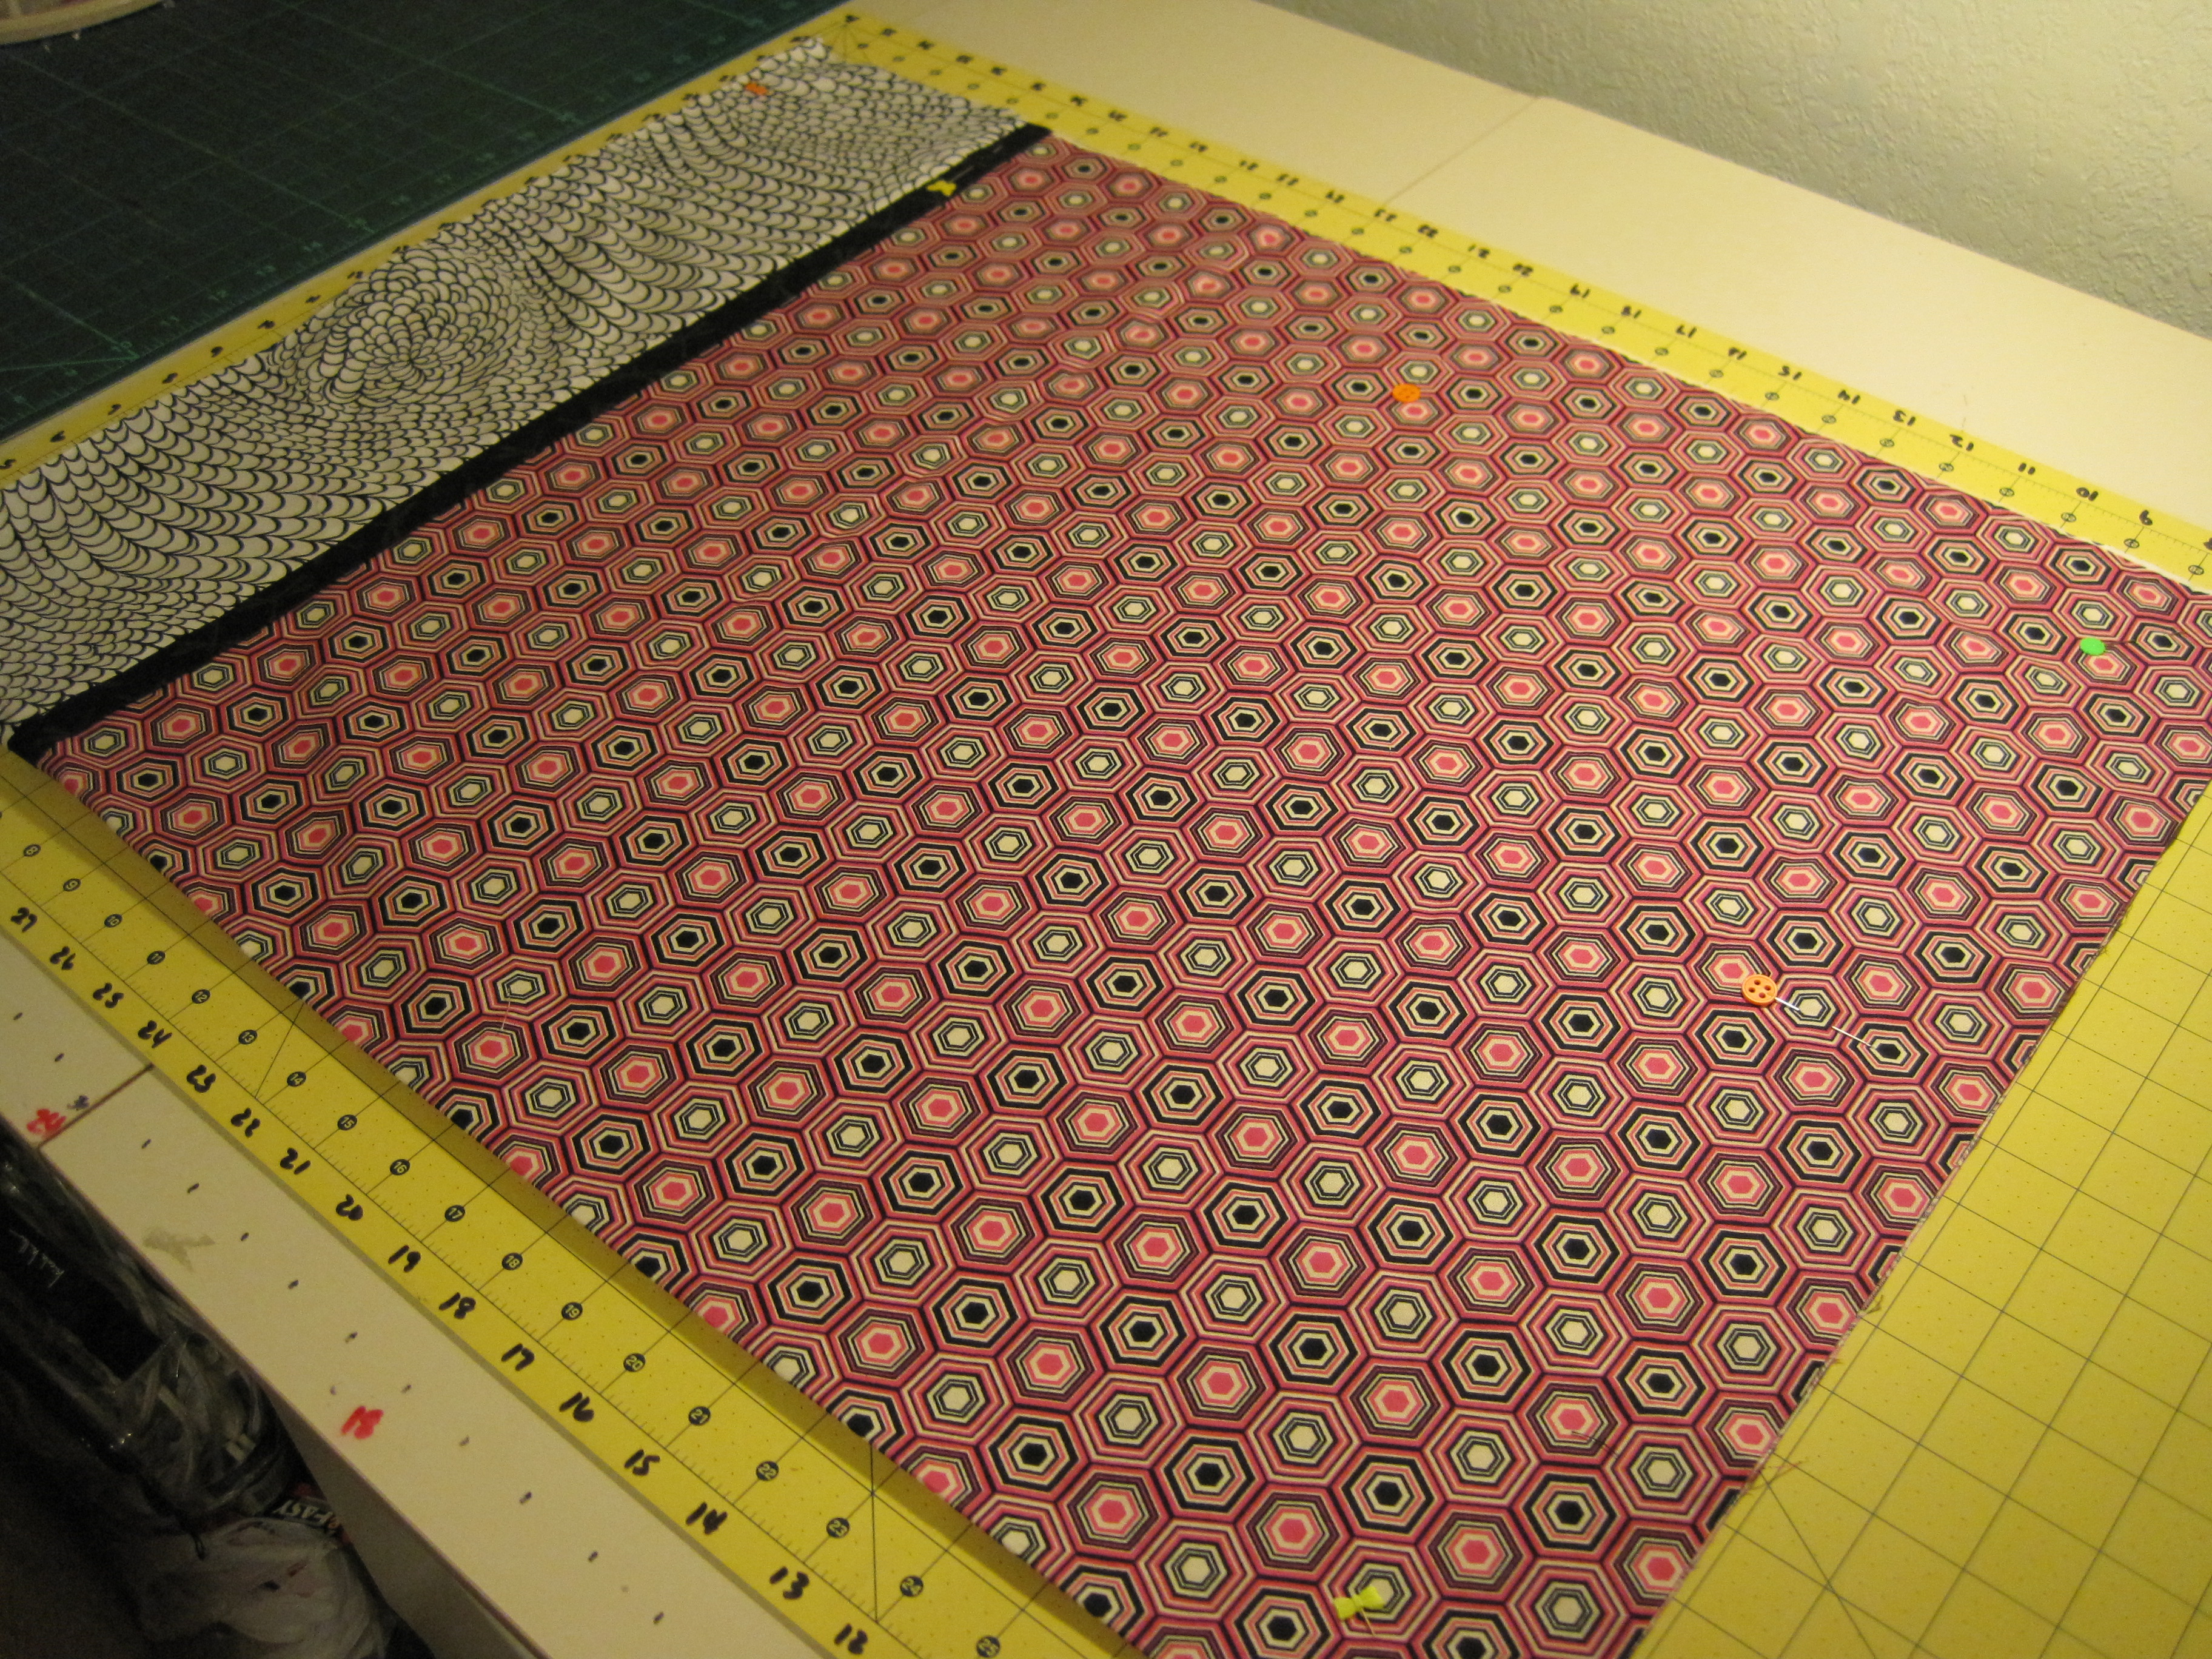
Roll out your BUN, right side up.

Press the MUSTARD in half

Place MUSTARD with raw edges matching along one side of the BUN.

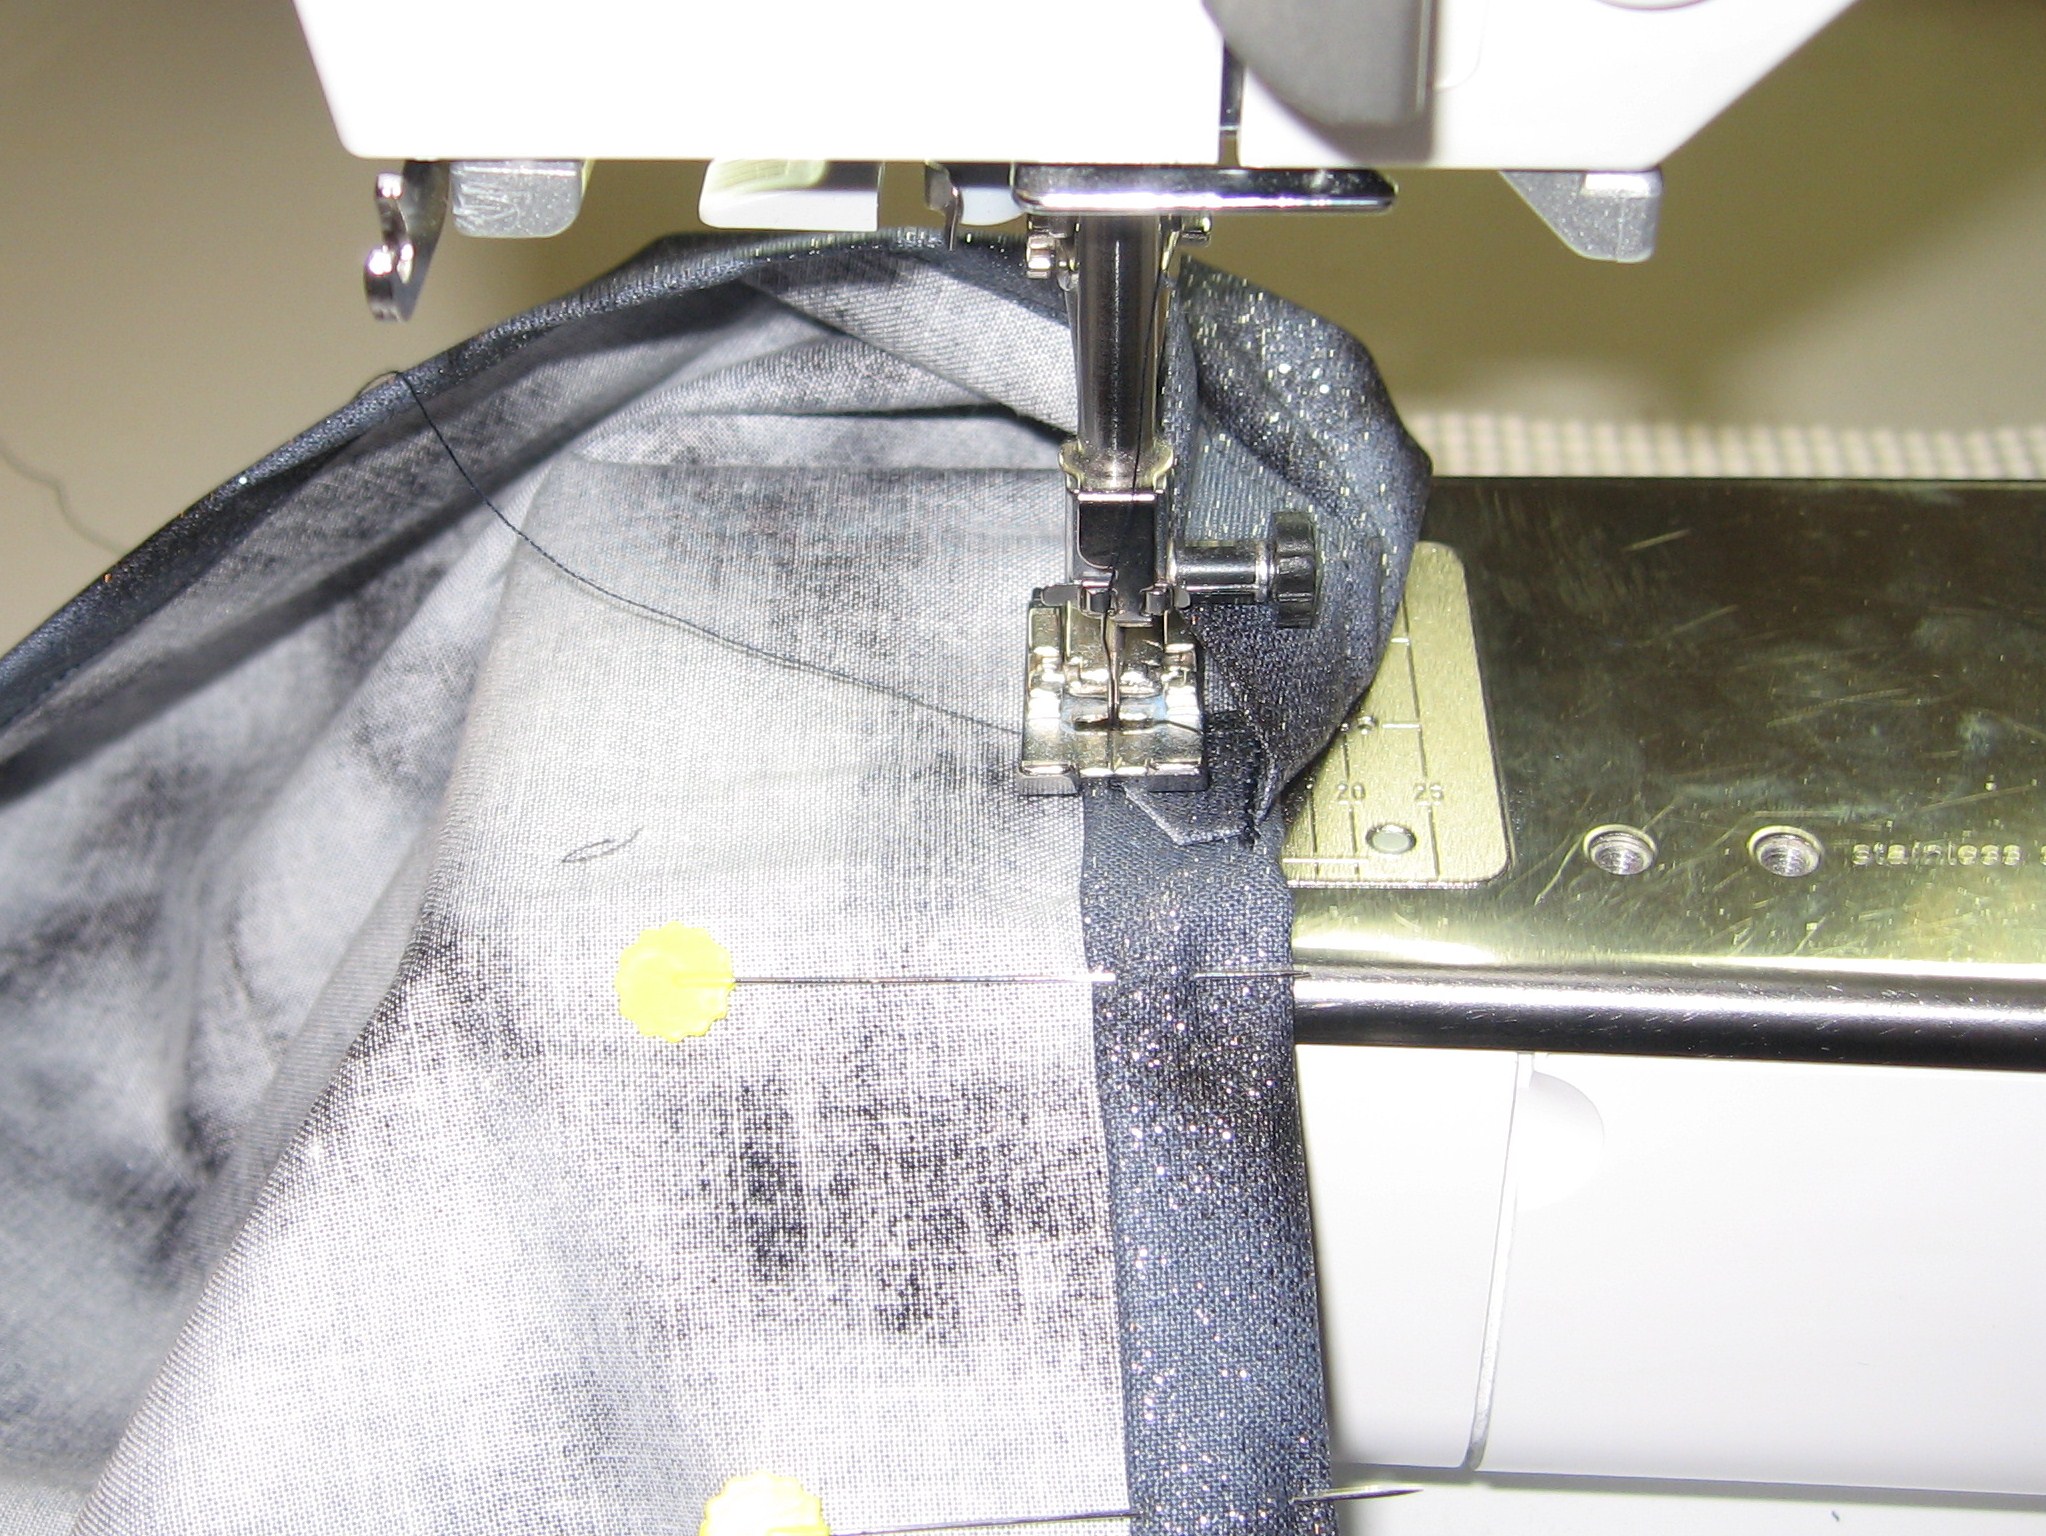
Place HOT DOG on top of MUSTARD, face down.  Align raw seams.  Add a few pins to hold in place.

Roll the HOT DOG (hey, now it looks like a hot dog!) to within a few inches of the pinned edge.

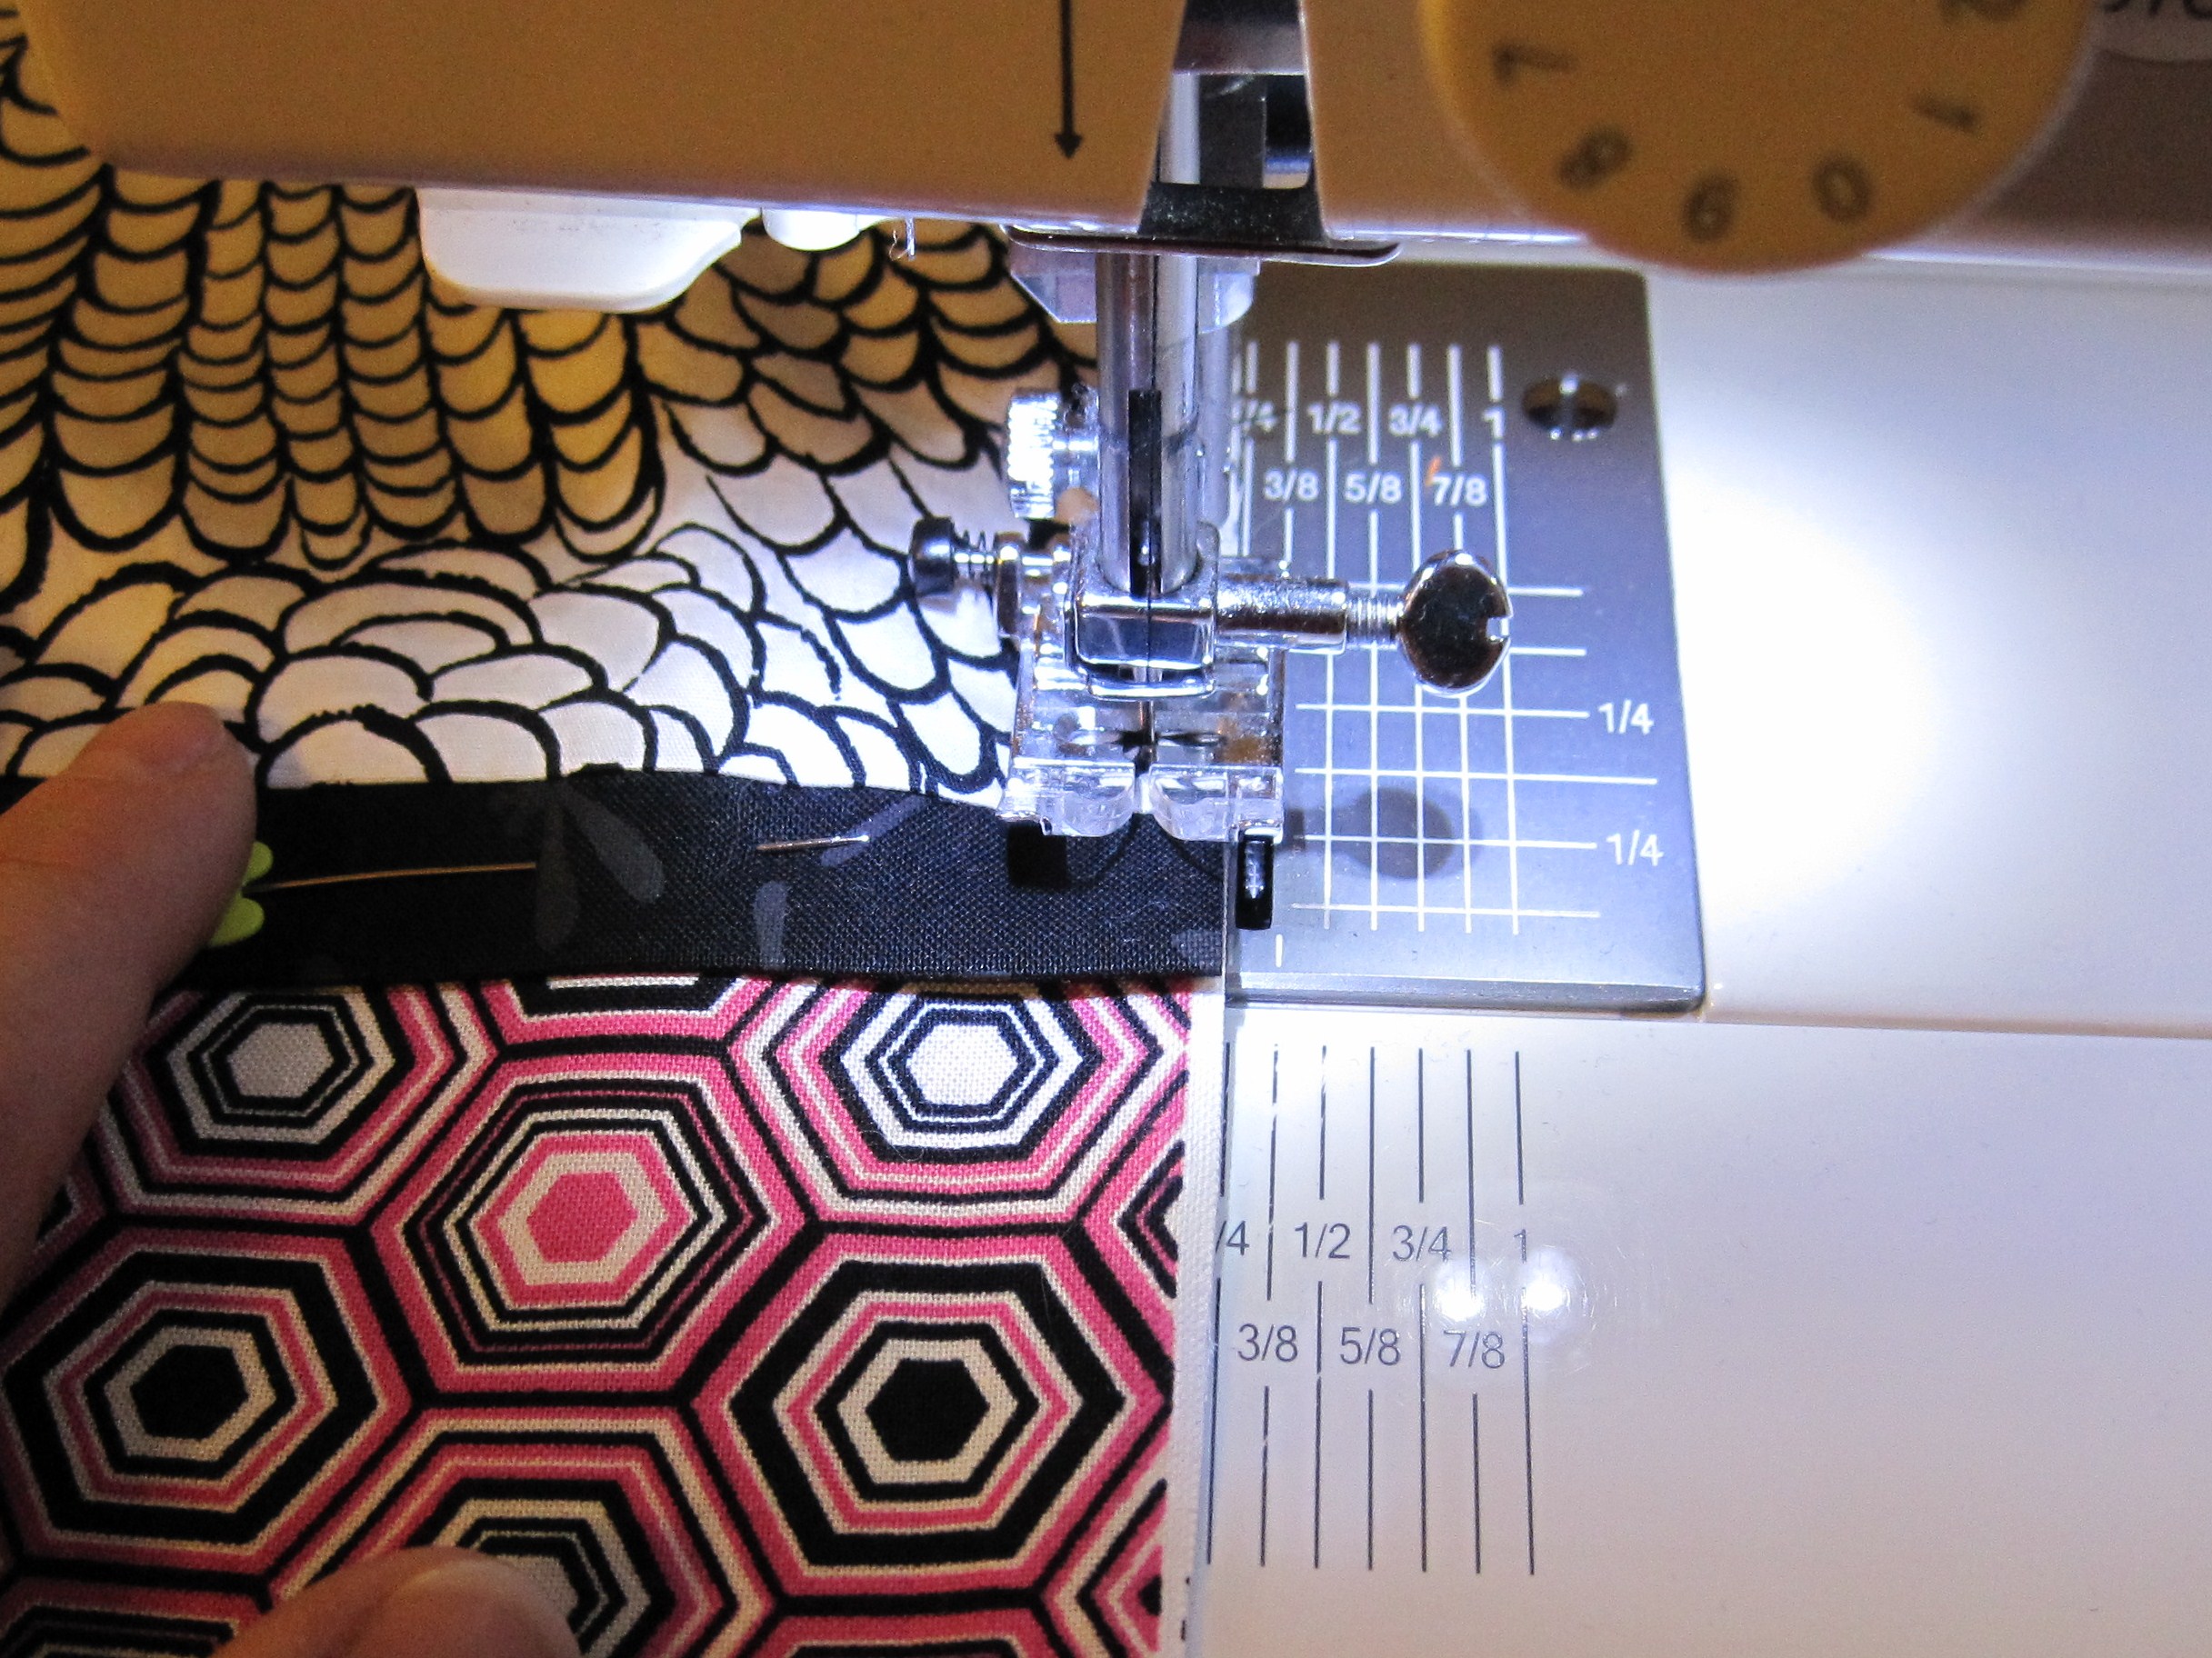
Fold the BUN over the HOT DOG and pin along the raw edge, making sure to catch all layers of fabric.

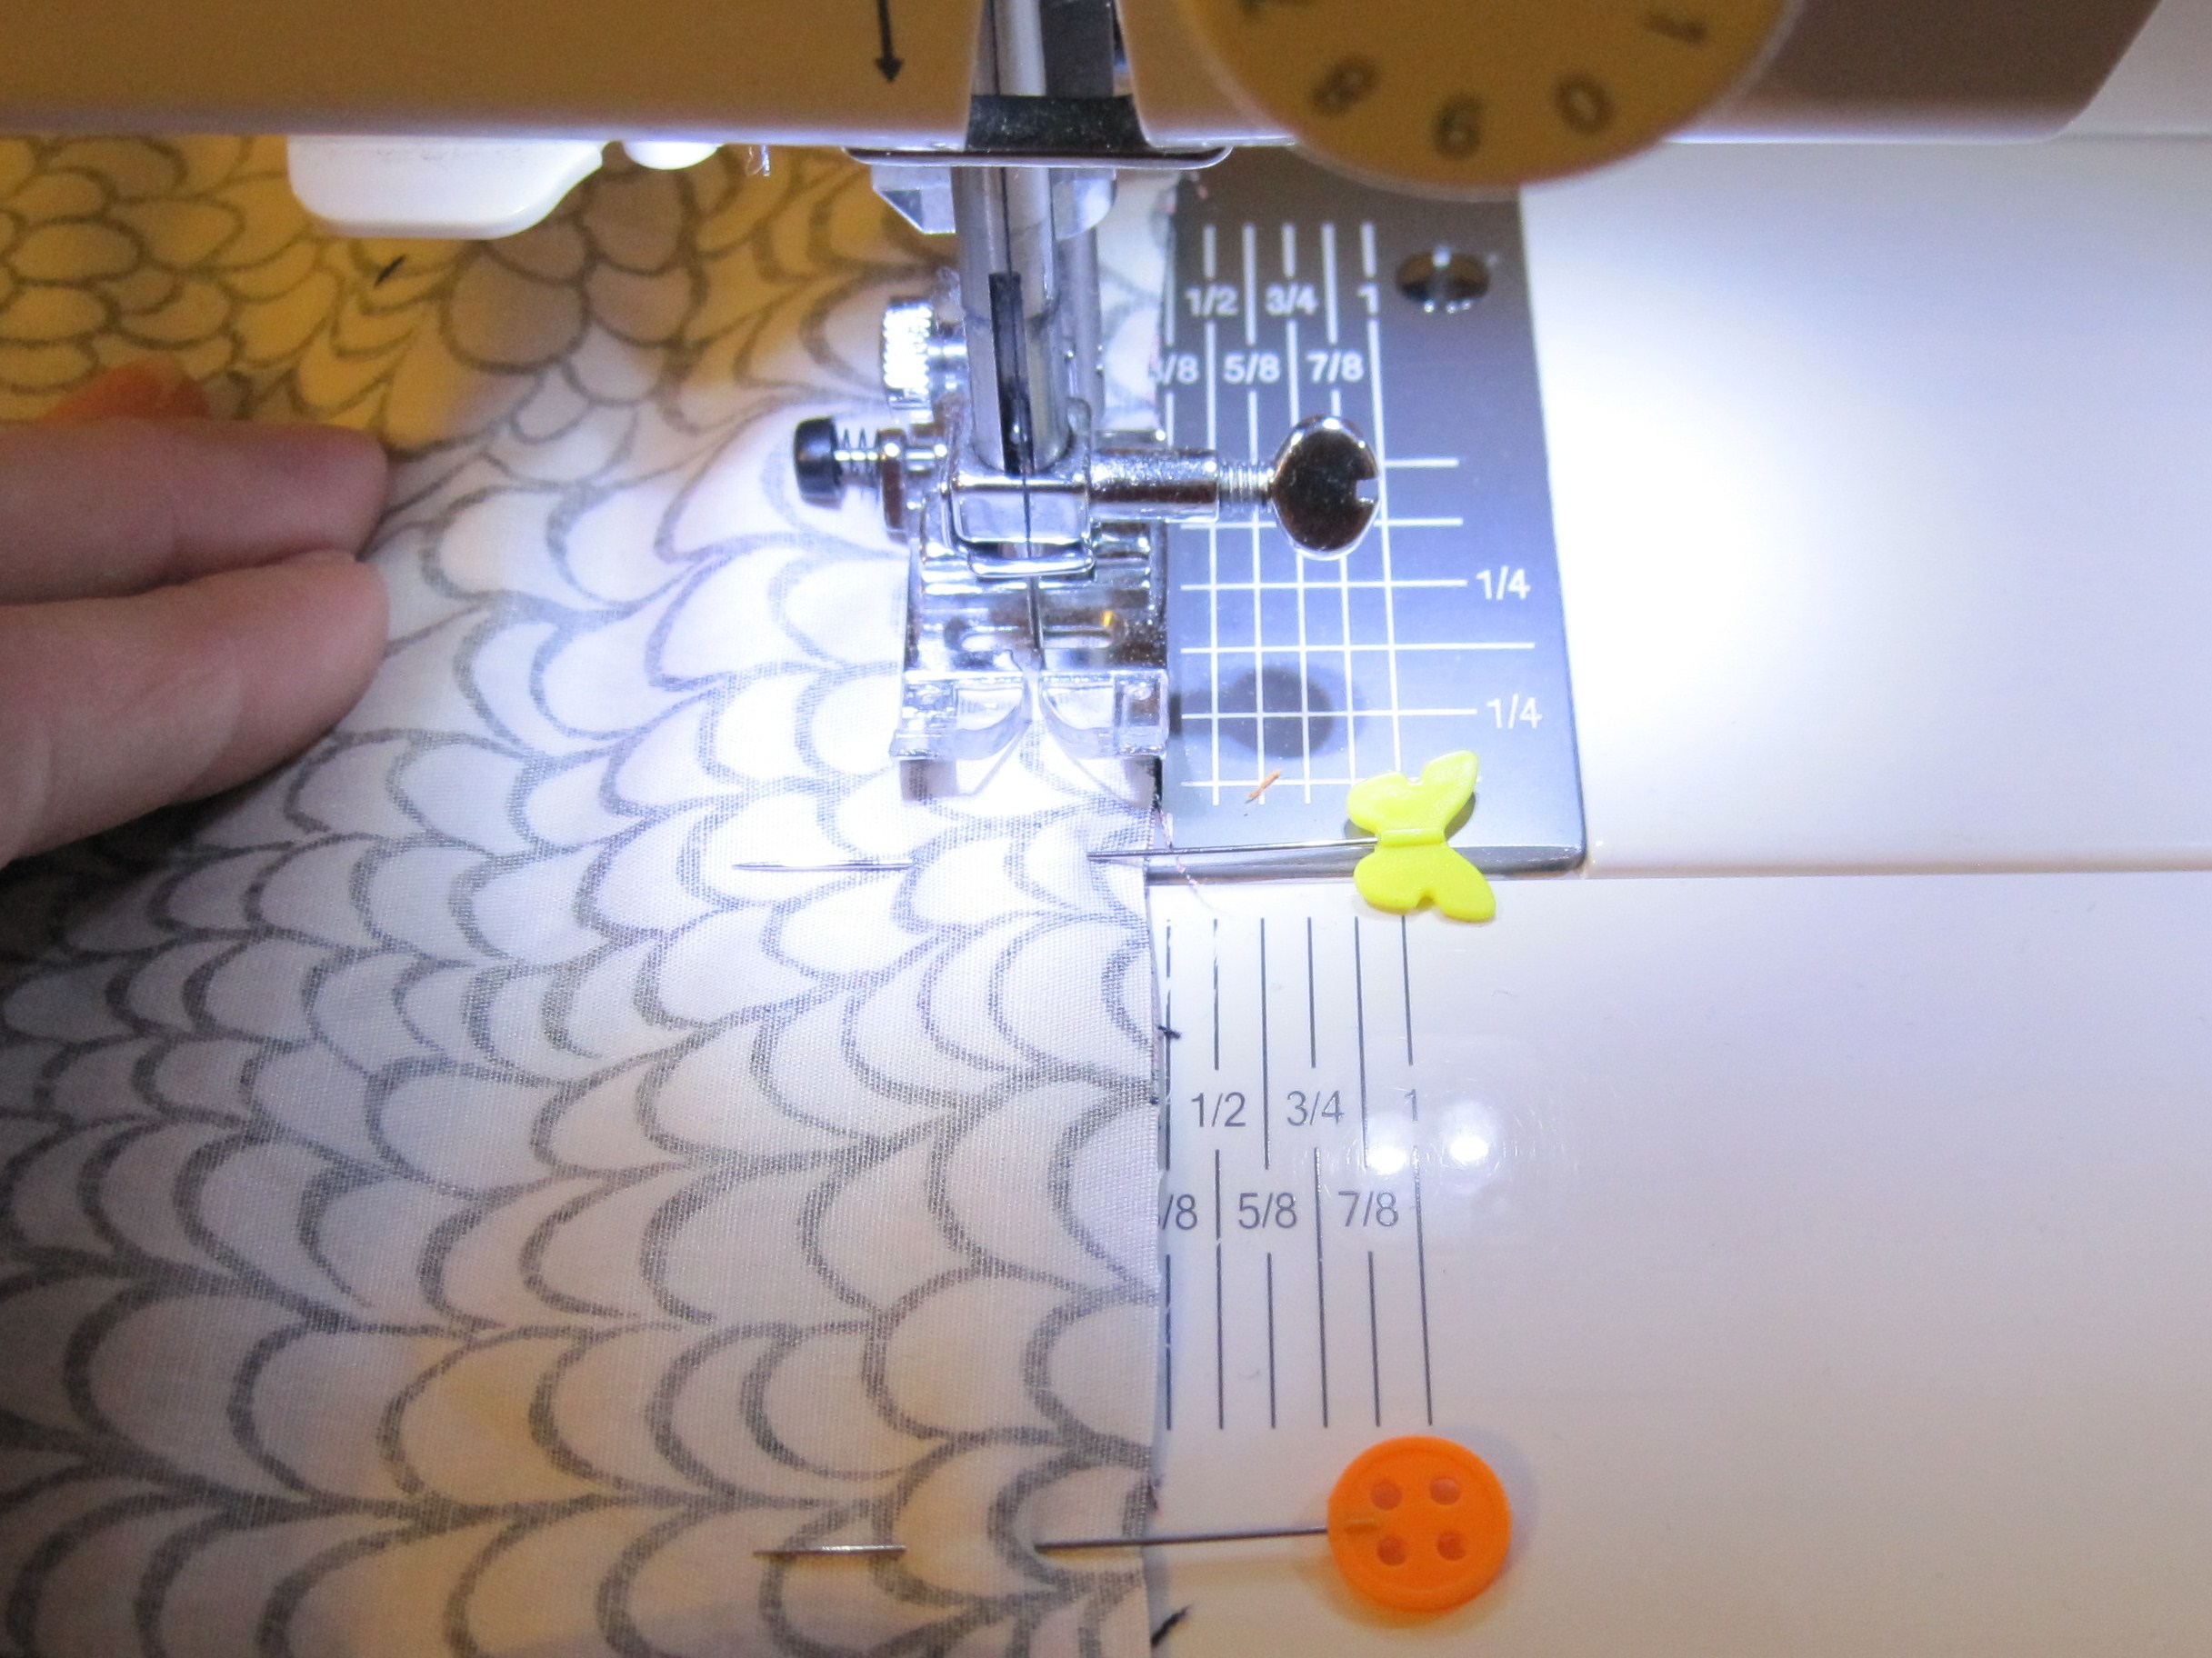
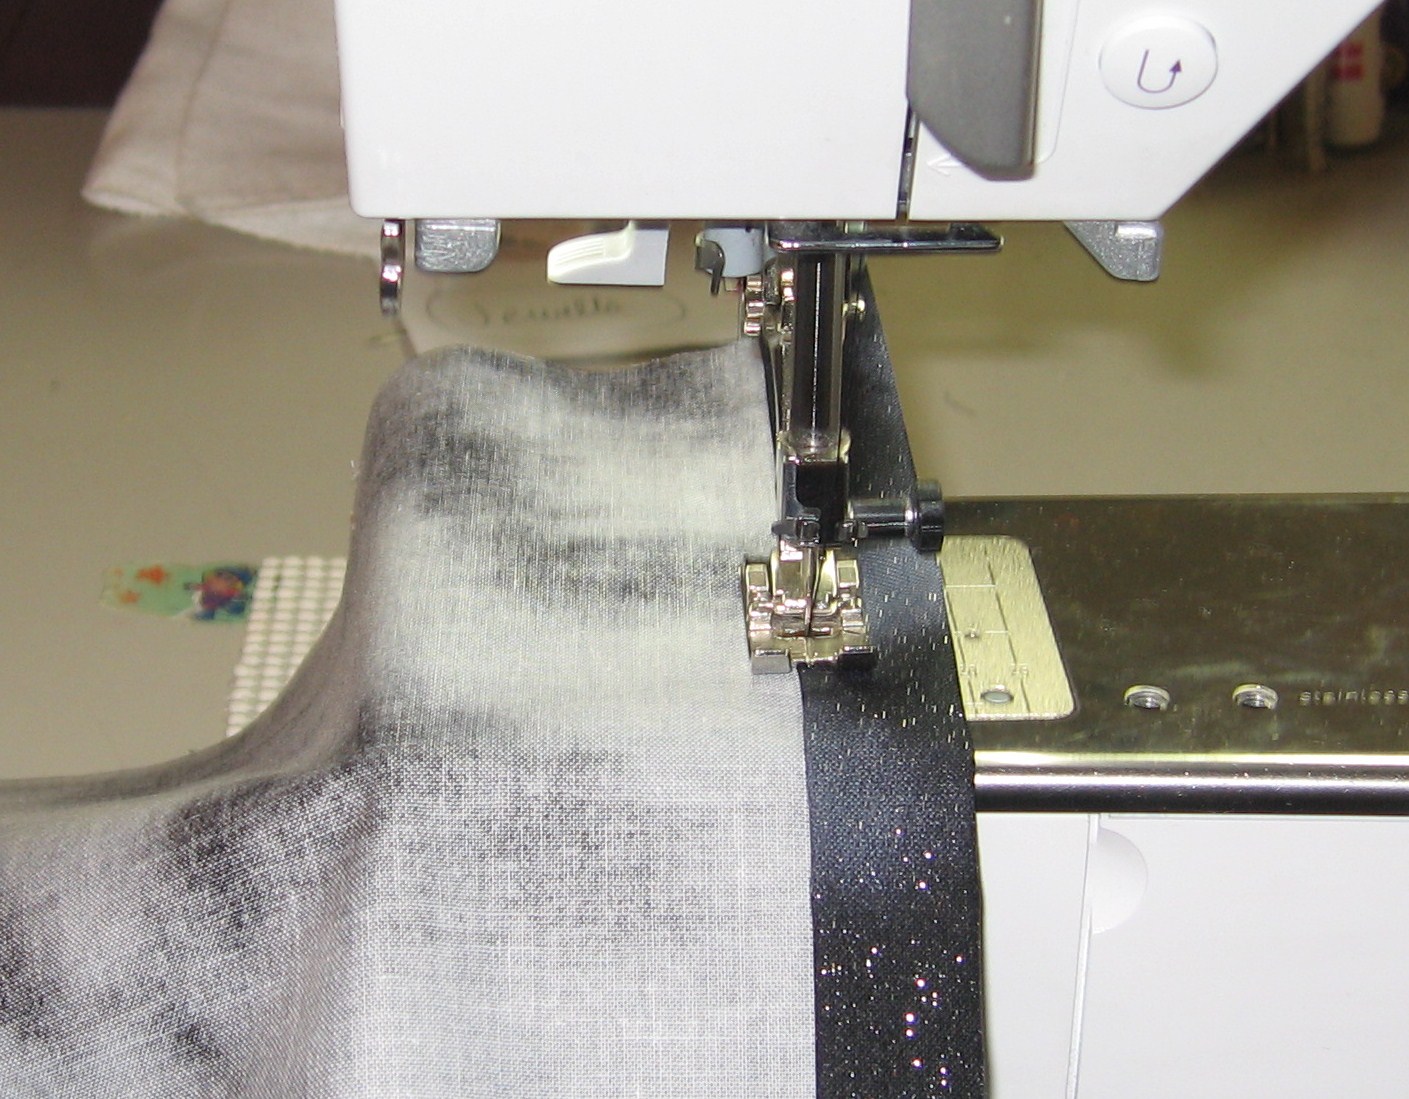
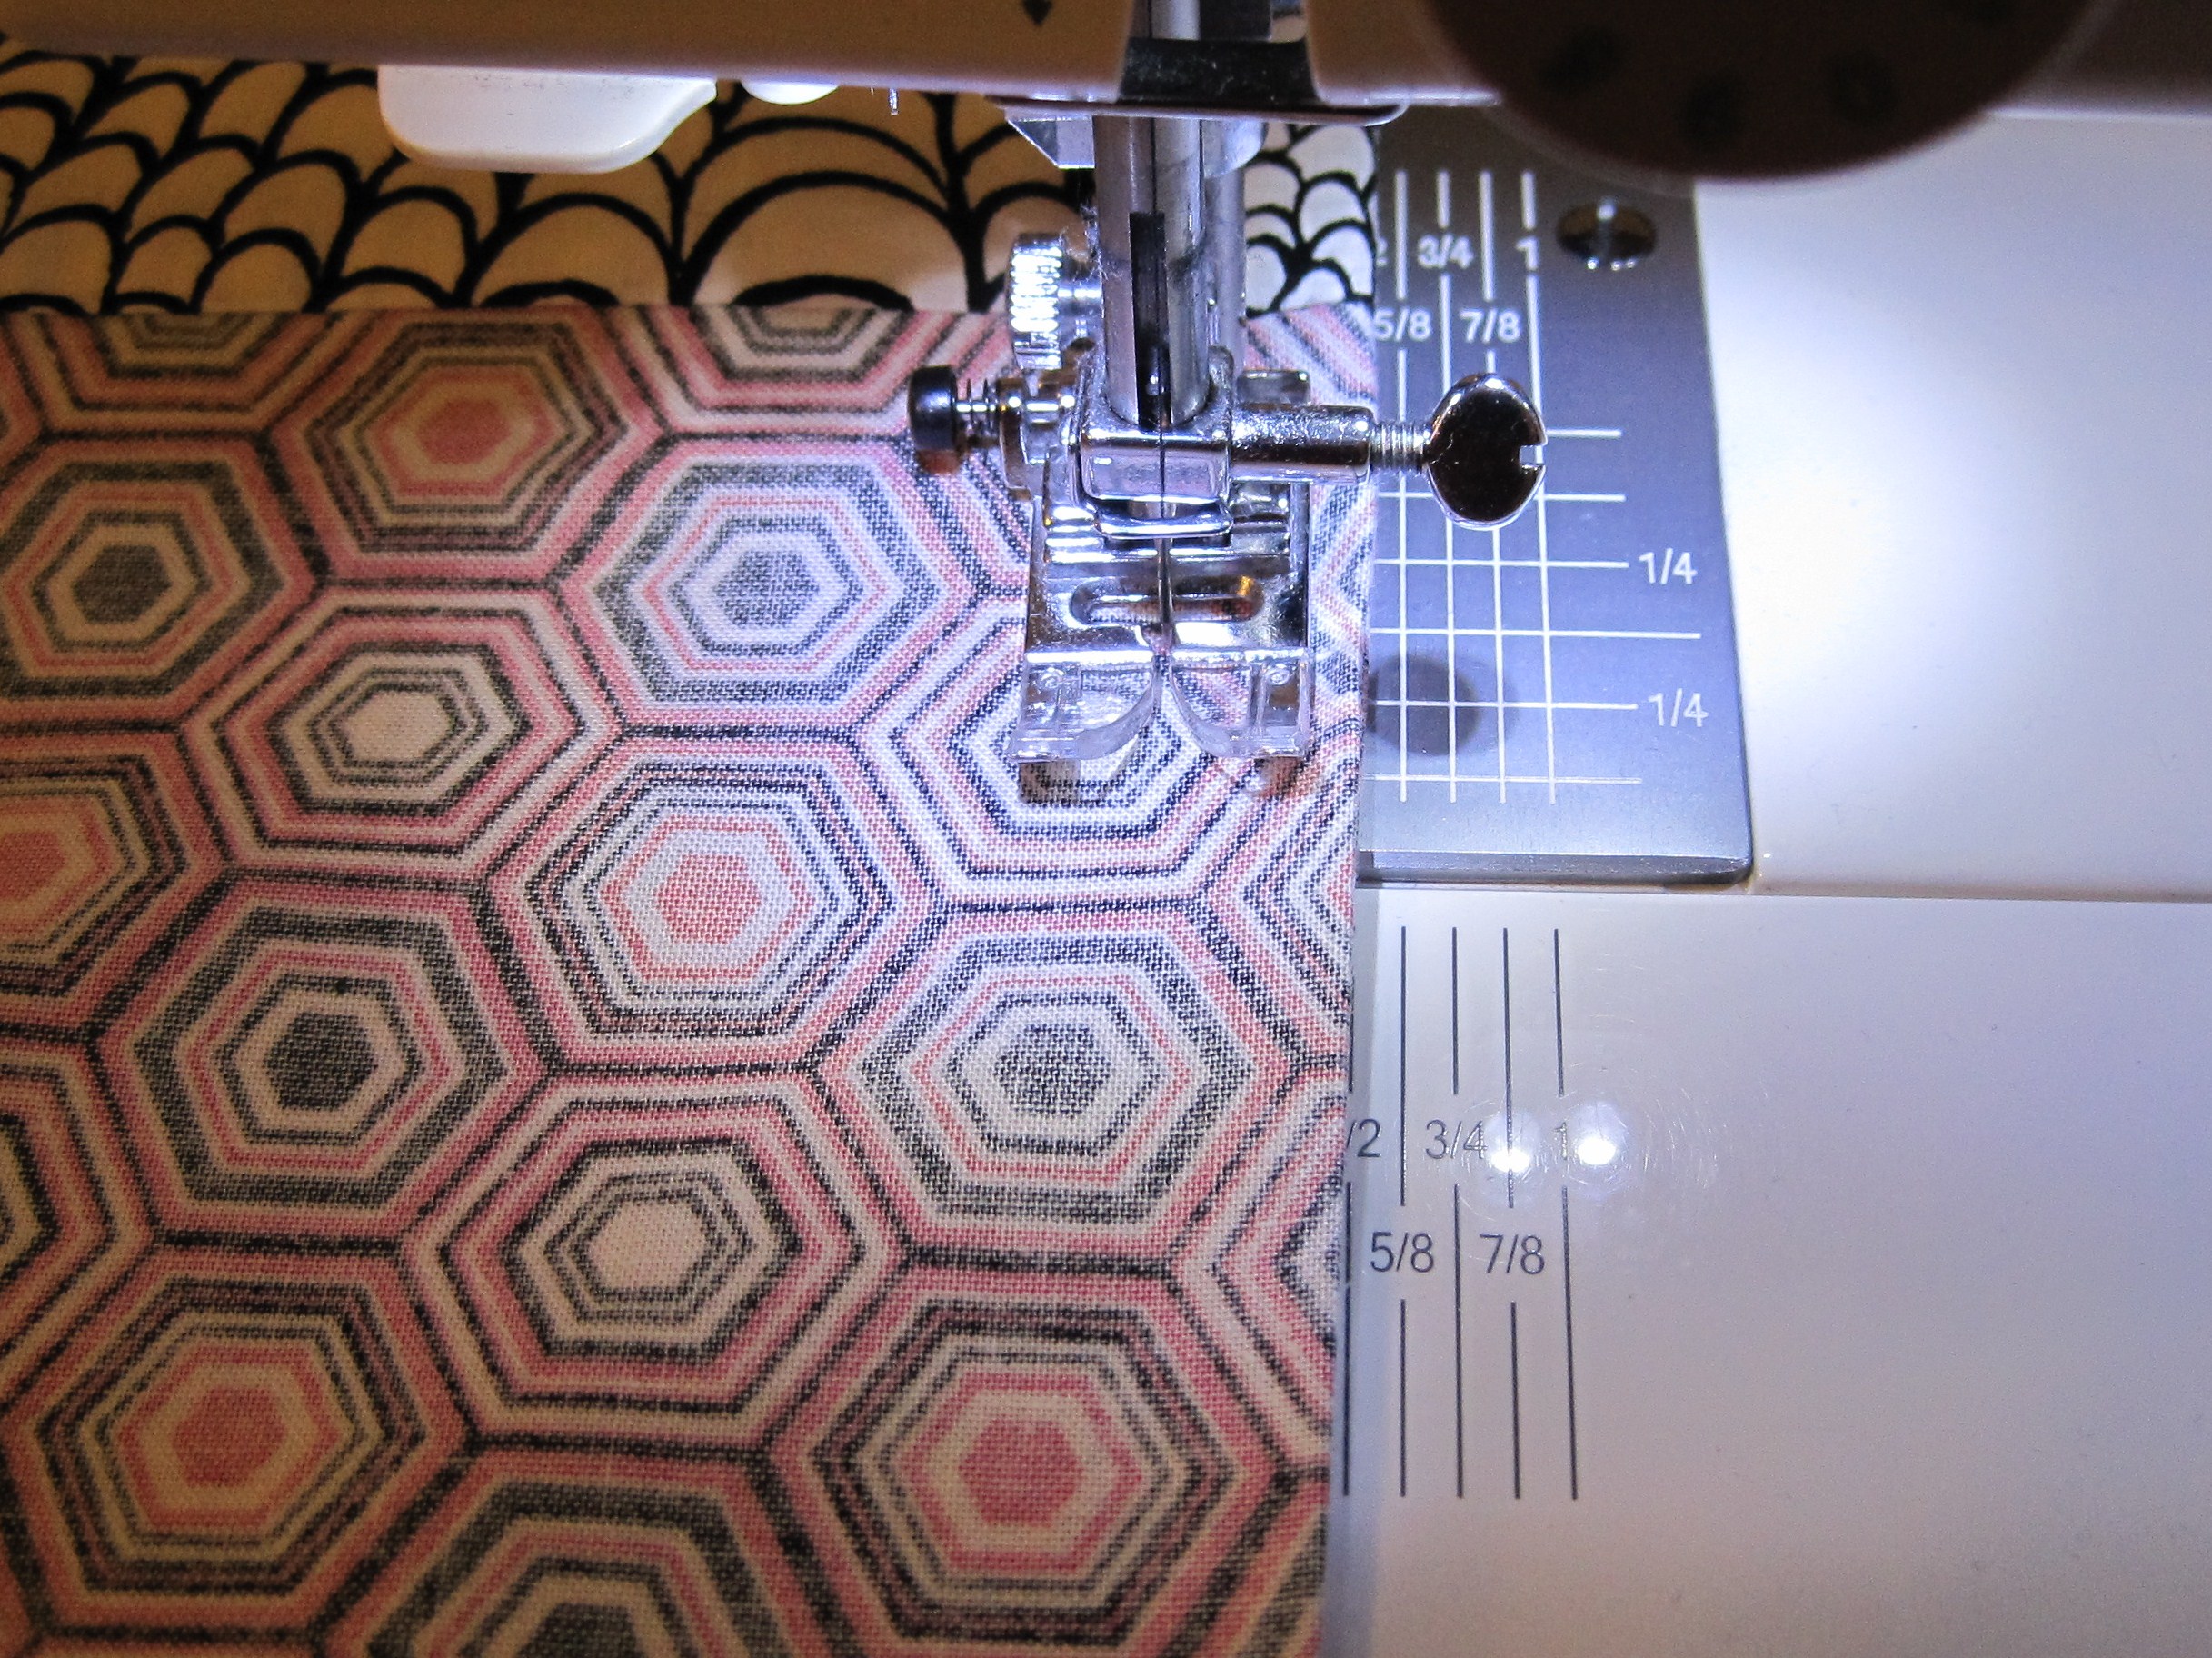
Stitch along the raw edge using a 3/8″ (or scant 1/2″) seam allowance.

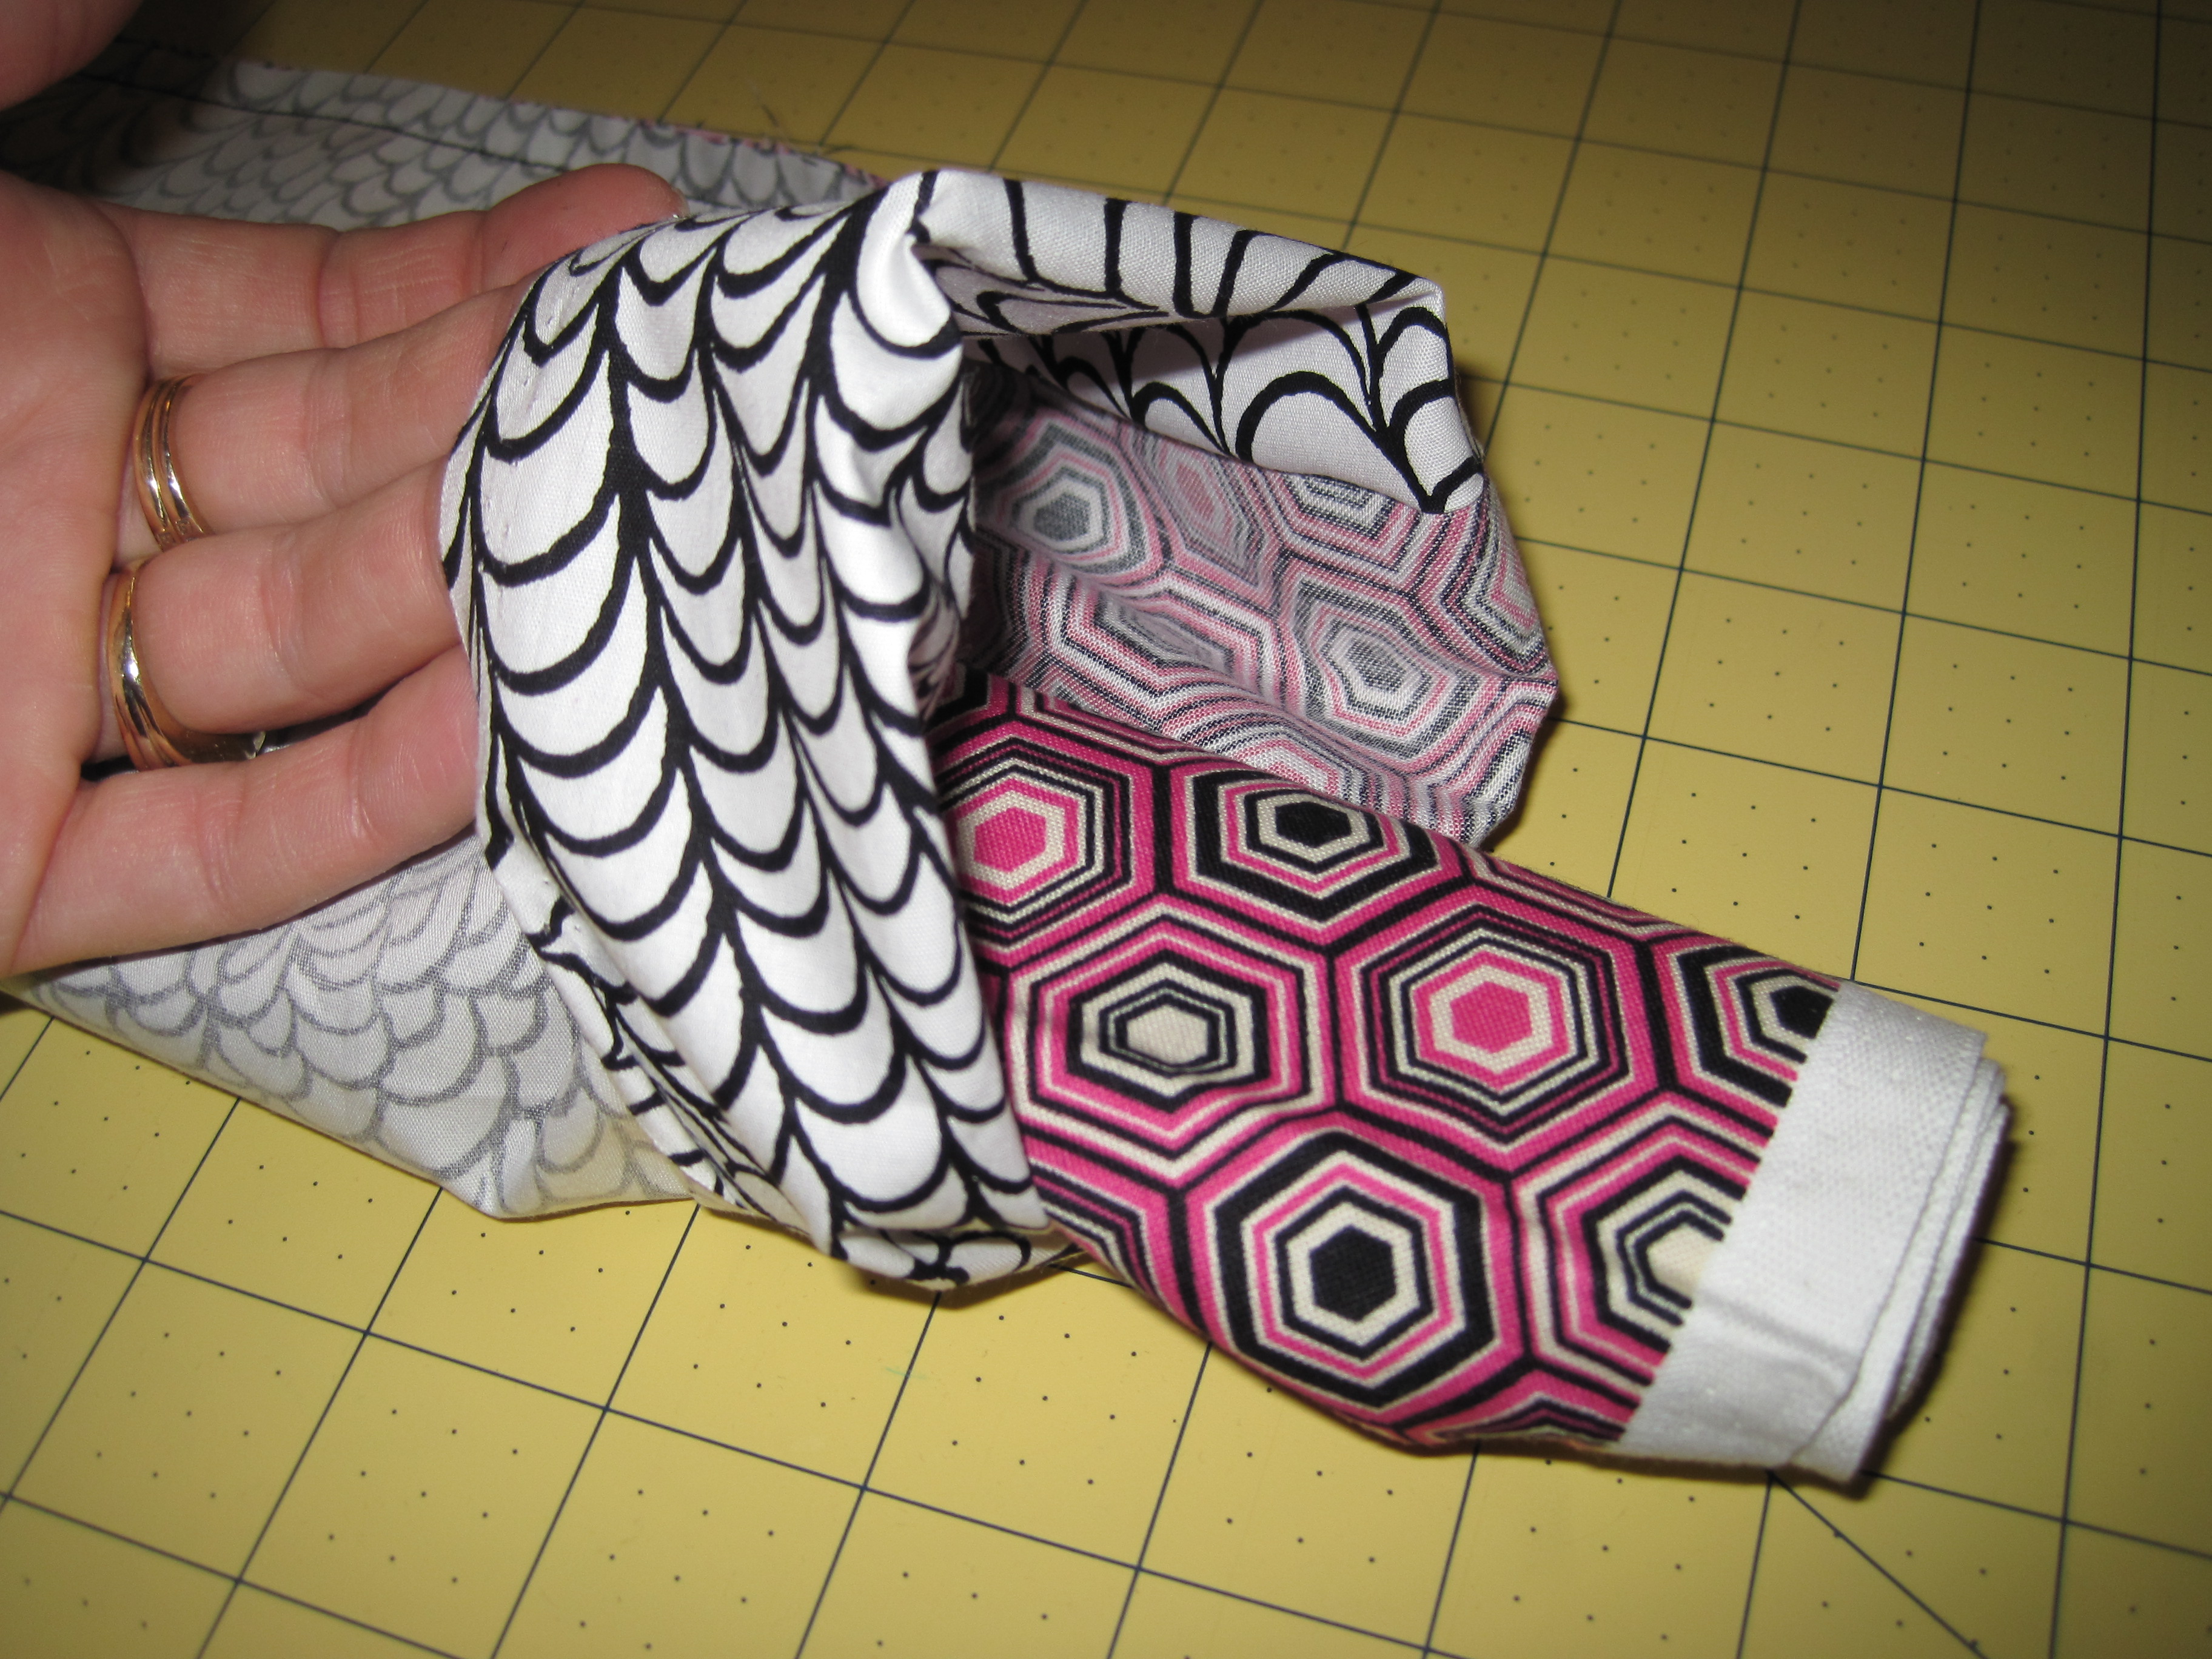
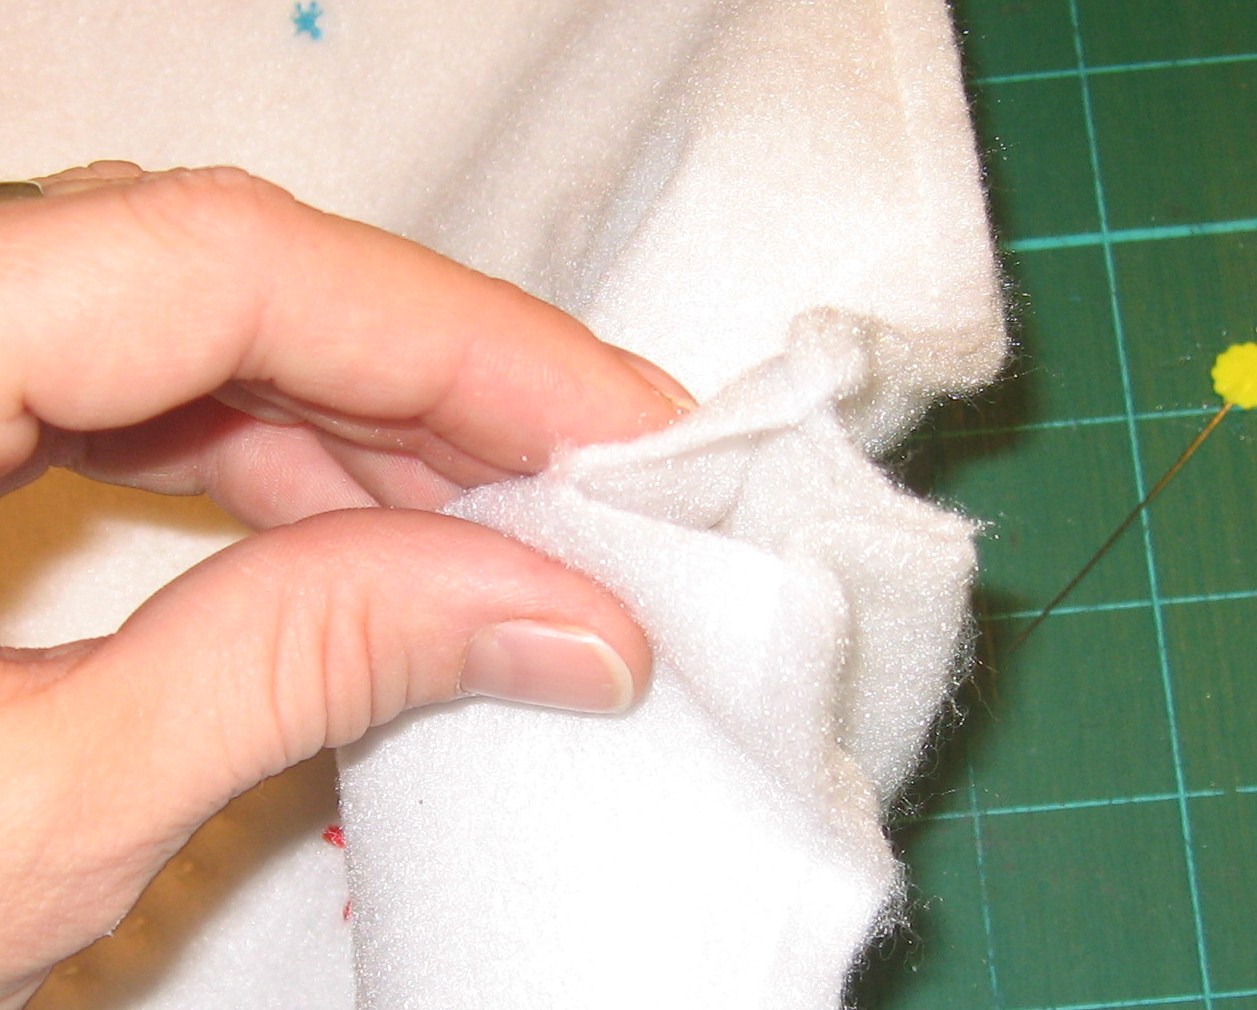
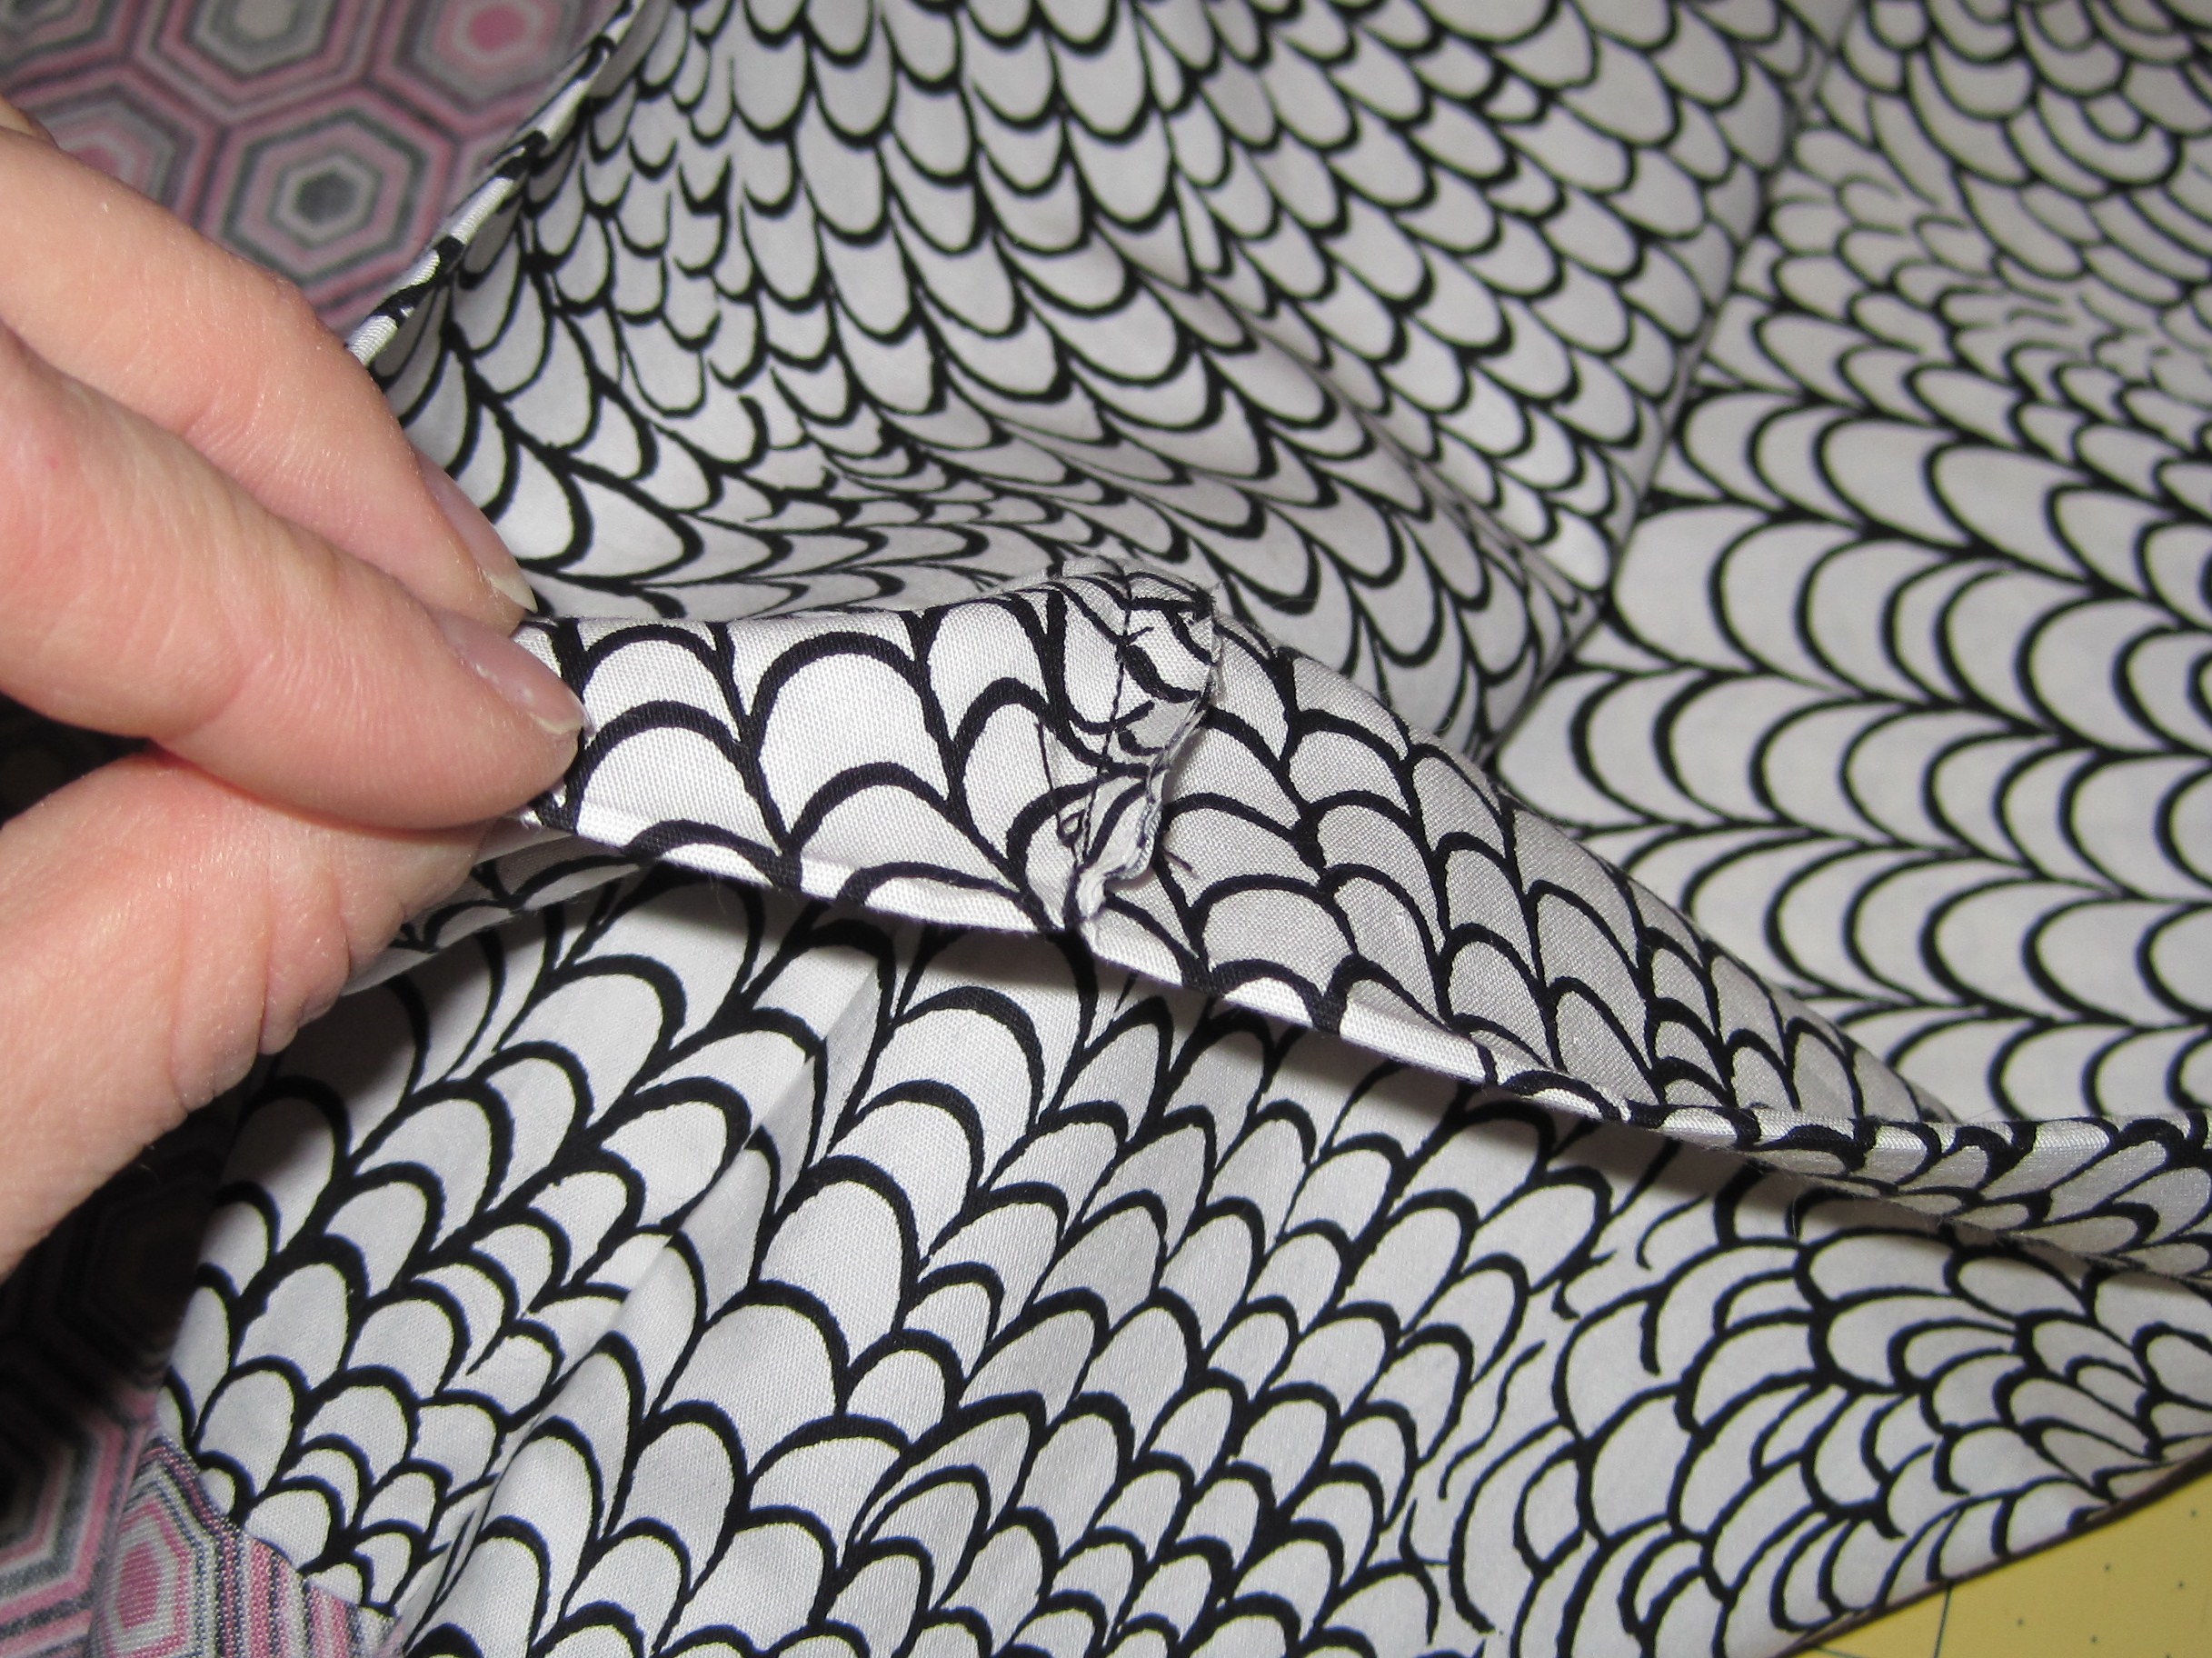
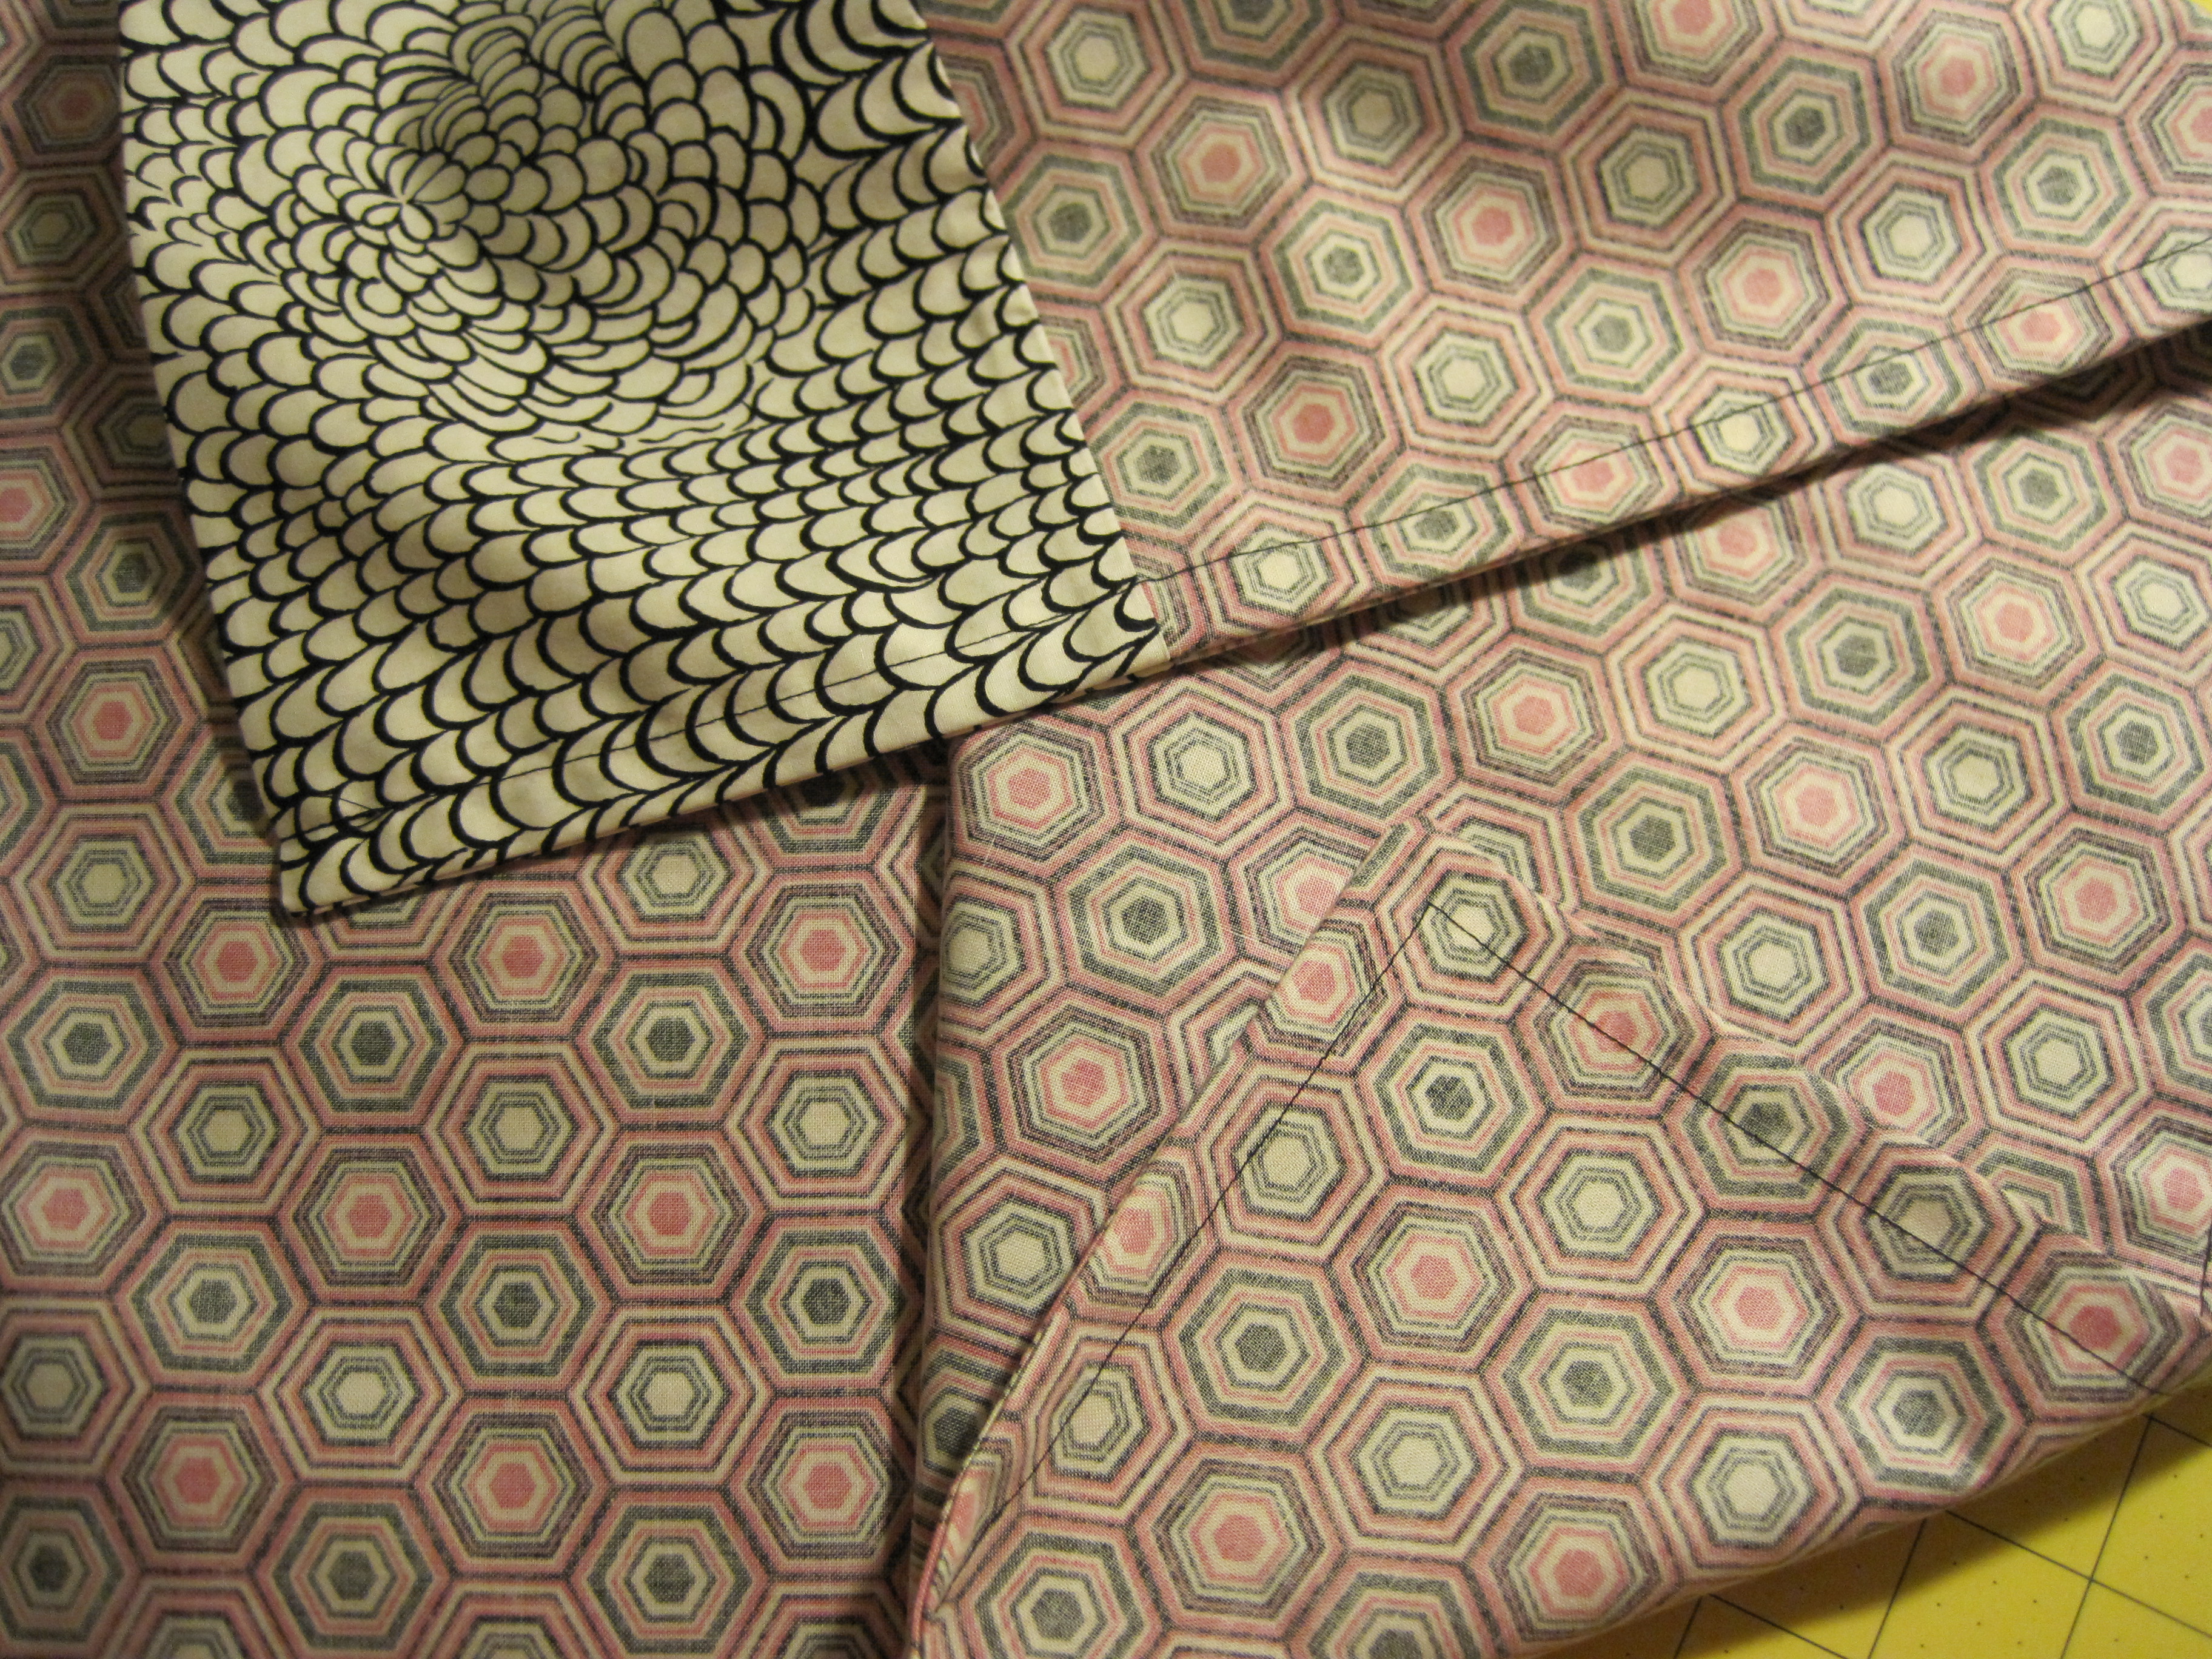
Remove any pins and birth your HOT DOG!  Roll BUN back, gently tugging the HOT DOG out of the center.

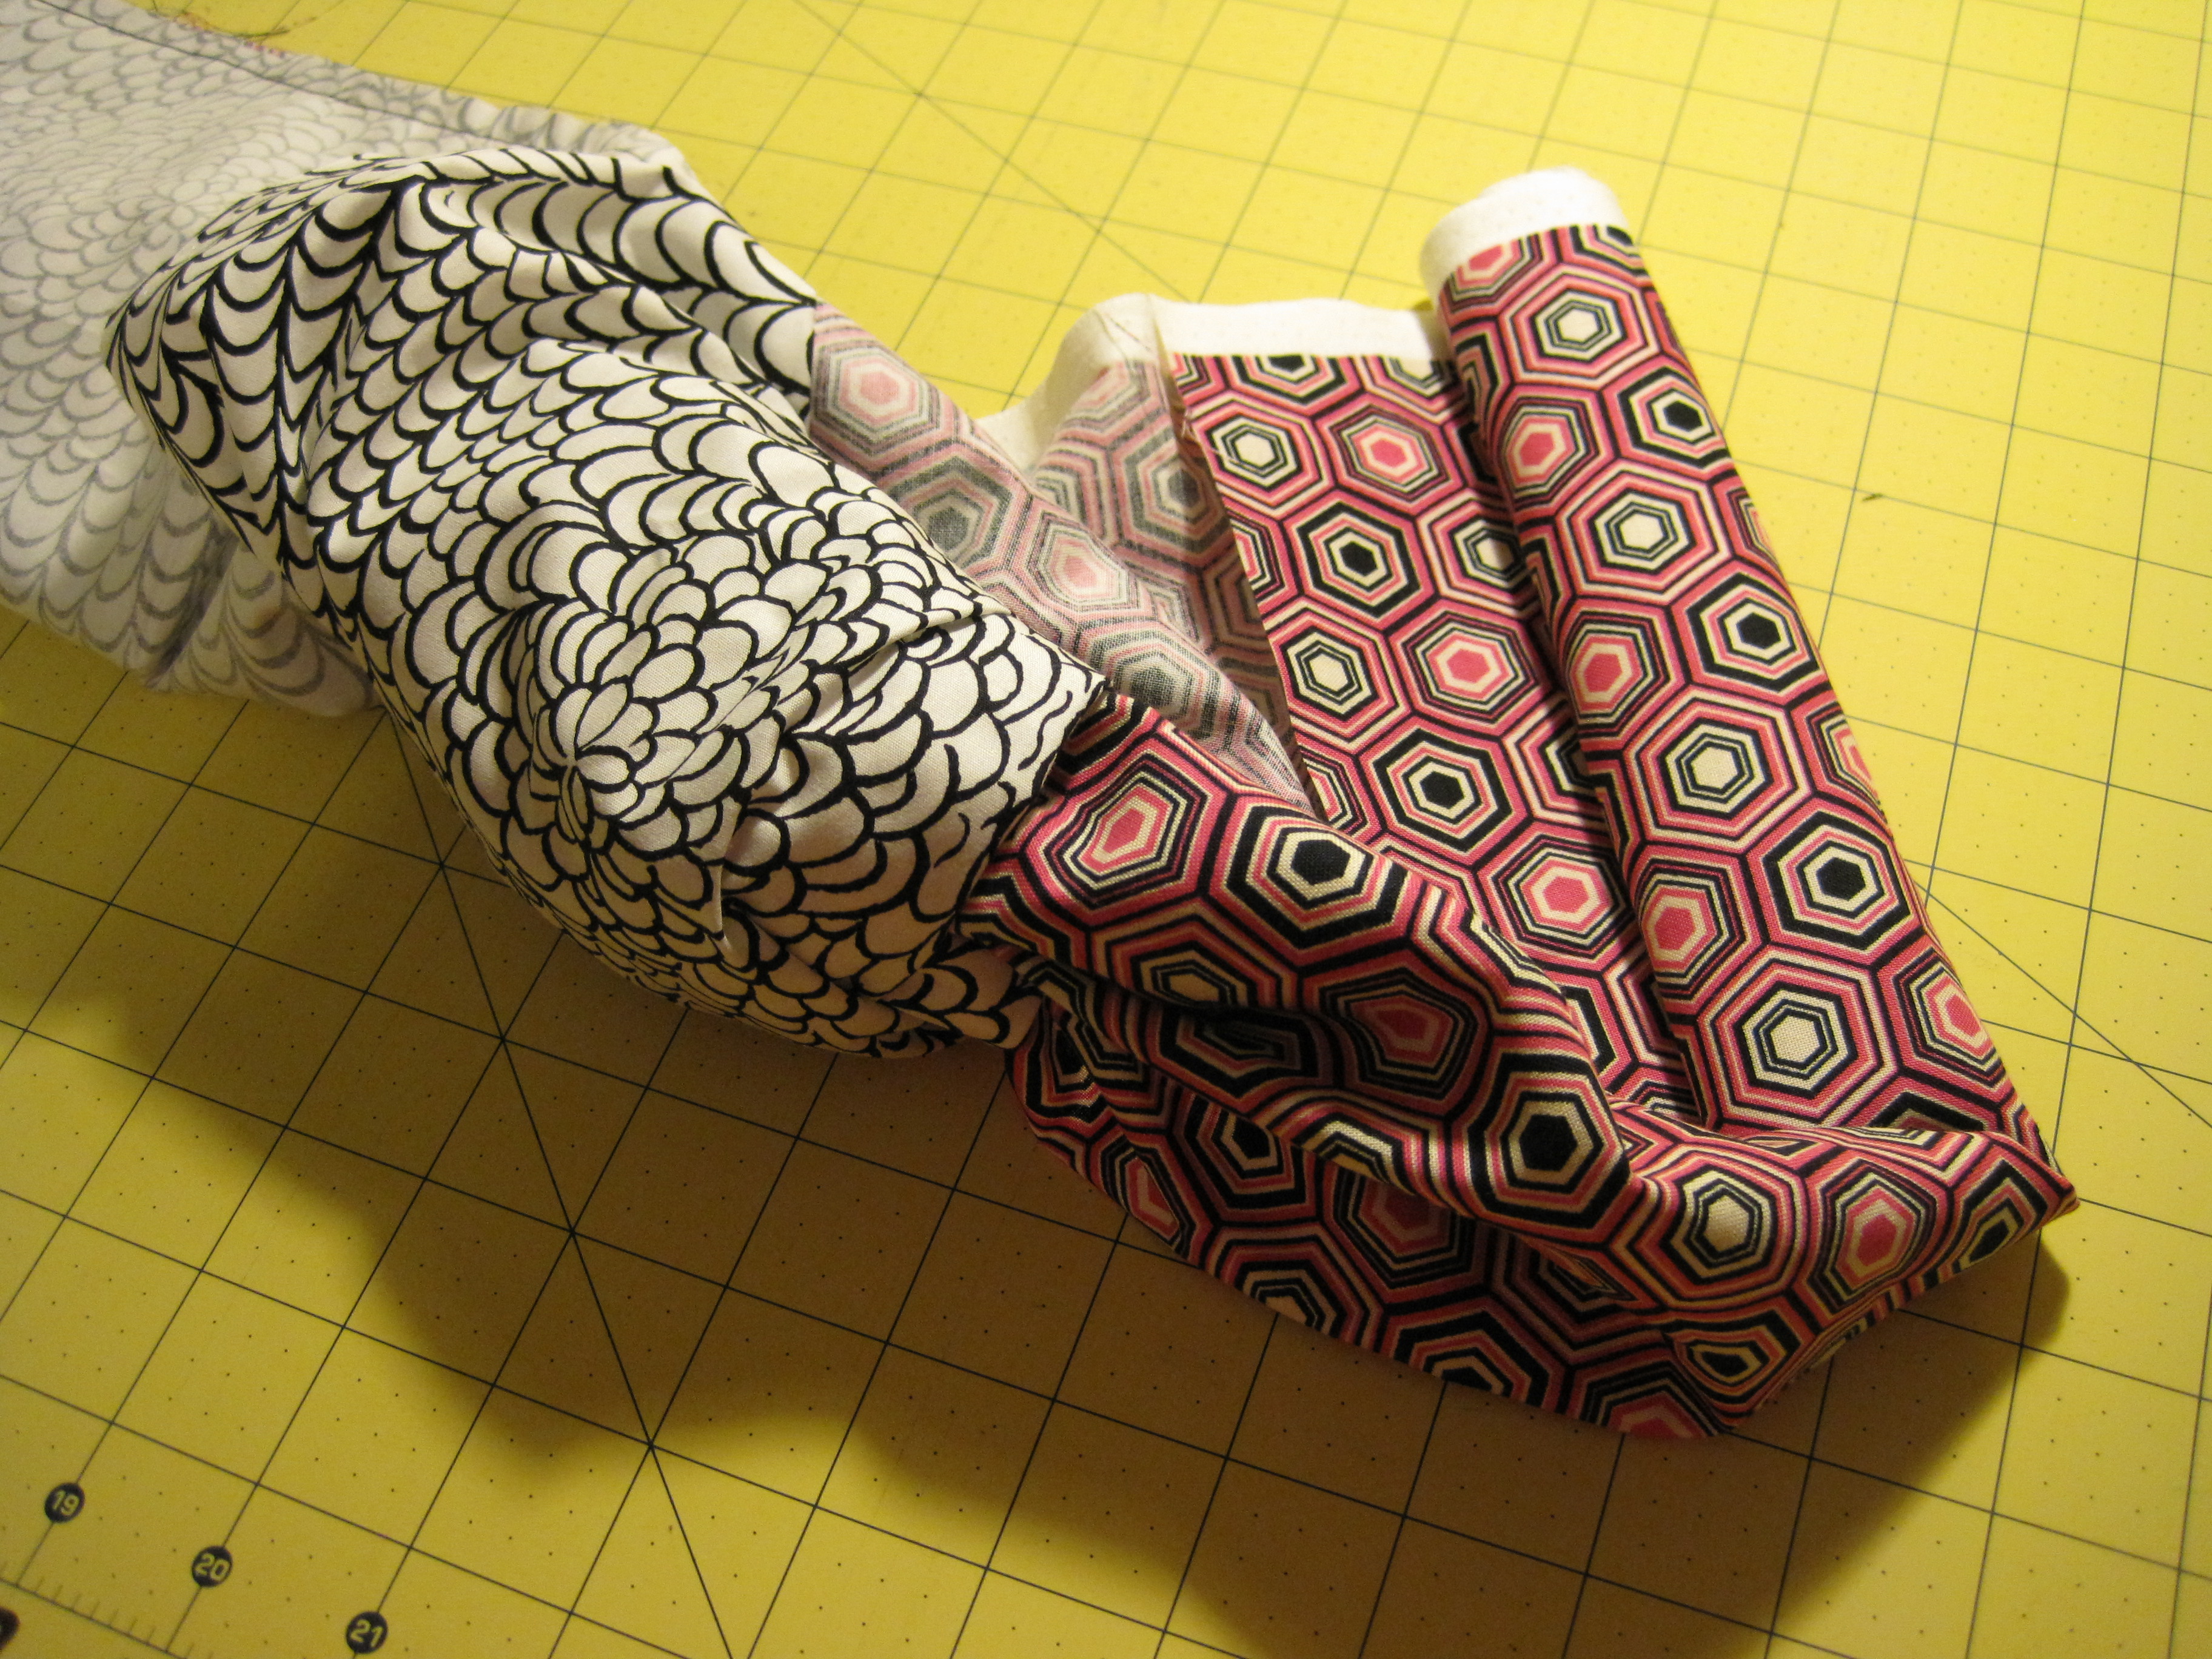
Continue tugging and rolling until the HOT DOG is all the way out.

Your pillowcase should now look something like this.

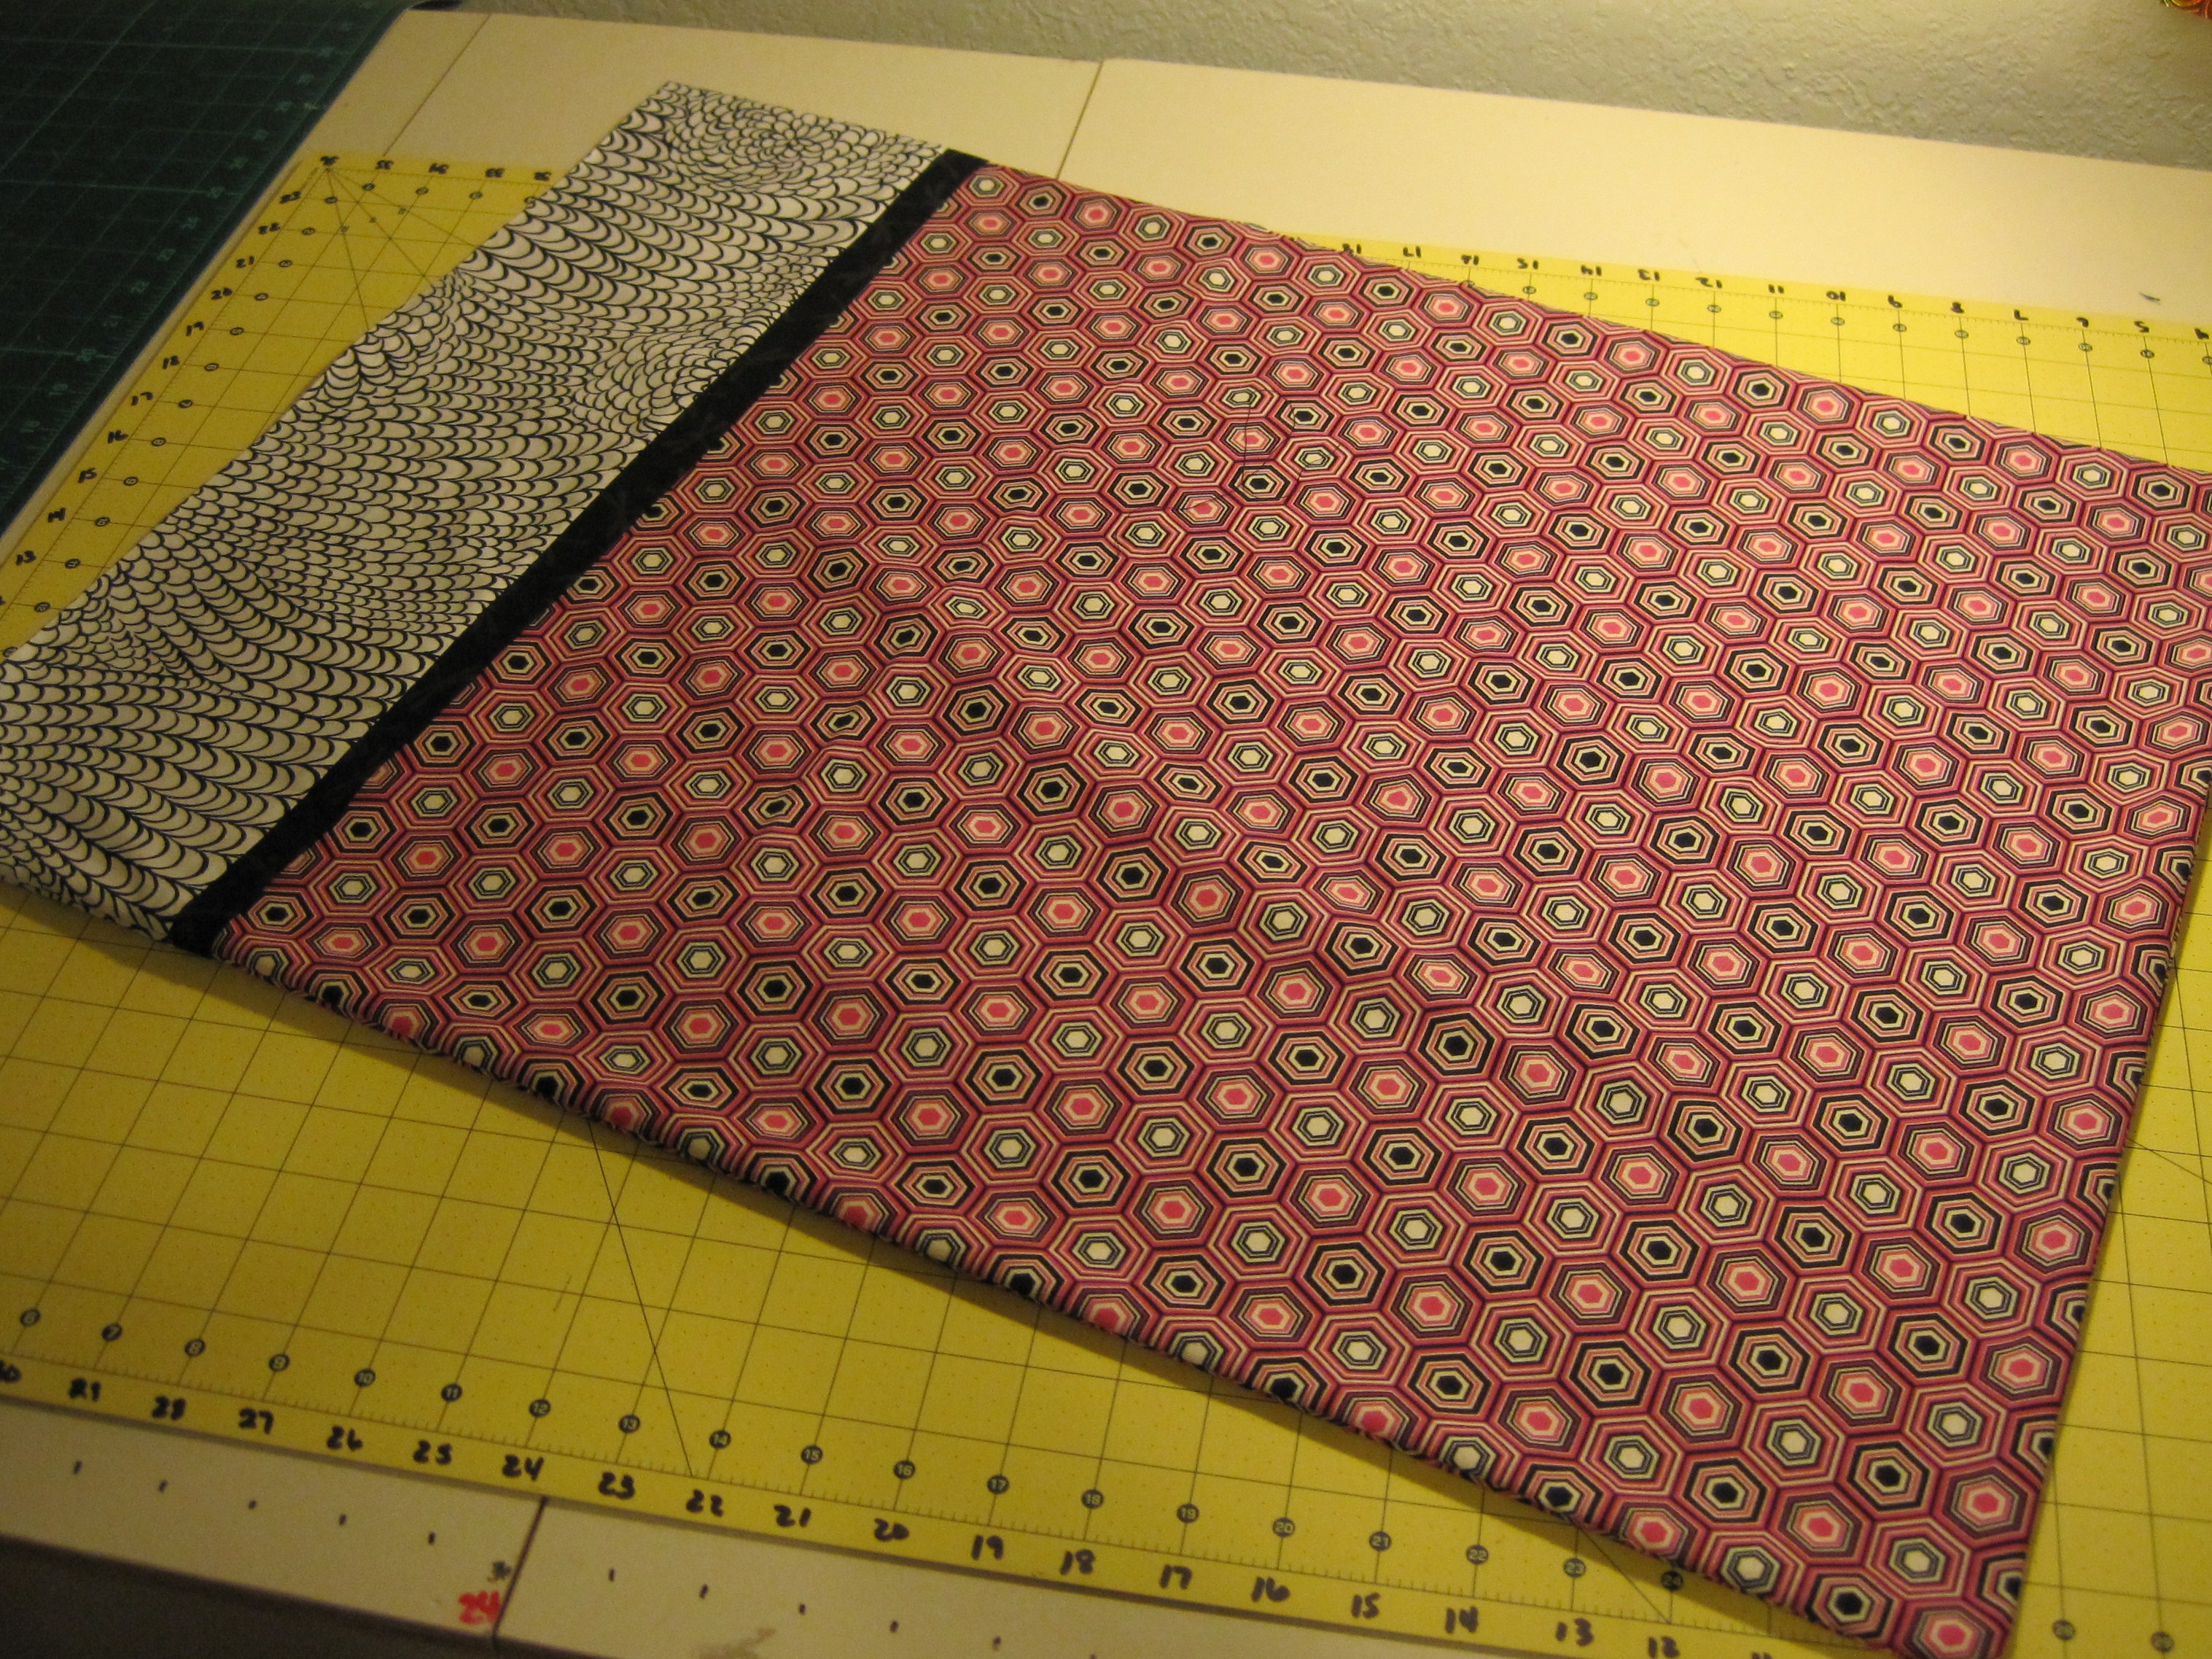
Smooth out the fabric, then press the BUN and MUSTARD, tugging gently so it’ll lie flat.  I like to press on both sides.

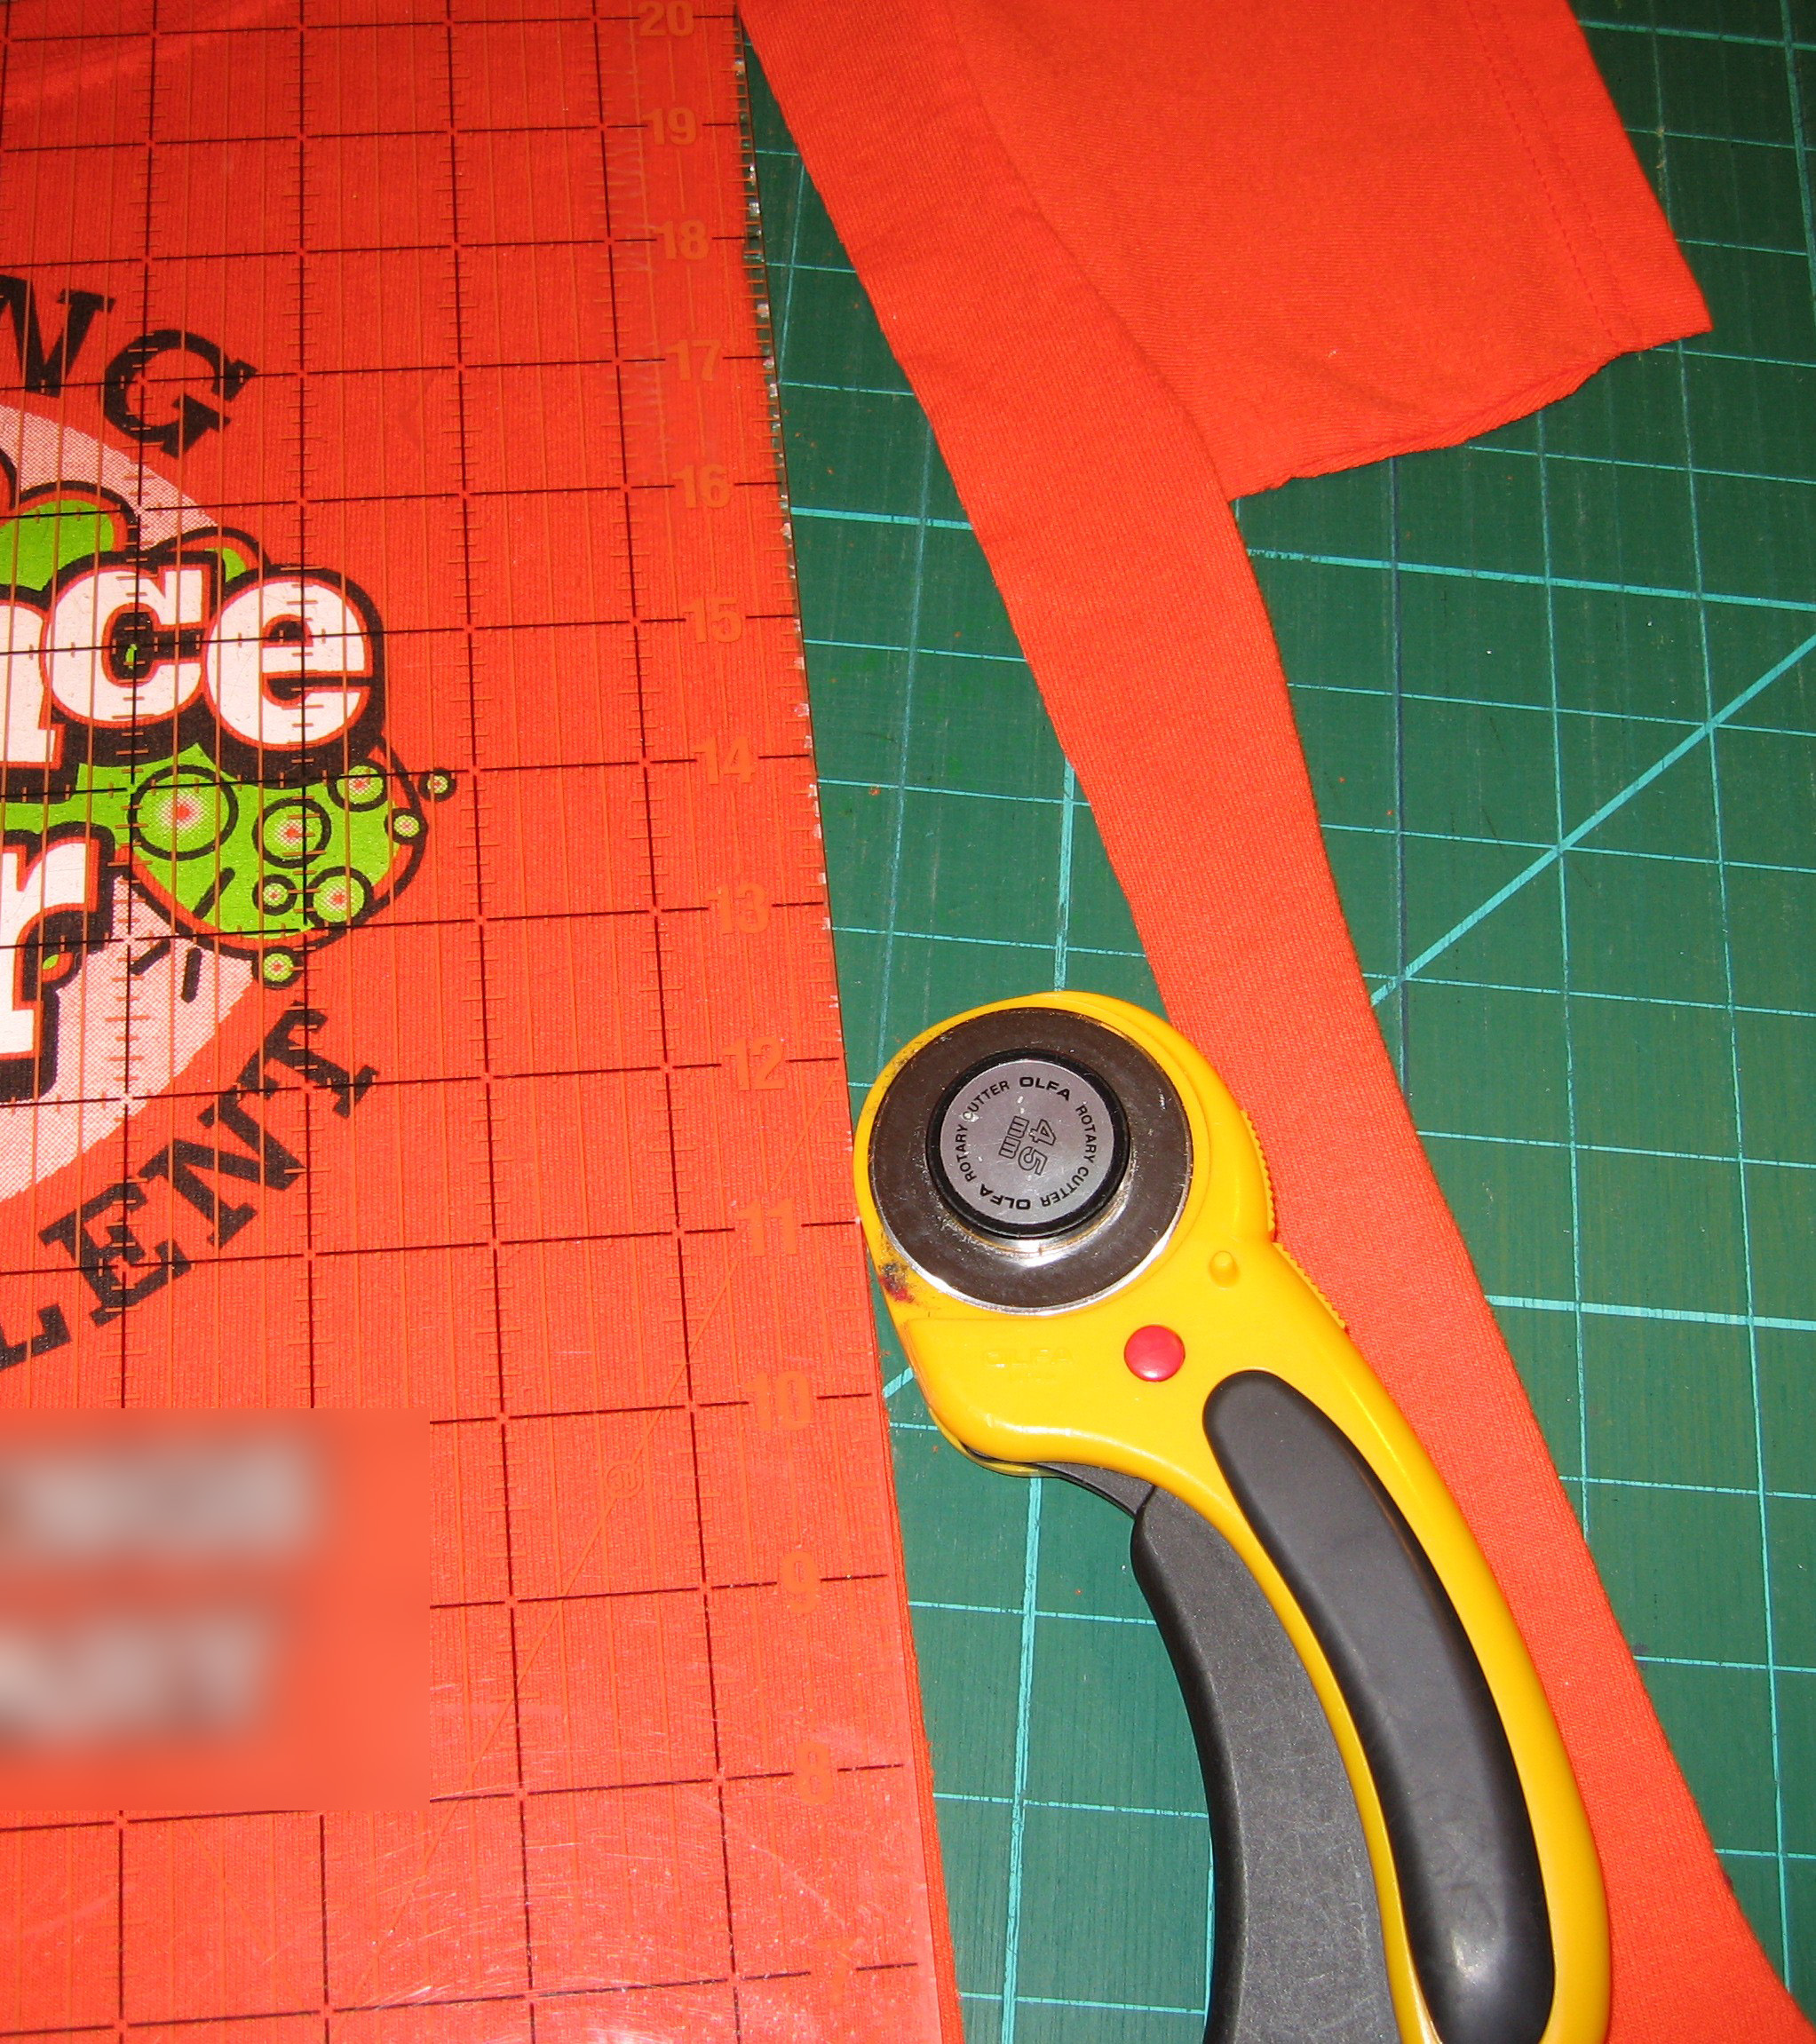
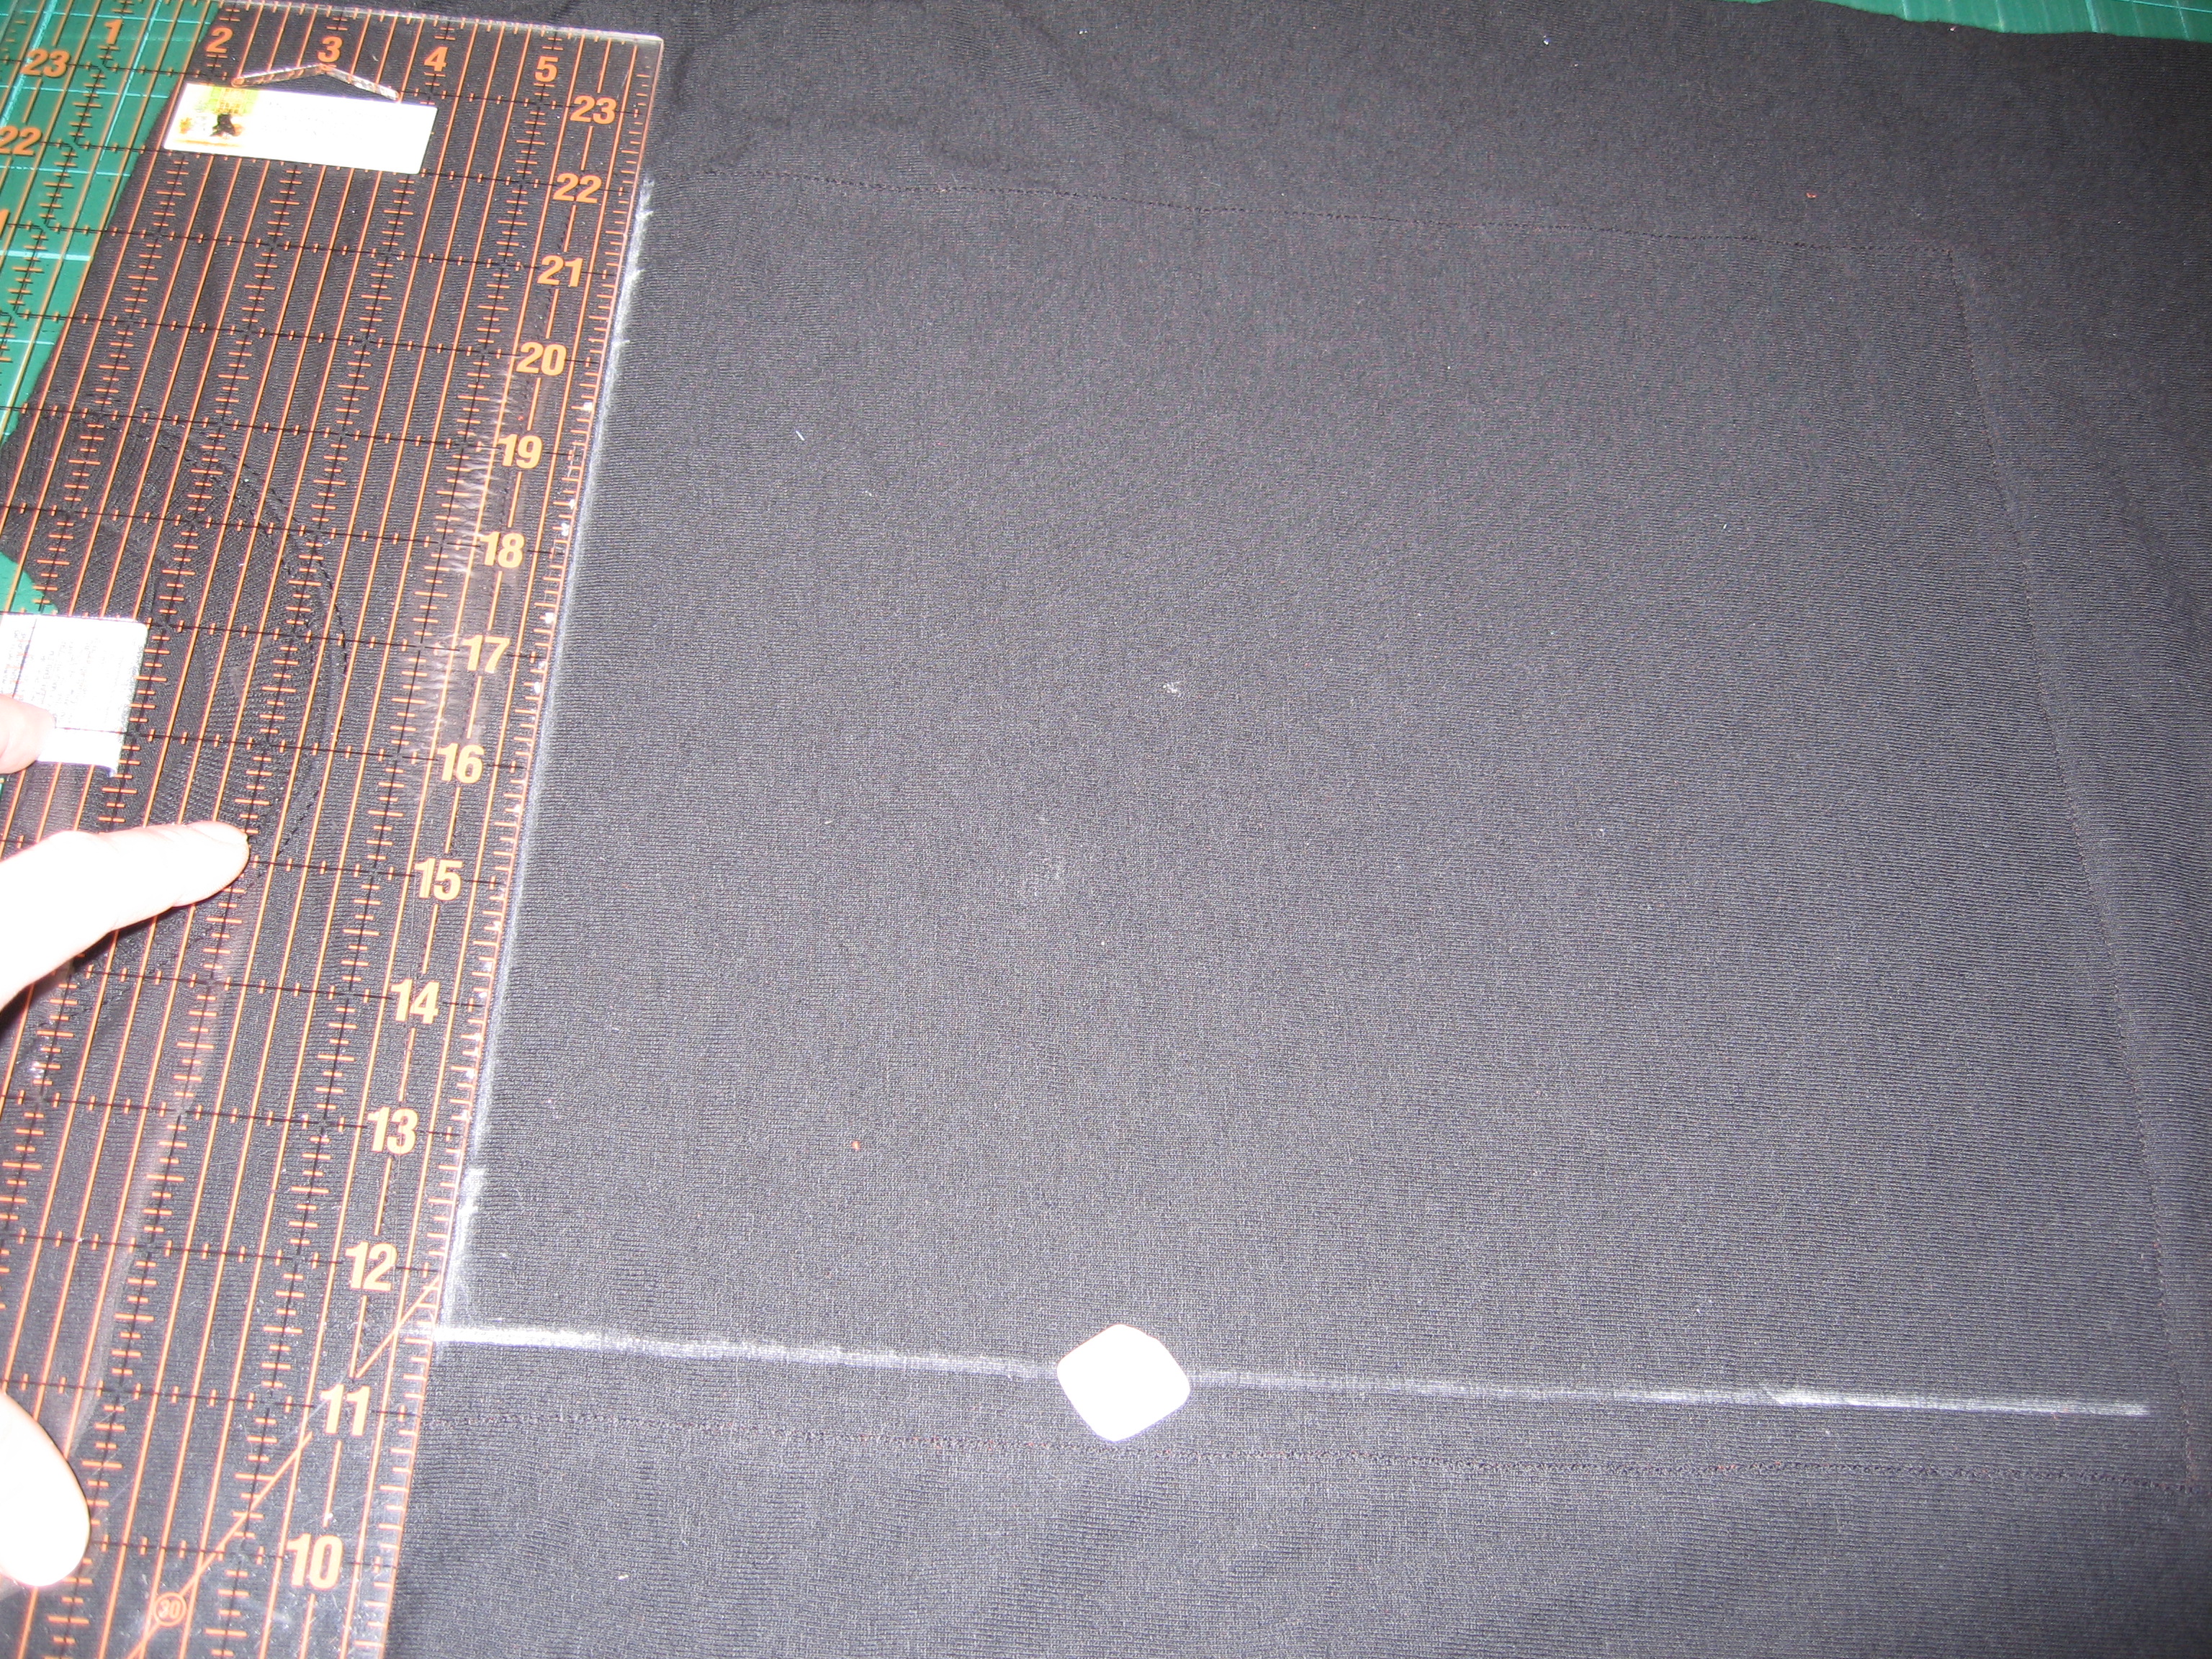
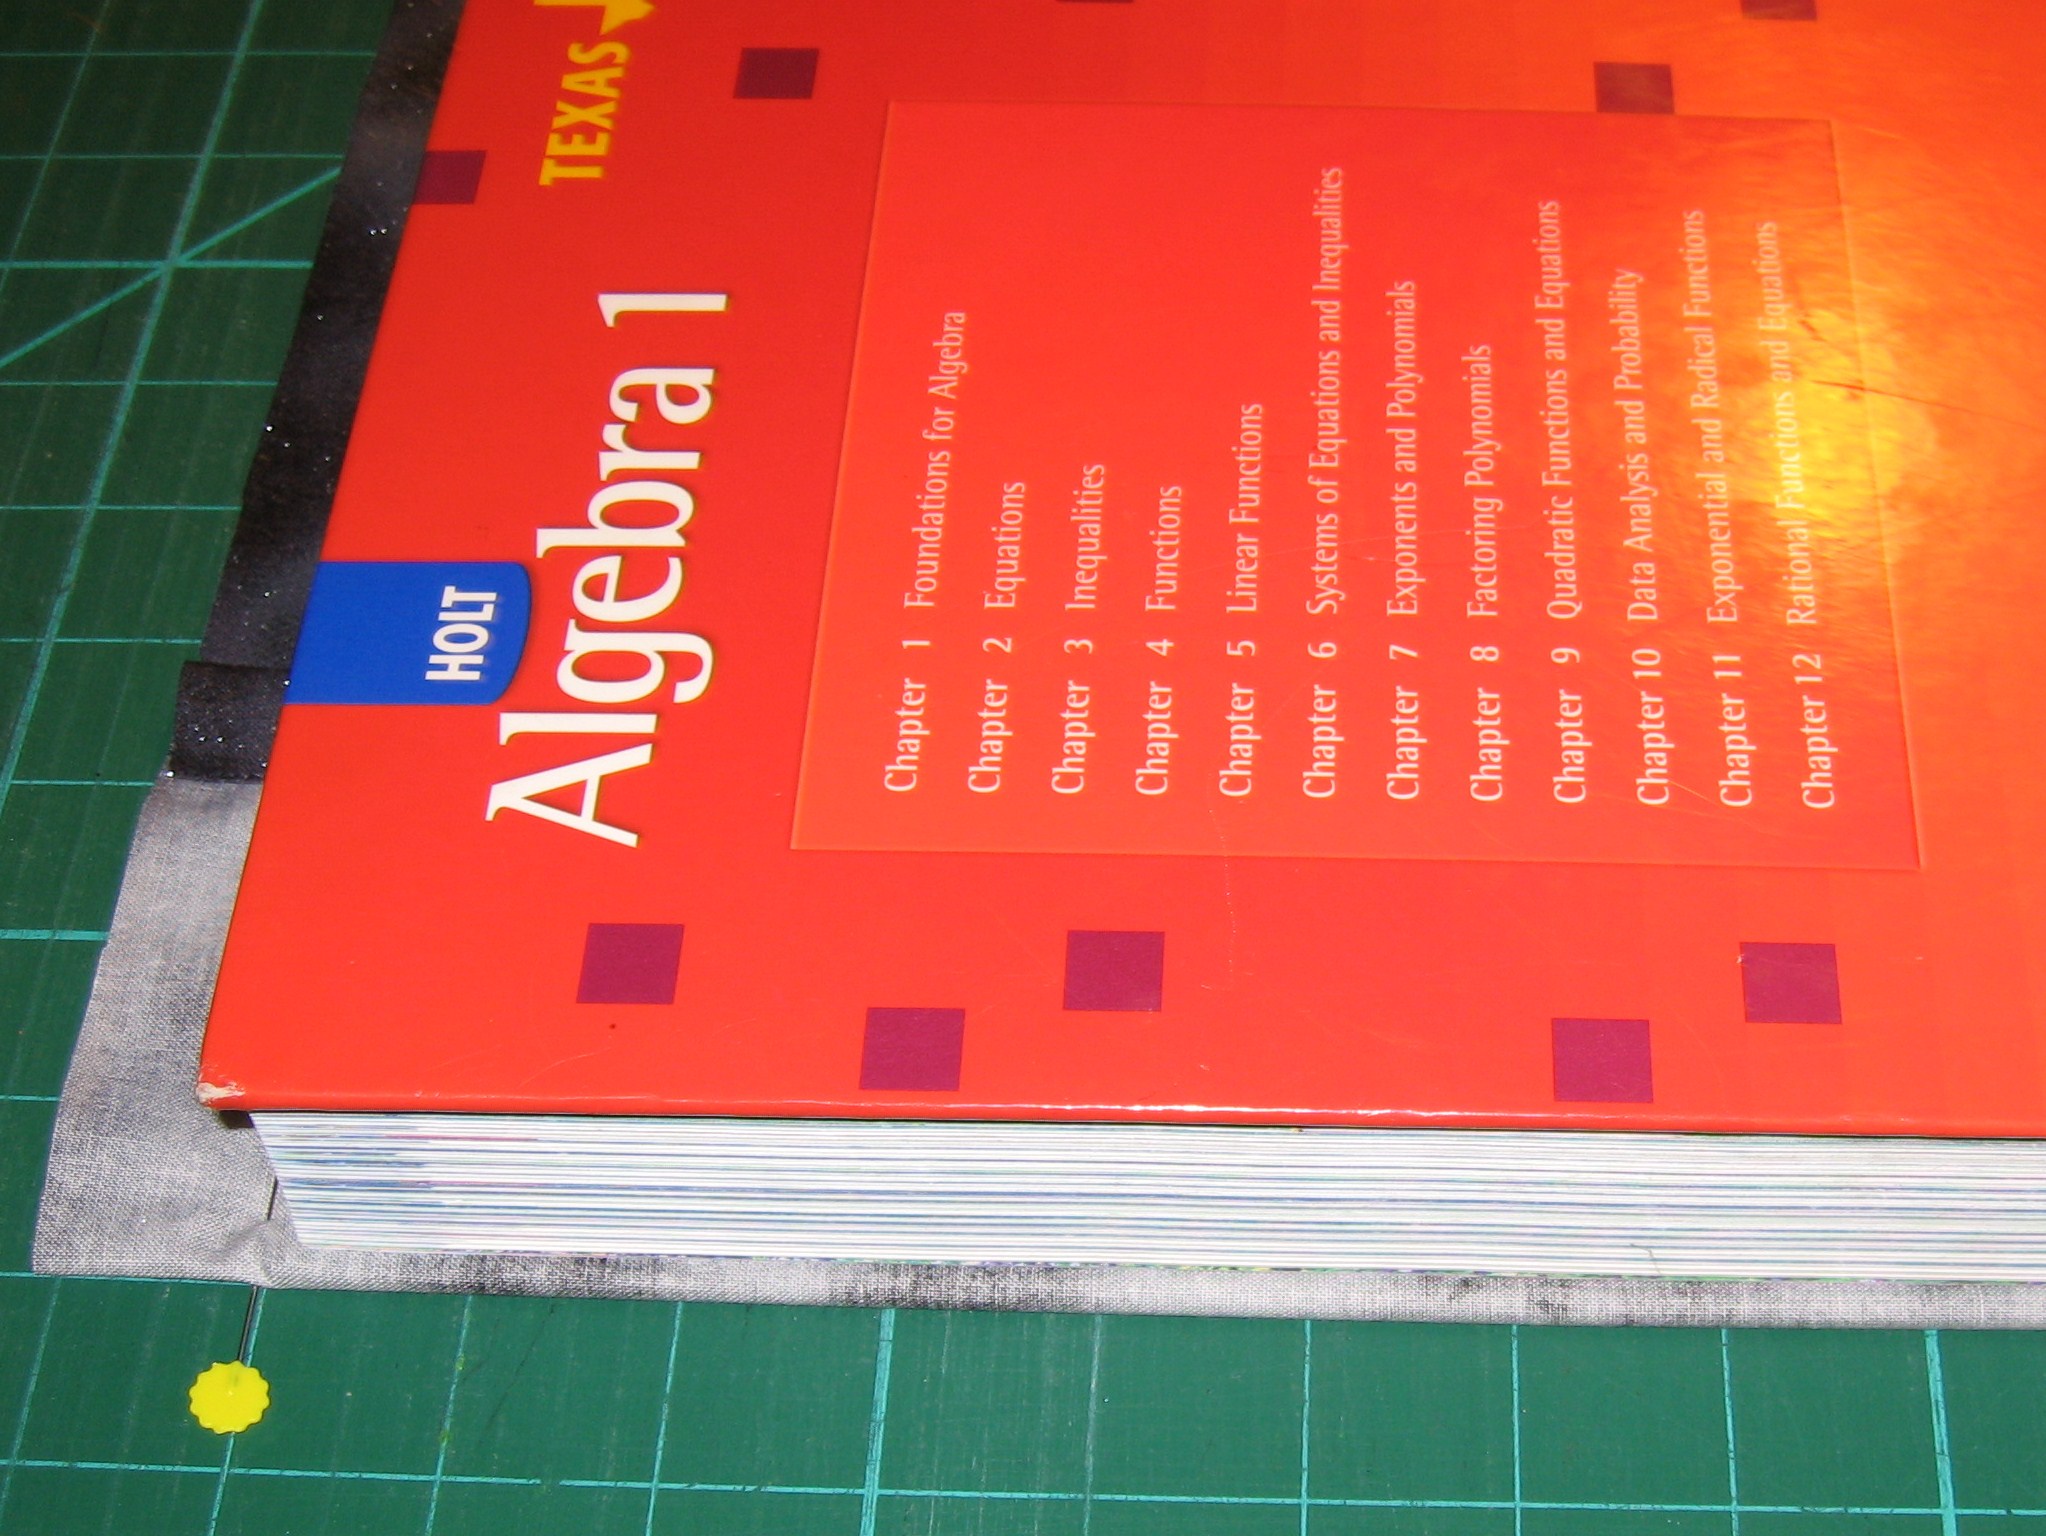
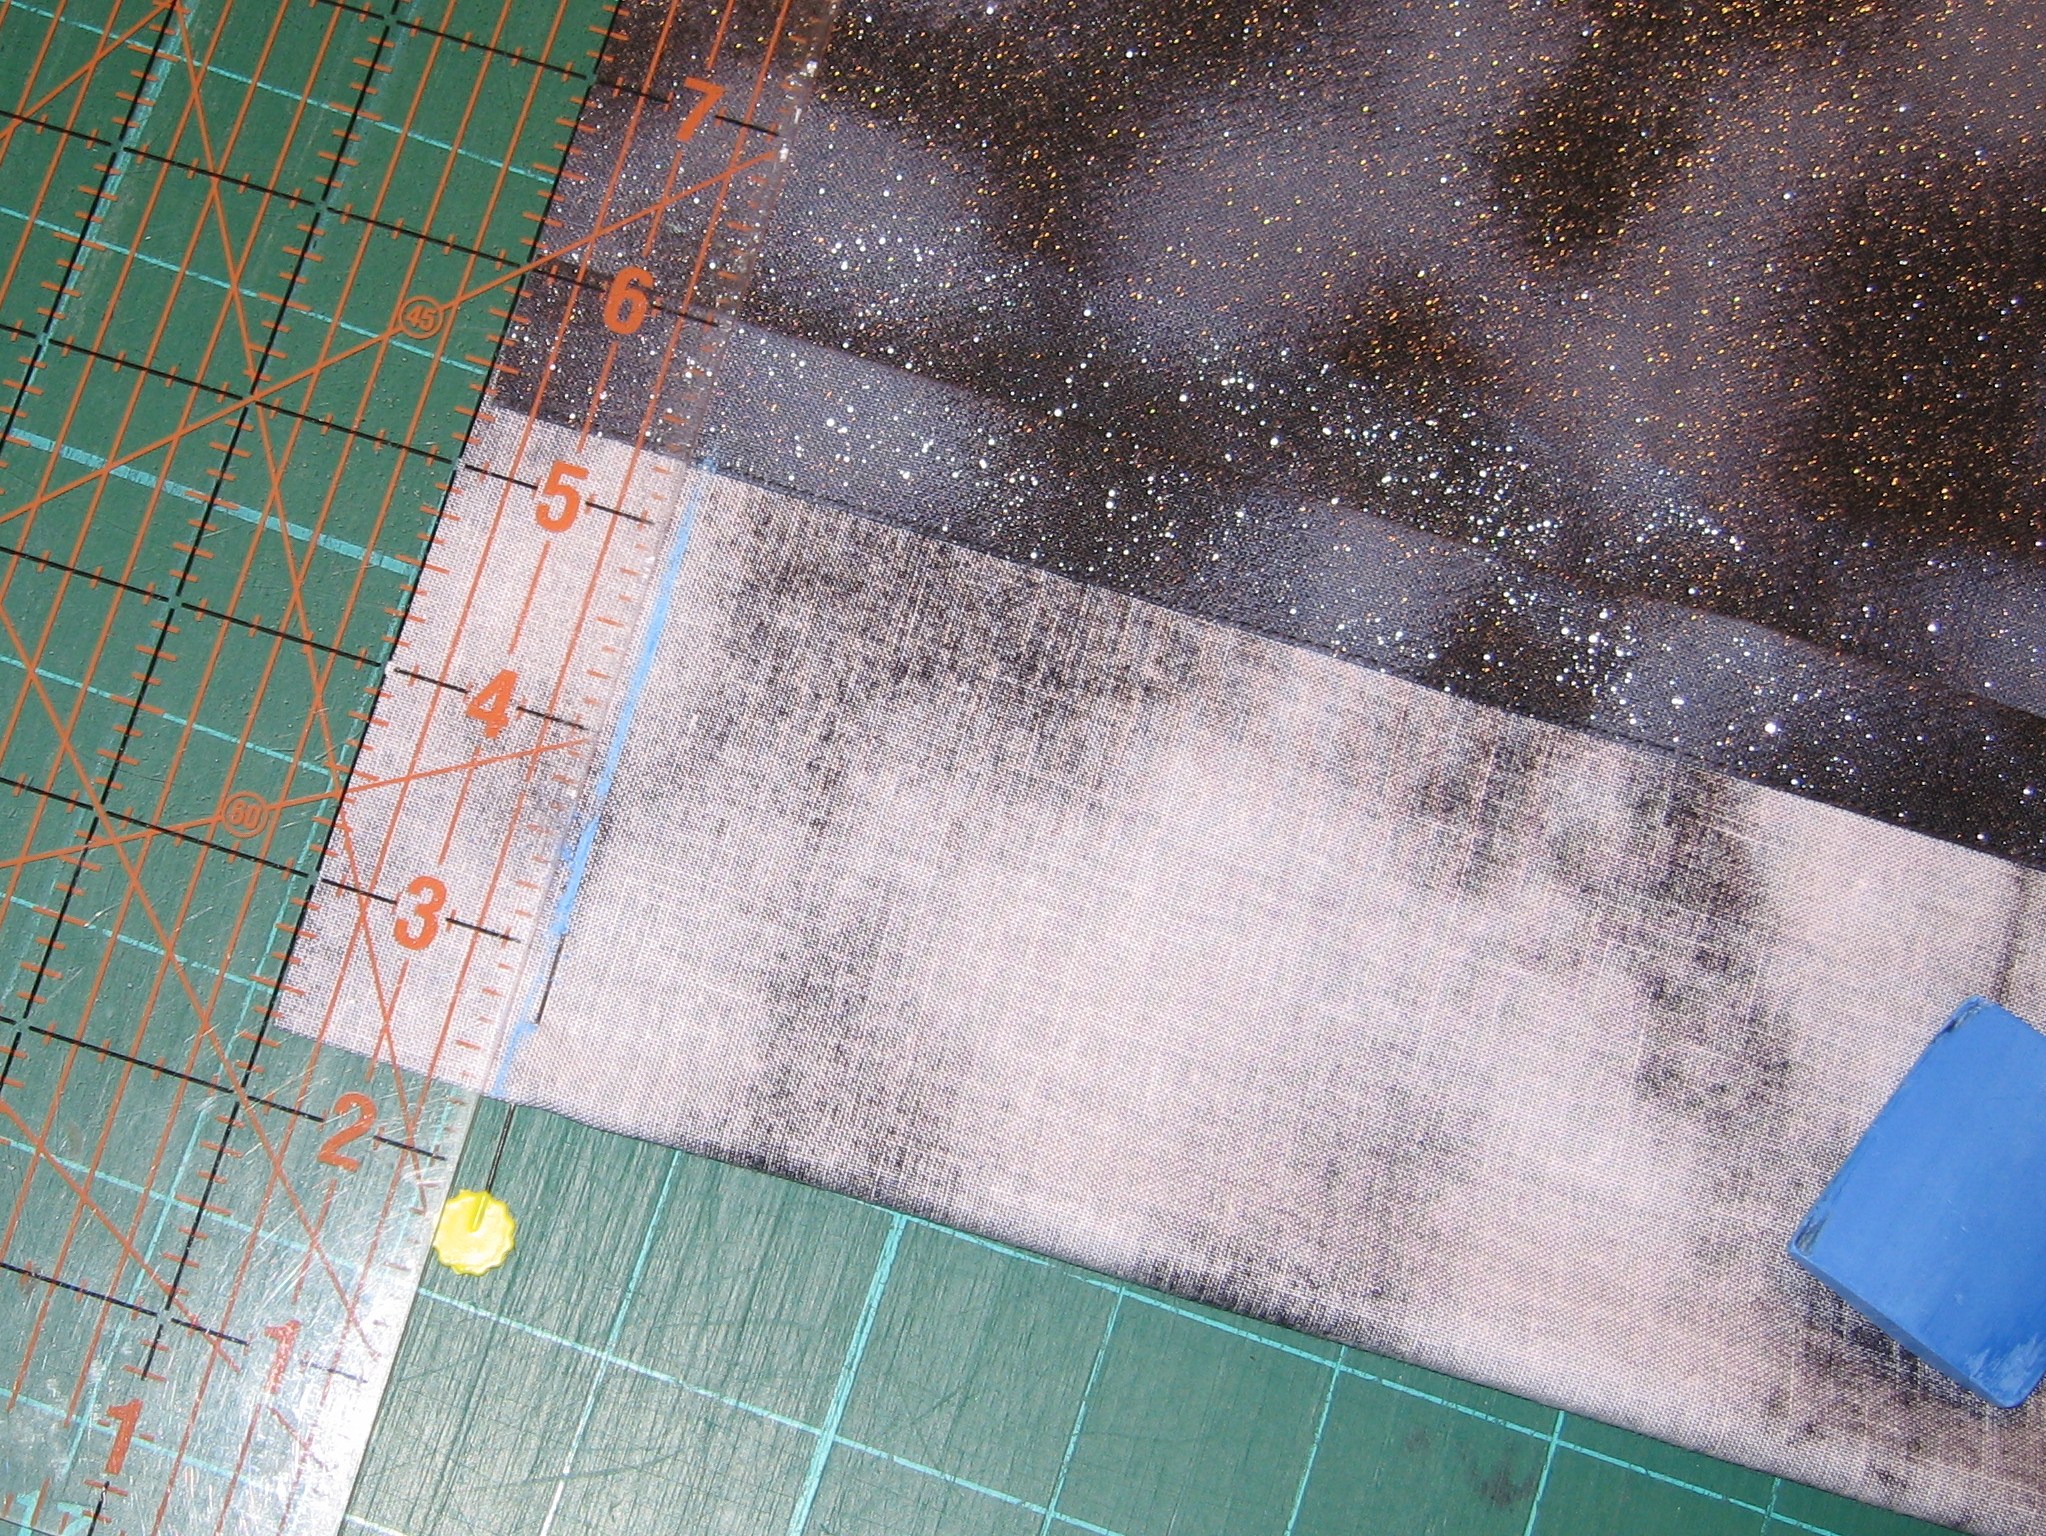
Square up your pillowcase by removing the selvage.

With WRONG SIDES together, align the MUSTARD and corners of the pillowcase.

Pin in several places.

Stitch around raw edges using a 1/4″ seam allowance (yes, yes,  really, right sides out, wrong sides together!).

Turn the corner and sew across the bottom.

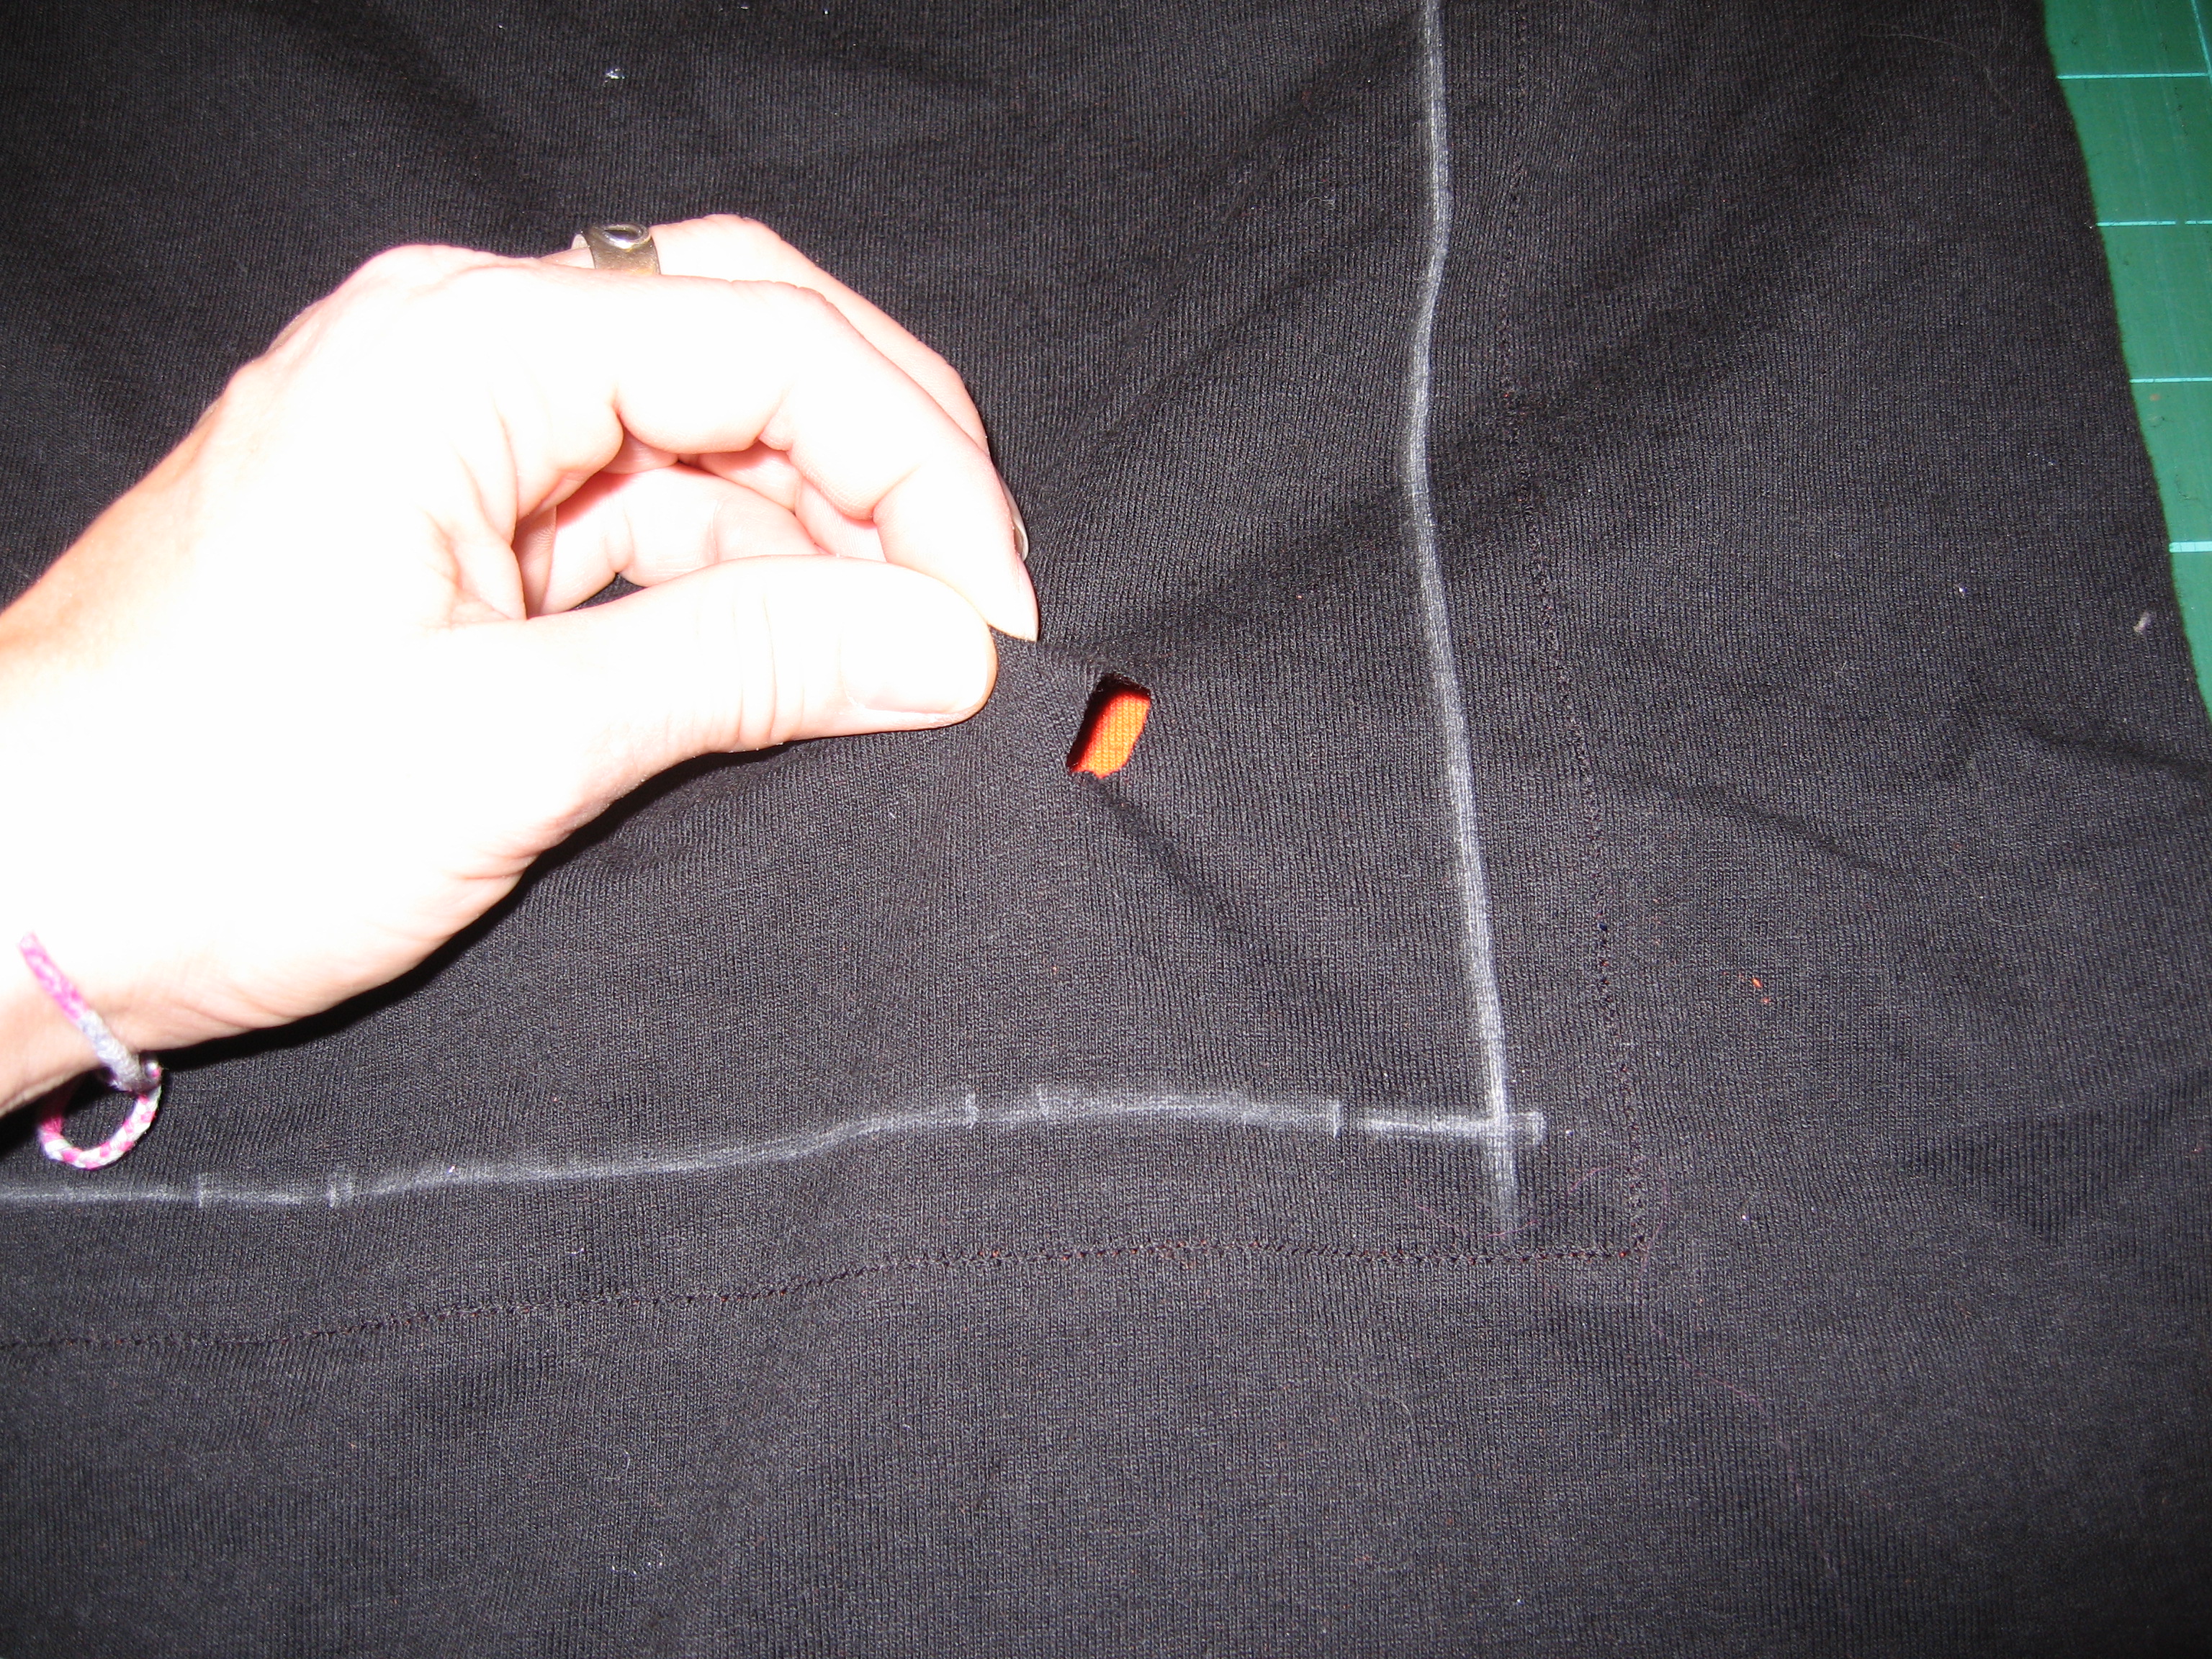
Trim corners (raw edges only, please!).

Turn the pillowcase wrong-side out. 

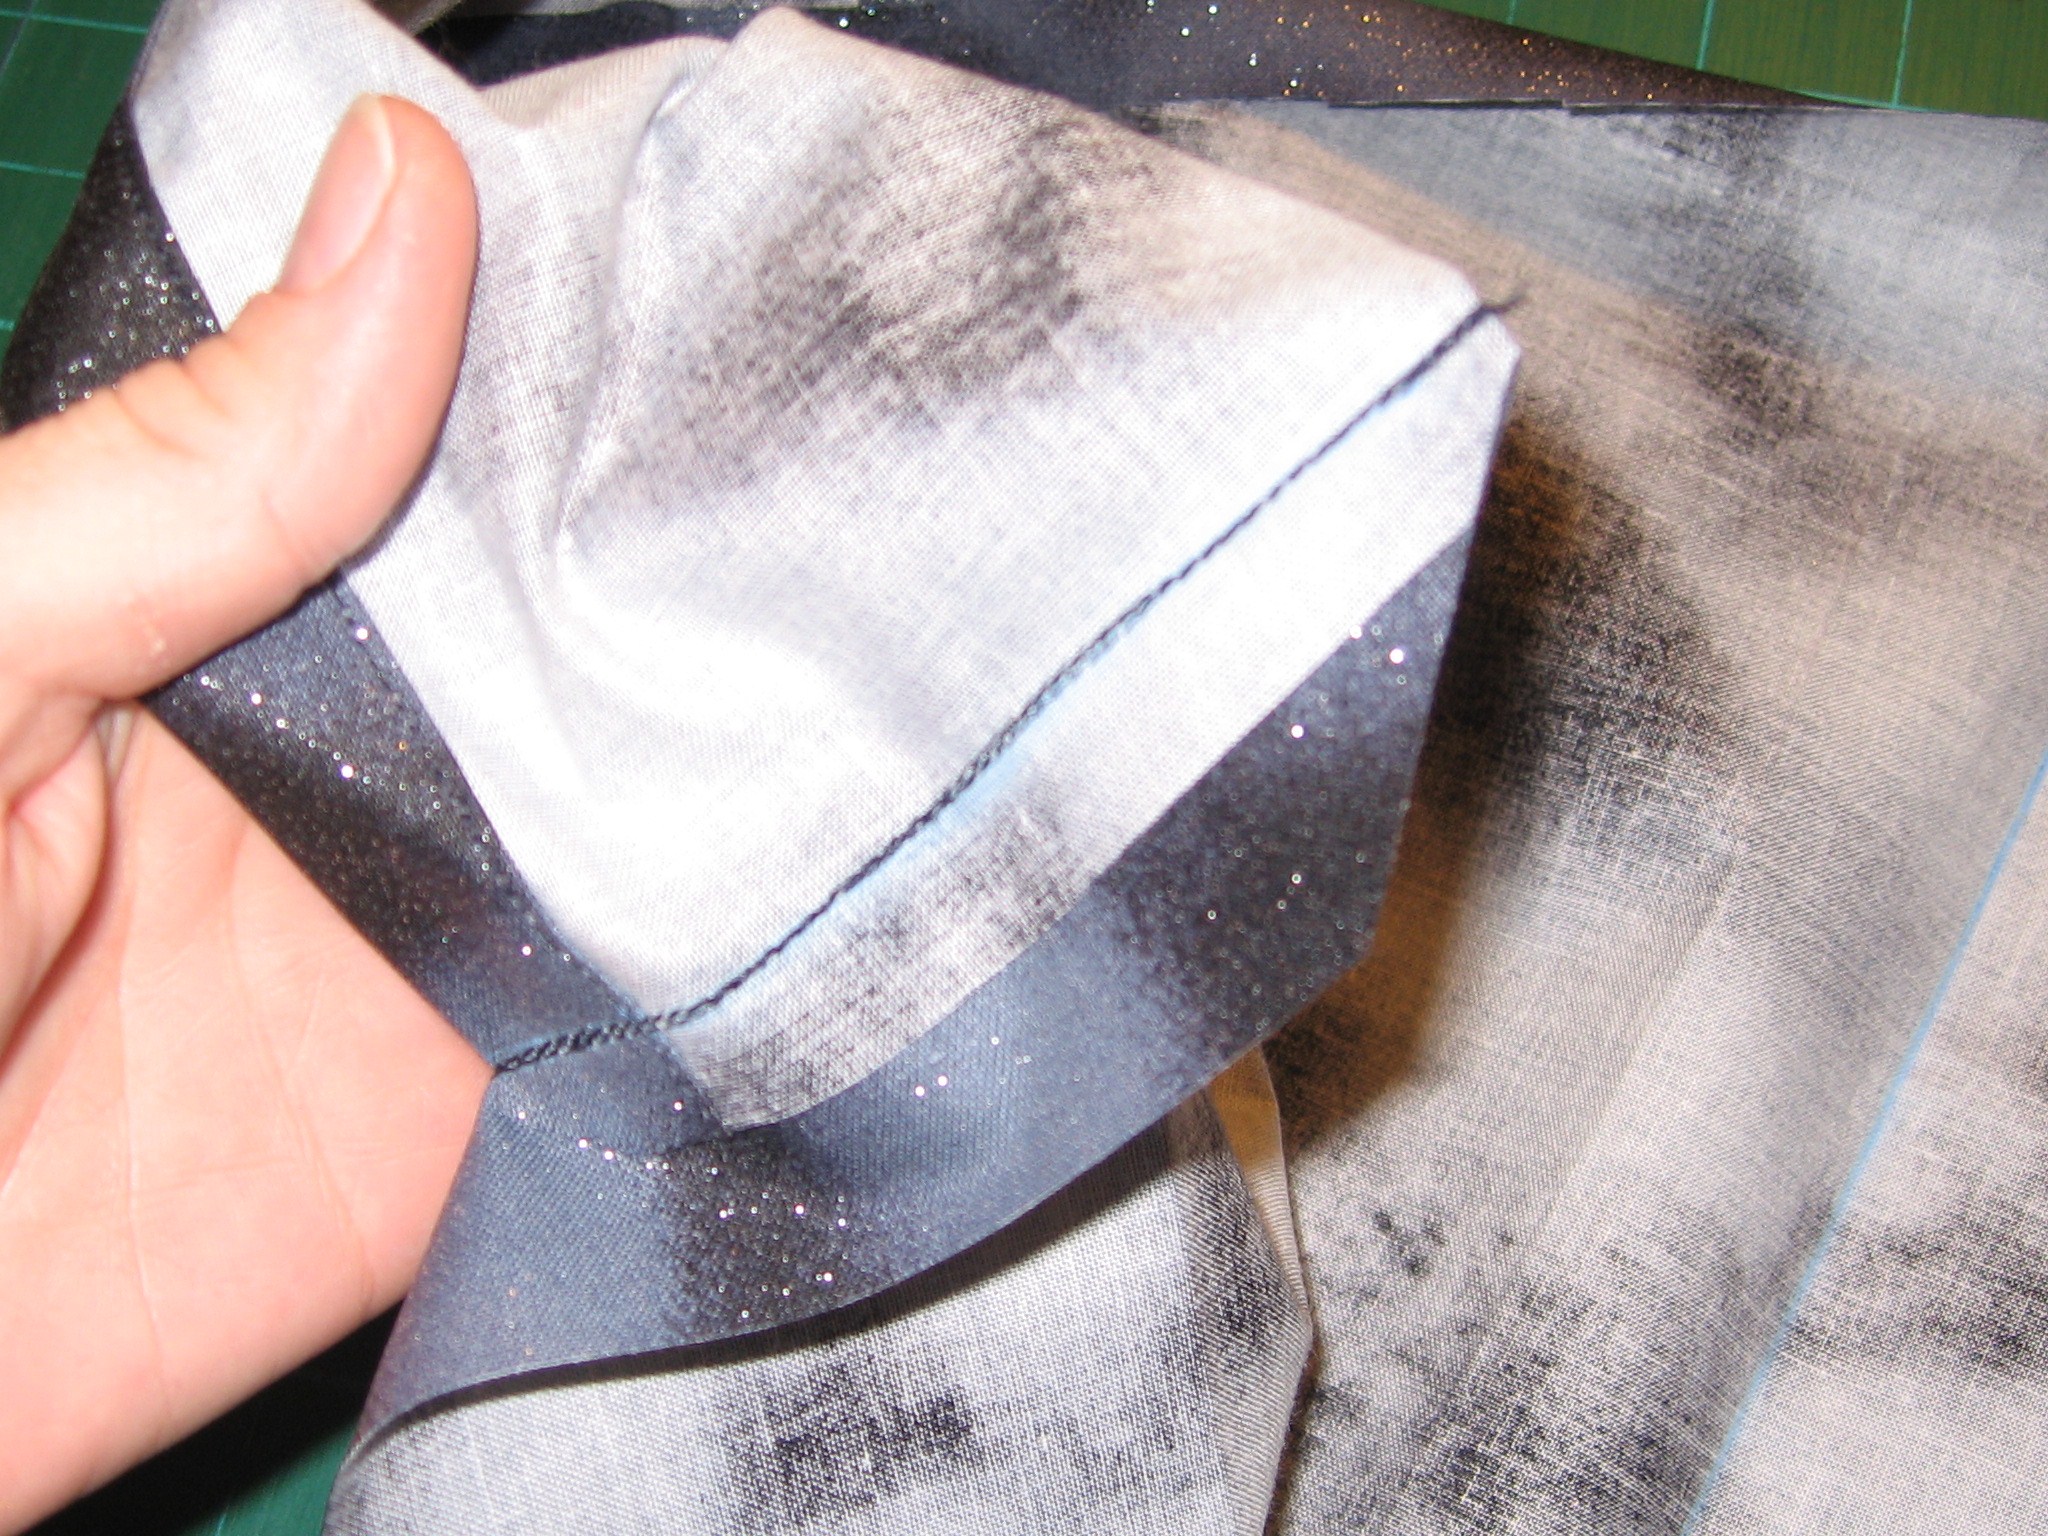
Look how nice the BUN looks next to the HOT DOG!

Press the side and bottom seams flat.

Stitch using a 1/2″ seam allowance.

Look at that, you made French Seams…no raw edges!

Turn right side out and press.

See how nicely the MUSTARD lines up?   Did you notice that your condiment made a lovely little flap, too?

It looks good outside and in!

Delicious!

Now, let me know if you’re as addicted to these as I am!  This beauty is number 11 and I know I’ll make more.  In addition to donating to the 1 Million Pillowcase Challenge, they also make great gift bags for quilts!

Need a hard copy? Printable PDF Tutorial!

 Find my free patterns on Sewhooked & Fandom in Stitches.

♥ Jennifer O

Posts on this blog may contain affiliate links to help cover the cost of my website. I thank you for your generous support. ♥

vlog: TTMT A Whole Lot of Harry

Check out some of my fun flickr craft-related groups!

If you make a Sew Awesome Craft or any pattern, craft or recipe from sewhooked,  I’d love to see a photo.  Email me or add it to the sewhooked flickr group.

Sewing: Turkle the Turtle

Deep in the wilds of my backyard lives the ferocious Quiltus Turtleus, called Turkle by his friends.

His markings are wholly unique and set him apart from all other Quiltus Turtleus.

A canny camera person can get quite close to Turkle, just watch out for the super massively strong jaws!

Quiltus Turtleus are known for their pointy and exceptionally cute tails.

When forced to show his belly, Turkle will display a fierce purple leopard print, frighting off predators for fear of a badly dressed…oops, this a “G” rated blog!

Ancestry of the Quiltus Turtleus, decended from the Quiltus Buttericktus Family.

Happy crafting!

Way Back Craft: Gryffindor “Canopy”

Canopy, approximately 2002

Well, we’re way past due for a Way Back Craft!

So, you want a Harry Potter bedroom?  The very first thing I think of when I think of Harry’s dormitory, is the four poster bed with house-colored hangings.  Wouldn’t that be fabulous?

It definitely would be.

Unfortunately, not all of us have the means or the space for a four poster bed.

This is the problem I encountered when designing a Harry Potter room for my daughter.  Her room has a ceiling fan and the room is just too small for a four poster bed.  The Gryffindor canopy was on her Must Have list when the room decoration was being planned.   I have the great fortune to have two very DIY parents and the first thing that popped in my head was mounting something lightweight on to the wall.

How about a faux canopy that gives the feeling of those hangings without the actual expense or space requirements of a real four poster?

Then I started thinking price.  Cheap would be good.  Very good.  PVC.  PERFECT!

A fun aside on this project – when I was buying the fabric, the woman at the cutting table at the fabric store asked if I was making a dress.  When I told her I was making a Gryffindor canopy for a Harry Potter bedroom, she stared with her mouth open.  It was the first of many stunned looks directed at my fandom crafting!

Supplies

  • 3 lengths of 1 to 1 1/2” PVC pipe cut into 18” (45.7 cm) pieces (use a hacksaw or have it done at your DIY store)

Note: PVC under 1” is not recommended because it’s too flexible. Make sure the threaded plug & metal flange will work with the pipe you chose. They’re easy to test at the DIY store.

  • 3 threaded plugs
  • 3 metal floor flanges
  • 3 flat PVC caps
  • 3 decorative wood rosette with a flat back
  • Epoxy, Liquid Nails or other cement-like glue
  • Primer spray paint
  • Gold spray paint (Use silver for Slytherin, bronze or silver for Ravenclaw and black for Hufflepuff)
  • Pencil
  • Measuring tape
  • Screwdriver
  • Drill (optional)
  • Screws with anchors
  • 5 1/2 yards (5 meters) of red satiny fabric  (Use green for Slytherin, blue for Ravenclaw or yellow for Huffelpuff)
  • matching thread
  • sewing machine (optional)

Instructions

  1. Prewash fabric then hem on both ends, set aside.
  2. Following manufacturer’s directions, use epoxy to glue the threaded plugs to one end of each of the PVC pipes. On opposite ends of pipes, use epoxy to attach the PVC caps. Epoxy the wooden rosette onto the cap. Allow epoxy to dry. Screw pipe into metal flange. Stand up on it’s end in a well covered, well ventilated area.
  3. Paint with primer. Allow to dry according to manufacturer’s directions. Paint gold. Allow to dry overnight.
  4. Find the center of your bed, mark a light line on the wall. Depending on the width of your bed and where you want the fabric to reach on the sides, you will need to attach the flanges lower or higher.  If you have someone helping you, it’s a good idea to hold the center pipe in place with the fabric, centered, on the pipe. You can then determine how high the center pipe should be and where to place your two side pipes. They can be low or high, depending on your preference.  Use measuring tape to assure the three pipes will be symmetrical.
  5. Attach the metal flanges to the wall using screws and anchors, using the drill for pilot holes if necessary.
  6. Screw pipes into each flange. Arrange canopy fabric.

Makes a great window treatment, too!

Also for your Harry Potter room:  HP Bookcase Mural

p.s. I made the afghan, too.  😉

As always, if you make any pattern or craft from sewhooked,  I’d love to see a photo. Email me or add it to the Friends of sewhooked flickr group.

Happy crafting

also available on The Leaky Cauldron- Crafts

Sewing: Hem Extension (aka unhemmed)


Jeans Hem Extension – UNHEMMED

You probably know by now, I’m a big thrift store shopper, especially for clothes.

I found a great pair of Gap jeans that fit perfectly, and only paid $1.25 for them!  The only drawback was that they were too short, even for my average-length legs.

This was my easy-peasy solution.  It works with or without the extra trim. I just love adding a little flavor to my thrifted goods!

You’ll need:

  • One pair of too-short jeans
  • seam ripper or razor (use razor with care, I don’t want anyone losing a finger!)
  • steam iron set to “cotton”
  • optional:  trim, ribbon, etc.
  • sewing machine
  • thread
  • scissors

What to do:

  1. Rip out the hem using a seam ripper, or, if you have a steady hand, a razor works great to get through the heavy duty stitching.
  2. Press the legs out, removing any bits of thread left from ripping out the seam.  You may need steam for this step to get the old hem lines nice and flat.
  3. If the previous location of the bottom edge is a holey or ragged, you can add ribbon, leftover quilt binding, or any other washable trim by pinning around the outside.  Tuck the ends under and then top stitch both edges.
  4. For an unfinished edge, zig zag around the edge of each leg or use a decorative stitch.  Once they’re washed, they’ll fray nice and even.

I’ve got several pairs of jeans like this, all of them found for super cheap and all of them with their own distinctive look.  Love them!

Happy crafting

Find my free patterns on Sewhooked & Fandom in Stitches.

♥ Jennifer O

Posts on this blog may contain affiliate links to help cover the cost of my website. I thank you for your generous support. ♥


Smiling Santa Gift Bag

I’ve been making these Santa bags for a lot of years now, but this is the first time I’ve ever shared a how-to for it.

Other similar bags I’ve made include Rudolph, Christmas kitties and Christmas trees.  Change the basic bag to any color and add polka dots or stars for an easy birthday bag!

Smiling Santa is reusable, giftable, and darn cute.  He’s fast to make with simple embroidered stitches and a button nose.    If hand stitching isn’t your thing, fabric paint will work in a pinch!

You’ll need:

  • Smiling Santa reference
  • 9″ x 12″ acrylic felt – 2 white, 1 red, 1 flesh
  • scissors
  • large needle
  • embroidery floss:  white, red, blue & green
  • red button
  • ruler
  • optional:  sewing machine
  • optional:  rotary cutter

supplies


I use eco-friendly acrylic felt.  It’s easy to find, cheap (20 cents a sheet) and sturdy.

Find the bottom of your bag and cut 1″ squares out of the opposite corners for each white sheet. This will create a faux gusset and allow your gift bag to stand up.

Cut the flesh-colored felt sheet down to 8″ x 5 1/2″.  Fold in half and cut a gentle curve.

Open flesh-colored felt.  Align 1″ from top of bag, centering so that each side has approximately 1/2″ of white felt showing.

Using the white embroidery floss, hand stitch a running stitch around the two sides and bottom of the face.

Add eye details with a straight stitch (eyebrows) and chain stitch (eyes).

Add button nose with red embroidery floss.  Add mouth, also with red embroidery floss, using the chain stitch.

Pin two pieces of white felt together, face inside.  Machine stitch 1/4″ seam on two sides and across the bottom.

Optional:  hand stitch on the inside OR hand stitch on the outside using red embroidery floss.


Fold the open corners on the bottom together, matching outside seams.  Fold seams in opposite directions to reduce bulk.  Pin in place.

Machine stitch bag corners.

Turn bag right side out.

Fold 1″ down on top of bag, overlapping face.  Pin, then straight stitch around.  Stitch under side seam.

Finished stitching on the top of bag.

Cut two 12″ x 2″ strips from red felt.

Fold straps lengthwise.  Straight stitch along the length with green embroidery floss.

Pin handle to outside of bag 2″ in from the sides.

Straight stitch snowflake or asterisk to hold handles in place.  Repeat for the back of bag.

Stuff with goodies and gift it!

Feeling creative? Try your hand at a Christmas Tree!

Find my free patterns on Sewhooked & Fandom in Stitches.

♥ Jennifer O

Posts on this blog may contain affiliate links to help cover the cost of my website. I thank you for your generous support. ♥

T-Shirt Reconstruction: Reverse Applique Window

Reverse Applique Window T-Shirt

My son got this great orange t-shirt at the science fair he participated in last year. Unfortunately, it was way too small and *gasp* not black, which is his favorite t-shirt color. We talked it through and he agreed that if it was part of a black shirt, he’d definitely wear it.

I used one of my favorite “save a t-shirt” recon techniques, a reverse applique window. It’s easy peasy and takes only about 15 minutes to complete. The sewing machine and rotary cutter are totally optional here. This recon could easily be done with just plain old scissors and a needle and thread.

You’ll Need:

  • 2 t-shirts
  • straight pins
  • chalk
  • ruler
  • rotary cutter (optional)
  • scissors
  • sewing machine with ball point needle OR needle & thread

Slit the shirt that will be in the “window” up each side and open out.

Using a rotary cutter and ruler OR a ruler and chalk with scissors, cut a square out of the front of the window at least 1″ larger than the image on the shirt.

Turn the intact shirt inside out. Center the square with the image on it right side down on the inside front of the intact shirt. Pin clockwise – this makes it easier to remove the pins as you stitch.

Stitch around, removing the pins as you go so as not to stitch over them. If using a sewing machine, choose a stretch stitch.

Turn the shirt right side out. You can faintly see the stitching line here.

Draw a chalk line 1/4 – 1/2″ inside of the stitching line. This will be your cutting line. 

Near one of the corners, pinch the fabric of the intact shirt away from the applique piece on the inside. Make sure you just have one layer of shirt. Cut a small hole with the scissors. Trim carefully towards the chalk line.

Cut around the chalk line and remove the center piece.

Voila! Reverse applique t-shirt!

Happy crafting!

Find my free patterns on Sewhooked & Fandom in Stitches.

♥ Jennifer O

Posts on this blog may contain affiliate links to help cover the cost of my website. I thank you for your generous support. ♥

Back To School Craft: Book Cover from a Fabric Remnant

Back to School Book Cover from Fabric Remnant

My eighth-grader brought an Algebra book home for the first time yesterday because it needed a cover. It’s huge, really huge, weighing in at a whopping six pounds (what, I was curious!).

The paper book covers of yesteryear are truly a thing of the past, something I learned a couple of years back when I suggested recycling a brown paper bag, just like I had when I was in school. Ah, the brown paper cover! All that real estate for doodling and scribbling down phone numbers or bits of song lyrics.

The look of shock and horror on my kiddo’s face was enough to tell me that, sadly, grocery bags are O-U-T, and stretchy fabric covers are IN.

The one-size-fits-all stretchy fabric cover we picked up with school supplies did not, despite the packaging promise, fit the mammoth math book.

We came up with a quick and easy solution with a project we’ve used a few times before: a fabric book cover, custom-made from a cotton remnant.

Let’s do it!

Measure out the remnant for your book, making sure that it is at least 2″ wider on top and bottom (4″ total) and several inches longer on each side than the book when it is opened.

Trim the top, bottom, and sides so they are straight and will be easy to sew. Rotary cutters work perfectly for this if you’ve got one, otherwise a chalk, ruler, and scissors work just fine, too.

Hem both of the short ends. Turn under 1″ and then again 1/4″ or 1/2″ to make a sturdy seam. Stitch with a straight stitch.

As evenly as possible, align the fabric on the book inside out, with the hemmed edges inside the book cover.

Pin the fabric, leaving enough fabric for seam allowance and hemming later. The pinned corners should be approximately 1/16″ of an inch away from the outside of the book. It’s very important to not pin too far away from the book’s edge or the cover will be too loose. 

Using a straight edge, mark along the pins in chalk.

Stitch on chalk or pencil line for all four corners. Reinforce the stitching line several times. These will have a lot of pressure on them from the book being opened and closed.

Trim corners and the short piece of fabric where you have just stitched. Repeat for all corners. Turn, using a chopstick or crochet hook to push out the corners.

The seam allowance along the edges are at this point still unstitched. Press these, using the already-turned corners for your measurement. Turn the hem under (opt) and pin in place if needed.

Start under the flap then straight stitch along the hem, finishing after the next flap. You do not need to stitch all the way to the end, but it’s a good idea to reinforce the hem past the flap so the fabric will lay nice and flat.

Trim your threads and slip your new fabric book cover on!

As long as your book cover is nice and tight, it’ll stay on with no problem.

Now, who wins for best dressed math book?!

Happy sewing!

Find my free patterns on Sewhooked & Fandom in Stitches.

♥ Jennifer O

Posts on this blog may contain affiliate links to help cover the cost of my website. I thank you for your generous support. ♥