Welcome back to Free Pattern Friday!
Today is the final freebie for the month of May designed especially for The Linus Connection.
In the distant, far, far away time of 2005, my website was called Jen’s Crochet & Crafts. There were at that time, way more crochet than crafts, and the very beginning of my quilting adventures!
Coconut Candy was posted to that long ago web site and has been along for the ride ever since. I’ve made several for The Linus Connection over the years, some multicolored, some not.
Working on today’s post led me to revisit my Ravelry page, something I haven’t done in a long, long time. I spent a little time there updating links and making sure all the patterns actually went somewhere. It seems a long time ago that I was almost exclusively designing crochet projects!
I hope you’ll enjoy today’s yummy pattern. ♥

Get this free pattern on Craftsy
or
or


Are you quilting along with Paper Piecing Vintage? Share a Signature Block for the PPV Signature Quilt! This special project is a for a commemorative signature quilt that I will keep after Paper Piecing Vintage has concluded. Find this block on page 21 of Paper Piecing Vintage. If you’re only making a few blocks, you can also find the Signature Block Pattern right here.
♥
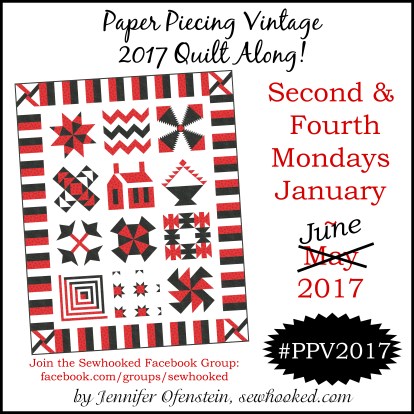
Stop by Sewhooked on the second and fourth Mondays of every month through June for the Paper Piecing Vintage Quilt Along (PPV2017)!
Find all posts on Sewhooked about PPV 2017
Get the complete Paper Piecing Vintage quilt pattern for $10 from…
♥


Do you enjoy my free content? Consider Becoming a Patreon Patron and help keep me keep creating and sharing!
♥
Join the Sewhooked Facebook Group for community, support & prizes! I’ll be there, as will my awesome pattern tester Amber along with many other friends of Sewhooked. We’ll answer your questions and nudge you along if you need it. Joining the group is never required, but it is fun!