Tag Archives: halloween

Thread and Paint

Union Jack Patches made using a zig-zag stitch.
I’ve been talking a lot about Halloween lately. I hope you all don’t mind, that’s where my head is at the moment!

First off, let me tell you this: I do not have an embroidery machine. I’ve thought about it, toyed with it, and in the end decided that I really don’t need one. I don’t, really. It would be fun, but, firmly, no.

Enter the need for Union Jack patches for Gareth’s Halloween costume.

Hum. I checked around online and two things were obvious to me. 1) they’re kind of pricey on top of the cost of the rest of the items for his costume and 2)I could make that. 2) Happens to me all the time.

Just about now, an embroidery machine would be handy. Still, no. Don’t even think about it…

Onward, then! I love making ATCs and my thinking was that the patches are the same basic size and shape.

So I pulled out the stiff, fusible interfacing that I keep for ATCs and…

Union Jack Patches made using a zig-zag stitch.

The Stuff: Blue fabric, stiff/fusible interfacing, white and red threads and a picture for my guide. Not shown, blue thread, scissors, an iron and an hour and a half of time.

Union Jack Patches made using a zig-zag stitch.
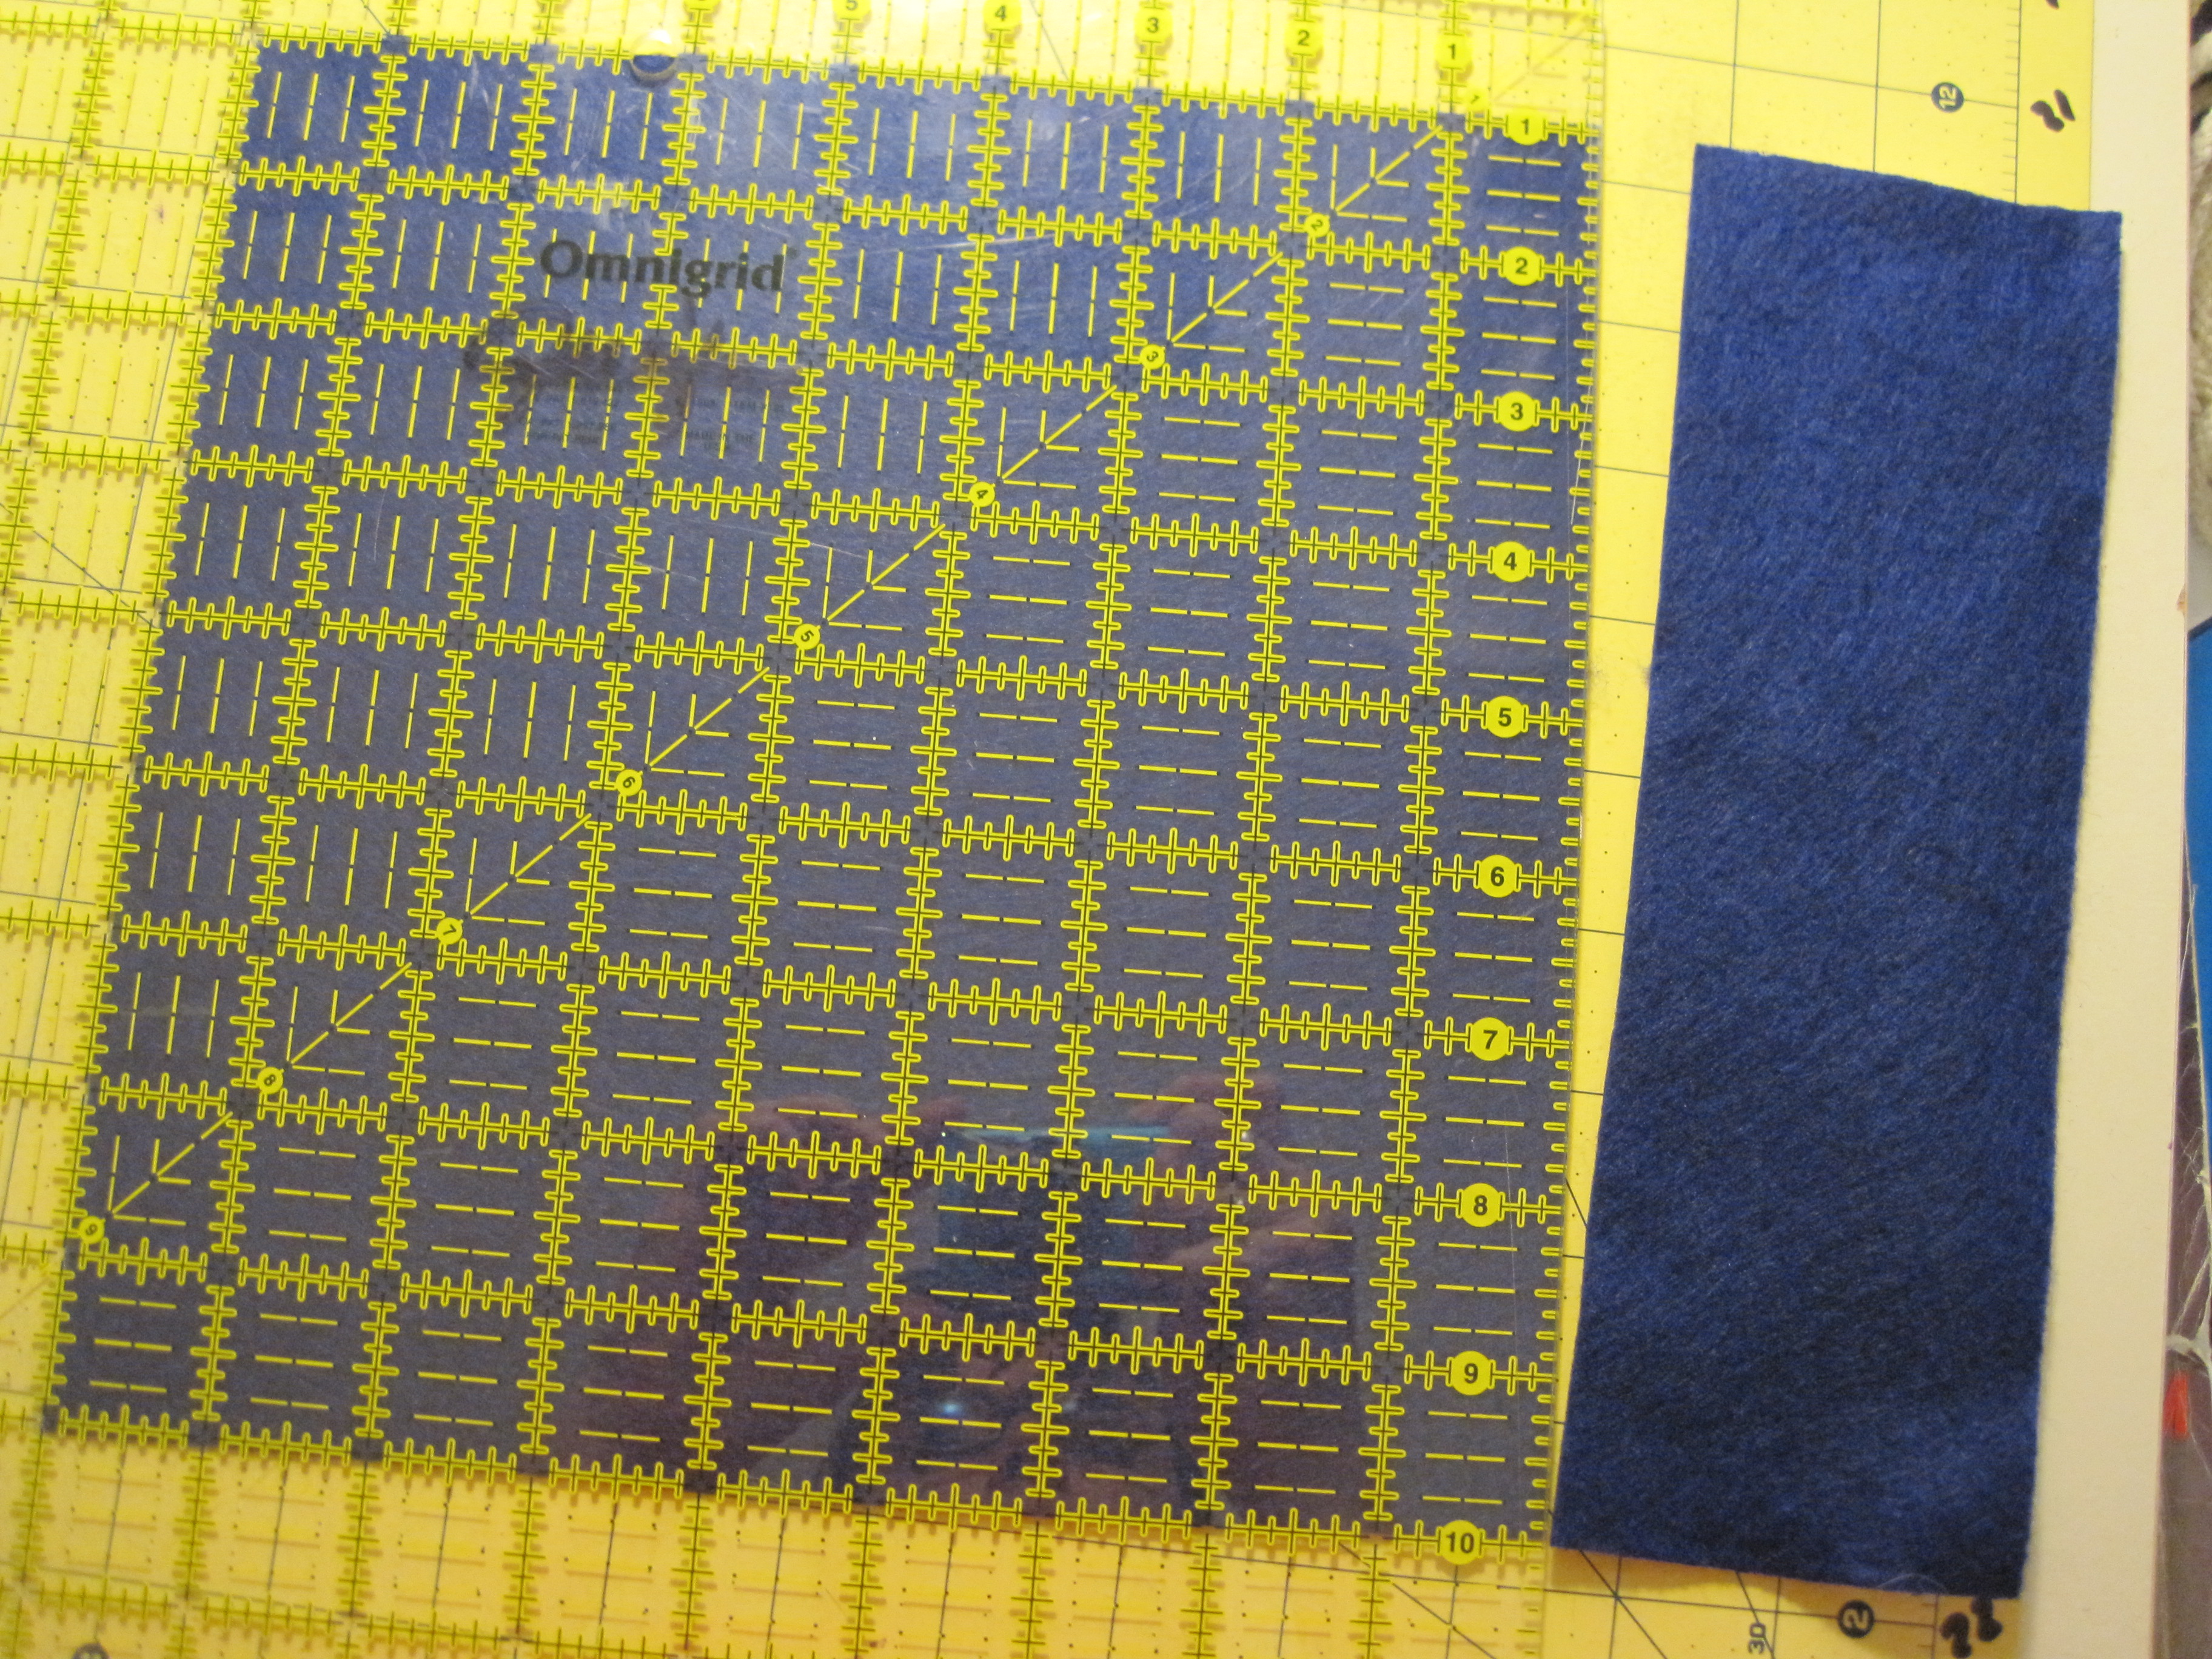
First, I cut the blue fabric to size (in this case 2 1/2″ x 3 1/2″), then marked the center of each on the horizontal with a ceramic pencil.

Union Jack Patches made using a zig-zag stitch.
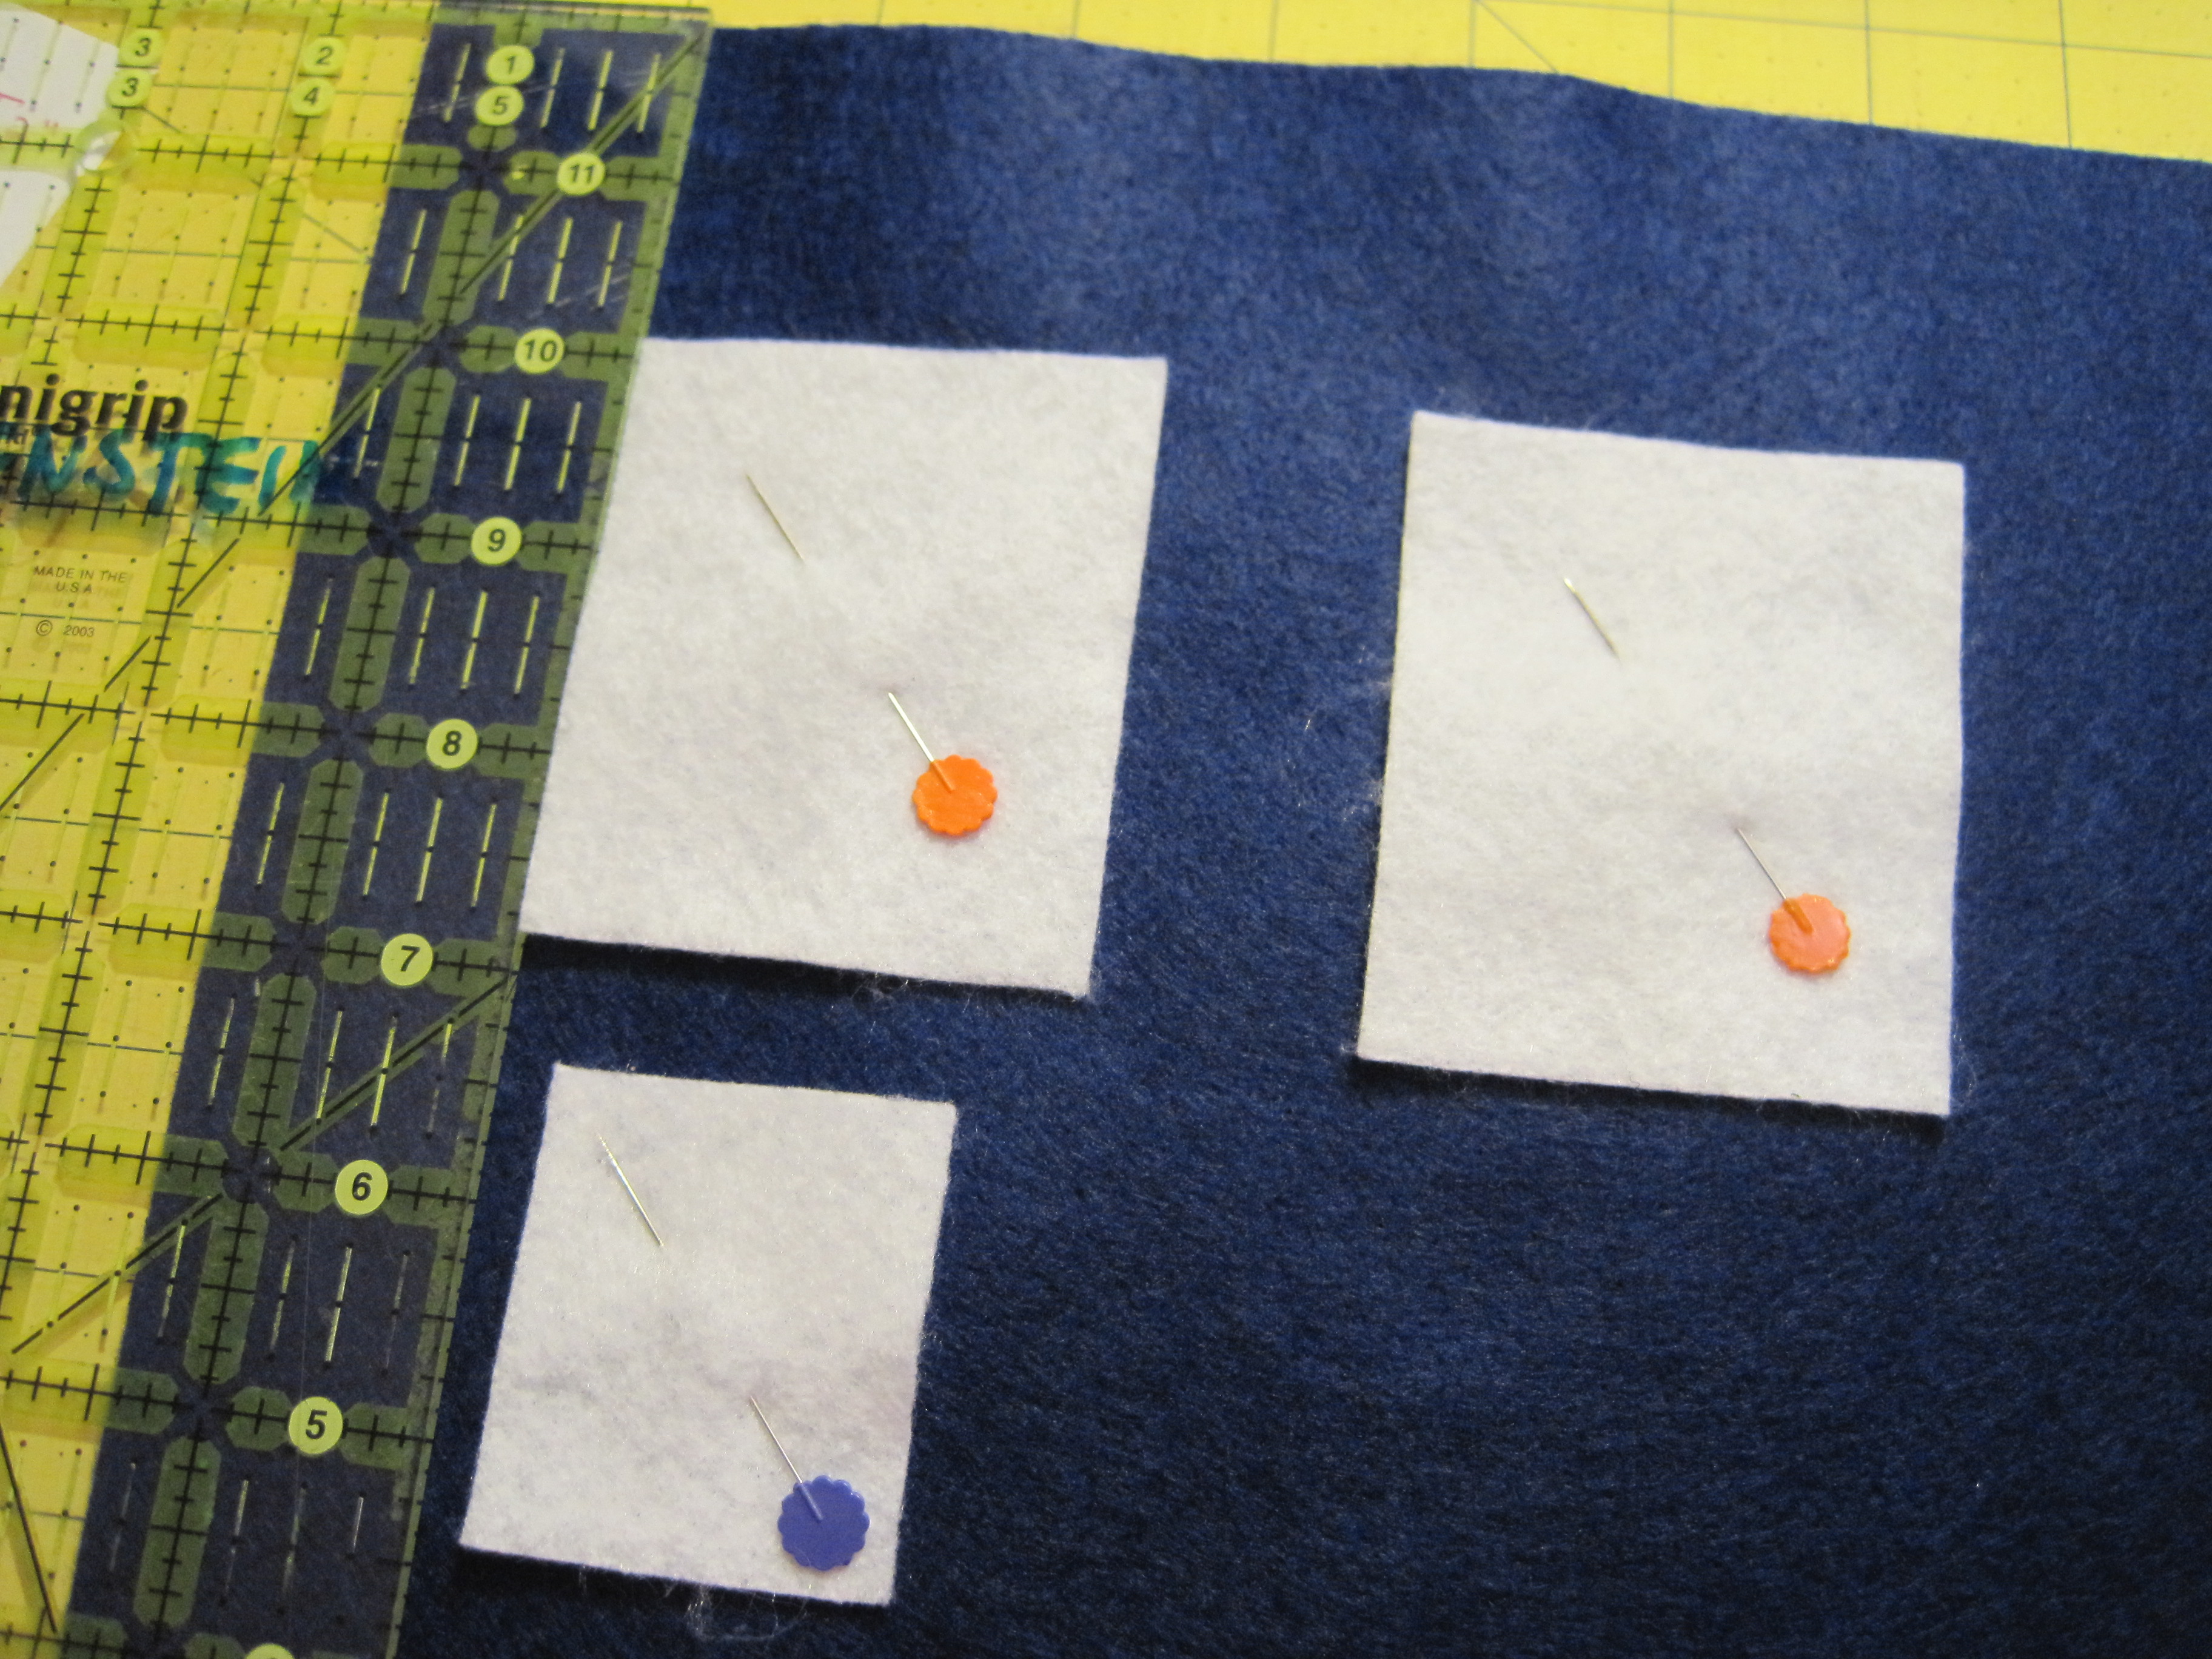
Next, I ironed the blue fabric to the fusible interfacing. The muslin is to keep the other side from sticking to my ironing board. As long as I don’t apply heat to that side, it won’t fuse, but it will get a little warm. Better safe than sticky.

Union Jack Patches made using a zig-zag stitch.
Then, I started stitching! The entire project is done with a zig-zag stitch on my regular home sewing machine. This is a 6 width on my machine and the shortest I could make it.

Union Jack Patches made using a zig-zag stitch.
It wasn’t quite wide enough, so I stitched again on either side of the center line, overlapping each. This was a “figure it out as you go” project.

Union Jack Patches made using a zig-zag stitch.
Much better!

Union Jack Patches made using a zig-zag stitch.
Repeat for the vertical line.

Union Jack Patches made using a zig-zag stitch.
I switched to white thread and started shadowing the red cross. If I had been very, very clever, I think I would have done all the red stitching first. My tension was a little weird with all the thickness, so I ended up stitching the white lines twice. Union Jack Patches made using a zig-zag stitch.

White shadowing done! Diagonal lines drawn for the next step.

Union Jack Patches made using a zig-zag stitch.

Not bad, not bad!

Union Jack Patches made using a zig-zag stitch.

The patches were slightly stretched and lumpy from all the thread when I was done, so I pressed them flat, adding muslin to the back while I was at it.

Union Jack Patches made using a zig-zag stitch.
They look much better all trimmed up!

Union Jack Patches made using a zig-zag stitch.
I wanted to give them a finished edge and catch in all the threads that I trimmed, so I used a shiny blue rayon.

Union Jack Patches made using a zig-zag stitch.
All done! Are they perfect? No way! Does my son think they’re awesome? Why yes, yes he does! Am I happy? Yeah, pretty much. It was a fun experiment, but I will say this: about half-way through I realized it would have been much faster to just stencil them. Oops.

Speaking of stencils…

Ghost Balaclava

This scary looking critter is the balaclava for one Simon “Ghost” Riley, which you may remember from the very end of this post as part of the Halloween costume for my darling 13-year-old son.

He really is darling, despite his XBox tendencies. He says please, and thank you, and has repeatedly given me hugs for creating this scary persona for him.

Ghost Balaclava

While researching this costume, I looked everywhere for a stencil. There was none to be found, so I made my own. Shown above is the 1.0 version, which is the one I used for the balaclava shown. I’ve cleaned it up considerably so I can share it with anyone else looking to make the same thing.

Ghost Balaclava Stencil PDF

This stencil was specifically sized to echo the size of my son’s face, so if you use it for yourself, you might need to scale it up or down a bit.

Add your Sewhooked-related photos to my flickr group and you might be featured in a future post!

And now, on to more quilty endeavors!

Photobucket

 
Sewhooked Shop | FB | SHFB | Flickr | Twitter | Bloglovin

Flickr: Halloween Hooters

Two Little Hooters Halloween

These fabulous Halloween Hooters were posted on Flickr by the very first person to purchase Two Little Hooters, clumsy_chord. She says the entire color scheme was inspired by the gorgeous striped binding and her plan is to find a tree branch to display it on. Love that!

You can read more about clumsy_chord’s Two Little Hooters here.

Has your photo been featured on Sewhooked? Grab a badge for your blog or website!  I apologize for not having the html easily available for you. My current blog host, unfortunately, does not support that feature…but I’m working on it!

Photobucket Photobucket Photobucket

Photobucket PhotobucketPhotobucket

Add your Sewhooked-related photos to my flickr group and you might be featured in a future post!

Photobucket

 
Sewhooked Shop | FB | SHFB | Flickr | Twitter

Two Little Hooters

Two Little Hooters
Two Little Hooters

Sitting In A Tree

One For You

And One For Me!

Two Little Hooters is one of Those Quilts.  I woke up with a complete vision of it in my mind, started working and realized how cute and fun it was. And really, it was all about cute and fun while choosing fabrics and piecing it together!

Another fun thing? It’s my twentieth quilt in the Sewhooked Shop! *throws confetti*

Two Little Hooters

15 1/2” x 18 1/2”
Paper pieced and Strip Pieced

Includes full-color paper pieced patterns, cutting and piecing instructions for the quilt shown above.

$8 – PDF Instant Download

Now Just $5.95 in my Craftsy Shop!

Two Little Hooters, in progress, teaser pic

I posted this teaser pic on my Facebook and Twitter on Wednesday. I couldn’t resist!

Follow me there for chances to win free prizes and lots of carpool crafting!

Two Little Hooters, in progress

The quilt center is all pieced!

Two Little Hooters, in progress

Removing the paper…you can see how I color my patterns while they’re still being tested.

Two Little Hooters, in progress

Quilting in progress. I did simple straight line quilting to emphasize the design.

Two Little Hooters, in progress

Another teaser pic posted to Facebook. Binding, almost done!

Two Little Hooters

And, we’re done!

Two Little Hooters, Alternative Colors

Two Little Hooters, Alternative Colors

Fun alternate colorings created in EQ7

Two Little Hooters, Alternative ColorsAlternate Layout, also created in EQ7

Add your Sewhooked photos to my flickr group and you might be featured in a future post!

Photobucket


Shop | FB | SHFB | Flickr | Twitter

TARDIS Treat Bag

TARDIS TREAT BAG TUTORIAL

Being the Doctor Who obsessed family that we have become, I suppose it’s no surprise that one of my kids is going as The Doctor for Halloween. My eldest has their Ten costume all ready to go, courtesy of a day of thrifting. Because I can’t not be involved in costume making, I asked if there was anything I could do.

“Mum, can you can you make a TARDIS bag for my treats?”

You better believe I can!

Despite it’s awesomeness, the TARDIS Treat Bag is super simple.

You need:

  • 9″ x 12″ acrylic felt sheets – 5 dark blue, 1 white and 1 glitter black
  • scissors
  • thread (I used navy blue)
  • ruler (rotary, if you’ve got one)
  • rotary cutter (optional)
  • sewing machine (optional)

You can definitely do this project without a rotary cutter and ruler and even without a sewing machine, so those items are optional. If you do hand stitch, make sure you make tight, even stitches and use heavy-duty knots so you don’t lose your candy!

Cutting Instructions:

from 1 sheet of blue felt (the other 4 sheets of felt stay 9″ x 12″), cut:

  • 9″ x 9″ square  -bag bottom

from 1 sheet of white felt, cut:

  • 8 – 2 1/2″ x 3″  – Windows
  • 1 – 1/2 x 2″ – Notice
  • (optional) 4″ x 5″ – cell phone pocket

Using your ruler, arrange the window pieces on the 9″ x 12″ sheets of felt so that they are 1 1/2″ in from the sides and 2″ down from the top.  For the TARDIS front, center the notice under the left window, leaving about 1/2″ in between.

Arrange window pieces on remaining three 9″ x 12″ blue felt.

Stitch windows in place, 1/4″ in from outside of white felt. The TARDIS windows have six panes. My windows are estimated, but you can measure and divide your stitching if you choose. Repeat for the two sides that are NOT the front of the TARDIS.

For the Notice on the front, sew some random stitching onto the  1 1/2″ x 2″ piece of felt (as shown). This gives the illusion of writing from a distance. Stitch on each of the four sides with a short zig-zag stitch in each corner (forgot to take a close up…look about three photos down and you can see what I mean!).

Cell Phone Pocket

OPTIONAL – After stitching all the windows on, choose a blue side that is NOT the TARDIS front. Align the 4″ x 5″ piece of felt under the window stitching. Straight stitch on the two long sides and across the bottom, making sure to backstitch at the start and stop. This is your cell phone pocket.

For handles – Fold in half lengthwise and zig-zag down the open side.

Your TARDIS is now ready for assembly!

Find the front (windows with notice) and back (cell phone pocket – or without if you didn’t make one) and bag bottom.  With the insides facing/right side out, place the bottom of the front piece along one side of the 9″ x 9″ bottom piece. Stitch across, leaving 1/4″ at the beginning and end of the seam unstitched (see below).

Seam allowance will be on the outside of the bag.

1/4″ unstitched on the end of the seam (both ends).

Repeat stitching for the back side, making sure the bottom of that side meets the bottom of the bag.

Sew the remaining two pieces on opposite sides, continuing to leave 1/4″ open at each end of the seam.

Find the front and the piece immediately to the left. Bring the two long sides (wrong side) together, right side out.

Stitch from corner to corner.

Repeat for the remaining three corners.

You now have a TARDIS with no handles. That’s the last bit and then you’re done!

The handles attach to the front (windows + notice) and back of the bag. Use a ruler to line up the handles 2 1/2″ in from each side of the bag, with about 2/3″ inside. Pin in place.

Starting at a corner seam, stitch all the way across the top of the bag, backstitching when you get to the handles. For added strength, continue stitching all the way around the bag, flattening out the seam allowance with your fingers before you stitch across it.

Handles…and you can see the cell phone pocket, too!

Snip above and below the top stitching to make the little notches (optional).

The TARDIS Treat Bag is easy to fold, just fold in the bottom and it will fold in on itself.

And… DONE!

Front detail.

FREE Doctor Who Quilt Patterns!
5" Dalek, paper pieced 20" TARDIS block TARDIS 

Happy crafting!

♥ Jennifer O

Posts on this blog may contain affiliate links to help cover the cost of my website. I thank you for your generous support. ♥

vlog – TTMT: Swaps, Super Secret Guest and Halloween!

Lots of updates on completed swaps as well a Super Secret Guest and some Halloween photos!

Cauldron Pin Cushion Tutorial

Honey Bee Quilt Store

Honey Bee Blog post mentioned in the video

Maylee’s Garden for vegan natural soap

If you make a Sew Awesome Craft or any pattern, craft or recipe from sewhooked,  I’d love to see a photo.  Email me or add it to the sewhooked flickr group.

Jennifer Rogers Ofenstein

Promote Your Page Too

vlog: TTMT – Talk to me Monday??

I’m posting early this week because the rest is likely to be too busy for a Tuesday post.  I hope to hear from you on your own TTMT!


If you make a Sew Awesome Craft or any pattern, craft or recipe from sewhooked,  I’d love to see a photo.  Email me or add it to the sewhooked flickr group.


Candy Corn Hat

Candy Corn Crochet Hat
As seen on Talk To Me Tuesday, September 29, 2009.

Printable Pattern

Add to your ravelry queue

also on cut out + keep

As I walked around my local craft store last week, I noticed little Halloween displays all over the store.  Almost all of them had candy corn.

 I spent the rest of that trip repeating to myself, “You do not need candy corn!  You do not need candy corn!”

I guess you can see why I jokingly refer to candy corn as Halloween Crack!

Mellowcreme pumpkins?

One bag of those + me = sugar coma.  Danger, danger, danger!

I created an homage to those last year with my Mellowcreme Pumpkin Earrings.

To continue the homage to my favorite Halloween candies, how about a candy corn hat?  It’s easier on your teeth, works up in a jiffy and isn’t particularly hard on your yarn stash, either!

It sure as heck is easier than taking candy from a crafter baby!

You’ll need:

  • small amounts of worsted yarn in bright orange, white and bright yellow (Red Heart used in example)
  • J hook

Round 1: With white, ch 4, 11 dc in fourth ch from hook.  Join with sl st at top of beg ch 3.  (12 dc)

Round 2: sl st to the sp between the next two dc , ch 3, dc in same sp (cluster).  (2 dc) in between each dc around. (12 clusters)

Round 3: sl st to the sp between the next cluster , ch 3, 2 dc in same sp.  (3 dc) in between each cluster around. Finish off white. (12 clusters)

Round 4: With orange, join with sl st between any cluster.  ch 3, 3 dc in same sp, ch 1, (4 dc, ch1) in between each cluster around. (12 clusters)

Round 5 – 10: sl st to ch 1 space, ch 3, 3 dc in same sp, ch 1, (4 dc, ch1) in between each cluster around. (12 clusters), finish off orange at end of round 10.

Round 11:  join yellow in any stitch, ch 1, hdc in same st and each st around, including ch 1 sps.

Round 12: ch 1, hdc in same st and each st around.

Round 13: ch 1, hdc in same st , (2 hdc in next st, 1 hdc in next st), repeat ( ) around.   Finish off.

Easy as candy!

Add your Sewhooked-related photos to my flickr group and you might be featured in a future post!

Photobucket


“Mellocreme” Pumpkin Earrings

Mmmmm, mellowcreme pumpkins, the yummy little sugar bombs that are really just candy corn kicked up a notch!  In homage to these tasty Halloween treats, how about a fun, easy craft that is cheap and makes enough to share with your friends?

I made the cute pumpkin earrings for a Halloween swap I was recently participated in.  You can make one pair or several!

makes 10 -12 pair

  • 1 block orange polymer clay
  • small amount green polymer clay
  • toothpick or skewer
  • hook ear wires (aka French hooks) (2 for each pair)
  • eyepins (2 for each pair)
  • jump rings (size of your choice)
  • jewelry pliers (I used one round nose and one chain nose)
  • Sculpey Glaze (gloss)
  • small, soft paint brush
  • parchment paper
  • baking sheet
  • optional: business cards and decorative bags for gift giving
Pumpkin Earrings

Separate the orange clay into enough pieces for 10 – 12 pairs of earrings.  Roll each piece into a rough ball shape.

Pumpkin Earrings

Using the round nose pliers, twist the eye pins into a curly shape, making sure each is approximately the same length.  Make the same amount as the orange balls in the last step.

Pumpkin Earrings

Squish the curly part of the eye pin into the orange ball.  Cover wire completely with clay, rounding with your fingers as you go.

Pumpkin Earrings

Add a small amount of green clay, gently pressing it around the wire into a stem shape.  Make sure to leave the “eye” in the pin visible.  If necessary, use a toothpick or skewer to clean out the hole.

Pumpkin Earrings

Use the toothpick to gently roll creases into the orange ball.

Pumpkin Earrings

Wallah!  A tiny pumpkin!  Repeat steps for each earring.

Pumpkin Earrings

Place earrings on parchment paper lined tray and bake according to manufacturer’s instructions.

Pumpkin Earrings

Pumpkin charms, all baked.  They look a little dull, so…

Pumpkin Earrings

Place earrings eye pin side down in Styrofoam.  Gently brush on Sculpey Glaze.  Allow to dry upside down.   Once they’re turned over, add a little more Glaze around the top if needed.

Pumpkin Earrings

Attach the ear wire (French hook) with a jump ring and pliers.  (how to open and close a jump ring)

Repeat for each pumpkin charm.

If making enough to share with your friends, poke holes in a business card with a pin, then slide the ear wire through.  Fold the top end of the business card down and place in a cute little bag.

Happy Crafting!

♥ Jennifer O

Posts on this blog may contain affiliate links to help cover the cost of my website. I thank you for your generous support. ♥

Halloween Bats Tutorial

Easy Felt Bats

Every year, my family and I break out our big orange and black box full of Halloween decorations, cauldrons and punched aluminum candle holders. Folded and tucked into the side of the box are these sweet bats we made years and years ago. They’ve adorned several front doors, including our current home of almost ten years.


Halloween Bat Door Decoration

Super easy and adorable to boot, these anything-but-scary Halloween bats take about five minutes to whip up.

Supplies:

  • Felt Bat Template
  • 1 piece of black acrylic felt for each bat
  • scissors
  • pin
  • hot melt glue gun & glue
  • google eyes
  • round magnets


Gather your supplies


Fold the acrylic felt lengthwise in half. Pin the Bat pattern on the fold.


Cut around the bat shaped pattern, leaving the fold intact. Fold fabric out.


Use hot melt glue to attach google eyes, being careful to use only a dot of glue. Use pattern placement as a guide.


Use the same method to add the magnets to the back of the bat, using the placement shown on the pattern.


Two sizes of eyes.


Looking great!

Once the glue has dried, your batty friends are ready to display!

This is part of my “Way Back Craft” series’; patterns, crafts, tutorials and general crafty memories before the days of this craft blog.

Happy Crafting!

Photobucket

FB | SHFB | Flickr | Twitter | PinterestBloglovin

this tutorial also available on cut out + keep