Category Archives: Hand Crafts

T-Shirt Reconstruction: She-Shirt

The She-Shirt – Resizing a too big shirt to fit

It’s no secret among my friends that I’m a big Eddie Izzard fan. My family and I were lucky enough to get to see a live performance in June. Eddie was amazing, funny & brilliant, just as you might expect!

Also available as a video tutorial:

In honor of our shared Eddie-love, my good friend Shae stenciled this fantastic “Covered in Bees” t-shirt for me. She knew it would be too big and sent it with her crafty blessings to be reconstructed however I saw fit.

Resizing tees is the recon I do most often, making my shirts fit me better while still being long (and wide!) enough to go over my hips.

Use a favorite shirt that you already love the fit of and that has similar stretch to the fabric.

This is a fairly easy recon and usually takes about 30 minutes from start to finish.

Supplies:

  • Too Big t-shirt
  • smaller tee (guide)
  • pins
  • scissors
  • thread
  • sewing machine (optional)
  • ball point needle (for jersey fabrics)

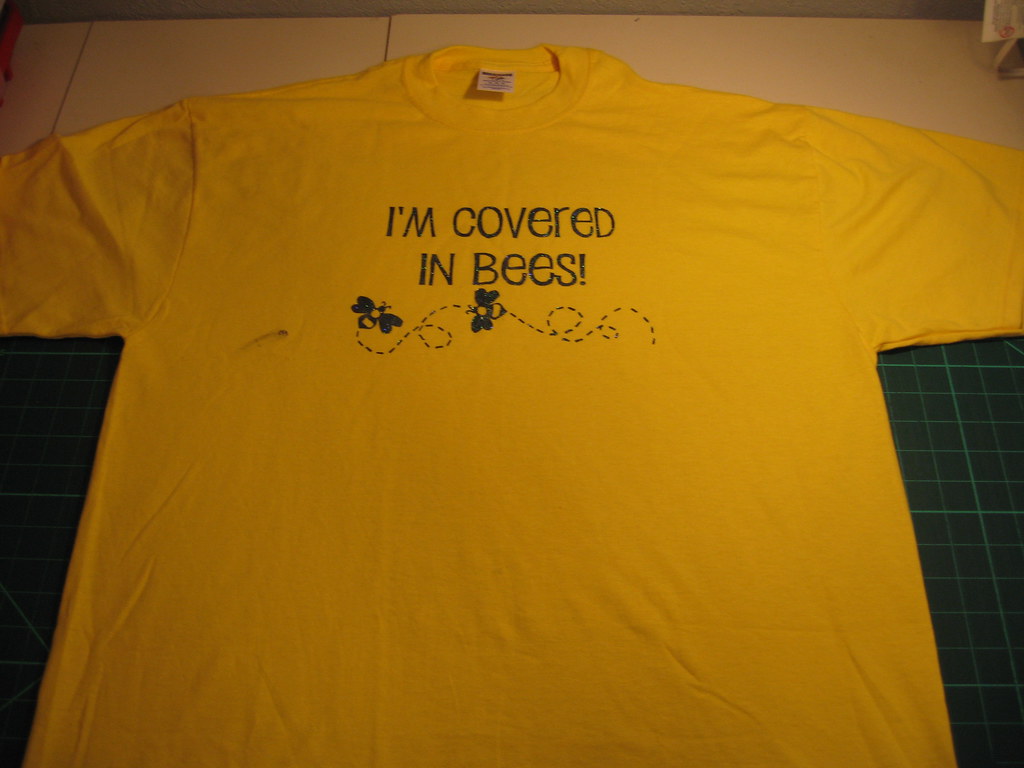
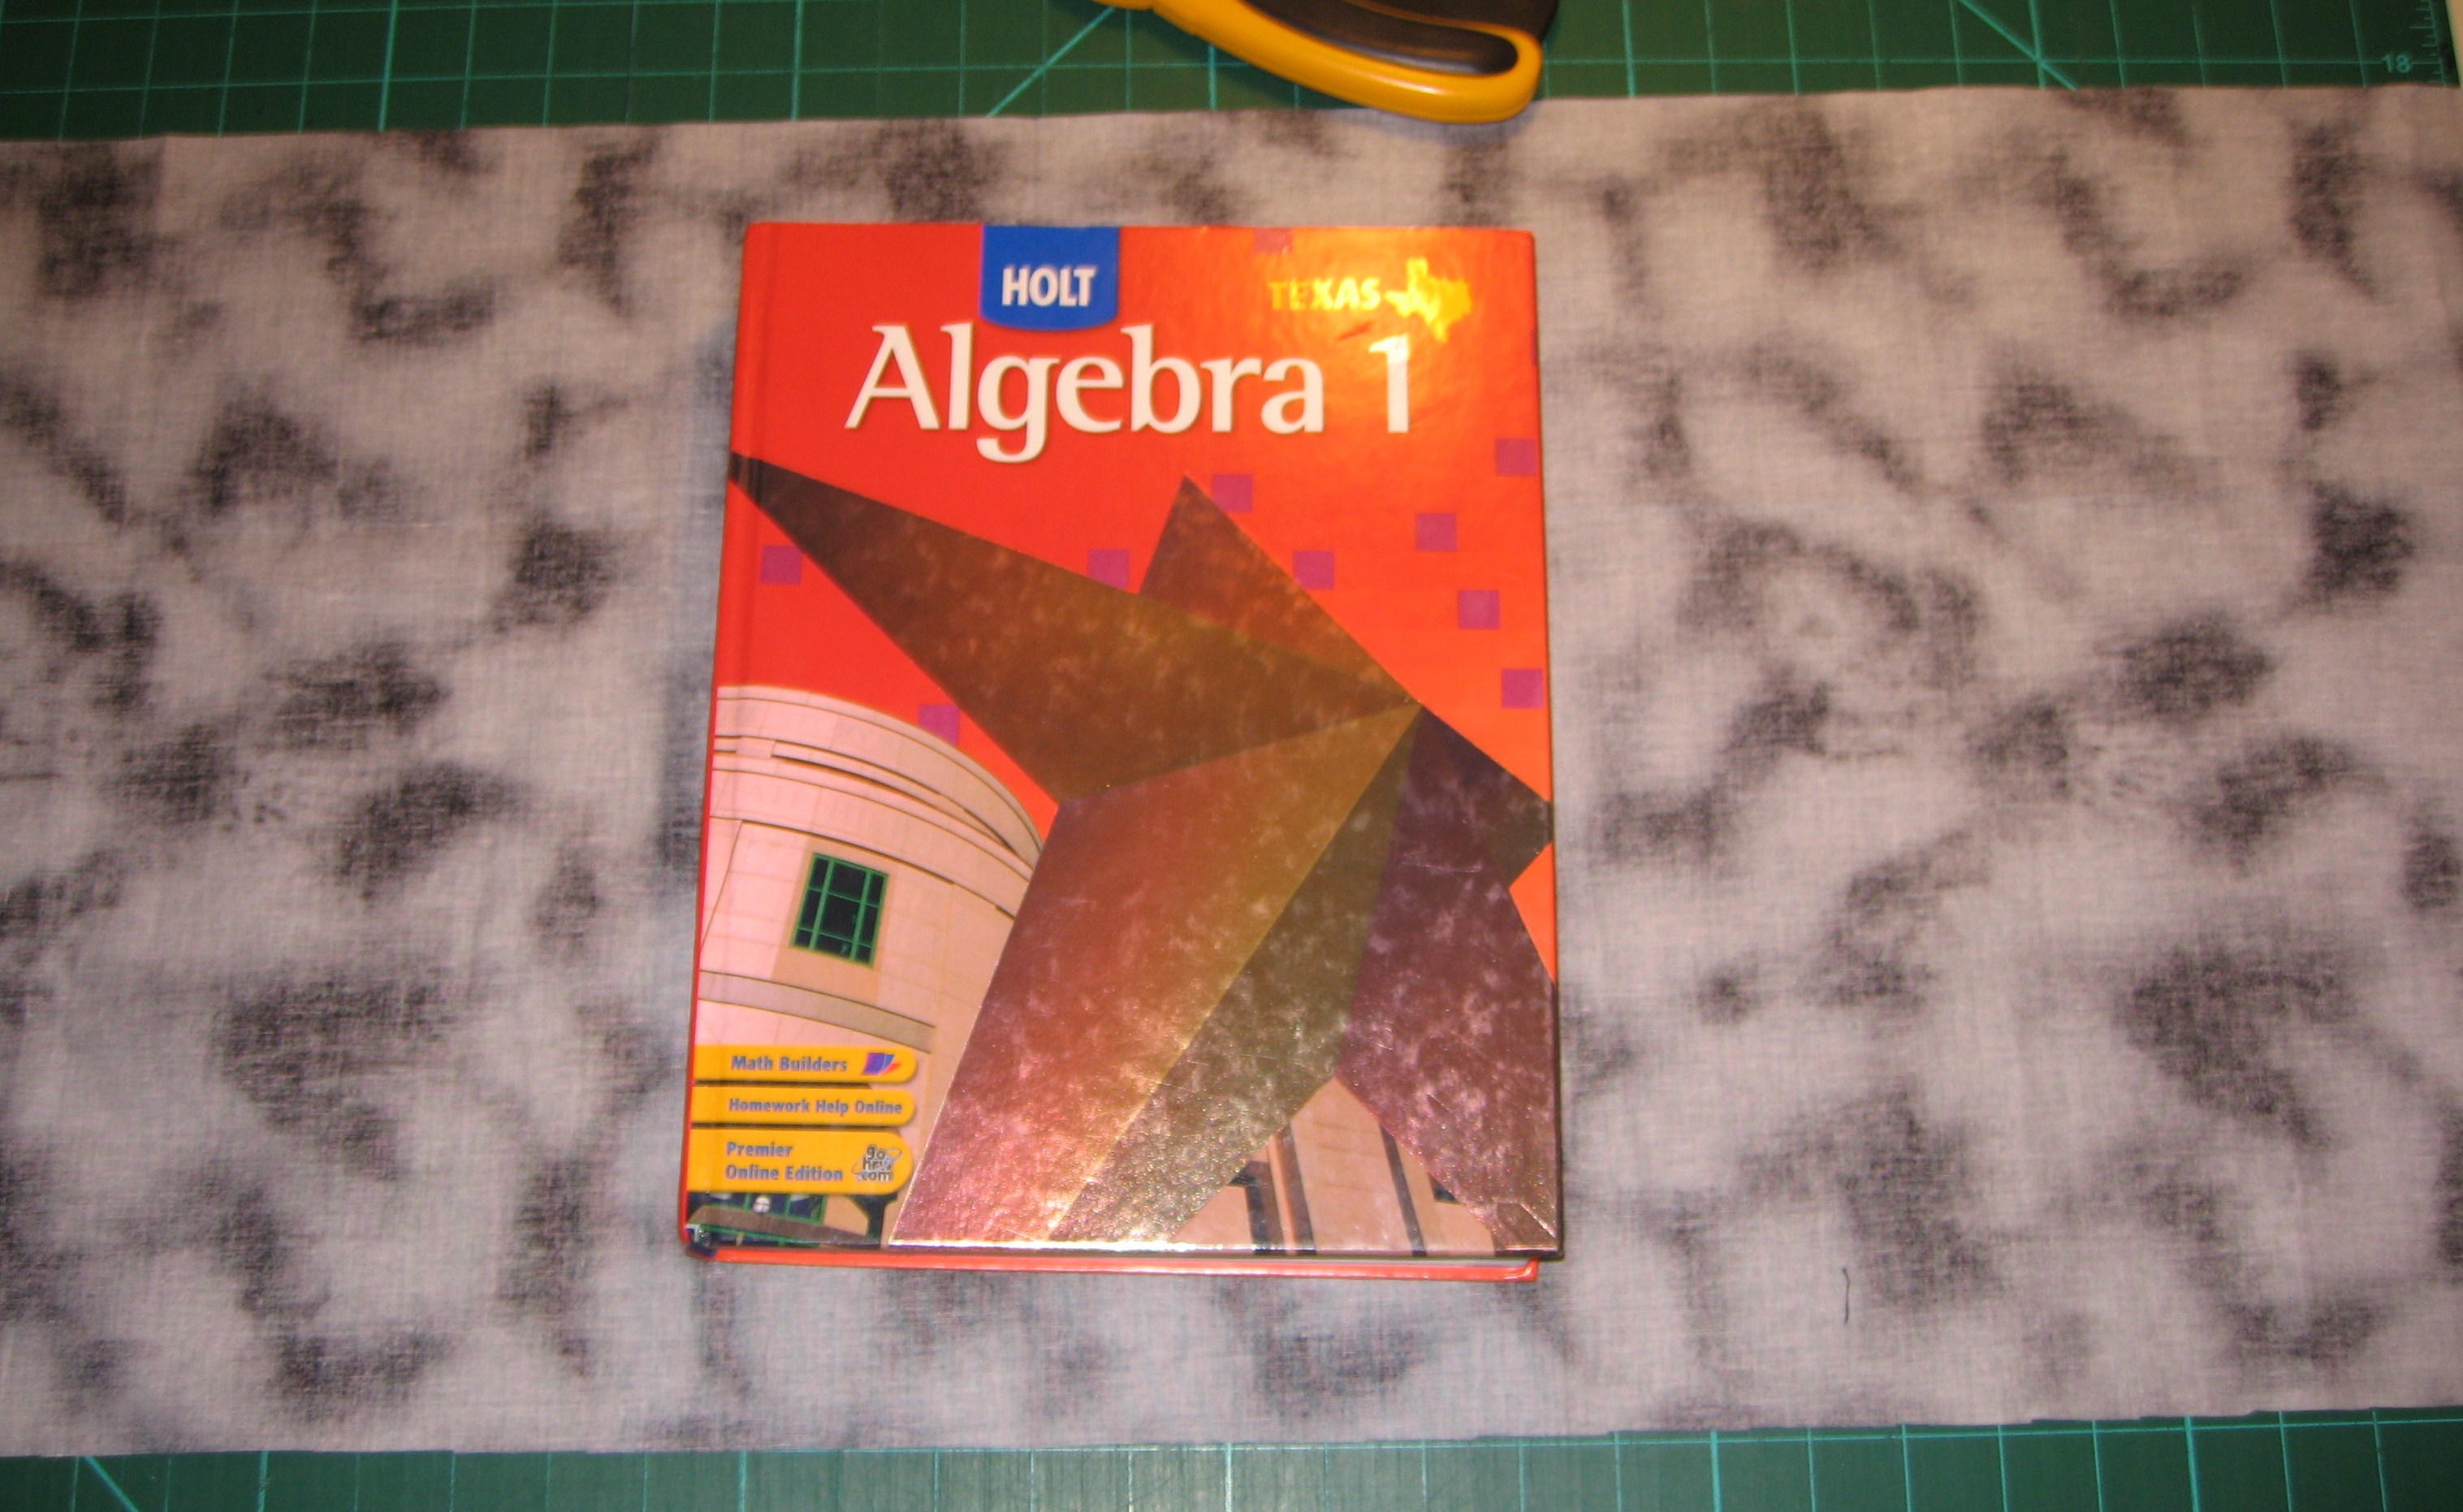
The shirt, before resizing

 
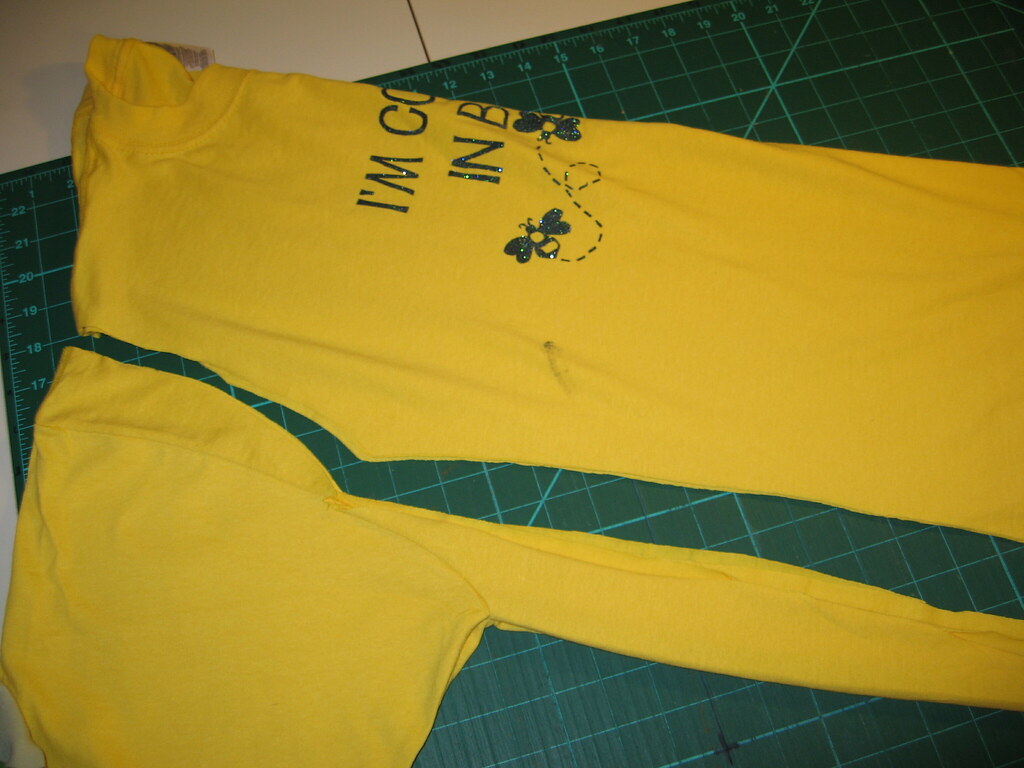
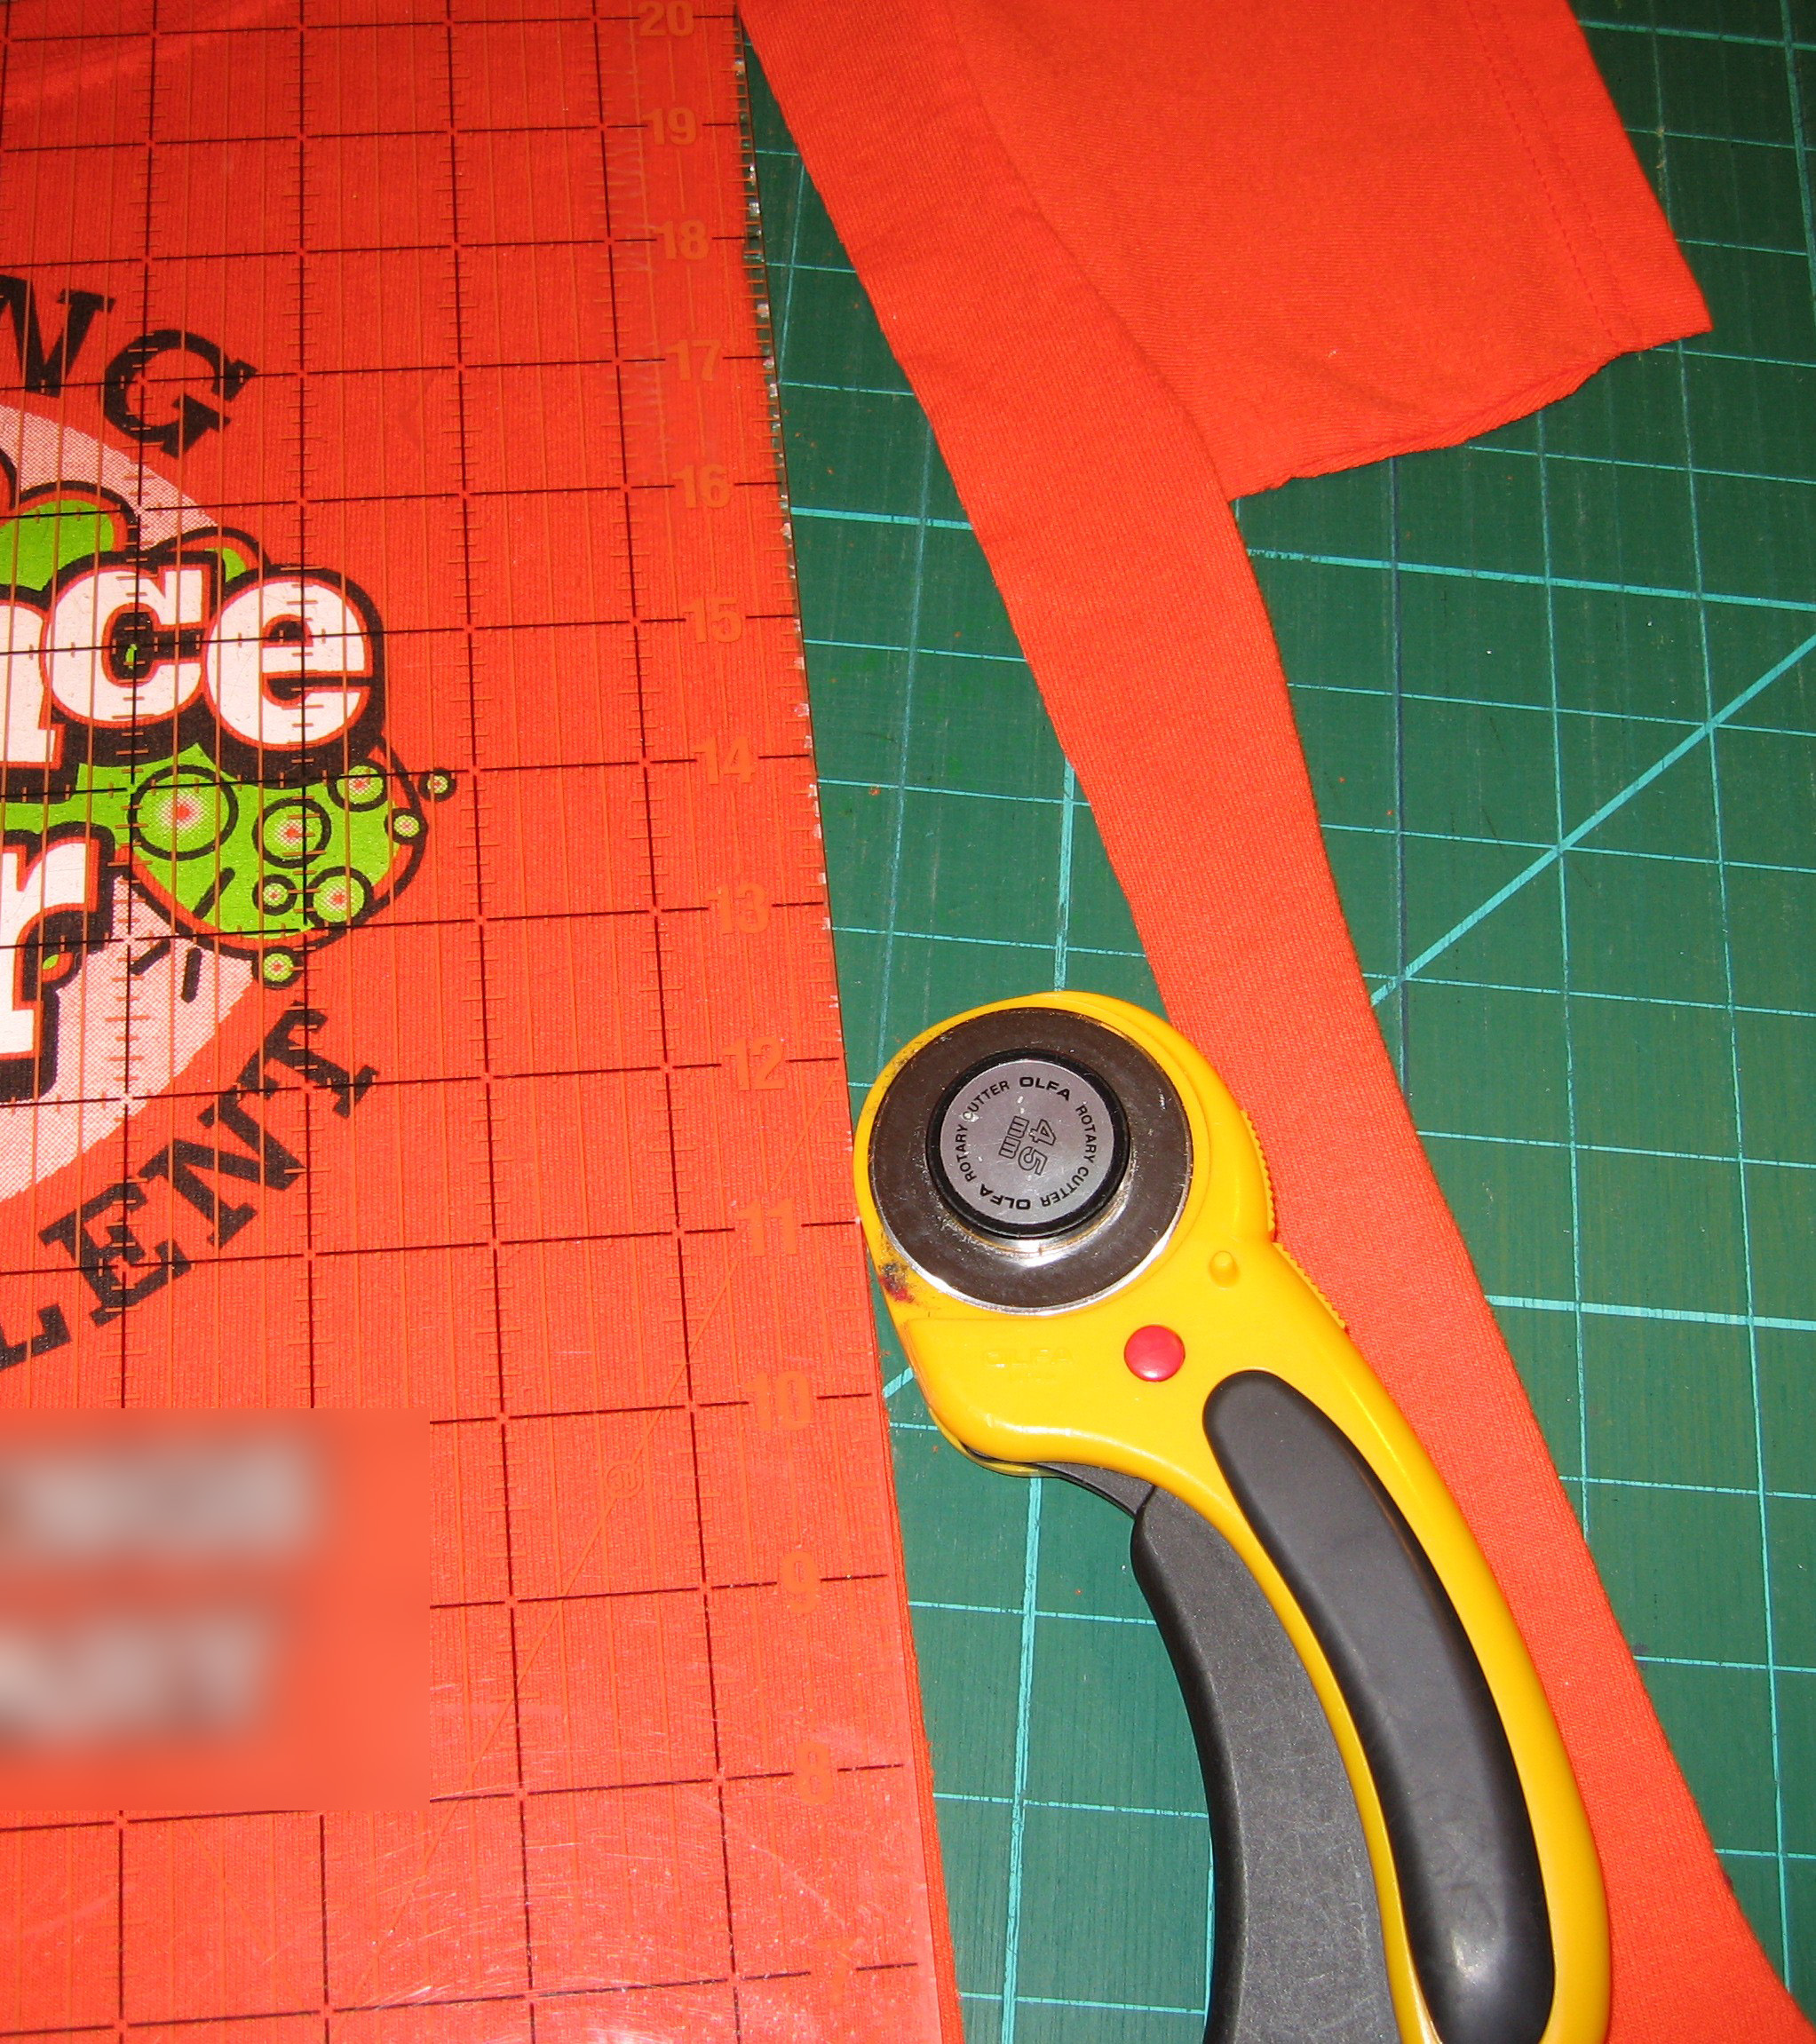
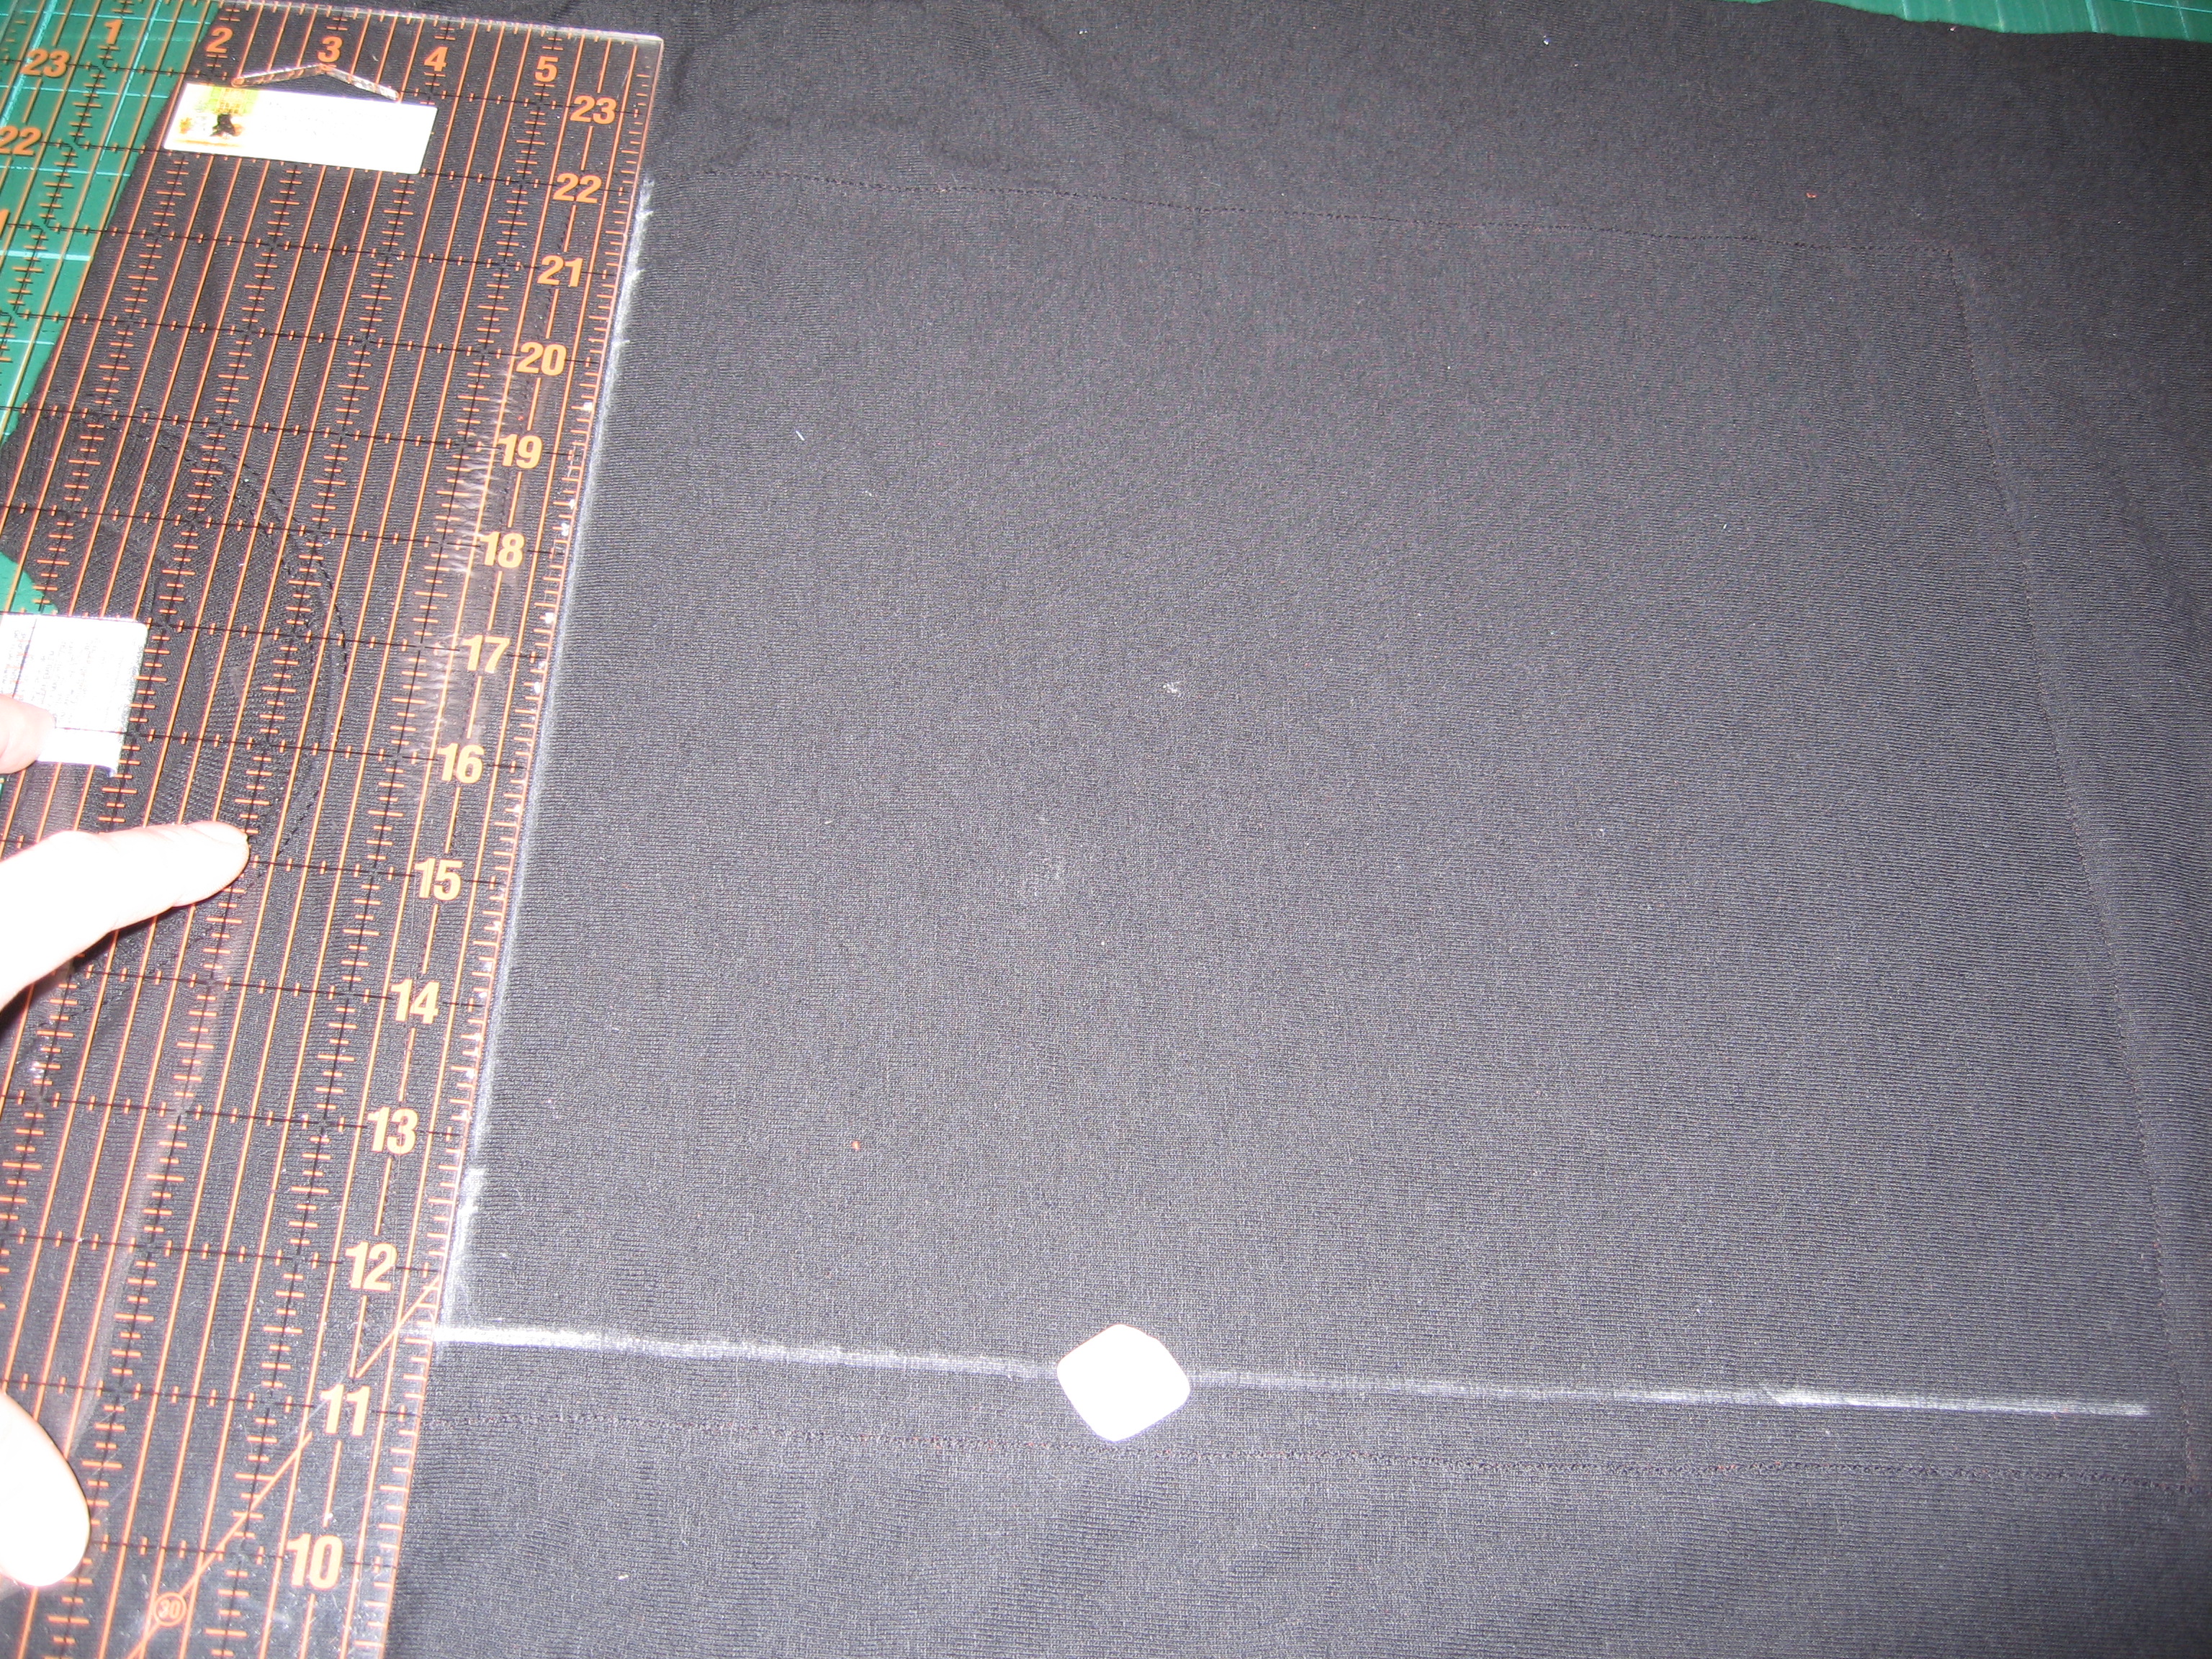
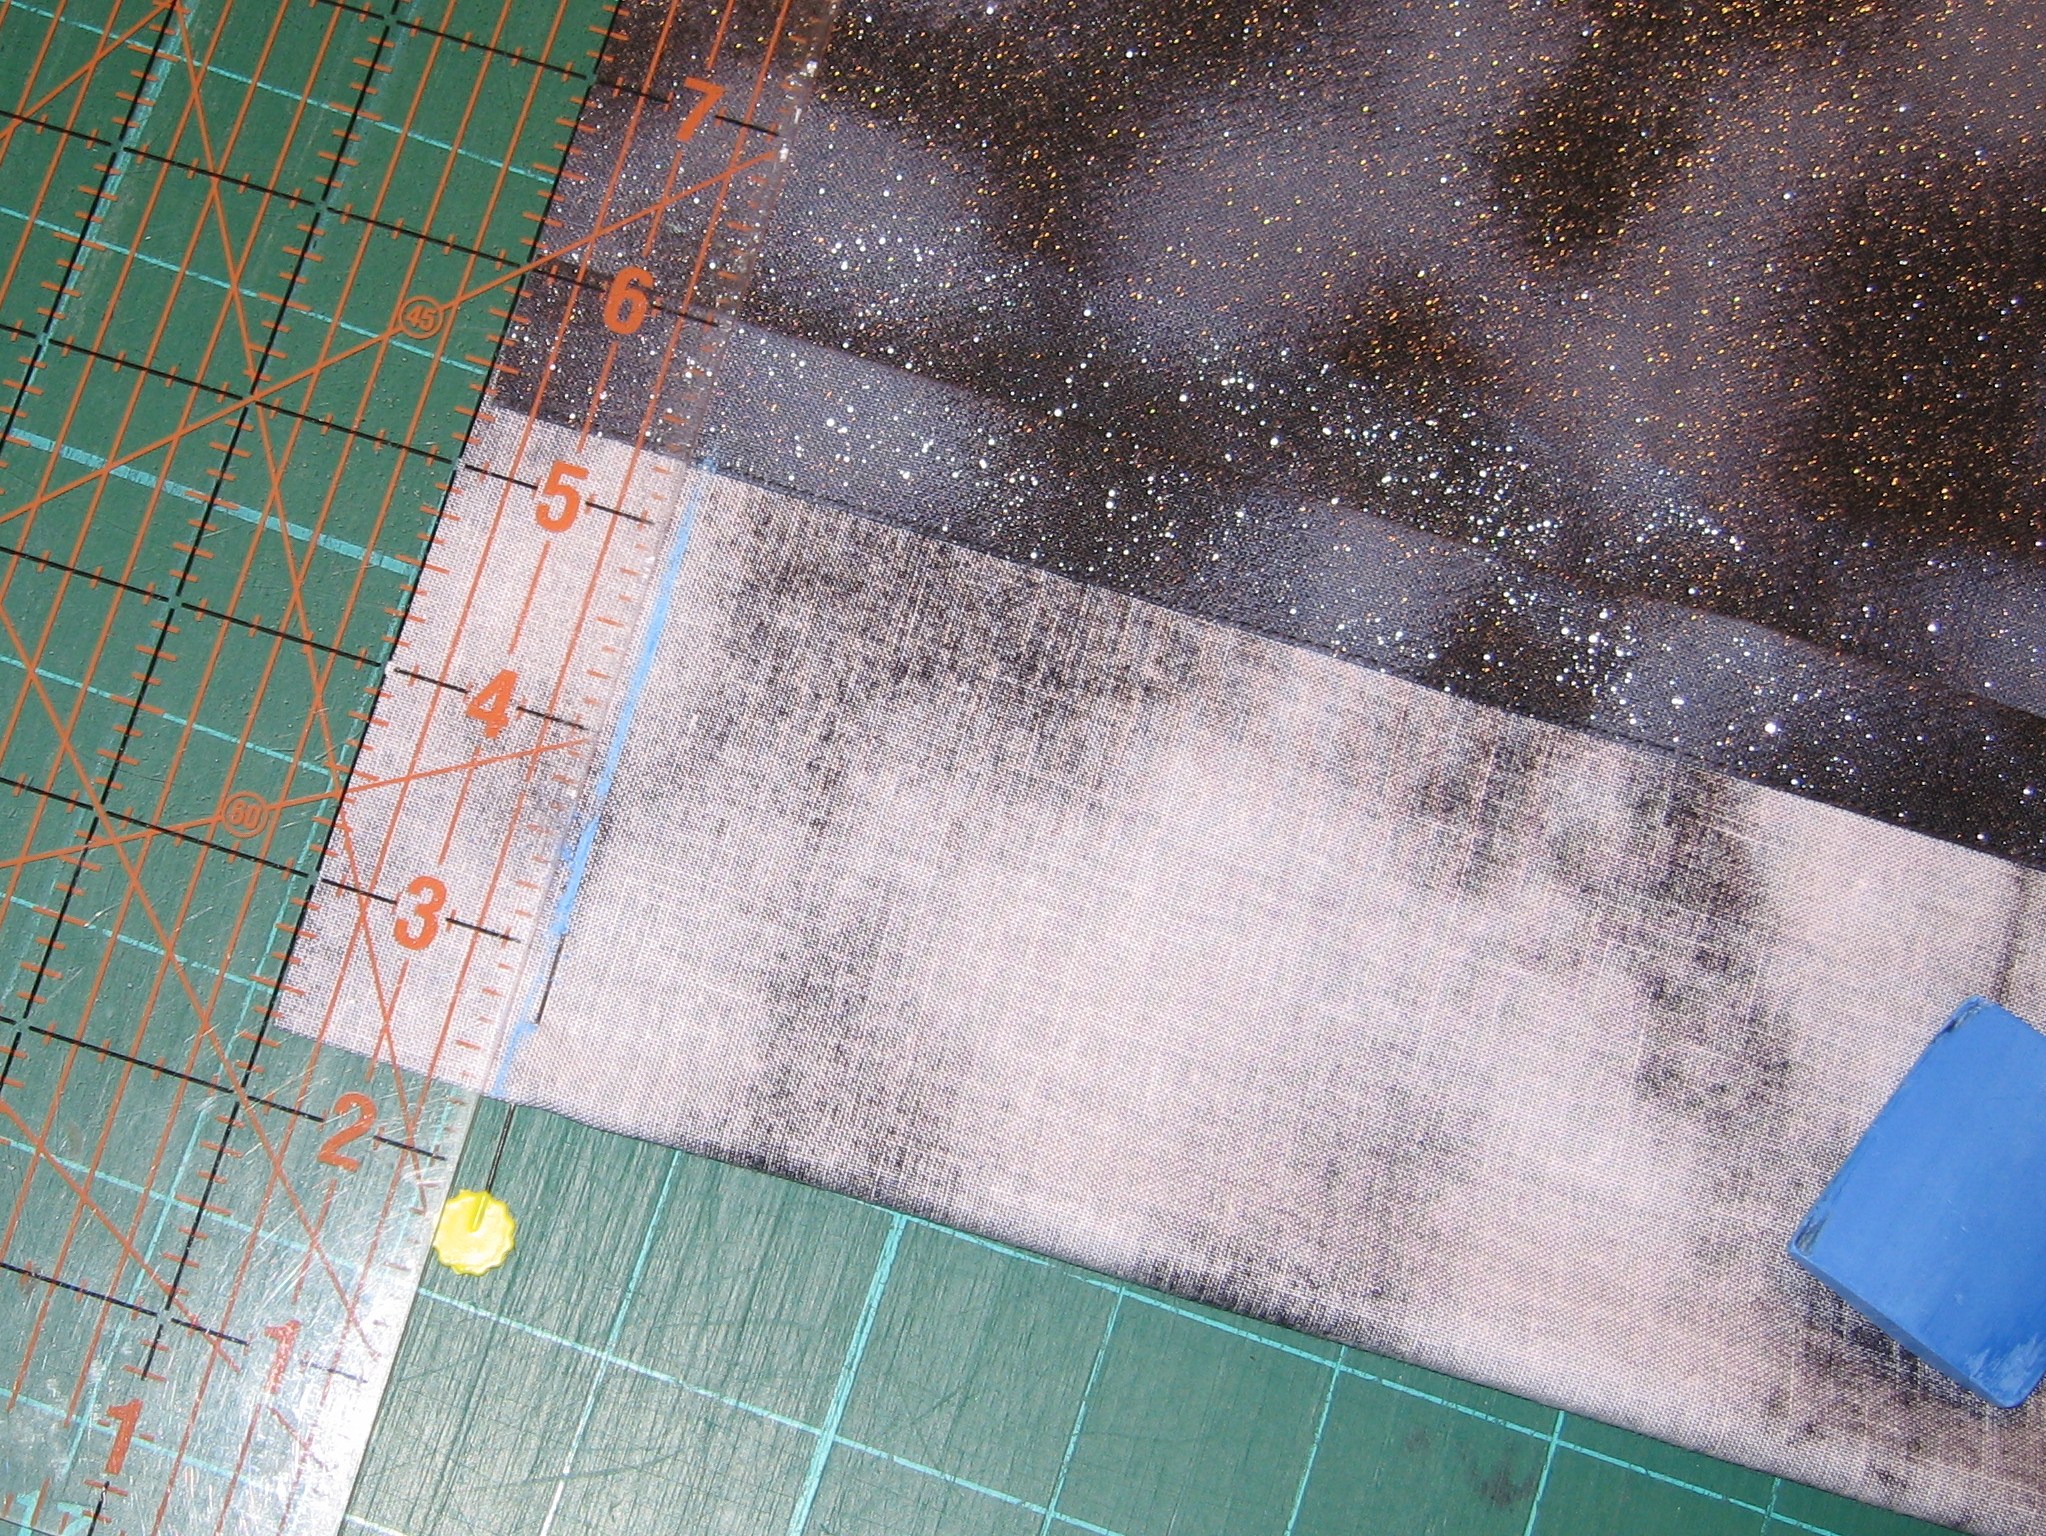
Resizing using a favorite shirt – cut about 1/2″ away from the original shirt so you have seam allowance. You’ll have to do a little guestimating on the sleeves, but if you take it slow and careful, it’ll work out fine.


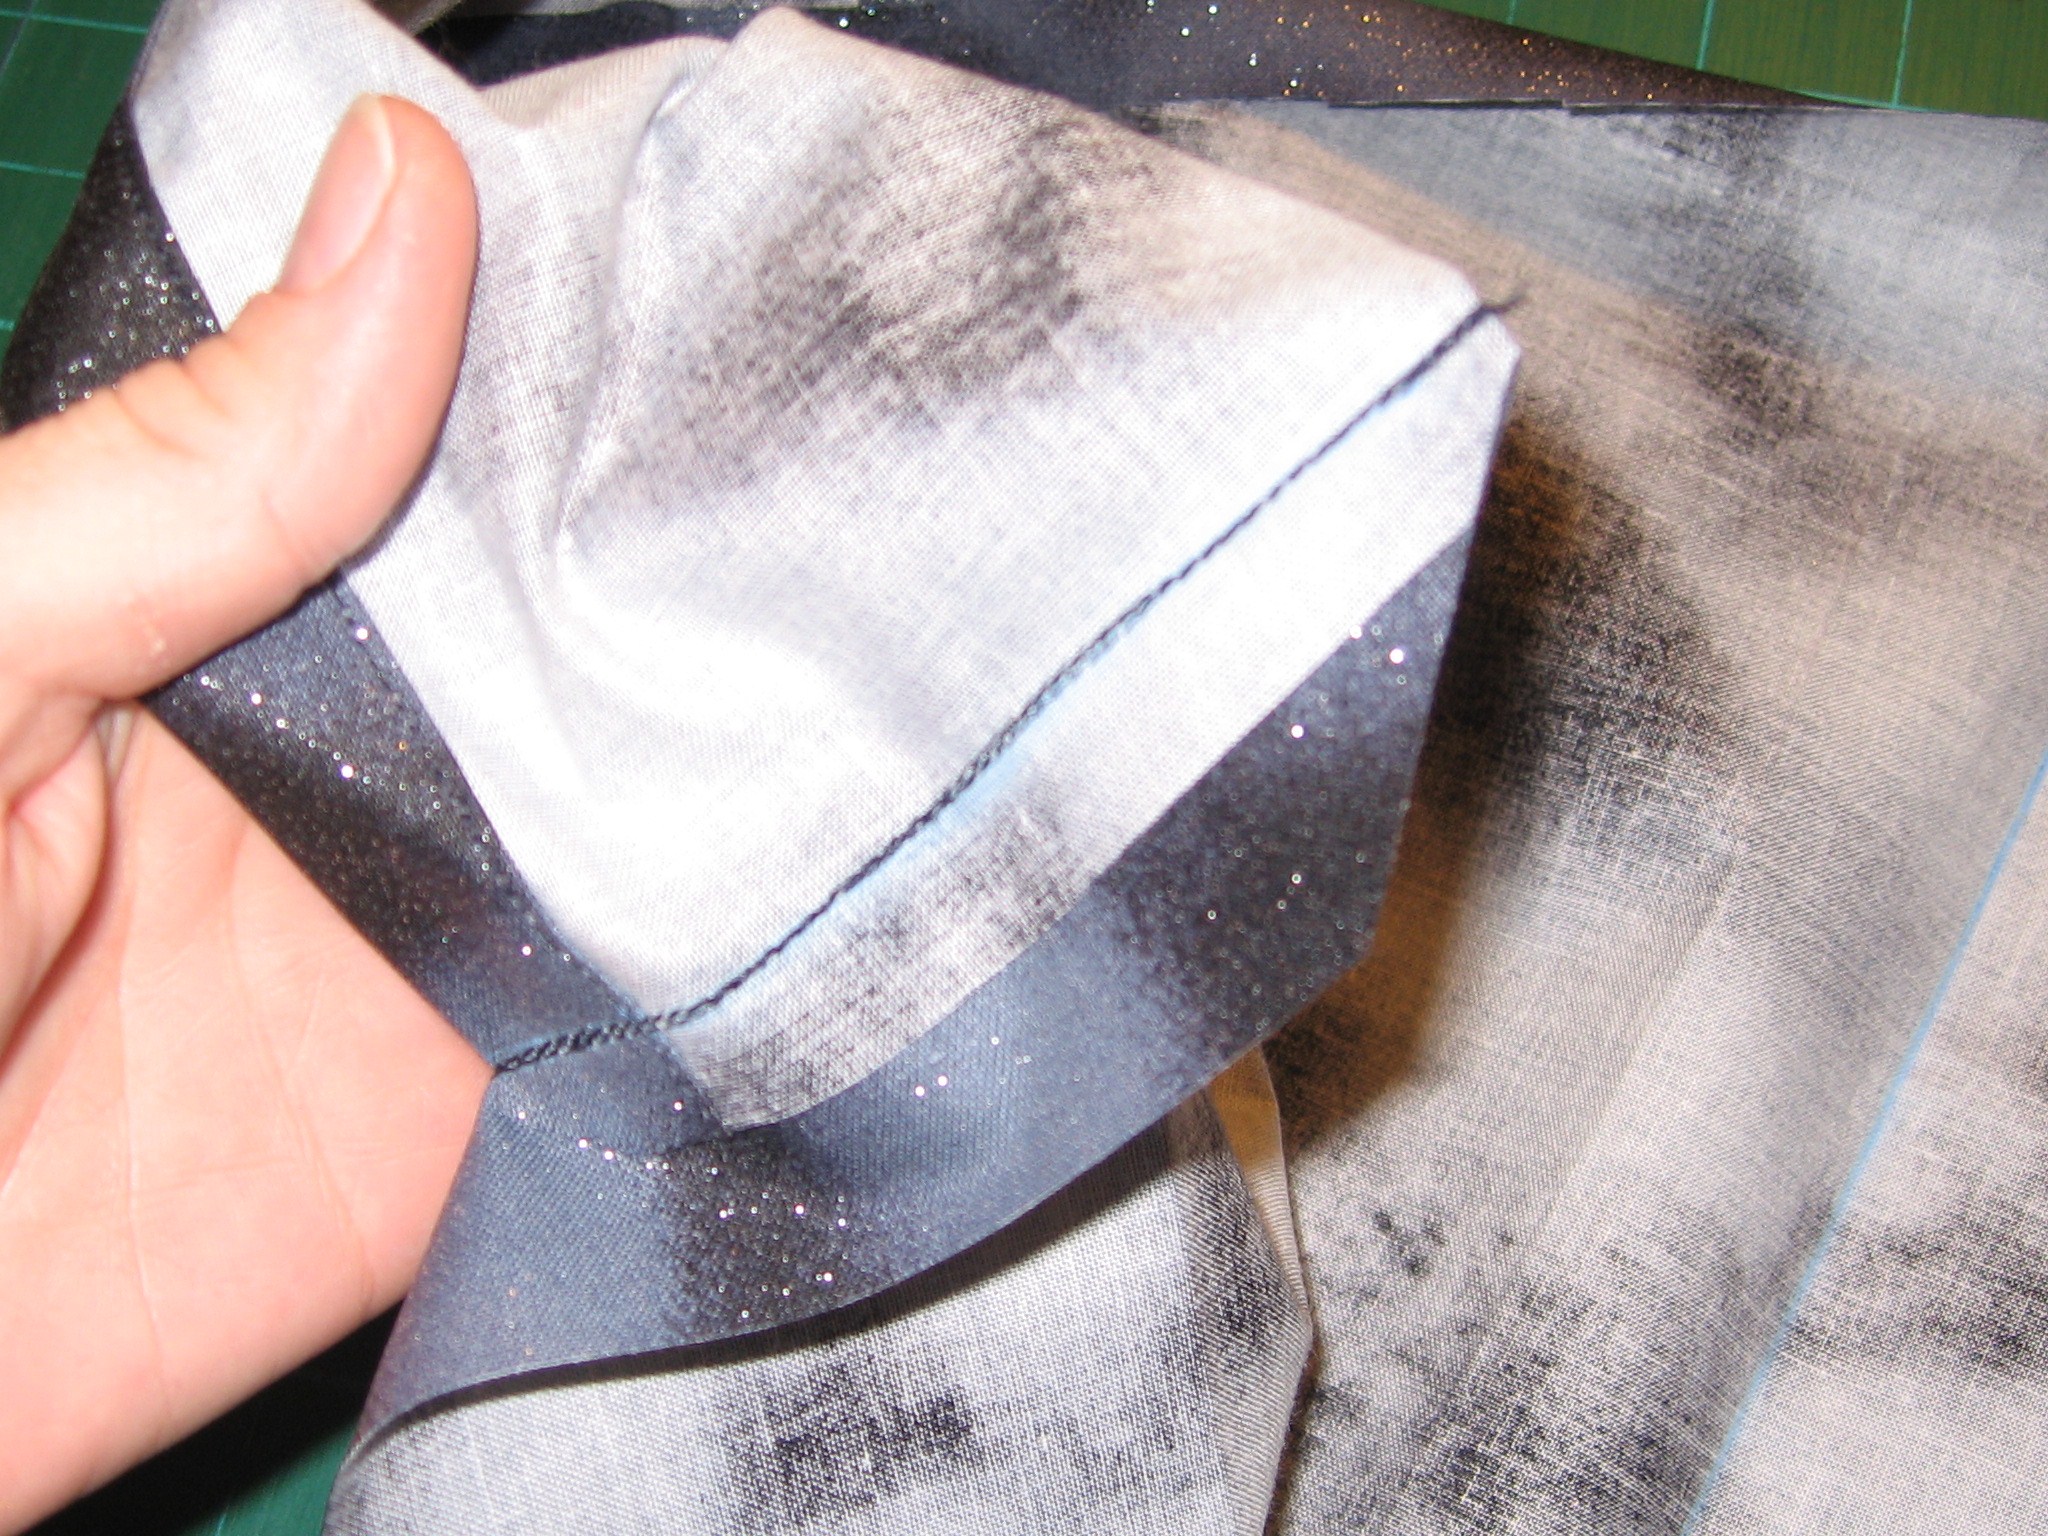
Use my favorite recon technique and eyeball for the sleeve size, adjusting the sleeve under the body of the t-shirt until it’s the length and shape you want. Pencil a line on the existing sleeve using the cut on the t-shirt, and then added about 1/2″ for seam allowance.


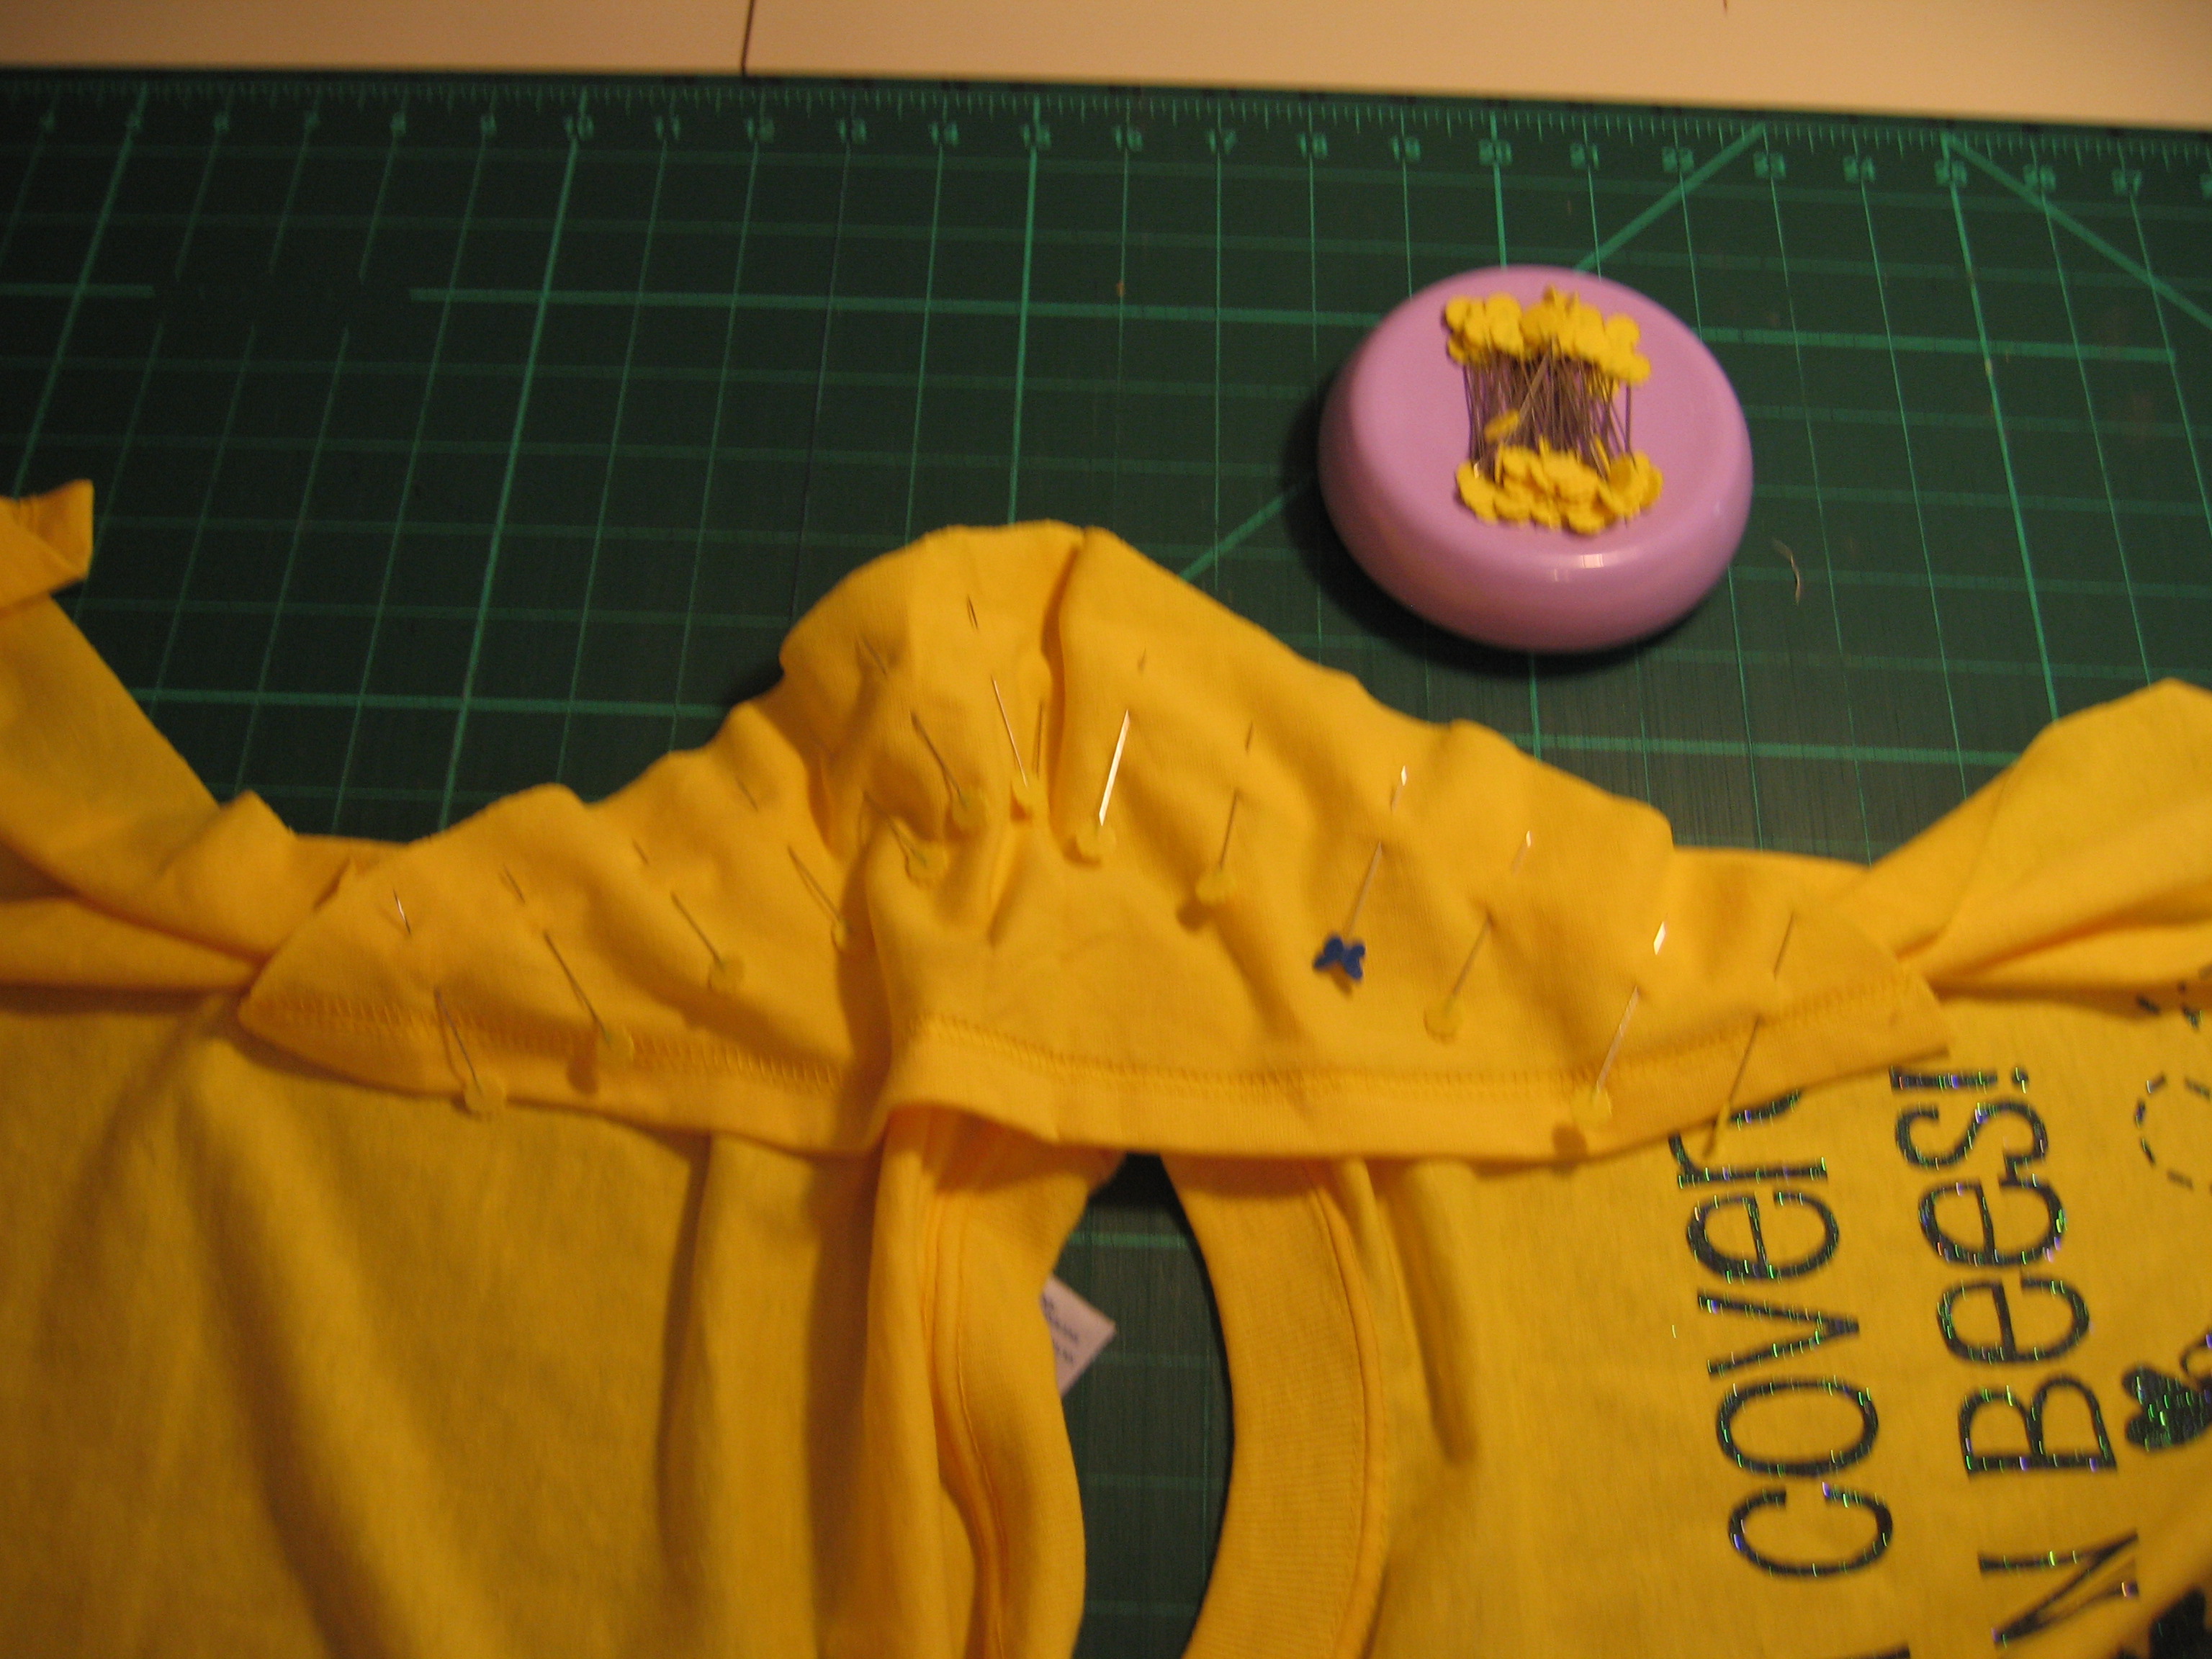
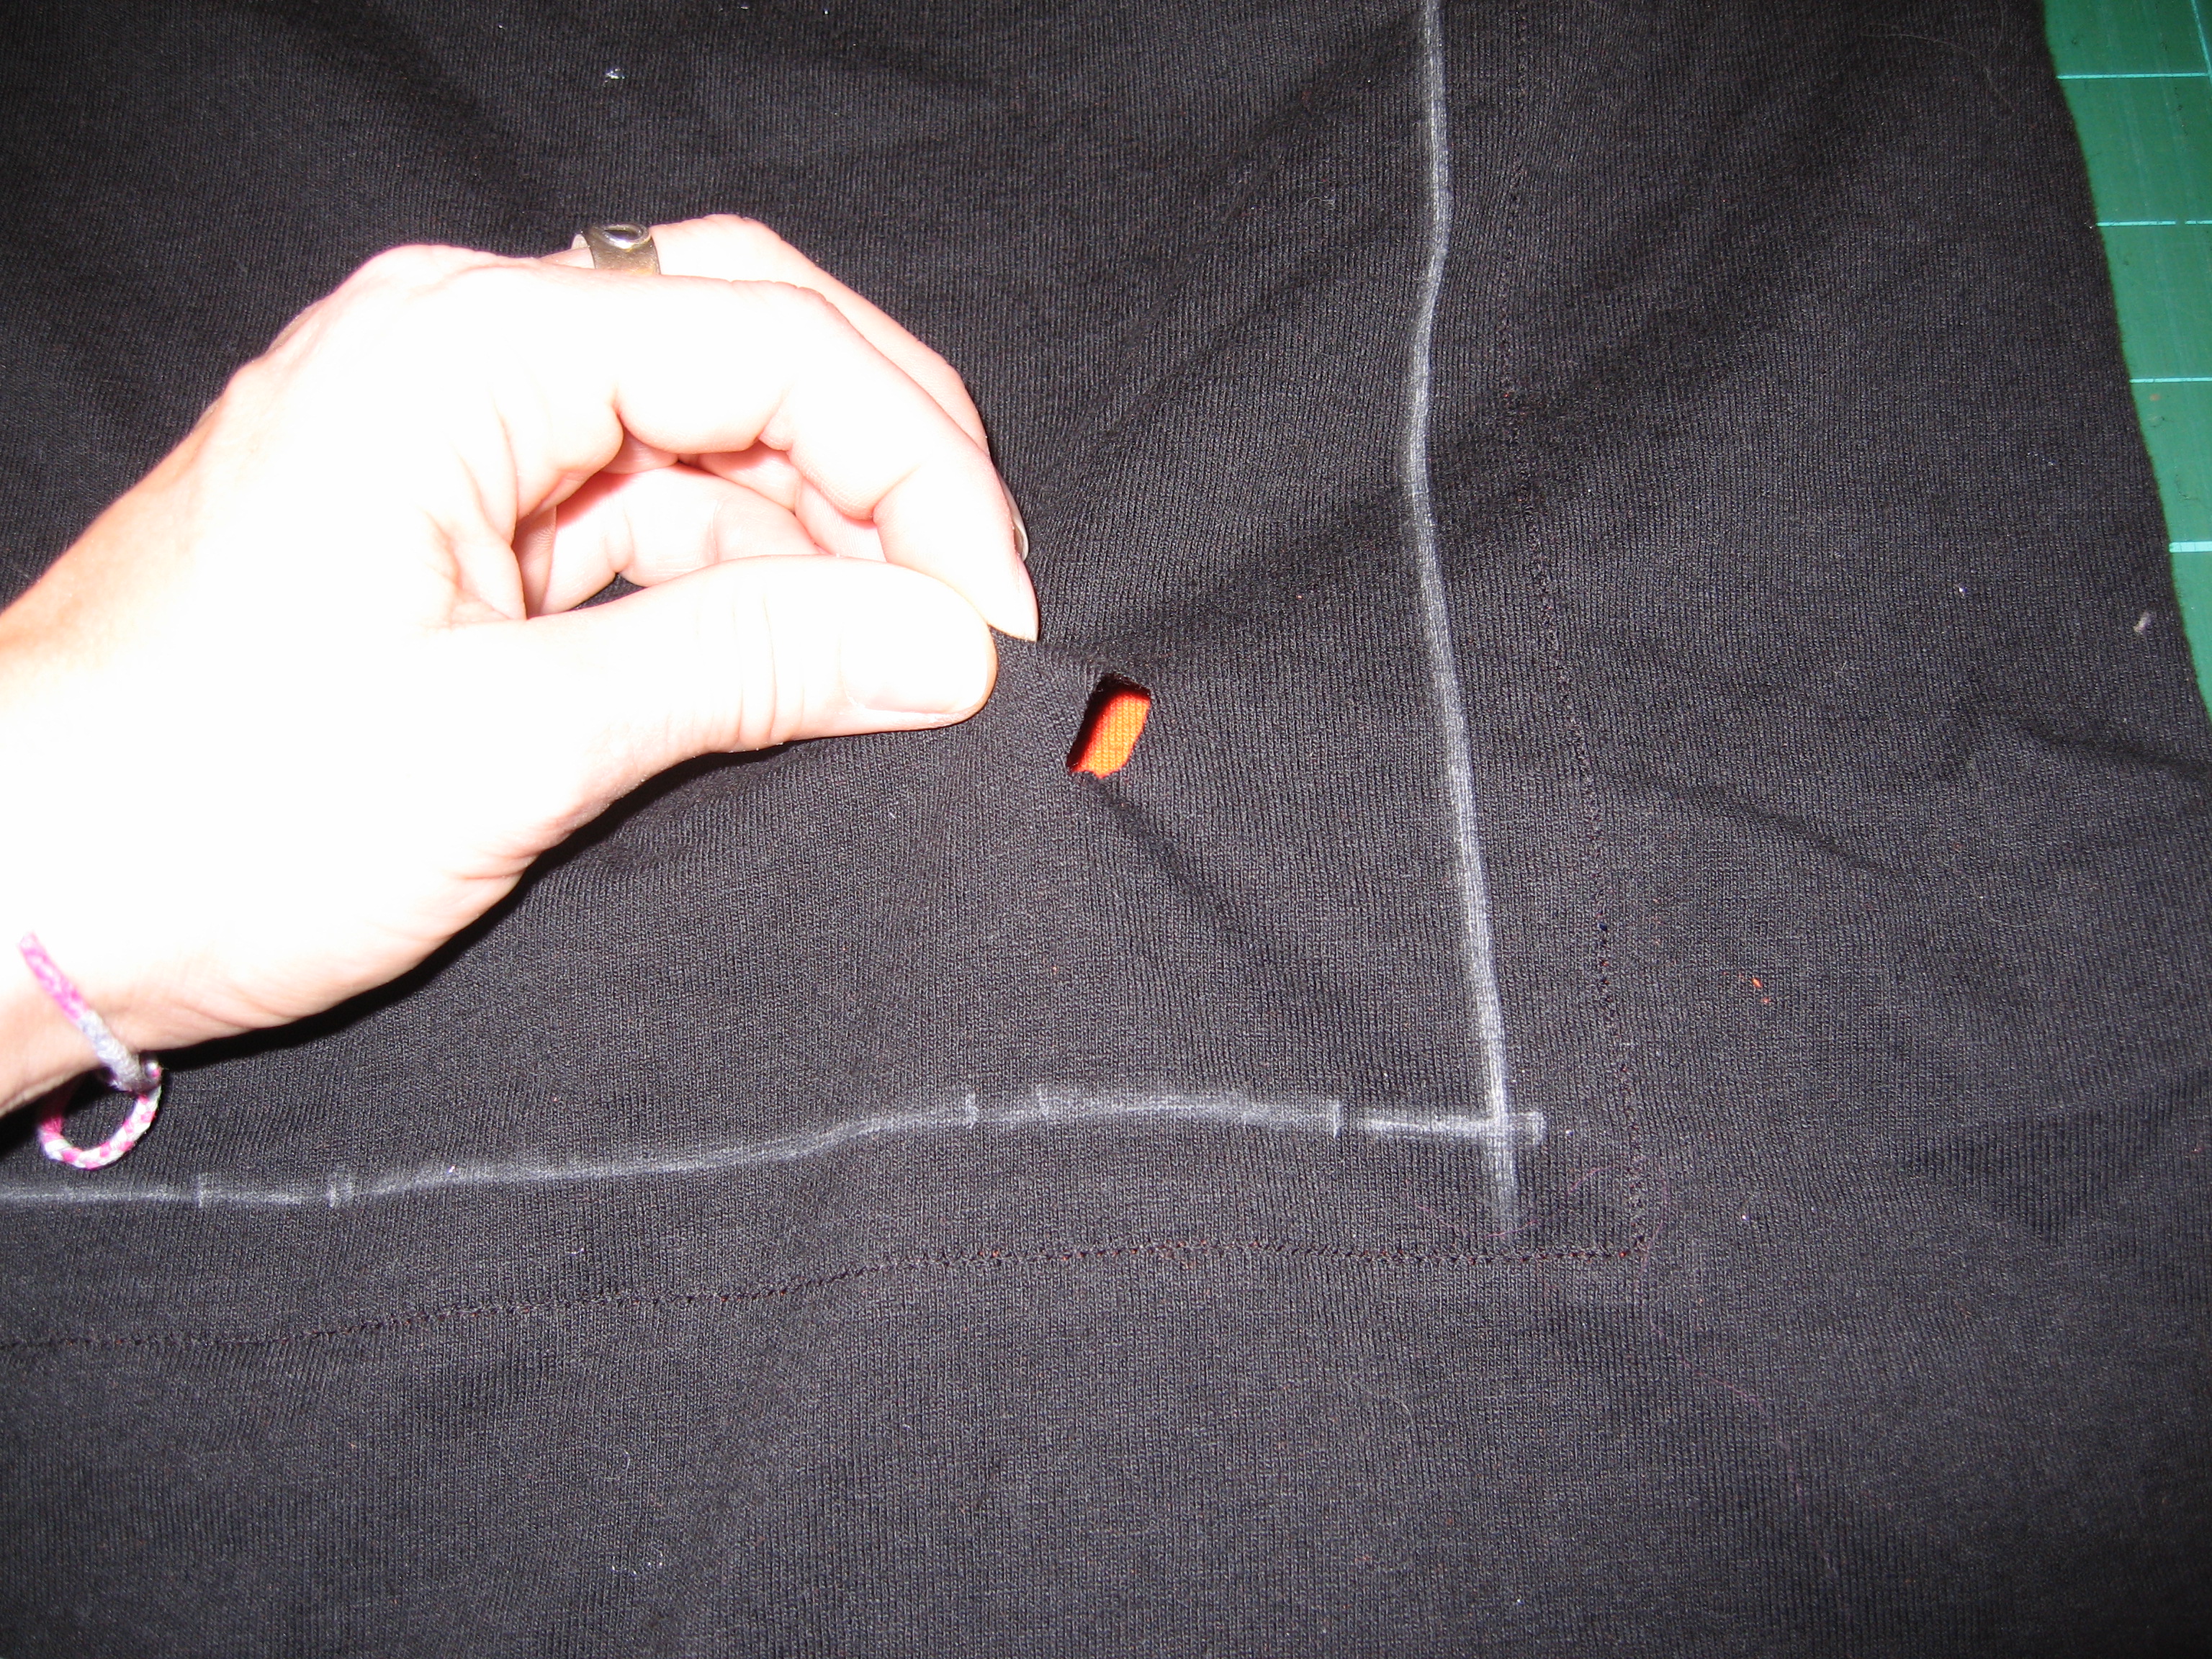
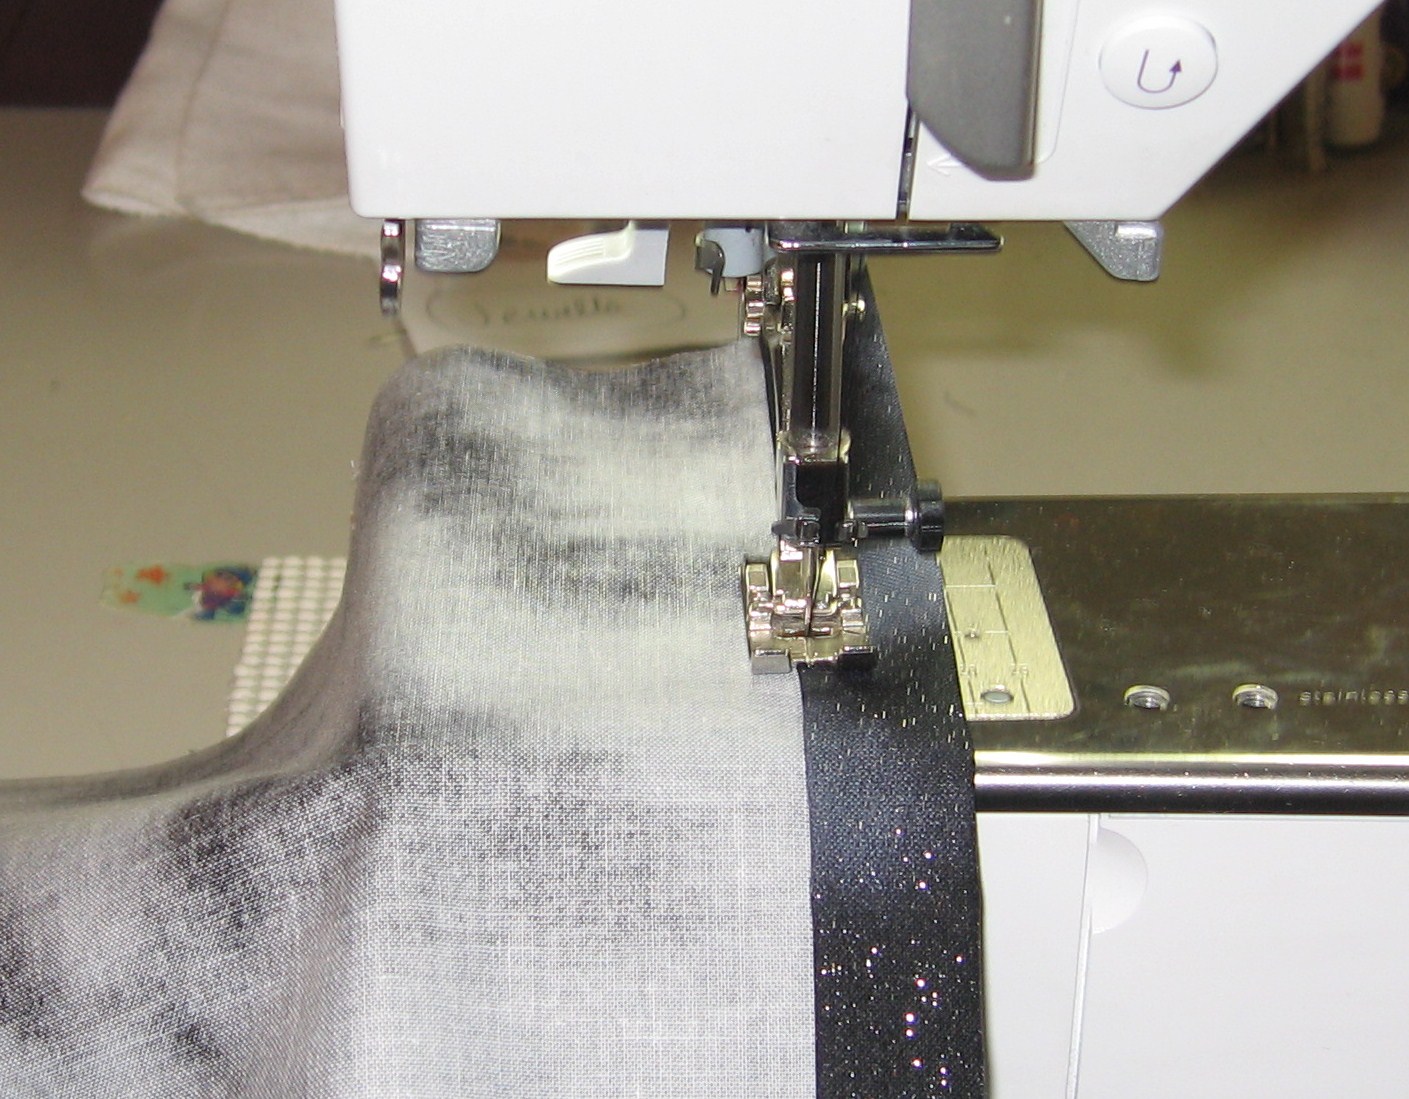
Find the center on the sleeves, pin to the seam allowance on the shirt. Pin along the sleeve, being careful not to pull or tug the fabric. Stitch using a stretch stitch and 1/2″ seam allowance.

(Note from 2025 Jennifer – while updating this tutorial I realized this photo was missing. It appears to be long gone from my files and I do apologize for the inconvenience.)


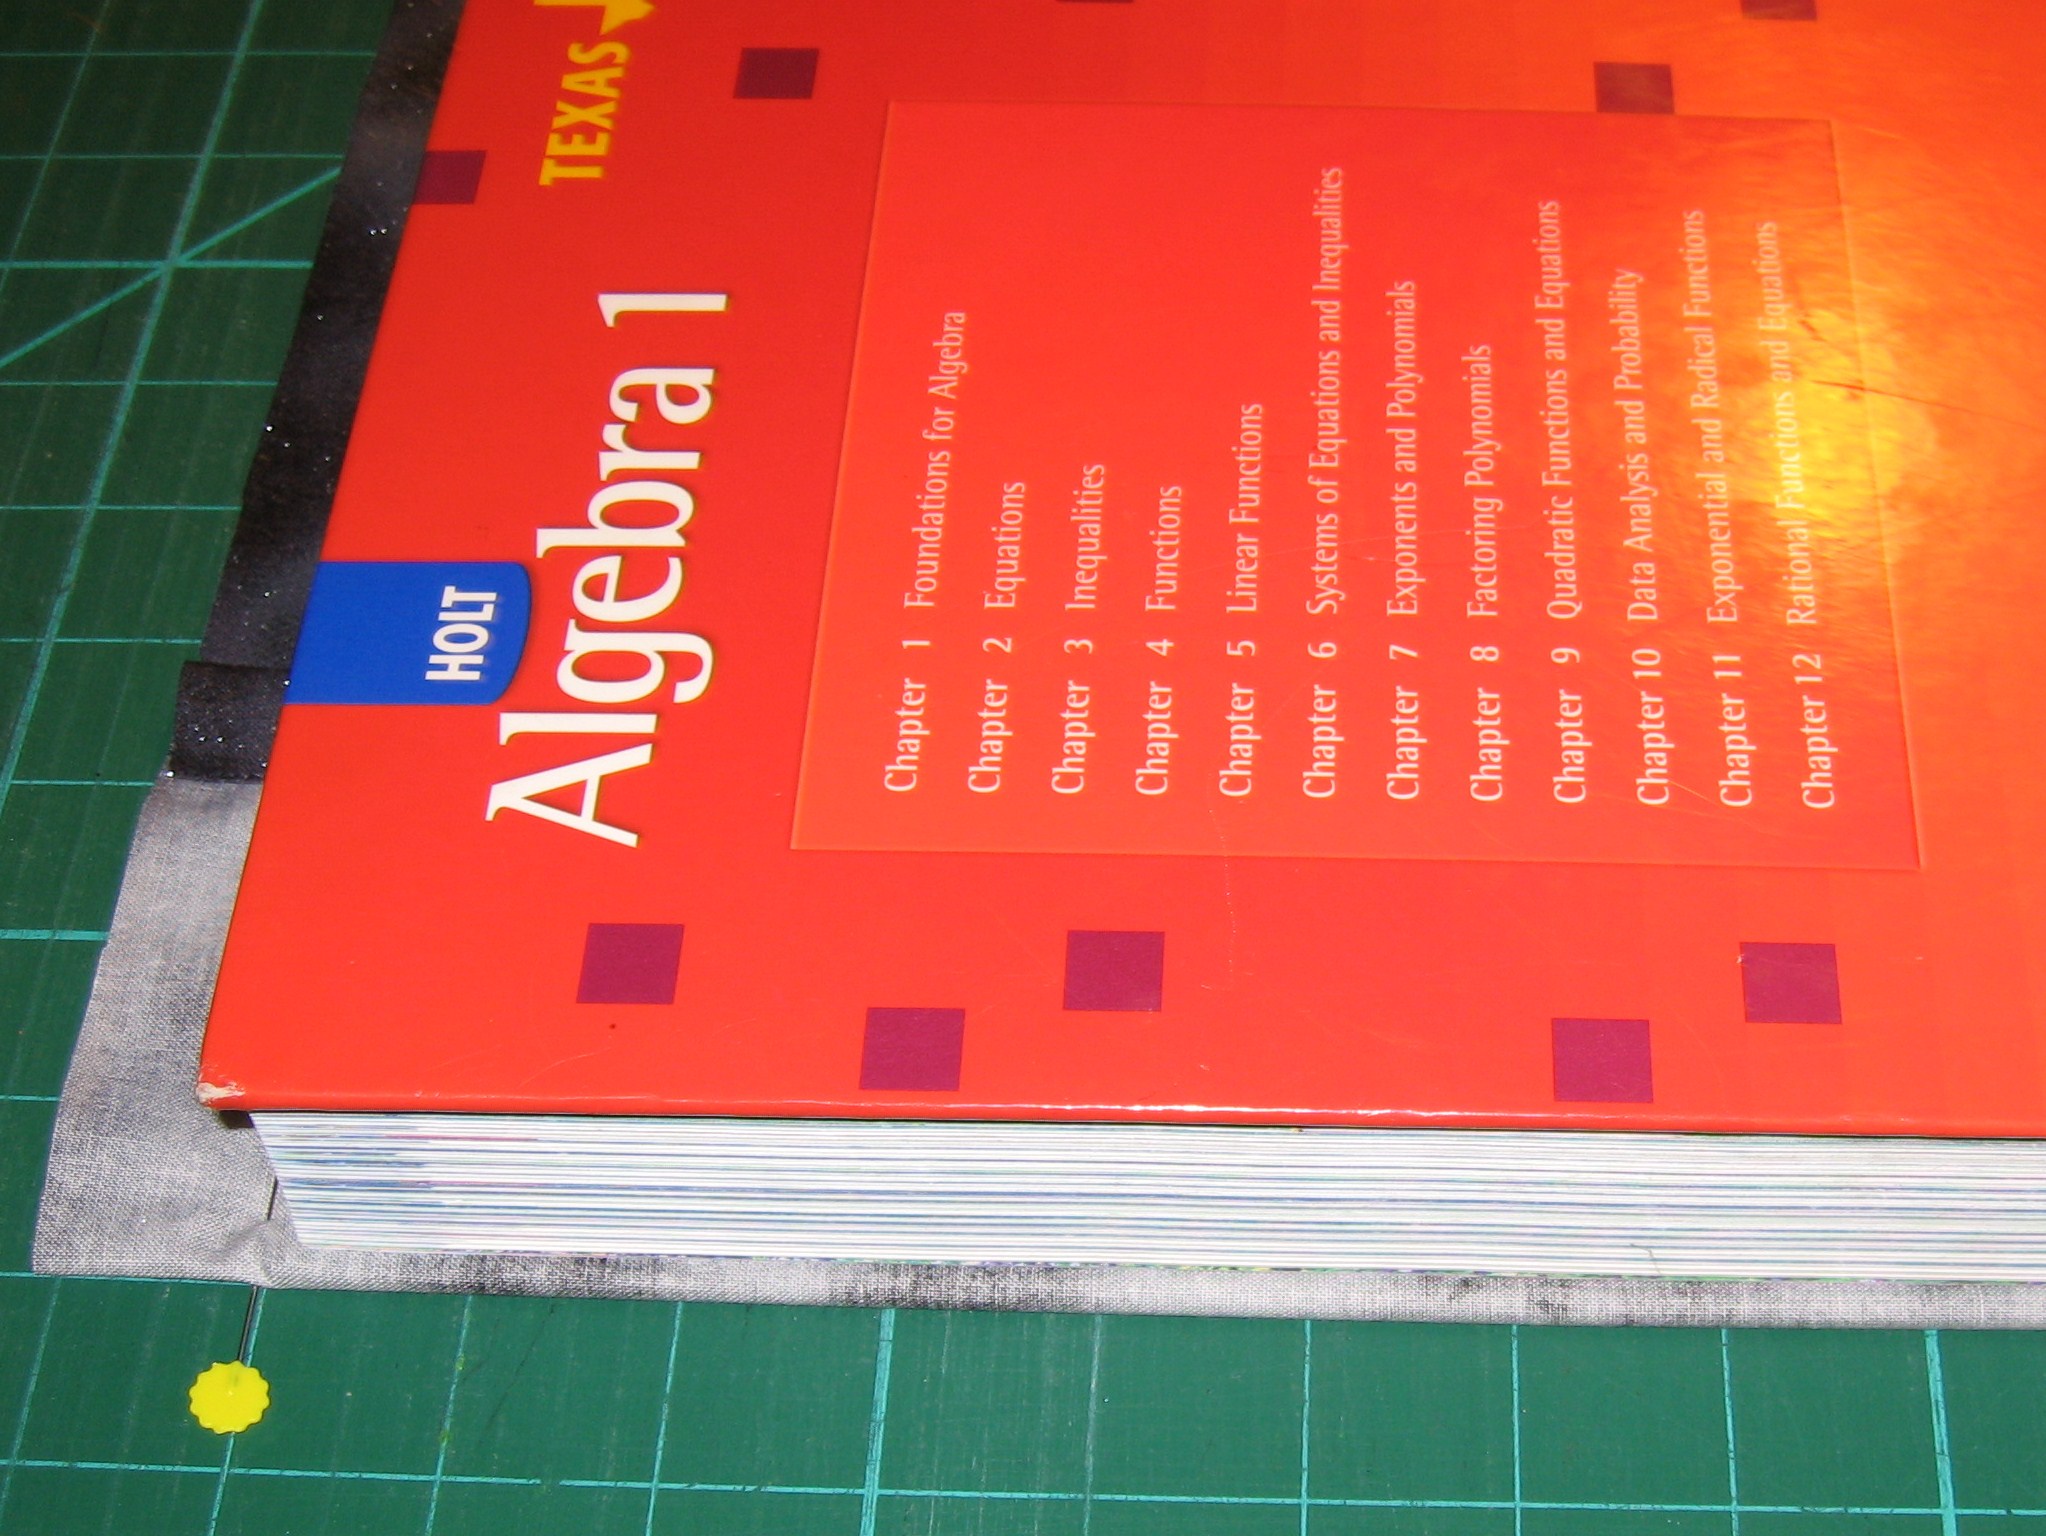
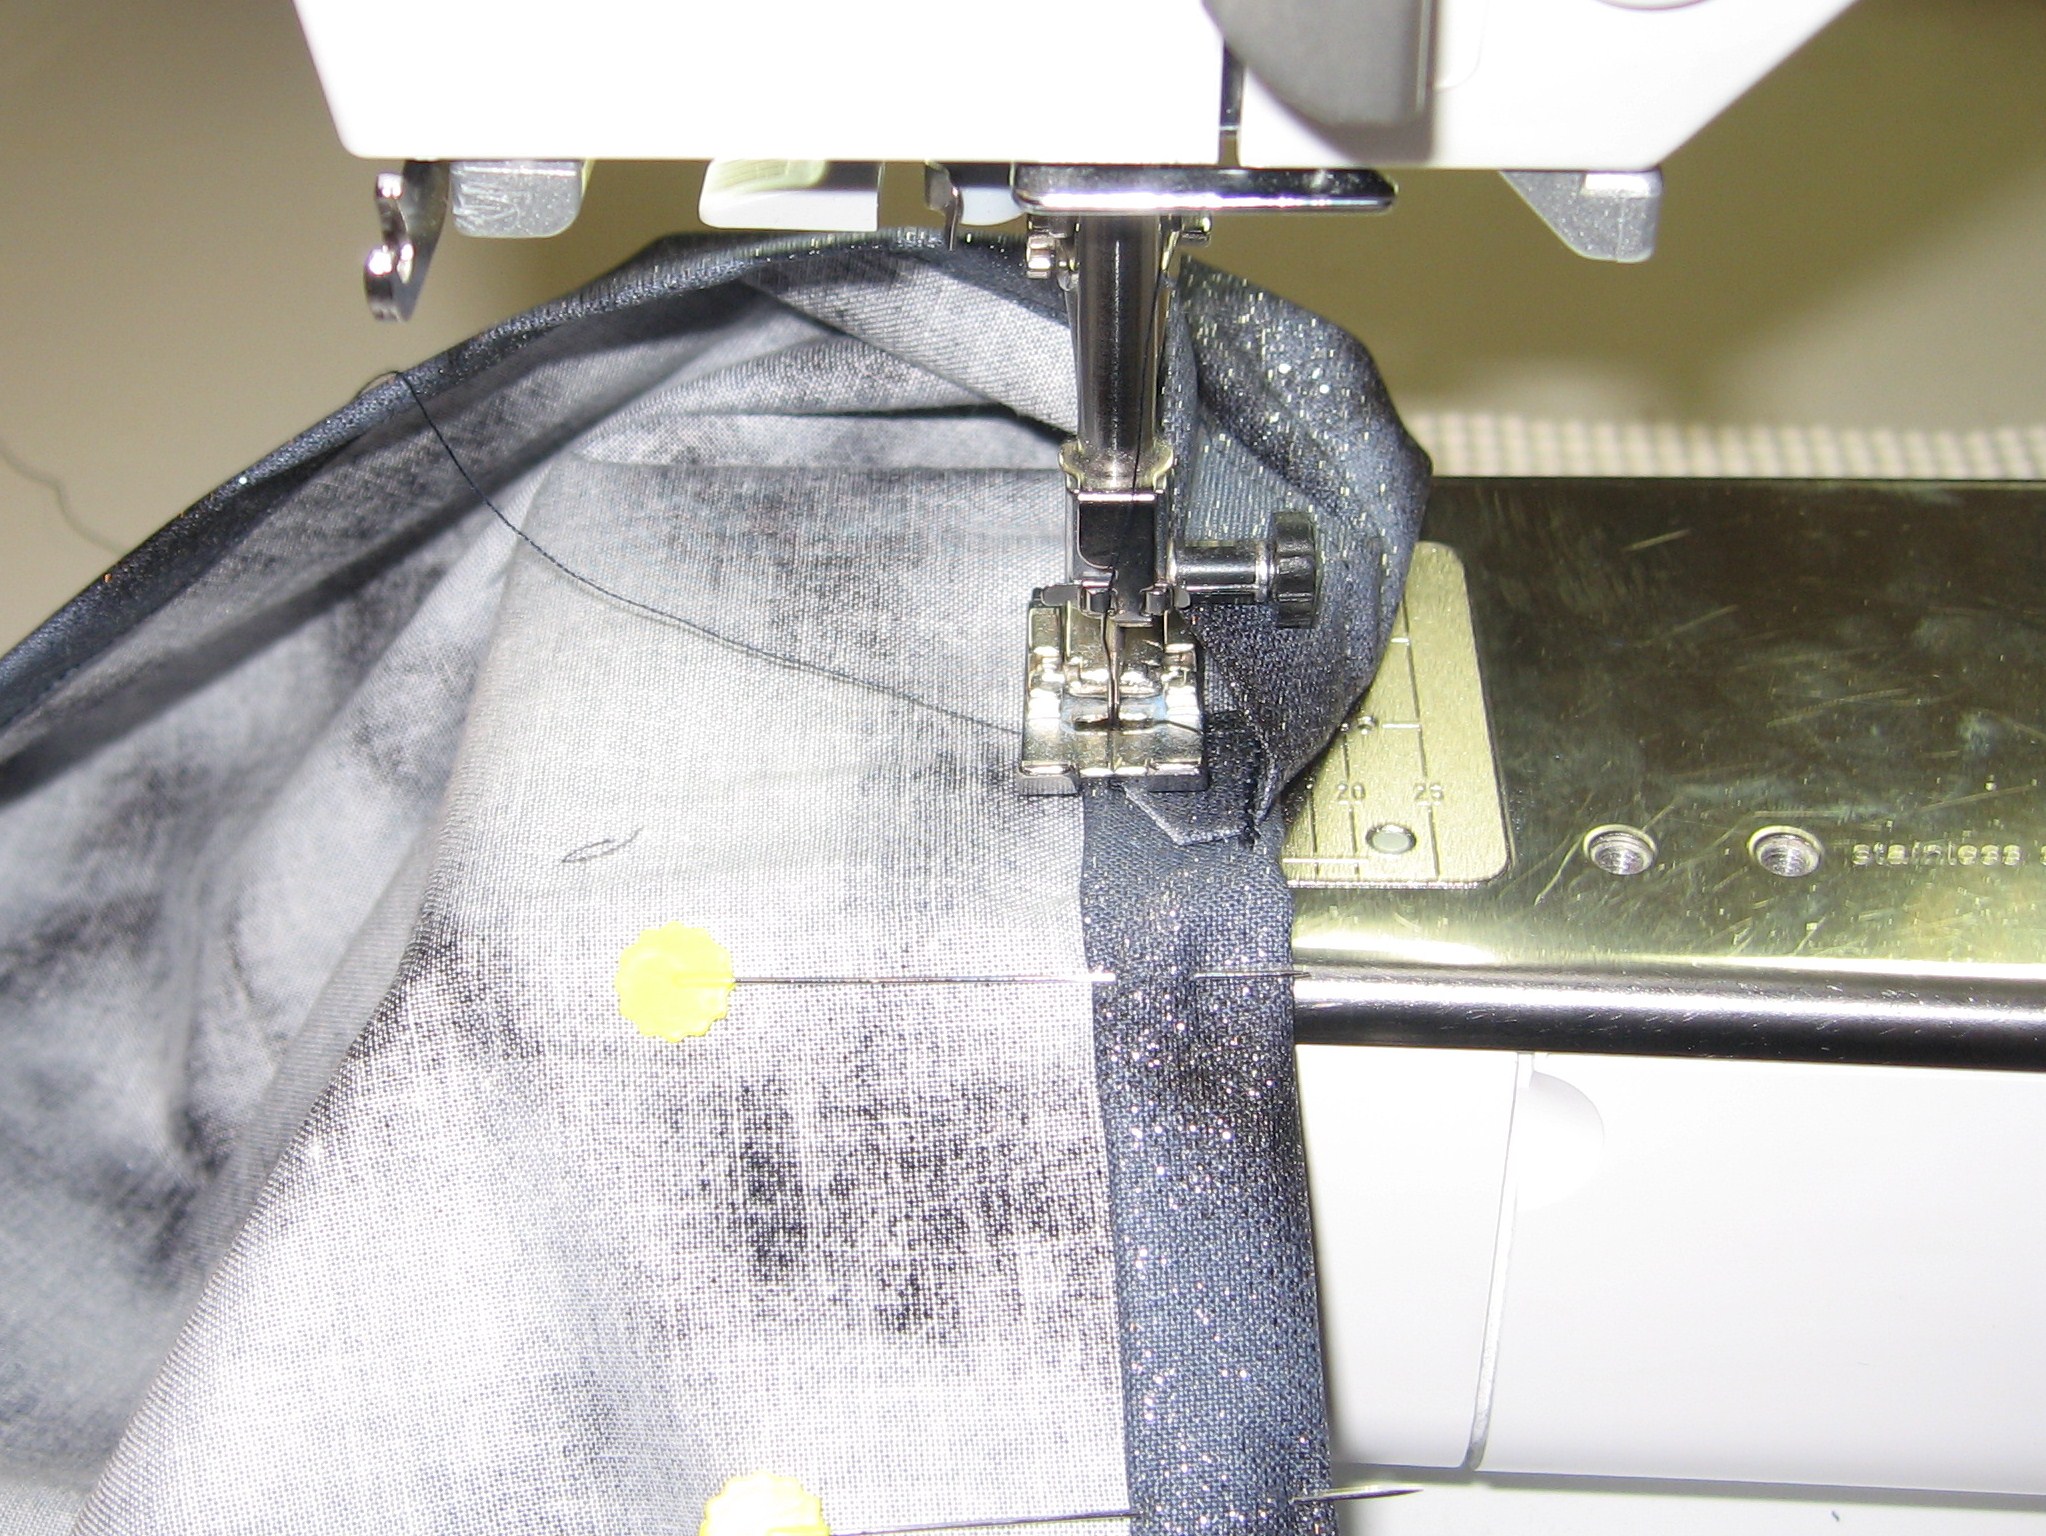
After stitching the sleeves, fold shirt in half, right sides together, matching the bottom hem. Stitch a 1/2″ seam under the sleeve and all the way down the side. Trim seam allowance, if you wish.

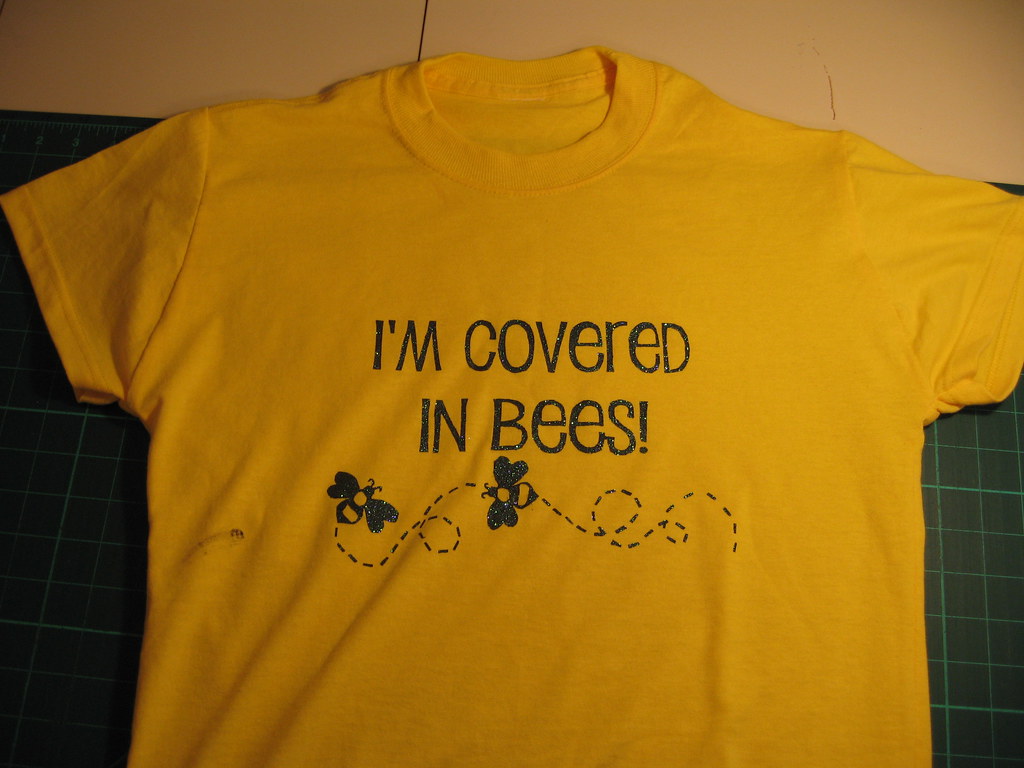
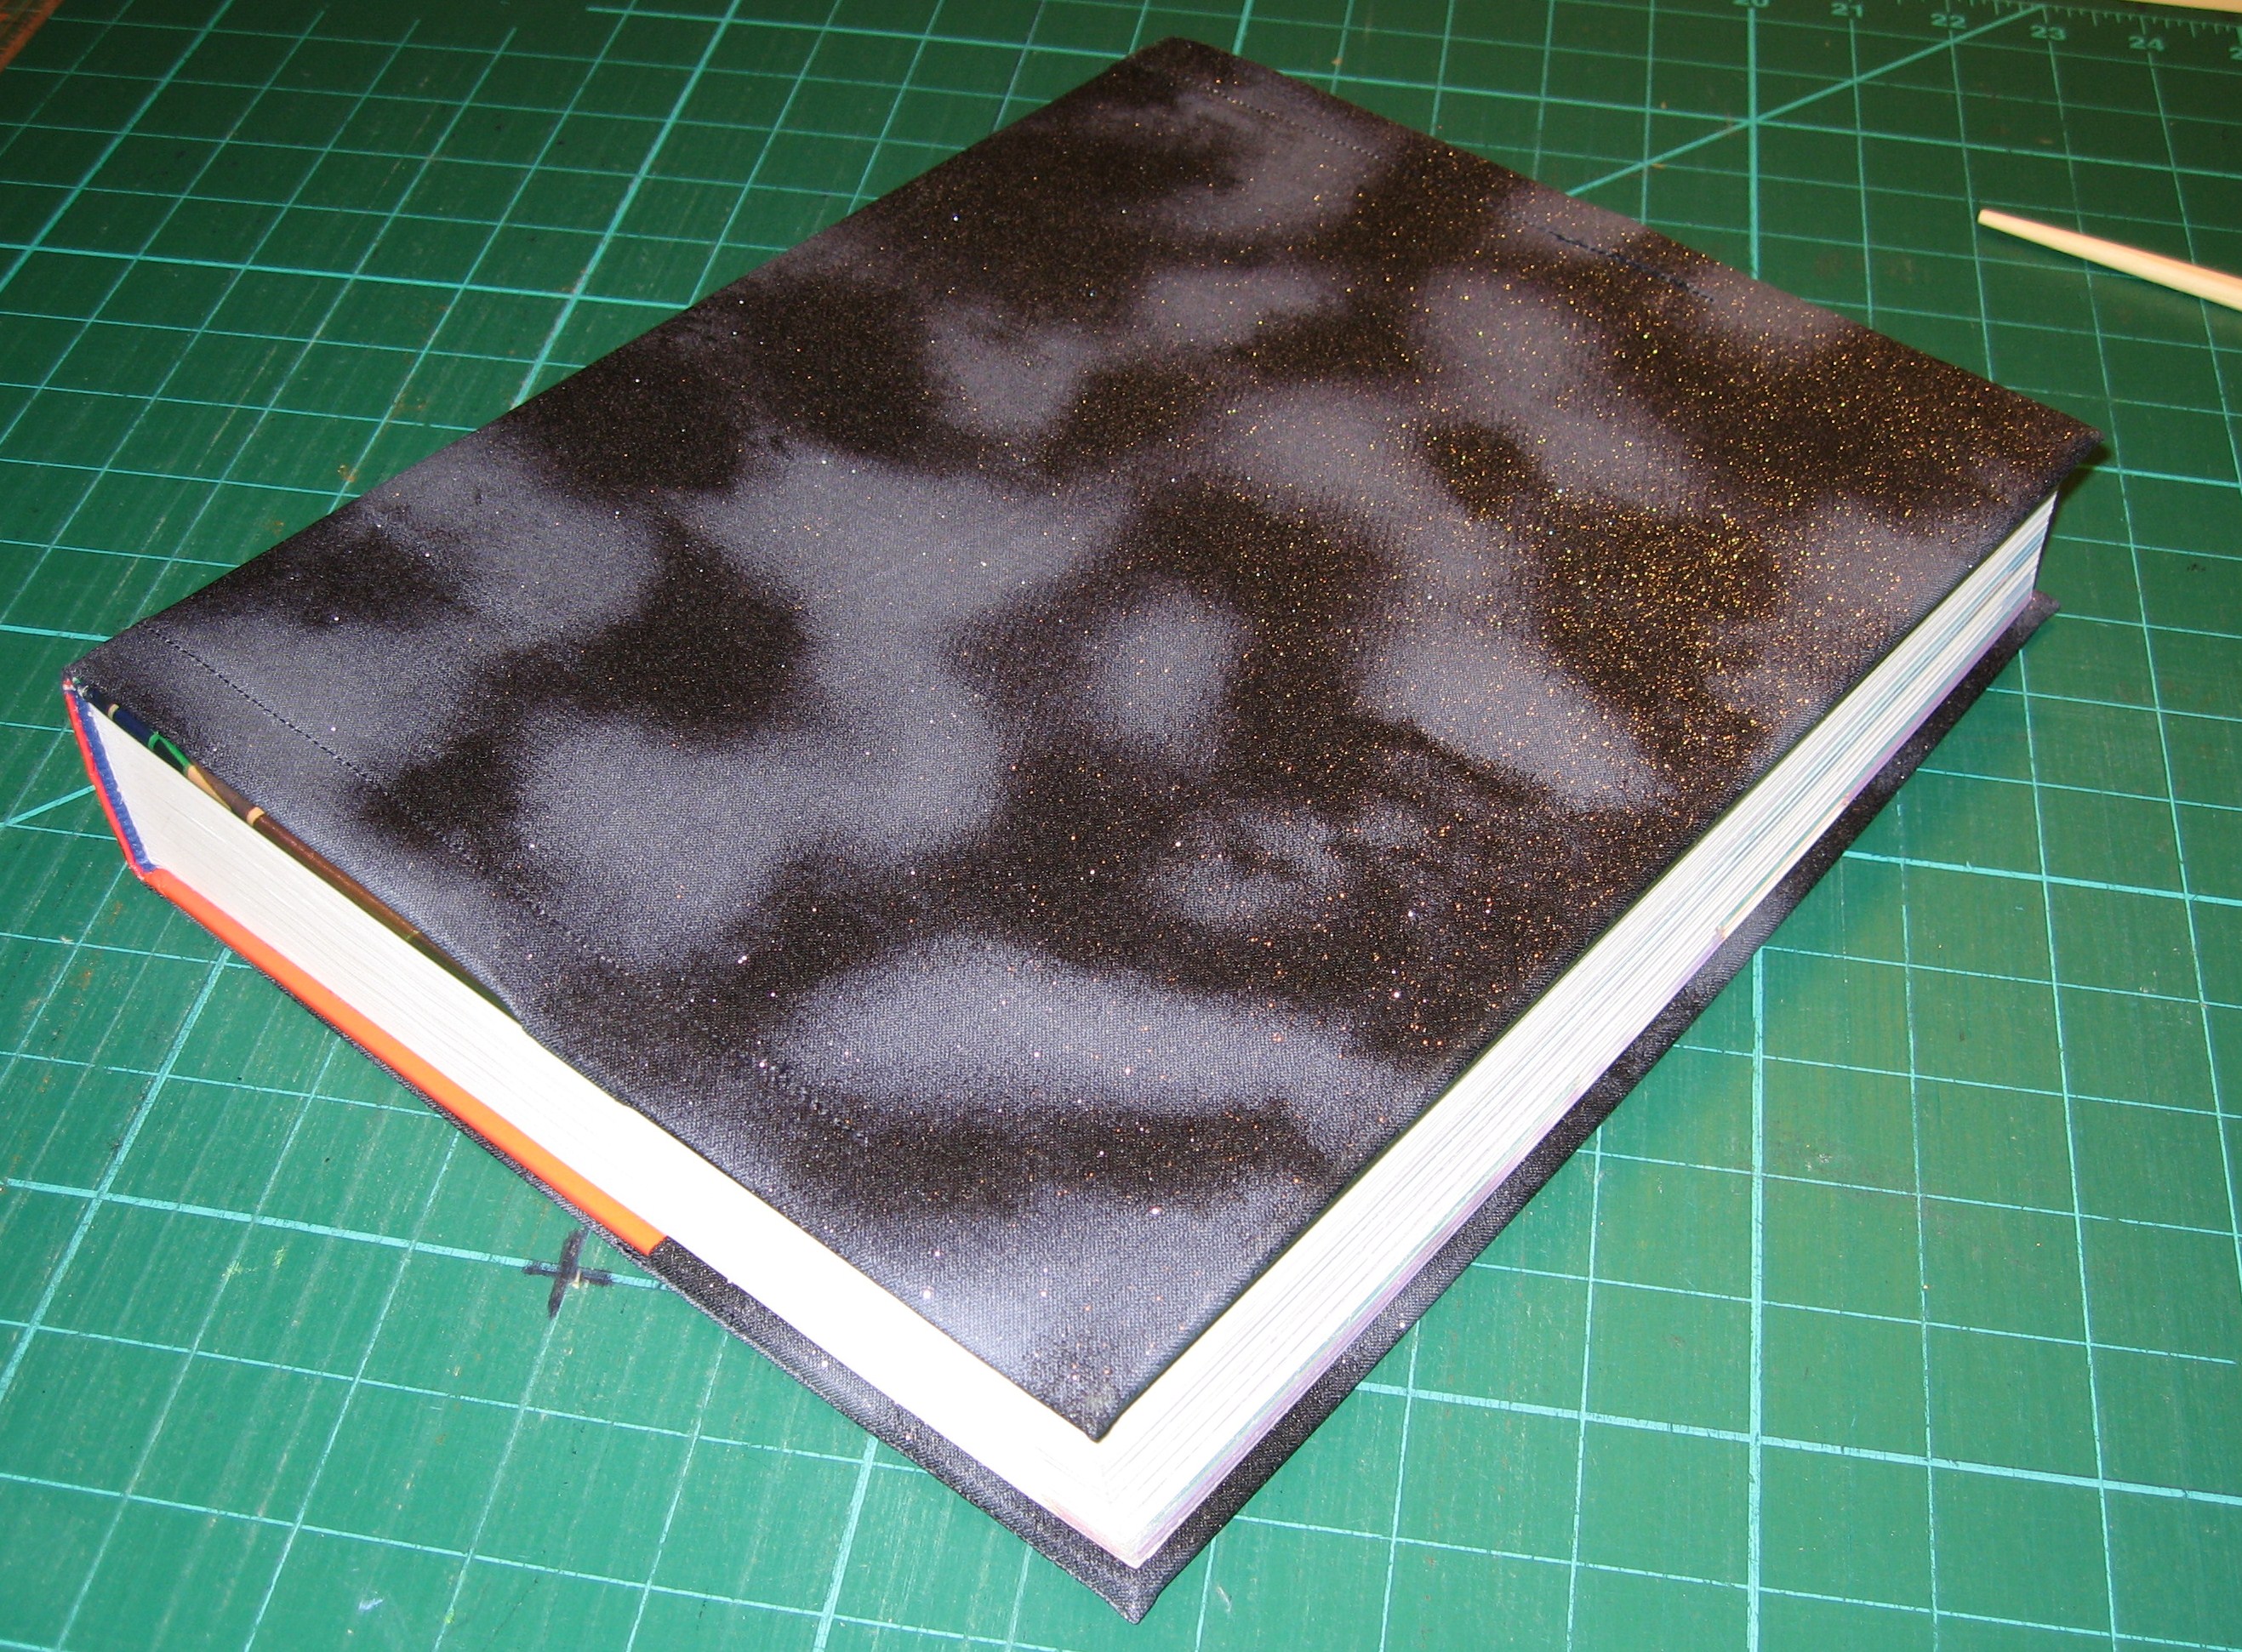
Because you leave the original hems for the sleeves and the shirt in place, the reconstruction is now complete!

Add your Sewhooked-related photos to my flickr group and you might be featured in a future post!

Happy Crafting!

Find my free patterns on Sewhooked & Fandom in Stitches.

♥ Jennifer O

Posts on this blog may contain affiliate links to help cover the cost of my website. I thank you for your generous support. ♥

Halloween Bats Tutorial

Easy Felt Bats

Every year, my family and I break out our big orange and black box full of Halloween decorations, cauldrons and punched aluminum candle holders. Folded and tucked into the side of the box are these sweet bats we made years and years ago. They’ve adorned several front doors, including our current home of almost ten years.


Halloween Bat Door Decoration

Super easy and adorable to boot, these anything-but-scary Halloween bats take about five minutes to whip up.

Supplies:

  • Felt Bat Template
  • 1 piece of black acrylic felt for each bat
  • scissors
  • pin
  • hot melt glue gun & glue
  • google eyes
  • round magnets


Gather your supplies


Fold the acrylic felt lengthwise in half. Pin the Bat pattern on the fold.


Cut around the bat shaped pattern, leaving the fold intact. Fold fabric out.


Use hot melt glue to attach google eyes, being careful to use only a dot of glue. Use pattern placement as a guide.


Use the same method to add the magnets to the back of the bat, using the placement shown on the pattern.


Two sizes of eyes.


Looking great!

Once the glue has dried, your batty friends are ready to display!

This is part of my “Way Back Craft” series’; patterns, crafts, tutorials and general crafty memories before the days of this craft blog.

Happy Crafting!

Photobucket

FB | SHFB | Flickr | Twitter | PinterestBloglovin

this tutorial also available on cut out + keep

And Now For Something Completely Different: Crocheting Along

Sometimes, when the paper pieced designs aren’t coming easily, or my mind is filled with stress or other things that occupy my time, I find succumbing to another designer’s pattern a lovely way to unwind and unravel the tangled strands of my brain.

Lion Brand has been hosting a Crochet Along for a lovely Sampler Afghan. It grabbed my attention at once as being a project that would be fun and portable, which is how I usually like my crochet! Using their pattern, I created my own sampler, with Harry Potter-inspired colors! The actual idea I had was to make an afghan that resembled the four House scarves. The project, from beginning to end, took about two weeks. For lots more awesome variations, check out the Crochet Along Flickr Group. There’s a black, gray and white version by chooosy40 that I really like.

Lion Brand Crochet Along - Week 2 DONE!
Hogwarts Scarf-ghan

Another great project that I just finished last night was for my dear hubby, who is currently running Call of Cthulhu with his gaming group. Inspired by his eagerness for props, what better than Cthulhu himself? Wee, evil Cthulhu made from this pattern. He’s my first animiguri and while it was a little hard on my hands, I’m quite please with the way he turned out.

Mini Evil...wee Cthulhu
Tiny Cthulhu

I regulary quilt and crochet for a local blanket making charity, The Linus Connection, but I’m always on the lookout for other ways that I contribute with my crafts. Coats & Clark’s Special Olympics Scarf Project caught my eye and I just had to make a scarf! Knitters and crocheters can use any pattern they choose, but I opted for their recommended pattern, which is the same as their Wizard Scarf pattern. I’ve made quite a few of those for my family and fellow Harry Potter lovers, so I knew the pattern was a fast and easy one. It worked up really quickly and I made sure to tie one of my “handmade by” labels to it with a note for good luck at the Games to whoever receives it!

Special Olympics Scarf

One of my Livejournal friends, caitirin, has turned me on to an excellent new yarn source! Angelicrafts Discount Yarn offers a variety of brands of yarn at discount prices. Just to give them a try, I ordered the Red Heart Mill Ends “Odds and Ends” box. The price of the UPS shipping was totally paid for by the sheer amount of yarn packed into the box. It’s all store-quality, without the sleeve and came with a personal note from the owner, which I thought was a very nice touch. I will definitely be ordering from them again, once I deplete my now ample supply of yarn!

007.JPG
Yarn from angelicrafts

Another fantastic Livejournal friend of mine, the multi-talented crochet goddess, hp5freak, shared a pattern recently for a Tiny Witches Hat . It’s an adaptation of another pattern that was written so that the hat was made in two parts. Her is easy-peasy and is made all in one piece. I had a brilliant time making this. It whips up in no time and is just the right size to put on a tiny pumkin. This pattern also introduced me to the Magic Adjustable Ring (also called Magic Loop), which I had never tried before but know I will now have a million and one uses for!

Wee Witch's hat in Ravenclaw colors
Wee Witch Hat

I’m currently hooking another Lion Brand Sampler Afghan, this one a smaller version and in baby colors for The Linus Connection. I’ll be keeping track of my progress on Ravelry. 🙂

Happy crafting!

Photobucket

Video Tutorial: Freezer Paper Stencils

I love t-shirts. I love them in a BIG way. I love to reconstruct, redo and, most of all, stencil my t-shirts!

Some time ago, I was asked by some friends for a stenciling tutorial. What I ended up posting was a video tutorial covering how to make a basic freezer paper stencil. The shirt shown was for my partner in a Twilight swap I participated in on craftster.

I hope you enjoy the video and give stenciling a try if you haven’t already!

Find my free patterns on Sewhooked & Fandom in Stitches.

♥ Jennifer O

Posts on this blog may contain affiliate links to help cover the cost of my website. I thank you for your generous support. ♥

Way Back Craft: Golden Snitch Antennae Ball

snitch 005

I’ve been crafting Harry Potter-themed items since my first reading of the Harry Potter and the Sorcerer’s Stone (Philospher’s Stone for those outside the U.S.).

When I turn back my brain to 1999, I’m quite sure one of the very first things I made was a Golden Snitch. That first Snitch was not an antennae ball, but a soft version with actual feathered wings that my kids played with during their enthusiastic quidditch matches!

You can find many of my Harry Potter craft ideas both on sewhooked and in the Harry Potter Crafts section of The Leaky Cauldron.

Snitch Antenna Ball
by Jennifer Ofenstein
http://www.sewhooked.org

  • 1 ball-shaped antenna ball
  • spay primer
  • gold paint (either spray or oil based in a can)
  • 2 gold brads
  • white craft foam
  • Wing Pattern
  • a skewer or chopstick
  • old box or piece of Styrofoam
  • box cutter or Exacto Knife
  • hot melt glue OR Tacky Glue
***Please Note: When using spray paint work outside or in a well ventilated area***

Place the antenna ball on the skewer.

Poke the skewer into the box or Styrofoam. This will hold the ball in place for painting and give it a place to dry.

Prime the antenna ball. Follow the paint manufacturer’s instructions for drying.

Use gold paint to paint the ball. If using spray, follow manufacturer’s directions.

For brush on, if you have enough, dip the ball in the paint and allow most of the paint to drip back in the can before carefully placing it back in the drying area. Allow to dry overnight.

Cut two wing shapes out of the craft foam.

Using the Exacto knife, cut a small hole in the base of each wing and on either side of the ball where you want to place the wings. Do this by gently pushing the blade into the ball. It does not have to be very deep, just enough to poke the brad in.

Use the tip of the scissors to score the center of the wing (as shown on pattern). Do not cut, just create a gentle groove. This will help with the feathery shape of the wing.

Snip along the wing to create a feather shape (as shown on pattern). Stop 1/4″ from the scoring line.

Poke the brad through the hole in the wing. Place a dab of glue on the cut in the hole cut earlier in the ball and then push the brad into it, positioning the wing how you want it as you do so.

Repeat for the second wing.

Finishing touch – tack the wings together to keep them from drooping while they are on the antenna of your car.


This is part of my “Way Back Craft” series’; patterns, crafts, tutorials and general crafty memories before the days of this craft blog.

Happy Crafting!

this tutorial also available on cut out + keep

T-Shirt Reconstruction: Reverse Applique Window

Reverse Applique Window T-Shirt

My son got this great orange t-shirt at the science fair he participated in last year. Unfortunately, it was way too small and *gasp* not black, which is his favorite t-shirt color. We talked it through and he agreed that if it was part of a black shirt, he’d definitely wear it.

I used one of my favorite “save a t-shirt” recon techniques, a reverse applique window. It’s easy peasy and takes only about 15 minutes to complete. The sewing machine and rotary cutter are totally optional here. This recon could easily be done with just plain old scissors and a needle and thread.

You’ll Need:

  • 2 t-shirts
  • straight pins
  • chalk
  • ruler
  • rotary cutter (optional)
  • scissors
  • sewing machine with ball point needle OR needle & thread

Slit the shirt that will be in the “window” up each side and open out.

Using a rotary cutter and ruler OR a ruler and chalk with scissors, cut a square out of the front of the window at least 1″ larger than the image on the shirt.

Turn the intact shirt inside out. Center the square with the image on it right side down on the inside front of the intact shirt. Pin clockwise – this makes it easier to remove the pins as you stitch.

Stitch around, removing the pins as you go so as not to stitch over them. If using a sewing machine, choose a stretch stitch.

Turn the shirt right side out. You can faintly see the stitching line here.

Draw a chalk line 1/4 – 1/2″ inside of the stitching line. This will be your cutting line. 

Near one of the corners, pinch the fabric of the intact shirt away from the applique piece on the inside. Make sure you just have one layer of shirt. Cut a small hole with the scissors. Trim carefully towards the chalk line.

Cut around the chalk line and remove the center piece.

Voila! Reverse applique t-shirt!

Happy crafting!

Find my free patterns on Sewhooked & Fandom in Stitches.

♥ Jennifer O

Posts on this blog may contain affiliate links to help cover the cost of my website. I thank you for your generous support. ♥

Recycled Cereal Box Labels

Recycled Cereal Box Labels

I am not a scrapbooker, not even by the grandest stretch of the imagination. There are crafters in my life that are uber-talented scrapbookers and do amazing things with photos, ink and paper.

Even though I don’t scrapbook, I do love stamps. My stamp collection is tiny, but functional and I love to use it whenever I can.

Because I make so many hand crafts, I love to have handmade labels on hand. My new favorite stamp is a “handmade by” I found at Hobby Lobby during a recent sale.

Recycling + new stamps = Cereal Box Labels! One large cereal box makes about 18 3″ x 4″ labels.

  • cereal box
  • stamps
  • ink pads
  • ribbon
  • paper cutter OR ruler & scissors

Open the cereal box along the seam line. Trim off the flaps. Recycle or set aside for another project.

The next two steps can be done either with a paper cutter or with a ruler and scissors.Square up the end of the box. Cut in 4″ strips.


Cut strips into 3″ pieces, giving you 3″ x 4″ cards

Now the fun part! Stamp! Use whatever stamp, color, etc. you like. If you have alphabet stamps, add your name, too!

Punch holes in the side or corners of the labels.

Tie a ribbon or string through the hole in the label. Thread the two ends in first, then bring those through the loop. Pull tight.

Tie, tape, pin, or glue your new recycled labels onto crafty projects.

After originally uploading this tutorial, I was gifted my own custom stamp. How fun is that?!

Happy crafting!

Find my free patterns on Sewhooked & Fandom in Stitches.

♥ Jennifer O

Posts on this blog may contain affiliate links to help cover the cost of my website. I thank you for your generous support. ♥

DIY Outside: Tire Swing

DIY Outside - Make a Tire Swing!

From the first moment we saw our house, the biggest selling point were the trees. Huge, full-grown Live Oaks and an Elm that shade the back and side yards. Having kids, my first though was tire swing! My kids were too small at the time and then it took me ages to find a tire. I finally found a local thrift store that sells old tires for $5 each. I picked the best tire in their stock and our tire swing was born at last!

Recycle an Old Tire…Into a Tire Swing!
You’ll need:

  • old tire
  • 3 large eye bolts with nuts
  • 6 large washers (big enough for the bolt to go through)
  • 4 Quick Links (rated for enough weight to hold the tire swing + kids)
  • 3 pieces of chain, approximately 3′ long (rated for enough weight for a tire swing + kids)
  • chain to attach tire swing to tree (*see note below)
  • chalk
  • drill with large (3/4″ – 1″) bit
  • safety glasses
Tire Swing, in progress

Mark three spots on the tire with chalk, equal distance apart. Wearing the safety goggles, drill holes in each spot.

On the opposite side of the tire, drill 3 or more holes. These are for drainage, so they don’t need to be as evenly spaced.

Tire Swing, in progress Tire Swing, in progress

Insert one eye bolt in each of the first three holes. Screw the nut in place.
Tire Swing, in progress

Add the Quick Link to one end of a 3′ piece of chain. Attach to the eye bolt. Repeat for each eye bolt.

Tire Swing, in progress
Gather the other three ends of the chains and attach to another Quick Link.

Tire Swing

Attach the quick link to a chain* hanging from the tree of your choice.

*Please note: The length and size of the chain will depend on the height of your tree. My swing is hanging from about 8′ of chain attached to the tree with a plastic coated heavy-duty chain and a Quick Link.

Photobucket

Sewhooked Shop | FB | SHFB | Flickr | Twitter | Bloglovin | Craftsy

Way Back Craft: Ariel’s Blanket

Ariel's Blanket Ariel's Blanket - The original blanket
Queue this pattern on Ravelry!

Printable Pattern

Ariel’s Blanket was made as a replacement for a special little girl that had loved her blanket to pieces.

Her mom found me online through my first crafty website, Jen’s Crochet & Crafts and we later met so she could show me the blanket and I could meet her daughter. I agreed to make it, if she’d pay for the yarn and make a donation to the blanket charity I volunteer for, The Linus Connection. She agreed and the replacement process began.

The blanket is a recreation made as close to the original design as possible. It was my great pleasure to crochet this for Ariel. It’s been at many years now, since I made Ariel’s Blanket. I hope she still has it, and loves it as much as she did the day I gave it to her!

Red Heart Baby Sport Pompadour Yarn: small
amount blue, yellow, green, peach & pink
(approx. 1 – 1½ oz.), 40 ounces white
For one square: small amount for center color,
approx. 2 oz white)

PC= Popcorn
Ch 3 counts as DC in PC st
Size “F” Hook

Finished Blanket is approximately 44″ x 54″

Row 1: Starting with center color, Ch 6, join with sl st. Ch 1, 12 sc in loop. Join with sl st.

Row 2: Ch 3, 4 dc in beg sc [drop loop from hook, insert hook in top of first dc, pull loop through to make first PC] ch 4, sk 1 sc, 5 DC in next sc, follow [ ], ch 4 around until you have 6 PC.

Row 3: ch 1, sc in same st. 7 dc in ch sp, sc in petal join st around. (6 “Petals”)

Row 4: ch 1, sc in same st, [ch 5, sc in next sc] around, join with beg sc with sl st.

Row 5ch 3, 4 dc in first ch sp. [In next sc: Dc, ch 3, dc. In next ch sp: 4 dc. Dc in sc. In ch sp: 3 dc, ch 3, 3dc] Dc in sc, 4 dc in ch sp. Repeat [ ], join with sl st to top of beg ch 3. Finish off.  (This seems very odd, but it works out!)

You should now have a square with equal sides, 9 stitches per side with a ch 3 in each corner.

Row 6: Join white in any corner sp. Ch 3, 2 dc, ch 3, 3 dc in same corner space. Ch 1. {[Dc in each of the next 3 dc. Ch 1] Repeat [] to corner space. In next corner space, 3 dc ch 3, 3 dc,ch 1}, Repeat {} around. Join with sl st at beg ch 3.

You should now have 5 clusters of 3 dc with a chain sp between on each side with ch 3 in each corner.

Row 7 & 8: Sl st to corner sp ch 3, 2 dc, ch 3, 3 dc. {3 dc in ch sp to next corner. 3 dc, ch 3, 3 dc in corner}. Repeat {} around. Join with sl st at the top of beg ch 3.

Row 9: (do not sl st to corner) ch 3 (counts as first dc), 1 dc in each dc to corner. {[3 dc, ch 3, 3 dc in corner], 1 dc in each dc to corner}. Repeat {} around.

(for added variety, row 10 can also be in a contrasting color)

Row 10: ch 3, PC in next st, 1 dc, PC, 1 dc, (3 dc, ch 3, 3 dc in all corners), 1 DC, pc, 1 dc, PC around.

Row 11: ch 3, DC in each st around, (3 dc, ch 3, 3 dc in corners).

Row 12: ch 1, sc in each st around, 3 sc in corners. Finish off.

FOR BLANKET PATTERN
Make 20 squares. Join squares 4×5 either with whip st or sc. Add border.

Border: ch 3 counts as first stitch

cluster = 3 dc, ch 2, sc in 1st ch, 3 dc

(Here, your cluster is 3 double crochets with 2 chain stitches, then you single crochet in the first chain stitch you just made. This makes a point in the middle of the cluster. You then make 3 more double crochets to finish the cluster.)

Join white in second sc of corner, ch 3, 2 dc, ch 2, sc in first ch, 3 dc, skip 1 sc, sc in next ch, (cluster, sk 1 sc, sc in next ch, cluster), around.

Each square should have 6 clusters, not counting corner clusters.

Join with sl st, finish off, weave in ends.

Happy crafting!

Add your Sewhooked-related photos to my flickr group and you might be featured in a future post!

Photobucket

Sewhooked Shop | FB | SHFB | Flickr | Twitter

This is part of my “Way Back Craft” series’; patterns, crafts, tutorials and general crafty memories before the days of the blog.

Ariel's Blanket by Cathie Morales

Back To School Craft: Book Cover from a Fabric Remnant

Back to School Book Cover from Fabric Remnant

My eighth-grader brought an Algebra book home for the first time yesterday because it needed a cover. It’s huge, really huge, weighing in at a whopping six pounds (what, I was curious!).

The paper book covers of yesteryear are truly a thing of the past, something I learned a couple of years back when I suggested recycling a brown paper bag, just like I had when I was in school. Ah, the brown paper cover! All that real estate for doodling and scribbling down phone numbers or bits of song lyrics.

The look of shock and horror on my kiddo’s face was enough to tell me that, sadly, grocery bags are O-U-T, and stretchy fabric covers are IN.

The one-size-fits-all stretchy fabric cover we picked up with school supplies did not, despite the packaging promise, fit the mammoth math book.

We came up with a quick and easy solution with a project we’ve used a few times before: a fabric book cover, custom-made from a cotton remnant.

Let’s do it!

Measure out the remnant for your book, making sure that it is at least 2″ wider on top and bottom (4″ total) and several inches longer on each side than the book when it is opened.

Trim the top, bottom, and sides so they are straight and will be easy to sew. Rotary cutters work perfectly for this if you’ve got one, otherwise a chalk, ruler, and scissors work just fine, too.

Hem both of the short ends. Turn under 1″ and then again 1/4″ or 1/2″ to make a sturdy seam. Stitch with a straight stitch.

As evenly as possible, align the fabric on the book inside out, with the hemmed edges inside the book cover.

Pin the fabric, leaving enough fabric for seam allowance and hemming later. The pinned corners should be approximately 1/16″ of an inch away from the outside of the book. It’s very important to not pin too far away from the book’s edge or the cover will be too loose. 

Using a straight edge, mark along the pins in chalk.

Stitch on chalk or pencil line for all four corners. Reinforce the stitching line several times. These will have a lot of pressure on them from the book being opened and closed.

Trim corners and the short piece of fabric where you have just stitched. Repeat for all corners. Turn, using a chopstick or crochet hook to push out the corners.

The seam allowance along the edges are at this point still unstitched. Press these, using the already-turned corners for your measurement. Turn the hem under (opt) and pin in place if needed.

Start under the flap then straight stitch along the hem, finishing after the next flap. You do not need to stitch all the way to the end, but it’s a good idea to reinforce the hem past the flap so the fabric will lay nice and flat.

Trim your threads and slip your new fabric book cover on!

As long as your book cover is nice and tight, it’ll stay on with no problem.

Now, who wins for best dressed math book?!

Happy sewing!

Find my free patterns on Sewhooked & Fandom in Stitches.

♥ Jennifer O

Posts on this blog may contain affiliate links to help cover the cost of my website. I thank you for your generous support. ♥