Holy geek-out, Batman, the new Star Trek movie comes out this weekend!
Star Trek is my first fandom. Captain Kirk and Mr. Spock have been a part of my life as long as I can remember. I have very clear memories of being a child and seeing the Wrath of Khan at a drive-in theater. I was 9.
How big is my ST love? My first website, built back in 1996, was Star Trek themed. I told you, I’m a BIG geek, and proud of it! Fandom is such a fun thing to be a part of and I’m excited to post this Starfleet Symbol pattern in honor of the new movie. Go, enjoy, geek out!
Find this and loads more free paper pieced patterns archived on sewhooked.
I just heard of the First Annual Blogger’s Quilt Festival yesterday and my first thought was “why didn’t I think of that?!” What a great idea, bringing quilting bloggers together by sharing photos of our quilts.
The idea is to post photos of your favorite quilt that you’ve made and tell it’s story. Excellent idea, huh!
My Magical Lens, designed, pieced and quilted by Jennifer Ofenstein
My all time favorite quilt that I have made, absolutely hands-down, is my Harry Potter quilt. I embarked on this project in early 2006. My family had long been fans (we started reading Harry in 1999) and I’d been quilting for a few years. After discovering what so many HP crafters now know, that licensed fabric is out of print and nigh on impossible to find (and expensive if you do!), I decided to try to design my own.
The very first HP block I designed was Hedwig, though not the one that ended up in the quilt (you can see it in the photo below…bleargh!). It was pretty dreadful, too complicated and just bad, bad, bad. I’d only ever designed simple blocks before, so I changed gears and started with a broom and a lightning bolt. The stack of blocks began to grow. All through the process, I was sharing on the Harry Potter Crafts Yahoo! Group. Members started asking if I’d share my patterns, and before long, my little craft site, then called Jen’s Crochet & Crafts, grew into sewhooked, full of all kinds of crafts, crochet, and now paper pieced patterns.
I went to Lumos in Las Vegas in 2006 and took my HP blocks with me to share with my online craft friends. By this time I was a Moderator at Harry Potter Crafts. Sharing my designs and other projects I’d made with them for myself and friends, on top of the fact that I knew HTML, led to a year and a half as a Crafty Witch at The Leaky Cauldron where I made truly amazing friends. The quilt that wasn’t a quilt yet was already helping me to connect with people.
In the fall of 2006, I decided to attend Phoenix Rising in New Orleans which, like Lumos, was a Harry Potter fandom conference, and was scheduled to take place in May 2007. Even though my quilt wasn’t even close to done, nor was I close to having enough blocks designed for a whole quilt, I entered a mock-up for consideration in the Phoenix Rising art gallery, and was, to my surprise, accepted. With a deadline looming, I started churning out patterns and blocks, finishing up the quilt in March of 2007, just two months before it was to be shown in New Orleans.
This quilt is more just a million bits of fabric stitched together. It represents all the years I’ve loved Harry Potter and some of my favorite things about the series. It has brought me friends, and fans, and brought more quilters that I can count into the wonderful world of paper piecing. In the fall of 2007, I started hp_paperpiecing on Livejournal as way to share more with other Harry Potter quilters than just patterns. I’ve posted over 100 unique HP themed blocks there and have in the process met a lot of awesome quilters and designers, many brand new to paper piecing.
The mock-up submitted for submission into the Phoenix Rising art gallery (complete with horrible Hedwig).
I don’t design as many HP blocks as I used to, though I’m still very involved with hp_paperpiecing.
Over on Livejournal, I run a group called hp_paperpiecing, short for Harry Potter Paper Piecing. I’m sure most of you know by now that I’m a huge HP fan and spent several years designing HP quilt blocks that I’ve shared with the fandom. That’s been the purpose of hp_paperpiecing, and until recently, HP blocks and block-related challenges were what we shared.
A few months ago, I read about the Bushfire Quilt Project, started by Tia of Camp Follower Bags & Quilts, for making quilts to give to those affected by the Australian bushfires in Victoria earlier this year.
My first thoughts were that I myself would make a block or two and share the project with various quilting friends. I posted about it on hp_paperpiecing, asking our members to consider sending in a block.
The members did me one better and within a day, my suggestion of sharing blocks morphed into the group itself making all the blocks for a quilt, including the free services of a professional quilter who is also part of our group!
Within a few weeks, we had a full quilt worth of blocks, pieced, quilted and shipped off to Australia.
Photo by Tia from Camp Follower Bags & Quilts, quilted by Shannon Shaw
I count myself to be incredibly fortunate to not only know so amazing online crafters, quilters and other fans, but to be part of their generosity. I volunteer and donate locally on a regular basis, something I find easy to incorporate into my life. Volunteering to make something that will then go in the mail and travel thousands of miles before it ends at it’s final destination for no financial gain is a true gift.
My virtual hat is off to every single Harry Potter Quilt that participated in the Bushfire Quilt Project. You are ALL amazing!
Combine the joy of spring with the joy of quilting and you have one of my all time favorite combinations!
How about Three Eggs (pictured above) made in happy spring colors or prints? Three Eggs was created for my friend Cat, who loves chickens and is putting together a wonderful chicken/barnyard themed quilt!
Once you’ve scrambled your eggs, why stop there? There are loads of great paper pieced patterns that would translate to a happy spring quilt or wall hanging!
One of the best things about paper pieced patterns is that they are so easy to scale.
The great majority of the patterns I design finish 5″, which makes the math a bit easier. Want a 10″ block? Print at 200%. Want a 1.5″ block? Print at 30%.
Miniatures have long been a favorite of mine. They work up quickly and are just so darn adorable when you’re done!
Use Scrappy Heart in miniature and some card stock and you’ve got yourself a cute, fast handmade Valentine for your sweetie!
When choosing a paper pieced pattern to miniaturize, the simpler the pattern the better. Choose a pattern that is all one piece or only a few individual pieces. The more paper pieces you have to work with, the trickier your pattern will get and the thicker the seams will be.
When piecing in miniature, the smaller your seam allowance, the better. I like a scant 1/8″
This is your block finished from the back and the front.
Follow the stitching line around the block. This will make it possible to remove the paper without stretching the bias edges. Contrasting thread shown.
Remove the paper from the block.
**note – normally, the paper needs to stay on the block until it is pieced in it’s final destination, but because we are appliqueing it, that’s not an option here**
In addition to Less Than Three, with the Pink & Red season looming and Cupid stringing his bow for another year, I thought it would be fun to find all the heart patterns online that I could get my hands on and then share them with you!
After searching around for a bit, it’s obvious to me that I’m not the only one obsessed with hearts. It doesn’t surprise me greatly, but I didn’t expect the quantity of patterns I found floating around out there.
The variety ranges from simple hand drawn patterns to chic professionally published ones. There were a few websites that I’m sure haven’t been updated in a decade. The patterns are still fun, cute and just waiting to be made!
Occasionally, someone will tell me they don’t like to have seam allowances on paper pieced patterns.
Everyone’s got their own preferences, so it doesn’t bother me. If you don’t like them, they’re easy enough to cut off patterns that have them.
My personal preference is definitely for seam allowance. A related question I’m regularly asked is if there is an easy way to add seam allowance to a pattern that doesn’t include it.
Yes, absolutely there is!
You need access to a copier, but beyond that, no special tools and only a few minutes of your time are needed.
If you don’t own a copy machine or scanner, you can trace the pattern with tracing paper, adding the seam allowance as you go. That will work best with simple patterns, but if you’re really patient, it will work for any pattern.
Also included are suggestions for labeling and recording sewing order for later piecing.
You’ll need:
the pattern of your choice (the example is an unfinished pattern of mine)
a copy machine or printer/scanner with copy function
graph paper, any grid size
a ruler
rotary cutter with a blade for cutting paper (optional, but it’s much easier than using scissors)
a red or colored pen or map color
fabric safe markers or pens (crayons are shown, but those are riskier and I no longer recommend them)
Print the pattern of your choice.
Using your ruler, draw over the lines where the pattern pieces separate (the seam lines), making sure you go past the outside edges of the pattern. Red is used here because it’s easy to see.
If the pattern does not have a line indicating where the outside edge is, I recommend adding one with your ruler.
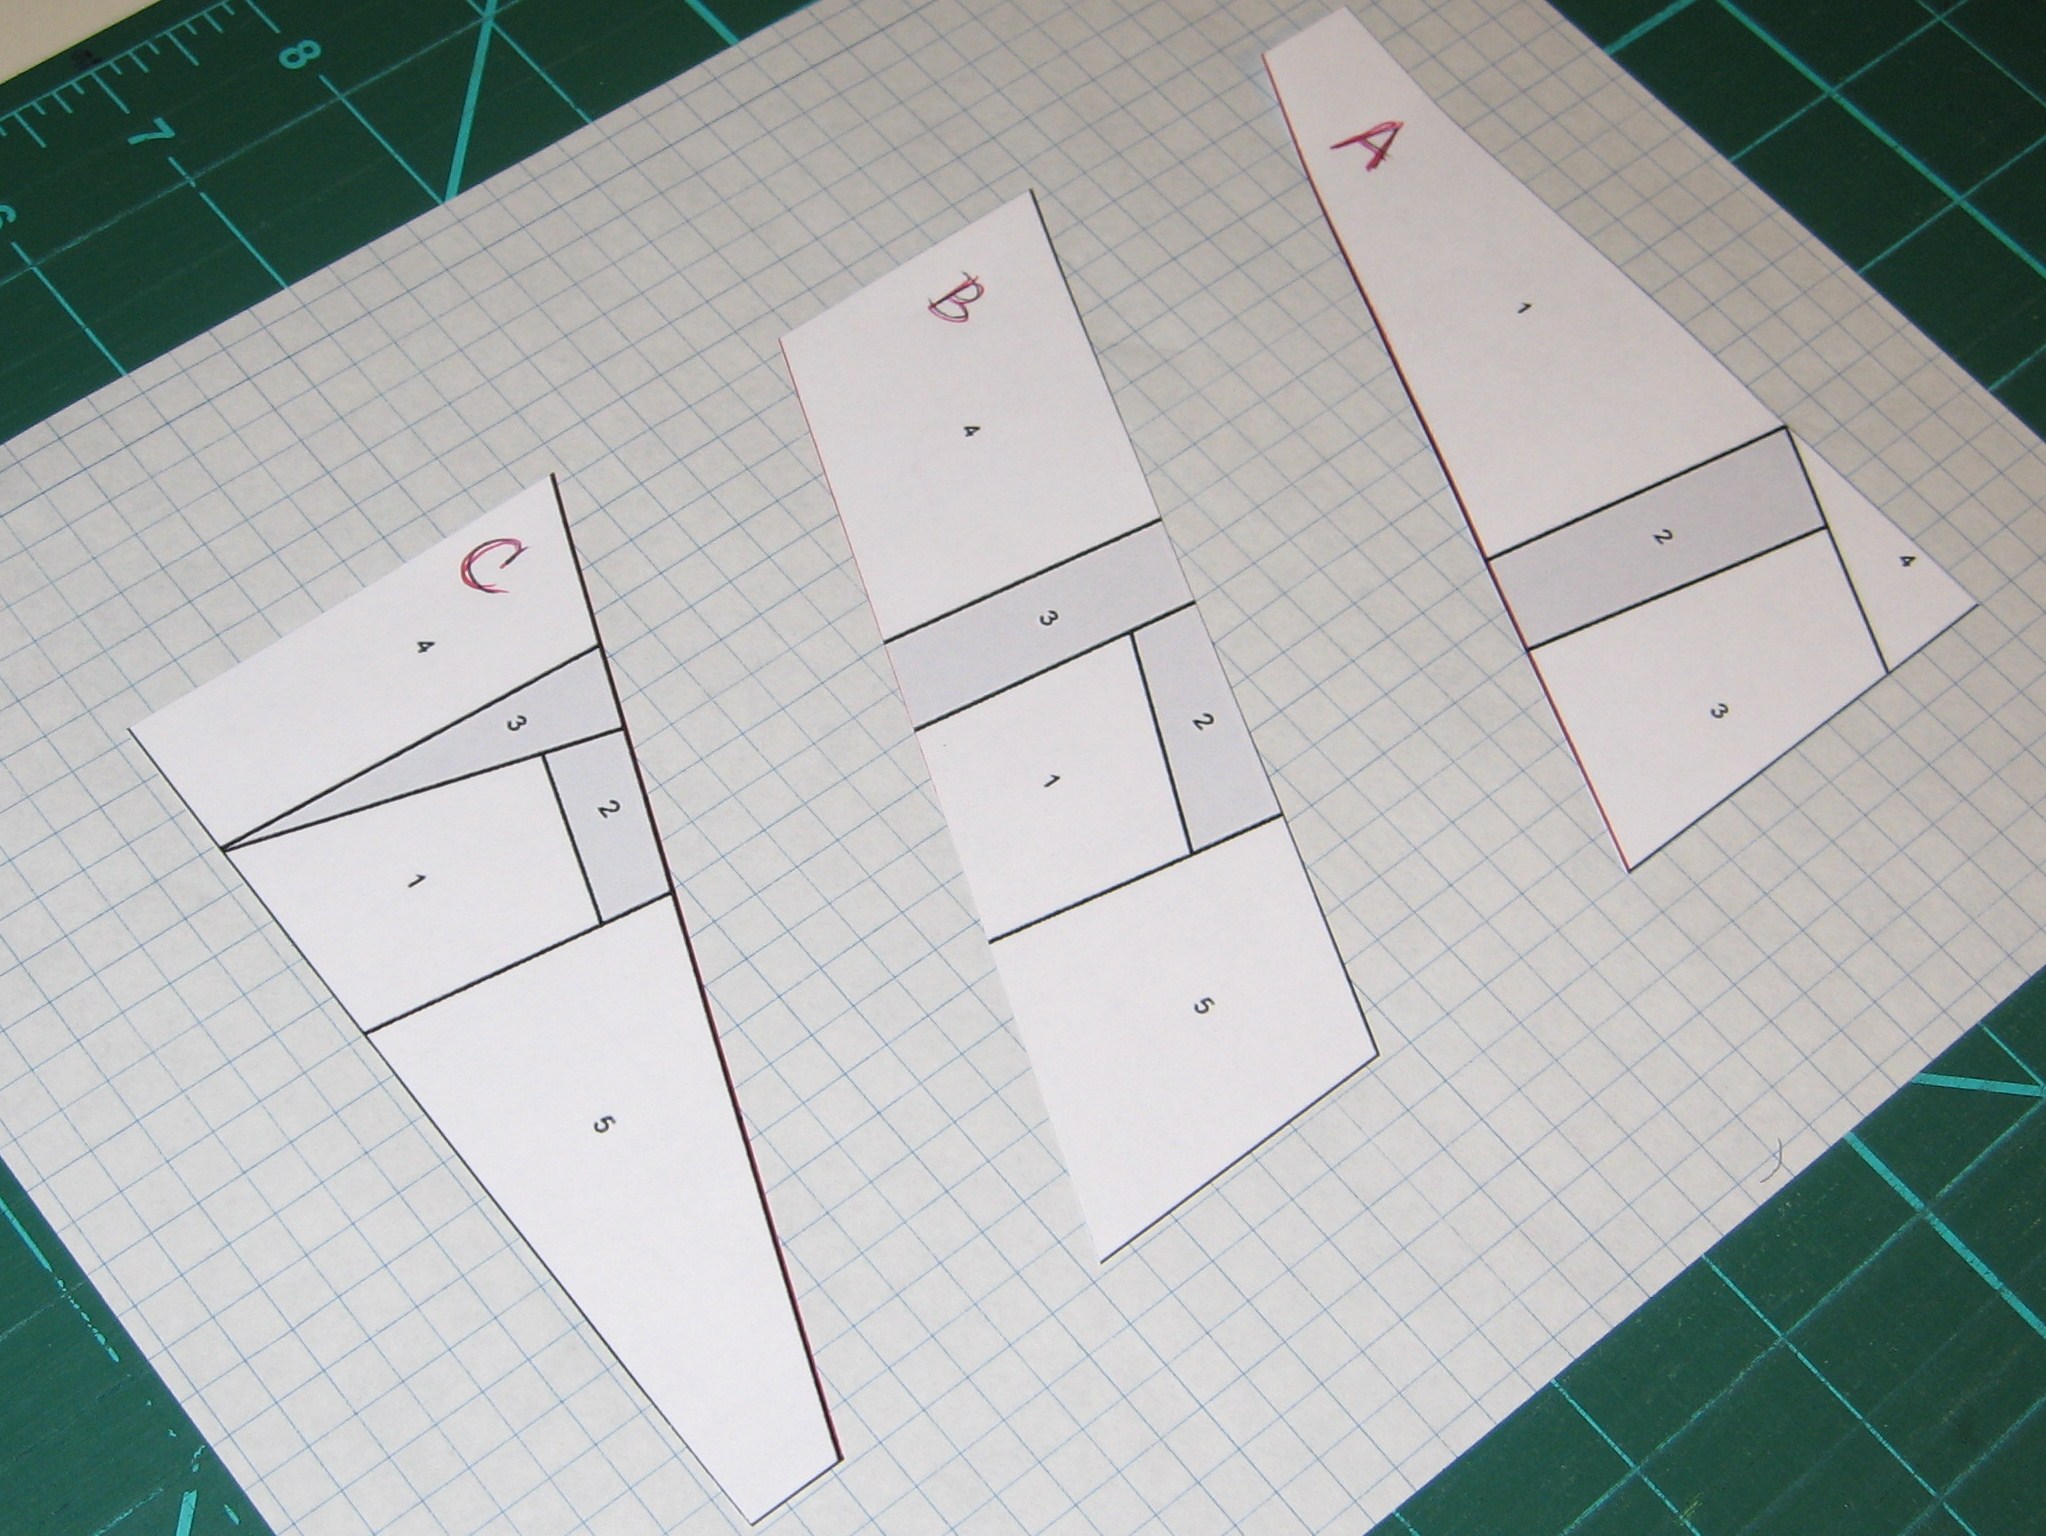
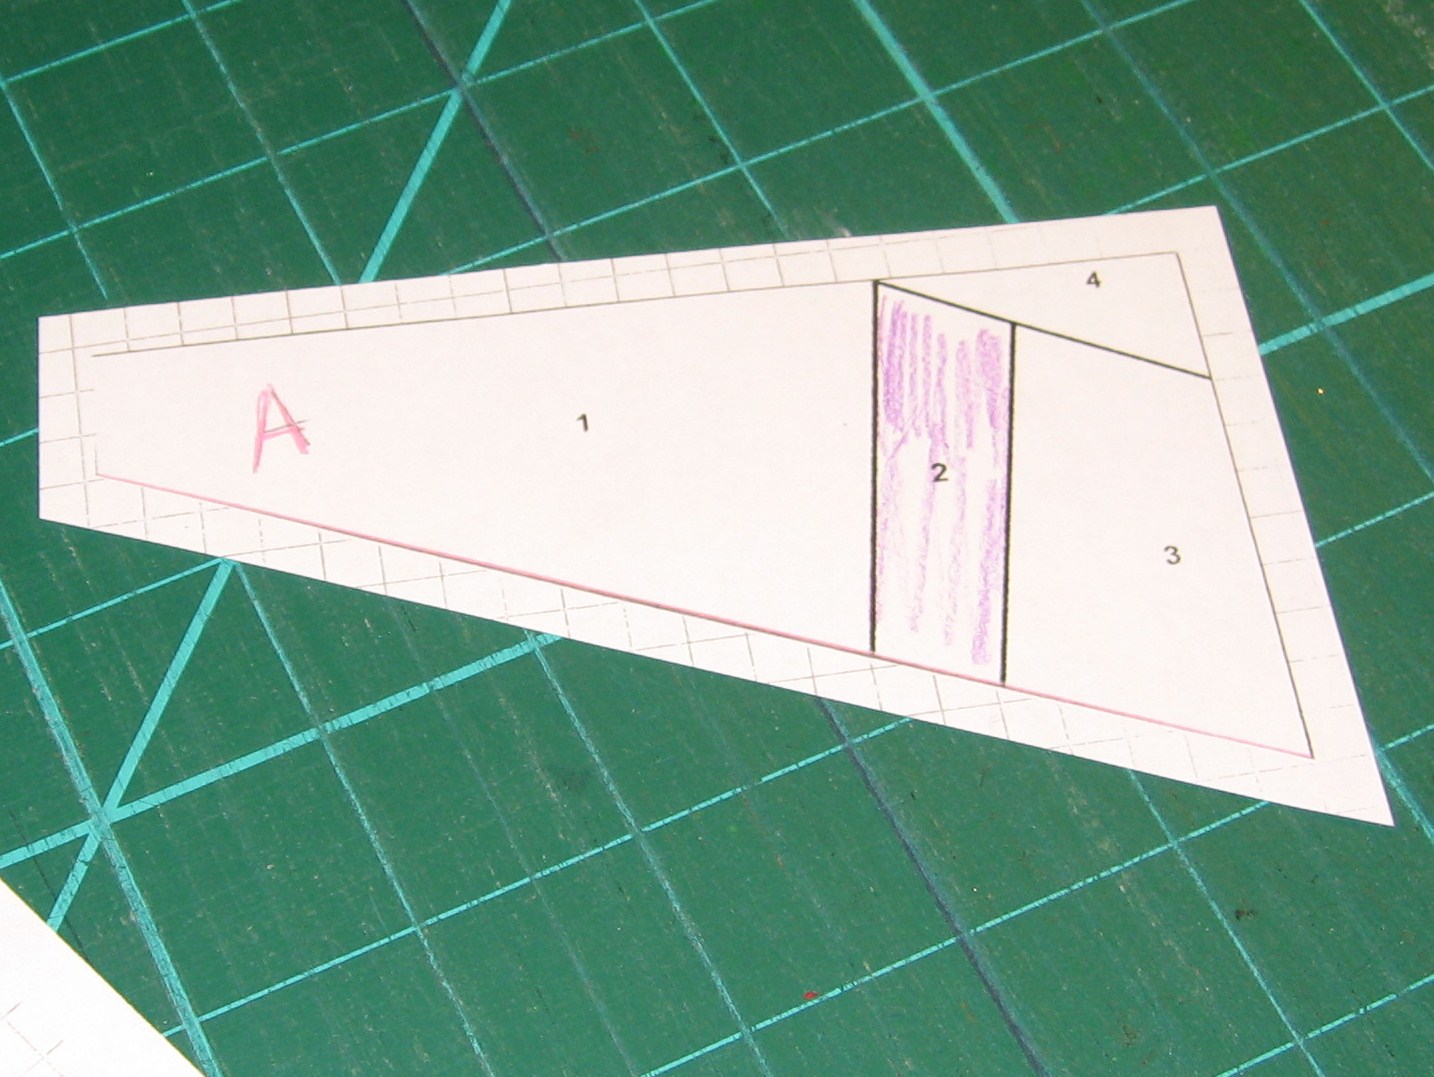
If the individual pieces aren’t labeled and you think you might need it later, label them now. This is especially useful in more complicated patterns. I like to use letters (A, B, C), but you can mark them any way you like. If you need to, make a notation of how the pieces will go back together, for example: A>B>C.
Use the rotary cutter to neatly trim the pattern to the seam lines, cutting through those that go across the pattern. You can use scissors here, but you need to be extremely precise.
Place the pattern pieces face up on a piece of graph paper, using a dot of glue or piece of tape to hold them in place.
Any size grid will do. The grid will make the seam allowance distinctive without using up too much ink. You can also use a lightly colored copy paper.
Place the grid paper face down on your copy machine or scanner and make a copy.
A colored copy (L) and a black & white copy (R). Either works fine.
Using your ruler and red pen or map pencil, draw lines along the inside seams. This will give you a reference point for lining up your pieces later.
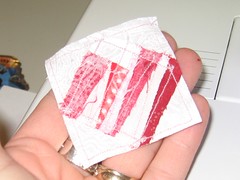
If you’d like the pieces of your pattern colored for easy reference while you’re piecing, now is a great time for that. Grab a fabric safe marker or pen and color away! This is a great trick to use if you’re piecing with more than two colors so you don’t accidentally mis-piece any fabrics. Note from future me: don’t use crayons, they melt. 😐
Using your rotary cutter and dull or paper-designated blade, trim the pattern pieces, leaving a 1/4″ seam allowance. It’s easy to see the grid left from photocopying.
Repeat on all pattern pieces and you’re done! The pattern has seam allowance and you’re ready to piece.
ETA July 12, 2010 – These patterns will be available again November 2010 through the Sewhooked Shop.
Over the weekend, those three patterns were combined with a new pattern, Little Wonky Christmas Tree to give you the wall hanging shown, made for our friends, Eric & Dominae.
This week in the Guest Designer Spotlight is Julie Pkya. Julie is a quilting gem I met through hp_paperpiecing. The first block Julie shared with me was her Dobby, which remains one of my favorites she’s designed. Her wonderful Howler block was the winner of the hp_paperpiecing Design A Harry Potter Paper Pieced Block Challenge.
First name and where you’re from: Julie- San Diego, California
Website/blog/online store or other place where your patterns or photos of your work can be found? – patterns/pictures on sewhooked and just photos on yahoogroup, PCPiecers.
How long have you been paper piecing and/or quilting? – I can’t remember when I first started quilting, but really the last two years I have become a more serious sewer. I started paper piecing this last summer. I made my first paper piece quilt called Crazy Birds. (http://quiltmaker.com/currentissue/qatf13/project1/) and of course the Harry Potter blocks.
What do you use your own blocks for? – I make quilts that are usually lap size.
When did you start designing? – This past summer I started designing portraits of presidents.
Was there a particular inspiration to draw your first pattern? – I was making a quilt top with my mom and grandmother were you take fat quarters and stack them together and for the number of fabrics the number of cuts you make. Then you shuffle and piece them back together. That’s when it dawned on me that this is exactly how paper piecing works.
Do you remember what your first design was? – My first pattern I designed was President Benjamin Harrison. I am planning on designing all of the United States presidents, but it will be awhile before I get them all drawn out.
Do you have a favorite among your own designs? My favorite pattern is the Howler I designed for the September challenge.
How has the online community changed the way you craft/quilt/design, etc.? – A few Yahoo groups and Sewhooked is really helping me grow. It wasn’t before joining and being active within these online communities that I have tried new techniques and expanded the level of difficulity. Now instead of whiping together straight sewing that takes a weekend I am putting a lot of work and have a lot more pride in my finished pieces.
What do you use to design your patterns? Paper and pencil, a specific software, etc. – I start with pencil in paper and scan them into Adobe Photoshop CS. The online tutorial that you created really helped me figure out how to make it clean and perfessional. THANX!