Category Archives: sewing

Tree Trimming Kit

Tree Trimming - Honey Bee Quilt Store Kit

I’m happy to share with you all that I will be participating in the Austin Area Quilt Guild’s 2011 Gift of Quilting! I will be representing Honey Bee Quilt Store and offering my Tree Trimming class as part of the program.

With the help of my friend Osie, who also works at Honey Bee, I put together this new color combination especially for The Gift of Quilting. As an added bonus, the kit is available not only to those participating in GoQ, but to anyone!

You can order online directly from Honey Bee or you can stop by the store to pick up your kit.

The $22 kit includes the Tree Trimming pattern, all the fabric to make the quilt top as well as the binding. All you need is batting and backing fabric!

Honey Bee Quilt Store
9308 Anderson Mill Rd #300
Austin, TX 78729

Do you prefer to use your own fabric? You can also purchase just the pattern! It’s just $8 for PDF Instant Download from my E-Junkie Shop!

Tree Trimming PDF Instant Download $8 Add to Cart

Or, if you prefer to have a hardcopy version of the pattern, but would like to use your own fabrics, you can purchase a copy from my Etsy shop and I will send it right to your door!

As always, happy quilting!

Photobucket

SEWHOOKED SHOP |SCHEDULESEWHOOKED FB
JEN FACEBOOK | TWITTER | FLICKR GROUP

Pre-Treat Thoughts

It’s early (for a Saturday morning) and I’m giving myself this much time *holds up fingers* to try and get caught up before today’s Linus meeting.

I’m in hardcore pre-Retreat countdown mode. It’s kind of like going to a conn, the excitement, the planning, the lack of sleep…the big difference is there’s no hotel bill and the only costuming are our pjs.

Common interests? Check. Something to do every second of every day? Check. Food? Check! Fun? Check, check, check!

I’ve been putting together a list of what I’m taking and it just keeps growing. I think a couple of my UFO projects that I’m feeling kind of ‘meh’ about might stay behind.

So far, this is my list (you can several of these on my 2011 UFO post):

To finish:

  • Bear Paws
  • Christmas Quilt
  • HP Swap Quilt*
  • New York Beauty

*I have taken the HP swap blocks to the last two retreats and not touched them. The real problem is that I have no idea how I want to lay them out, so they just get transported back and forth. If I have time before Wednesday, I’m going to import all the photos into EQ7 and play with layouts. Maybe I can get inspired…

To Be Cut/Pieced:

  • POD blocks to be made – pre-sorted with fabric ready to go
  • LotR x-stitch gifted from Shae with mock-ups done in EQ7 so I can decide on the final layout
  • Green swap squares plus purple for 10 Minute Blocks
  • Churn Dash Blocks + shirting (need!) and red or brown fabric (also with EQ7 mock-ups)
  • 5 @ The Hive BOM blocks

Needs to be quilted…might take:

  • Wingless Wyrm
  • My Kitchen Window
  • Classic Film

Other:

  • Rope & Bag O’ Selvage for basket making
  • Secret Pattern and Fabric for Secret Project
  • Take triangles from exchange…just in case!

EQ7 Mock Up Layouts for LotR X-Stitch and Churn Dash:

LotR X-Stitch Mock Up

LotR X-Stitch Mock Up

LotR X-Stitch Mock Up

I have a whole set Churn Dash blocks that look similar to this one:
churn dash

These are some of the layouts I’ve thought about. The first one is my favorite, especially if I can find some shirting I like in the quilt shops we visit on the way down to Canyon Lake.

Churn Dash Mock Up

Churn Dash Mock Up

Churn Dash Mock Up

Churn Dash Mock Up

Any opinions or suggestions on the layouts? I’d love to hear them!

Photobucket

SEWHOOKED SHOP |SCHEDULESEWHOOKED FB
JEN FACEBOOK | TWITTER | FLICKR GROUP

St. Patrick Shamrock!

Shamrock Sample

Are you wearing green today? Even more importantly, do you have green fabric?

Good, because I have a brand new free paper pieced pattern to share with you!

I thought a fun and simple Shamrock pattern would be just the thing to celebrate St. Patrick’s Day!

5″ paper pieced Shamrock Pattern

After years of hand-drafting all my patterns in Photoshop, I’ve been learning  EQ7. The learning curve is finally getting smaller and I still prefer to color and number my own patterns in Photoshop, but I have discovered that one of my favorite things to do with EQ7 are fun quilt layouts! This one is super simple, but I hope it inspires you to create a little Shamrock quilt of your own!

shamrock quilt mock up

Happy St. Patrick’s Day…and happy quilting!

Photobucket

Sewhooked Shop | FB | SHFB | Flickr | Twitter | Bloglovin | Craftsy

PoD week 10

Photobucket

Just a reminder, The Project of Doom, A Harry Potter Block of the Week Mystery Quilt, is taking place over on Harry Potter Paper Piecing (hp_paperpiecing on Livejournal).

The Week 10 pattern is live…and we are officially 1/3 of the way through our weekly blocks!

Want how other quilters are interpreting the PoD patterns? You can see related photo posts here.

If you participate, and you’re part of the hp_paperpiecing community (it’s easy, you just need a Livejournal account), you’ll be eligible for awesome prizes every month! There are details on the site…so GO!

*PoD pattern posts go to the PoD page, with the actual block behind a link to keep it a mystery!

Photobucket

SEWHOOKED SHOP |SCHEDULESEWHOOKED FB
JEN FACEBOOK | TWITTER | FLICKR GROUP

Project of Doom Week 9!

Photobucket

Just a reminder, The Project of Doom, A Harry Potter Block of the Week Mystery Quilt, is taking place over on Harry Potter Paper Piecing (hp_paperpiecing on Livejournal).

The Week 9 pattern is now posted! This week makes a fun change and I do hope you like it!

Want how other quilters are interpreting the PoD patterns? You can see related photo posts here.

If you participate, and you’re part of the hp_paperpiecing community (it’s easy, you just need a Livejournal account), you’ll be eligible for awesome prizes every month! There are details on the site…so GO!

*PoD pattern posts go to the PoD page, with the actual block behind a link to keep it a mystery!

Photobucket

SEWHOOKED SHOP |SCHEDULESEWHOOKED FB
JEN FACEBOOK | TWITTER | FLICKR GROUP

Project of Doom Week 8!

Photobucket

Just a reminder, The Project of Doom, A Harry Potter Block of the Week Mystery Quilt, is taking place over on Harry Potter Paper Piecing (hp_paperpiecing on Livejournal).

The Week 8 pattern is now posted! It’s required reading, so make sure you take a look!

Want to see what other quilters are making of the PoD patterns? You can see related photo posts here.

If you participate, and you’re part of the hp_paperpiecing community (it’s easy, you just need a Livejournal account), you’ll be eligible for awesome prizes every month! There are details on the site…so GO!

*PoD pattern posts go to the PoD page, with the actual block behind a link to keep it a mystery!

Photobucket

SEWHOOKED SHOP |SCHEDULESEWHOOKED FB
JEN FACEBOOK | TWITTER | FLICKR GROUP

2011 UFOs and WIPs

With the finish of the TTMT UFO Deadline Challenge, my mind is filled with the projects that I am not only working on, but the ones that have been on the back burner.

Before we start, some definitions:

UFO = UnFinished Object – a project that has been set aside and allowed to collect dust. Chances are it’s existence has been forgotten until it’s pulled out of whatever dark hole it was stuffed into. While there, it probably multiplied like Tribbles, leaving many more UFOs than you remember putting there in the first place.

WIP = Work In Progress  – Always in danger of becoming a UFO, a WIP is a project that is currently being worked on, and will hopefully become a…

FO = Finished Object – What all projects dream of being. The object of much blog activity and excitement and a good source of personal pride. The Ultimate Destination of a UFO and WIP.

This year, in addition to my list of UFOs, I’m including my WIPs and some DYI. This is by no means a complete list because I’m very much a Do It Right now kind of  person. That is to say, when I get an idea, I often have to stop everything and do it now!

See my 2010 UFO list and the follow-up post.

Quilting Projects

Brown Bear, sadly no change since 2009

Bear Paw Pass Around

STATUS – UFO

Started as a pass around project with my bee in 2008, I sadly have not touched these blocks for over a year. I did go through the box and make a plan…

Brown Bear, sadly no change since 2009

I plan to use the gold fabric for sashing and was playing with the idea of using brown for the cornerstones. The more I look at the fabric, the more I think I want brick red cornerstones. The brown just sort of disappears against the gold.

1/2 square triangles from exchanges

Half-square triangle exchange blocks

STATUS – UFO-ish

These are the results of two half-square triangle exchanged I participated in last year. I have not yet decided what I’m going to do with them, which is what gives them their “ish” status. They’re just waiting for the right project to crop up!

The InuYasha quilt - I still need t-shirts

InuYasha Quilt

STATUS – Still Collecting

I started collecting shirts for an InuYasha quilt for my daughter last year. The plan is to use the Shoji Screen pattern and place the t-shirt fronts where the large panels would be. Unfortunately, I only have one t-shirt so far, courtesy of ladyoflosttimes. If you have an InuYasha shirt you’d be willing to part with, please let me know and we can work out a trade. InuYasha is her fandom of choice and the least a good fandom mommy can do is make a fandom quilt for her daughter!

10" HP swap blocks that need to be a quilt

Harry Potter/Magical Swap blocks

STATUS – UFO

These quilt blocks are the results of several swaps. Sadly, I’ve had them several years now. I am one step closer to doing something with them now that I realize I  need to break them into sets. The top set are all the 10″ blocks with images on them that say “Harry Potter” to me. The bottom set are more traditional blocks, blocks that are bigger (or smaller!) than 10″ or magical blocks that aren’t as HP-ish. I still love all the blocks, but I definitely need to make two, possibly three, quilts out of these!

Misc Blocks from Swaps

Christmas Quilt needs borders

Christmas Quilt

STATUS – UFO…leaning towards WIP

Started two years ago from a swap I participated in on All About Paper Piecing (a currently defunct ning network), this quilt is getting a piano key border out of Christmas fabric. I’ve already got it sorted out and plan to start cutting in the next month so it’ll be ready to go to quilt retreat in March.

New York Beauty UFO

New York Beauty Quilt

STATUS – UFO

I started this NYB for a class I taught last year. I had lots of models for the class, all in different stages of done-ness. The class was a blast…and then I lost my steam. I will be optimistic and take this one to retreat in March. I have all the pieces cut and just need to get them together. Will I? Who knows!

Beginning applique class lesson UFO

Beginning Hand Appliquéd block

STATUS -UFO…leaning toward WIP

I took a beginning hand appliqué class last year and learned lots! I even almost finished my class project. Can you see there are two leaves that need to have buds added and to be stitched in place? That’s it…all I have left to do to finish this block. I’m putting it in my car so I can work on it in the carpool line. Maybe I’ll actually finish it then!

Photobucket

The Project of Doom

STATUS – WIP

All the blocks for the PoD are designed and I am several weeks ahead of everyone else in piecing them. I plan to have my quilt top finished by the end of March.  This is my pet project for 2011 and my gift to my friends in the Harry Potter crafty fandom. Want to play along and make your own Harry Potter mystery quilt? Click the banner above!

Below – Tackett protects the PoD blocks.

Tackett protects the Project of Doom.

Five at the Hive January Fall 5 at the Hive January Extra

5 @ The Hive Fall Colorway 2011

STATUS – WIP

5 @ The Hive is Honey Bee Quilt Store ‘s Block of the Month. I’m participating for the first time this year. The two blocks above are my January blocks. I’m doing the fall colorway with the extra block. By the end of the year, there will be enough blocks for a completed quilt top. I’m super excited about this one because 1)I’m not designing it and 2) it comes with fabric and 3)I love the blocks and the layout.

Crocheting

Brown Ghan UFO

Variegated and Browns

STATUS – UFO

I completely forgot about this until I cleaned out my stash. I will get back to working on it after I finish the next project on the list. This will probably be a blanket for The Linus Connection.

black and red project

Black/Red Knit or Crochet Swap

STATUS – WIP

After doing absolutely nothing with these fabulous black and red knit and crochet blocks from a Twilight Crafts swap in 2009, I have created enough white blocks to make a chess/checkerboard out of the set. The next step is to crochet them all together and then add a red, white and black border.

Crafts

A bowl I started

Rope Bowl – “It’s A Wrap” style

STATUS – UFO

This is the only unfinished craft project I found, and it can really be classified as a sewing project…so, go figure. This was the bowl I started when I taught the It’s A Wrap class last fall. I brought it home from class and promptly forgot all about it. I would like to get back to it and finish it up because the technique is just so darn fun!

DIY

Stairs - Before

Staircase makeover

STATUS – WIP

Just last week, I pulled the carpet off of our stairs. It had horrible, gross carpet that the builders installed 20 years ago. I’ve steamed cleaned them so many times, the thought of doing it again made me feel like weeping. The stairs are now de-carpeted, de-carpet-tacked, scrubbed and primed. The next step is a faux finish to turn the stairwell and stairs into a stone passageway. Yeah, you heard that, I actually said it out loud!

Projects In Mind

I have about a million and one other projects that I’d like to tackle this year. These are some ideas that have crossed my mind that are on the high end of happening.

  • A Twi-Wizard She-Shirt in Ravenclaw colors with “ofenjen” on the back. Because I can. And for DH, part 2.
  • A new Monk’s Bag 2.0
  • A granny ripple afghan for Linus. Someone made several in December and they were really neat. I want to make one.
  • A multitude of fun layout patterns for the Sewhooked Shop, like Classic Film, intended specifically for 5″ (finished) blocks.
  • A werewolf wall hanging or cushion for my daughter. Not found in all my stuff today were the blocks designed by Cat Magraith that I started making for Miss E last year (definite UFO status). Hopefully they’ll turn up before March!
  • Miscellaneous gifts for people I love. I do have some things in mind, but hey, spoilers!
What are you working on this year? Do you have any UFOs or WIPs? Blog about them and leave me a link so I can see what you’re up to or tell me in comments!

2010 UFO – How’d I do?

On January 2, 2010, I posted UFO Round Up with photos and descriptions of UFOs I hoped to complete in 2010, or at least make some progress on in 2010.

Here’s how I did! Current status of each project is in red.

To Be Quilted:

Friendship Quilt by Jen's Grannie & friends
January 2, 2010 – Grannie’s Autograph Quilt – This was my Grannie’s and was previously a tied quilt. I’d like to hand quilt it, but I’ve been reluctant to start until I finish my Electric Amish project (see below).

January 5, 2011 –  This top has borders and is in the process of being quilted.


Lost & Found Flour Sack Quilt
January 2, 2010 – Lost and Found Flour Sack Quilt – A quilt top my mom found when she inherited my Grannie’s house. It was originally much longer with holes in several of the squares. I removed a few rows across the bottom (which is not how it was pieced, so it was a pain!) and the damaged fabrics, then replaced those with some of that fabric salvaged from the bottom. The border is muslin, which is also what I’d like to put on the back.
Grannie's Trunk Quilt
January 5, 2011 – Renamed Grannie’s Trunk Quilt. This top was quilted by my friend Linda and then returned to my mom. Read all about it here.


in progress quilts for Linus
January 2, 2010 – Yellow/Green Linus X-Quilts (from fabric donated by Laci L) – made from the Layer ‘Em Up book by Sharyn Craig. Easy peasy tops made from just 2 yards of fabric, both are baby-size. To finish by the next Linus meeting, January 16, 2009.

2 of 2, made from fabric given to me by Laci Donated January 2010

January 5, 2011 – Both quilts were finished and donated to The Linus Connection in January and February of 2010.

Electric Amish by Jen

January 2, 2010 – Electric Amish (hand quilting project, about 1/3 complete) – modified Storm at Sea pattern. This is the first large quilt top I completed that I intended to keep for myself. I’ve been quilting on it for at least five years.  To say that hand quilting is not my strong point is an understatement!

Electric Amish

January 5, 2011 – Done, done, done and VERY happy about it! Blogged about here and vlogged here.

Tops to Finish:

Bear Paws in progress
January 2, 2010 – Brown Bear (blocks are done, need more borders and to be pieced) – from a pass around with my bee. We made the bear paws for each other.  I’ve pieced the units, which still need borders.

January 5, 2011 – Sadly, no progress at all on these. They look exactly like they did a year ago.


HP block swaps all together

January 2, 2010 – HP swap received (blocks are done, need layout, piecing) – from various online quilt block swaps 2007-2008.  Not all of these will go in the finished quilt because a few were the wrong size.  I’ll save those for something else.

January 5, 2011 – No progress here, either, though I have thought about these blocks a lot over the last year. I’ve come to the conclusion that I need to split them into two groups and make two different quilts. Now, I just have to decide how to do it!

Christmas Cottage Swap, blocks rec'd Christmas Cottage Swap, blocks rec'd Christmas Cottage Swap, blocks rec'd Christmas Cottage Swap, blocks rec'd Christmas Cottage Swap, blocks rec'd

January 2, 2010 – Christmas Cottage swap received (blocks are done, need layout, piecing) – blocks received from the 2009 All About Paper Piecing Christmas Cottage Swap. I’m not in a huge hurry for these since I just got them all, but they’re officially a UFO, so they’re on the list.

Christmas Cottage swap blocks with whimsical Christmas trees
January 5, 2011 – I pieced the top, added the trees and the first border at my bee’s annual retreat in March last year (photo taken there on our portable design wall). I plan to do piano keys out of my stash of sparkly Christmas fabric for the last border. The original idea was to be done by this Christmas that just passed, but that didn’t happen!

Layer Em Up for Linus
January 2, 2010 – Layer ‘Em Up 2 for Linus (blocks are pieced, need to be squared and top pieced) – To finish by the next Linus meeting, January 16, 2009.

Layer 'Em Up made at Linus Work Day

January 5, 2011 – Top finished in January and then quilted by my friend Marge and donated to Linus in February 2010. I love the way this quilt turned out. As a bonus, I got to meet Sharyn Craig in October and tell her how much her patterns have meant to our organization!

New York Beauty Block

January 2, 2010 – Batik Beauty (finish blocks) – this will likely be my quilt retreat project for March. I’d like to have this top done by April in order to show the NYB class I’m teaching at Honey Bee.

January 5, 2011 – I have a whole stack of these blocks done, which I did take to my class, but the top has not yet been pieced. The class was fun to teach,  mainly because I had awesome students, but New York Beauty blocks are not my favorites and I doubt I’ll teach them again any time soon. For now, this project is staying in the bag.

Sewing:
January 2, 2010 – Pillowcases to donate to Honey Bee for the 1 Million Pillowcases Challenge.

Pillow made with the "hot dog" method...so cool! 10 Pillowcases

January 5, 2011 – Not only did I make a stack of pillowcases to donate (over 10 total!), I wrote a tutorial to share with Honey Bee, which was posted both here and on the Honey Bee website. The Hot Dog Pillowcase Tutorial was my most viewed post on the Sewhooked Blog in 2010!

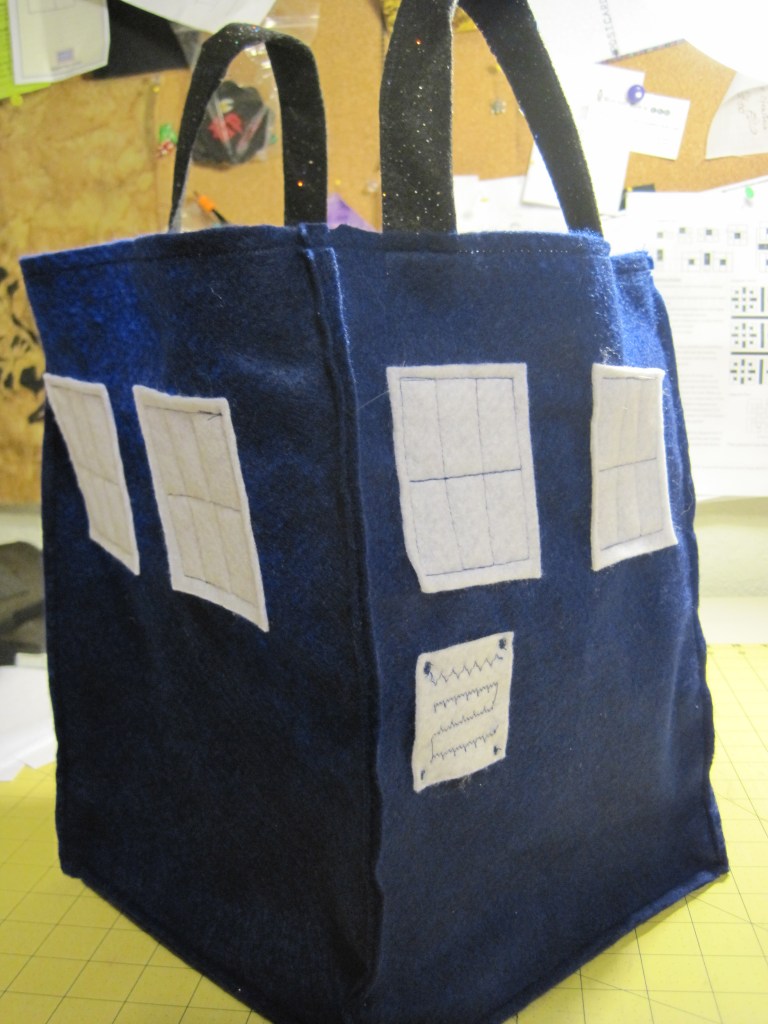
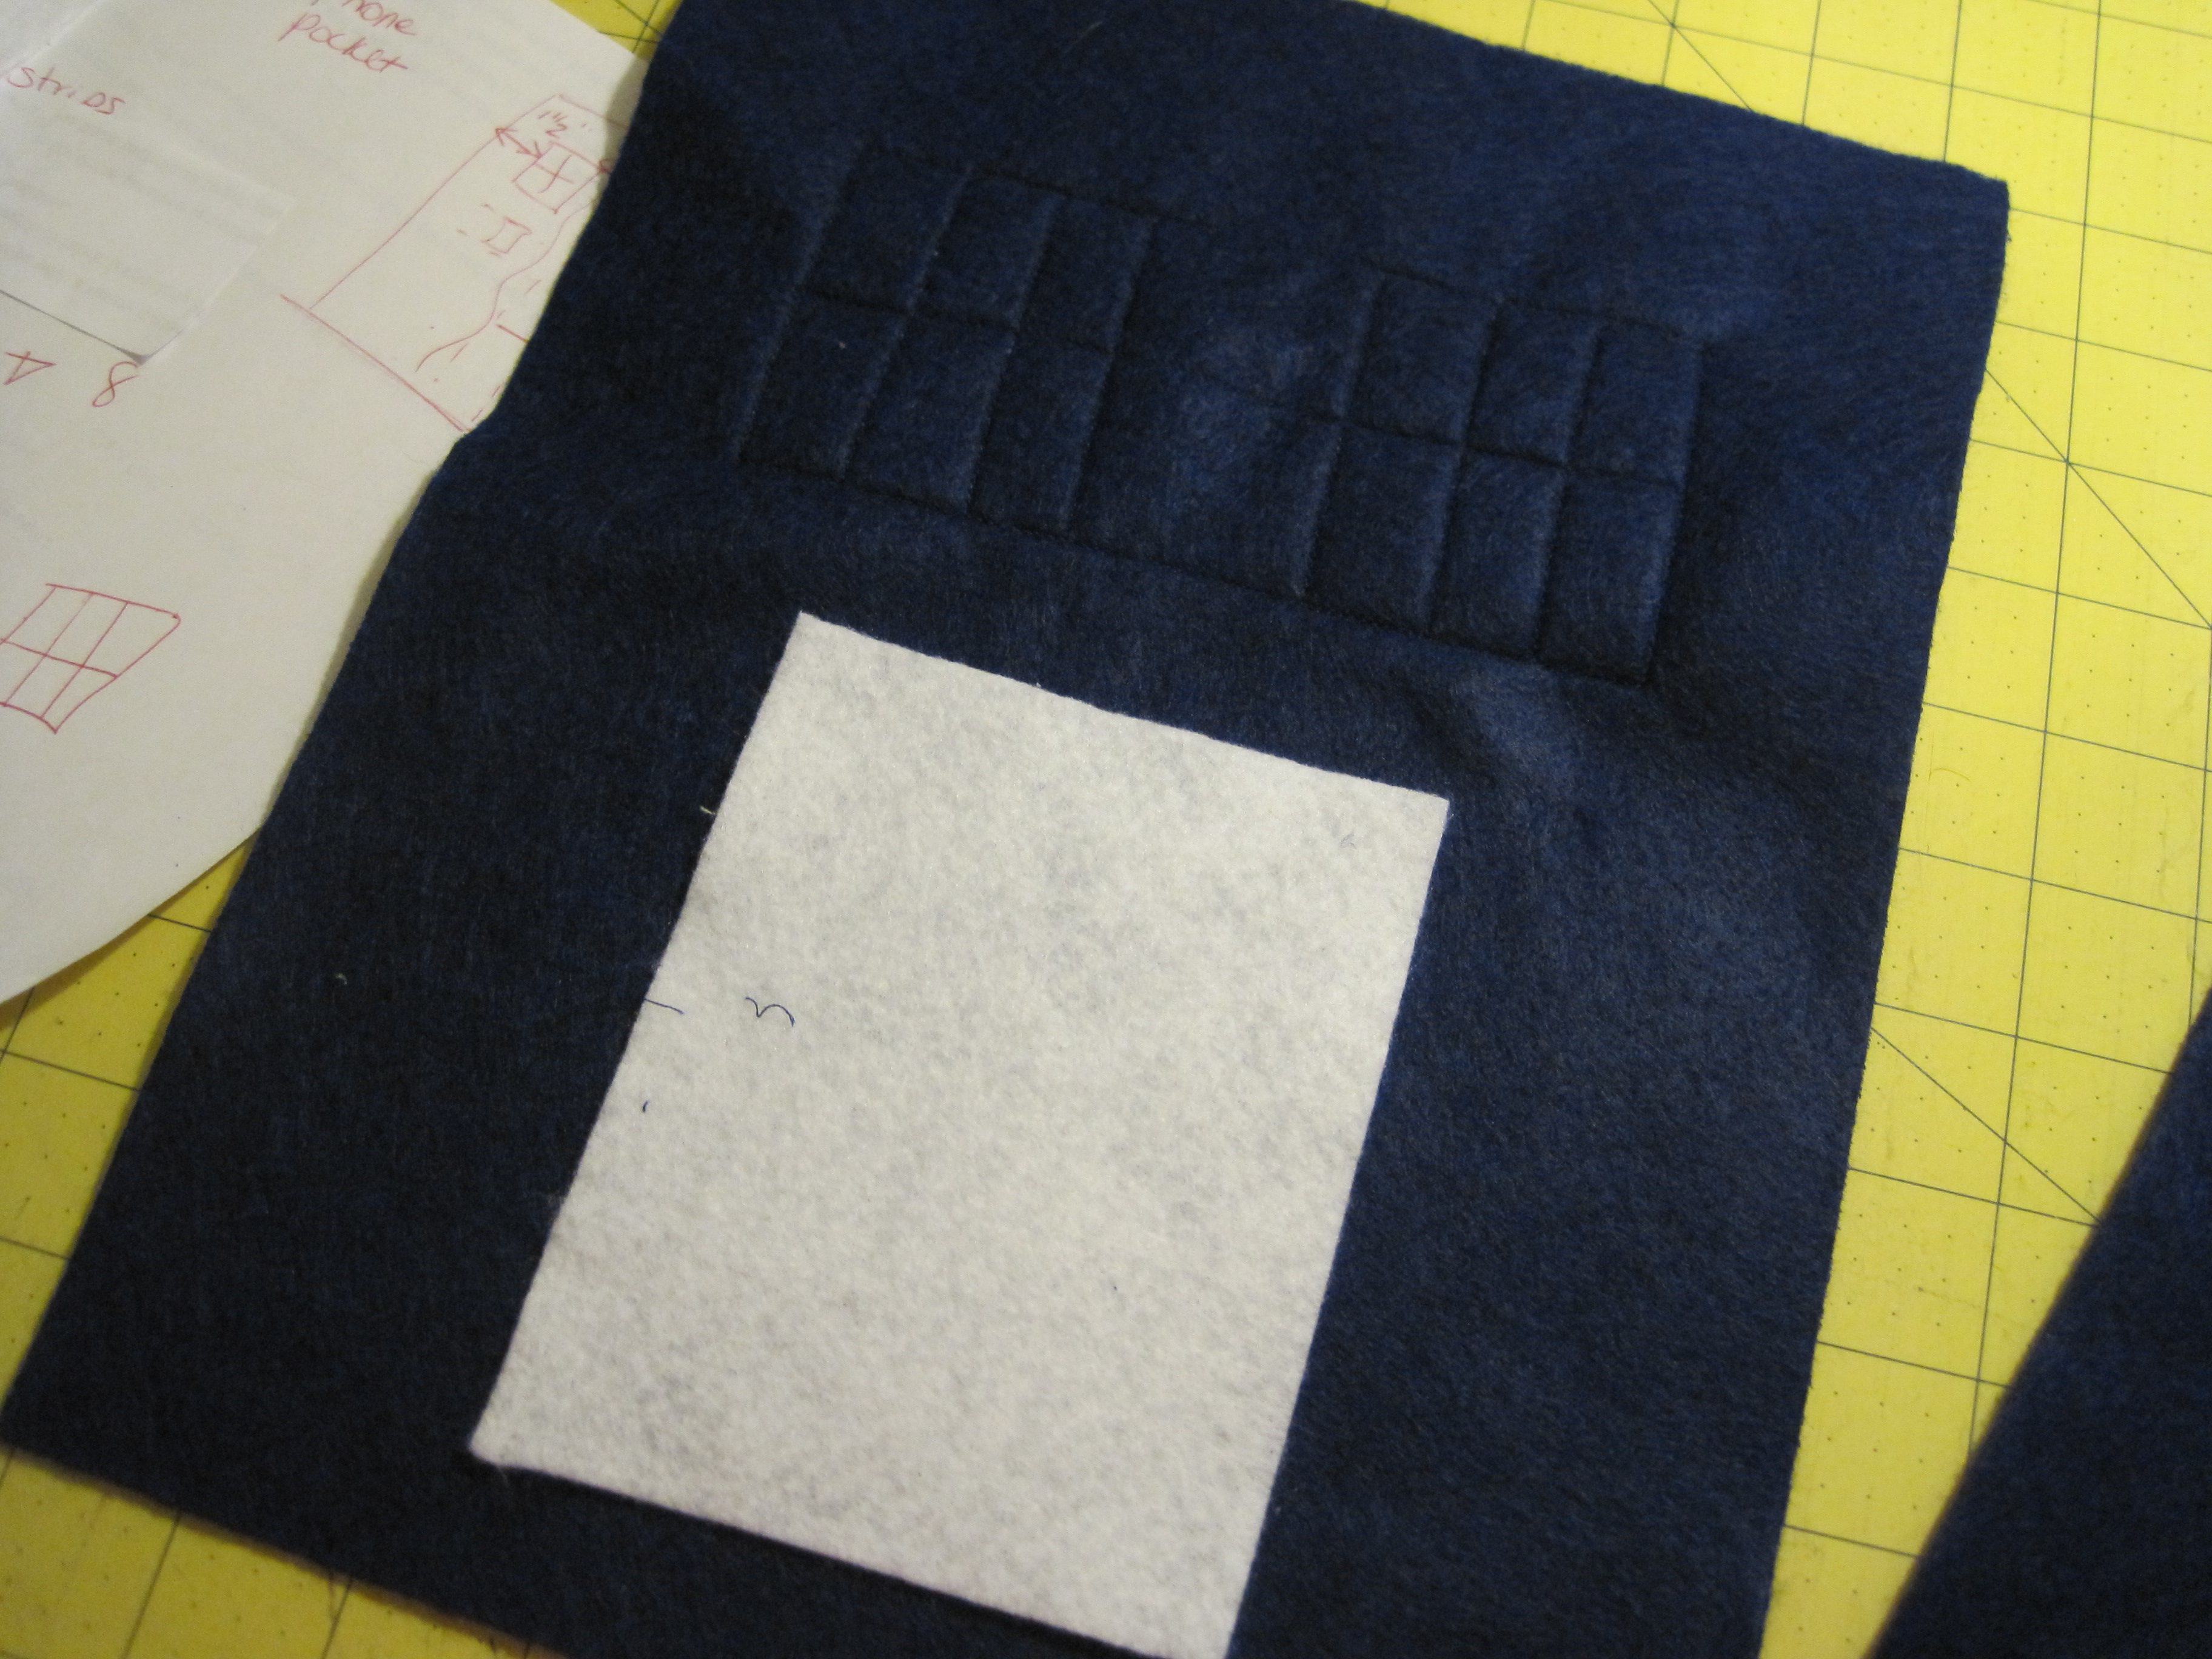
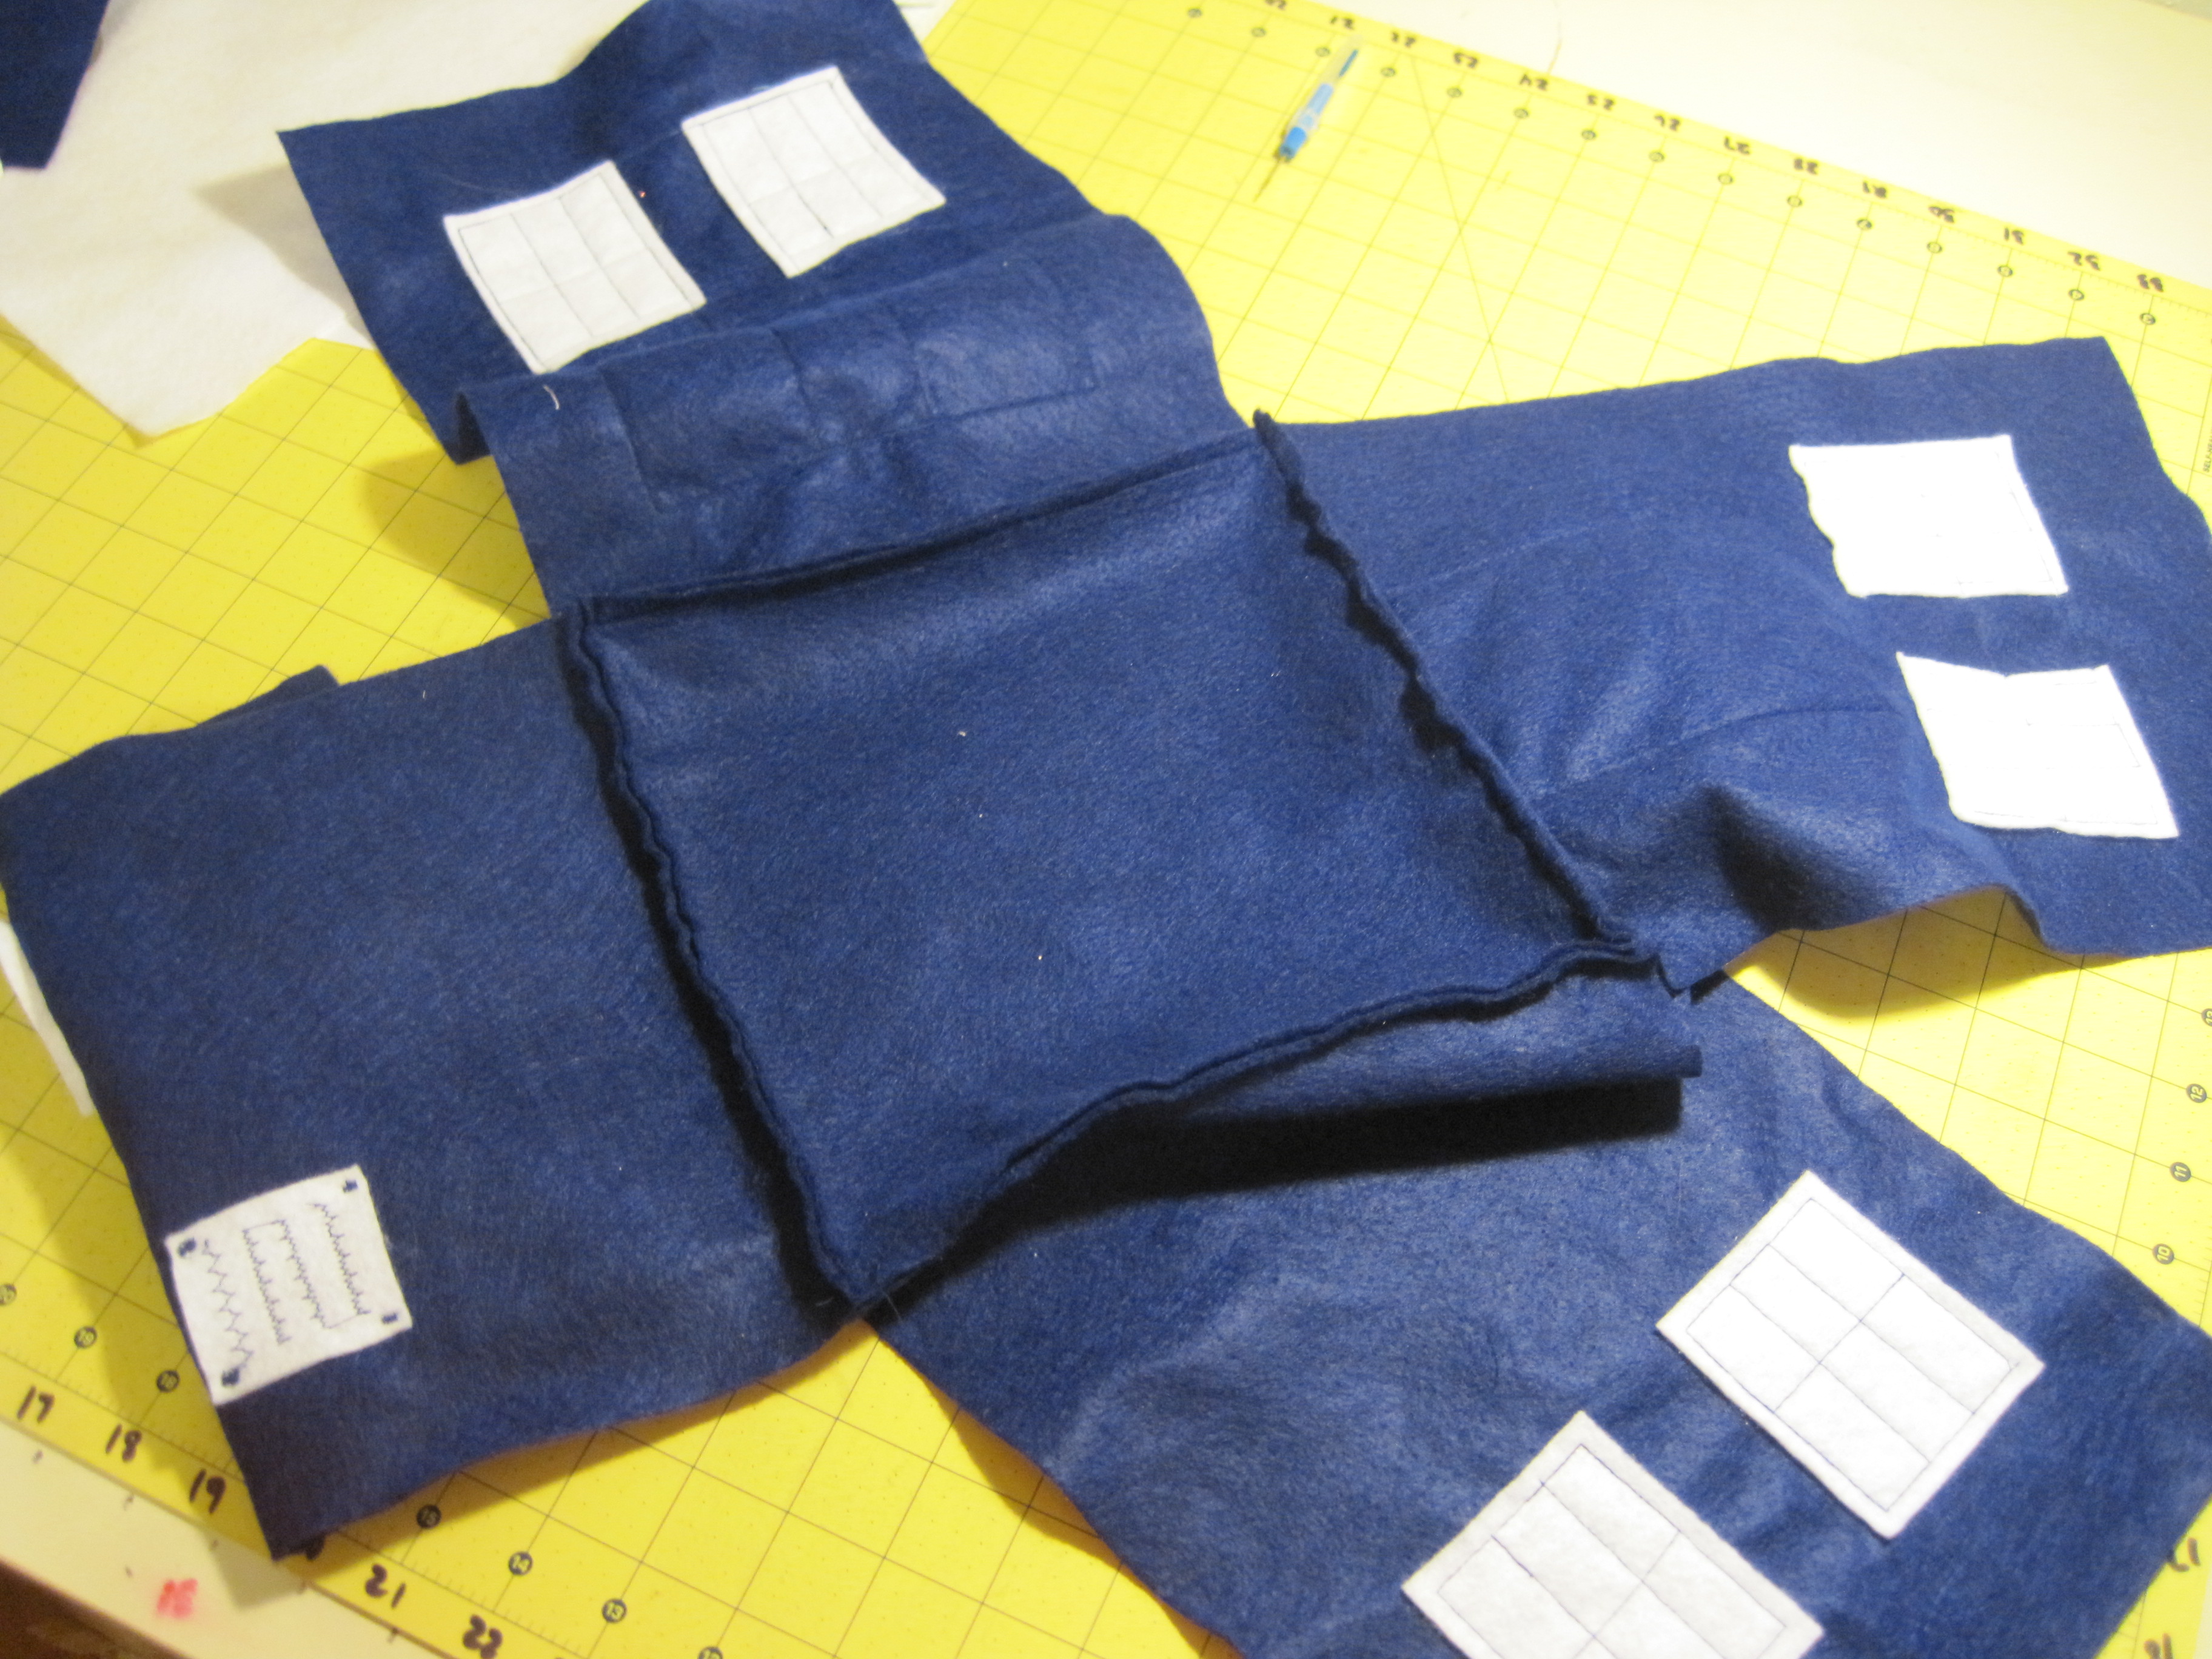
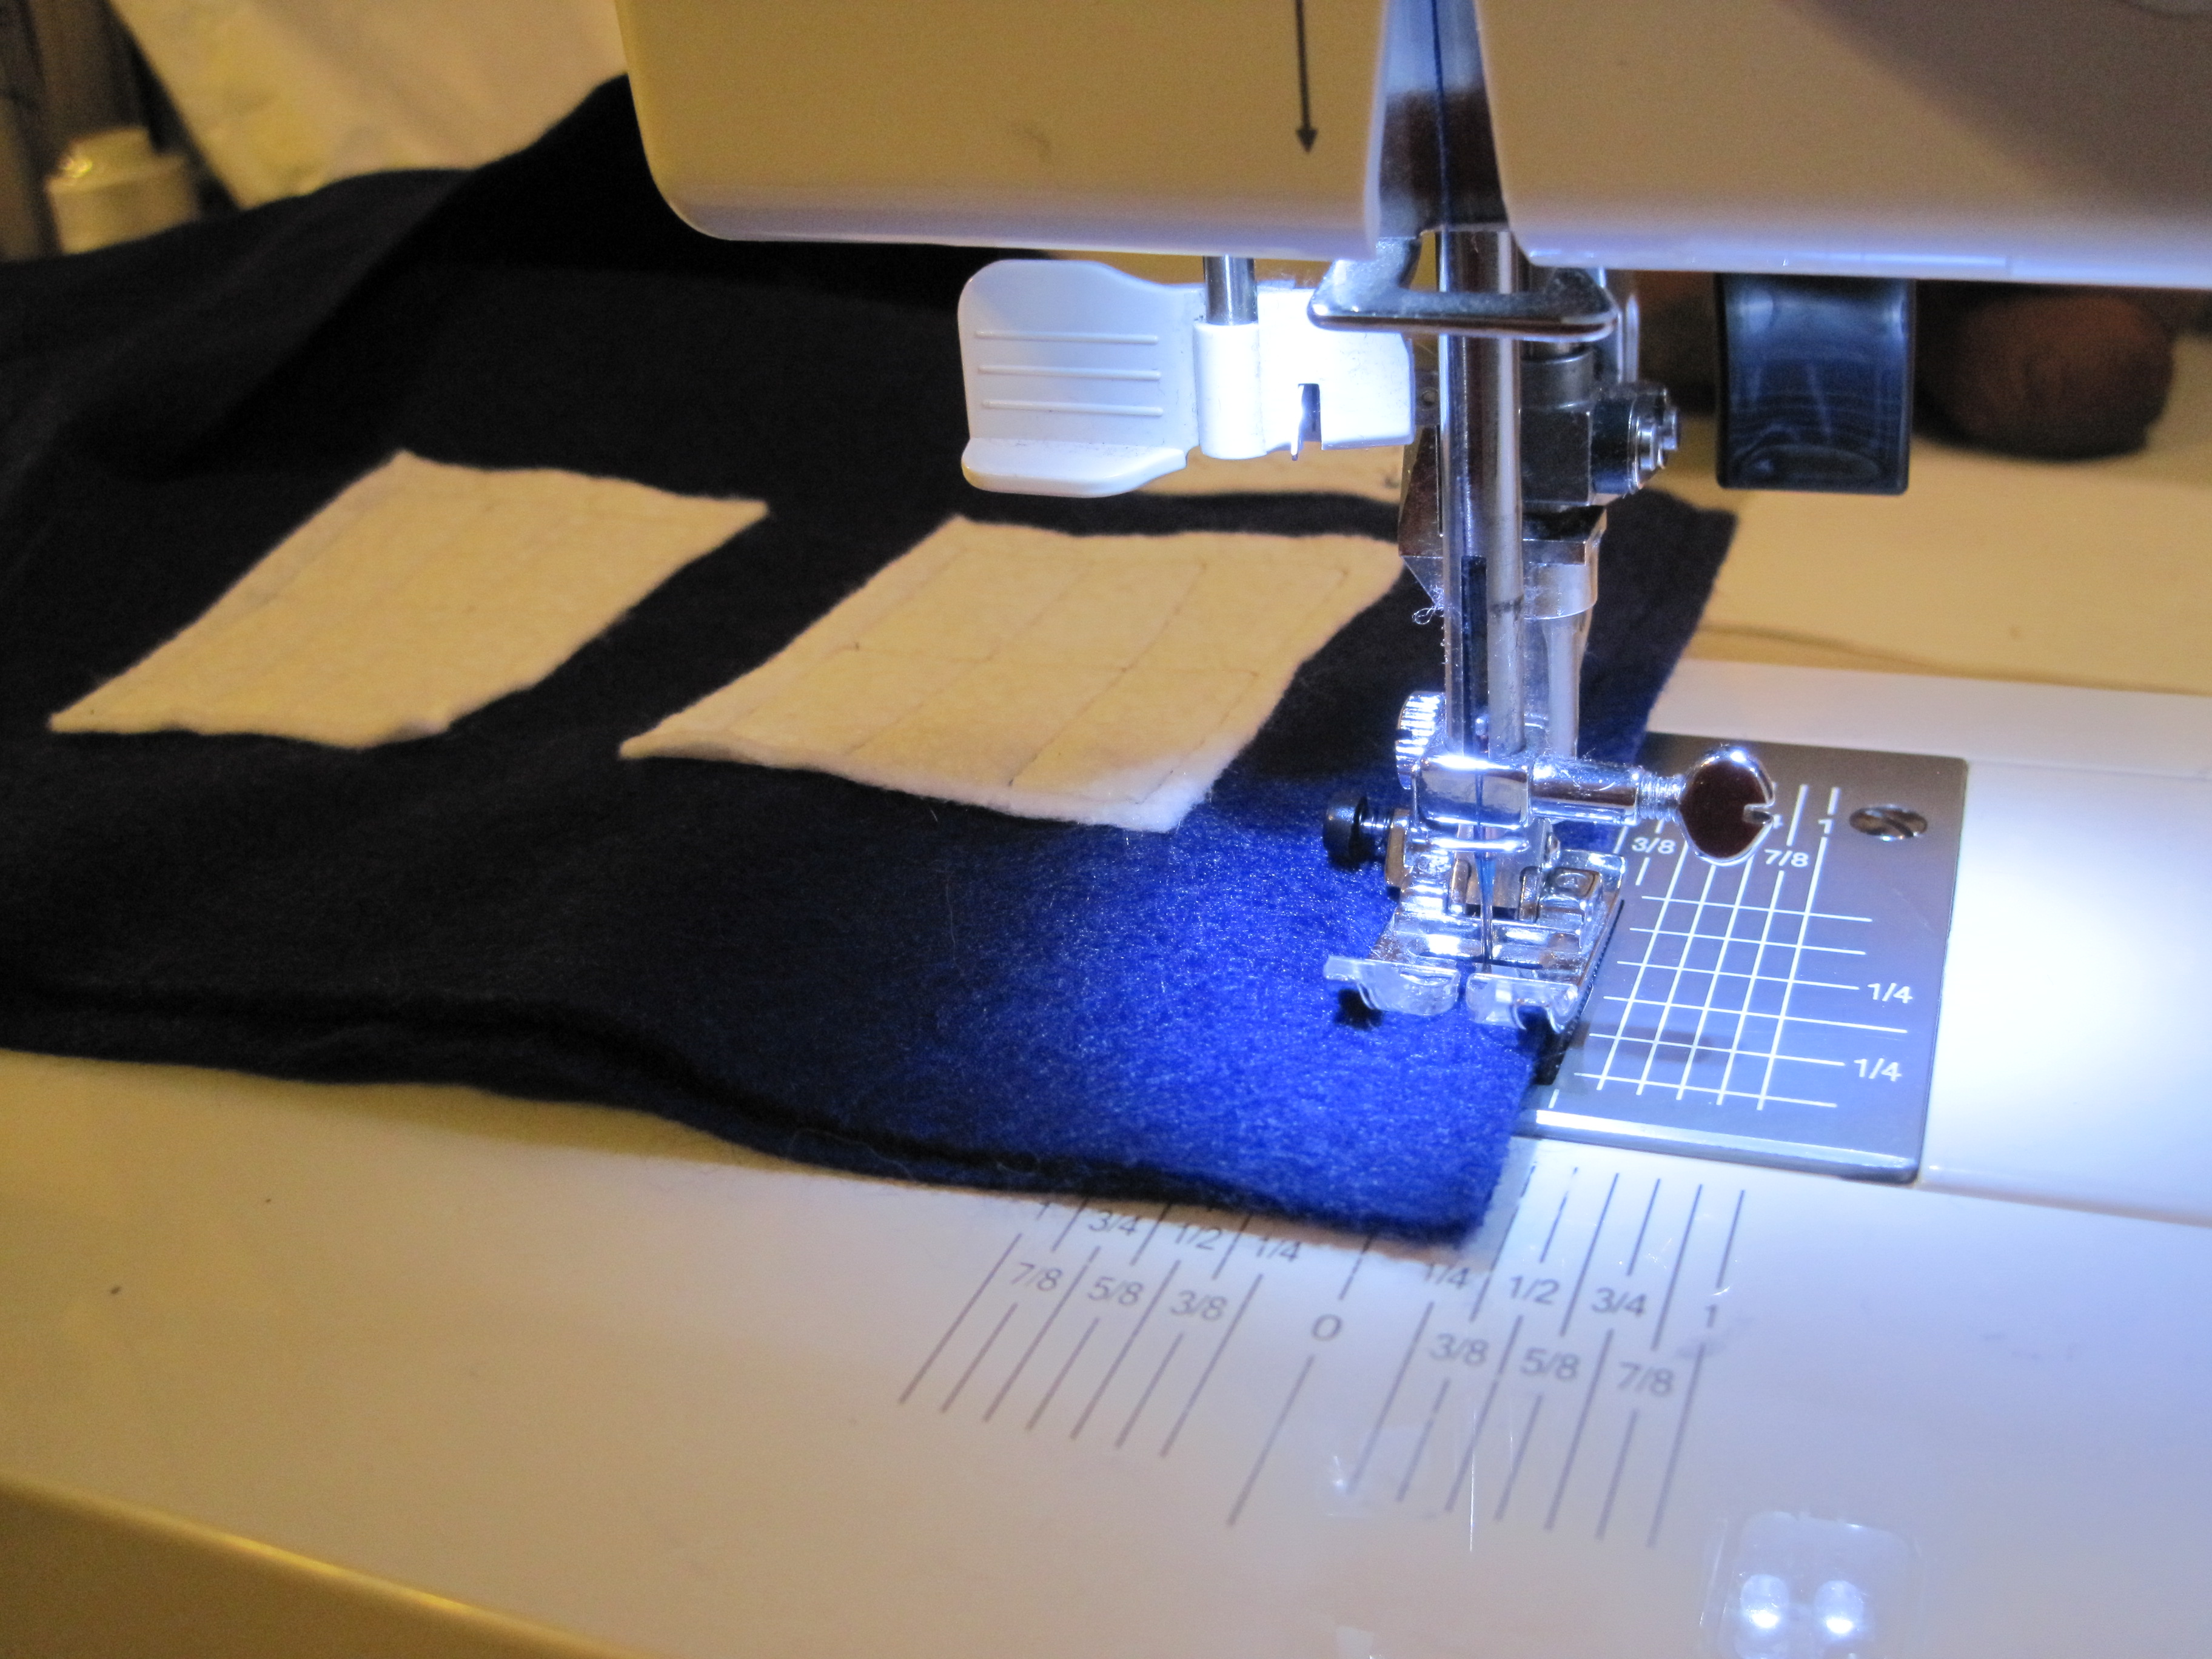
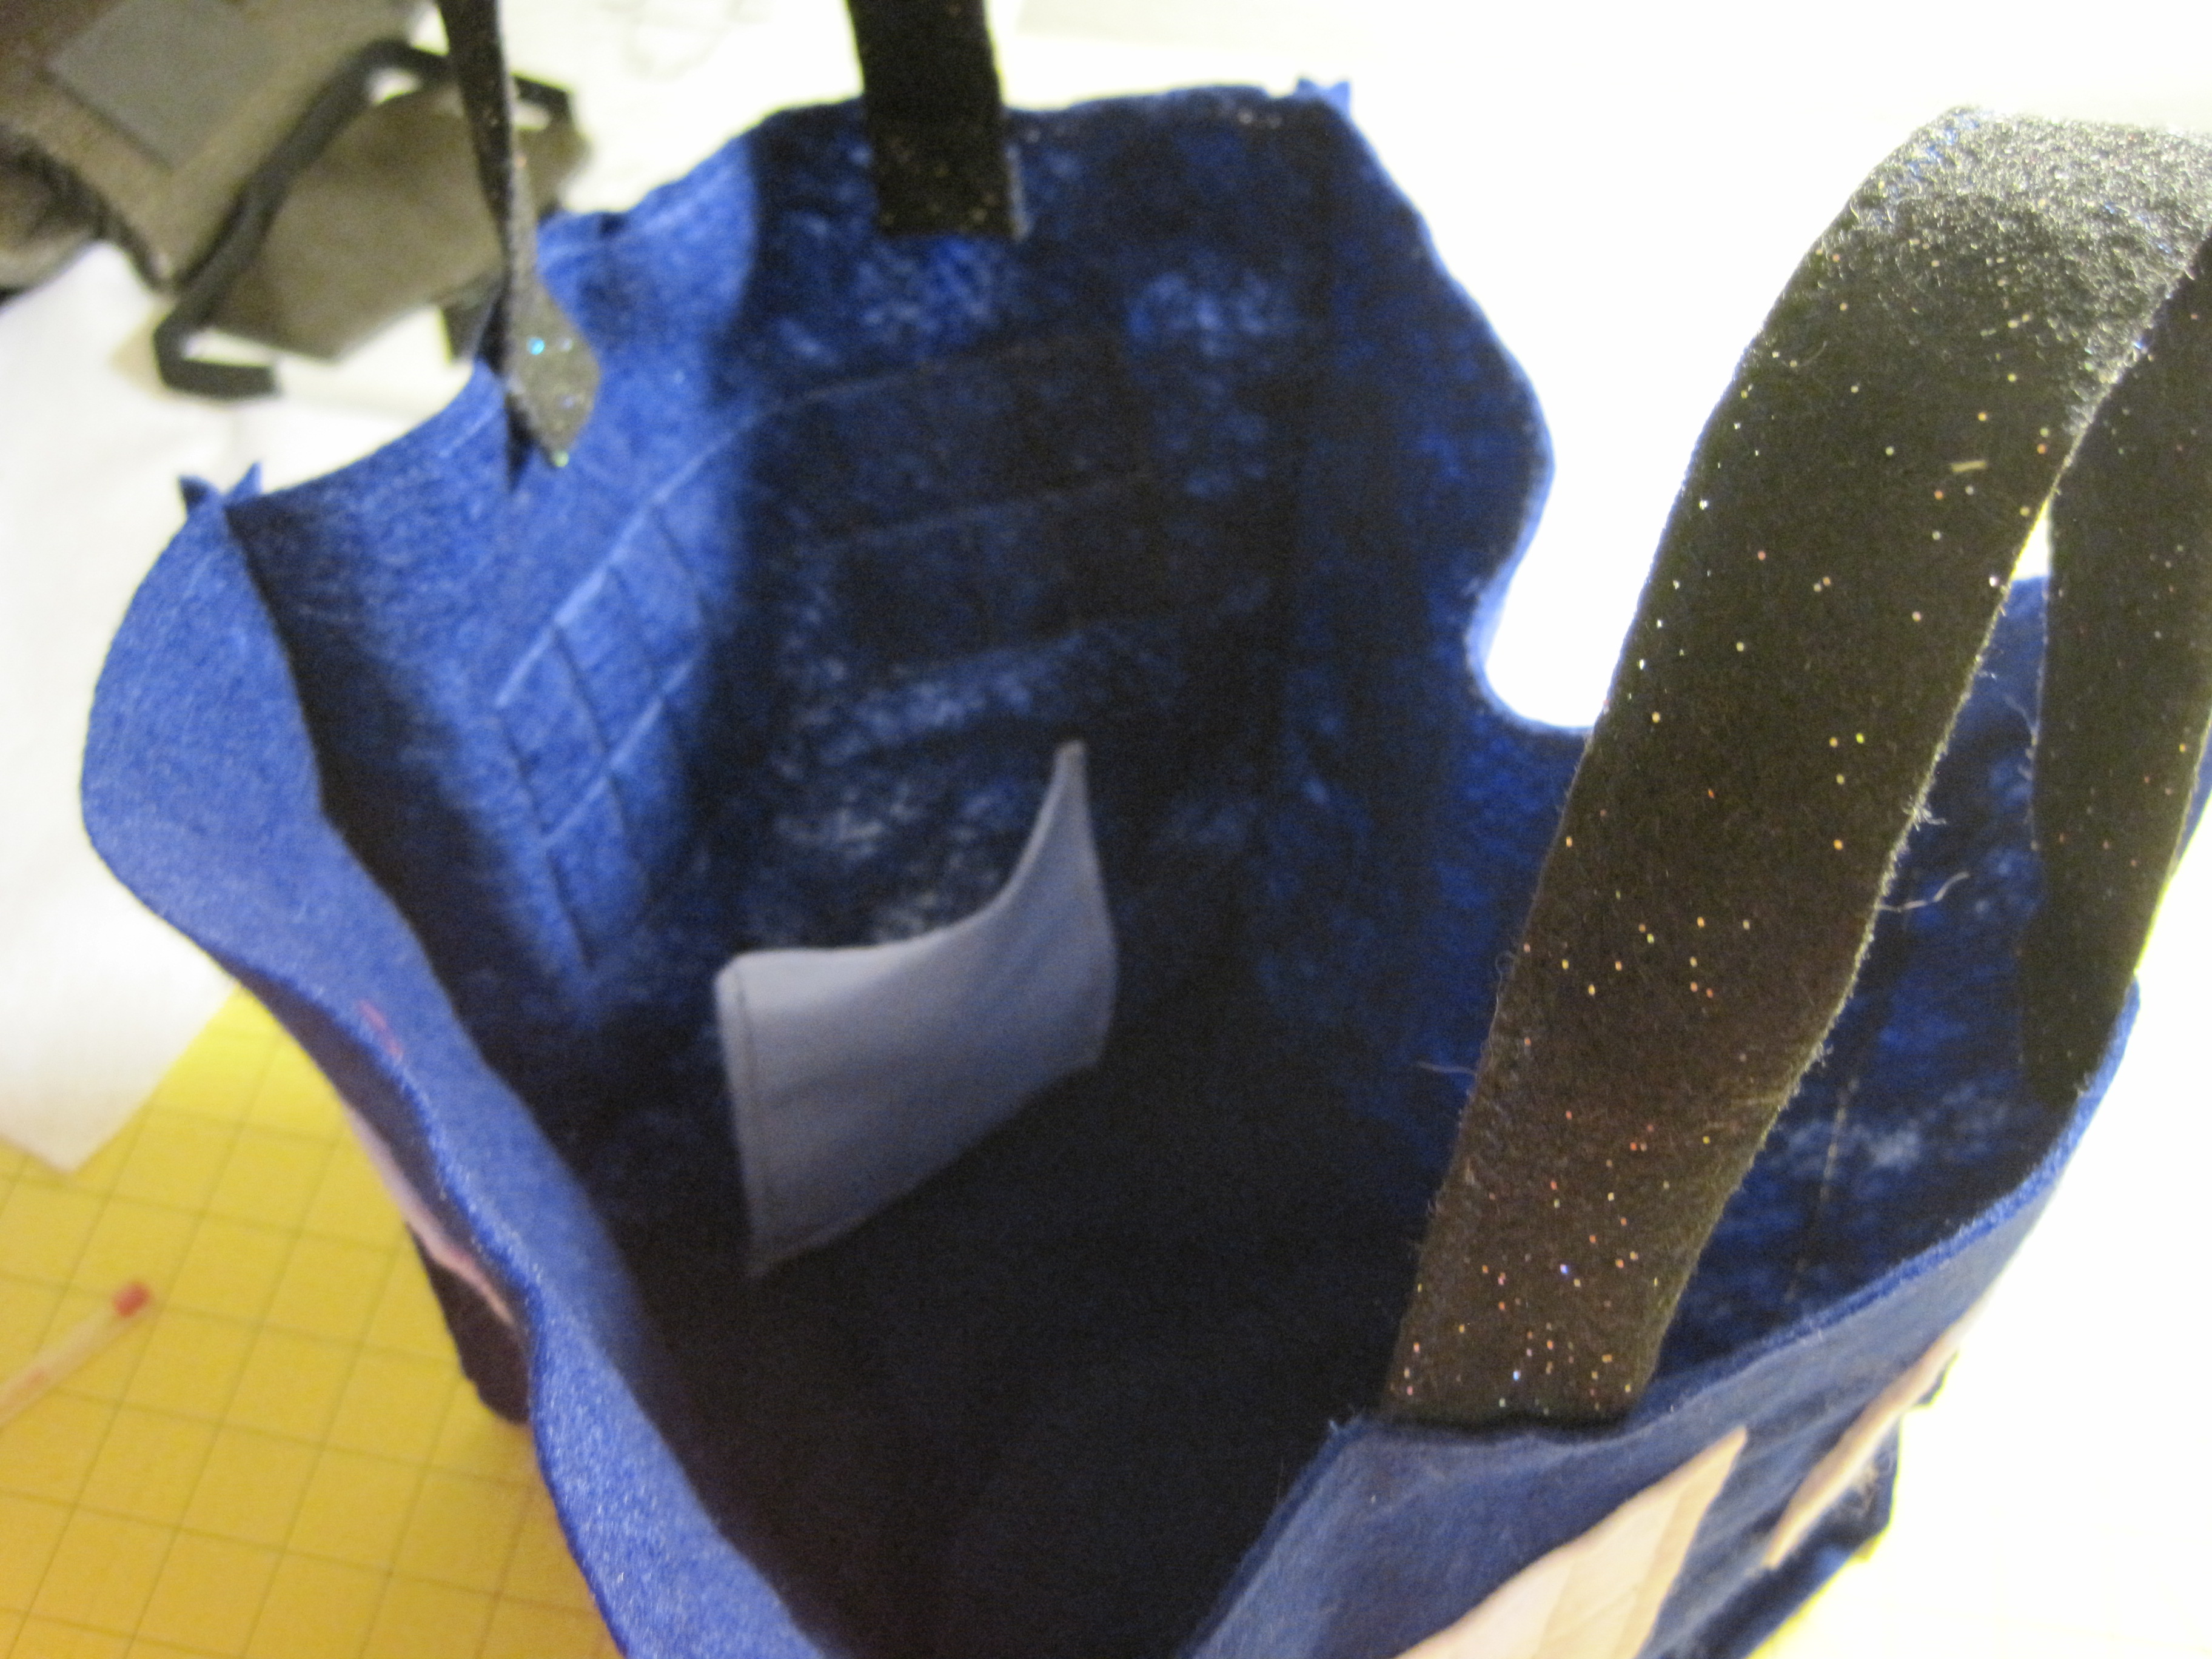
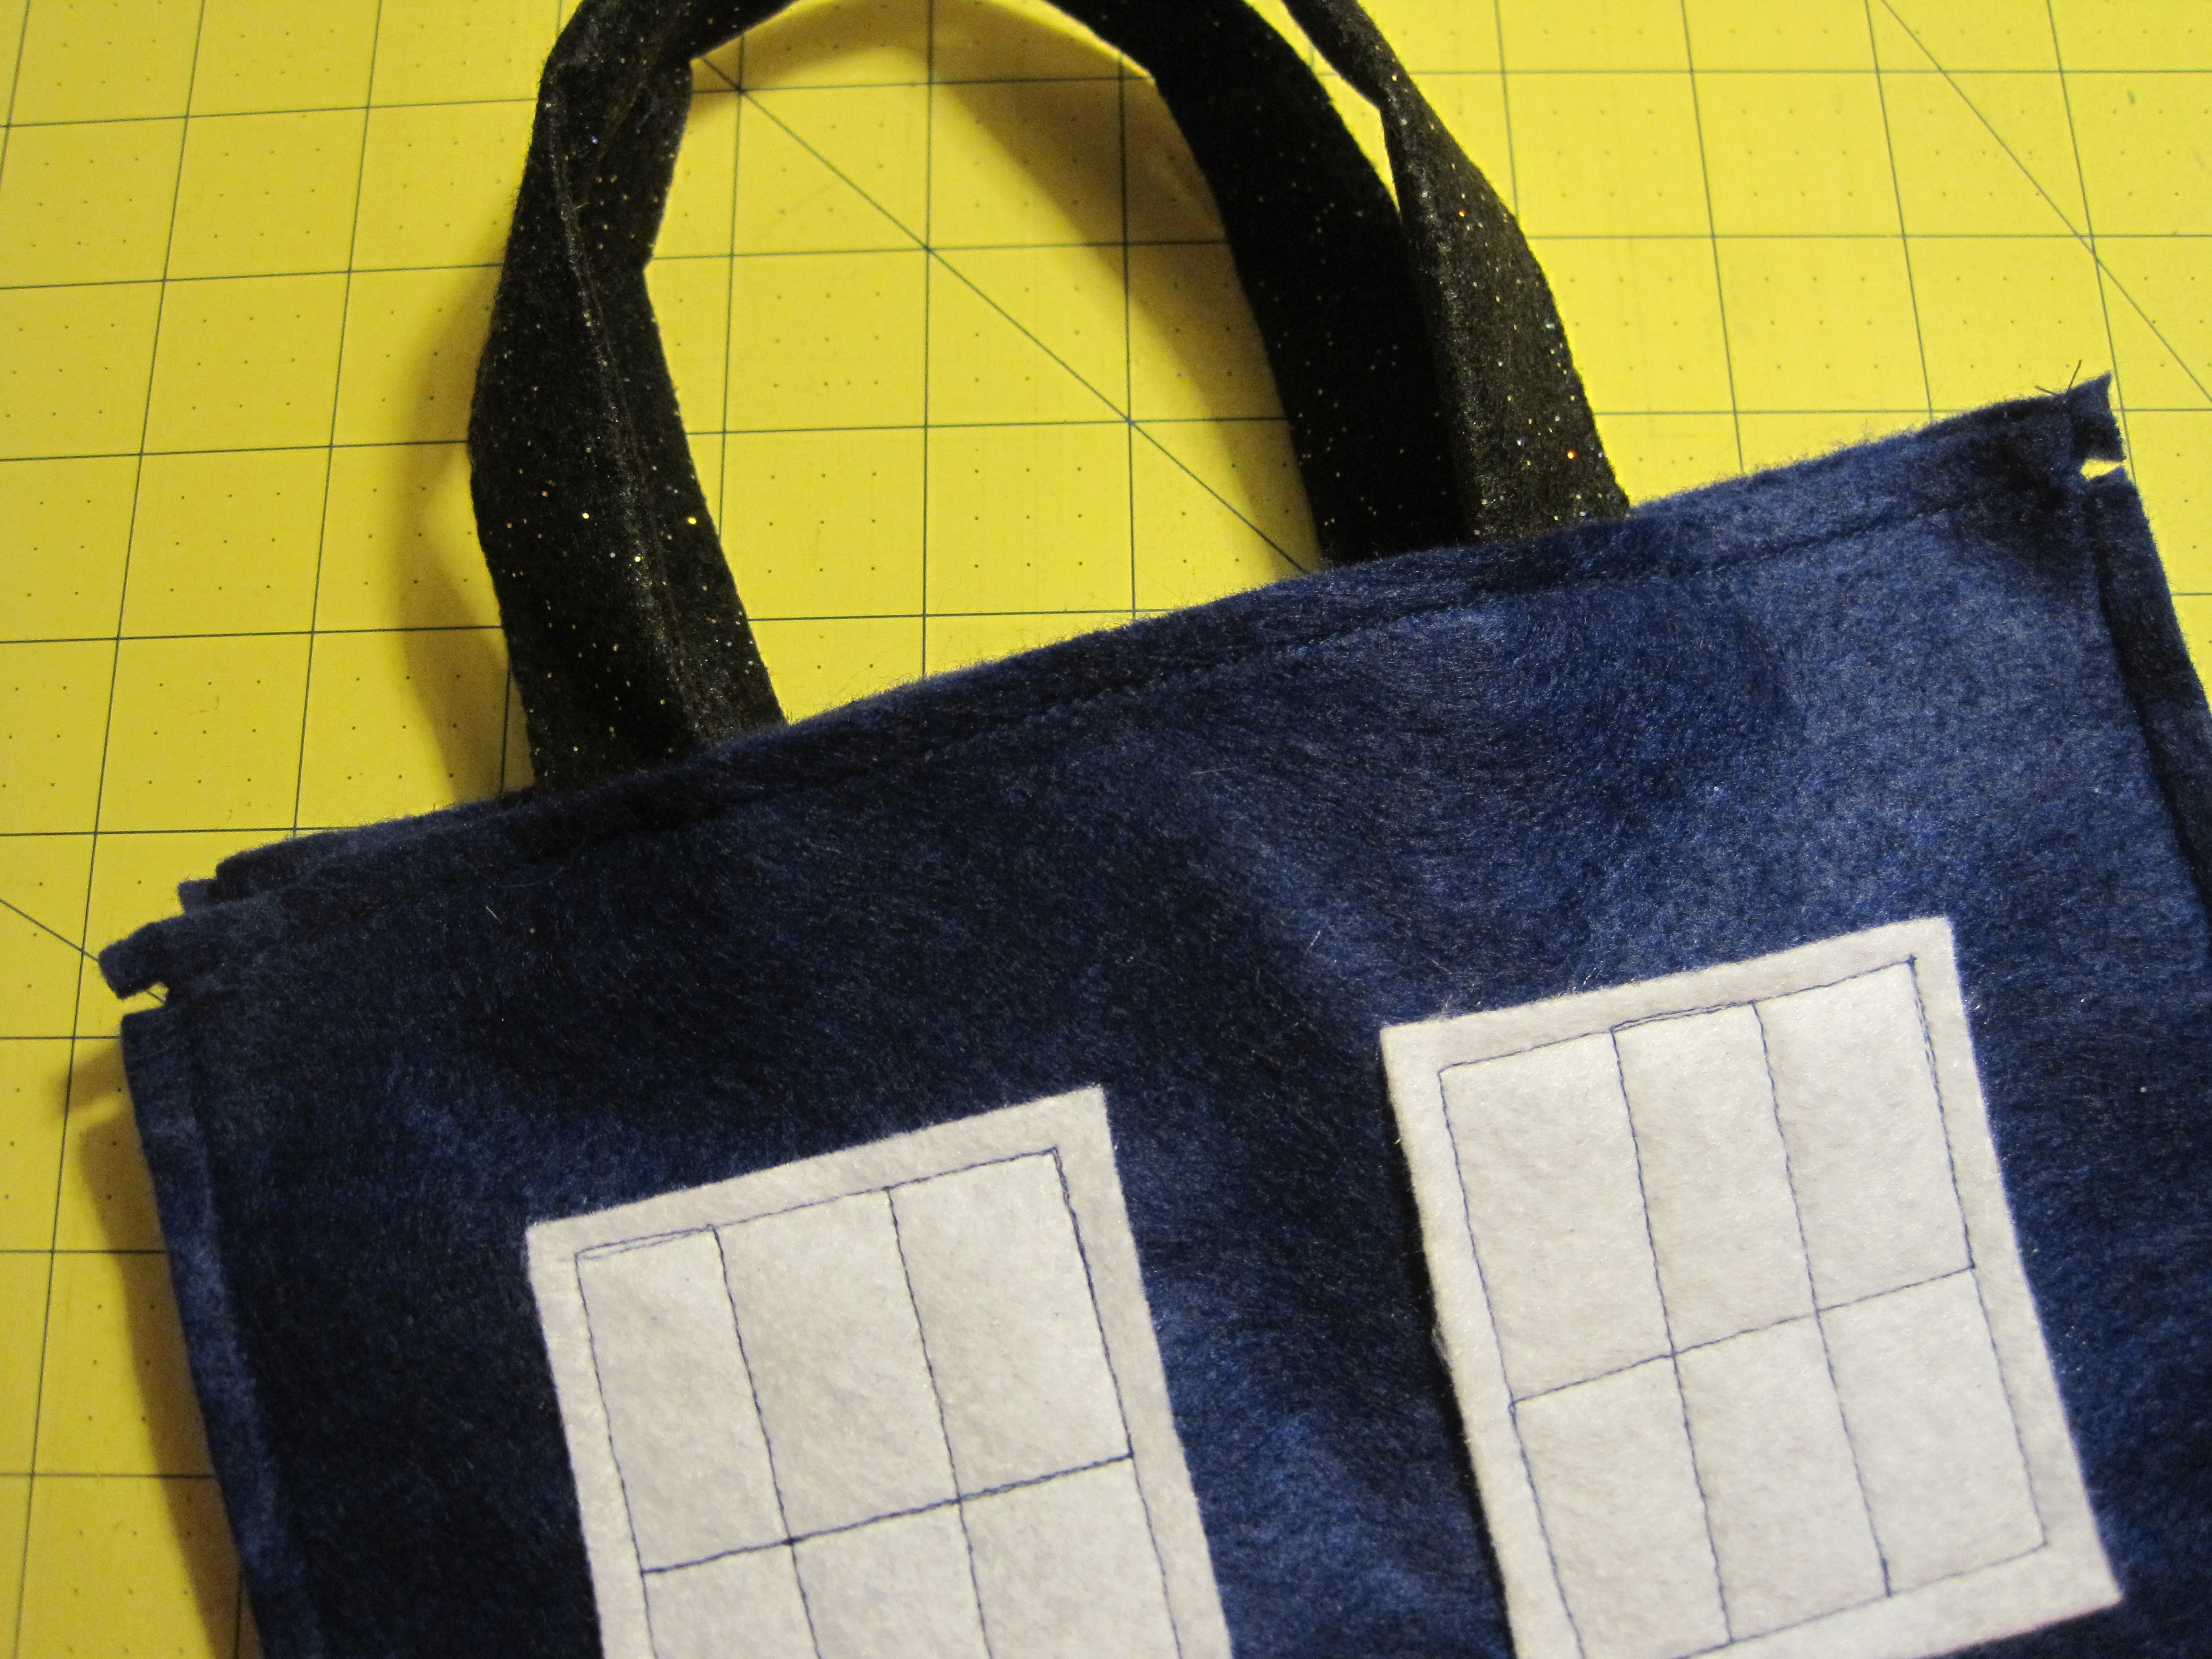
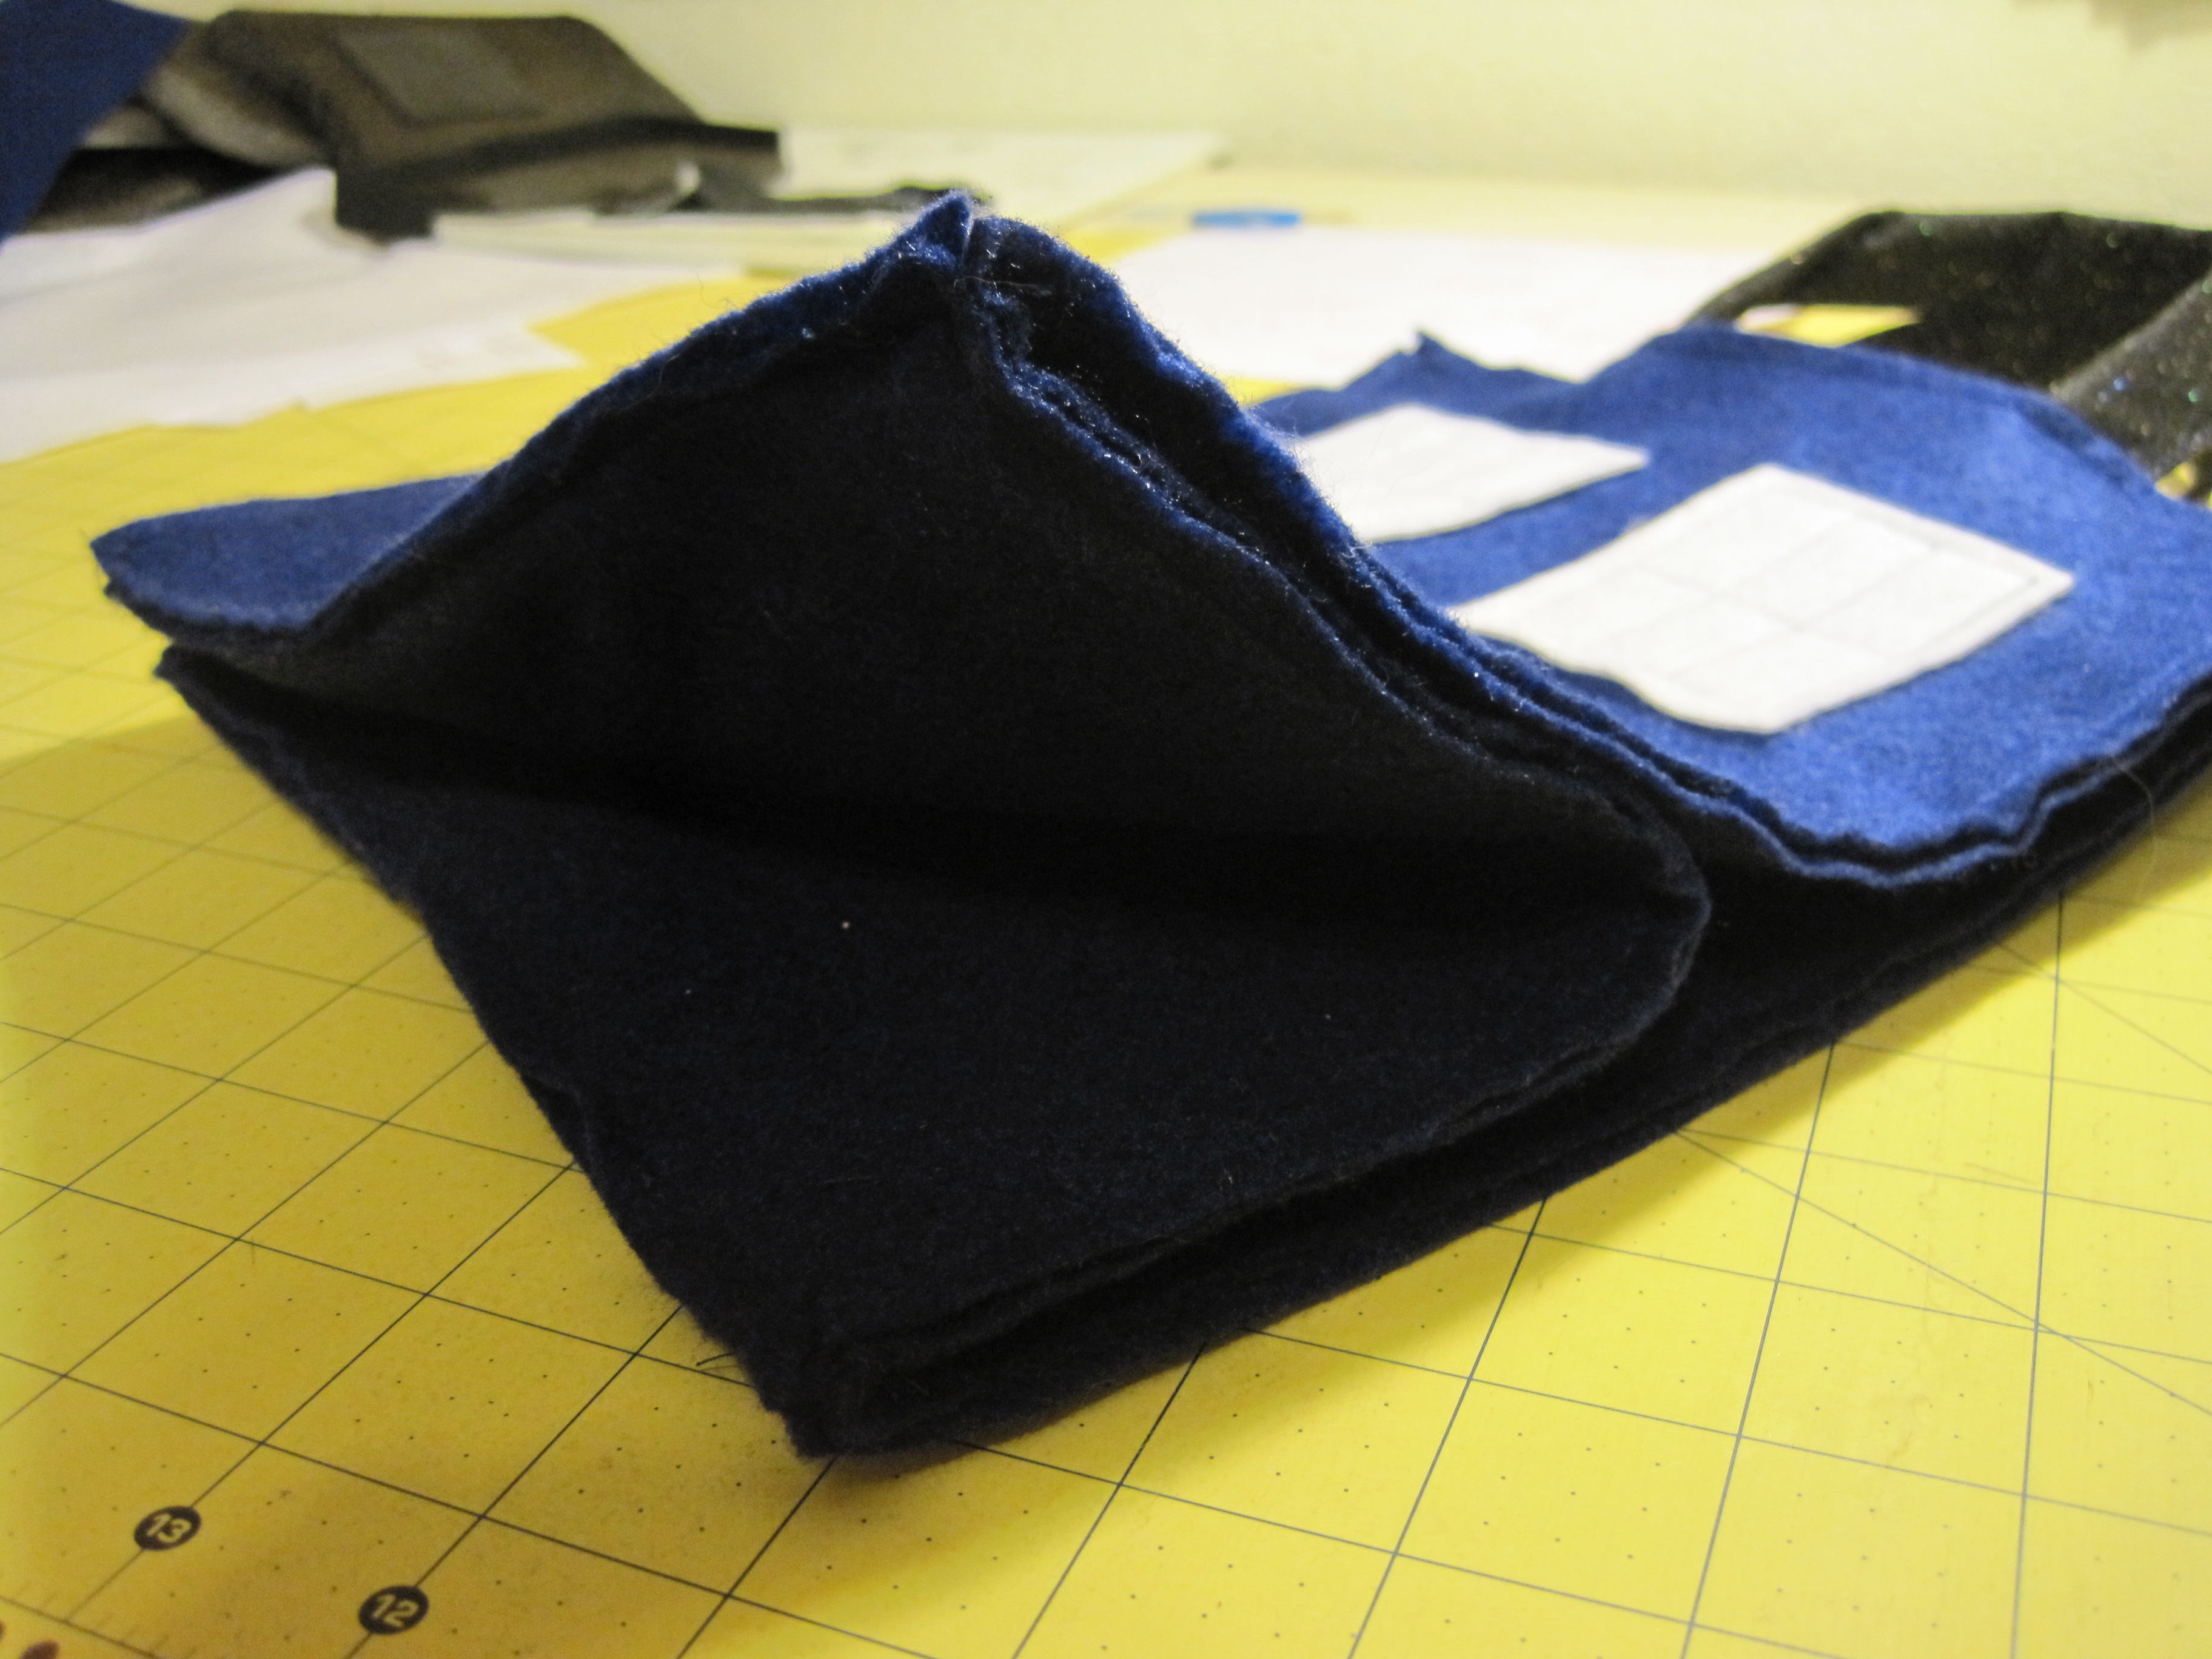
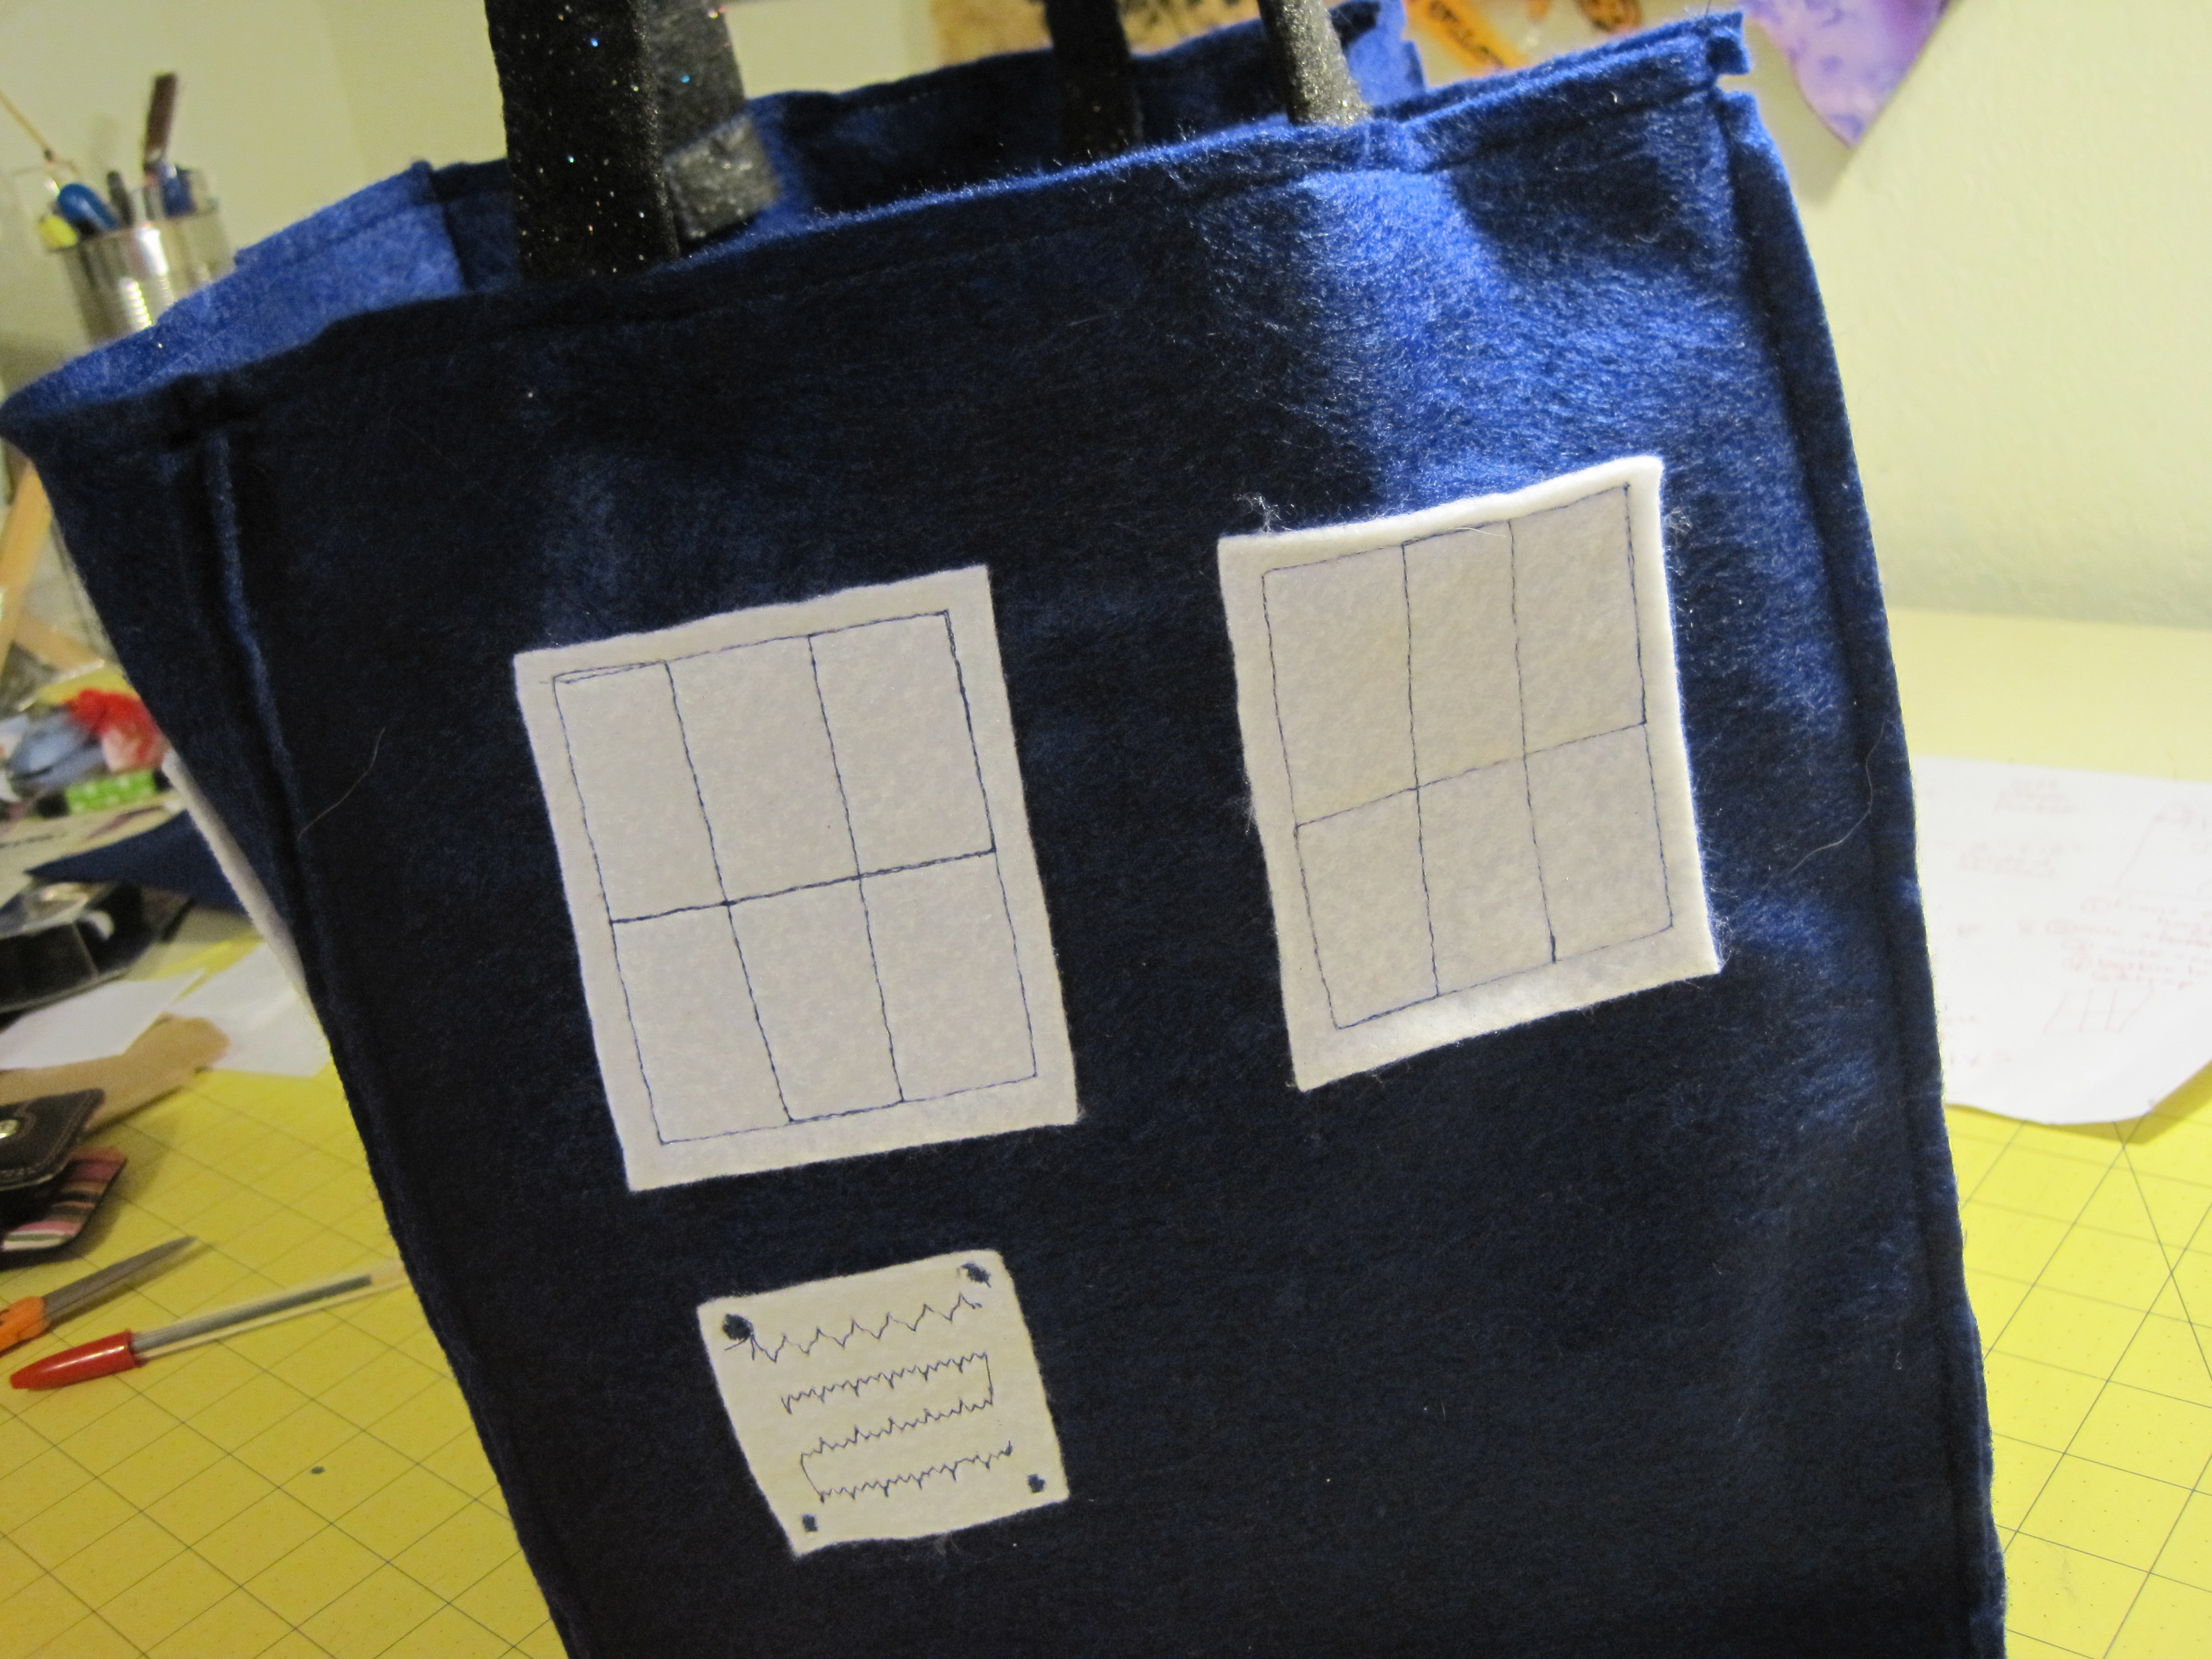
January 2, 2010 – New Bag with pockets for BB & camera

Monk's Bag 2.0 Tutorial

January 5, 2011 – Done in form of Monk’s Bag 2.0, completed February 2010. I’ve been carrying this bag ever since and am constantly having people ask where I got it. This was another popular tutorial from last year.

Crochet

Black & Red Swap - Received
January 2, 2010 – Twilight Crafts Black & Red Swap Received (layout and finish) – knit and crochet squares.  I might make a few more, or I might just border these and make them into a lapghan.

January 5, 2011 – In progress as my “carpool crochet” project. I’m making simple white squares to set between each of the red & black ones. I will likely donate it to Linus when I’m done, though I hate to say goodbye to these blocks!

In Progress - jeweled "Turn Around Granny"

January 2, 2010 – Turn Around Granny Square ‘ghan (more rounds? and finish) – Oh geez, these have been sitting for at least a year. I’m uninspired as to what I need to do next. More rounds? Just put them together? No idea!

Jewelled Granny Ghan

January 5, 2011 – Completed and renamed Jewelled Granny Ghan. Gifted to my in-laws for Christmas 2010 because they are awesome.

That’s it for the 2010 UFO Round-up update. Would you like to see a 2011 version? Let me know and I’ll get to work on what needs to be done this year!

Photobucket

SEWHOOKED SHOP |SCHEDULESEWHOOKED FB
JEN FACEBOOK | TWITTER | FLICKR GROUP

Friendly Familiars

Wizard with Rat

Witch with Owl Wizard with Snake

Wizard with Toad Witch with Cat

There’s just something a little extra magical about a story with animals in it. Perhaps it’s how they seem to perceive our needs and be our friends, without ever being able to verbally communicate. Maybe it’s because they’re cute or maybe, just maybe, it’s because we see something simple and appealing when we look at our cat curled up in a spot of sunshine.

Enter Sunbonnet Sue’s Magical Friends (Set 4) – Friendly Familiars: Wizard with Rat, Witch with Owl, Witch with Cat, Wizard with Snake and Wizard with Toad.

Sunbonnet Sue’s Magical Friends are inspired by the classic Sunbonnet Sue and Overall Sam blocks, with a fun, whimsical twist!

Complete paper pieced patterns and sewing order for each. Pattern can be printed in color or gray scale.

5″ finished
patterns can be printed in color or gray scale

Included: 5  paper pieced block patterns with sewing order.

These patterns and others are super-easy to buy from the Sewhooked Shop as an instant PDF download with PayPal payment – completely secure shopping through E-junkie! If you feel more comfortable shopping through e-junking, you can go straight to my storefront there.

With your PDF download, you receive a 6 paper pieced patterns with seam allowance and stitching instructions.

Sunbonnet Sue’s Magical Friends.

Set 1 – Monster Madness

Set 2 – Wand Wielders

Set 3 – Fanciful Fairies

Want to learn to paper piece? Check out my free paper piecing resources and text tutorial or take my Introduction To Paper Piecing class at Honey Bee Quilt Store (new dates coming soon)!

If you make a Sew Awesome Craft or any pattern, craft or recipe from sewhooked,  I’d love to see a photo. Email me or add it to the sewhooked flickr group.

Happy crafting!

Photobucket

SEWHOOKED SHOP |SCHEDULESEWHOOKED FB
JEN FACEBOOK | TWITTER | FLICKR GROUP

TARDIS Treat Bag

TARDIS TREAT BAG TUTORIAL

Being the Doctor Who obsessed family that we have become, I suppose it’s no surprise that one of my kids is going as The Doctor for Halloween. My eldest has their Ten costume all ready to go, courtesy of a day of thrifting. Because I can’t not be involved in costume making, I asked if there was anything I could do.

“Mum, can you can you make a TARDIS bag for my treats?”

You better believe I can!

Despite it’s awesomeness, the TARDIS Treat Bag is super simple.

You need:

  • 9″ x 12″ acrylic felt sheets – 5 dark blue, 1 white and 1 glitter black
  • scissors
  • thread (I used navy blue)
  • ruler (rotary, if you’ve got one)
  • rotary cutter (optional)
  • sewing machine (optional)

You can definitely do this project without a rotary cutter and ruler and even without a sewing machine, so those items are optional. If you do hand stitch, make sure you make tight, even stitches and use heavy-duty knots so you don’t lose your candy!

Cutting Instructions:

from 1 sheet of blue felt (the other 4 sheets of felt stay 9″ x 12″), cut:

  • 9″ x 9″ square  -bag bottom

from 1 sheet of white felt, cut:

  • 8 – 2 1/2″ x 3″  – Windows
  • 1 – 1/2 x 2″ – Notice
  • (optional) 4″ x 5″ – cell phone pocket

Using your ruler, arrange the window pieces on the 9″ x 12″ sheets of felt so that they are 1 1/2″ in from the sides and 2″ down from the top.  For the TARDIS front, center the notice under the left window, leaving about 1/2″ in between.

Arrange window pieces on remaining three 9″ x 12″ blue felt.

Stitch windows in place, 1/4″ in from outside of white felt. The TARDIS windows have six panes. My windows are estimated, but you can measure and divide your stitching if you choose. Repeat for the two sides that are NOT the front of the TARDIS.

For the Notice on the front, sew some random stitching onto the  1 1/2″ x 2″ piece of felt (as shown). This gives the illusion of writing from a distance. Stitch on each of the four sides with a short zig-zag stitch in each corner (forgot to take a close up…look about three photos down and you can see what I mean!).

Cell Phone Pocket

OPTIONAL – After stitching all the windows on, choose a blue side that is NOT the TARDIS front. Align the 4″ x 5″ piece of felt under the window stitching. Straight stitch on the two long sides and across the bottom, making sure to backstitch at the start and stop. This is your cell phone pocket.

For handles – Fold in half lengthwise and zig-zag down the open side.

Your TARDIS is now ready for assembly!

Find the front (windows with notice) and back (cell phone pocket – or without if you didn’t make one) and bag bottom.  With the insides facing/right side out, place the bottom of the front piece along one side of the 9″ x 9″ bottom piece. Stitch across, leaving 1/4″ at the beginning and end of the seam unstitched (see below).

Seam allowance will be on the outside of the bag.

1/4″ unstitched on the end of the seam (both ends).

Repeat stitching for the back side, making sure the bottom of that side meets the bottom of the bag.

Sew the remaining two pieces on opposite sides, continuing to leave 1/4″ open at each end of the seam.

Find the front and the piece immediately to the left. Bring the two long sides (wrong side) together, right side out.

Stitch from corner to corner.

Repeat for the remaining three corners.

You now have a TARDIS with no handles. That’s the last bit and then you’re done!

The handles attach to the front (windows + notice) and back of the bag. Use a ruler to line up the handles 2 1/2″ in from each side of the bag, with about 2/3″ inside. Pin in place.

Starting at a corner seam, stitch all the way across the top of the bag, backstitching when you get to the handles. For added strength, continue stitching all the way around the bag, flattening out the seam allowance with your fingers before you stitch across it.

Handles…and you can see the cell phone pocket, too!

Snip above and below the top stitching to make the little notches (optional).

The TARDIS Treat Bag is easy to fold, just fold in the bottom and it will fold in on itself.

And… DONE!

Front detail.

FREE Doctor Who Quilt Patterns!
5" Dalek, paper pieced 20" TARDIS block TARDIS 

Happy crafting!

♥ Jennifer O

Posts on this blog may contain affiliate links to help cover the cost of my website. I thank you for your generous support. ♥