Tag Archives: paper pieced

Blogger’s Quilt Festival: Facets of Friendship

It’s hard to believe it’s already time for another Blogger’s Quilt Festival!  It doesn’t seem so long ago that I was writing up a my post for the Spring Festival!

Jewells' birthday quilt!
Facets of Friendship, 2008

Last year, my best friend, Jewells, of Julia Makes Stuff, had a big birthday.  It was one of those lovely, once-in-a-decade numbers that seem ever so daunting when we’re staring them in the face.

She and I have been friends since college.  In some ways, we’re polar opposites, but in all the ways that count, we’re not.  The older we get, the more in common we seem to have.  Jewells has been there for me through some crazy times in my life.  She knew me before I started dating my husband of 15 years, before I had kids or a college degree.  She stood up for me at my wedding and has been more like a sister to me than anything.  The only thing I would change about our relationship is the geographic distance between us.

jen & jewells
Jen & Jewells in 2007

To celebrate the big birthday and all the years we’ve been friends, I designed a quilt for her called Facets of Friendship.  In it, I used only scrap fabrics from other projects I’d done.  I wanted her to have a little piece of (almost!) everything I’ve made over the last decade and a half, just like she’d been woven in and out of my life over that time.

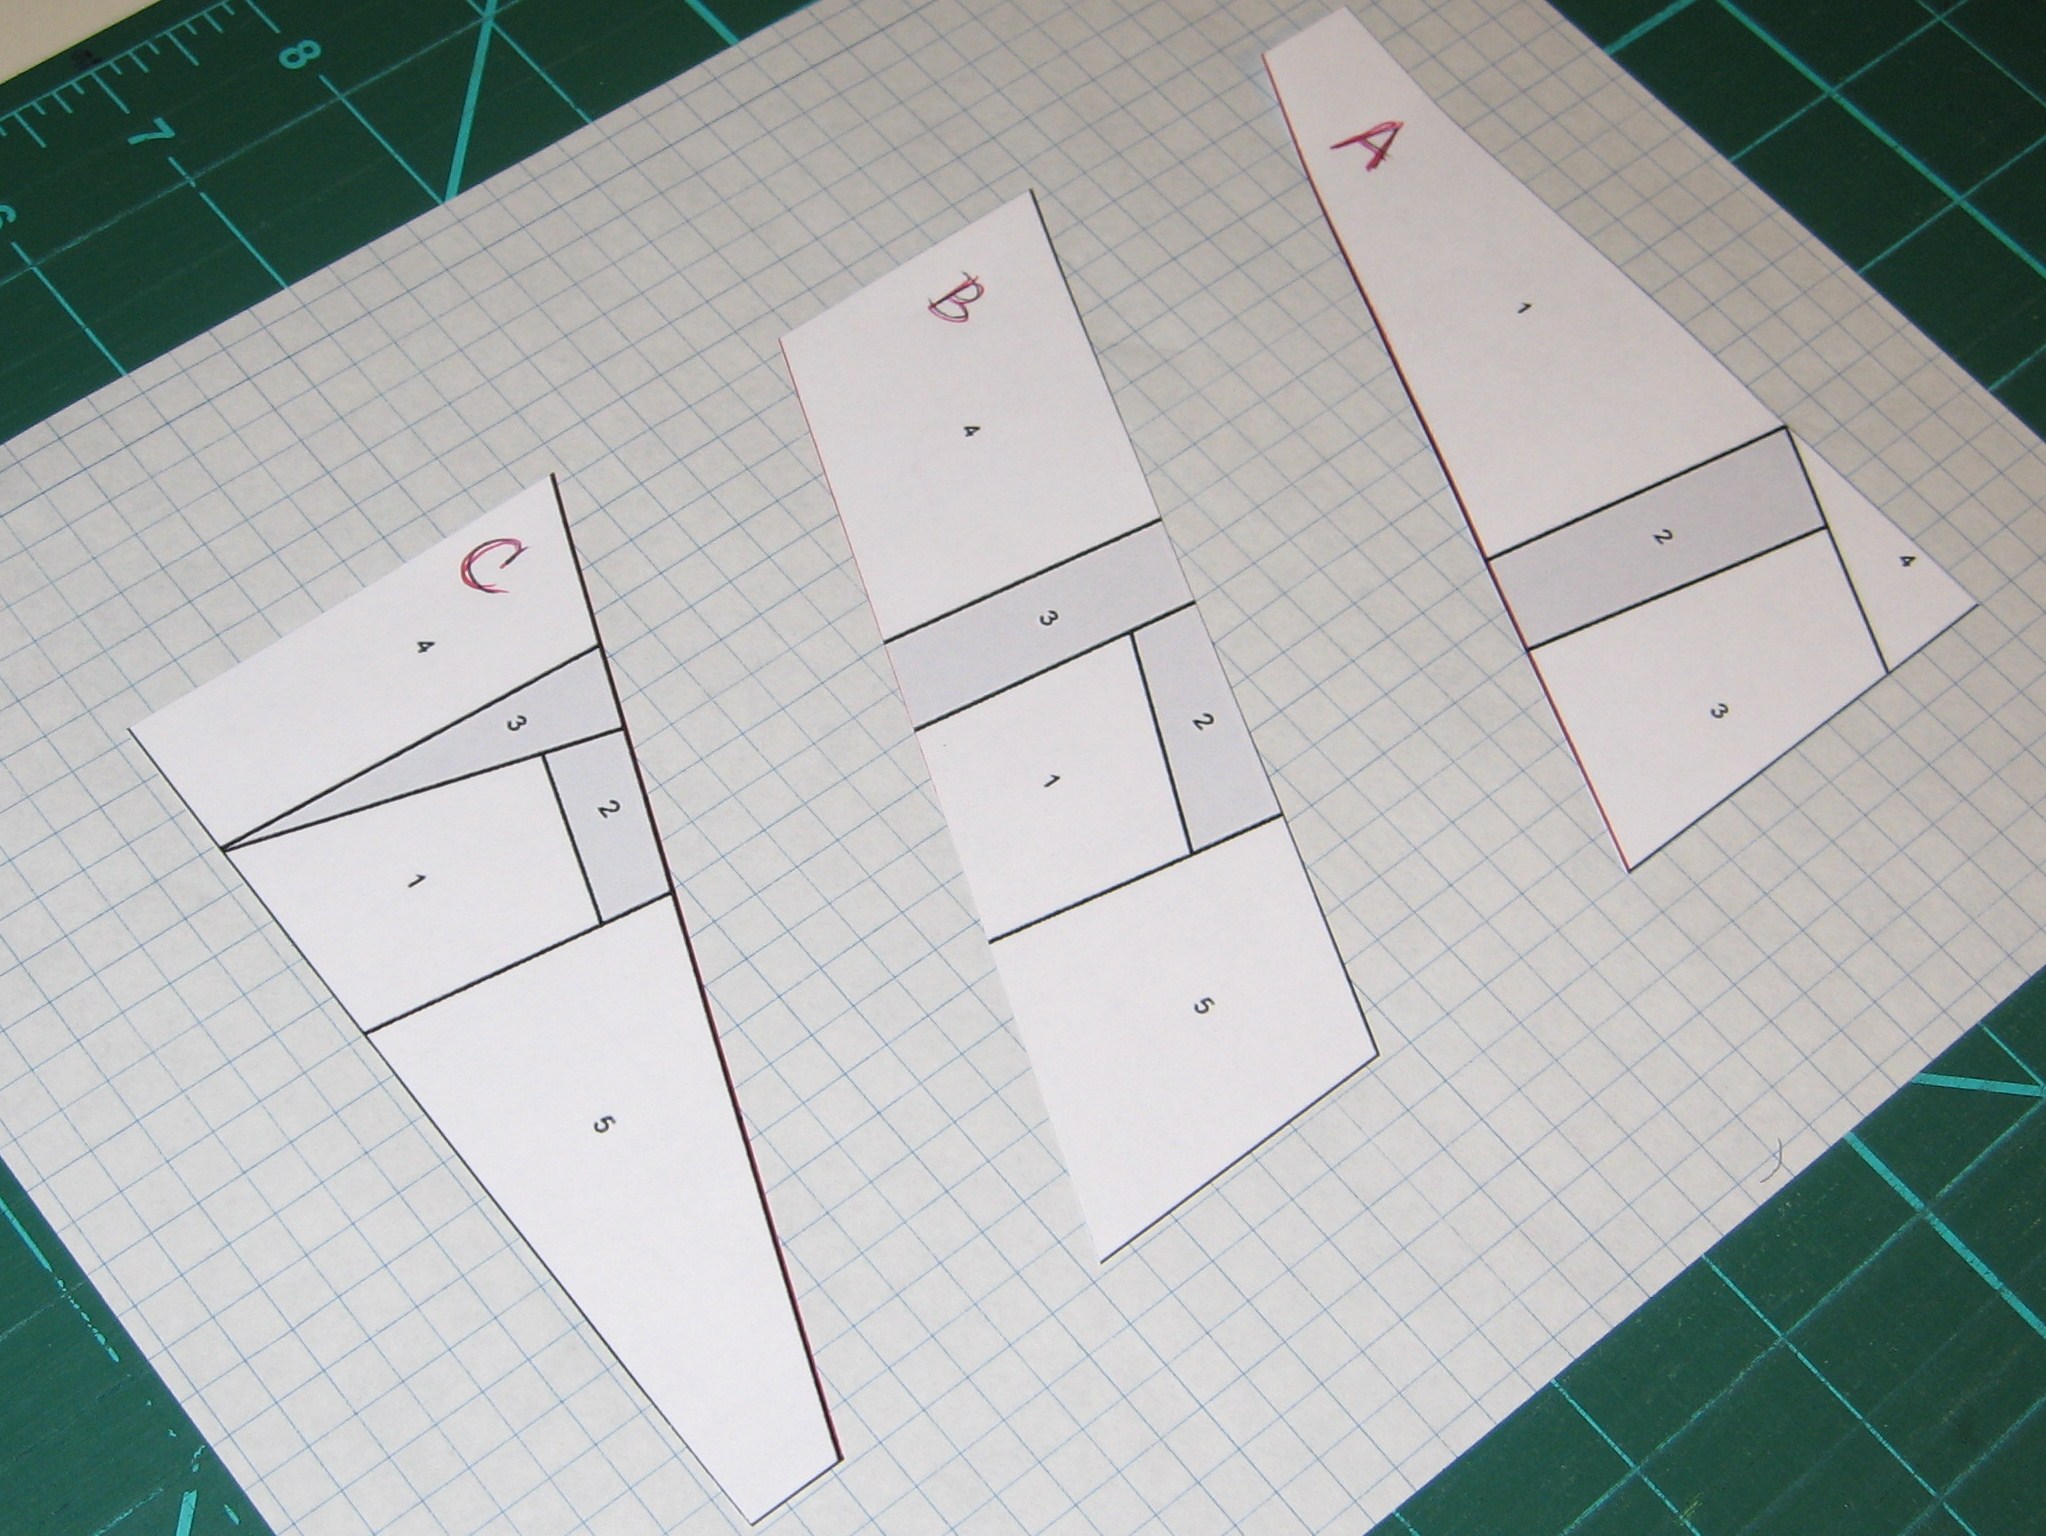
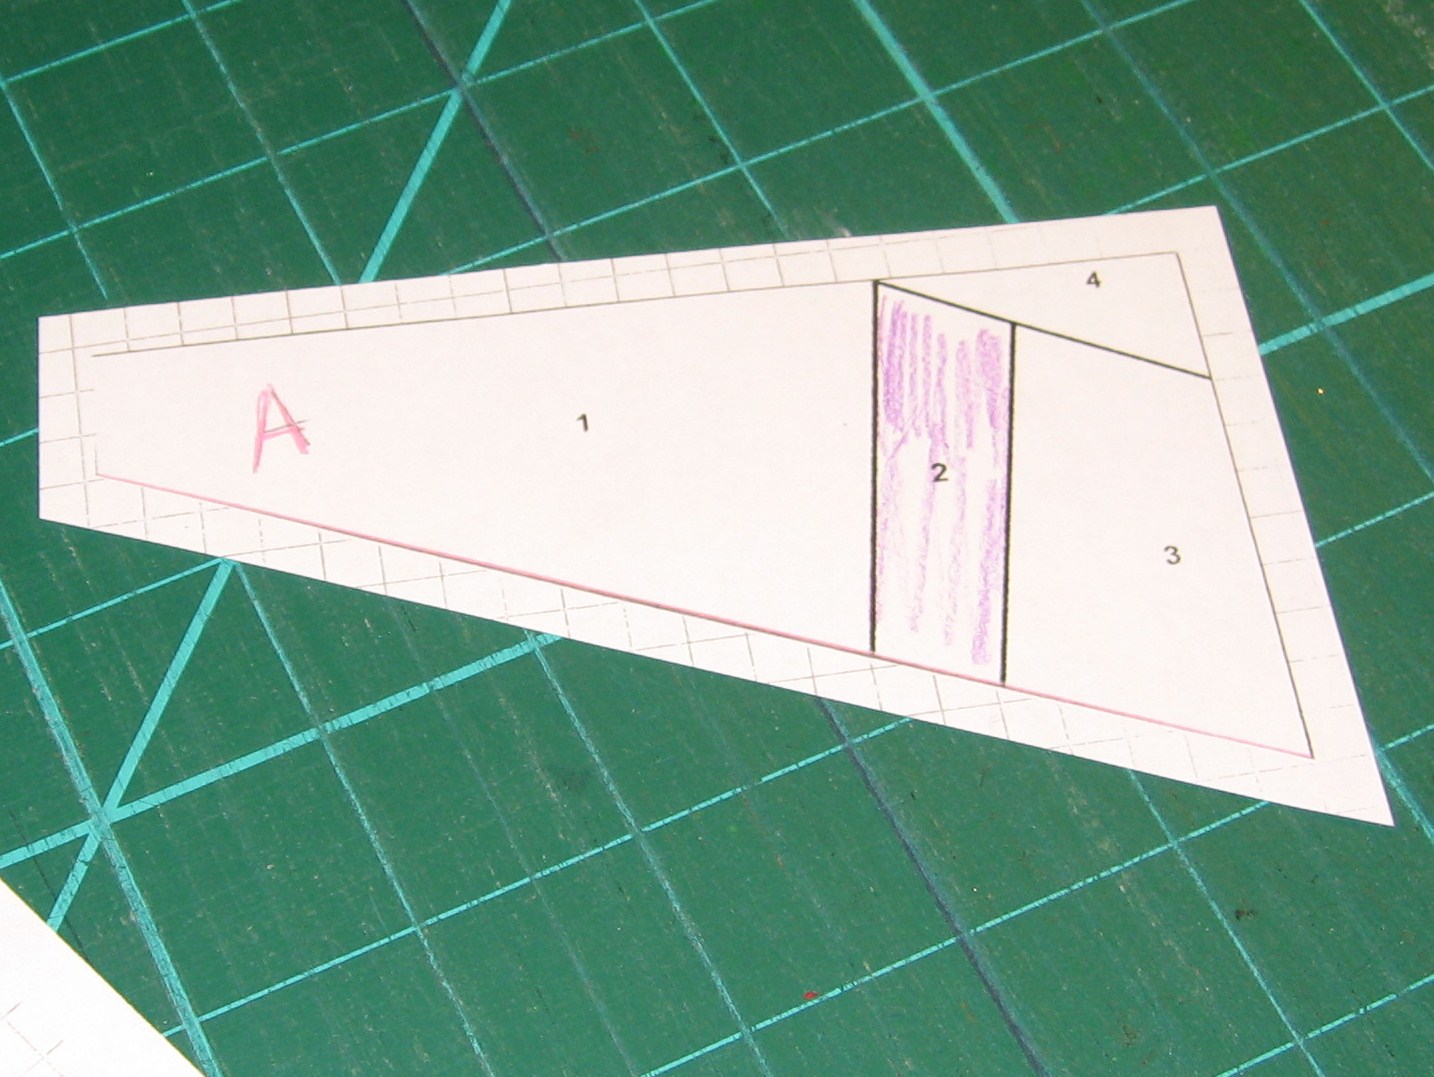
The quilt is inspired by a quilt top I found in a thrift store.  It was completely hand pieced and unfinished, with a couple of blocks coming apart at the seams when I found it.  I made my own version of the Four Pointed Star/Arkansas Snowflake pattern (paper pieced, of course!) in order to fill in those couple of damaged blocks.  Those couple of blocks spawned the idea that to make an entire quilt for Jewells with that same paper pieced pattern.

Arkansas Snowflake Quilt
The Thrift Store quilt that inspired Facets of Friendship

Over the course of several months, I shared lots of teaser photos, trying to not give more of a clue than I could.  I wanted her to know I was working on something big for her, because, in my opinion, anticipation is one of the best parts of life!

Pile of Fabric
collecting the scraps (teaser #1)

all the quarters pieced (close up)

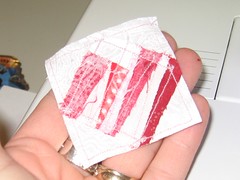
all the quarters pieced…close up! (this was teaser #2)

I also took photos of the process, so I could share them with her once the quilt was finished and in her hands.


arranging the quarters into blocks…with Marie’s help

The back pieced…with the paper still on

chain piecing the neutral border


the top pieced

Jewells' birthday quilt, all wrapped up
My favorite way to gift a quilt – in a coordinating pillow case.

Jewells’ birthday is coming up next week on October 16.  Her gift this year is not quite so exciting as last year, but she is still my best friend, so I guess that’s okay!

If you’re reading this, I’d love for you to take a minute to tell my best friend Happy Birthday over on her blog!

vlog: TTMT – Candy Corn On My Mind

In this week’s TTMT:

If you make a Sew Awesome Craft or any pattern, craft or recipe from sewhooked,  I’d love to see a photo.  Email me or add it to the sewhooked flickr group.

paper piecing: Quilt For Your Inner Genius

Pi 5" paper pieced pattern!
5″ Pi pattern only on etsy

Living in a house full of incredibly smart people, it was only a matter of time until their interests started bleeding into my crafting.  There have been cross-overs before with all sorts of fandom paraphanelia, from Star Trek to X-Men.

Now, it’s math.

I mean really, who doesn’t need a paper pieced Pi?

Alright, alright, it was my 11 year old son’s idea!  Happy now?

And for the curious…

From Wikipedia:

Pi or π is a mathematical constant whose value is the ratio of any circle‘s circumference to its diameter in Euclidean space; this is the same value as the ratio of a circle’s area to the square of its radius. The symbol π was first proposed by the Welsh mathematician William Jones in 1706. It is approximately equal to 3.14159 in the usual decimal notation

If you make a Sew Awesome Craft or any pattern, craft or recipe from sewhooked,  I’d love to see a photo.  Email me or add it to the sewhooked flickr group.

Paper Piecing: Happy Halloween Challenge

Photobucket

Sewhooked and the sewhooked blog are the proud sponsors of the Livejournal Community paperpieced‘s  Happy Halloween Challenge.

Visit the community and participate in the challenge to win a fun prize donated by myself on behalf of sewhooked!

Also visit paperpieced’s sister communities:

vlog: TTMT – Squee!Mail

Where I squee about Squee!Mail from archerpren, caitirin, elaby, hardhatcat and laci_l, show my finished green crochet block from last week, a sneak peek at a new project and my mom’s birthday gift.

Mom's House - paper pieced wall hangingMom’s House – original paper pieced wall hanging made for my mom

If you make a Sew Awesome Craft or any pattern, craft or recipe from sewhooked,  I’d love to see a photo.  Email me or add it to the sewhooked flickr group.

(more)

Paper Piecing: Eggsactly

three eggs

Combine the joy of spring with the joy of quilting and you have one of my all time favorite combinations!

How about Three Eggs (pictured above) made in happy spring colors or prints?   Three Eggs was created for my friend Cat, who loves chickens and is putting together a wonderful chicken/barnyard themed quilt!

Once you’ve scrambled your eggs, why stop there?  There are loads of great paper pieced patterns that would translate to a happy spring quilt or wall hanging!

Spring & Easter Themed Patterns:

lamb, snail and lily patterns from sewhooked

There are so many great free patterns out there and a slew of wonderful quilting books, too.  Whatever inspires you, grab it with both hands and enjoy!

If you make any pattern or craft from sewhooked,  I’d love to see a photo. Email me or add it to the Friends of sewhooked flickr group.

Happy crafting

Make A Mini Valentine


One of the best things about paper pieced patterns is that they are so easy to scale.

The great majority of the patterns I design finish 5″, which makes the math a bit easier.  Want a 10″ block?  Print at 200%.  Want a 1.5″ block?  Print at 30%.

Miniatures have long been a favorite of mine.  They work up quickly and are just so darn adorable when you’re done!

Use Scrappy Heart in miniature and some card stock and you’ve got yourself a cute, fast handmade Valentine for your sweetie!

When choosing a paper pieced pattern to miniaturize, the simpler the pattern the better.  Choose a pattern that is all one piece or only a few individual pieces.  The more paper pieces you have to work with, the trickier your pattern will get and the thicker the seams will be.

For the Valentine’s Card you’ll need:

What to do:


Print your scaled pattern (shown here with the original 5″)

OR use the 1.5″ pattern sets created just for this tutorial (added Feb. 2012)


Piece the block like you would any other

Paper Piecing:  Step By Step


When piecing in miniature, the smaller your seam allowance, the better.  I like a scant 1/8″


This is your block finished from the back and the front.


Follow the stitching line around the block.  This will make it possible to remove the paper without stretching the bias edges.  Contrasting thread shown.


Remove the paper from the block.

**note – normally, the paper needs to stay on the block until it is pieced in it’s final destination, but because we are appliqueing it, that’s not an option here**


card stock and wall paper or seam roller


Fold the card stock in half, and press the crease with the wall paper roller.  The same effect can be achieved with a  scoring tool.


Position the block on the front of the card.  Use a zig zag or other decorative stitch to applique in place.

Now fill the inside with sweet nothings and you’re ready to give it to your Valentine!

Get lots of free patterns right here on Sewhooked!

Add your Sewhooked-related photos to my flickr group and you might be featured in a future post.

Photobucket


Sewhooked Shop | FB | SHFB | Flickr | Twitter | Bloglovin

Conversation Hearts


Less Than Three
click on image for pattern


Back in November when I put together the post for Don’t Go Breaking My Heart, I talked about my own penchant for designing heart patterns (see below).

Geeks need love, too, so I present Less Than Three (above)!

The Linus Connection Heart My Scrappy Heart My Scrappy Heart II

click on image for pattern

In addition to Less Than Three, with the Pink & Red season looming and Cupid stringing his bow for another year, I thought it would be fun to find all the heart patterns online that I could get my hands on and then share them with you!

After searching around for a bit, it’s obvious to me that I’m not the only one obsessed with hearts.  It doesn’t surprise me greatly, but I didn’t expect the quantity of patterns I found floating around out there.

The variety ranges from simple hand drawn patterns to chic professionally published ones.  There were a few websites that I’m sure haven’t been updated in a decade.  The patterns are still fun, cute and just waiting to be made!

Make a heart, it’ll give Cupid a target!

Free Heart Patterns:

*site has multiple heart patterns


Not in the mood for all these happy hearts? How about a broken one?

Broken Heart

click on image for pattern


Also check out:  Paper Piecing:  Step By Step

&

Paper Piecing:  Seams To Me (adding seams)

Free Paper Pieced Patterns On Sewhooked!


signature-2016

Posts on this blog may contain affiliate links. Thank you for your support. ♥

Paper Piecing: It Seams To Me

Occasionally, someone will tell me they don’t like to have seam allowances on paper pieced patterns.

Everyone’s got their own preferences, so it doesn’t bother me.   If you don’t like them, they’re easy enough to cut off patterns that have them.

My personal preference is definitely for seam allowance.  A related question I’m regularly asked is if there is an easy way to add seam allowance to a pattern that doesn’t include it.

Yes, absolutely there is!

You need access to a copier, but beyond that, no special tools and only a few minutes of your time are needed.

If you don’t own a copy machine or scanner, you can trace the pattern with tracing paper, adding the seam allowance as you go.  That will work best with simple patterns, but if you’re really patient, it will work for any pattern.

Also included are suggestions for labeling and recording sewing order for later piecing.

You’ll need:

  • the pattern of your choice (the example is an unfinished pattern of mine)
  • a copy machine or printer/scanner with copy function
  • graph paper, any grid size
  • a ruler
  • rotary cutter with a blade for cutting paper (optional, but it’s much easier than using scissors)
  • a red or colored pen or map color
  • fabric safe markers or pens (crayons are shown, but those are riskier and I no longer recommend them)

Print the pattern of your choice.

Using your ruler, draw over the lines where the pattern pieces separate (the seam lines), making sure you go past the outside edges of the pattern.  Red is used here because it’s easy to see.

If the pattern does not have a line indicating where the outside edge is, I recommend adding one with your ruler.

If the individual pieces aren’t labeled and you think you might need it later, label them now.  This is especially useful in more complicated patterns.  I like to use letters (A, B, C), but you can mark them any way you like.  If you need to, make a notation of how the pieces will go back together, for example:  A>B>C.


Use the rotary cutter to neatly trim the pattern to the seam lines, cutting through those that go across the pattern.  You can use scissors here, but you need to be extremely precise.

Place the pattern pieces face up on a piece of graph paper, using a dot of glue or piece of tape to hold them in place.

Any size grid will do.  The grid will make the seam allowance distinctive without using up too much ink. You can also use a lightly colored copy paper.

Place the grid paper face down on your copy machine or scanner and make a copy.

A colored copy (L) and a black & white copy (R).  Either works fine.

Using your ruler and red pen or map pencil, draw lines along the inside seams.  This will give you a reference point for lining up your pieces later. 

See:  Paper Piecing:  Step By Step for instructions.

If you’d like the pieces of your pattern colored for easy reference while you’re piecing, now is a great time for that.  Grab a fabric safe marker or pen and color away!  This is a great trick to use if you’re piecing with more than two colors so you don’t accidentally mis-piece any fabrics. Note from future me: don’t use crayons, they melt. 😐

Using your rotary cutter and dull or paper-designated blade, trim the pattern pieces, leaving a 1/4″ seam allowance.  It’s easy to see the grid left from photocopying.


Repeat on all pattern pieces and you’re done!  The pattern has seam allowance and you’re ready to piece.

Also check out:  Paper Piecing:  Step By Step

Happy crafting!

Find my free patterns on Sewhooked & Fandom in Stitches.

♥ Jennifer O

Posts on this blog may contain affiliate links to help cover the cost of my website. I thank you for your generous support. ♥

Paper Piecing: Holly Jolly Christmas

Christmas Wall Hanging for Eric & Dominae

Last week, I shared three paper pieced patterns for Lil’ St. Nick, Mrs. Claus and Santa’s Elf.

ETA July 12, 2010 – These patterns will be available again November 2010 through the Sewhooked Shop.

Over the weekend, those three patterns were combined with a new pattern, Little Wonky Christmas Tree to give you the wall hanging shown, made for our friends, Eric & Dominae.

Little Wonky Christmas Tree

Little Wonky Christmas Tree

5″ paper pieced pattern
©Jennifer Ofenstein
http://www.sewhooked.org

Christmas Wall Hanging for Eric & Dominae

Christmas Wall Hanging for Eric & Dominae

The wall hanging was created by sewing the blocks two by two with a 1.5″ strip of fabric in between the two rows.

The border is also 1.5″, in the background fabric.

Echo quilted by machine.

The star on top of the tree (which was received as part of a craftster swap!) is attached with fabric glue.

Hand stamped label on the back and large jump rings for hanging.

find more paper pieced patterns on sewhooked

As always, if you make any pattern or craft from sewhooked,  I’d love to see a photo. Email me or add it to the Friends of sewhooked flickr group.

Happy crafting

also posted on craftster, cut out + keep and deviant art